

The other day, when I’m sure I was supposed to be doing something else, I came up with what I thought was a pretty clever idea. It started when I was about to use an insert I had purchased to do some art journaling in. The kraft colored paper was less than inspiring.
So, I put a think on it, “What would be inspiring?” Scrapbook paper! but, then I’d have to make a space for journaling. Graph paper! but then I’d have just a bunch of lines, not much more inspiring than the kraft paper.
So, I came up with this…
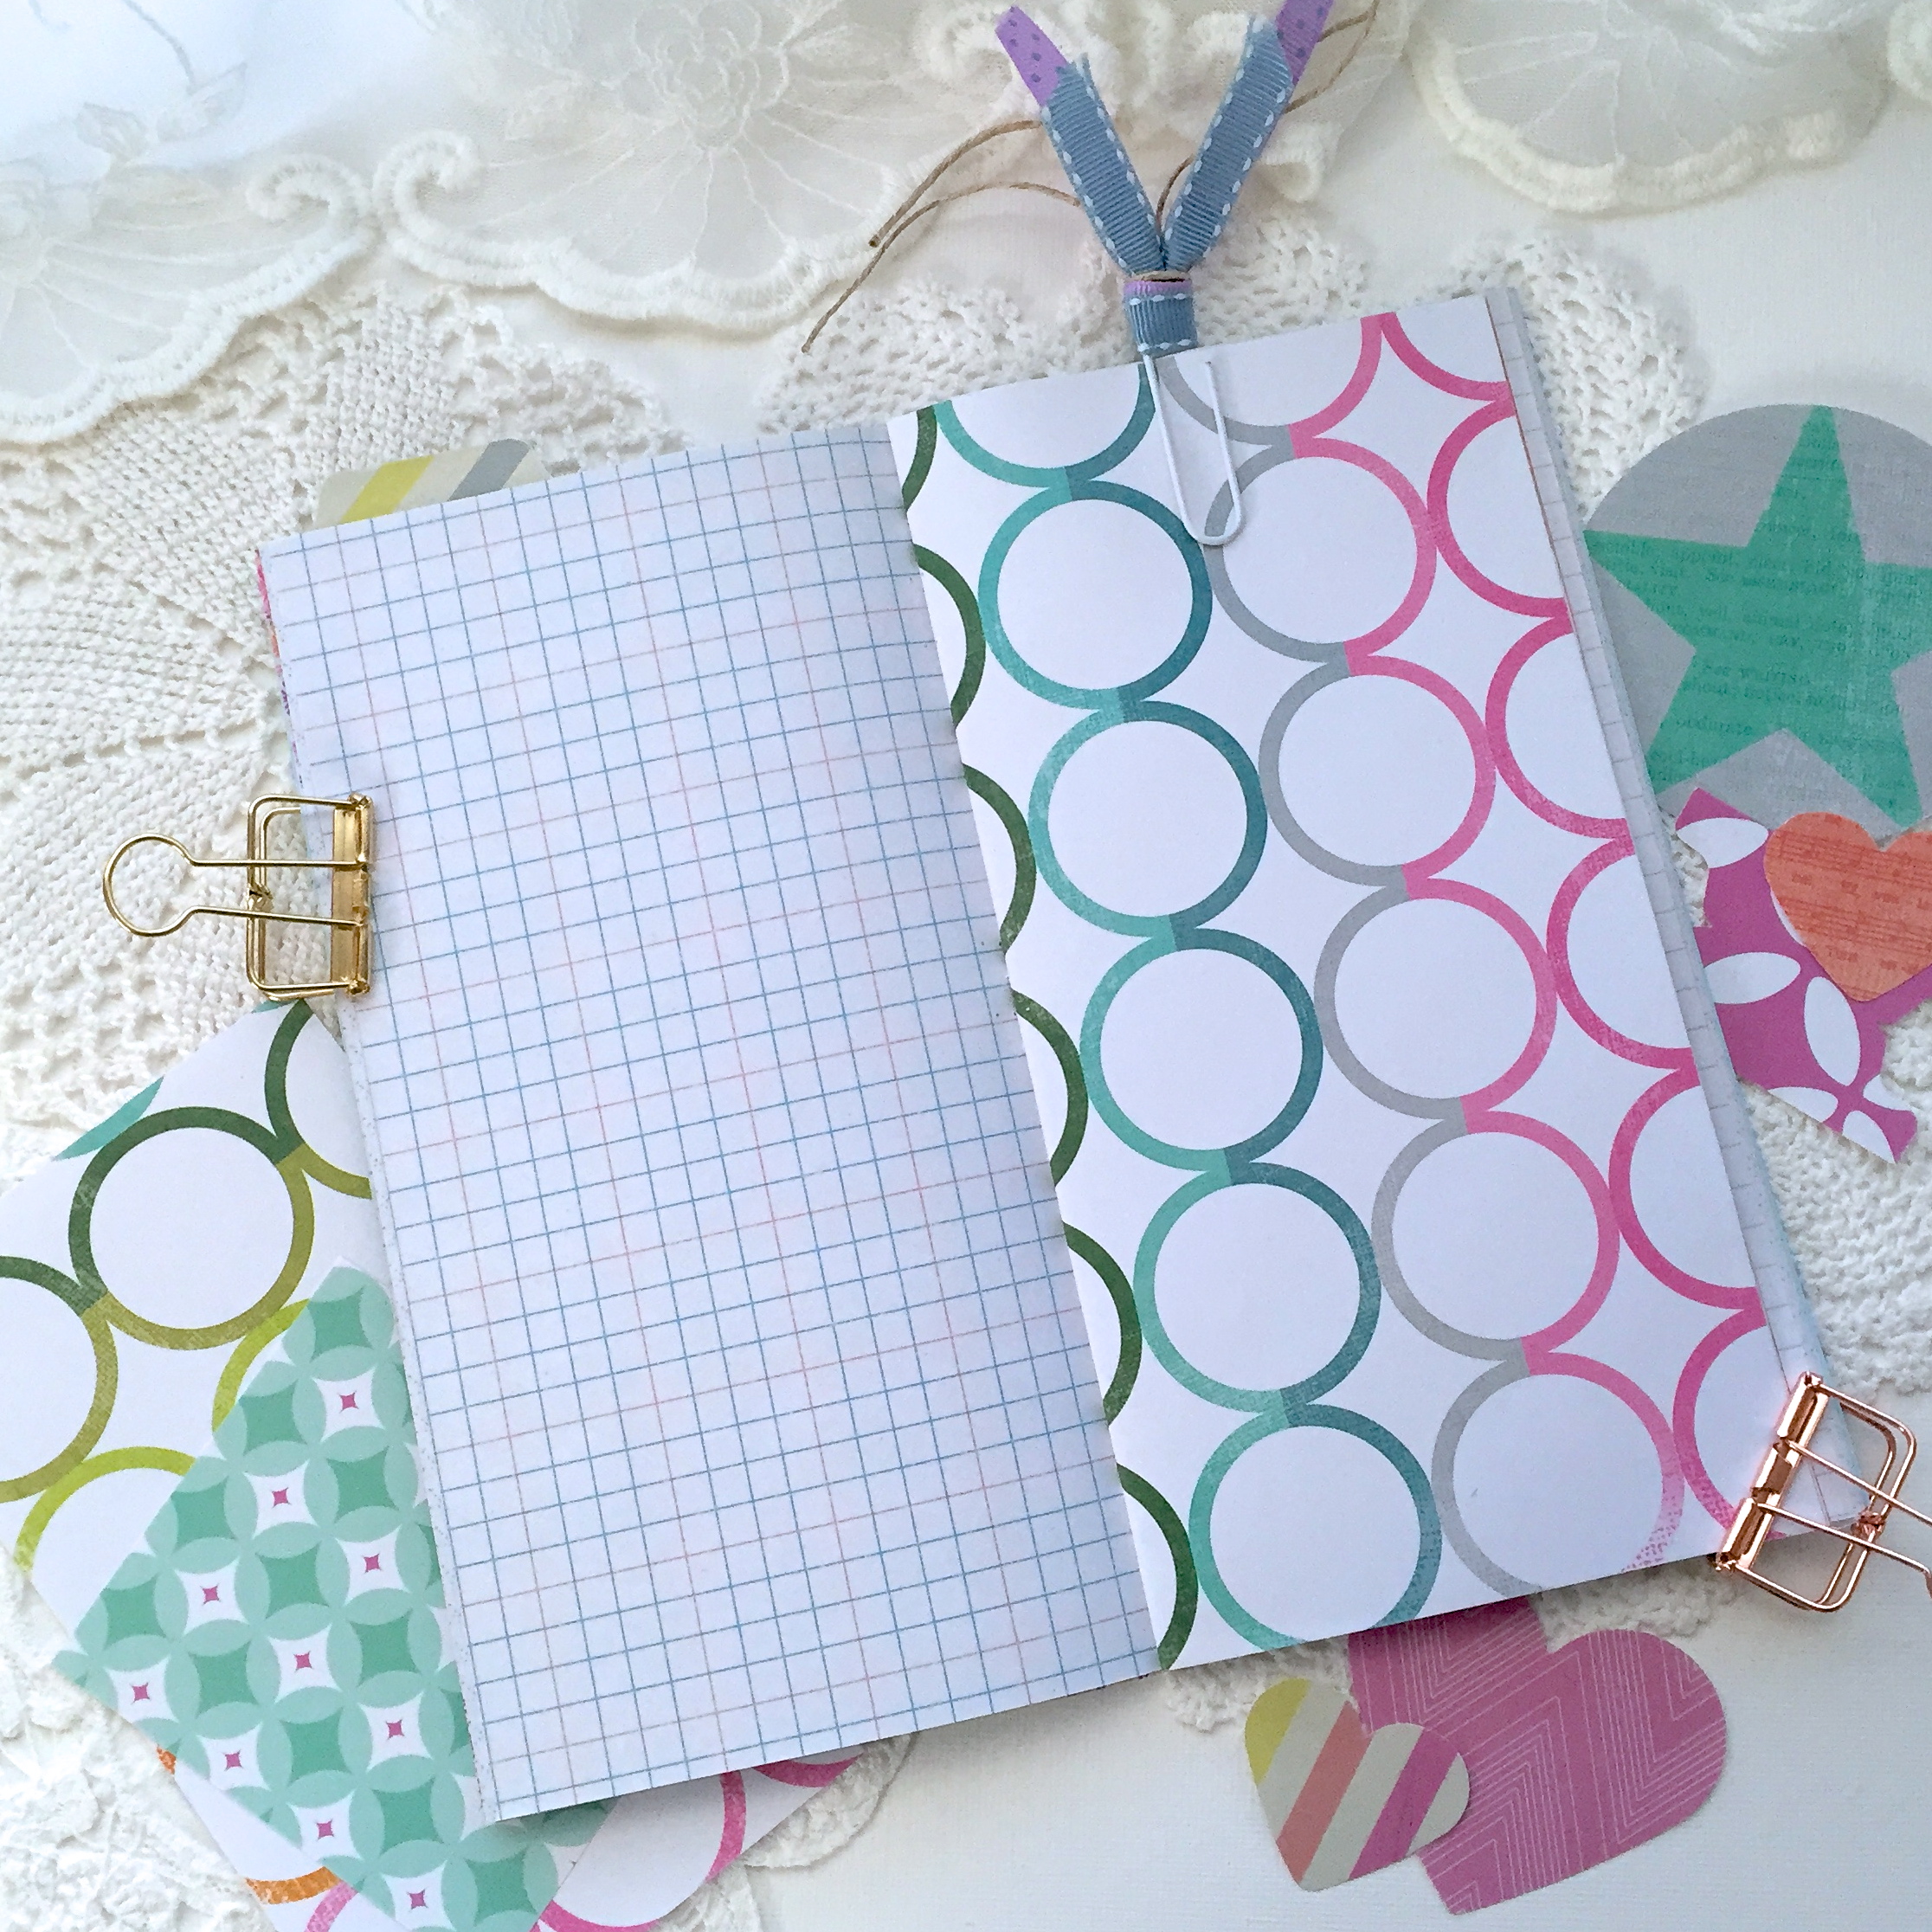
How about printing graph lines onto the plain side of scrapbook paper!?
And here is how I did it…

First, I chose some pretty colors of one-sided, thin scrapbook paper. The package didn’t say the weight, but I’m guessing about 24 lb., slightly heavier than average copy paper.
Next, cut them down to 8 1/2″ x 11″, so that they will fit into your printer.

I purchased the pdf for this graph paper from One Little Penguin on Etsy for $4.00, can you say “Bargain”!
I set my printer to “borderless 8 1/2″ x 11” and hit “fill entire page” to completely fill the paper up.

These are the tools I used, a ready made insert to get the right size, a cutting mat, a rotary cutter, a ruler, a bone folder, a long arm stapler from Amazon, and a brayer to get the crease nice and flat.
These tools are mentioned in the Youtube video I watched to learn how to make these. The link is *here* if you want to take a look, there are lots of videos on how to do this if that one doesn’t tickle your fancy.

Once the inserts are made, you can use the leftovers to make matching ephemera! I ran some plain copy paper through to make matching graph paper for journaling pieces.
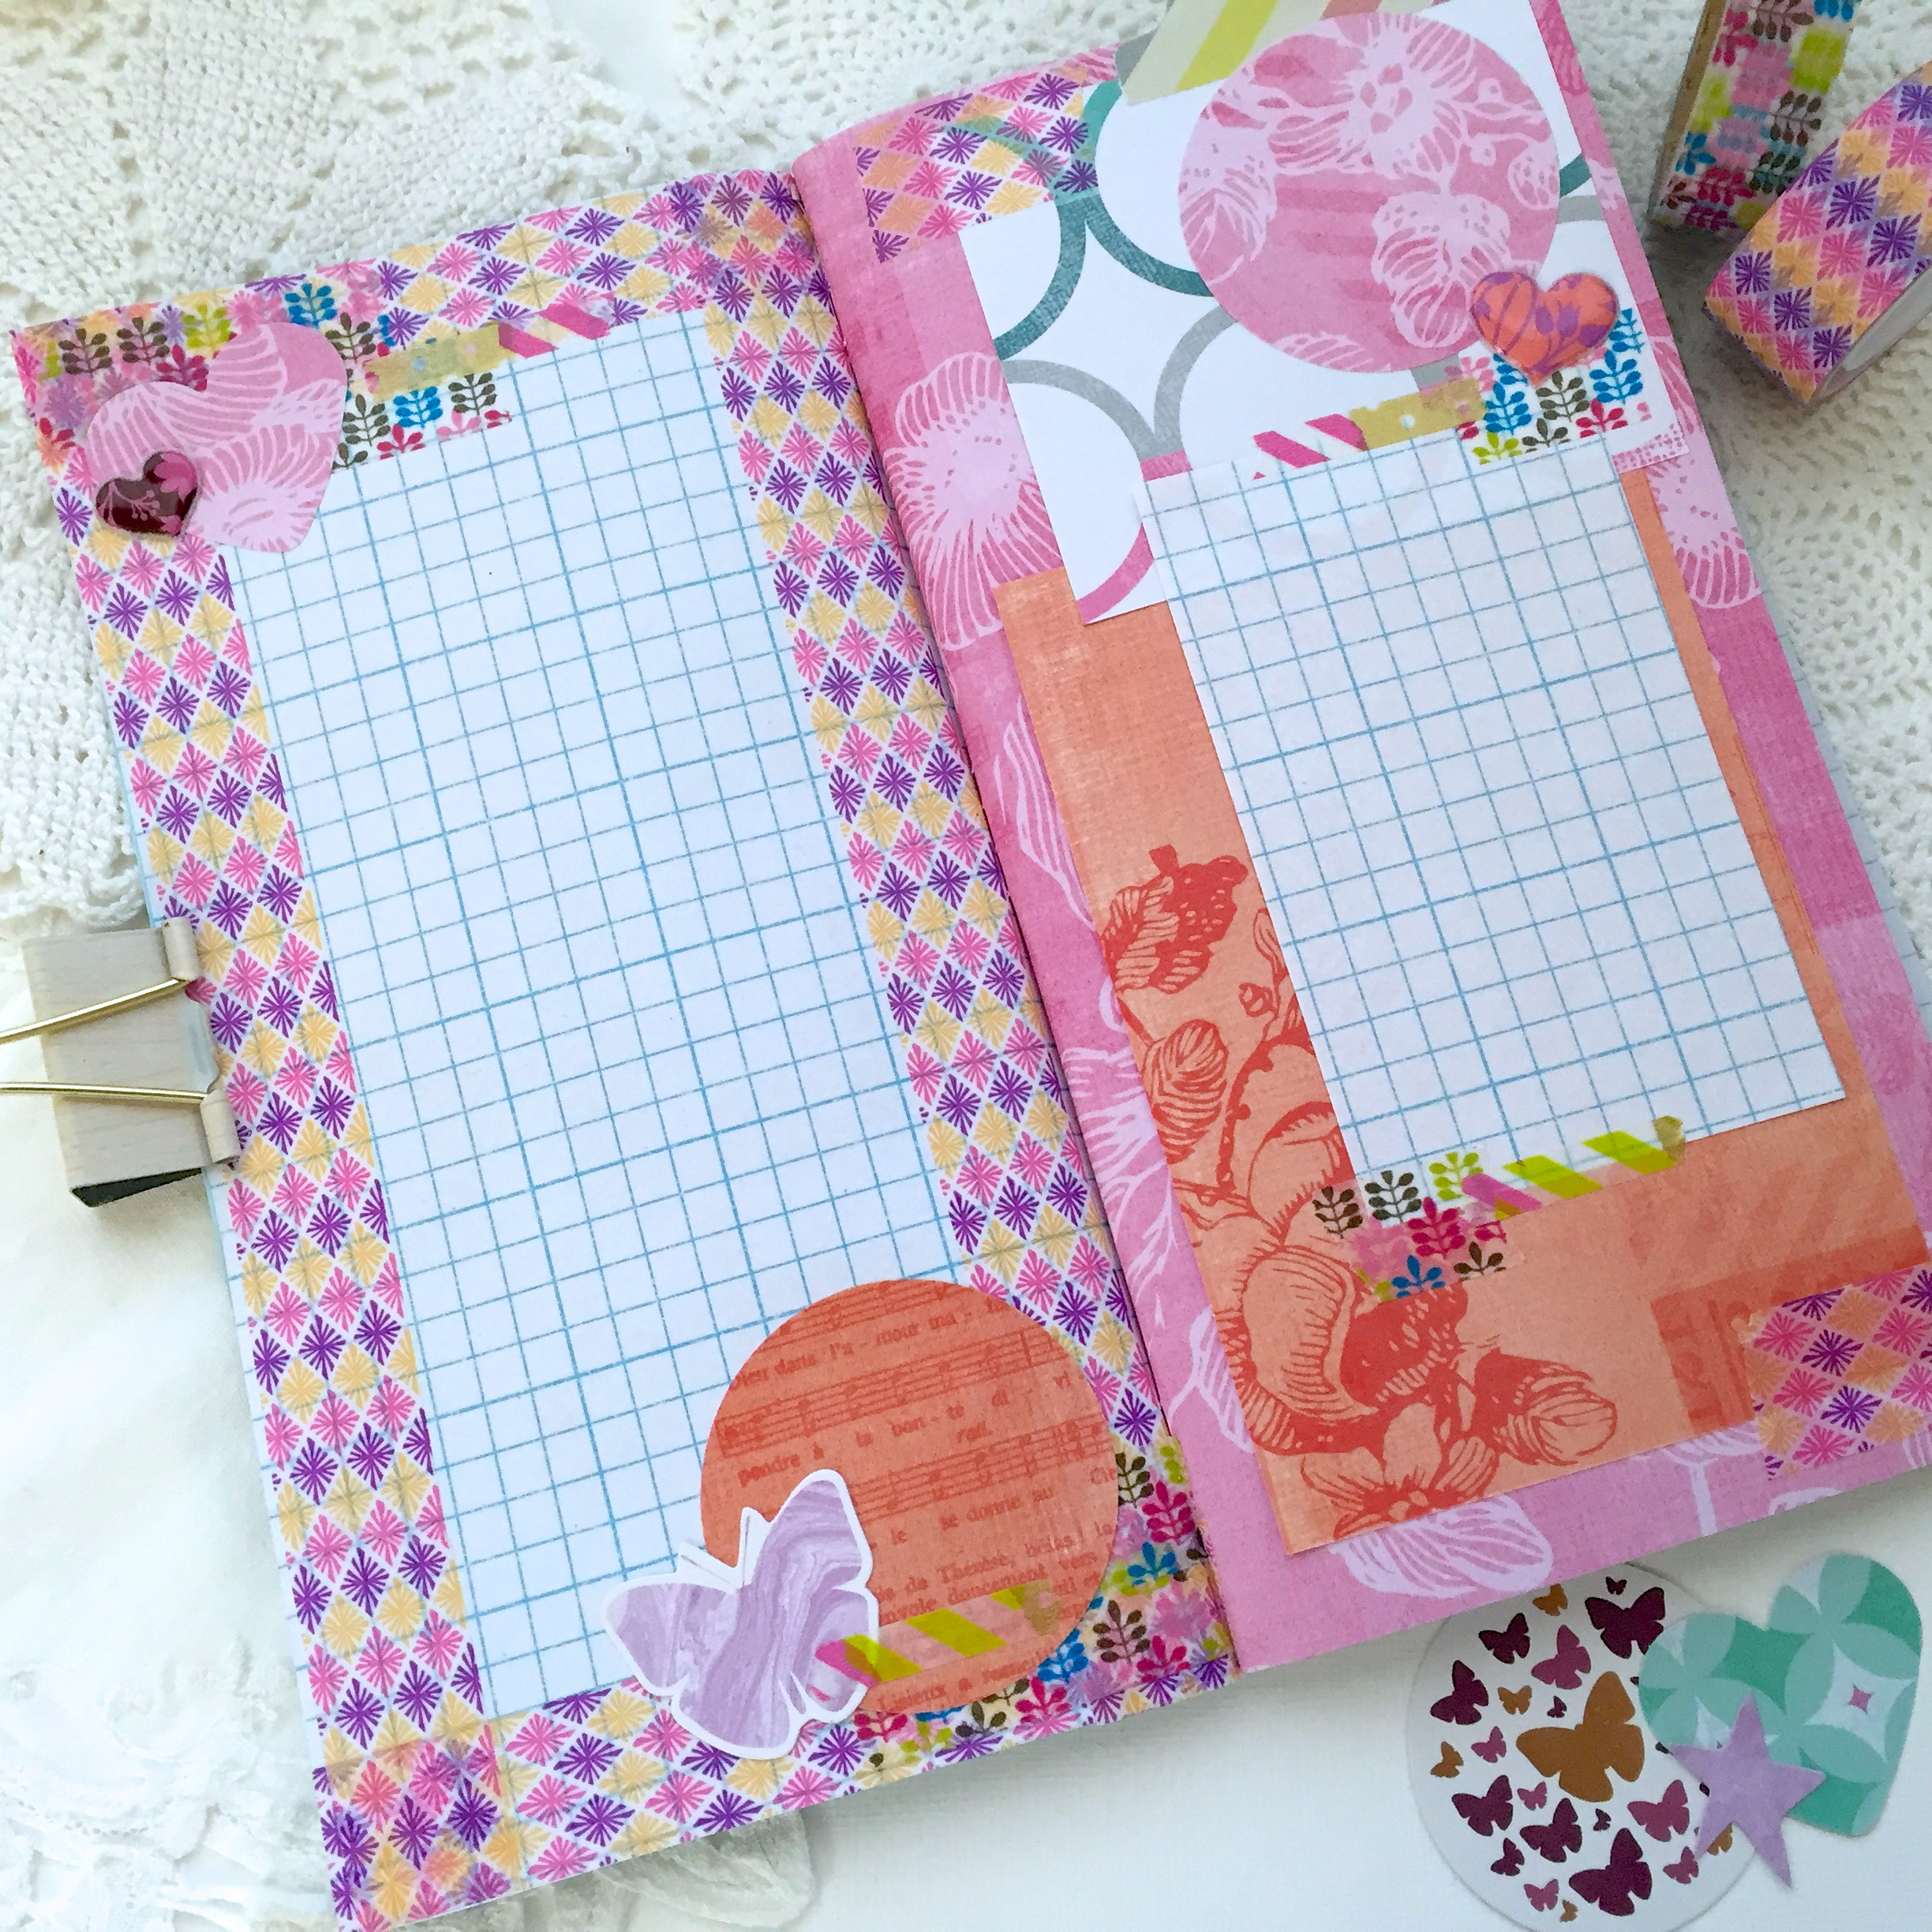
See all the mixy-matchy! I added a few store-bought ephemera pieces and stickers too, how fun is that!

It doesn’t take very much time or effort to get some page spreads ready for journaling and decorating! Stickers, stamping, more washi, and journaling, these pages fill up fast and look fantastic!
I have already filled these two page spreads out, so it’s time to get some more done!
Thank you for stopping by,
Have a great weekend,
~Patty

Love this idea so much! I might have to try it on my next insert. So smart to create matching ephemera too. Also thank you for sharing tgat digital graph paper pack 🙂
Question, do you use a tab punch out to create some of the ephemera? If so, where did you get it? I’ve been wanting to make my own tabs for journals.
LikeLike
Hi Alie, the tab punch I use is made by McGill. I got mine at Michaels, but I think you can get it on Amazon too. 🙂
LikeLike
Thank you so much! I’ll have to look around my Michael’s 🙂
LikeLike
That’s such a nifty idea that means you’ll always have that combo of graph and pretty paper, without having to add in extra surfaces yourself.
LikeLike
I call that a win,win Louise! 🙂
LikeLike
patty-this is brilliant! graph paper on the backside of thinner scrapbook paper!!! 2 thumbs up for your “think about” 🙂 also- glad you shared Ray’s video-i meant to subscribe to his channel awhile back and had forgotten so now i’m following. also-the rotary cutter… do you like using it as opposed to an exacto knife? i’ve never used one but am thinking i would like it more than using my exacto knife (plus it would be safer) i think i’ll pick one up and give it a try. love all your “mixy matchy” great post 🙂 tfs
LikeLike
Thank you so much Jenny! I definitely recommend the rotary cutter, super fast! Of course I use a different one for fabric!
LikeLiked by 1 person