I think I look forward to the iHanna PCS more every time it comes around! It’s only twice a year, I wish it was at least four! But since I’m on the side of having fun, not running it, that’s easy for me to say.
I haven’t written a process post in a long time, so I thought this would be a great opportunity to share a little of mine.
Warning: this post is pretty photo heavy, so I’ll try to keep the text to a minimum.
This is what I started out with, pages from a couple of journals that didn’t quite work out that I cut to size. This happens once in a while, I’ll over do it on the journal makings, then decide to move on.
These seemed a bit too bright, and needed a little strengthening up, so step two…
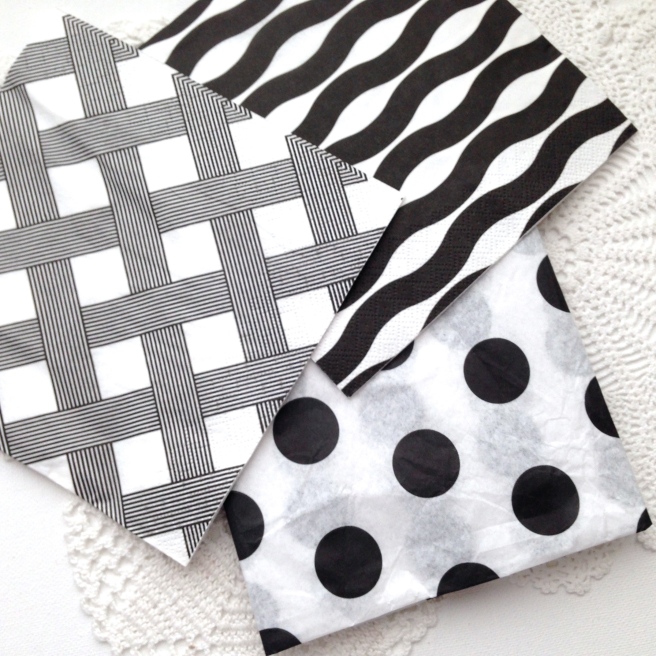
Hoping these will do the trick! Tissue paper and napkins.
With the napkins you will want to pull the the layers apart, there are usually three, save the printed one to adhere with matte medium. (it’s a whole process I can cover in another post if you would like).
I was concerned that the colors would fade too much, but as soon as they had dried, I was happy.
I have had these snarky recipe cards clanking around for a few years. They are the perfect size for post cards with lines for writing to boot!
The ephemera I have chosen to work with. I will collect things throughout the year that might work for making happy mail. I wanted to go all out “postal” themed with this swap.
 The layering process goes as such: card base, tissue paper, main image, large stamps, washi tape, smaller stamps, die cut/punch out, and more washi. Apply a coat of satin varnish if you are so inclined. Let dry, then sand the edges smooth…my favorite part! See the rounded corners, Love!
After all the layering, varnishing, and sanding, they feel quite substantial!
They look a bit like a mini journal page, no surprise there!
And because I have received too many cards that look like the mail truck did a burnout on them, I make envelopes out of book pages (again, another process I can share if you would like). These were made from a 1970’s crafting book.
So there you have it! I had so much fun making these, I decided to make more to send to some of my friends!
If I left out anything, or if you have any questions, please don’t hesitate to ask!
Once again, thank you for stopping by,
Have a great day,
~Patty


Lovely cards! Thanks for sharing your process, and good idea on the handmade envelope…I’m just debating now whether to envelope my cards to protect them! Don’t have the time now for handmade, but maybe for the next swap!
LikeLike
Wow! These are so intricate and gorgeous. I love seeing your process.
LikeLike
Love your collage process, and feel so happy that you wanted to join the swap again, thanks!
LikeLike
Thank again for hosting it! I’ll post in fliker as soon as I send them off! 💖💖💖
LikeLike
These postcards are super rad! Love what you’ve done to them 😀
LikeLiked by 1 person
Thank yo so much!
LikeLike
Way cool, I really like all the cool postage! I would love to hear more about your envelope making process also!
LikeLiked by 1 person
Thank you Dawn! I’ve been collecting postal stuff this week. Florence Antoinette on Youtube has been quite an influence!
LikeLike
i love your postcards patty! so many fun little bits and pieces. i love doing hanna’s pc swaps too, i mailed my cards today as a matter a fact 🙂 those recipe cards are perfect for the backside. i would love to hear more about the little envelopes you mentioned. (i just watched a you tube where you needed a special tool for scoring and punching to make an envelope-which i don’t have) so would love to see your process. thanks for sharing.
LikeLiked by 1 person
Thank you Jenny! I’ll get on that envelope how-to asap!
LikeLiked by 1 person
The cards turned out fantastic. However (please forgive me being a nuisance), most of the bright base paper scraps got covered up. 😦 I love all your process posts. Thank you VERY much for sharing!
LikeLiked by 1 person
Yes, I know. But enough of it showed through to give the effect I was hoping for!😄
LikeLike
So the recipe card is glued to the back of the fancy paper? That’s the way I am seeing it happen, right? What glue do you use?
I think they are really cool, BTW. Great work.
LikeLiked by 1 person
Thank you Judy! Yes, I’m going to use the recipe cards to write the note on. I use matte medium to adhere the recipe card to the art piece.
LikeLike