Time for the iHanna Post Card Swap!
I think I began participating in the iHanna Post Card Swap in 2014…or maybe 2013. I’m not sure how many years it’s been, I only know it was two blogs ago. My original plan was to repurpose an index card journal to make the postcards…boring! I was feeling much more creative today.
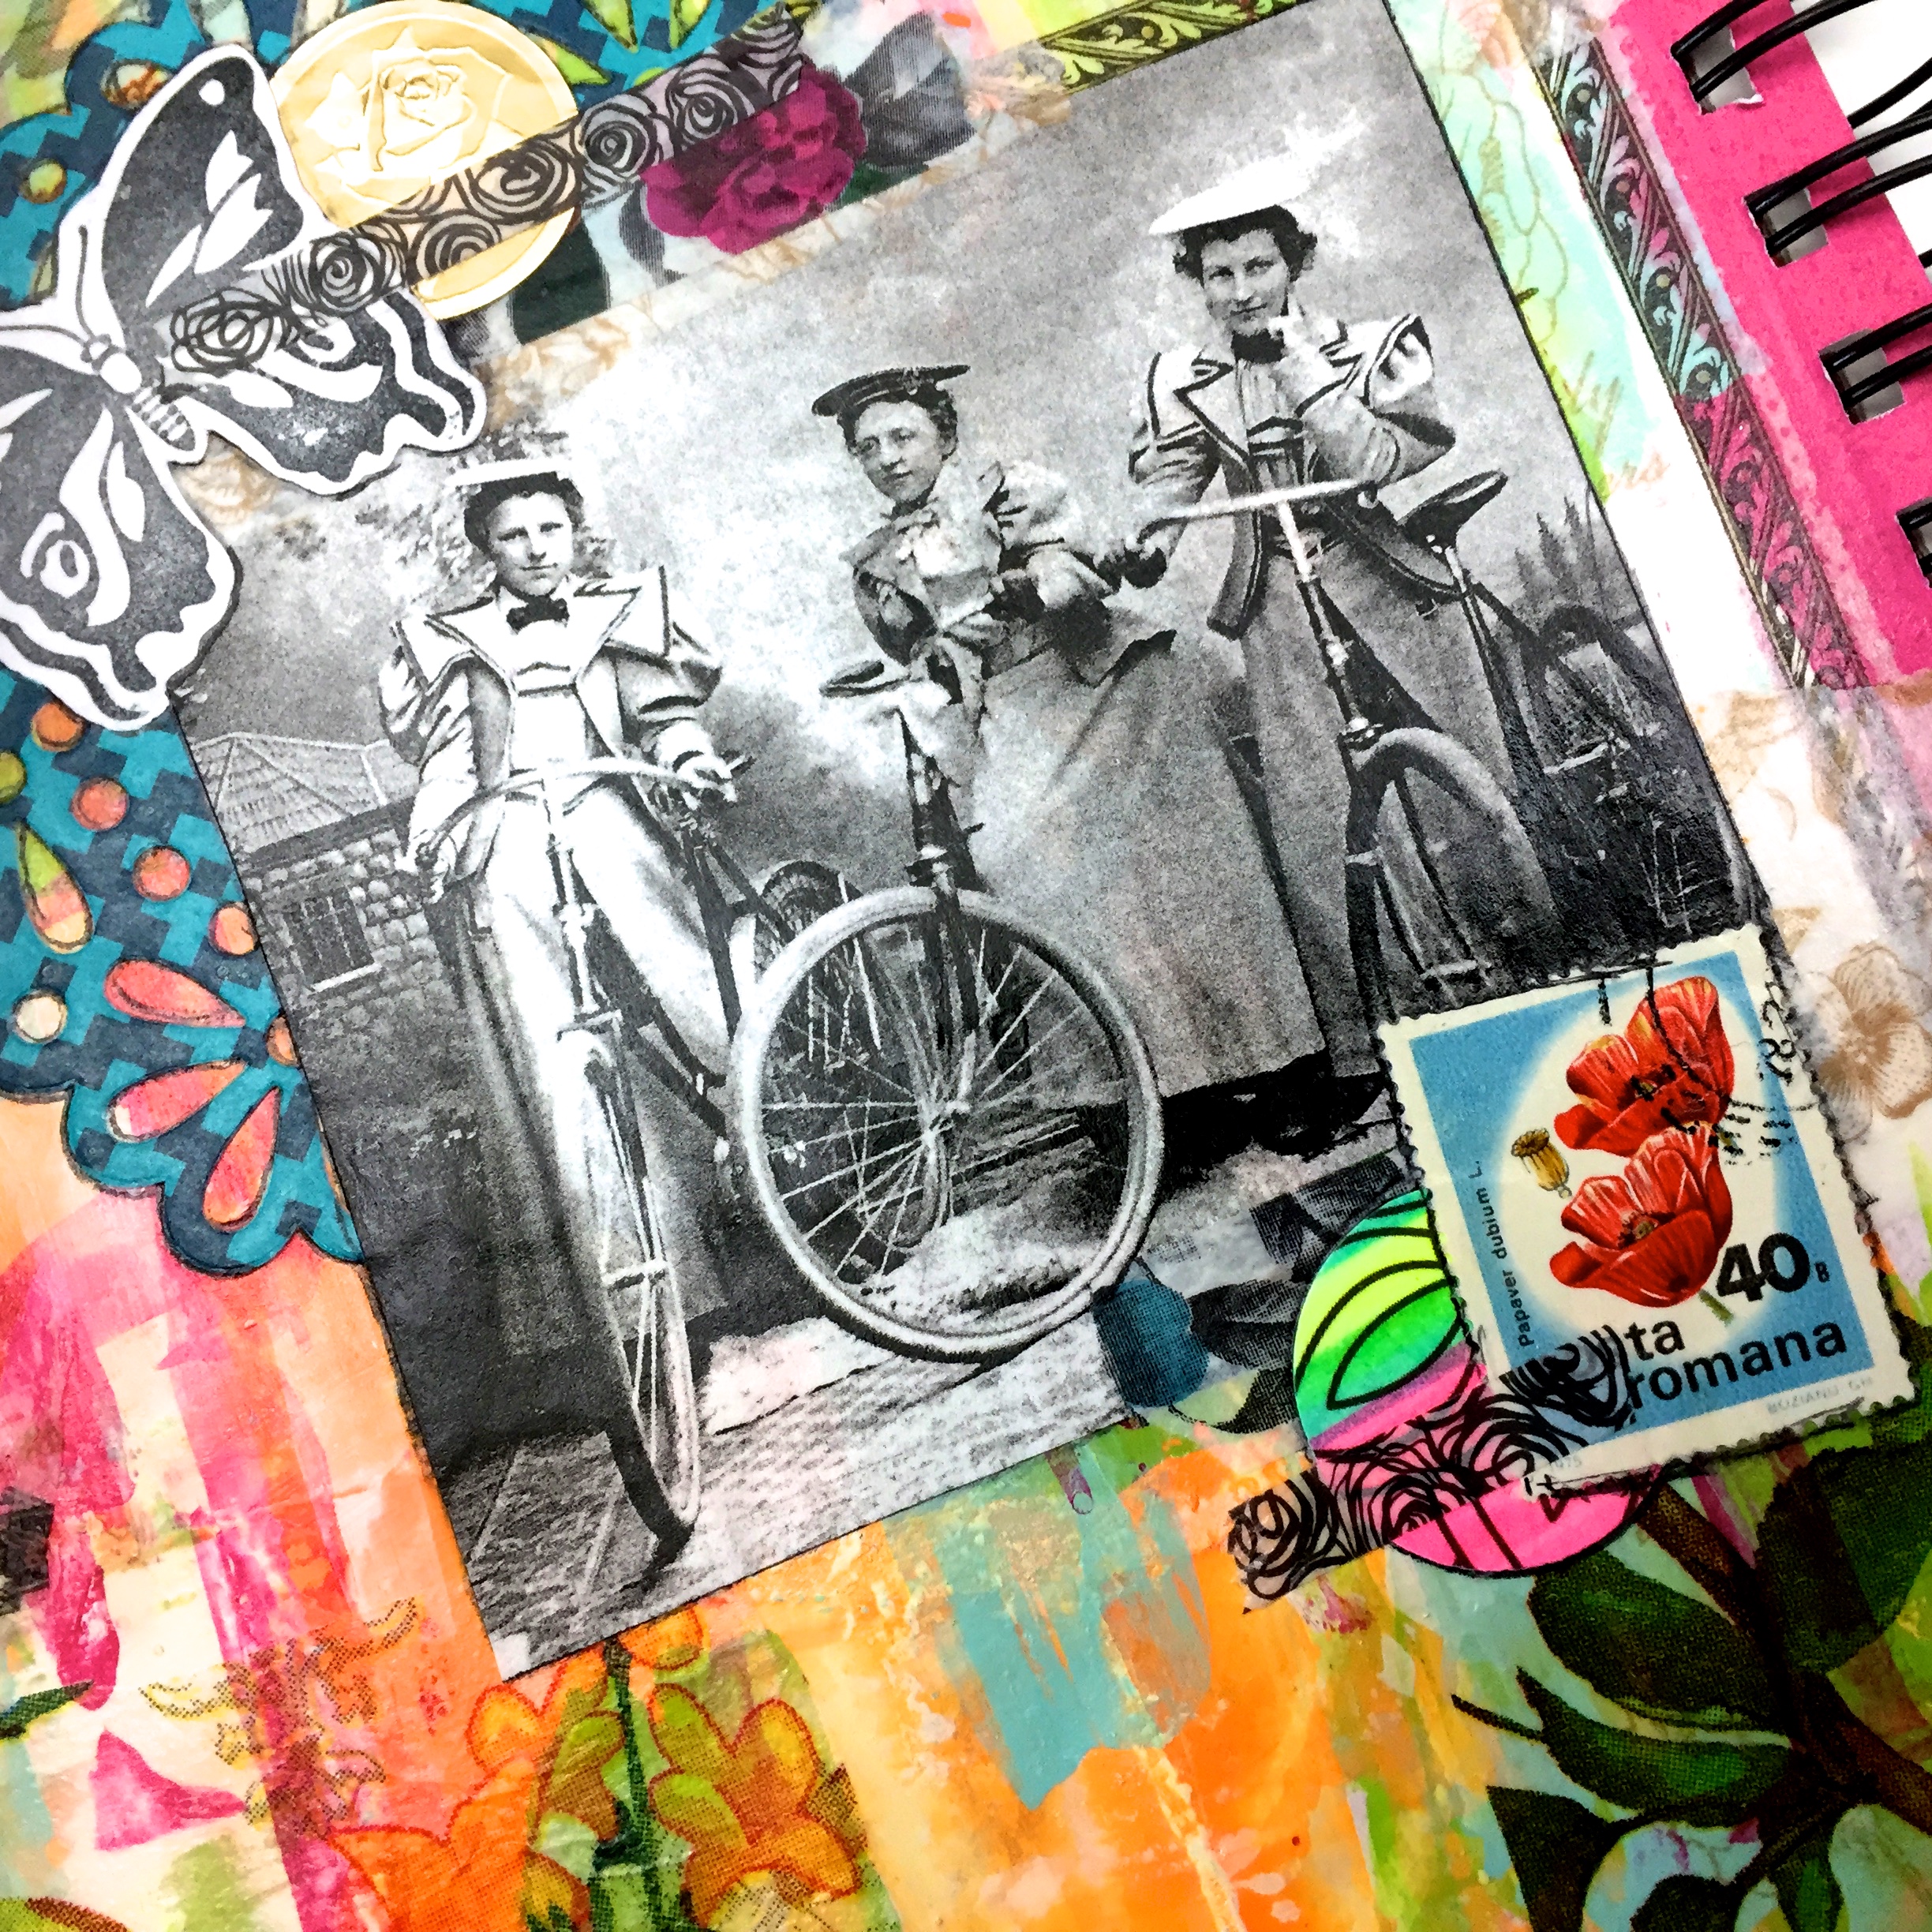
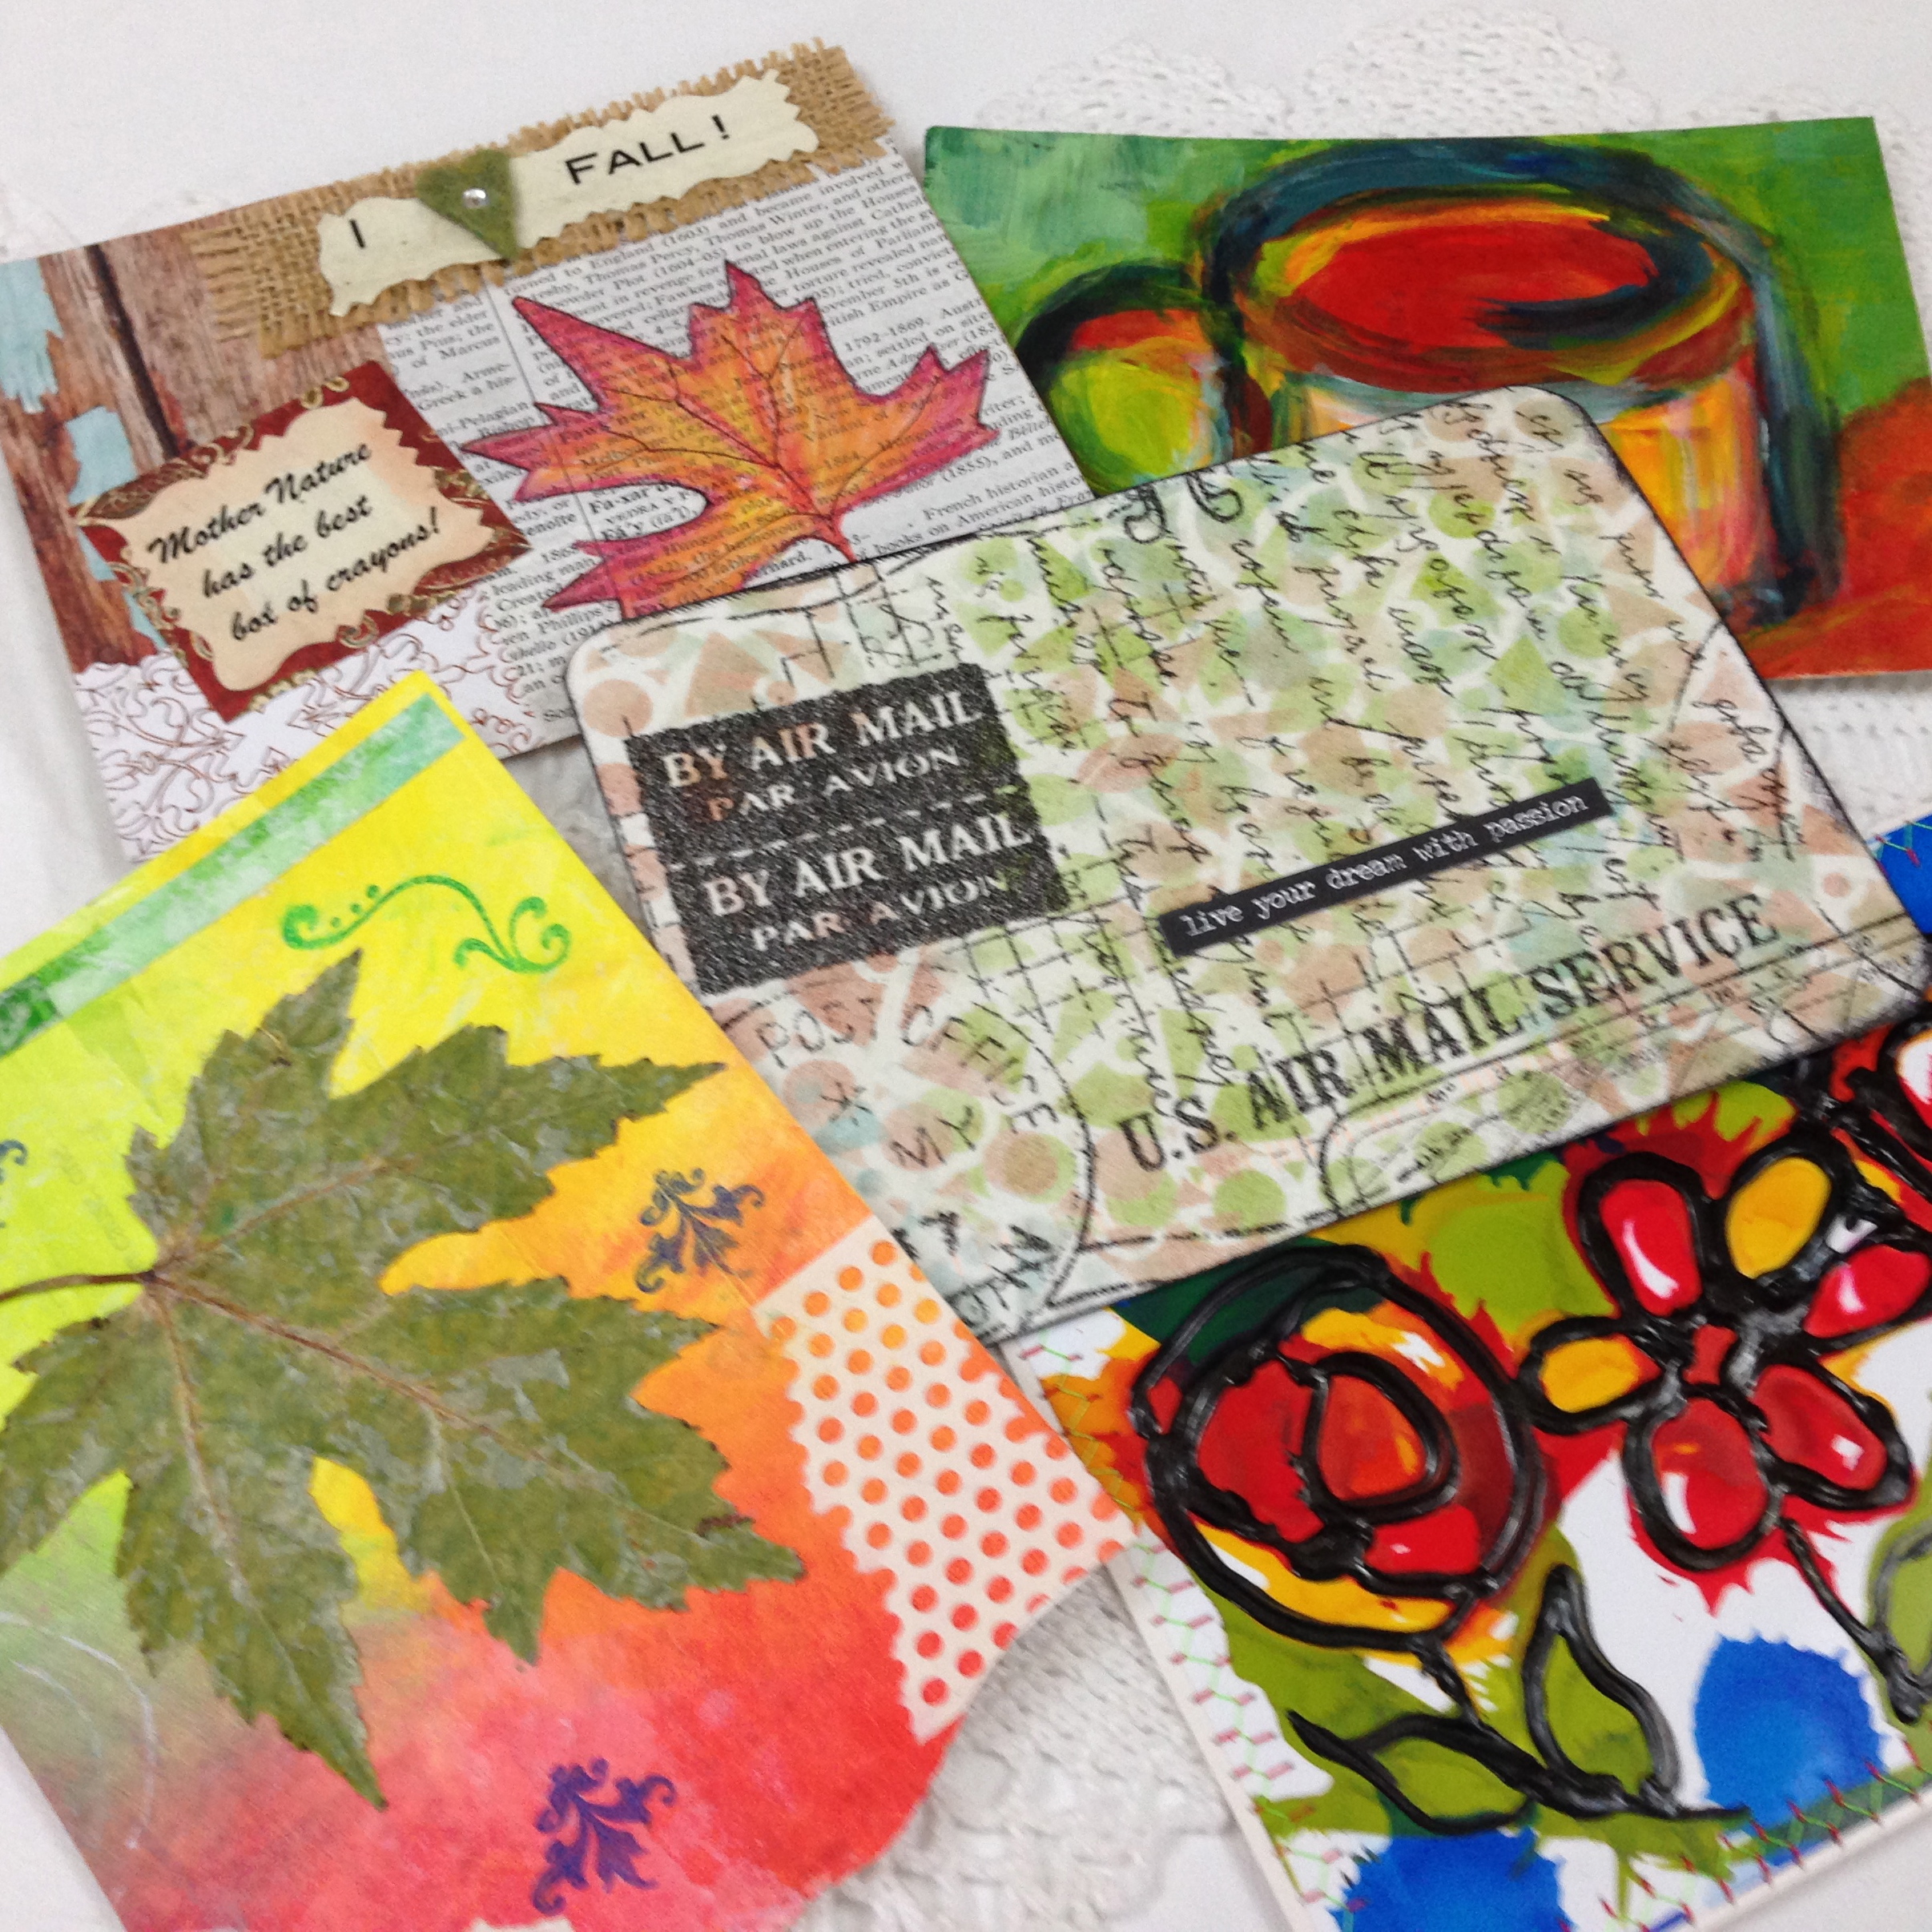
And this is what I came up with…

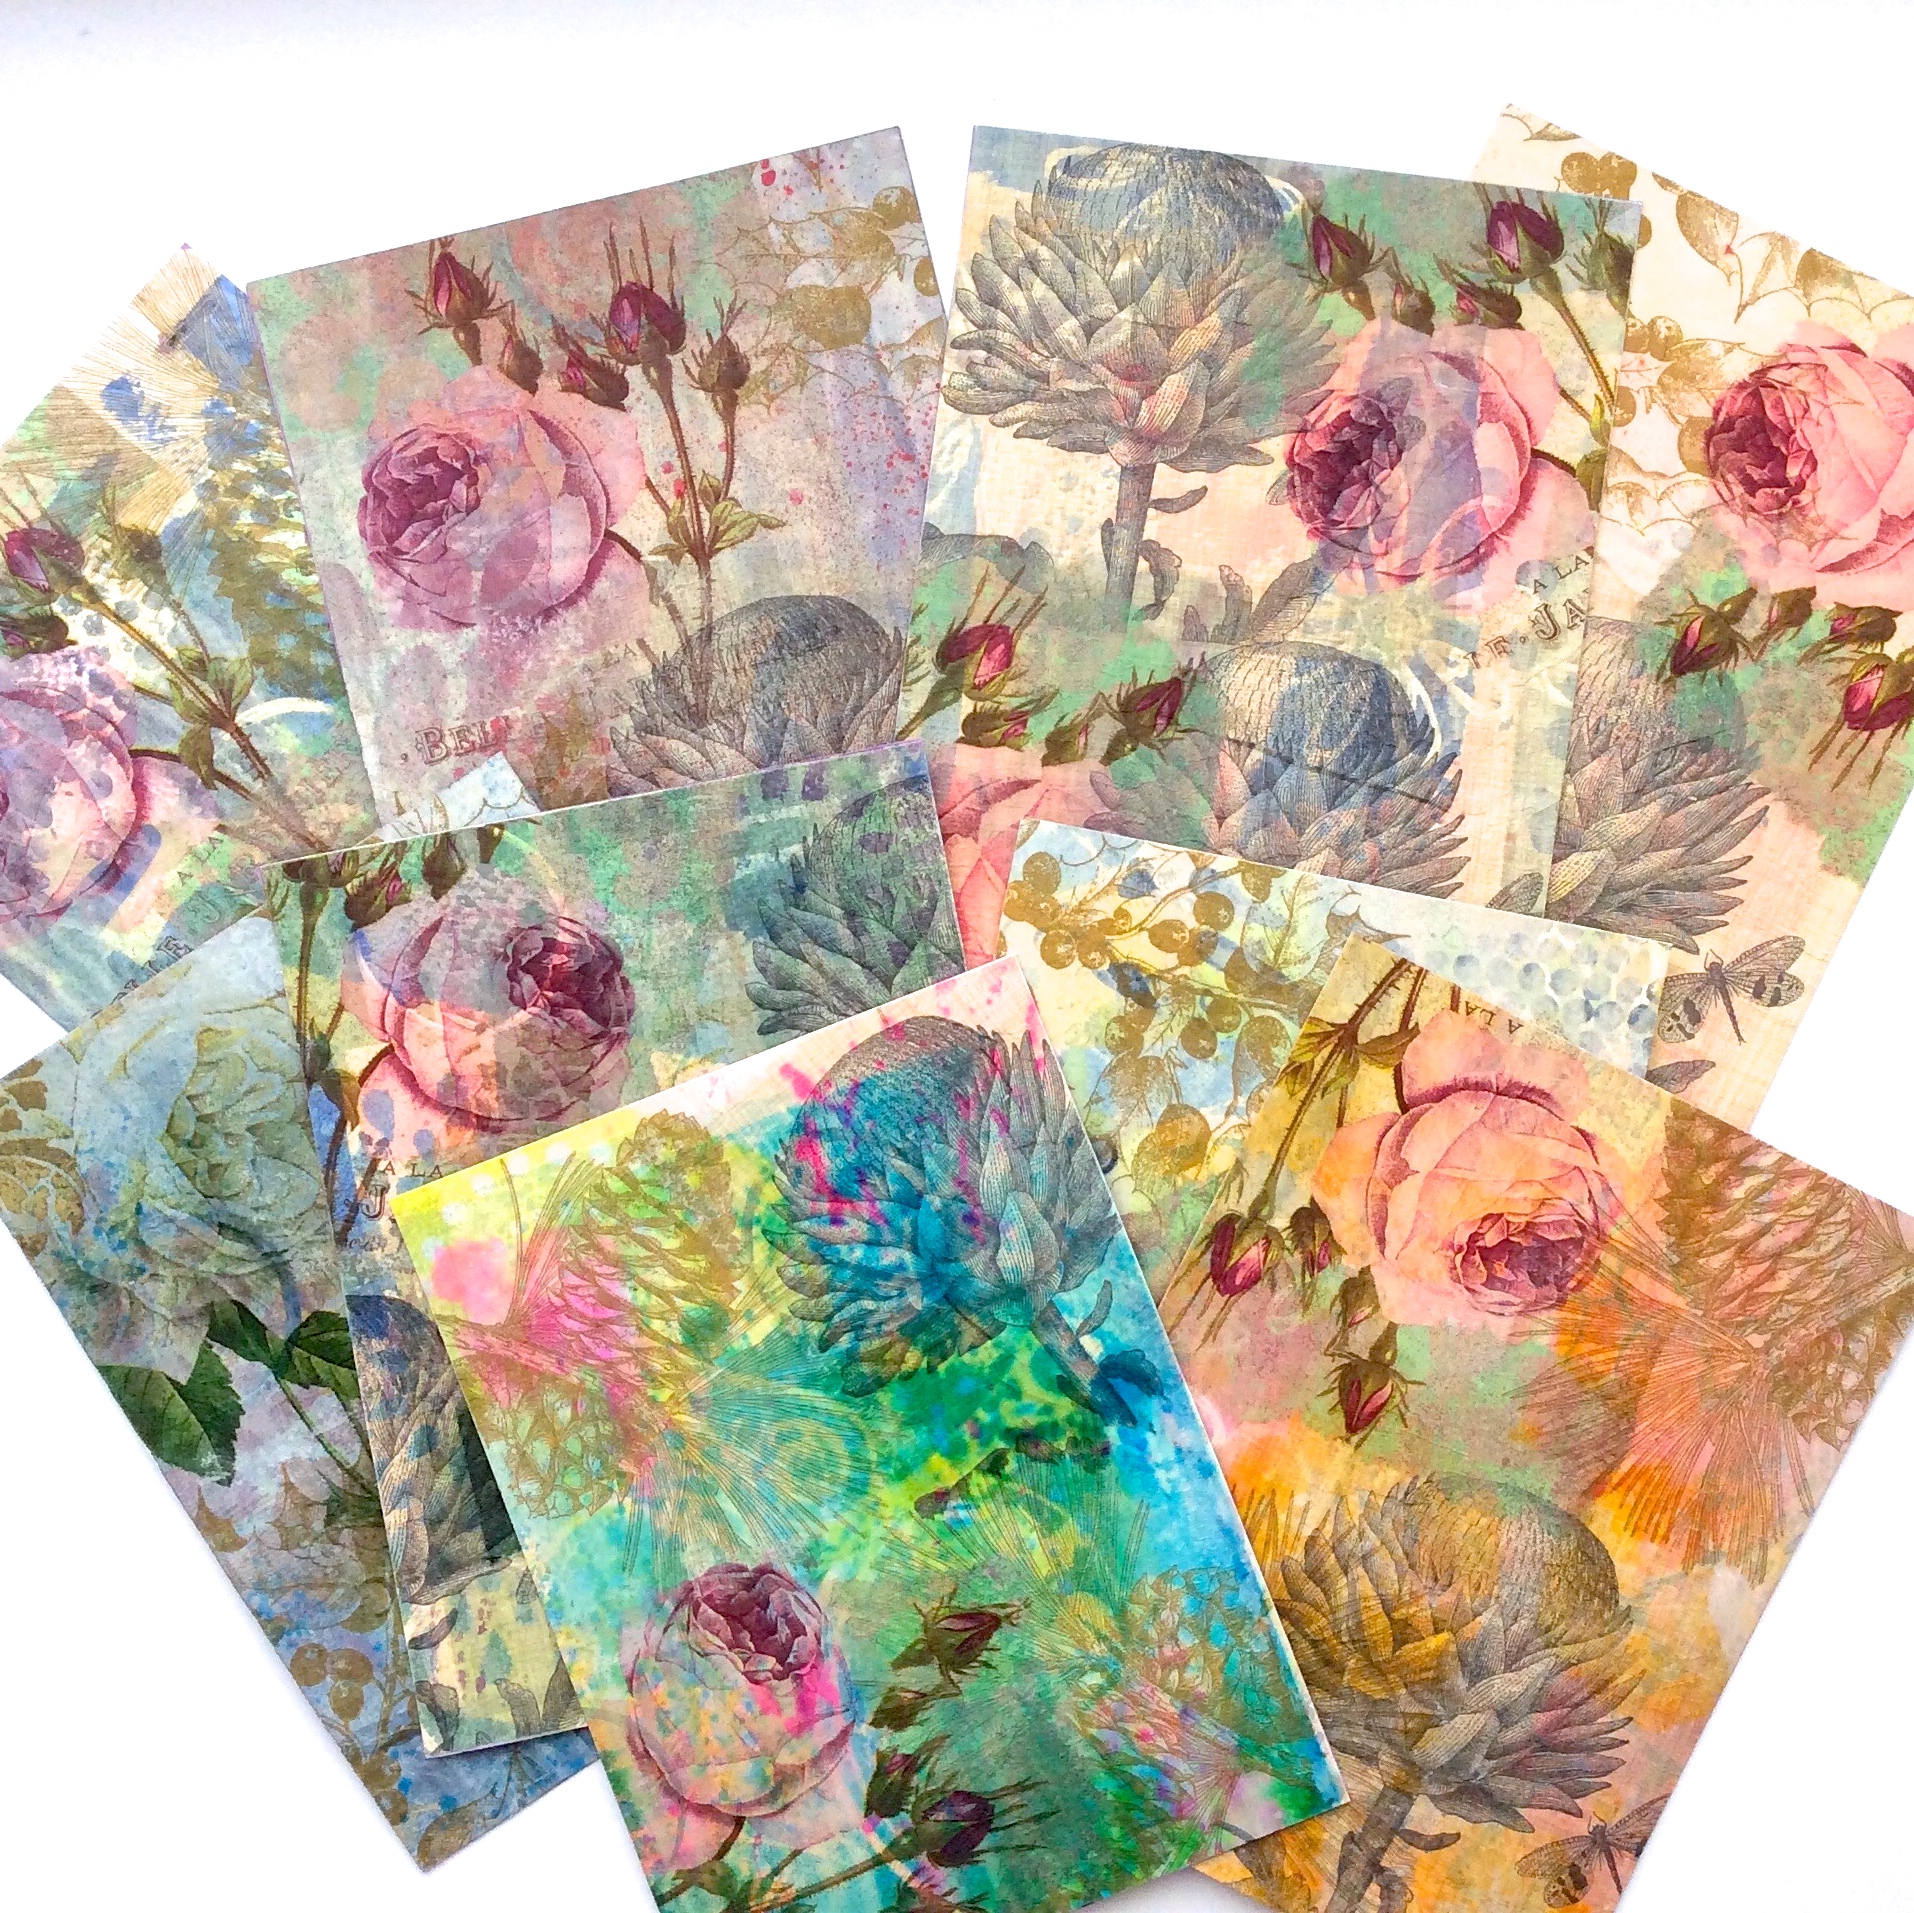
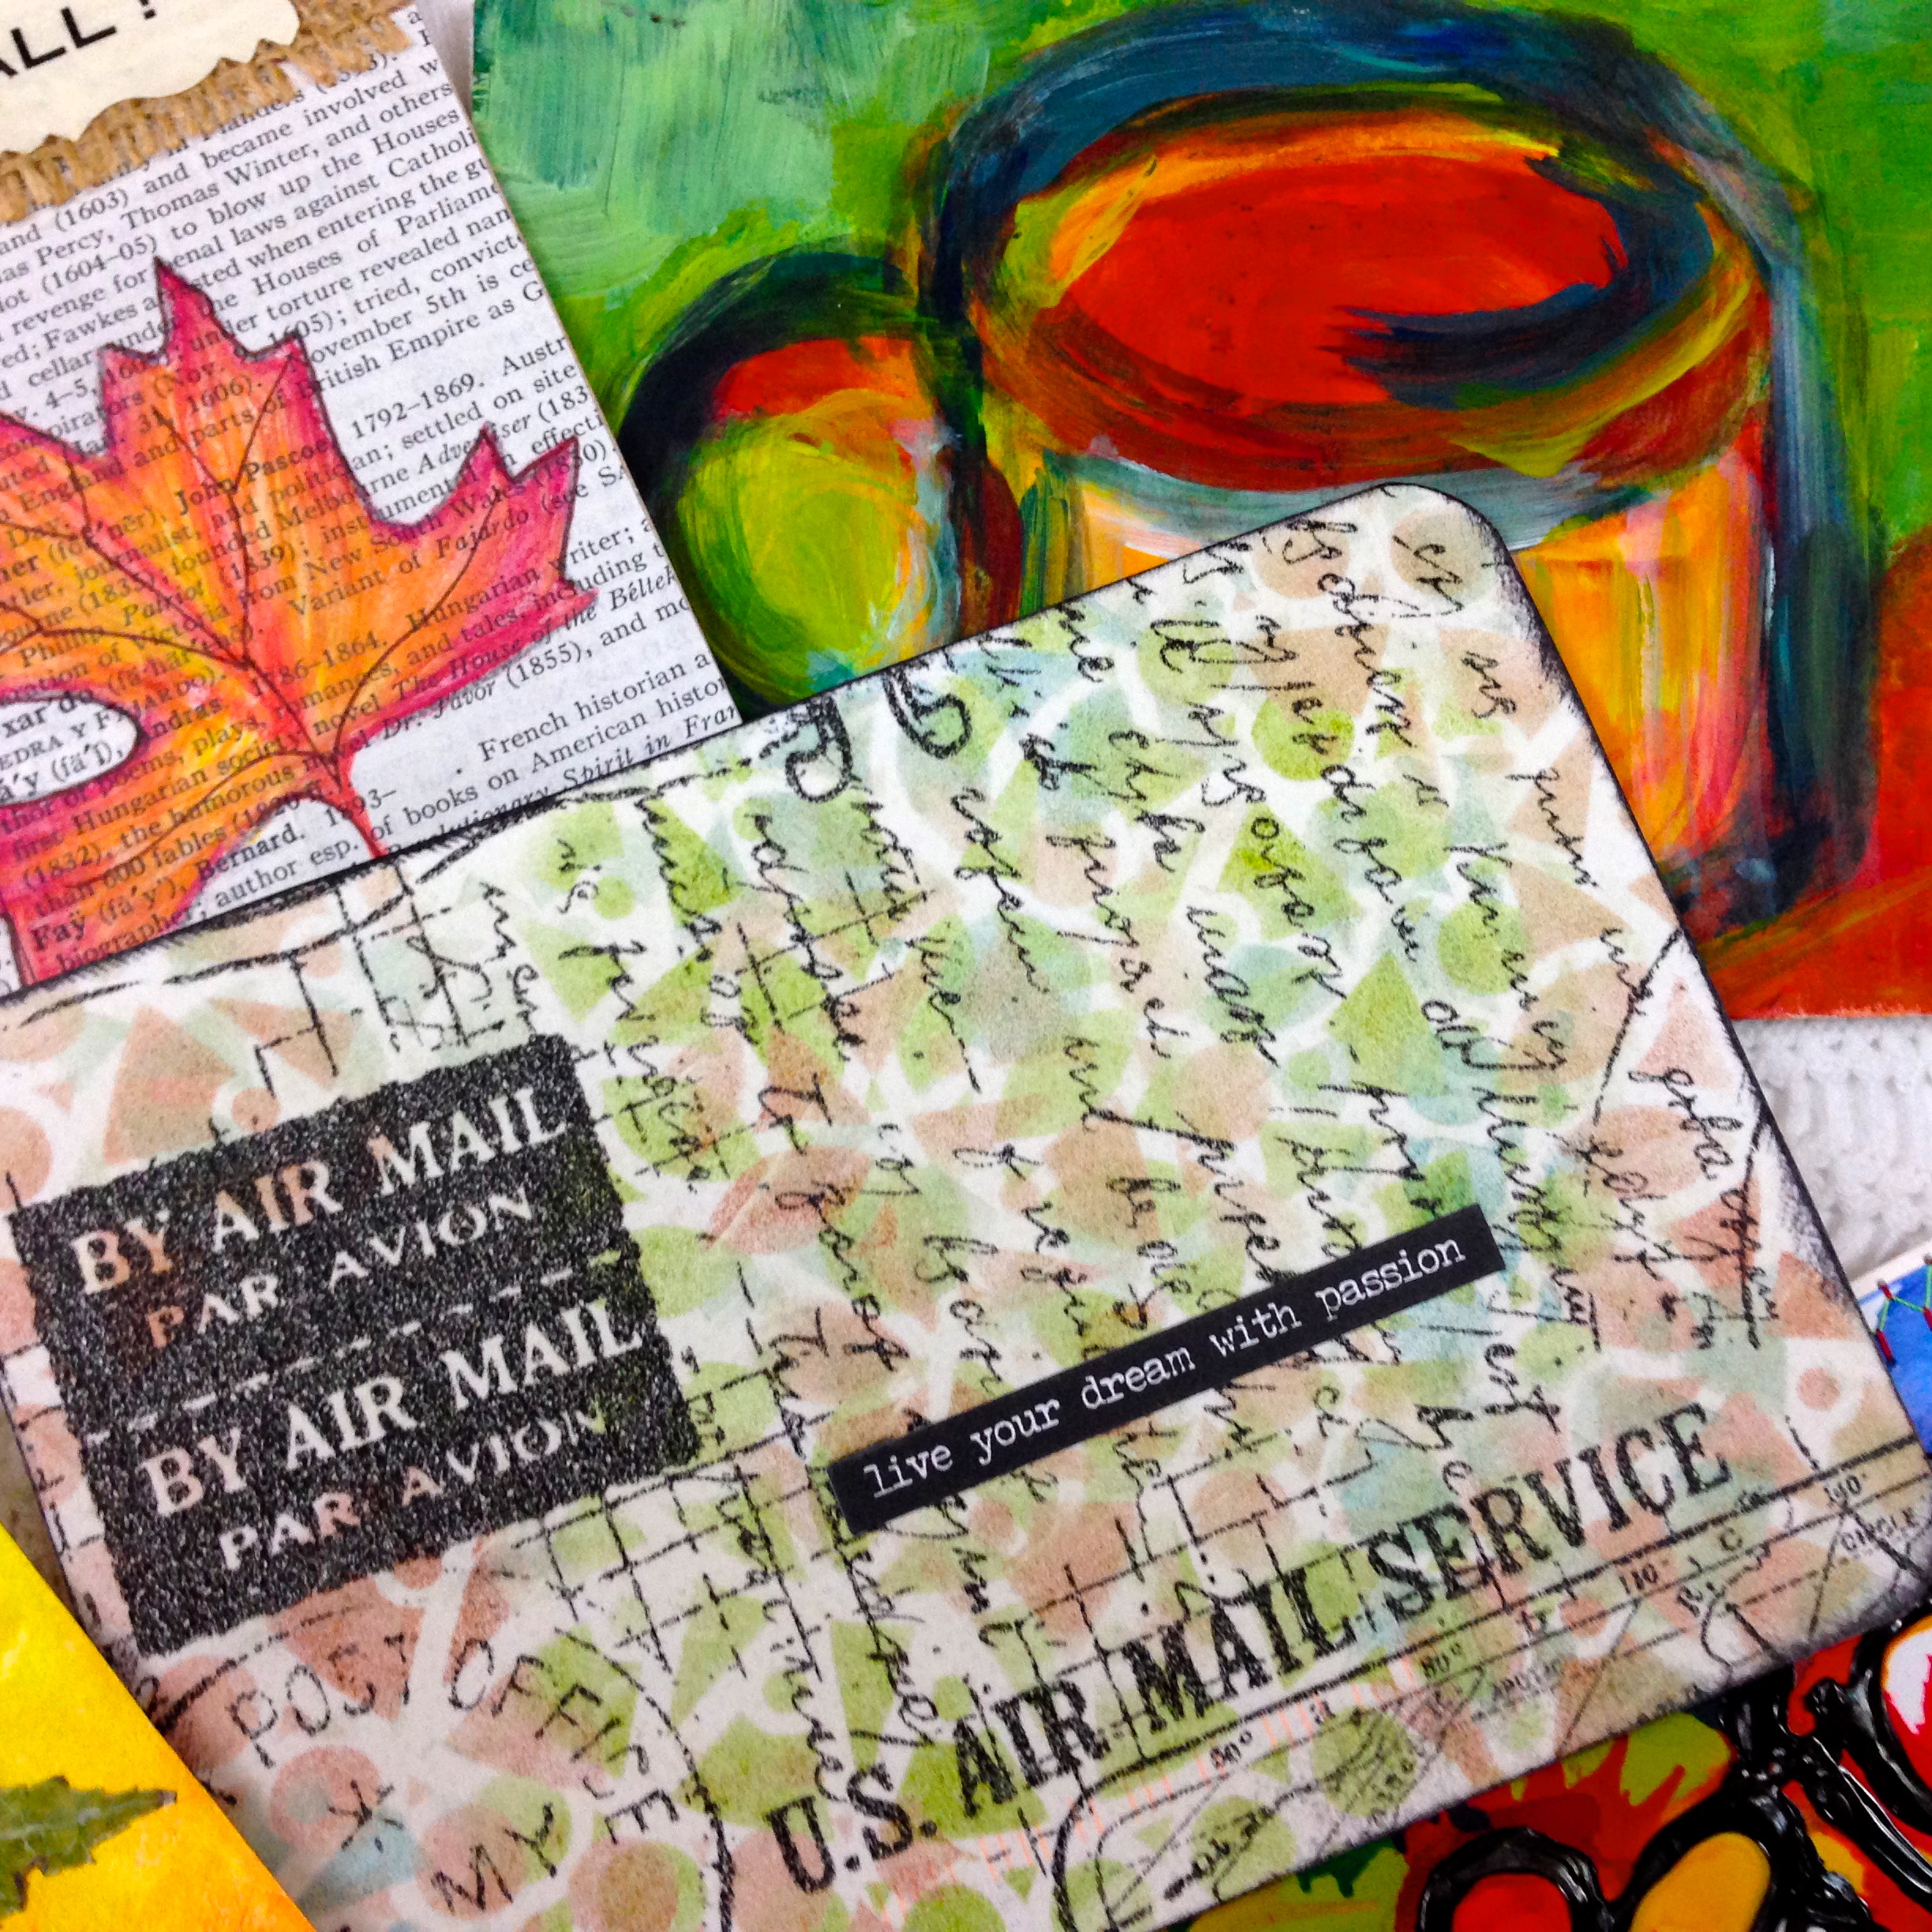
Painted dictionary pages on cardstock.
This is an experiment that I had zero plans for, until today. I had made these several weeks ago and stuck them on a shelf in hopes I would actually find a use for them…and I did. I will be making a video of how I make these soon, it’s a bit of a process. So, look for that soon if you are interested.

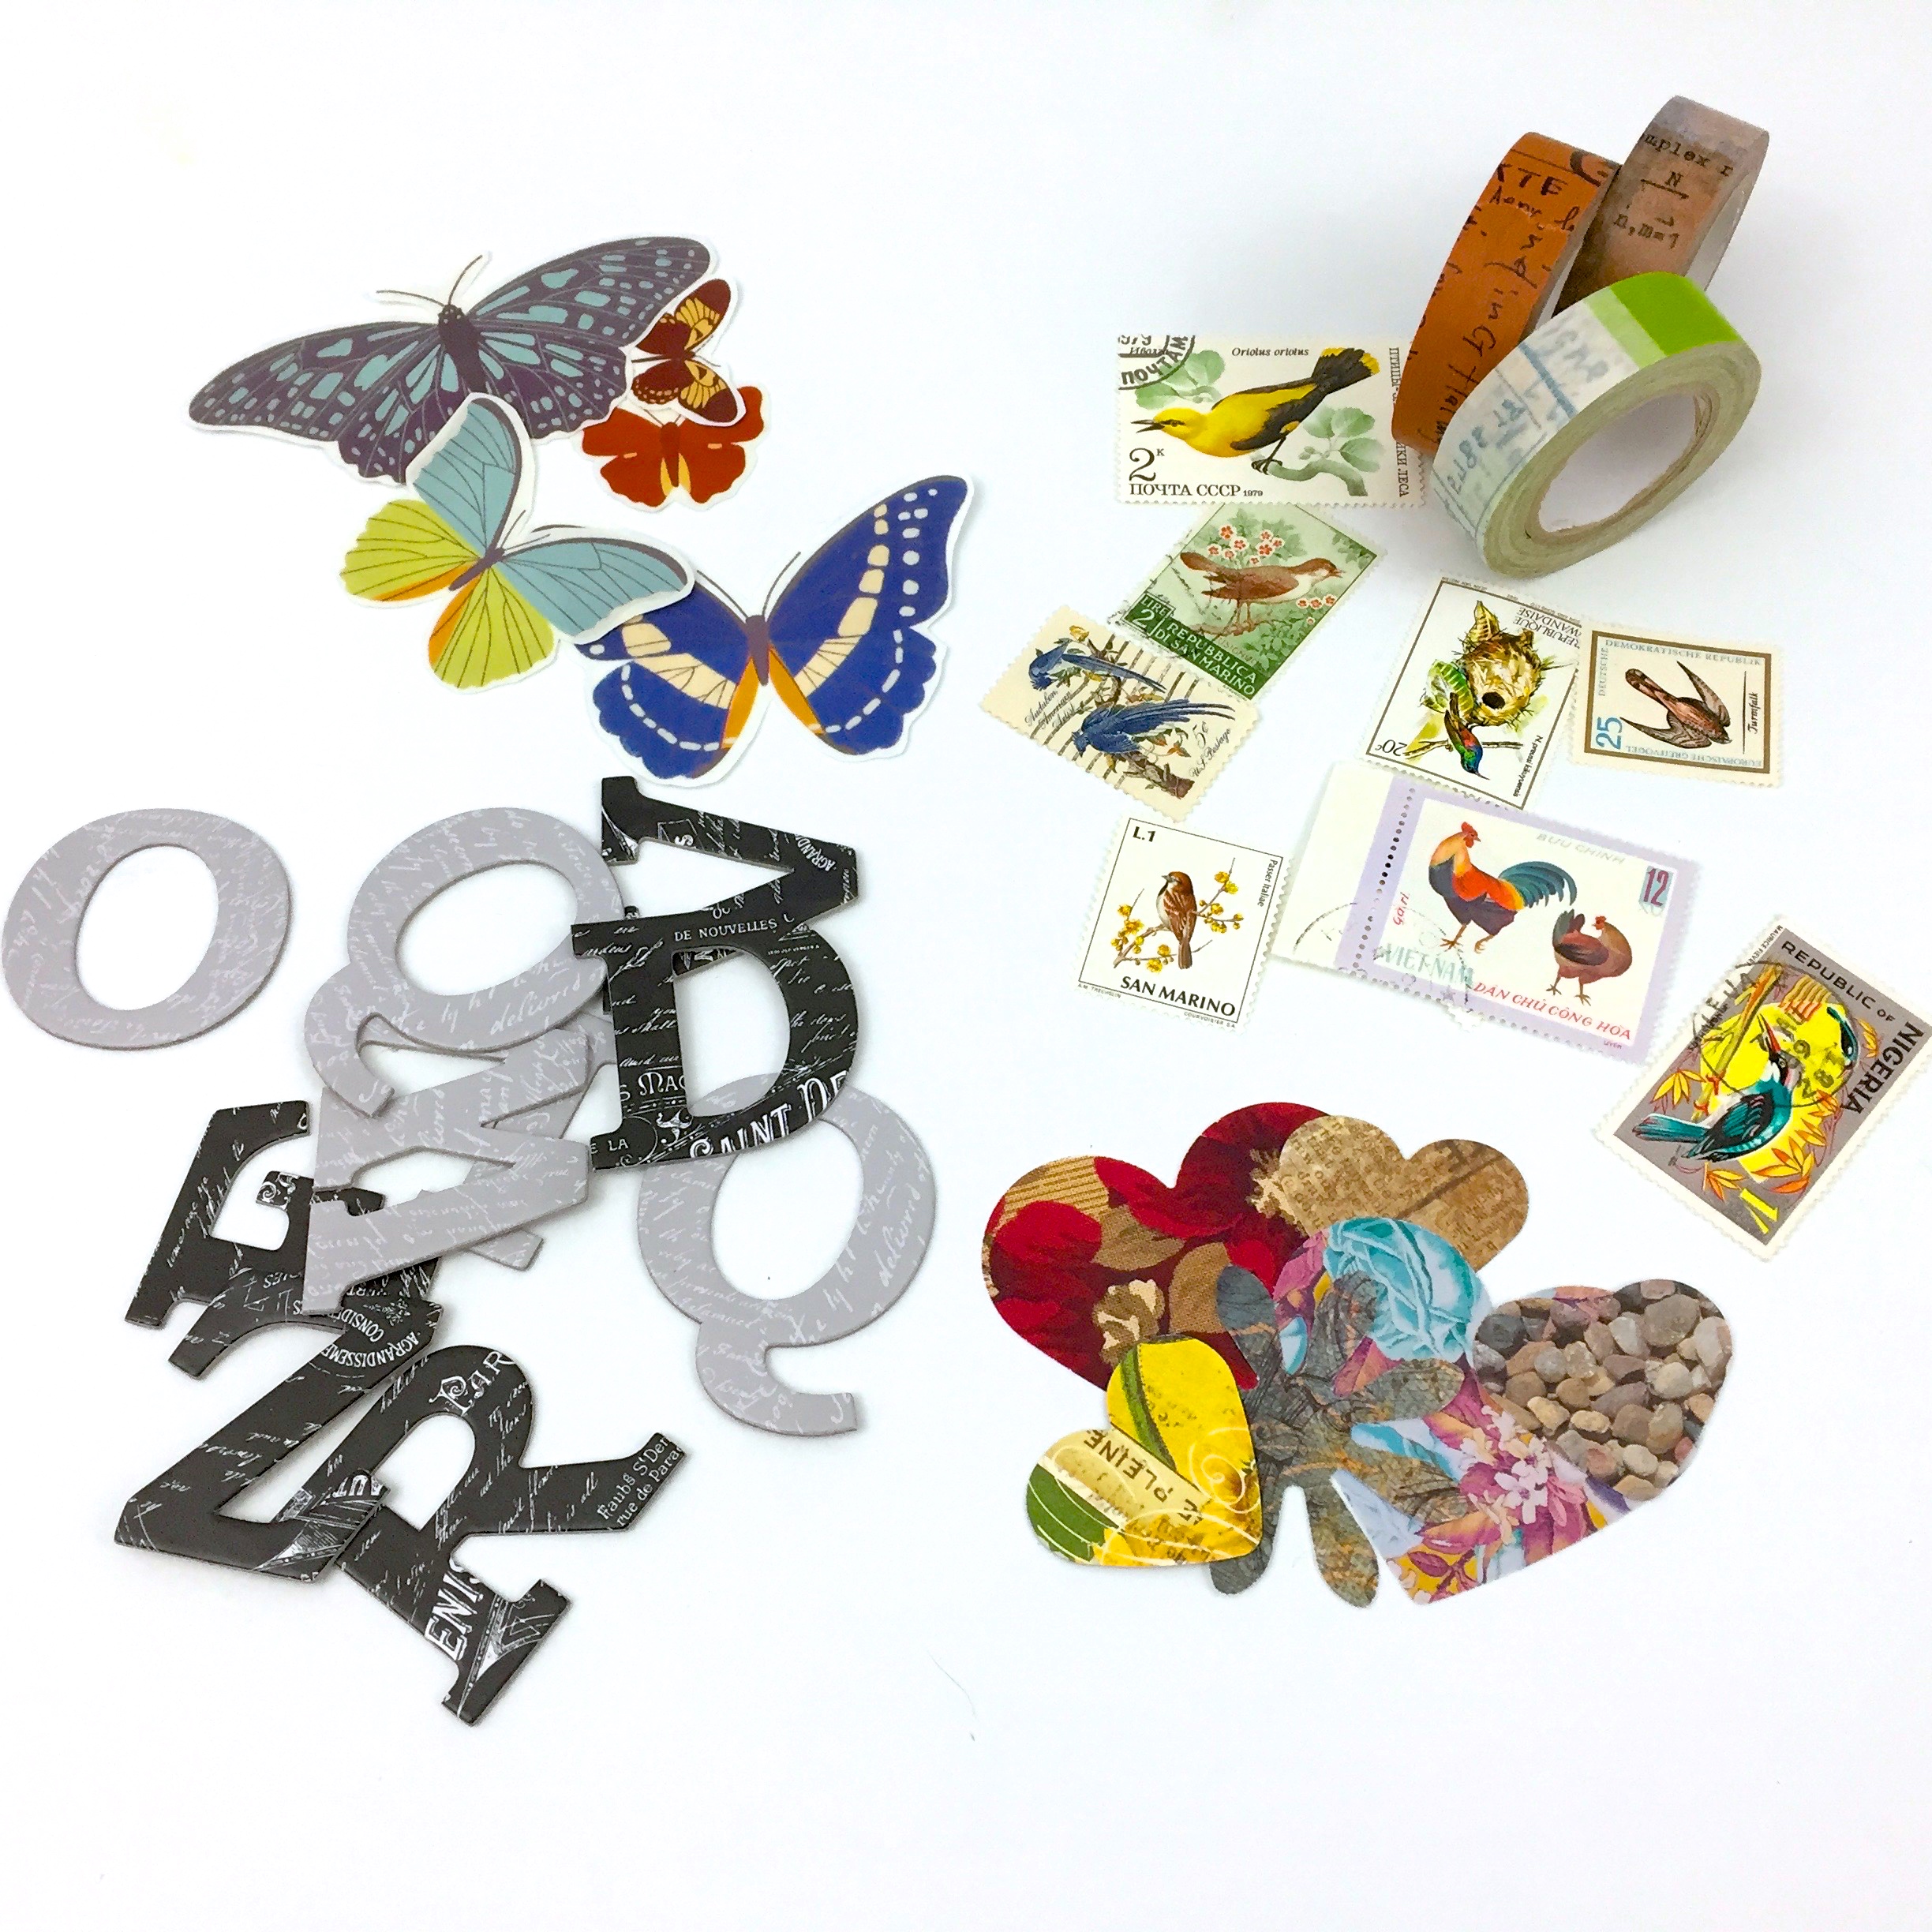
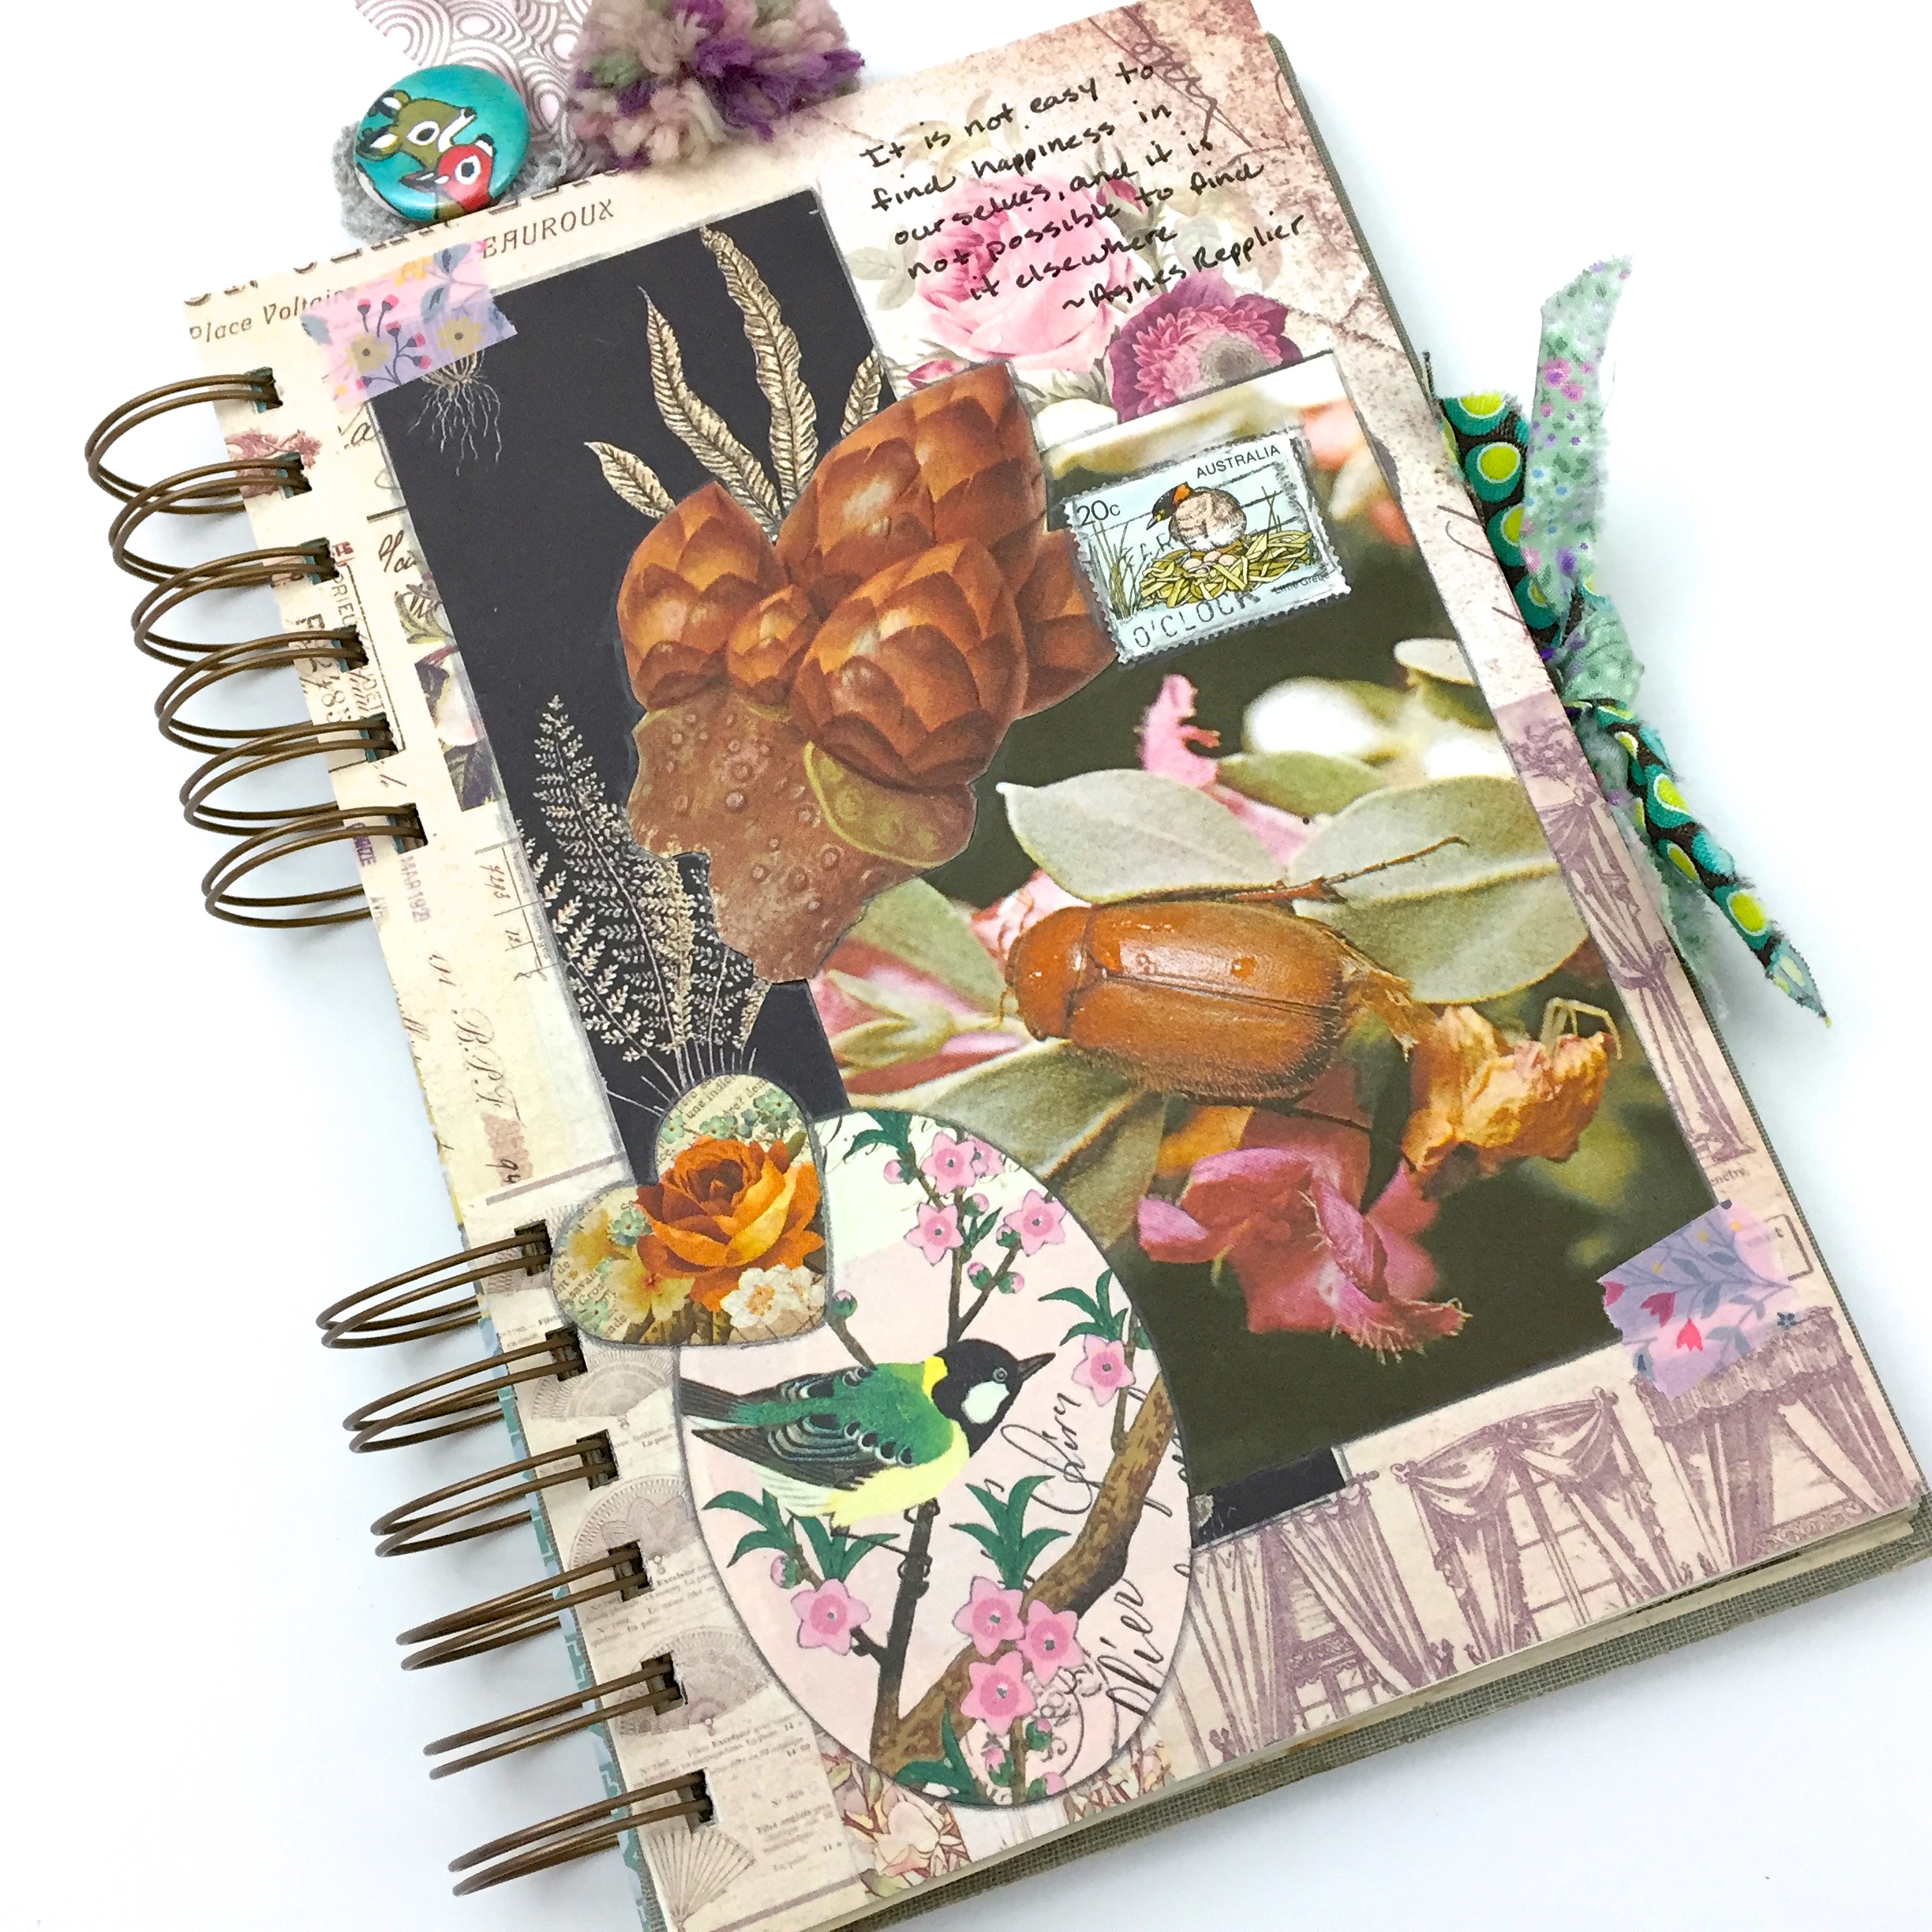
The ephemera bits.
I came across a container with loads of quote cards and such that I’ve been poking around from place to place hoping for inspiration. Nice to finally find a fun project to use them in…on, whatever. These beautiful butterflies are from one of my newest favorite Etsy shops: TheJunkJournalStudio

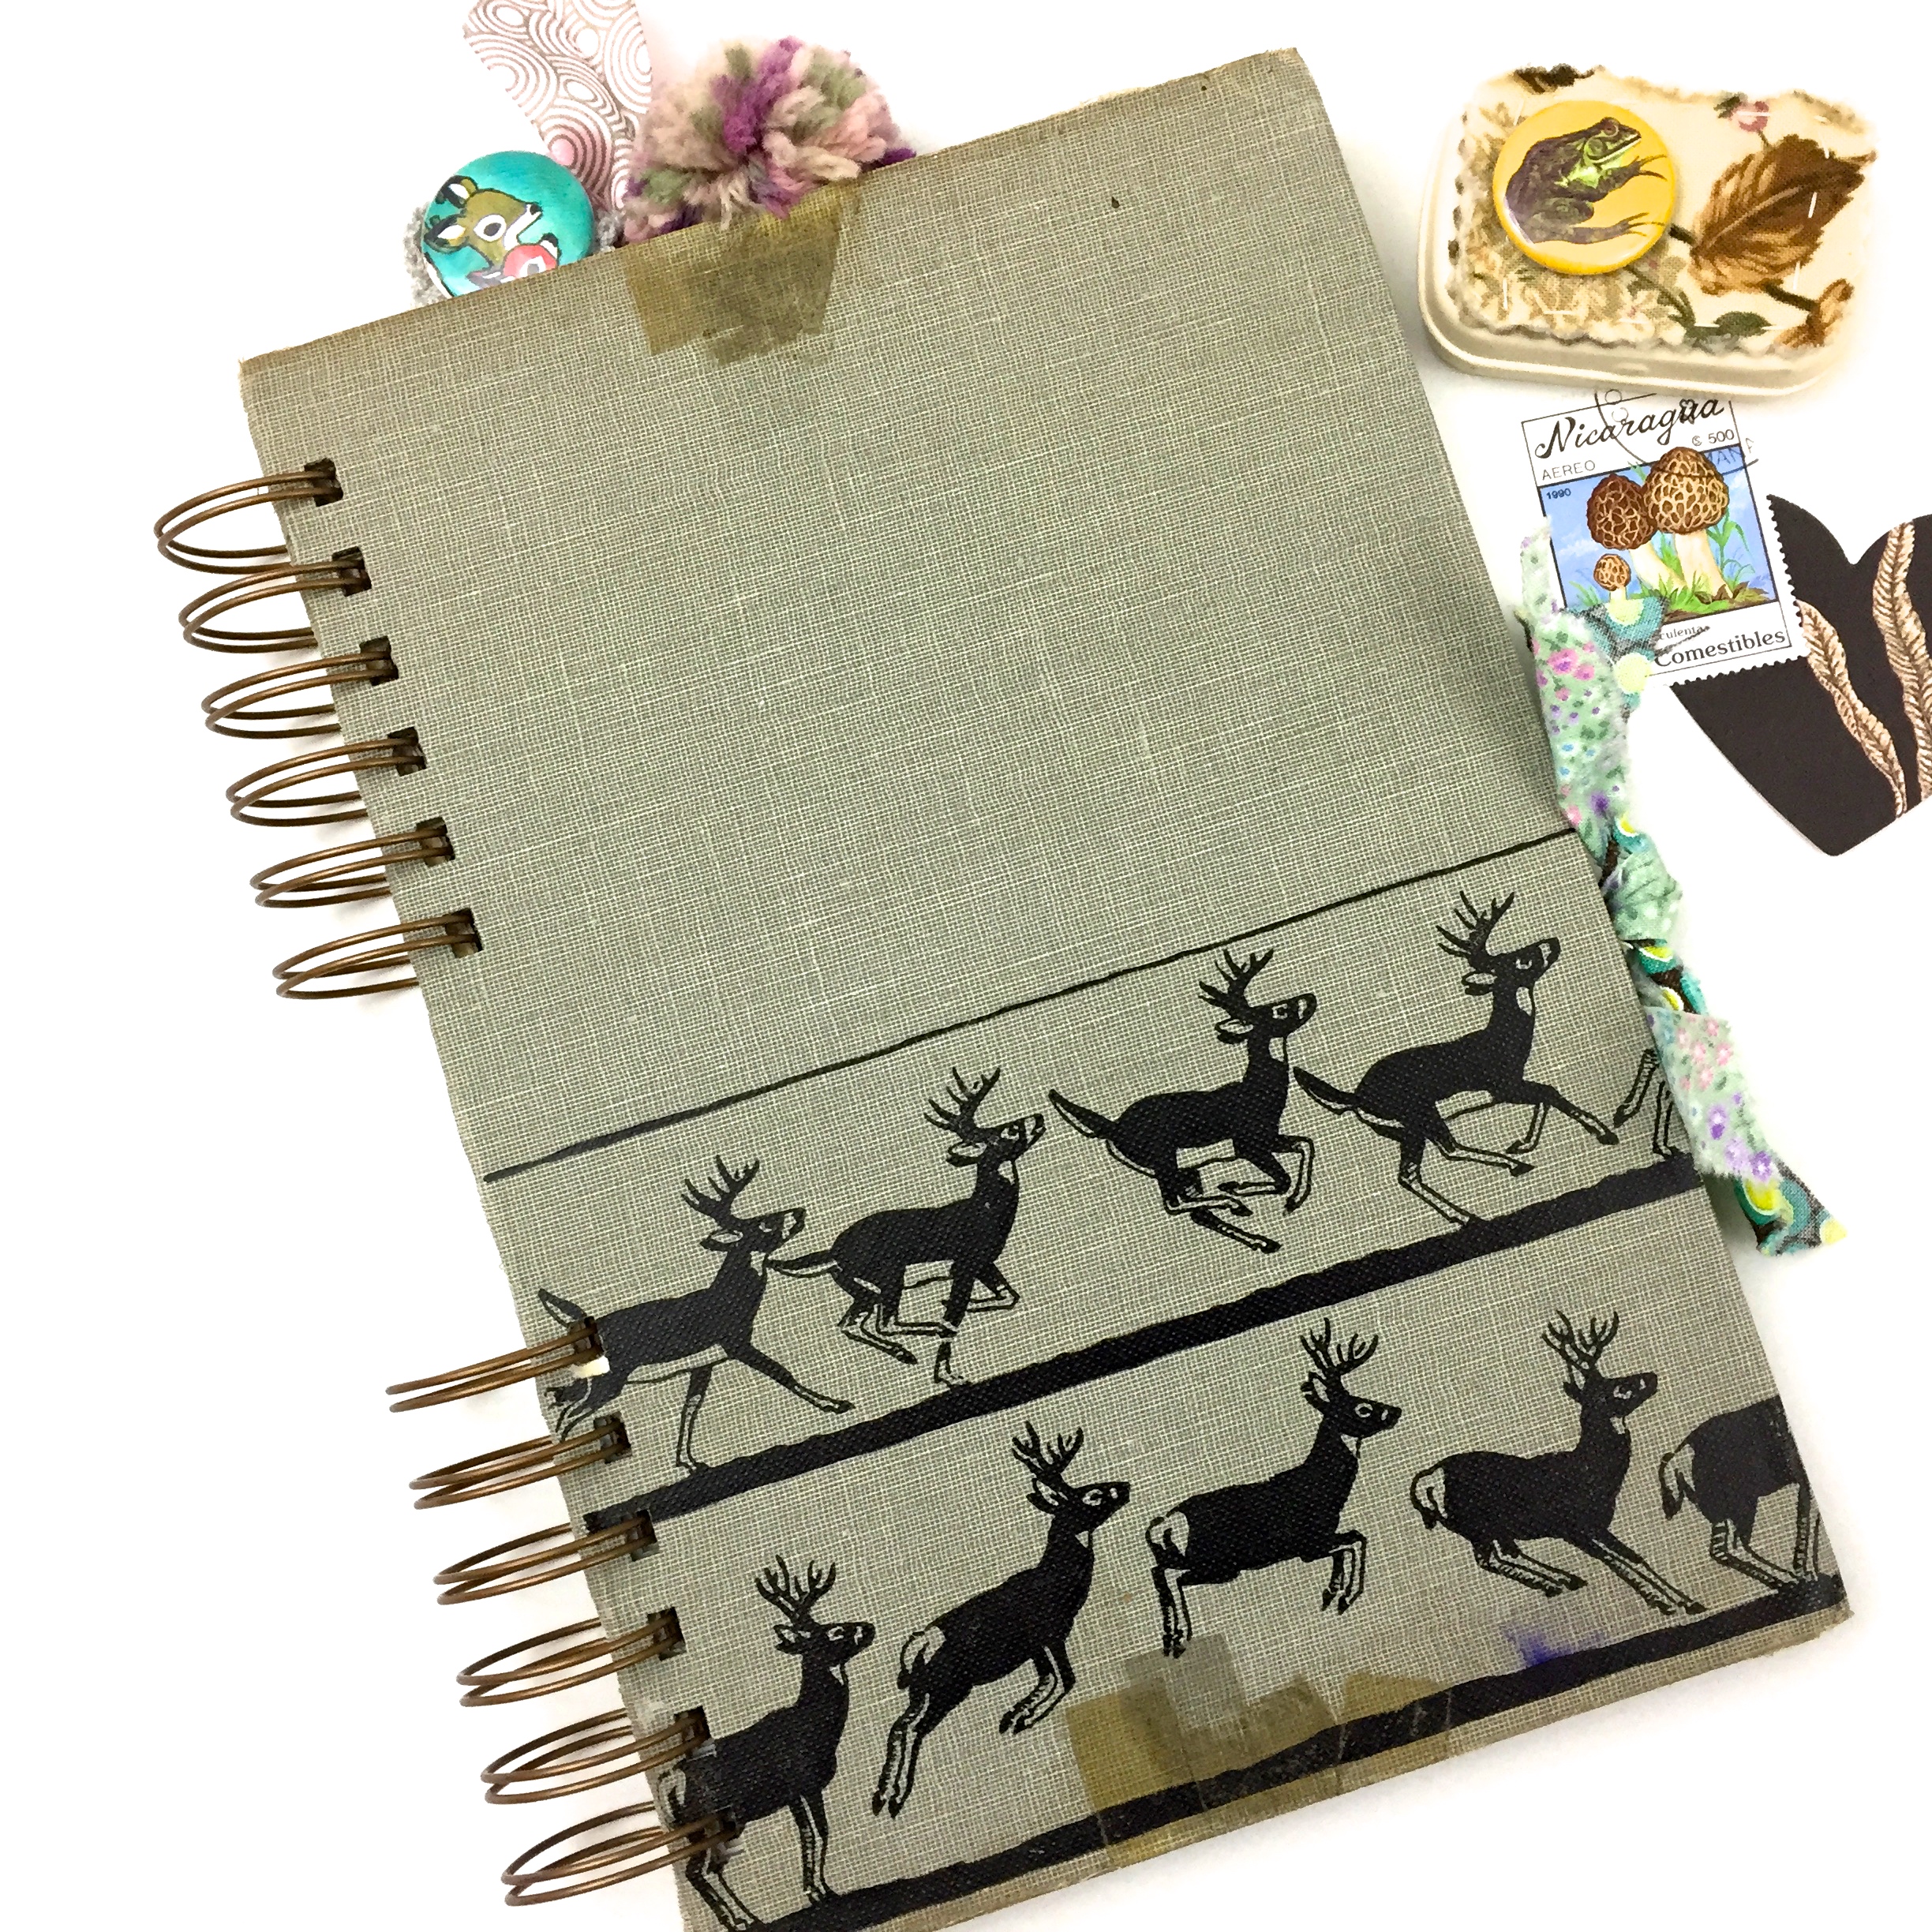
Olde paper bits.
Again, too much of a good thing. My love for variety gets me into a lot of trouble.

Handmade decorative tape.
These are from a video I made last week, so much fun! If you would like to see how I made these, here’s the link to my channel: EclecticArtJournals

The cards.
As you can see I only made four, I actually need to make 10…unless you would like one!
My plan is to make a video of my postcard making process sometime soon. I may decide to embellish these with a little paint if I get inspired. I really just wanted to get this blog post out there in time in case you were interested in joining up. The deadline to sign up is November 19th, the link to sign up is here: iHanna PCS
Did you catch that little hint up there about sending you a postcard? I think it would be so much fun to make more of these for my friends here, (international mail is more than welcome too). All you have to do is send me an email with your name and address, the button is at the top right of this page.
Sending a card to me is completely optional, I’ll put my address on all the cards I send out.
Until next time,
Thanks so much for stopping in,
Talk to you soon,
~Patty