It’s been a long time since I’ve worked on a Happy Mail binder, but I recently made one for a friend, and was inspired to make another one for myself. This one is a lot different than any of my old ones. I decided to join the binders up with the art journals, and I’m definitely having more fun decorating them up…and making videos in the process!
I’ll be the first one to admit that it’s not like me to make a video and not talk about it on here, let alone four! At the bottom of each of these photos is a little blurb and a link to the corresponding video…

Video #1: “Happy Mail Binder Series: Episode 1“
In this video I do a flip through of some of my Happy Mail binders and talk about how I use them. Then I share what’s inside my “happy mail box” and create a pocket page for postcards.
(4×6 plastic pockets Amazon )

Video #2: “Happy Mail Junk Journal: Pocket Pages”
In this video I create more pocket pages for my Happy Mail Junk Journal (I changed my mind about what to call it as I went along, I like “Happy Mail Junk Journal” much better). These are some of the pages I took out of my old Happy Mail journals that I changed my mind about.
I’m taking my downsizing seriously!

Video #3: “Happy Mail Junk Journal: Decorating My Pages“
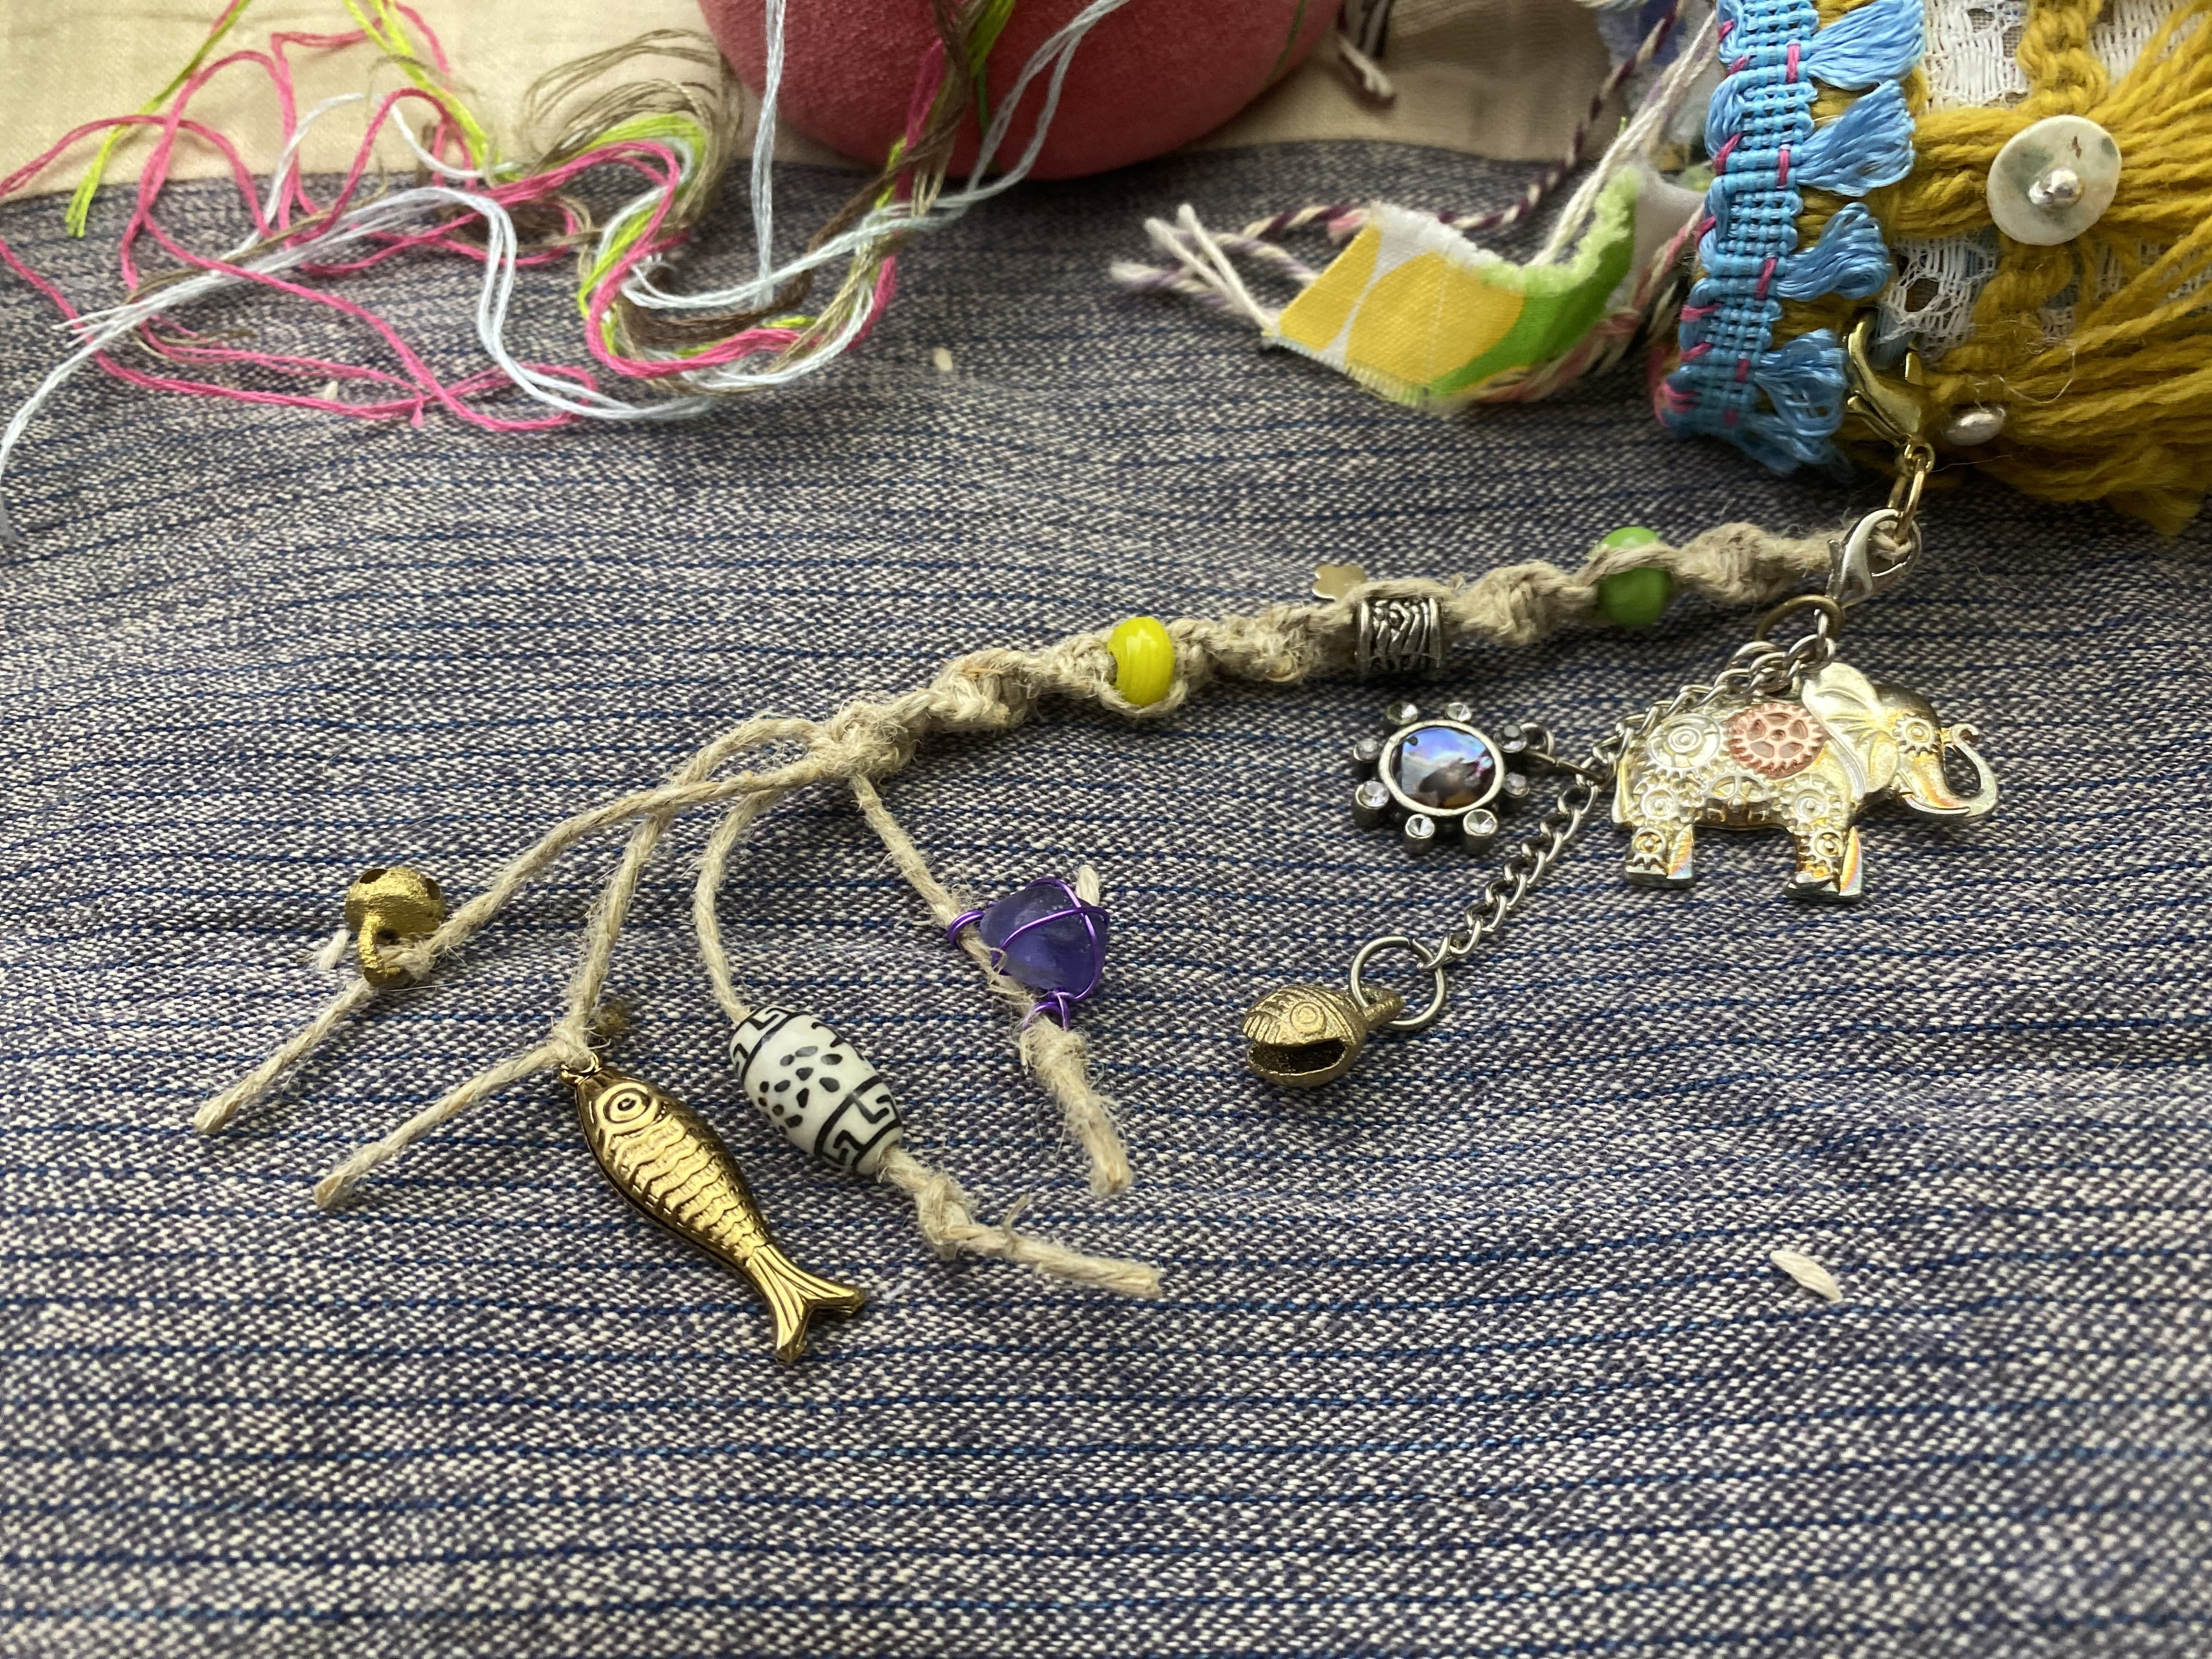
In this video I create some junk journal pages with collage clusters and happy mail ephemera, five super quick pages.

Video #4: Happy Mail Junk Journal: Decorating Pages Part 4
In this video I create 3 junk journal pages with happy mail ephemera.
In the midst of making this video series I received an awesome package of Happy Mail ephemera from one of my friends from here on my blog! Oh my gosh have I been having fun with all of it!
Thank you Nancy!
iHanna is hosting another postcard swap!…and here’s the link if you want to join. It just started so the due date to have your postcards ready is May 12th. If you decide to join, please let me know in the comments so we can make an extra one for each other and swap.
Thank you so much for visiting,
Have a great day,
~Patty