Holiday Journal: Journaling Pages

The last installment of the Holiday Journals series, Yay!

I don’t know about you, but I’m ready to move on.
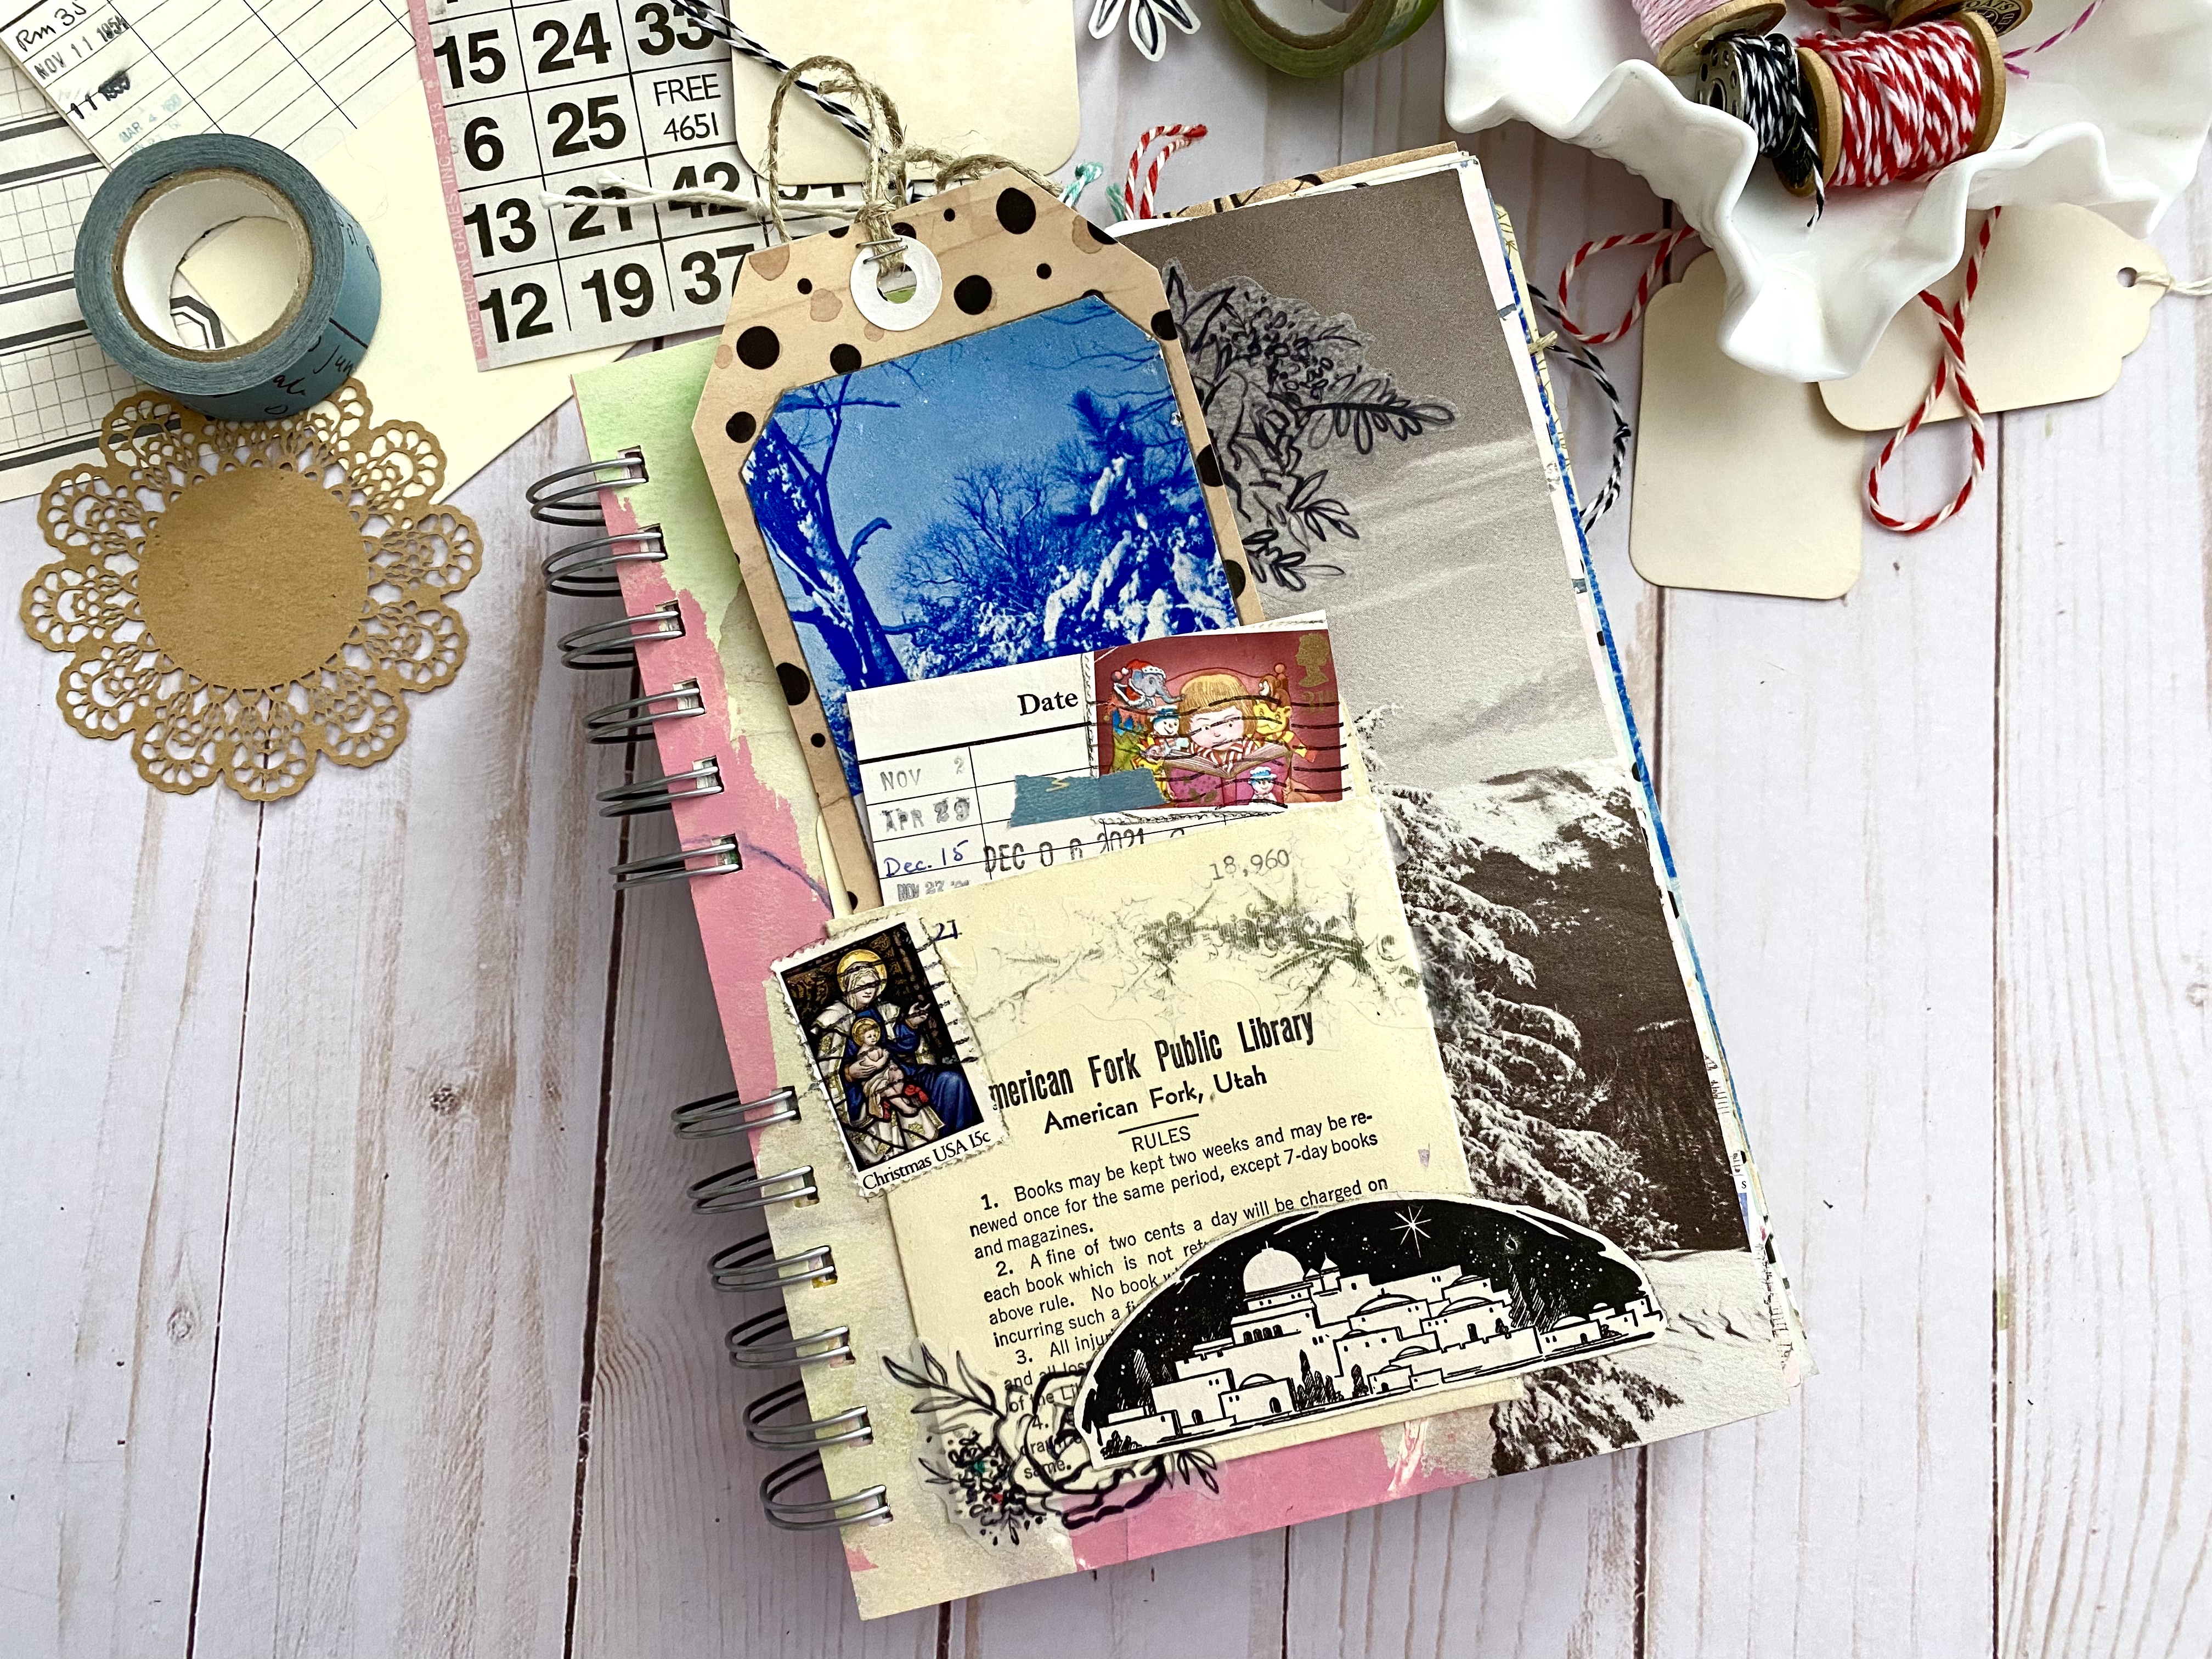
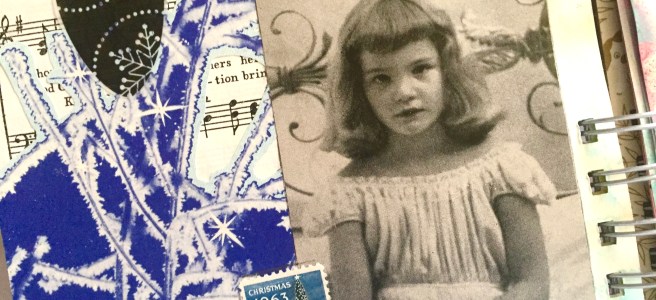
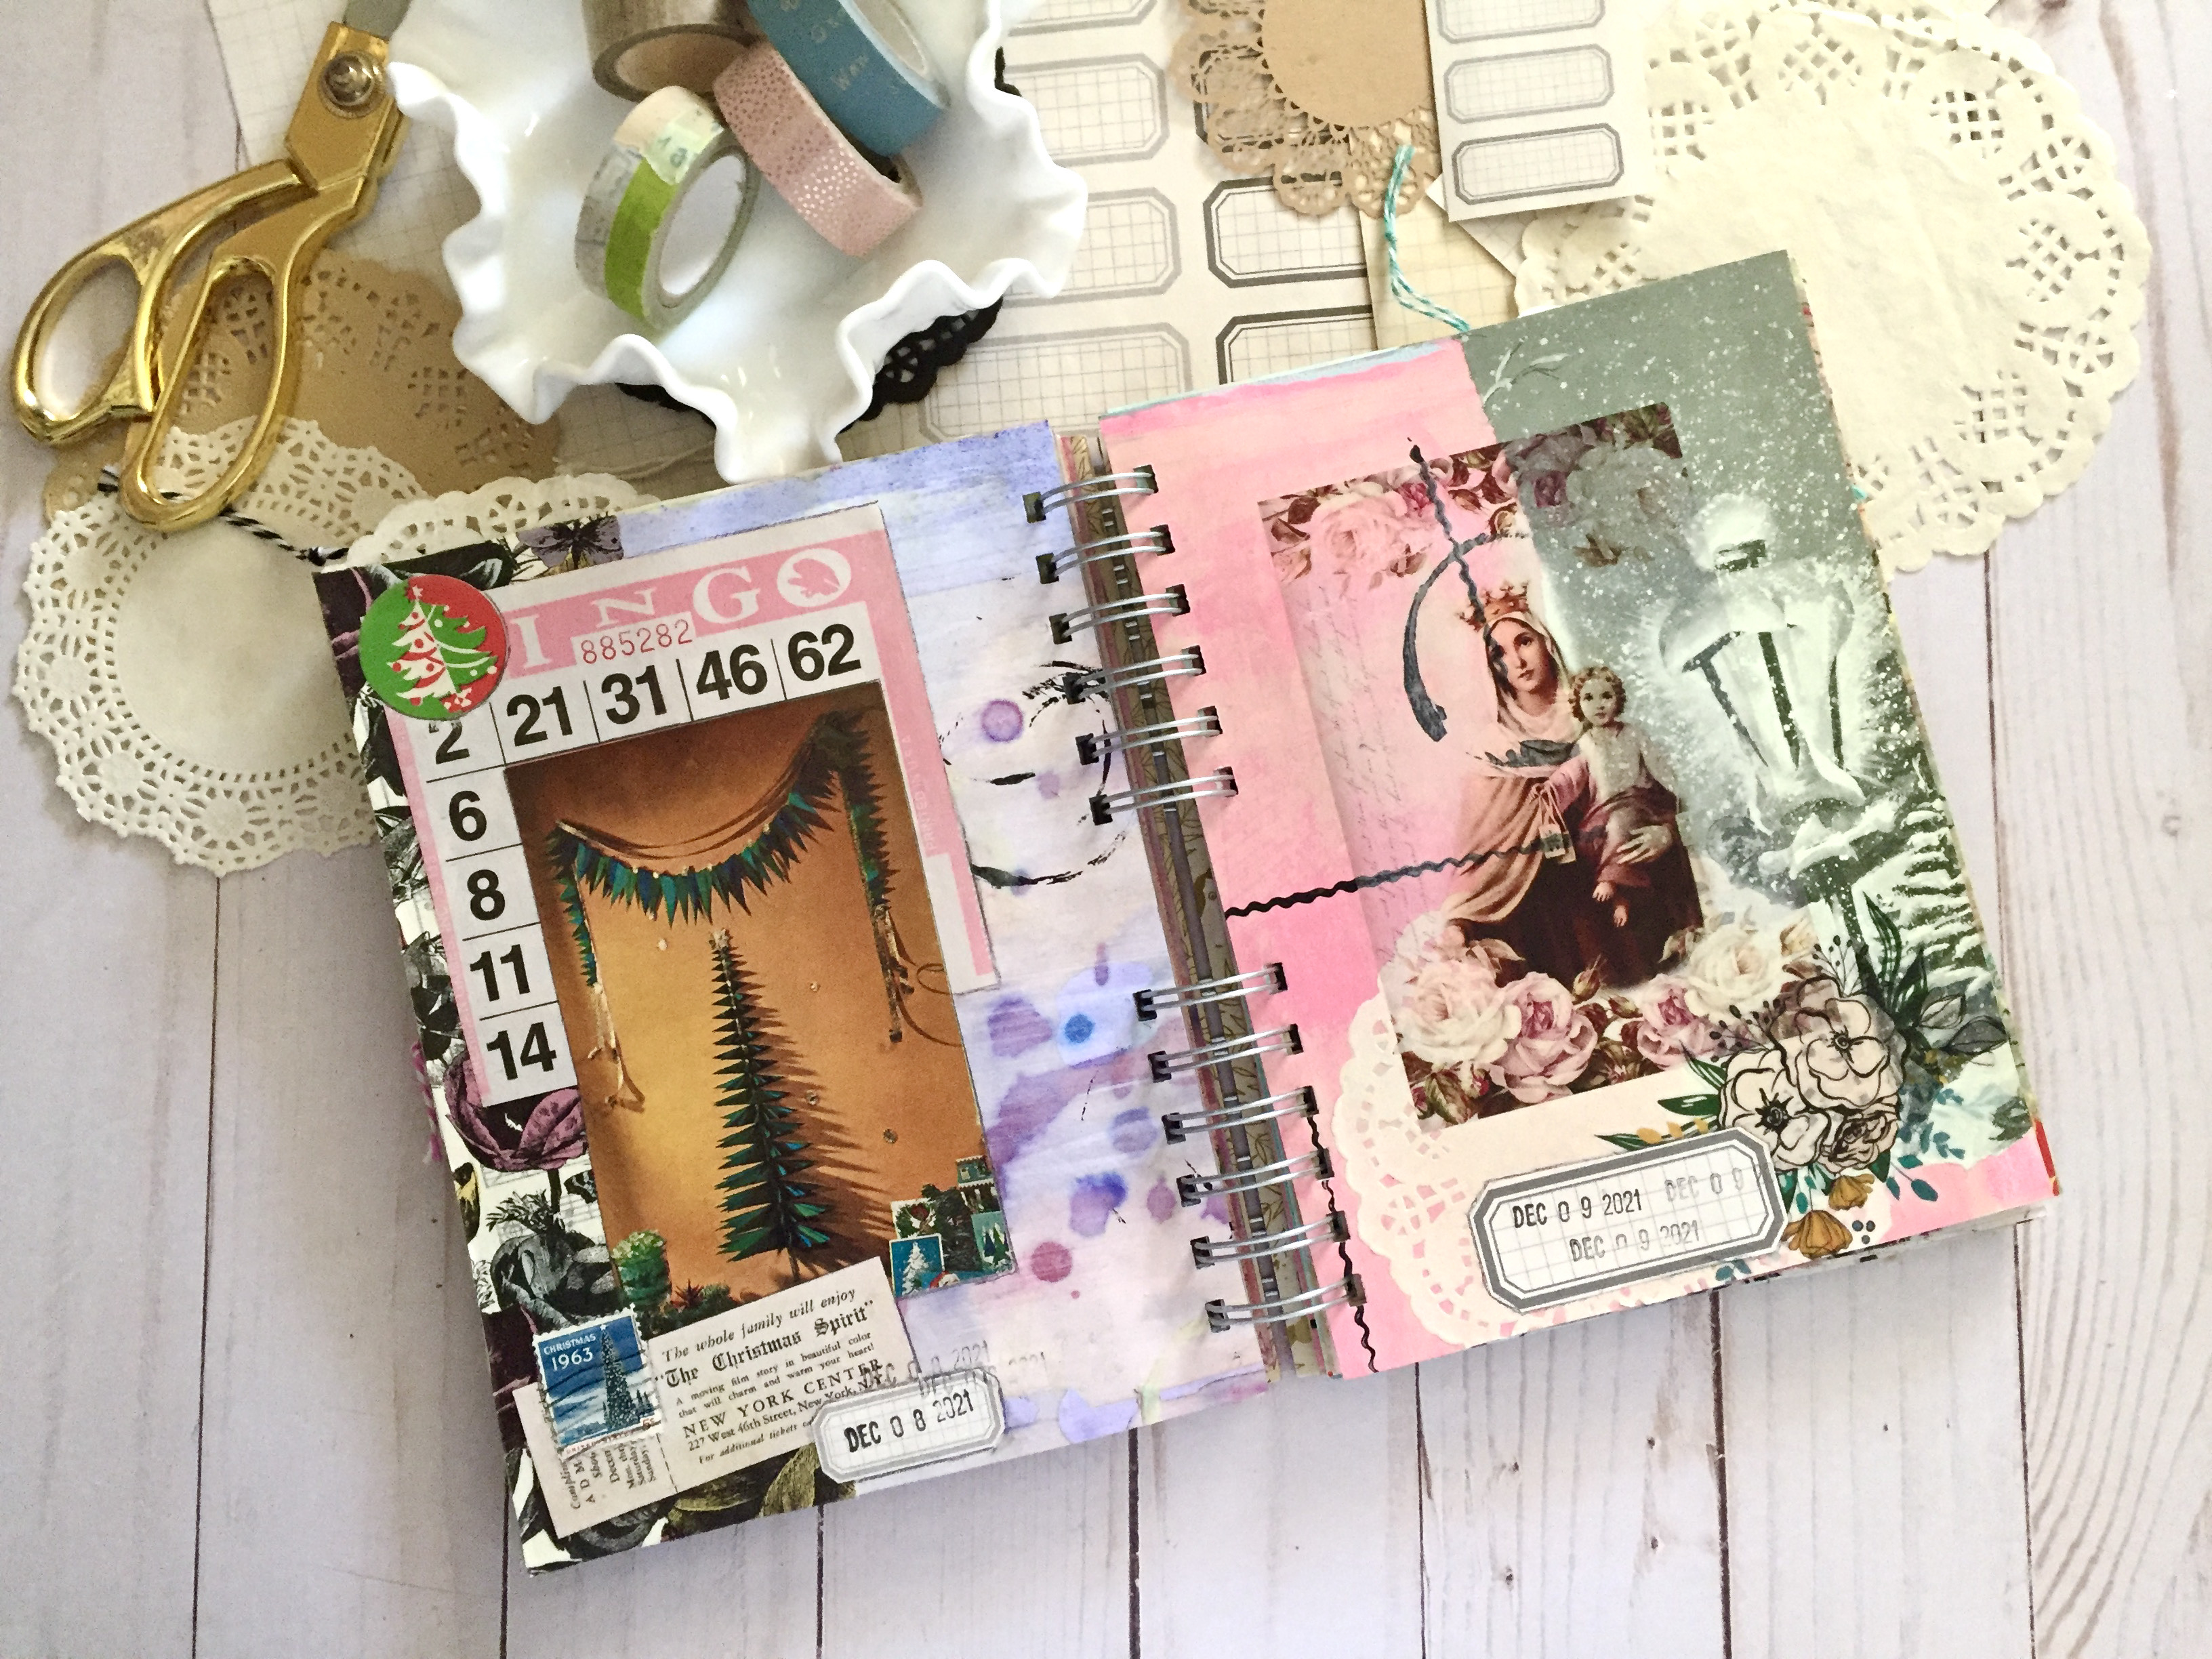
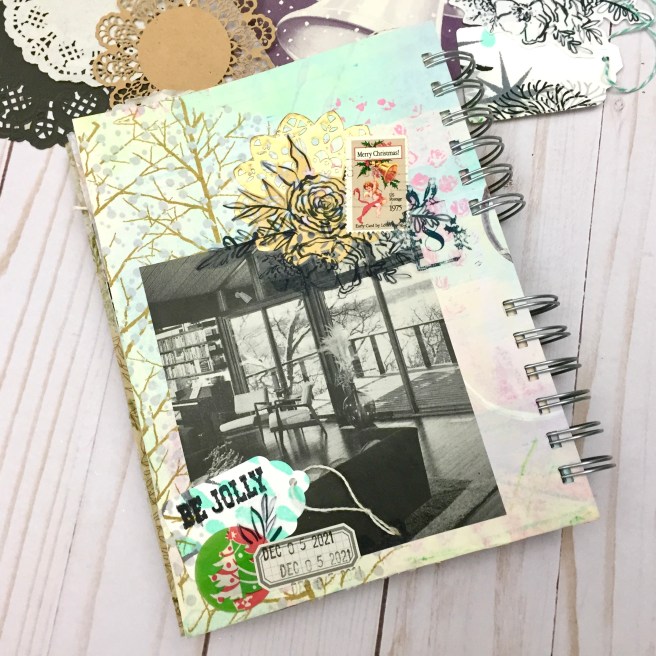
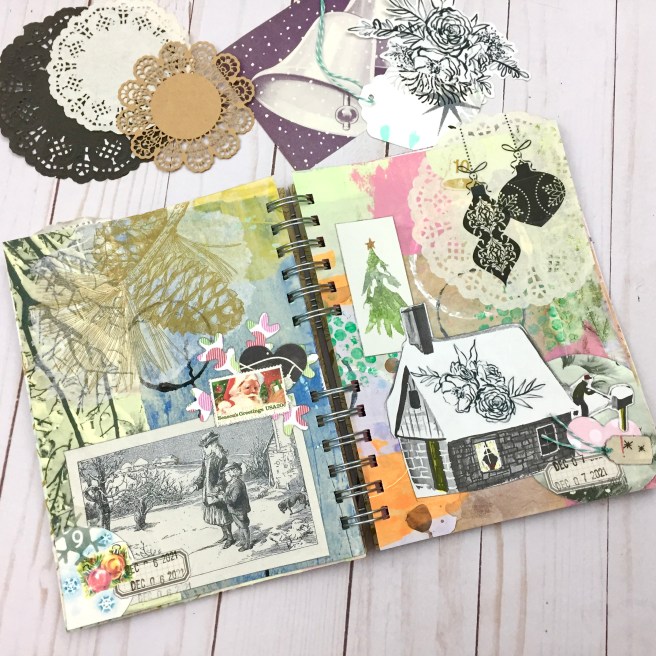
I used my journaling pages for memory keeping and devotional tracking. The library cards tracked the date and scripture I read that day, and the tags are for memory keeping. Between social distancing and the weather, we didn’t get up to much, but there were a few things worth noting.

I had so much fun making these pages and decorating my tags that I’ve decided I want an entire journal of tags and pockets. Coming to your local blog soon! (The ugly sweater tag was a gift from a sweet friend=memory)

A selection of the tags from this journal. I loved having painted backgrounds with an addition of tissue paper or clear sticker paper, and then playing with the tags and pockets.

And now it’s 2022! Well at least in my journal.

Like I said, I’m really chuffed with these pockets. So much so that I went thrifting with my daughter and picked up as many “Discarded” library books as I could find, just for the pockets…so much fun!

Well, I hope you enjoyed this series as much as I did, but I’m ready for something new! How about you?

There’s so much inspiration out there, but so little time!

As always,

Thank you for stopping by,

Have a great week,

~Patty
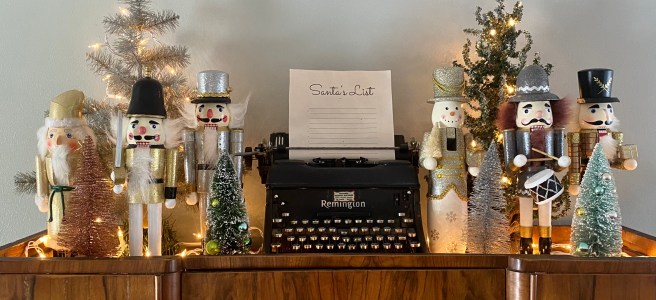
Holiday Decorations

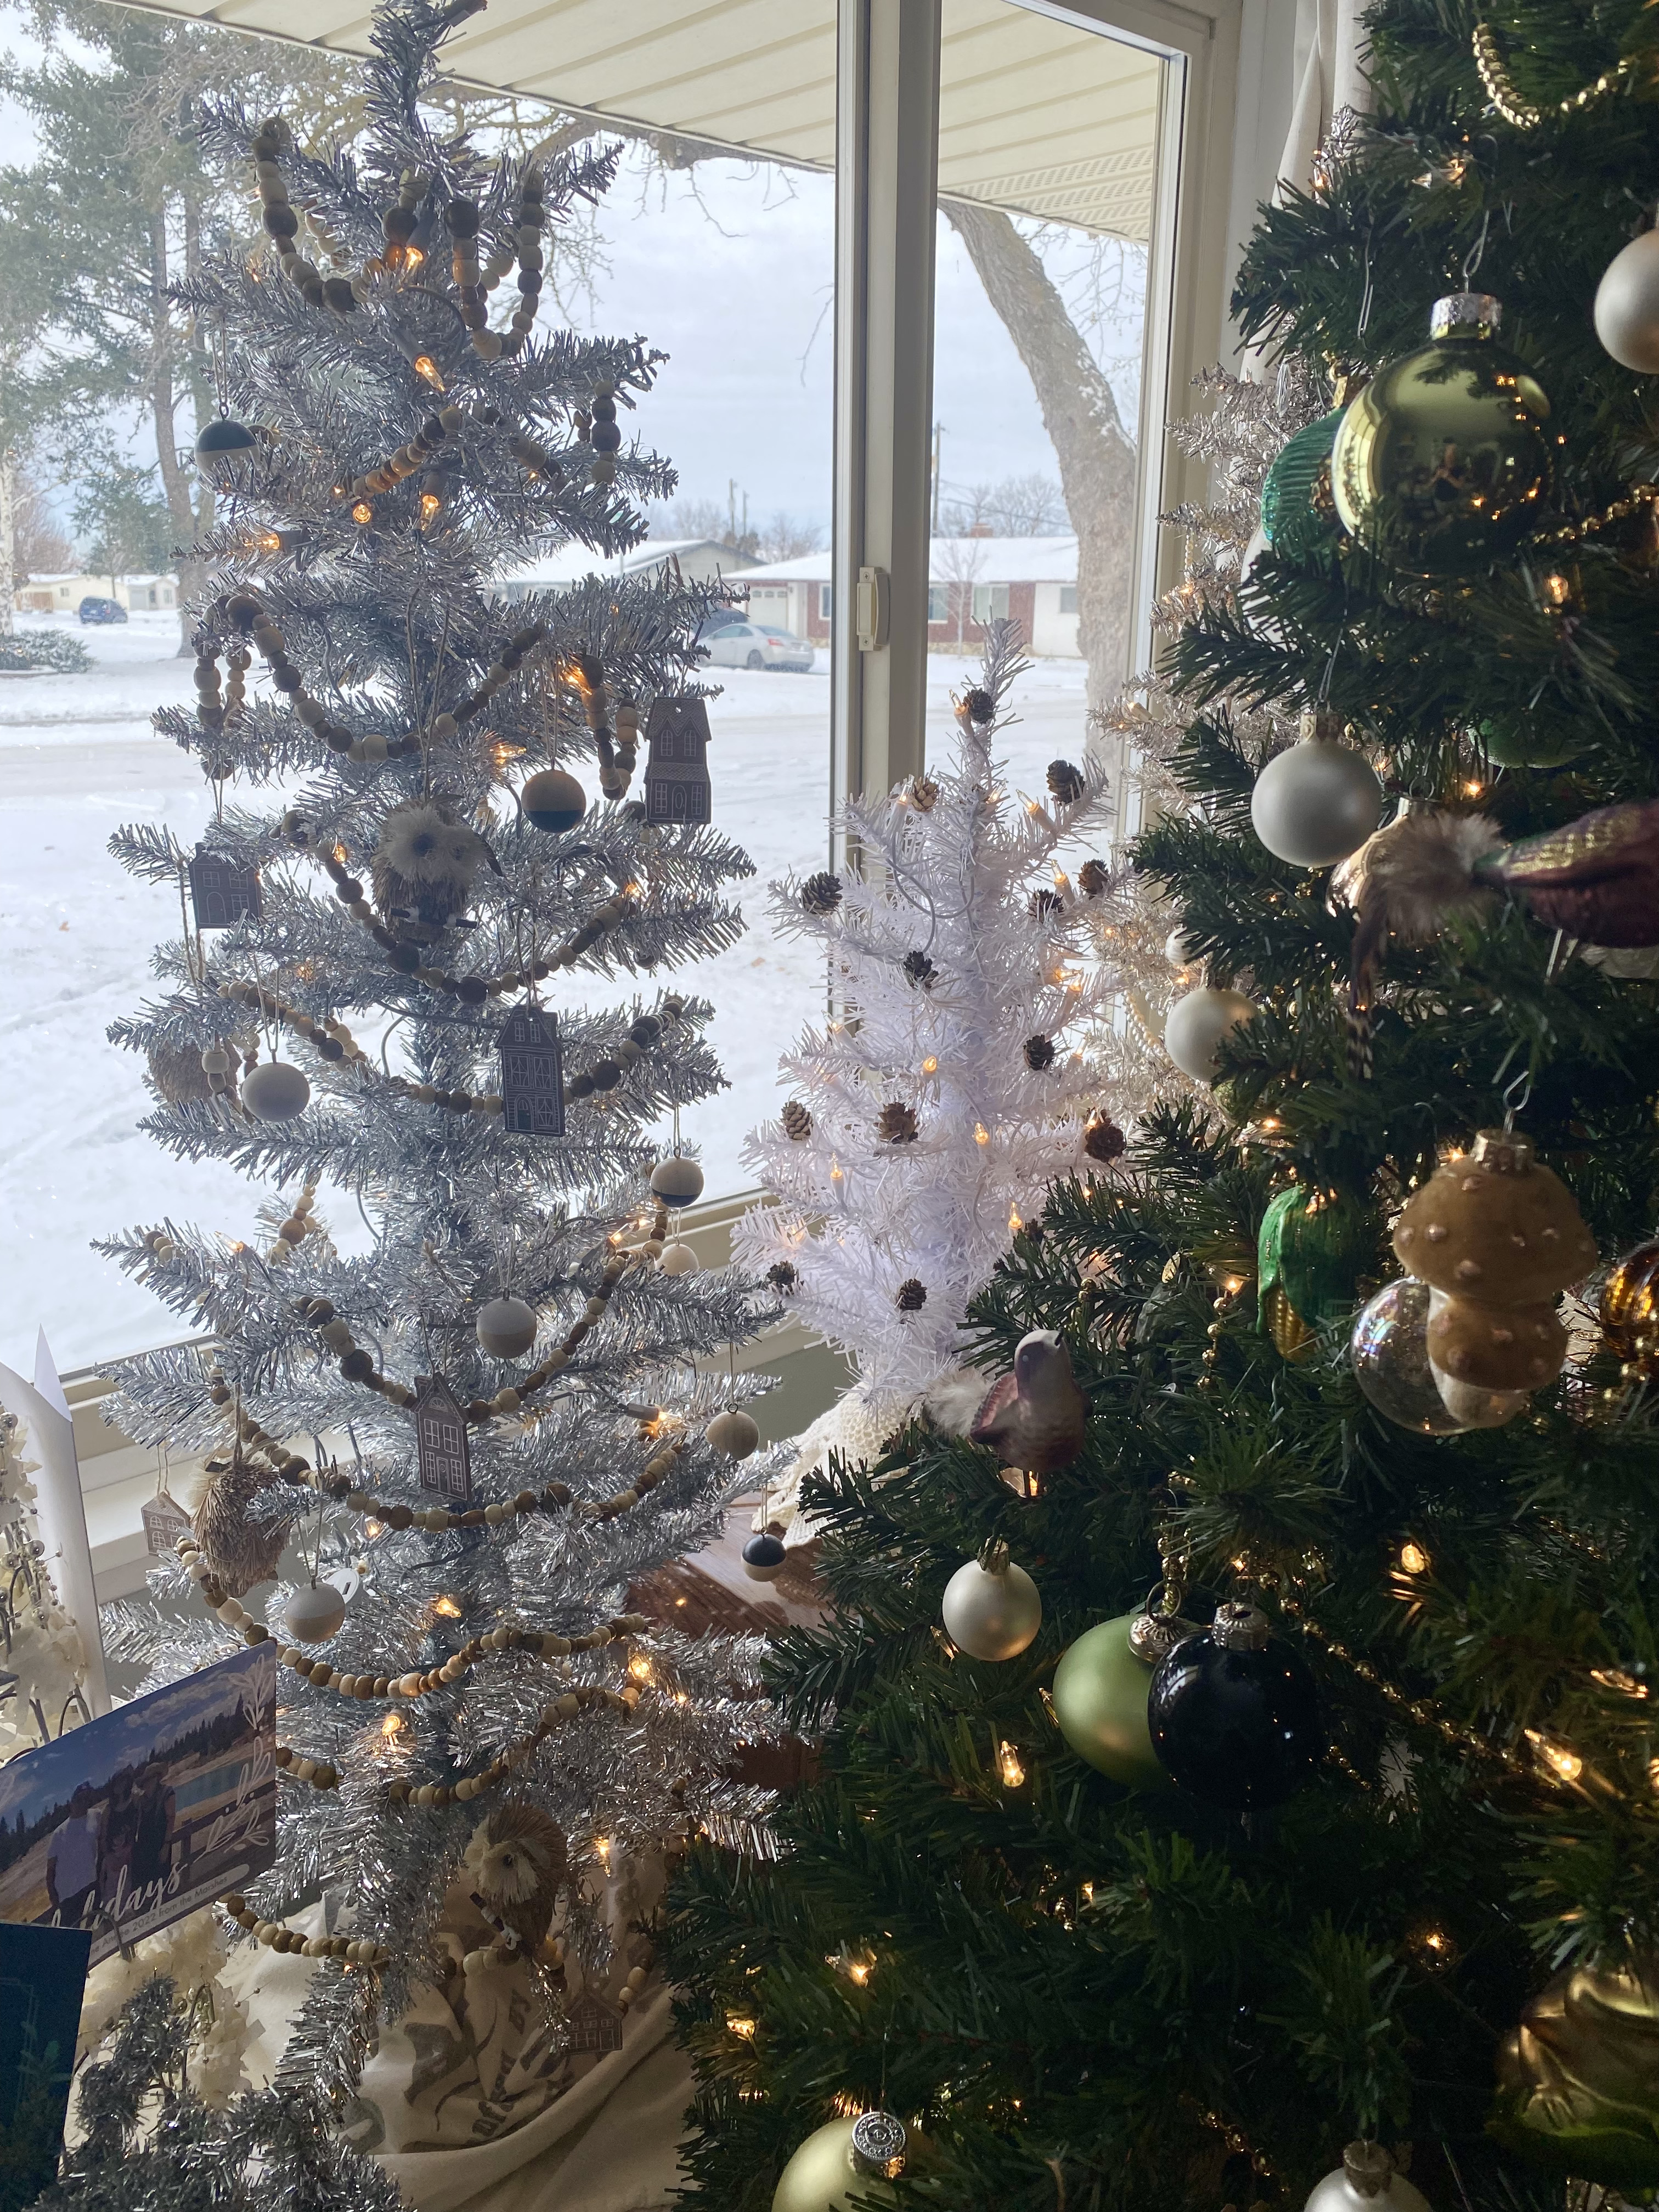
Today I was taking photos of my decor because I’m hoping that if I have this to refer back to, things might go a little easier next Christmas. I also plan to pack it all away and label it per the particular tree or area. I thought since I took a bunch of photos it might be fun to share.

Yes, I have many trees. I do kind of a Retro-Woodland-Glam thing, lots of trees, animals and sparkle.

These trees are in our front window. The only “outdoor” decor this year until my hubby’s knee is ship shape (no ladders this year mister).

The sweater gang.

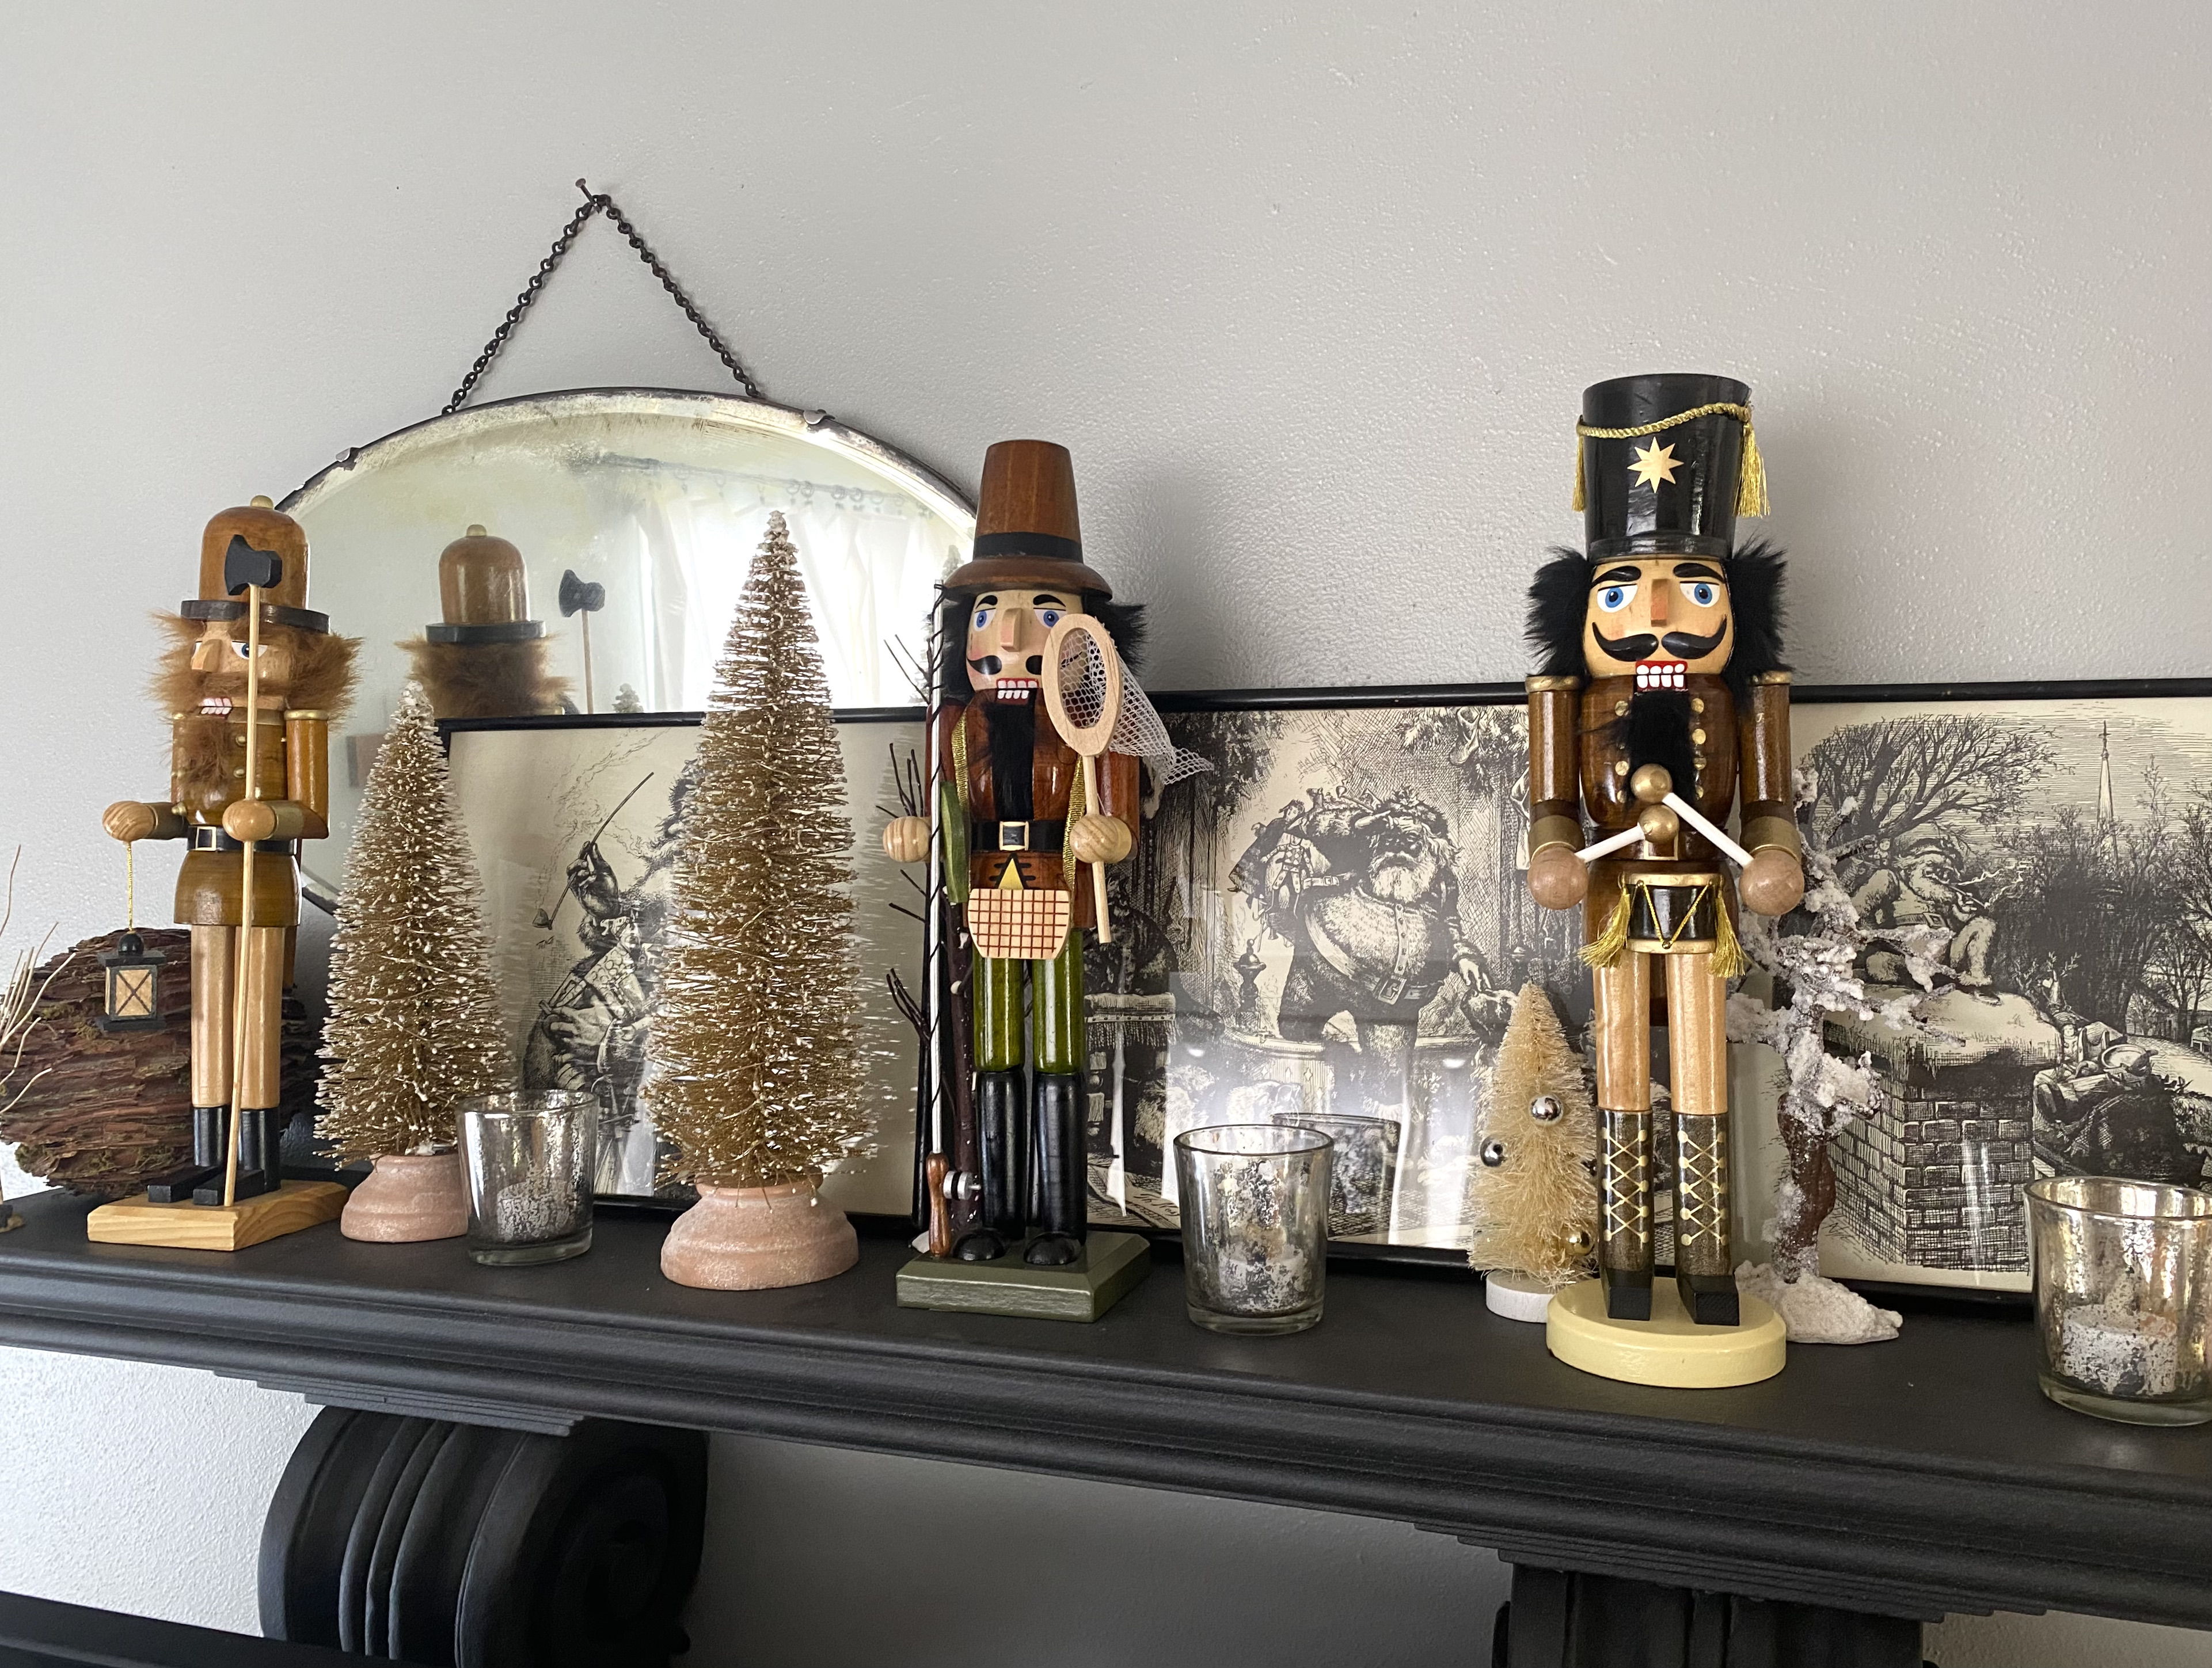
The shelf above our TV. I have been putting those Santa pictures on our mantle for over 30 years. I’m not sure about this arrangement yet, but I love the wooden nutcrackers. I found the fisherman this Christmas, the new guy. I started on the nutcrackers after my mom sent bunch of them to us one Christmas. They’ve been a fixture ever since.

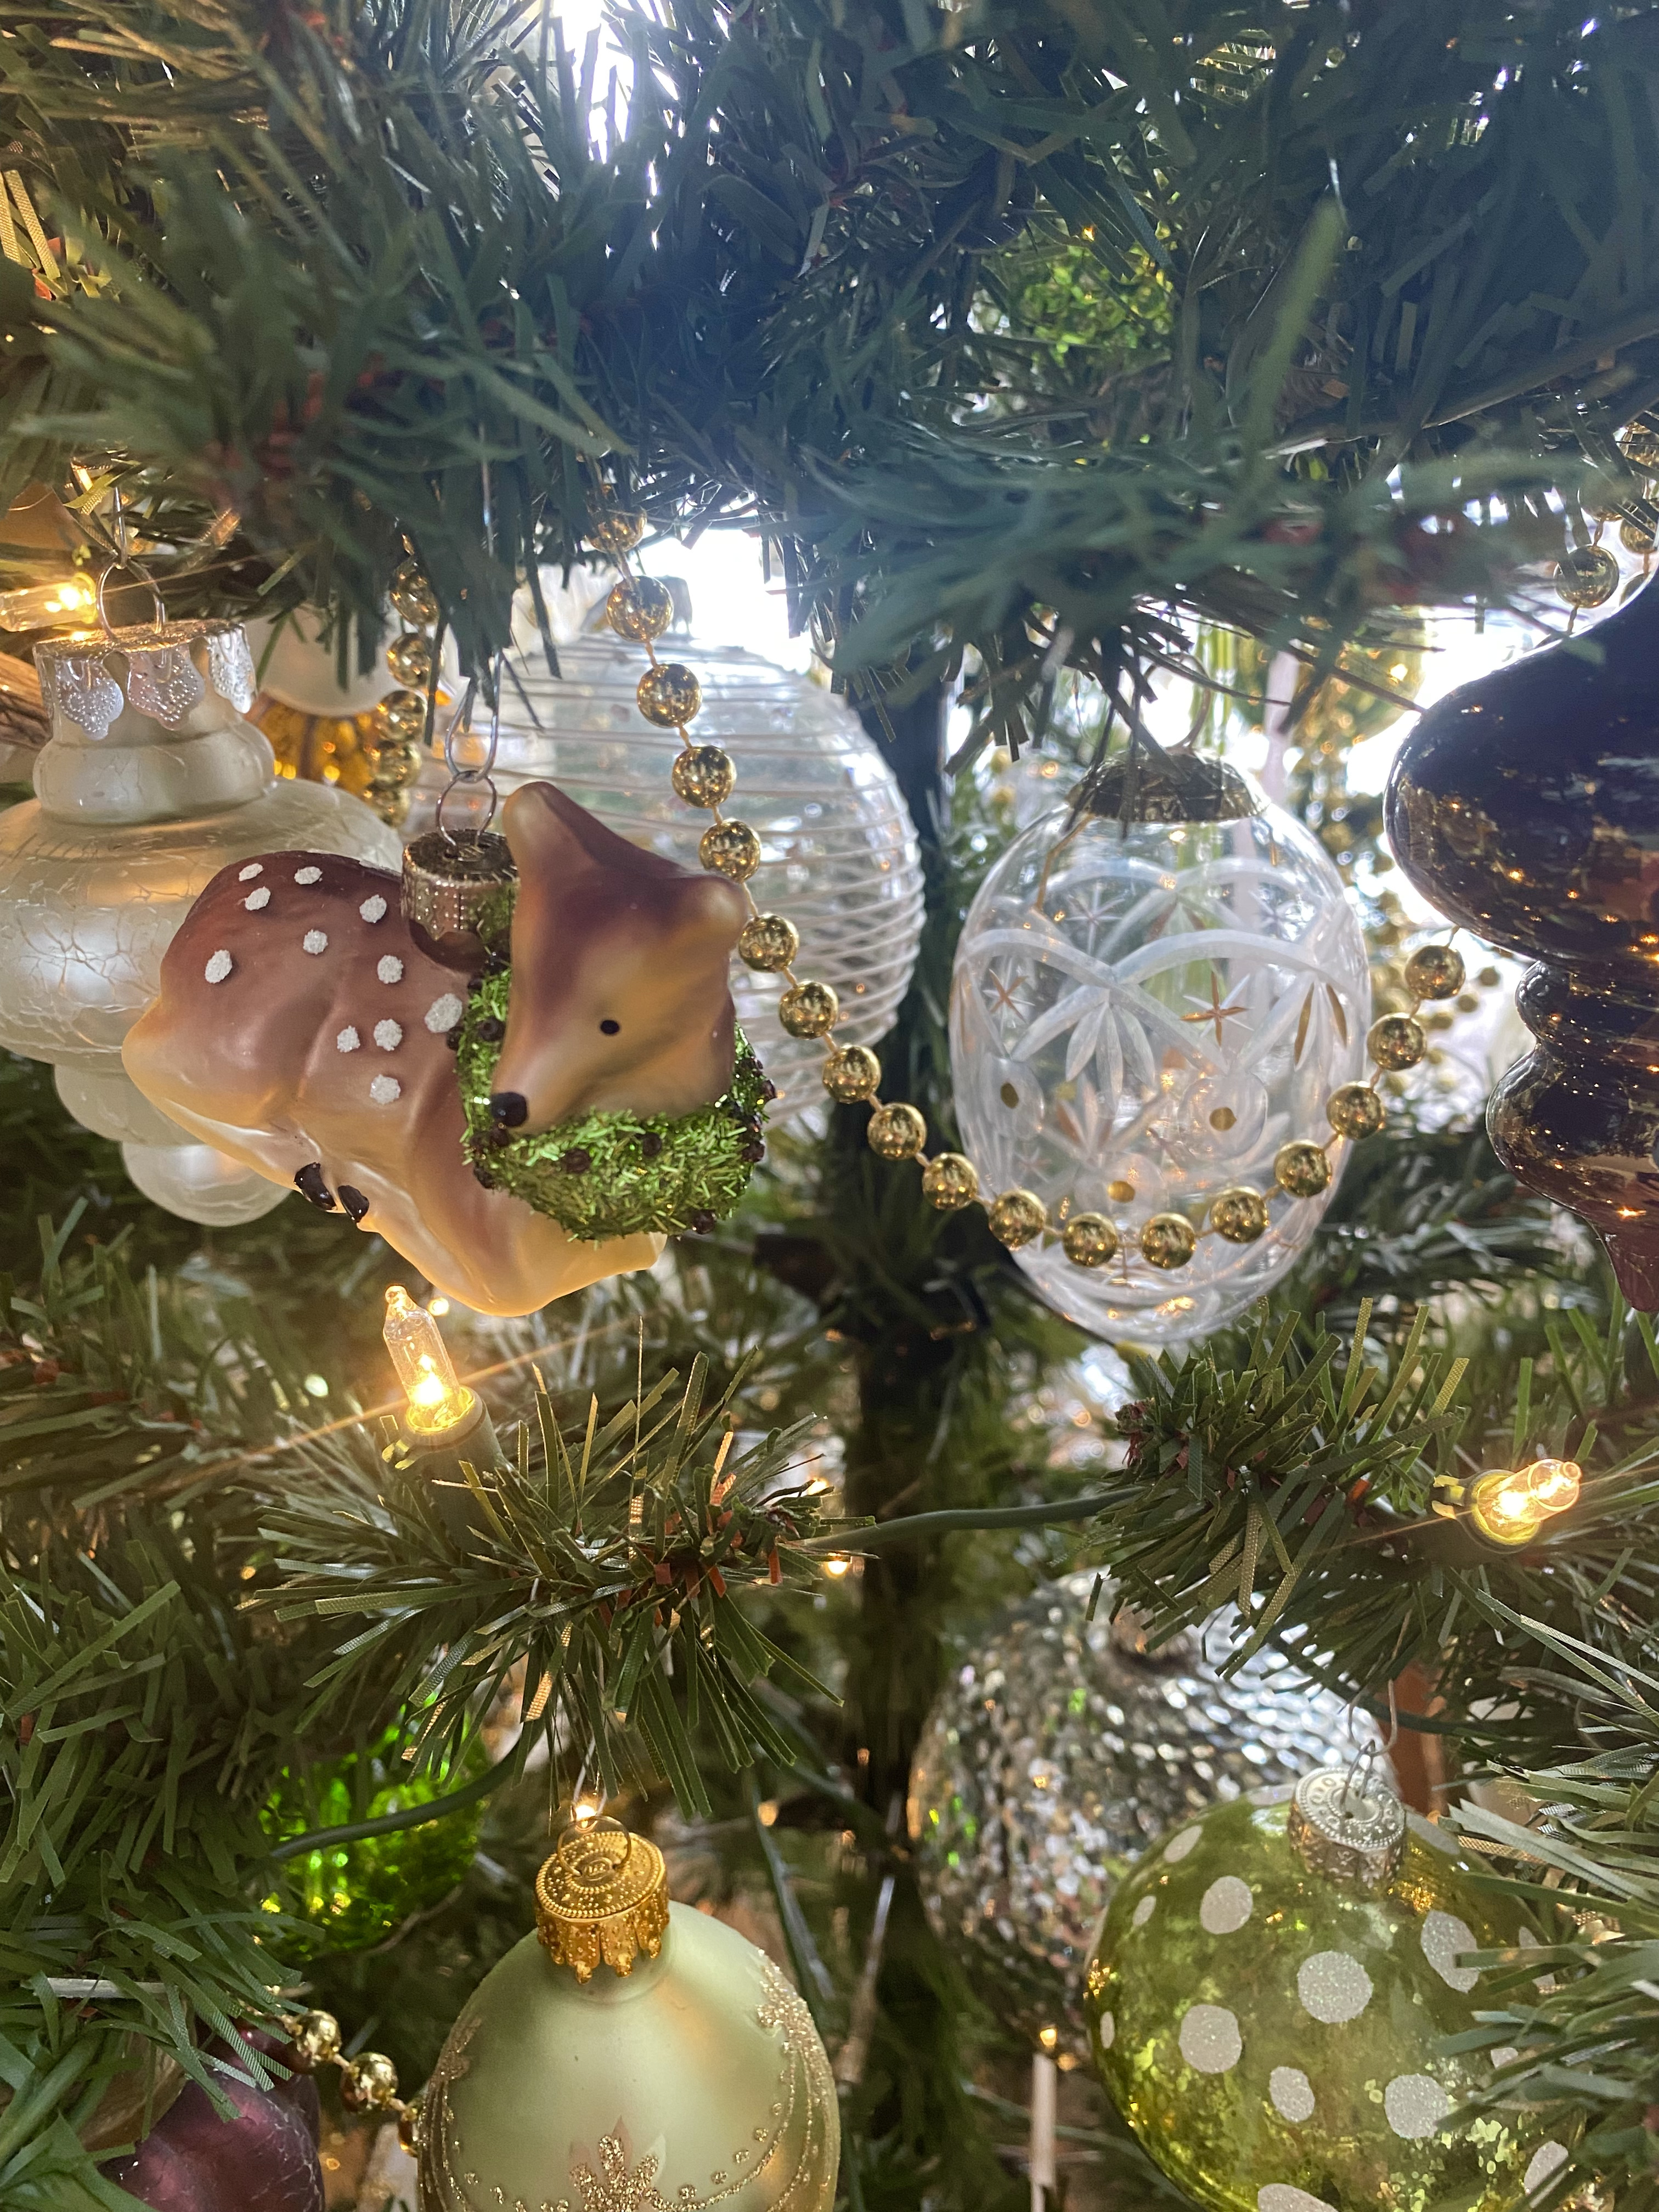
We have a few rather large ornaments, so I hang them deep into the tree to give the decor a little depth. The disco ball was an addition from our son a few years ago when he flew over from Korea one Christmas. A sweet keepsake, we don’t see him very often.

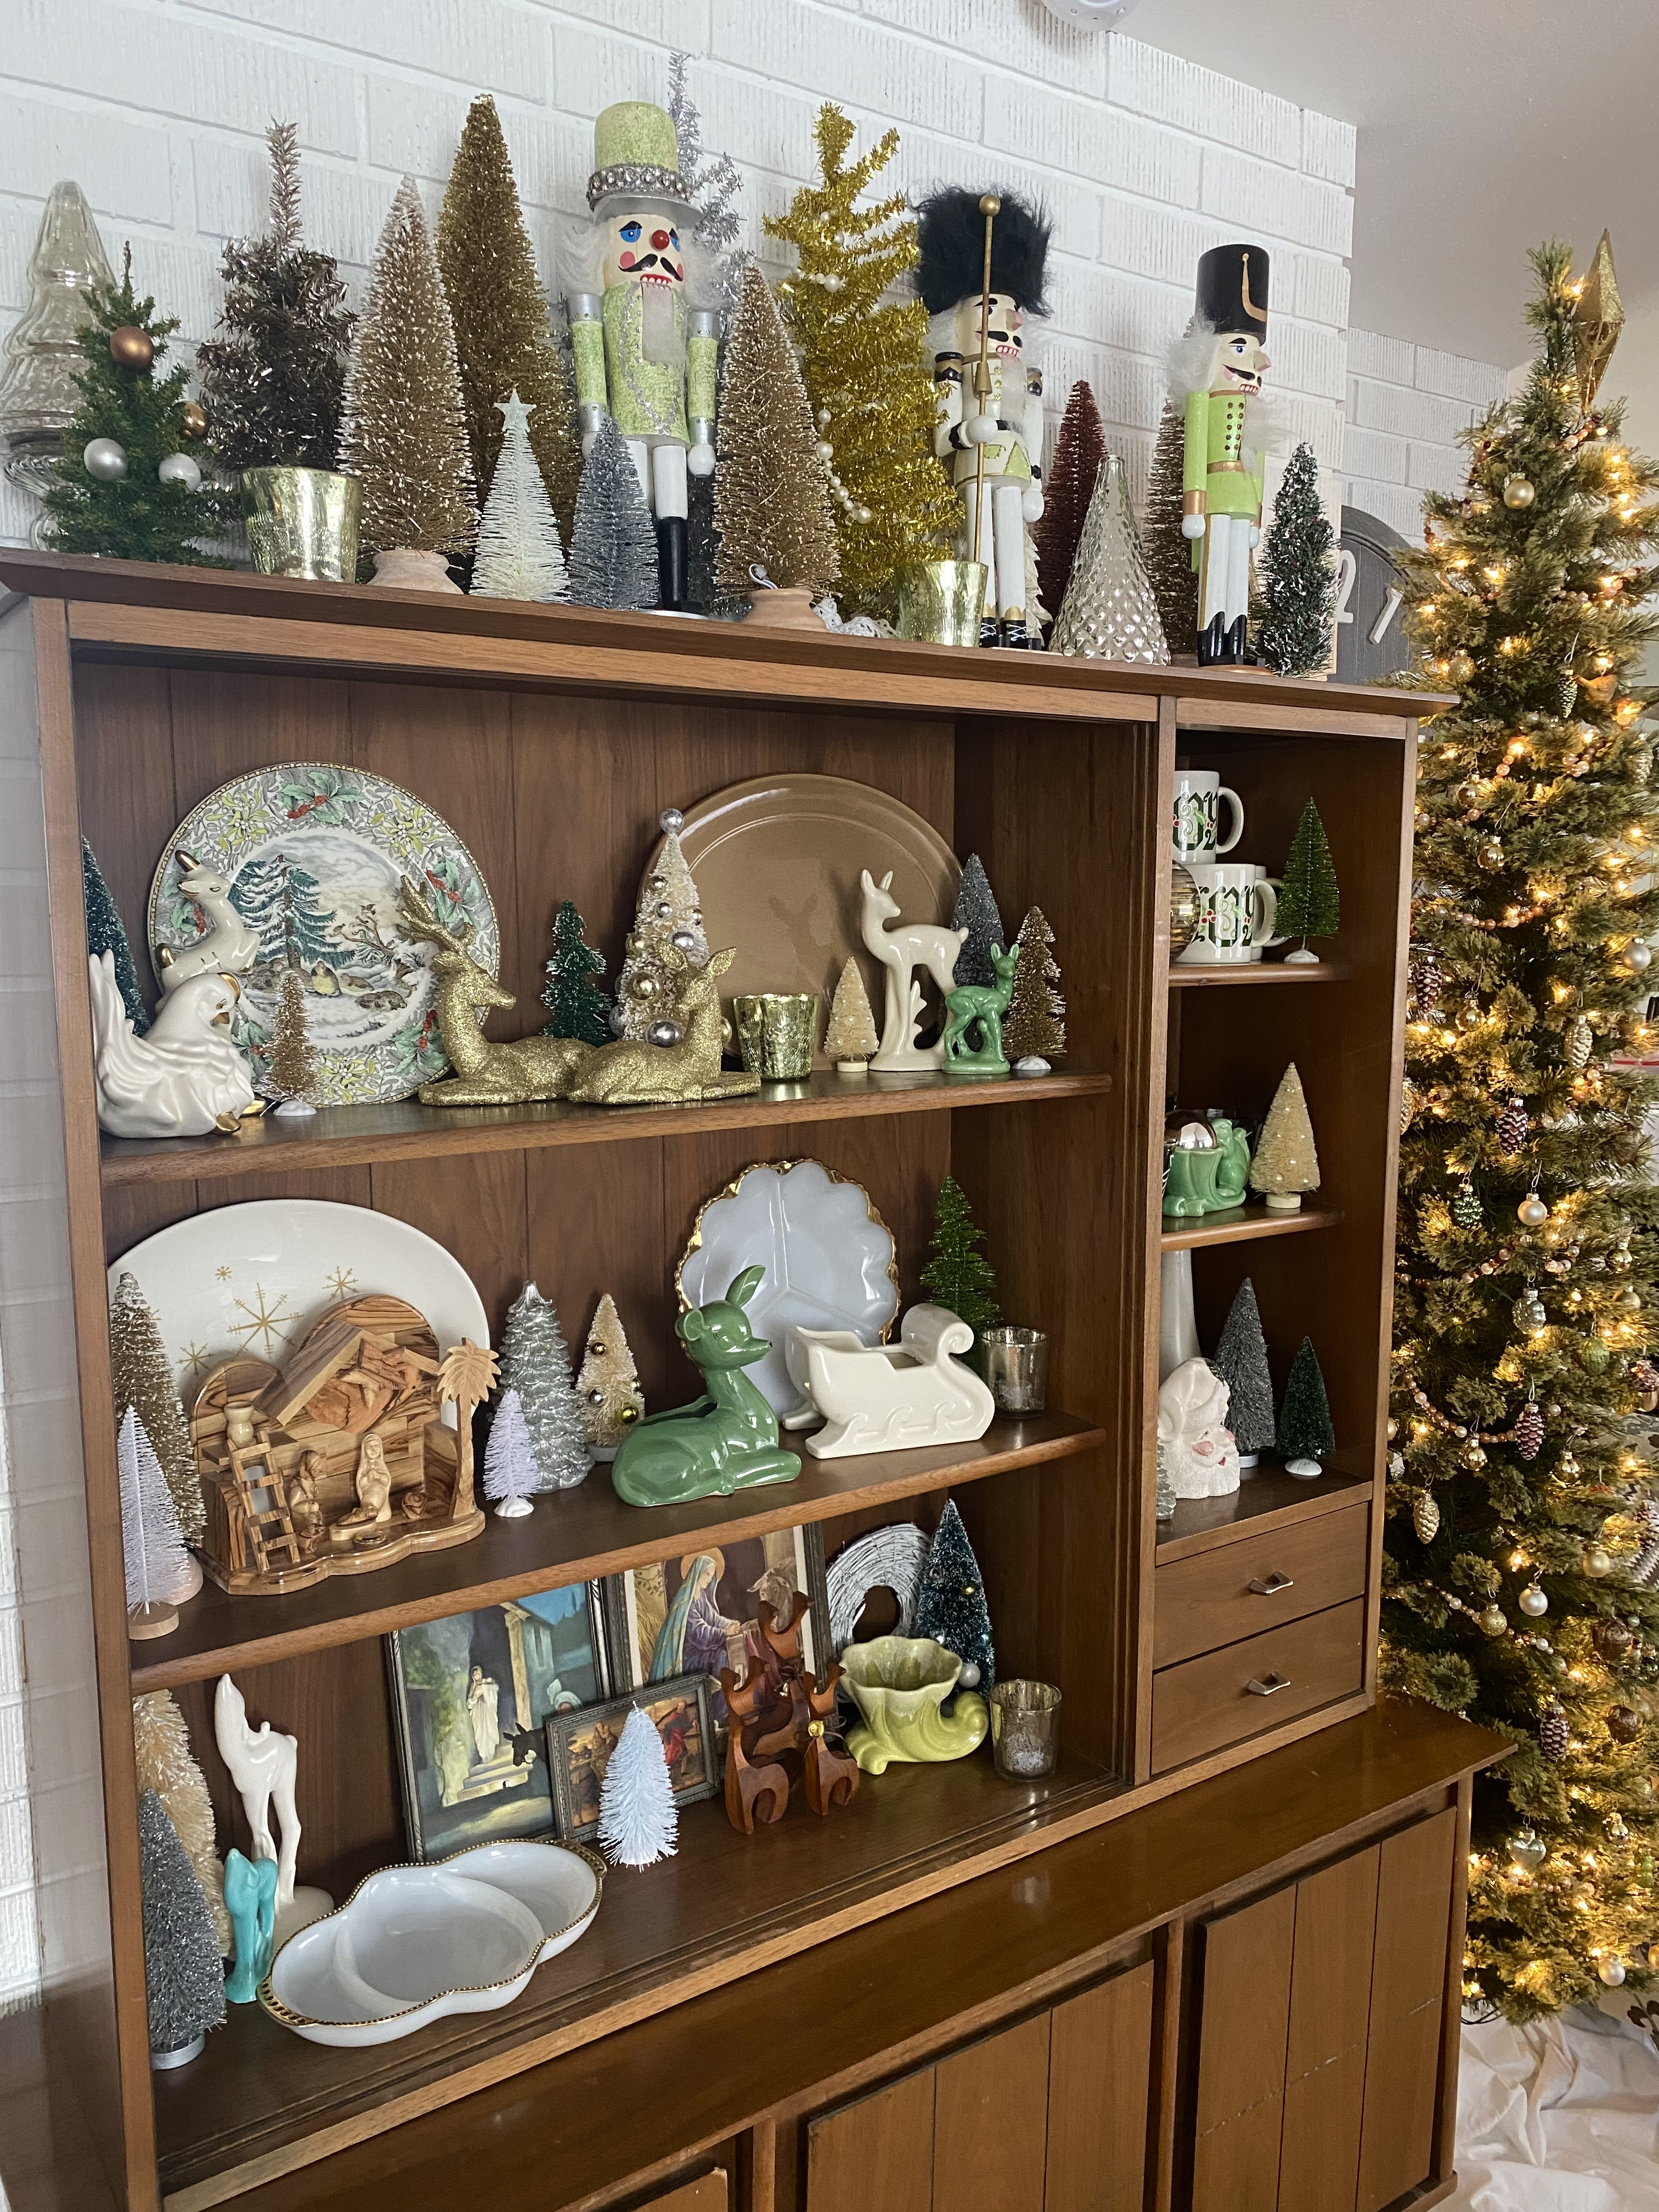
Our mid century hutch and pencil tree. All my small ornaments go on this tree, acorns, walnuts, little pinecones. It may sound funny, but I remember where most of my ornaments came from and who I was with when I bought them, or who gave them to me. It’s always so much fun to bring them out every year.

I repainted all my nutcrackers a few years ago to match my Christmas color scheme. I’ve gone almost completely neutral, so these guys will get a makeover next year.

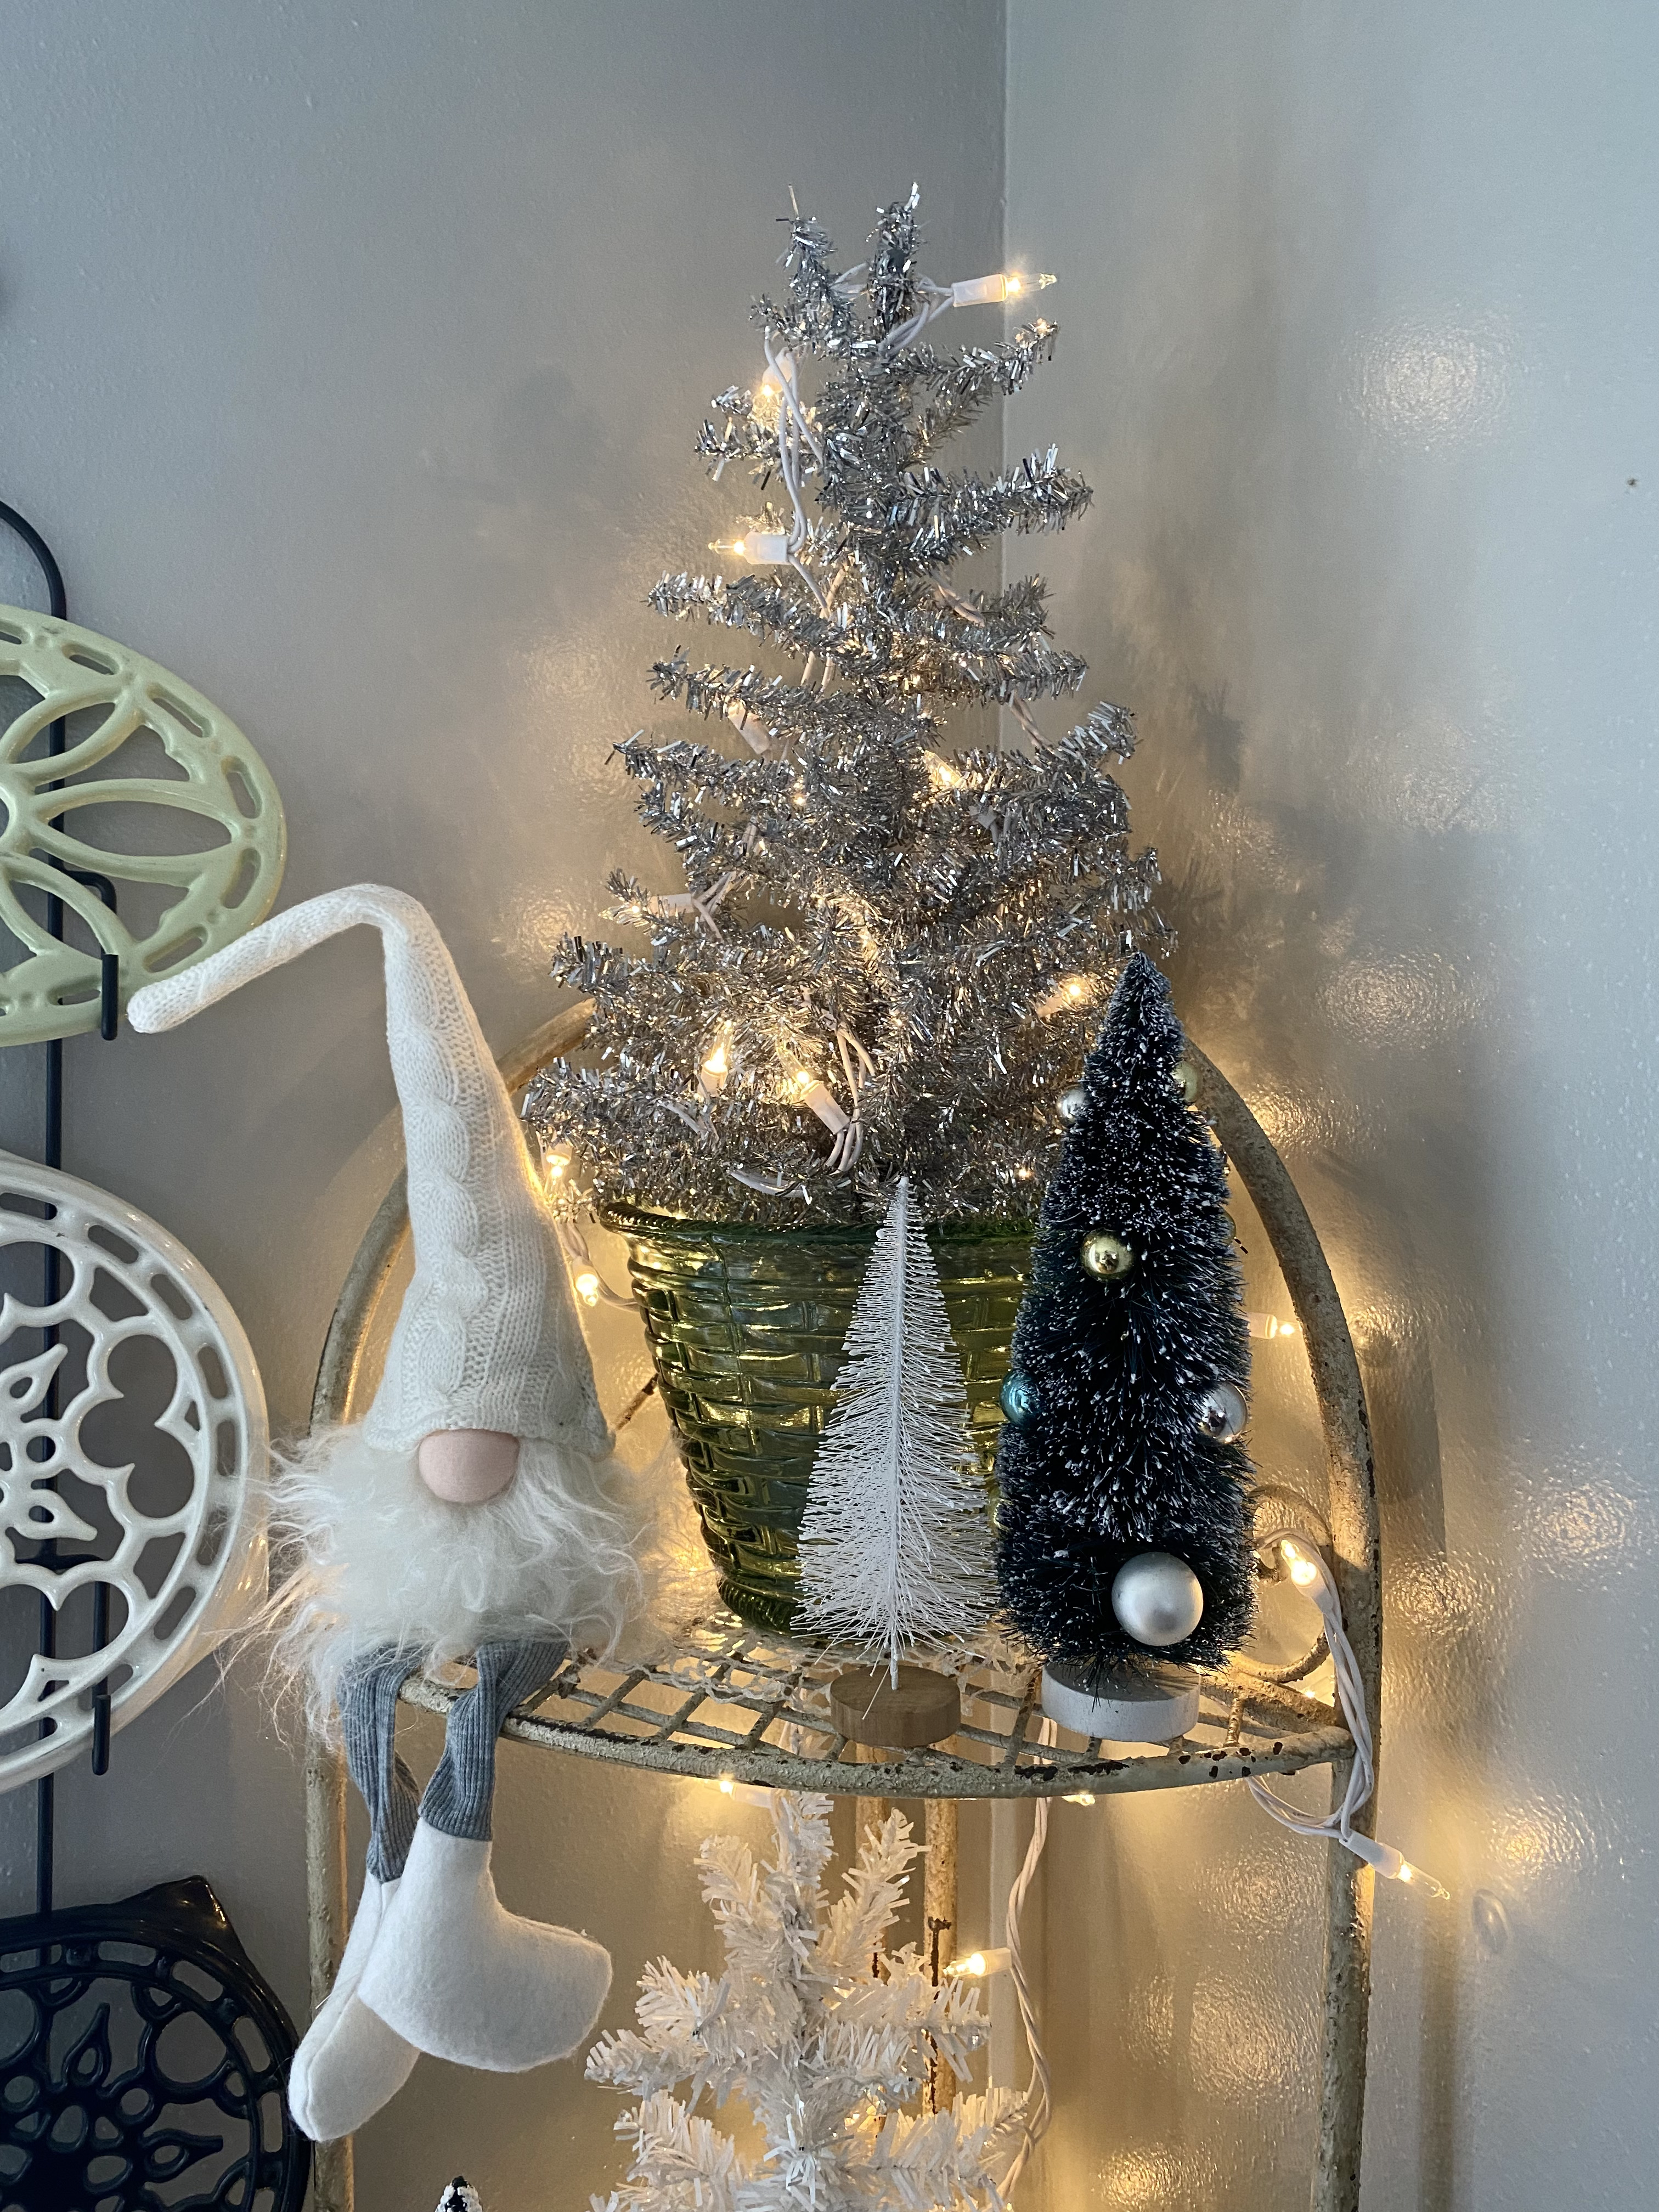
The shelf in the corner of our dining room, I usually have plants on it. Yes, I pretty much strip the house at Christmas then deep clean and redecorate after the first of the year. It’s also when I clean up my plants and give them some new top soil, it’s a great way to start the the New Year.

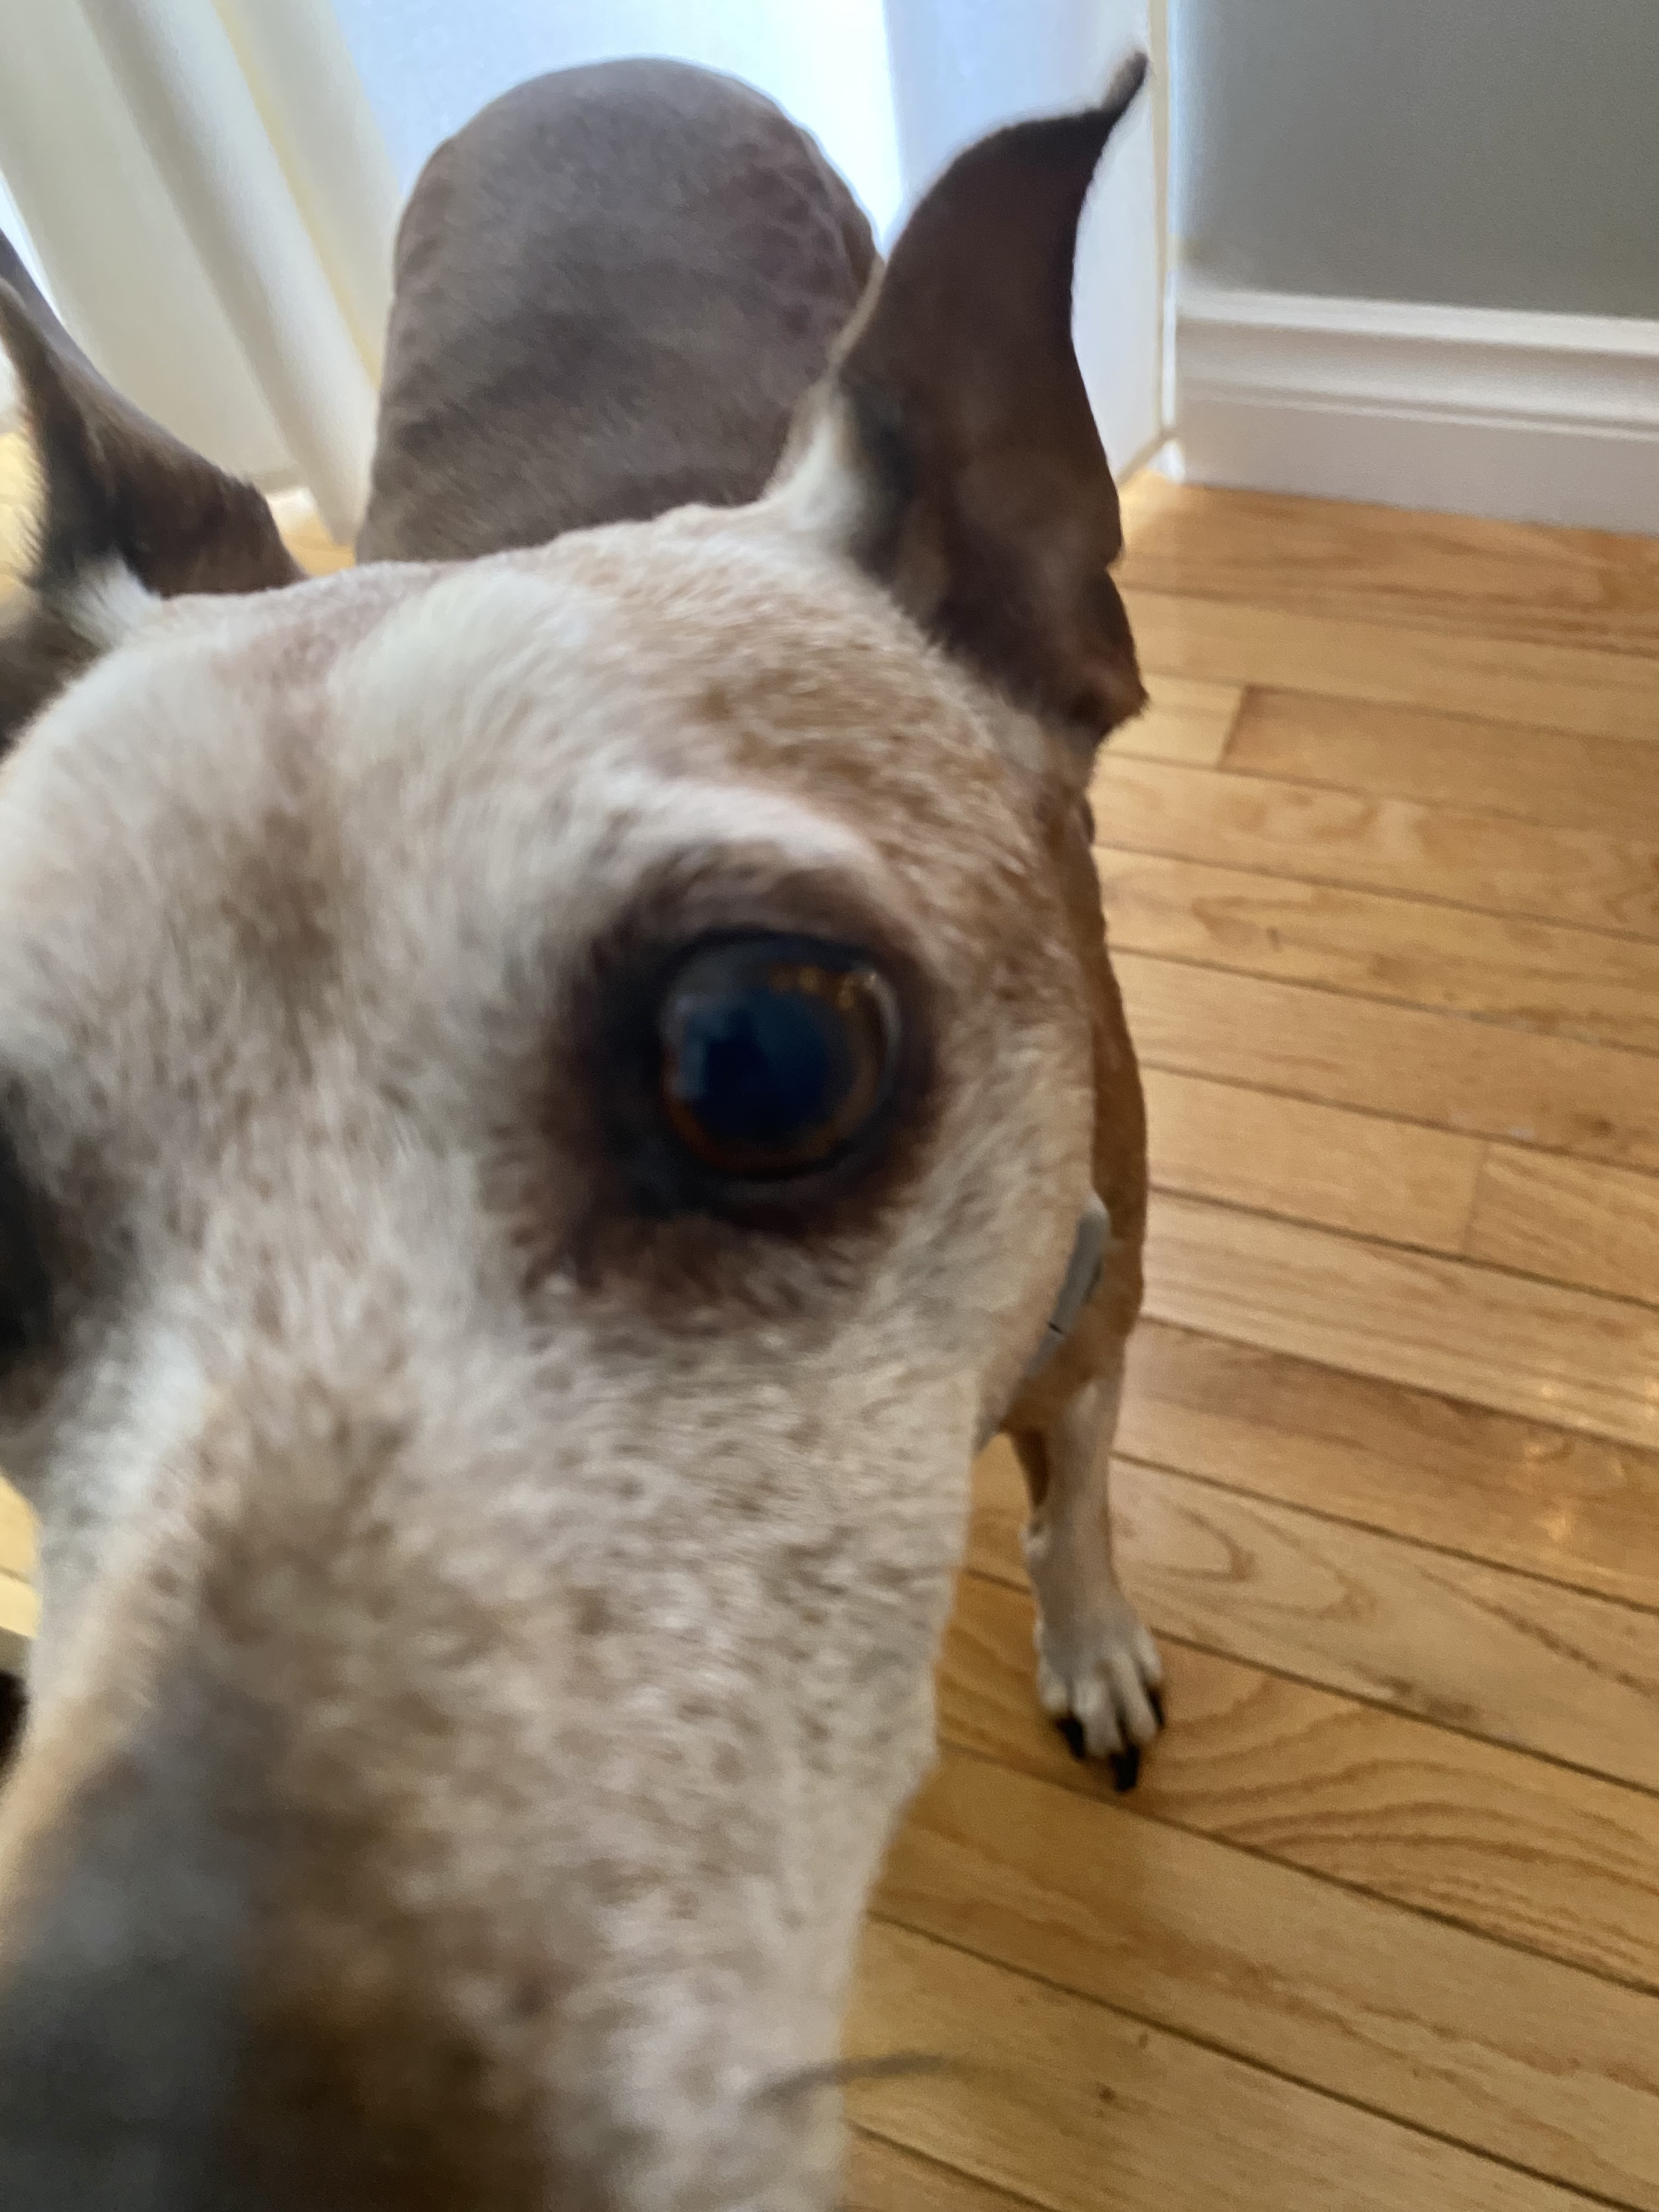
Lily has to get into the action when I’m taking photos so I thought I’d toss her in too.

Well, that’s about it around here right now, relaxing and crafting…and eating

I’m working on the memory pages in my “Holiday Journal”, so I’ll be sharing those later this week.

Until then,

From our home to your’s HAPPY NEW YEAR! I hope 2022 a good one for you and your loved ones!

Talk to to you soon,

~Patty

Holiday Journal: Coffee Dyeing

Well, I’m still plugging away at my “Holiday” journal. Today I’m going to share a few thoughts about coffee/tea dying, whatever beverage you prefer.

This post is very photo heavy, so I’ll keep the narrative minimal.

There are a lot of super cool dye techniques out there, but my main objective is to take the glaring white out of some of my paper bits.

Before and after: I love how “aged” the stained paper looks.

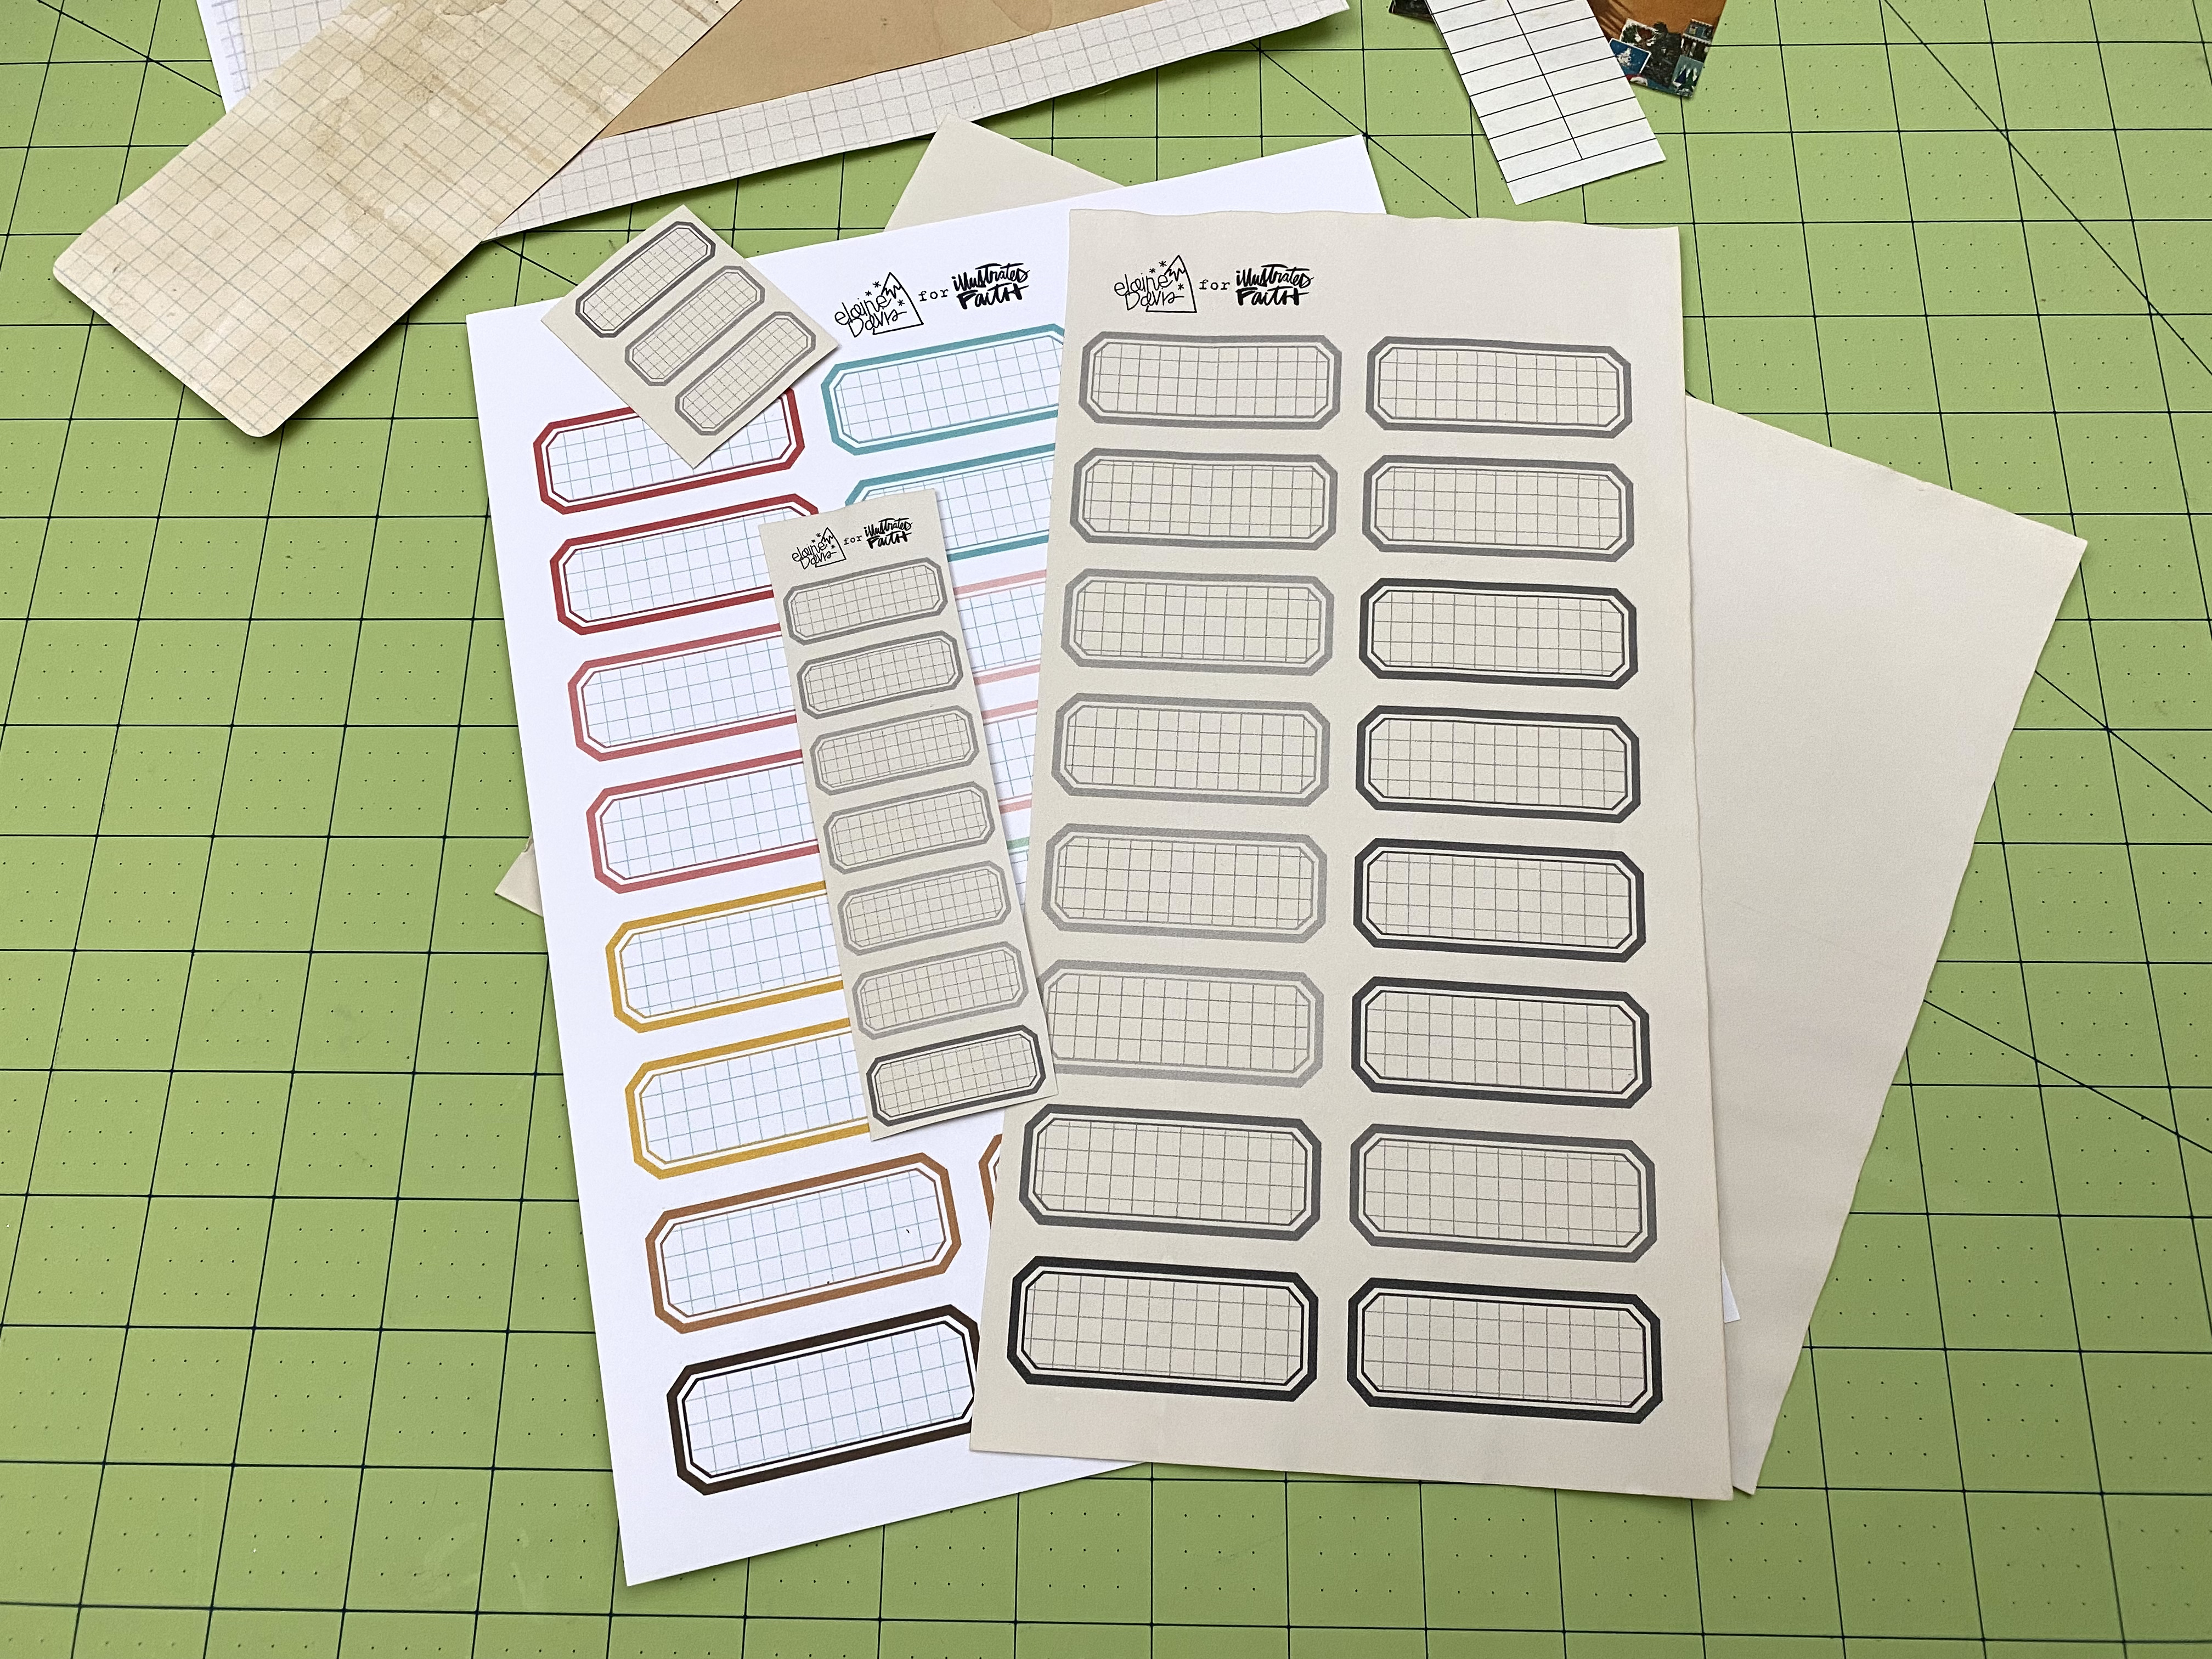
I also wanted to share how I sometimes print in black and white to use a printable in a different way and make it look a little more vintage. I love the gradations of black and gray.

As you probably know, I use a lot of doilies in my back grounds, and they’ve gotten a bit pricey. I’m really more interested in using what I have on hand at this point and not buying more. Plus, white doilies are so much more readily available, hello Dollar Store! (I’ve dyed them with food coloring too, super cute!)

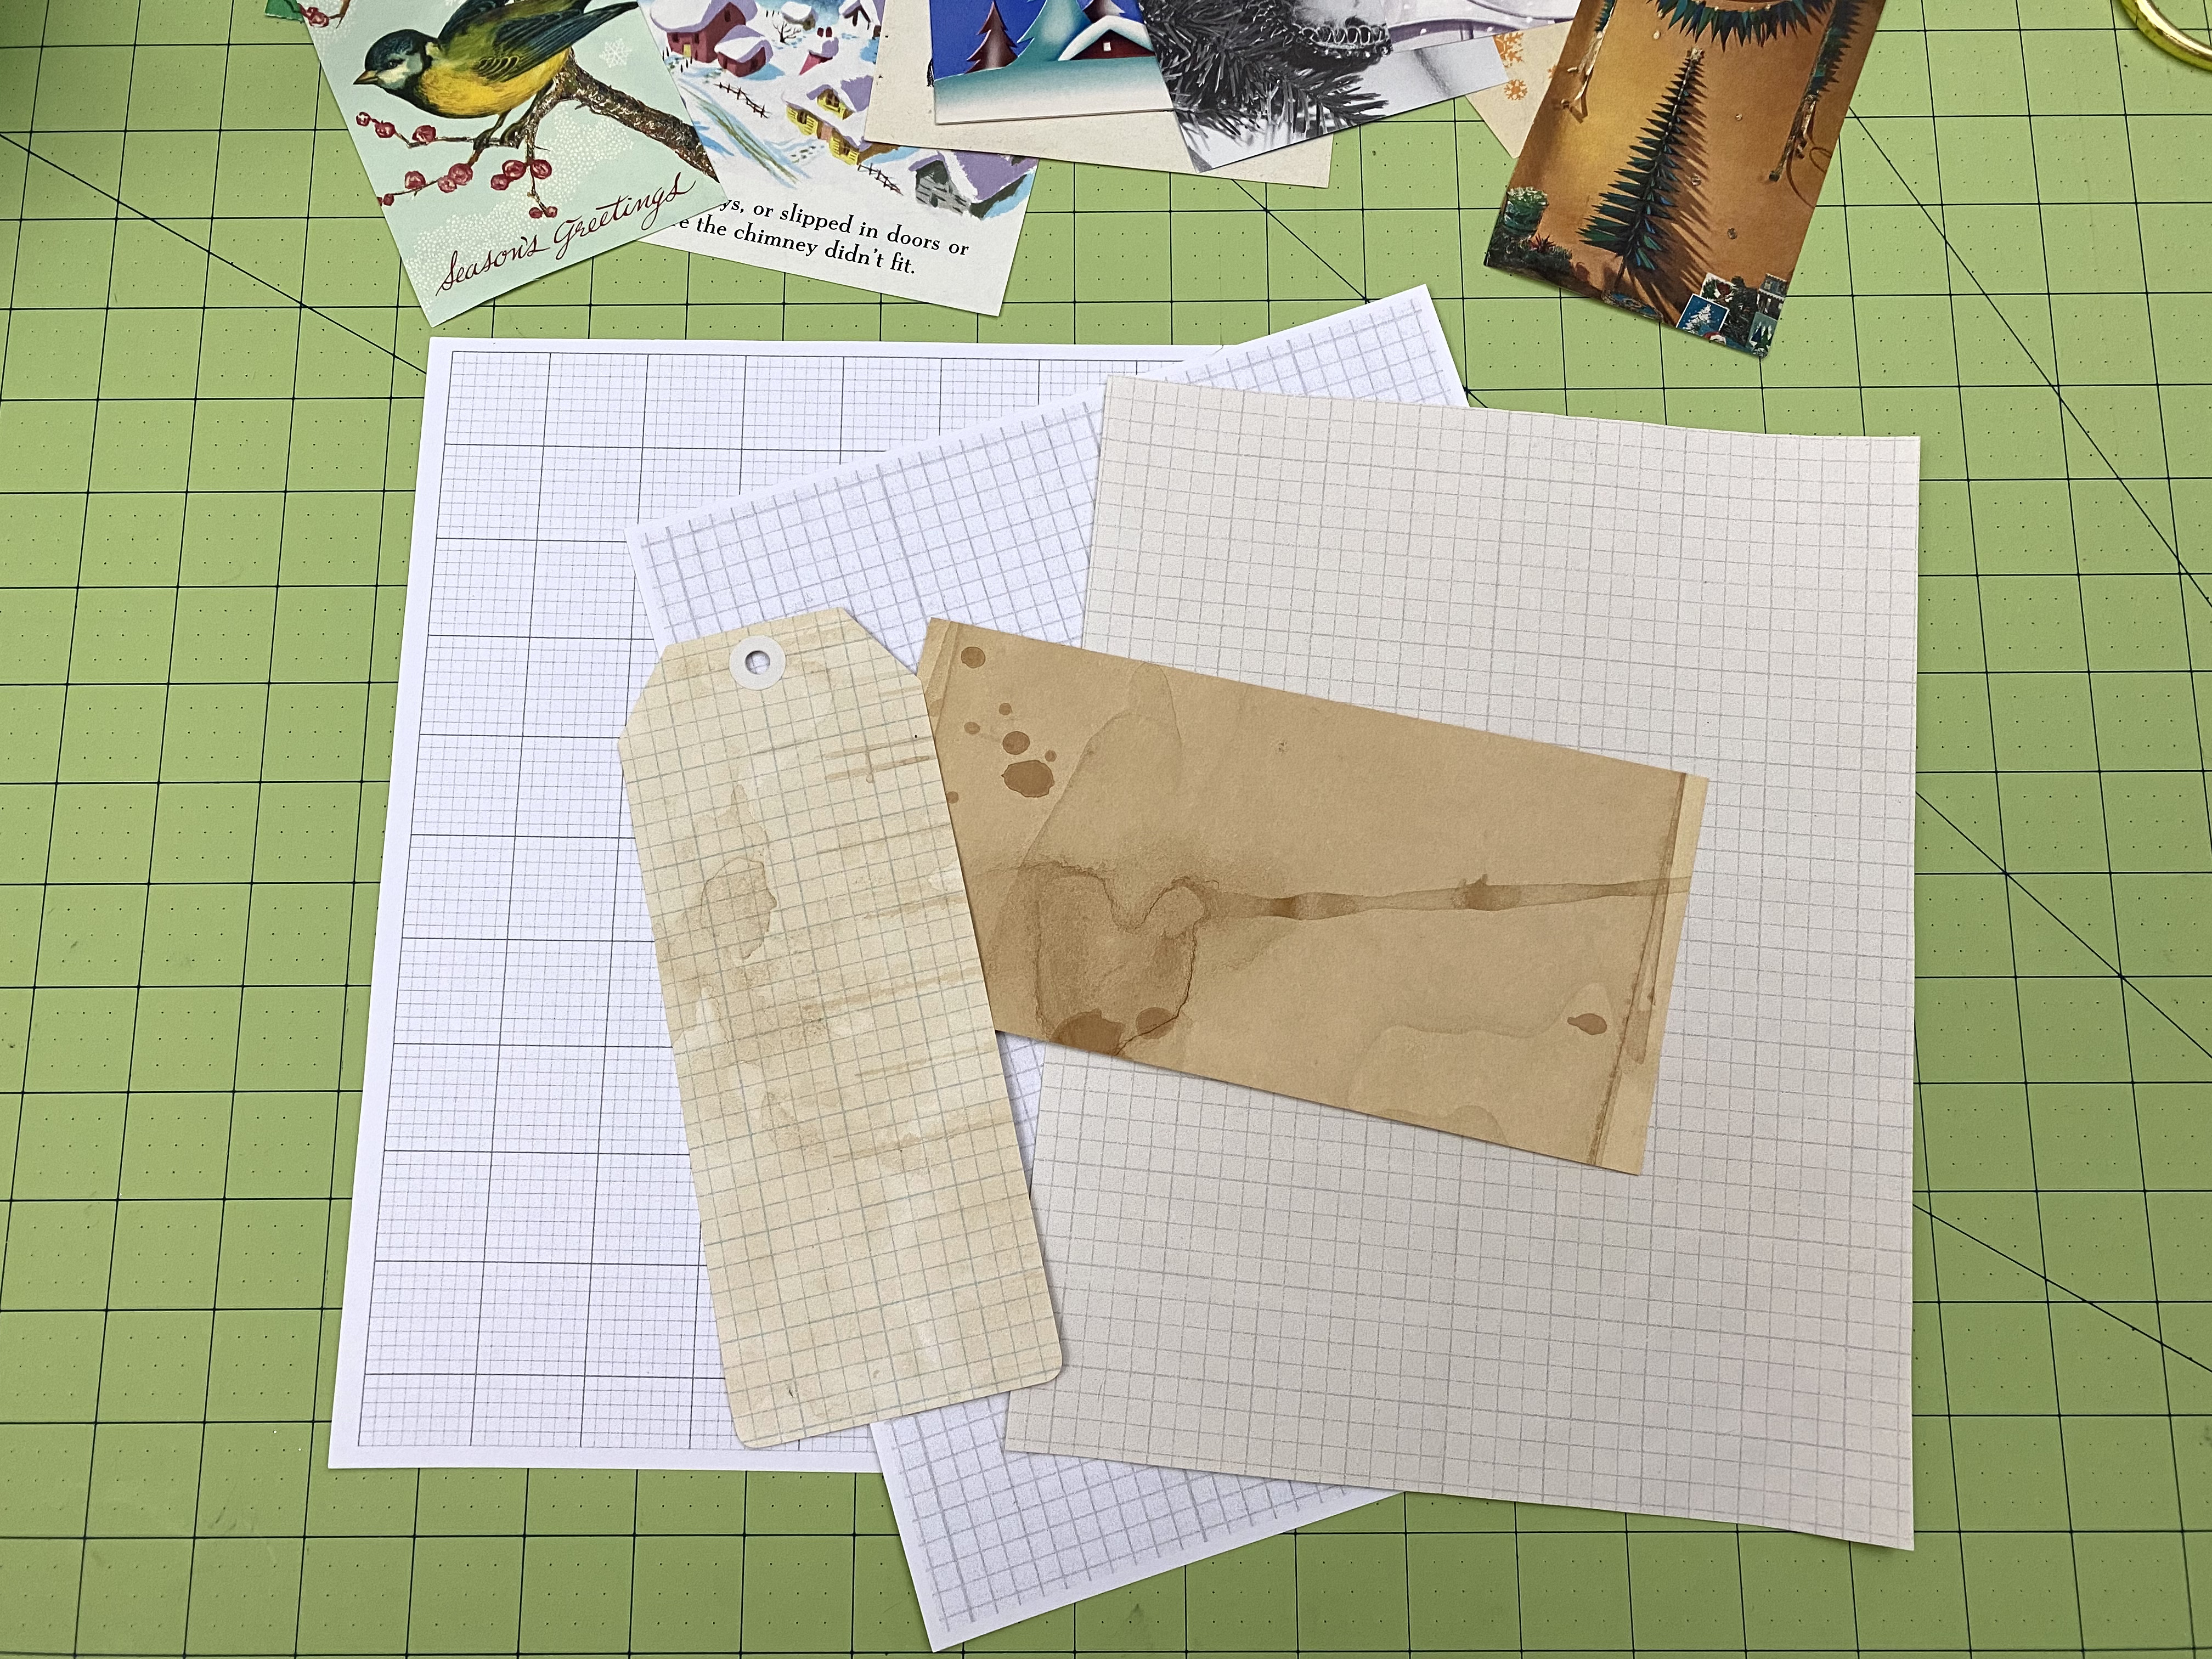
Journaling spots: that piece of paper in the middle is from a larger piece that I used to dry some coffee dyed bits on, they made all kinds of interesting stains on it. Then I cut some of it down to 8.5″x11″ (letter/A4 size) and printed graph paper on it then cut out some tags

Tags and such: sometimes I’ll switch out the string for bakers twine on these and use the stained string on my colorful scrapbook paper tags, just to mix things up a bit.

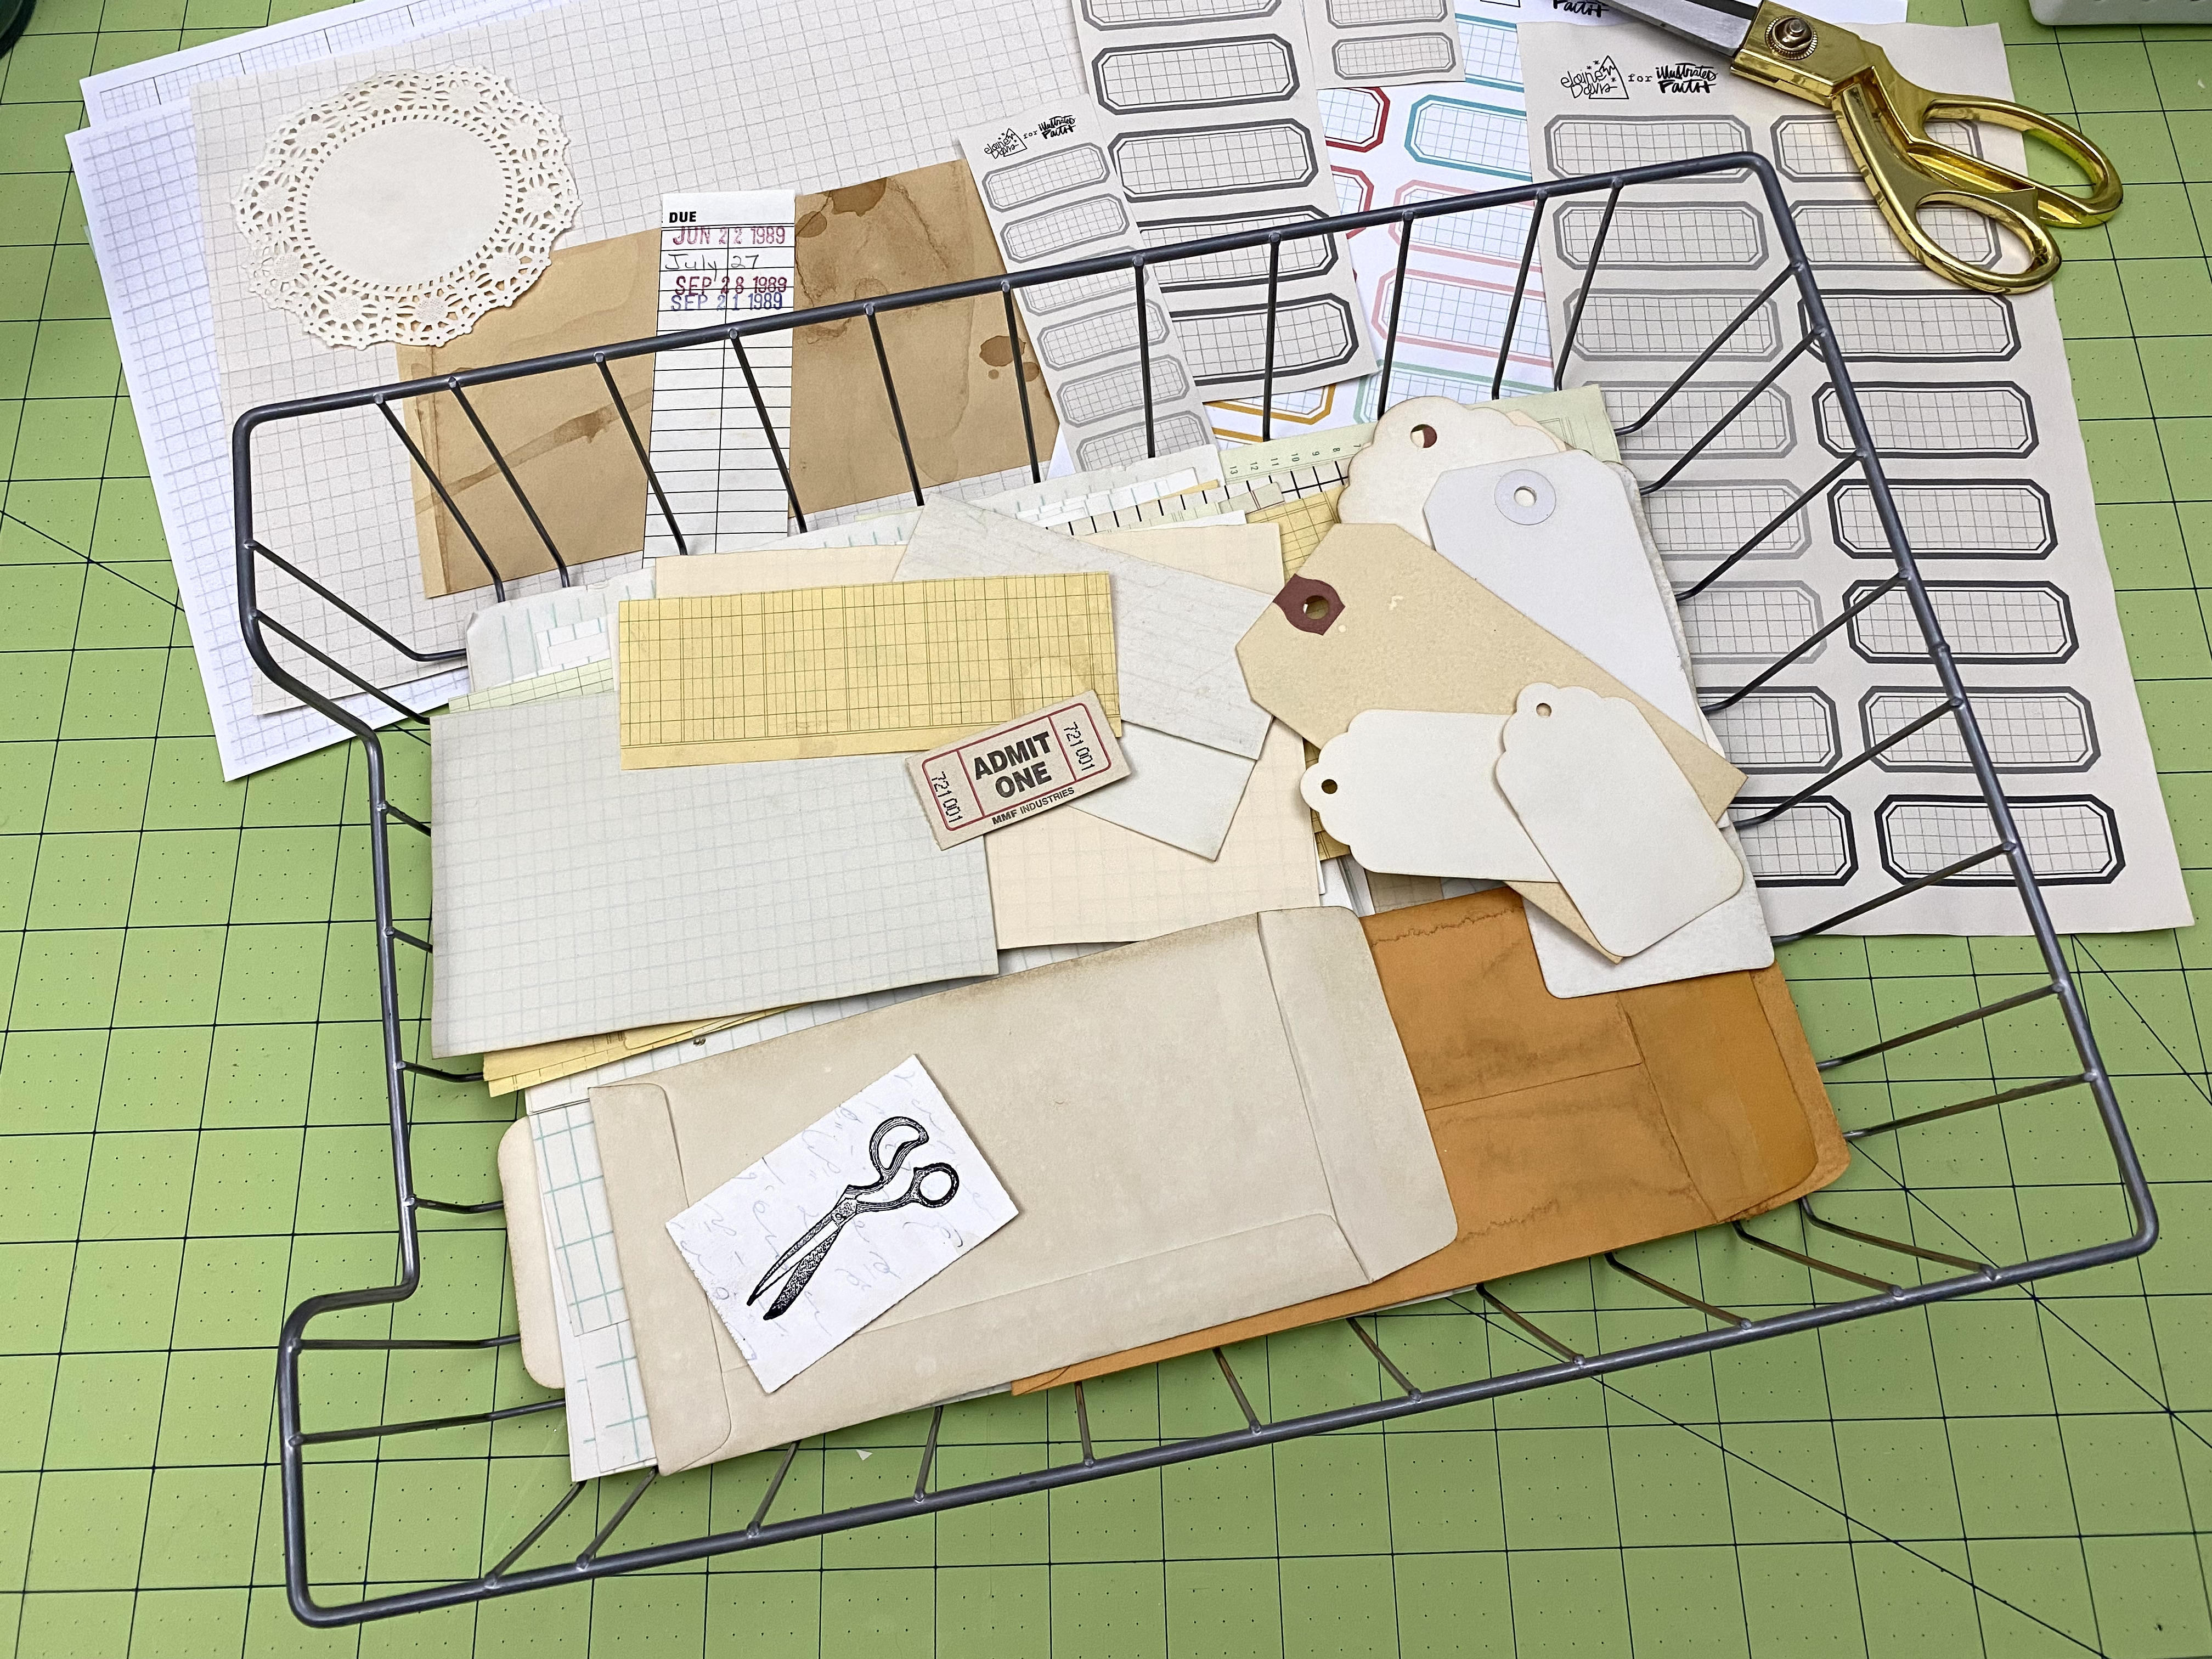
My collection of dyed ephemera. I try to dye in batches so I have a selection to choose from…or give away 🙂

If you made it this far, I’m impressed! That was pretty darn dry!

This is the basket I throw things into for future dyeing projects. Sometimes a good “staining idea” will hit me and I’ll throw it in here, the seam binding being a case in point.

I was able to get quite a few pages done this week, thanks to my organization!

And I have at least one more technique I’d like to share from this journal.

So, until next time,

Thank you for stopping in,

Have a wonderful New Years!

And I’ll see you in 2022!

Holiday Journal: Organizing

I changed the name of my journal to reflect the way I’m actually using it, mostly for art making and a little bit of journaling. My Advent journaling migrated over to my faith journal.

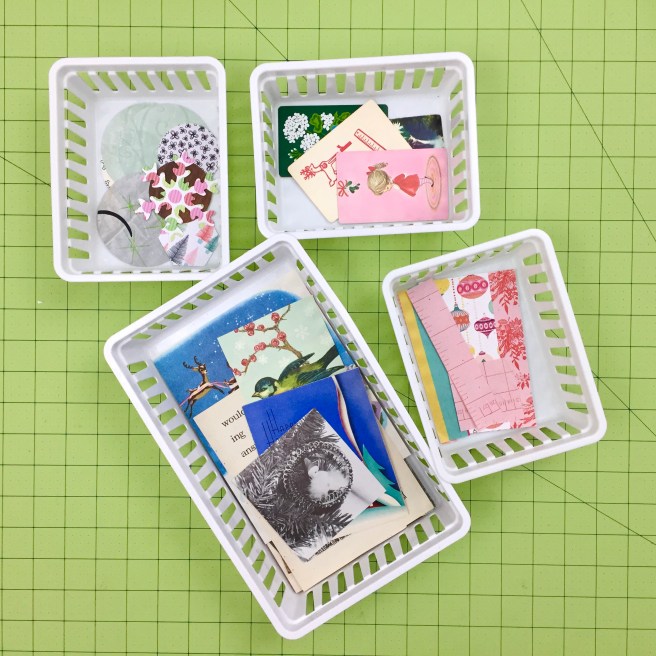
That being said, because of all the Christmas season commitments, I have fallen way behind on this journal. So in an effort to catch up, I had to pull apart the box I keep all my favorite Christmas journal ephemera in, and organize it all into small bins.

I organized my bins in order of size and use, meaning what I will start building my page up with first: backgrounds, tissue paper, paper pieces, doilies and larger images.

What I like to call the medium pieces, the most used to build up the page: smaller images, stickers, die cuts, memory keeping ephemera.

The smaller finishing pieces: postage stamps, labels, dates, word strips, small what-not.

Now when I try to blast through some pages, I just grab the right stack of bins and go to town! I may even try to get several page’s backgrounds done in one sitting, then go back and decorate. I hope this doesn’t sound too uncreative, but I like a challenge and throwing things onto a page with high hopes works for me.

Working with some of the things I’ve been holding onto for years is really a big part of my process right now. It’s really about getting some of this stuff onto the page!

So if I’ve kept it, I need to use it!

Well, I hope that this was a helpful post. Try this if your having a hard time getting a project finished, it might help. I’ve had to do this many times in the past. I tend to get overly inspired and have too many open projects that need tying up

I’ll be working on the memory keeping part of this journal in the next few days, so hopefully I’ll have another blog post up this week.

As always, Thank you for the visit,

Have a wonderful week,

~Patty
Advent Art Journal: Backgrounds

This week I’m going to share a little about how I create some of my background pages. Usually I mix in some book pages and scrapbook pages when I make my journals, but I had a lot of painted backgrounds I needed to use up…and still do.

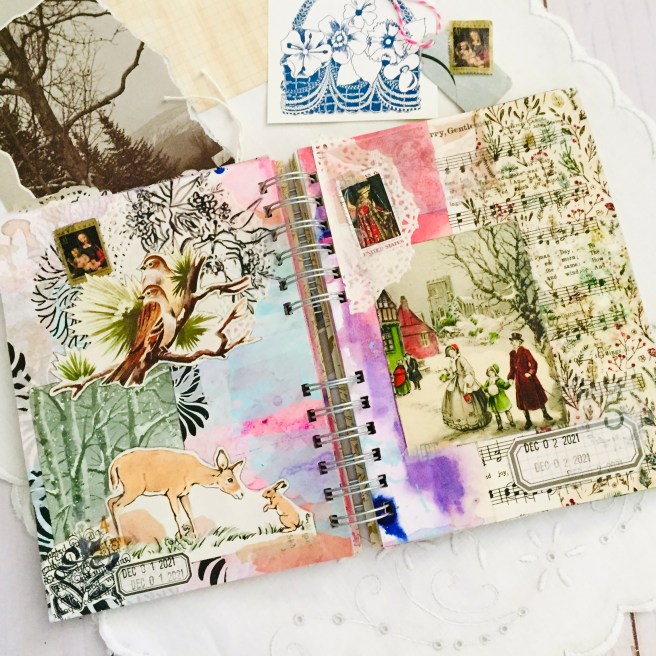
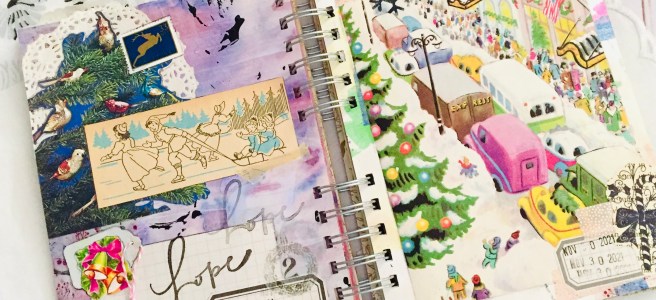
On the righthand side of this page page spread there wasn’t very much paint, so I was able to use a book page I’ve been holding on to for quite a long time. I love Christmas city scenes!

When I’m tea or coffee dying I’ll let them dry on large sheets of paper, you can see at the upper right where I dyed a paper doily. On this one I scraped on some paint, scribbled with gelatos, then squirted it with water.

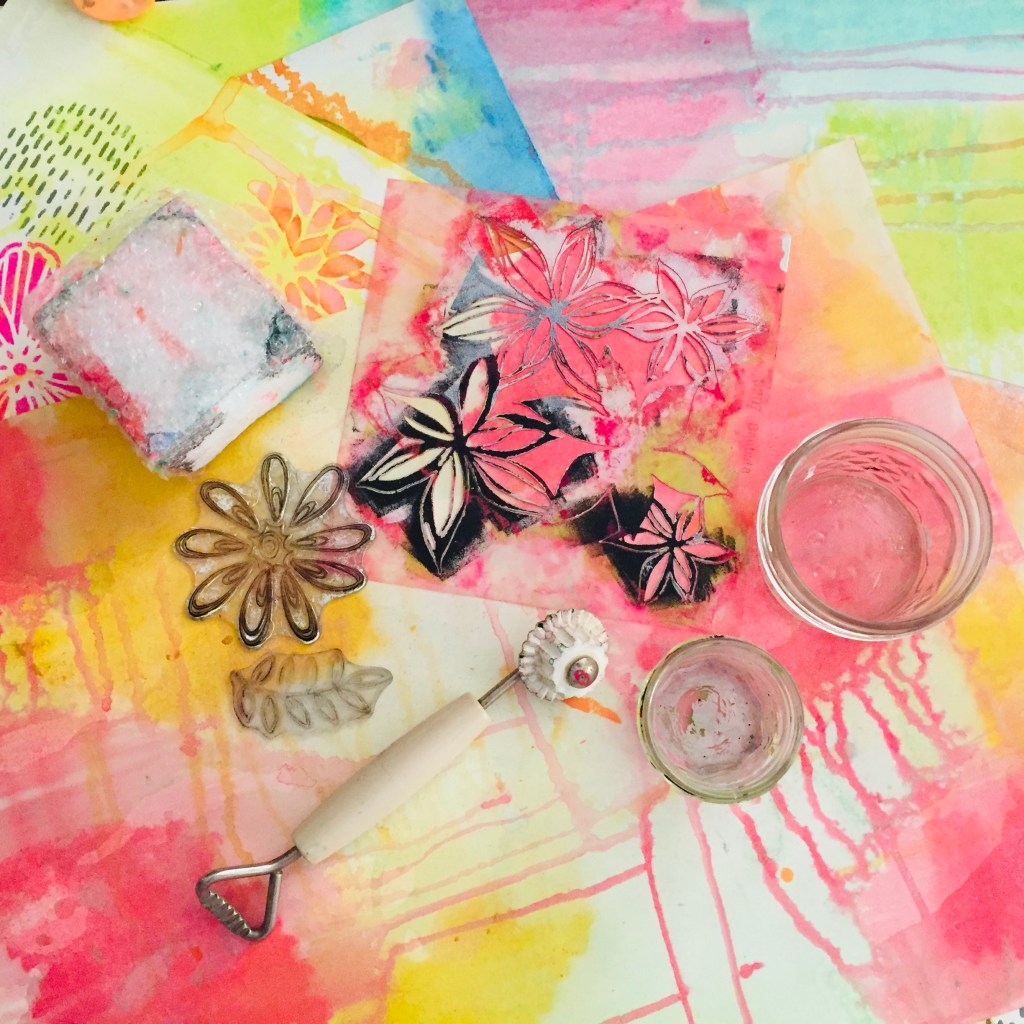
Here are a few things I work with when create a background page: acrylic craft paint, gelatos (I’m trying to use them up before they dry out), and a water bottle for drippy bits. I’ll use 9″x12″ mixed media or 18″x24 drawing paper, or whatever is available or on sale. I think I prefer 70 pound paper, I find once you’ve filled it with paint it becomes strong enough to take any mixed media you want to use on it.

Once I’ve painted to my hearts content (or until I’m tired of cleaning up), I’ll add some neutral accents with small jars, rubber stamps, bubble wrap, stencils, and lines with my mom’s old pie crimper. (Funny, I don’t remember any pies growing up, she more than likely used the bottle opener. That’s my Mom!)

The other day I was thinking that some of the backgrounds looks like the Northern Lights

You can see how some of the elements seem to melt into the page and the neutral images calm the color a bit. I specifically chose a lot of muted ephemera pieces for this project because some of the backgrounds were so vibrant.

The more I work in this journal, the more things I find I want to share, I’m making a list.

Hopefully things won’t get too busy to keep up with this season, I seem to keep finding more creative things to do! Lots of fun, but a bit tiring.

If I missed something and you have any questions, please feel free to ask in the comments.

As always,

Thank you so much for stooping by,

Talk to you soon,

~Patty