Yes, I took another break from blogging. Mostly because I didn’t have a lot to say. I do that a lot, I clam up when I’m feeling all the feels, if you know what I mean. It’s not a bad habit as some people might call it, it’s just how I’m wired.
I actually took a pretty big break from art/junk journaling for the better part of last year, which I haven’t done in almost 20 years art/junk journaling.
And when I started up again, I found I needed a soft place to land.
Also, I felt as if I really needed to do more downsizing and using up, too much clutter stifles my creativity. I closed my Etsy shoppe last spring, and in doing so I just threw everything into boxes. So, the first thing I did this year was go through all my containers and reorganize…I have a lot of stuff!
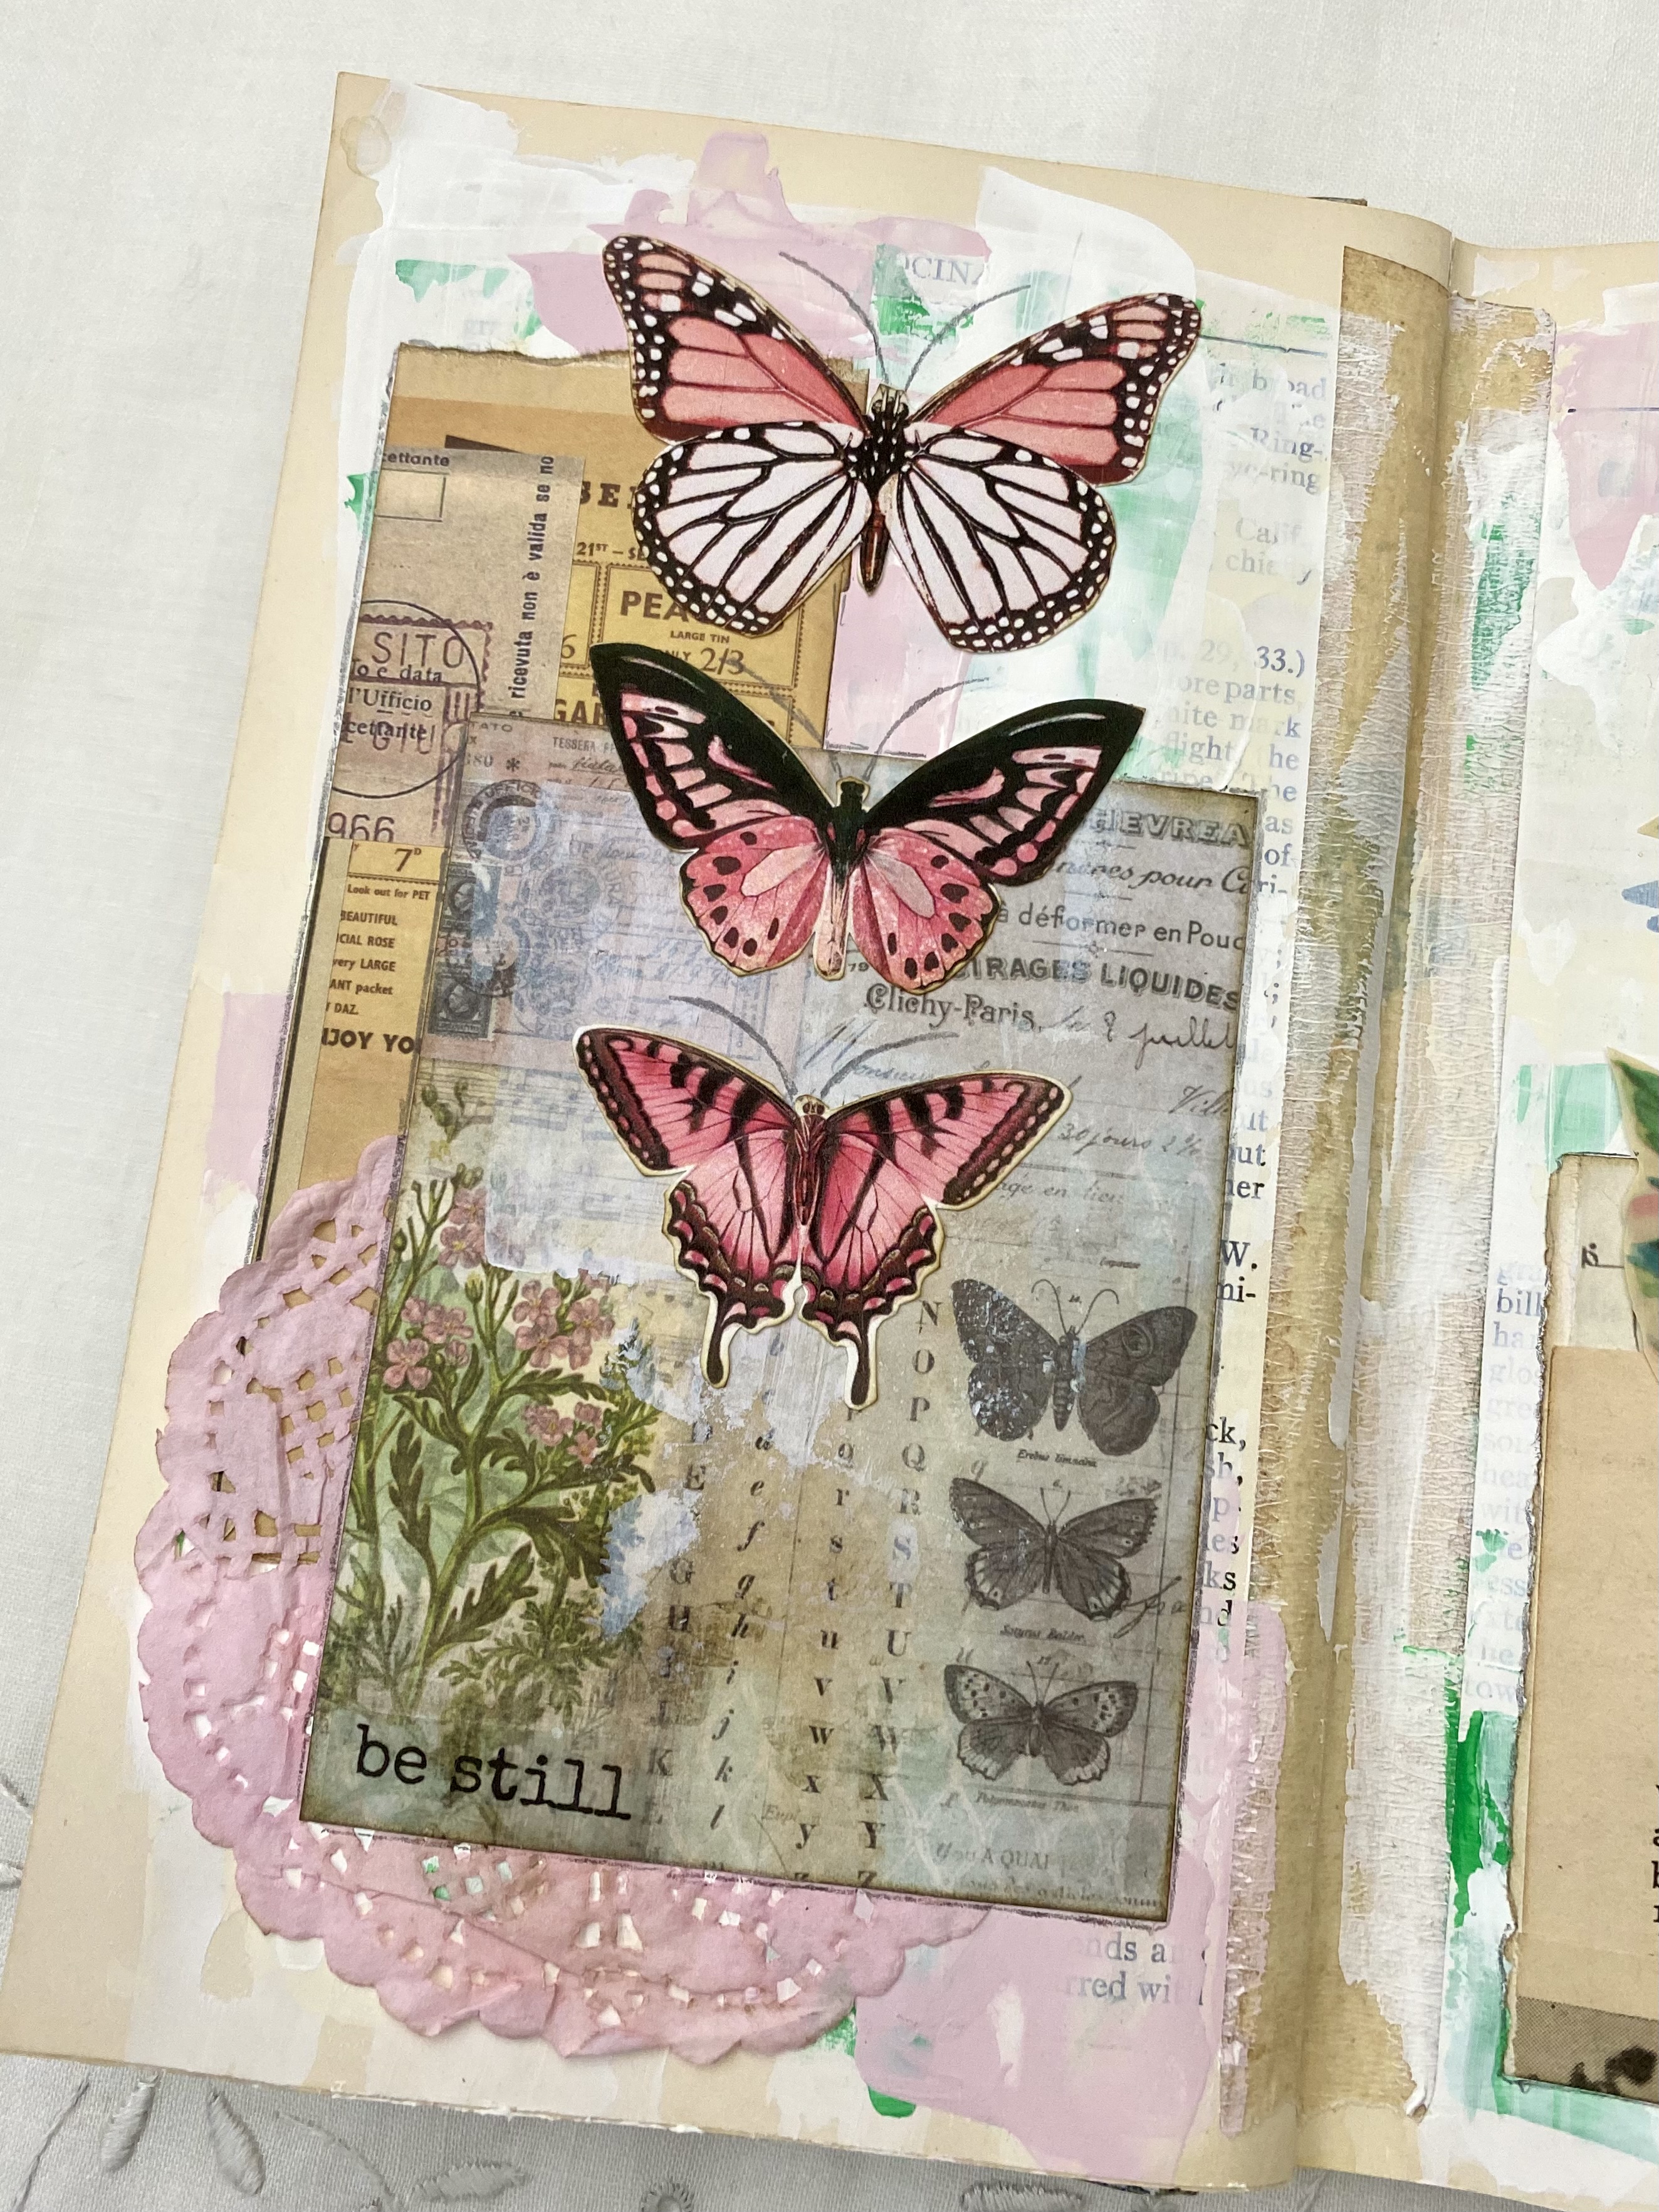
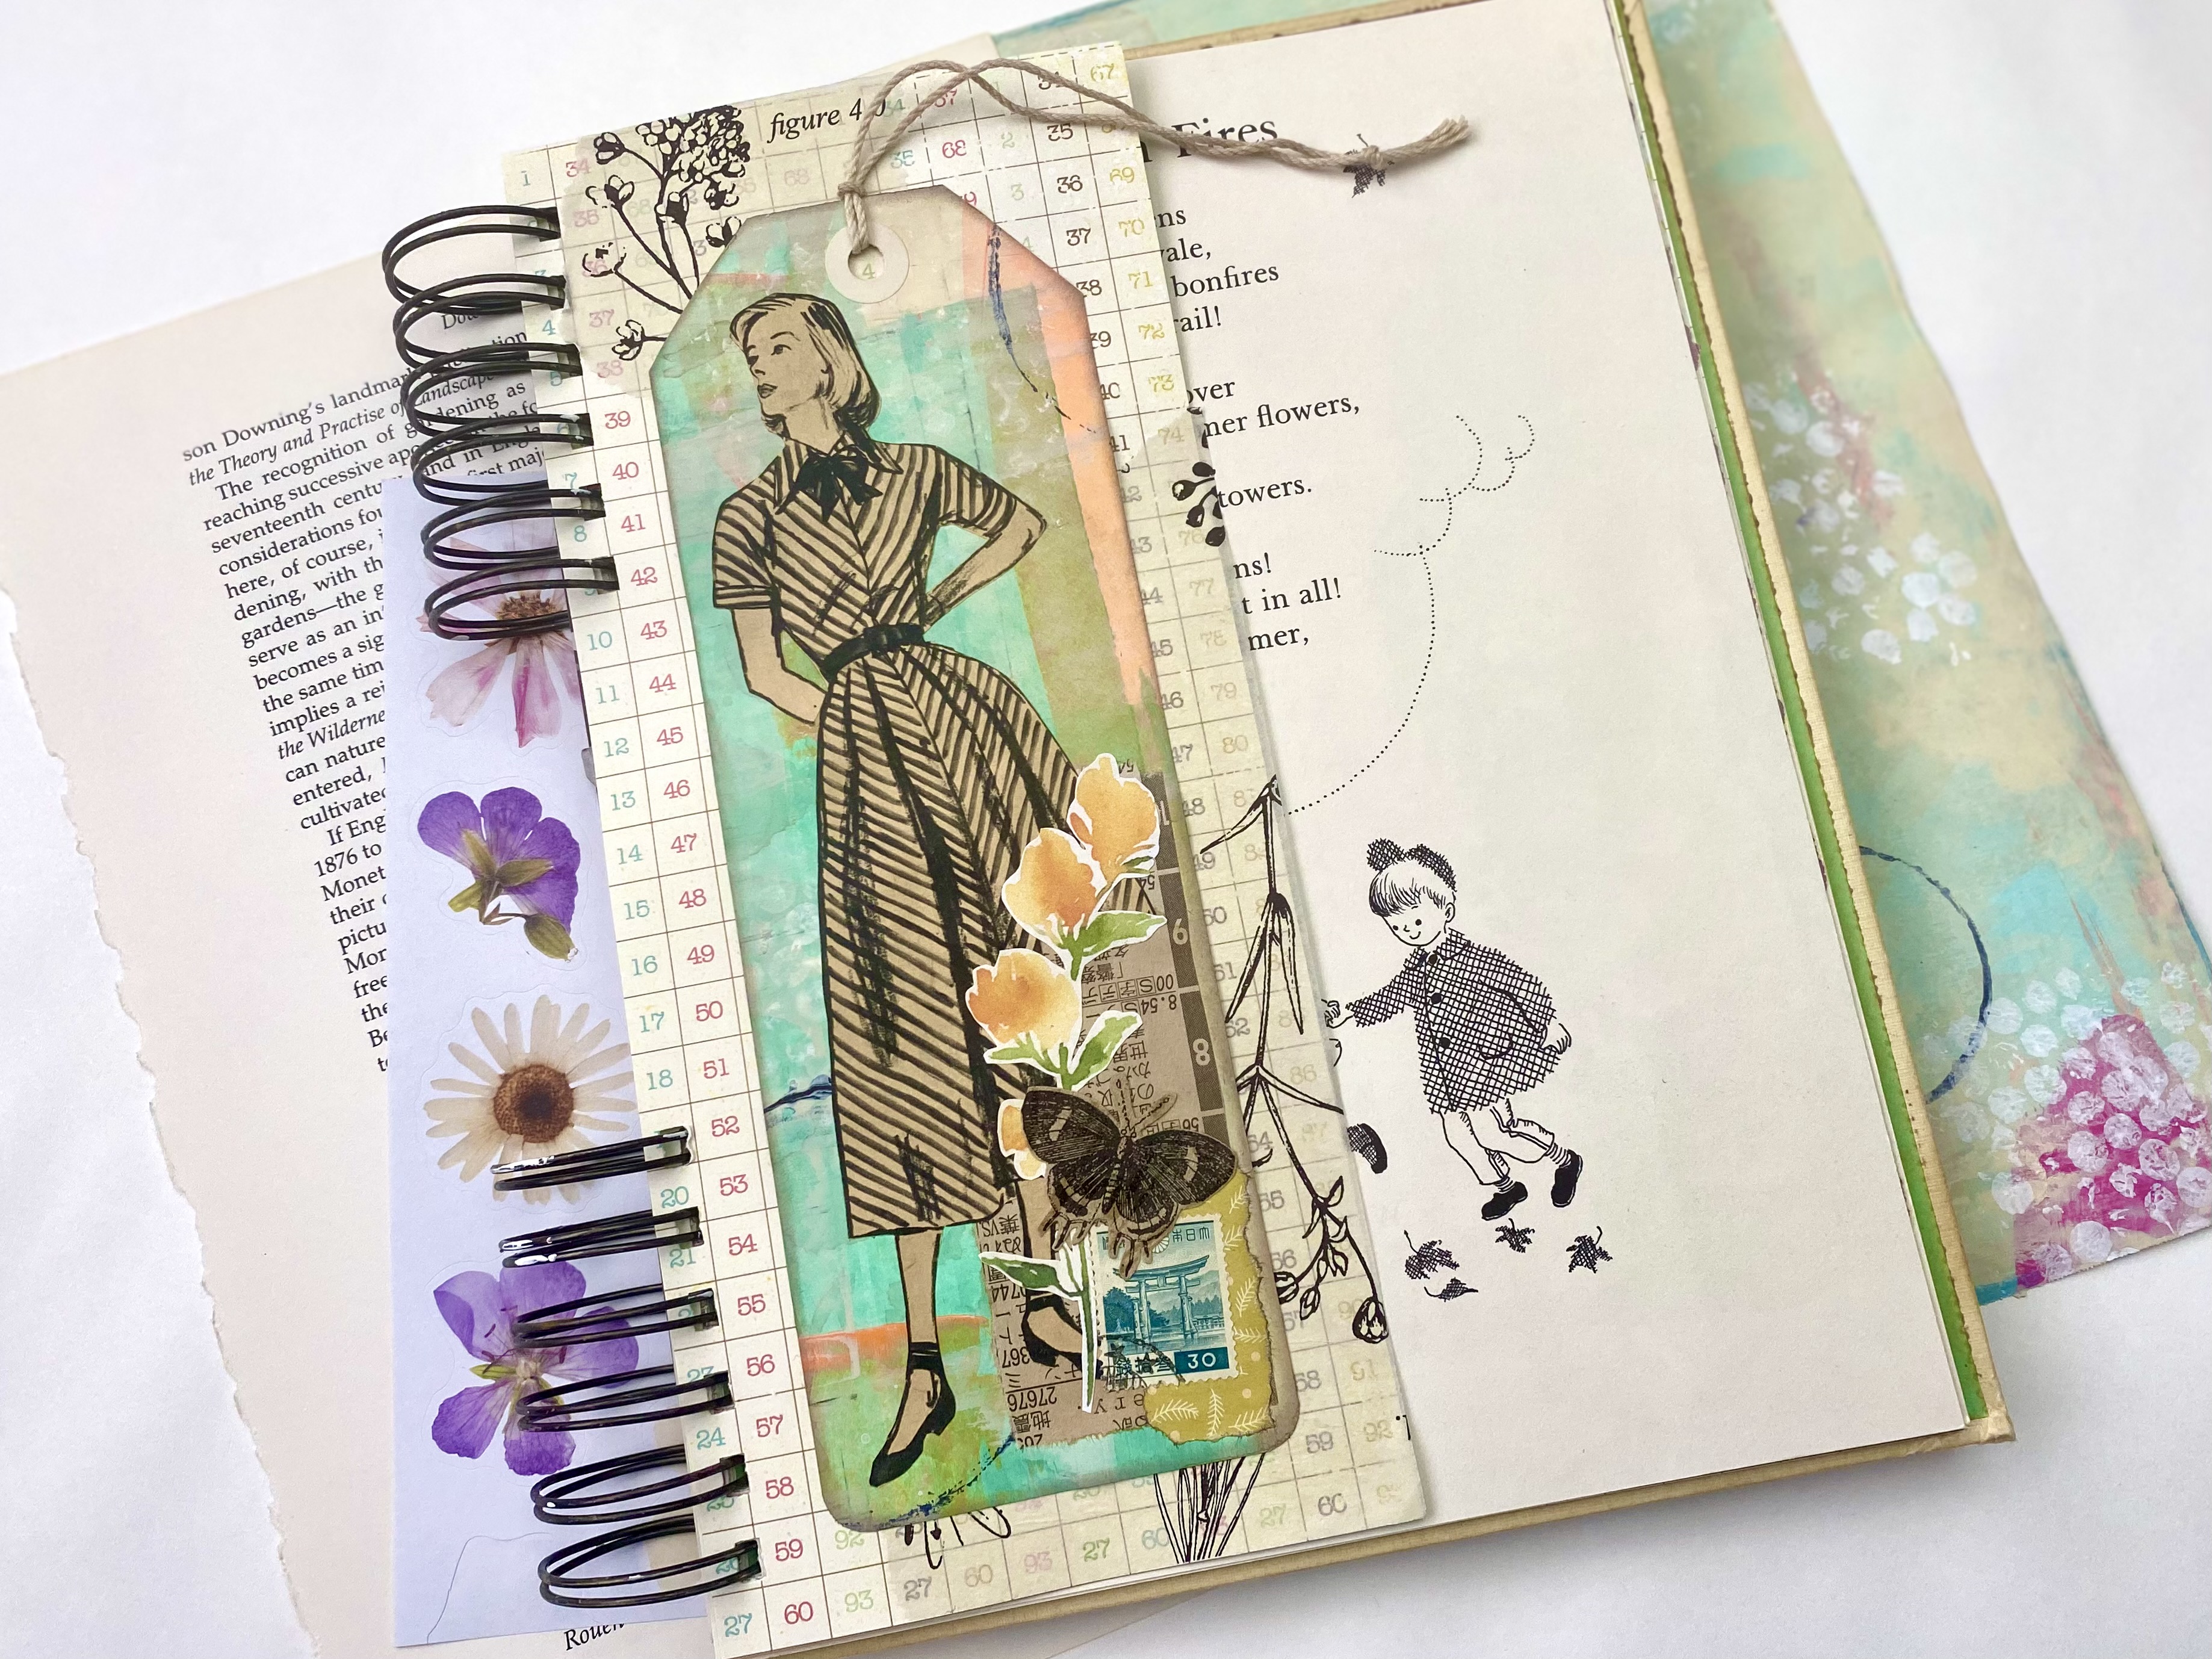
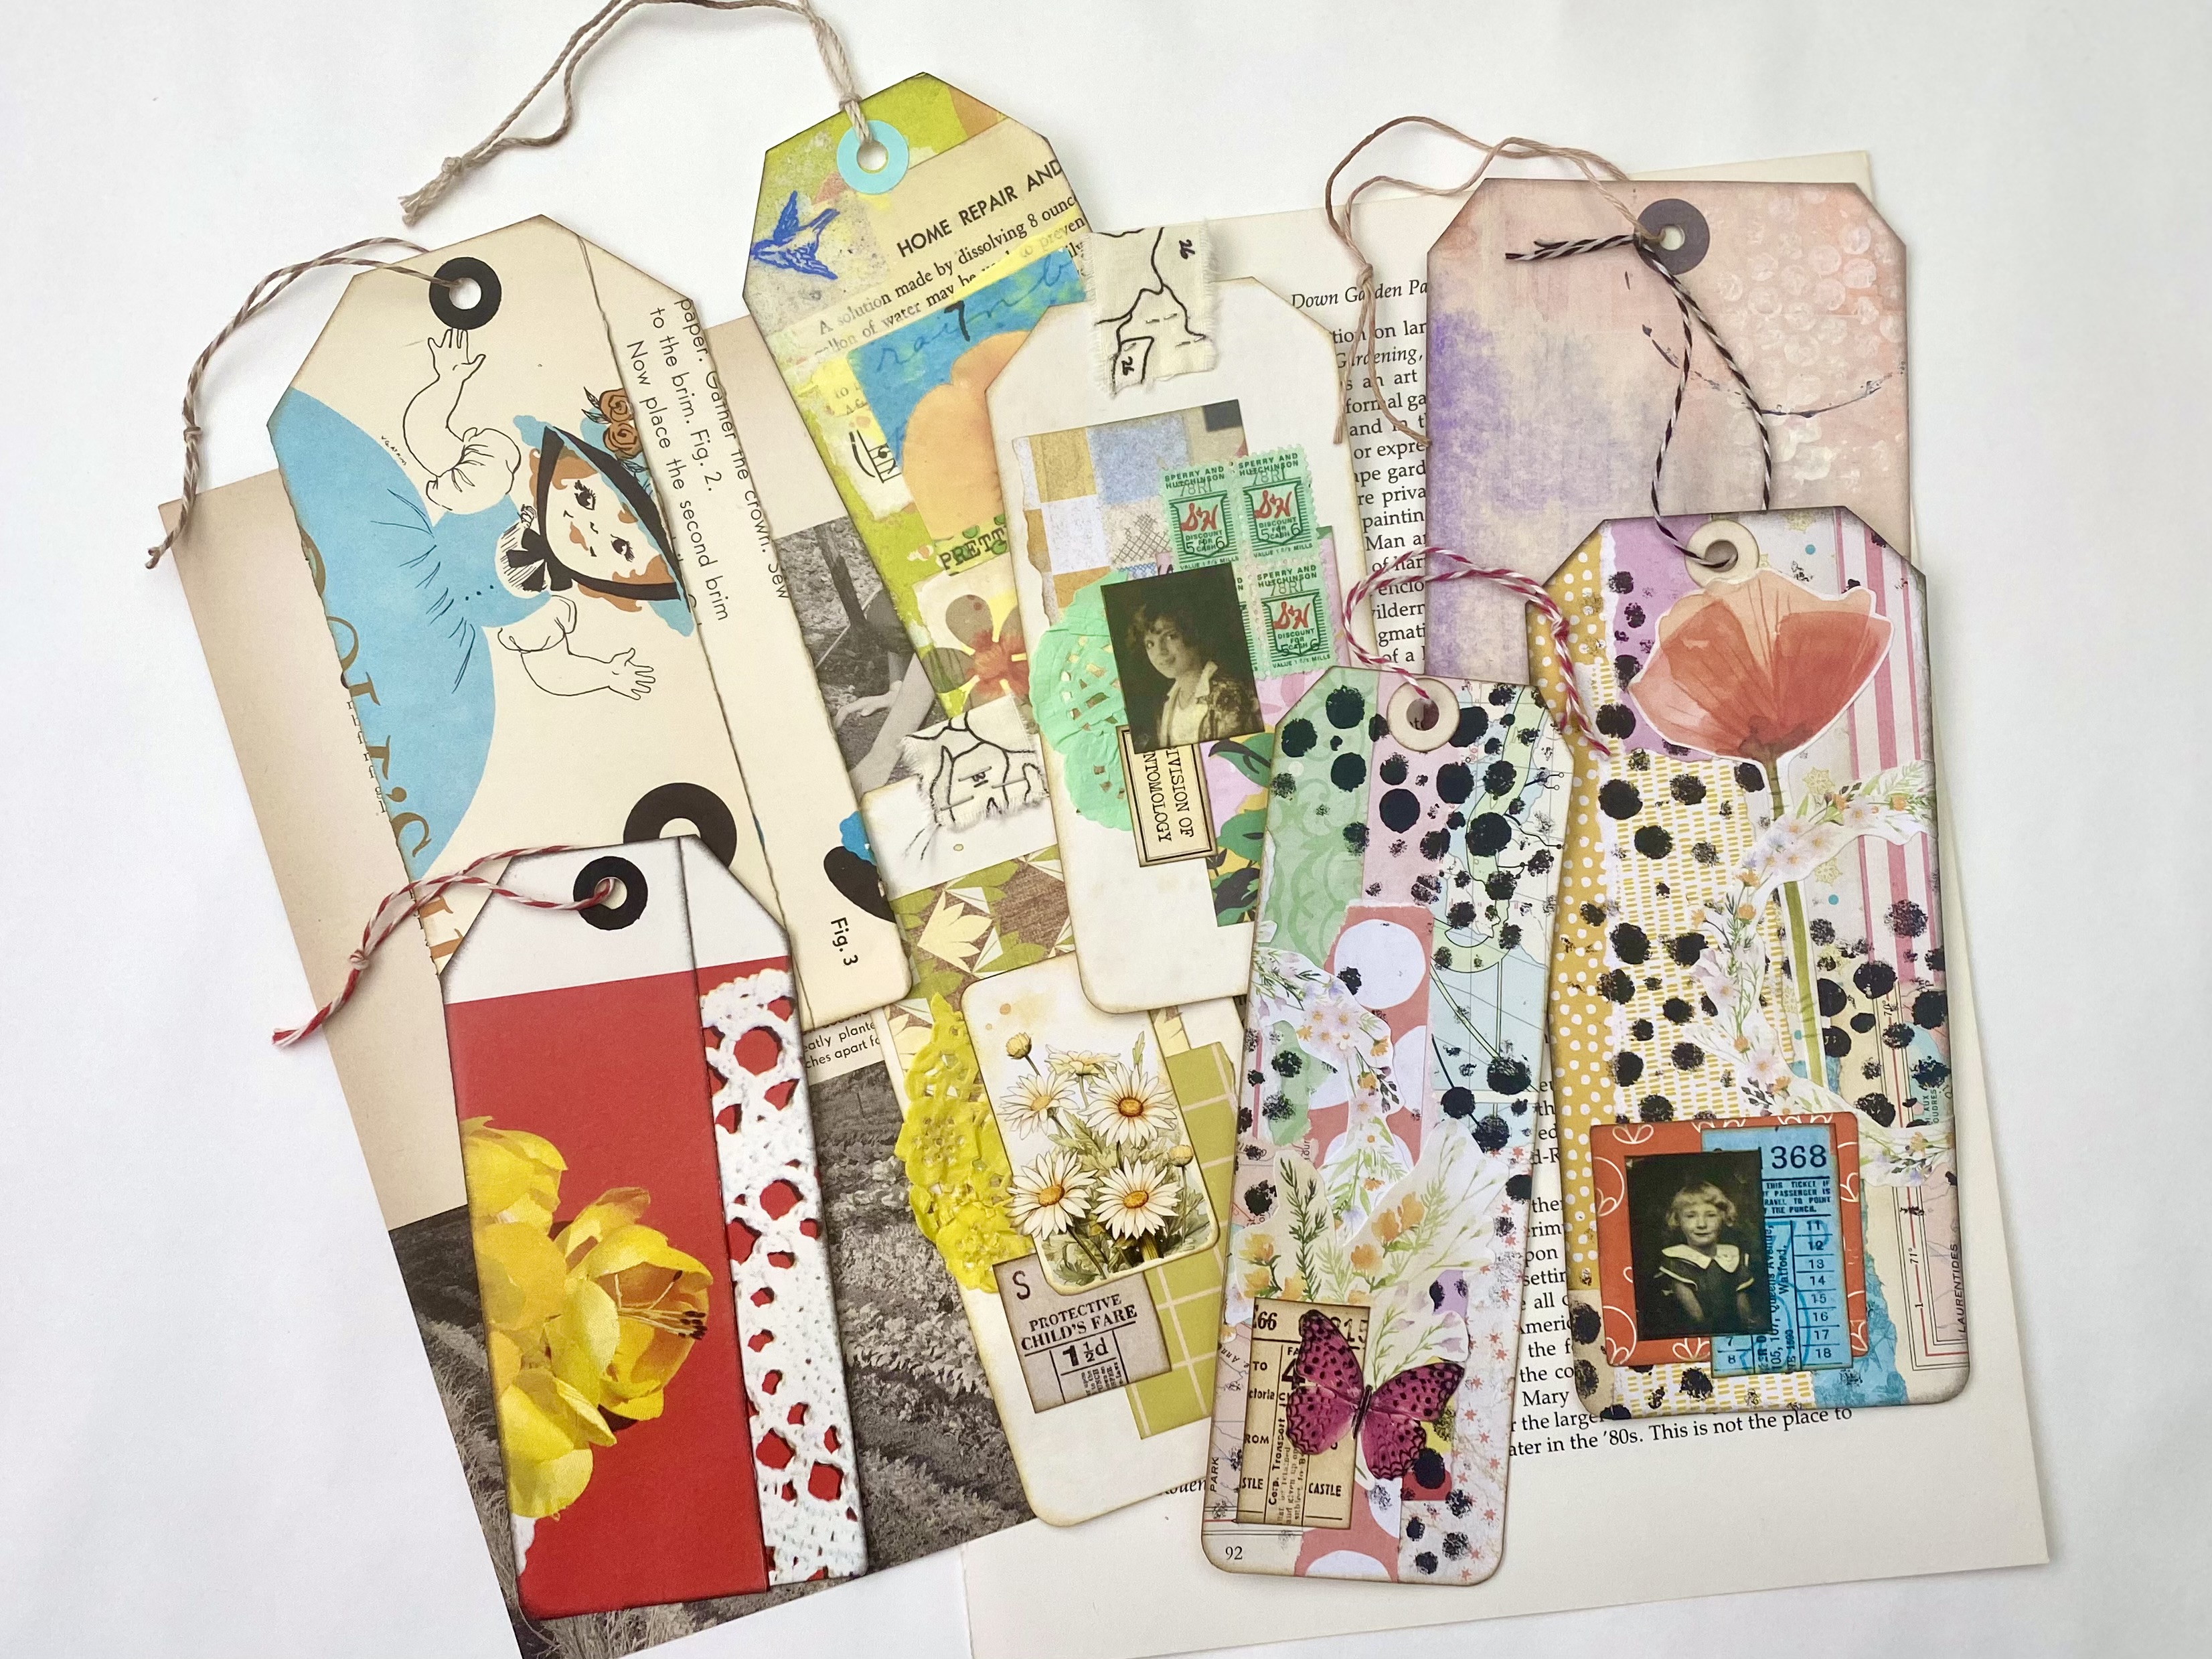
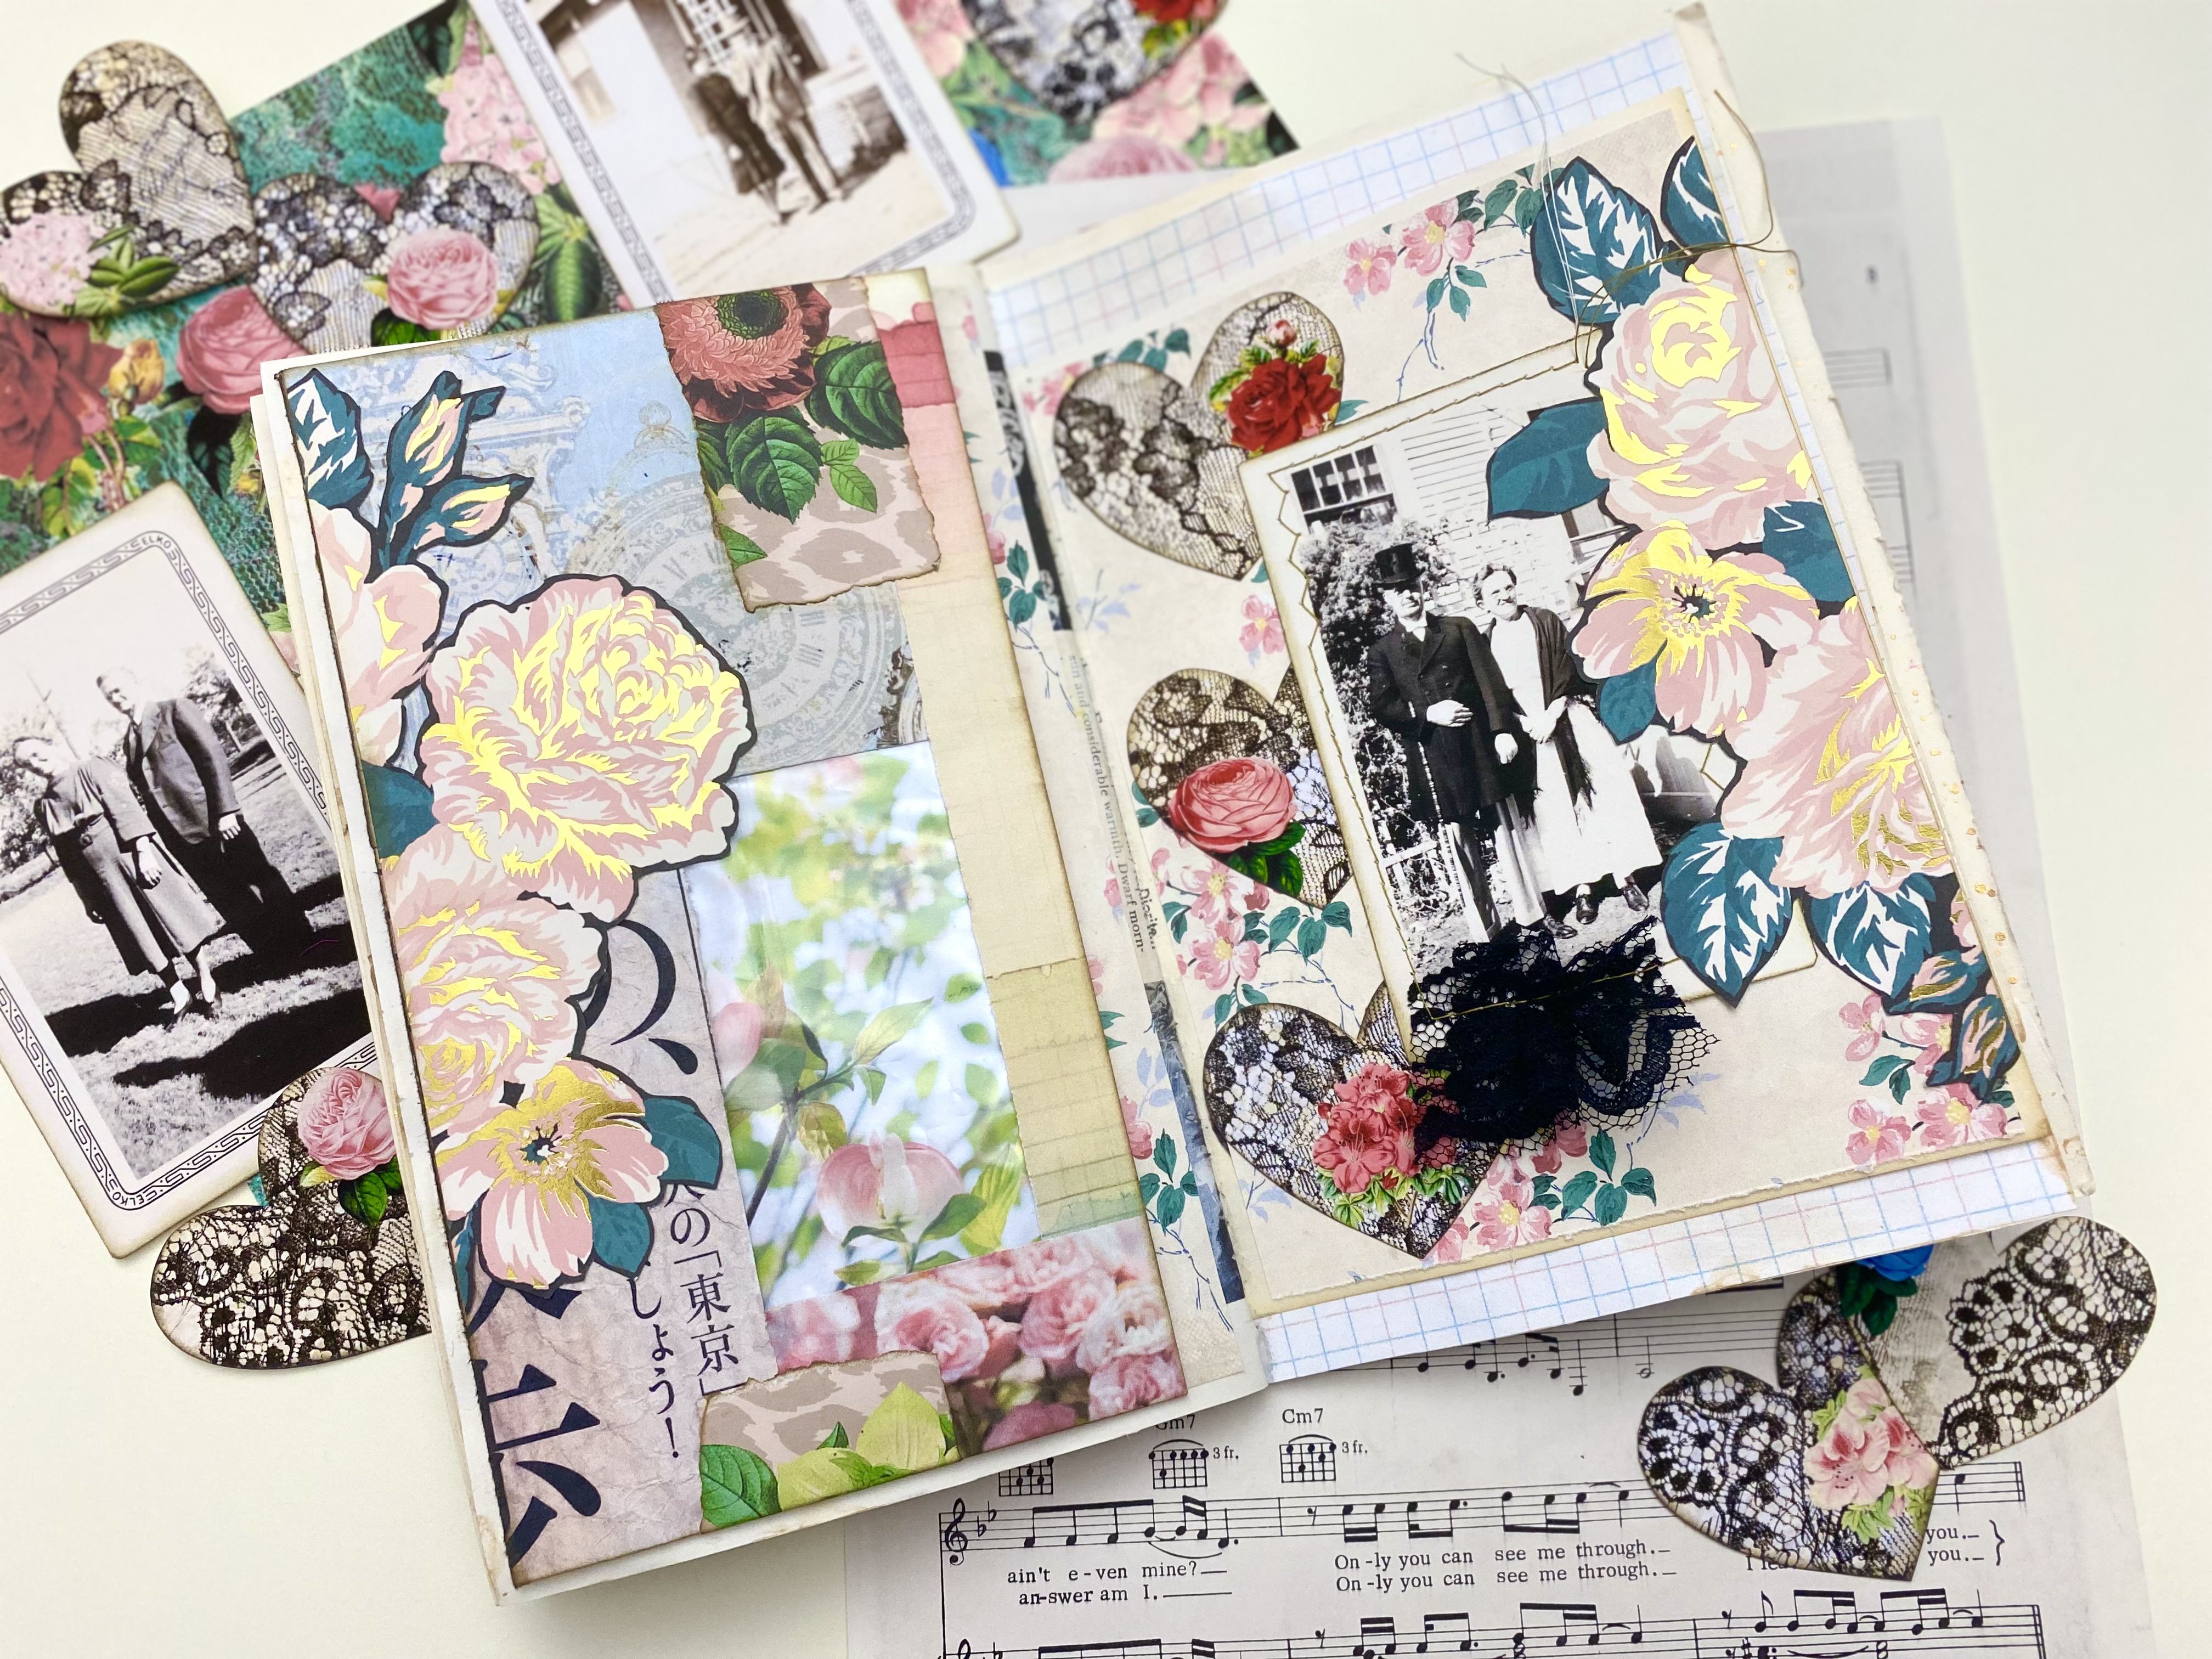
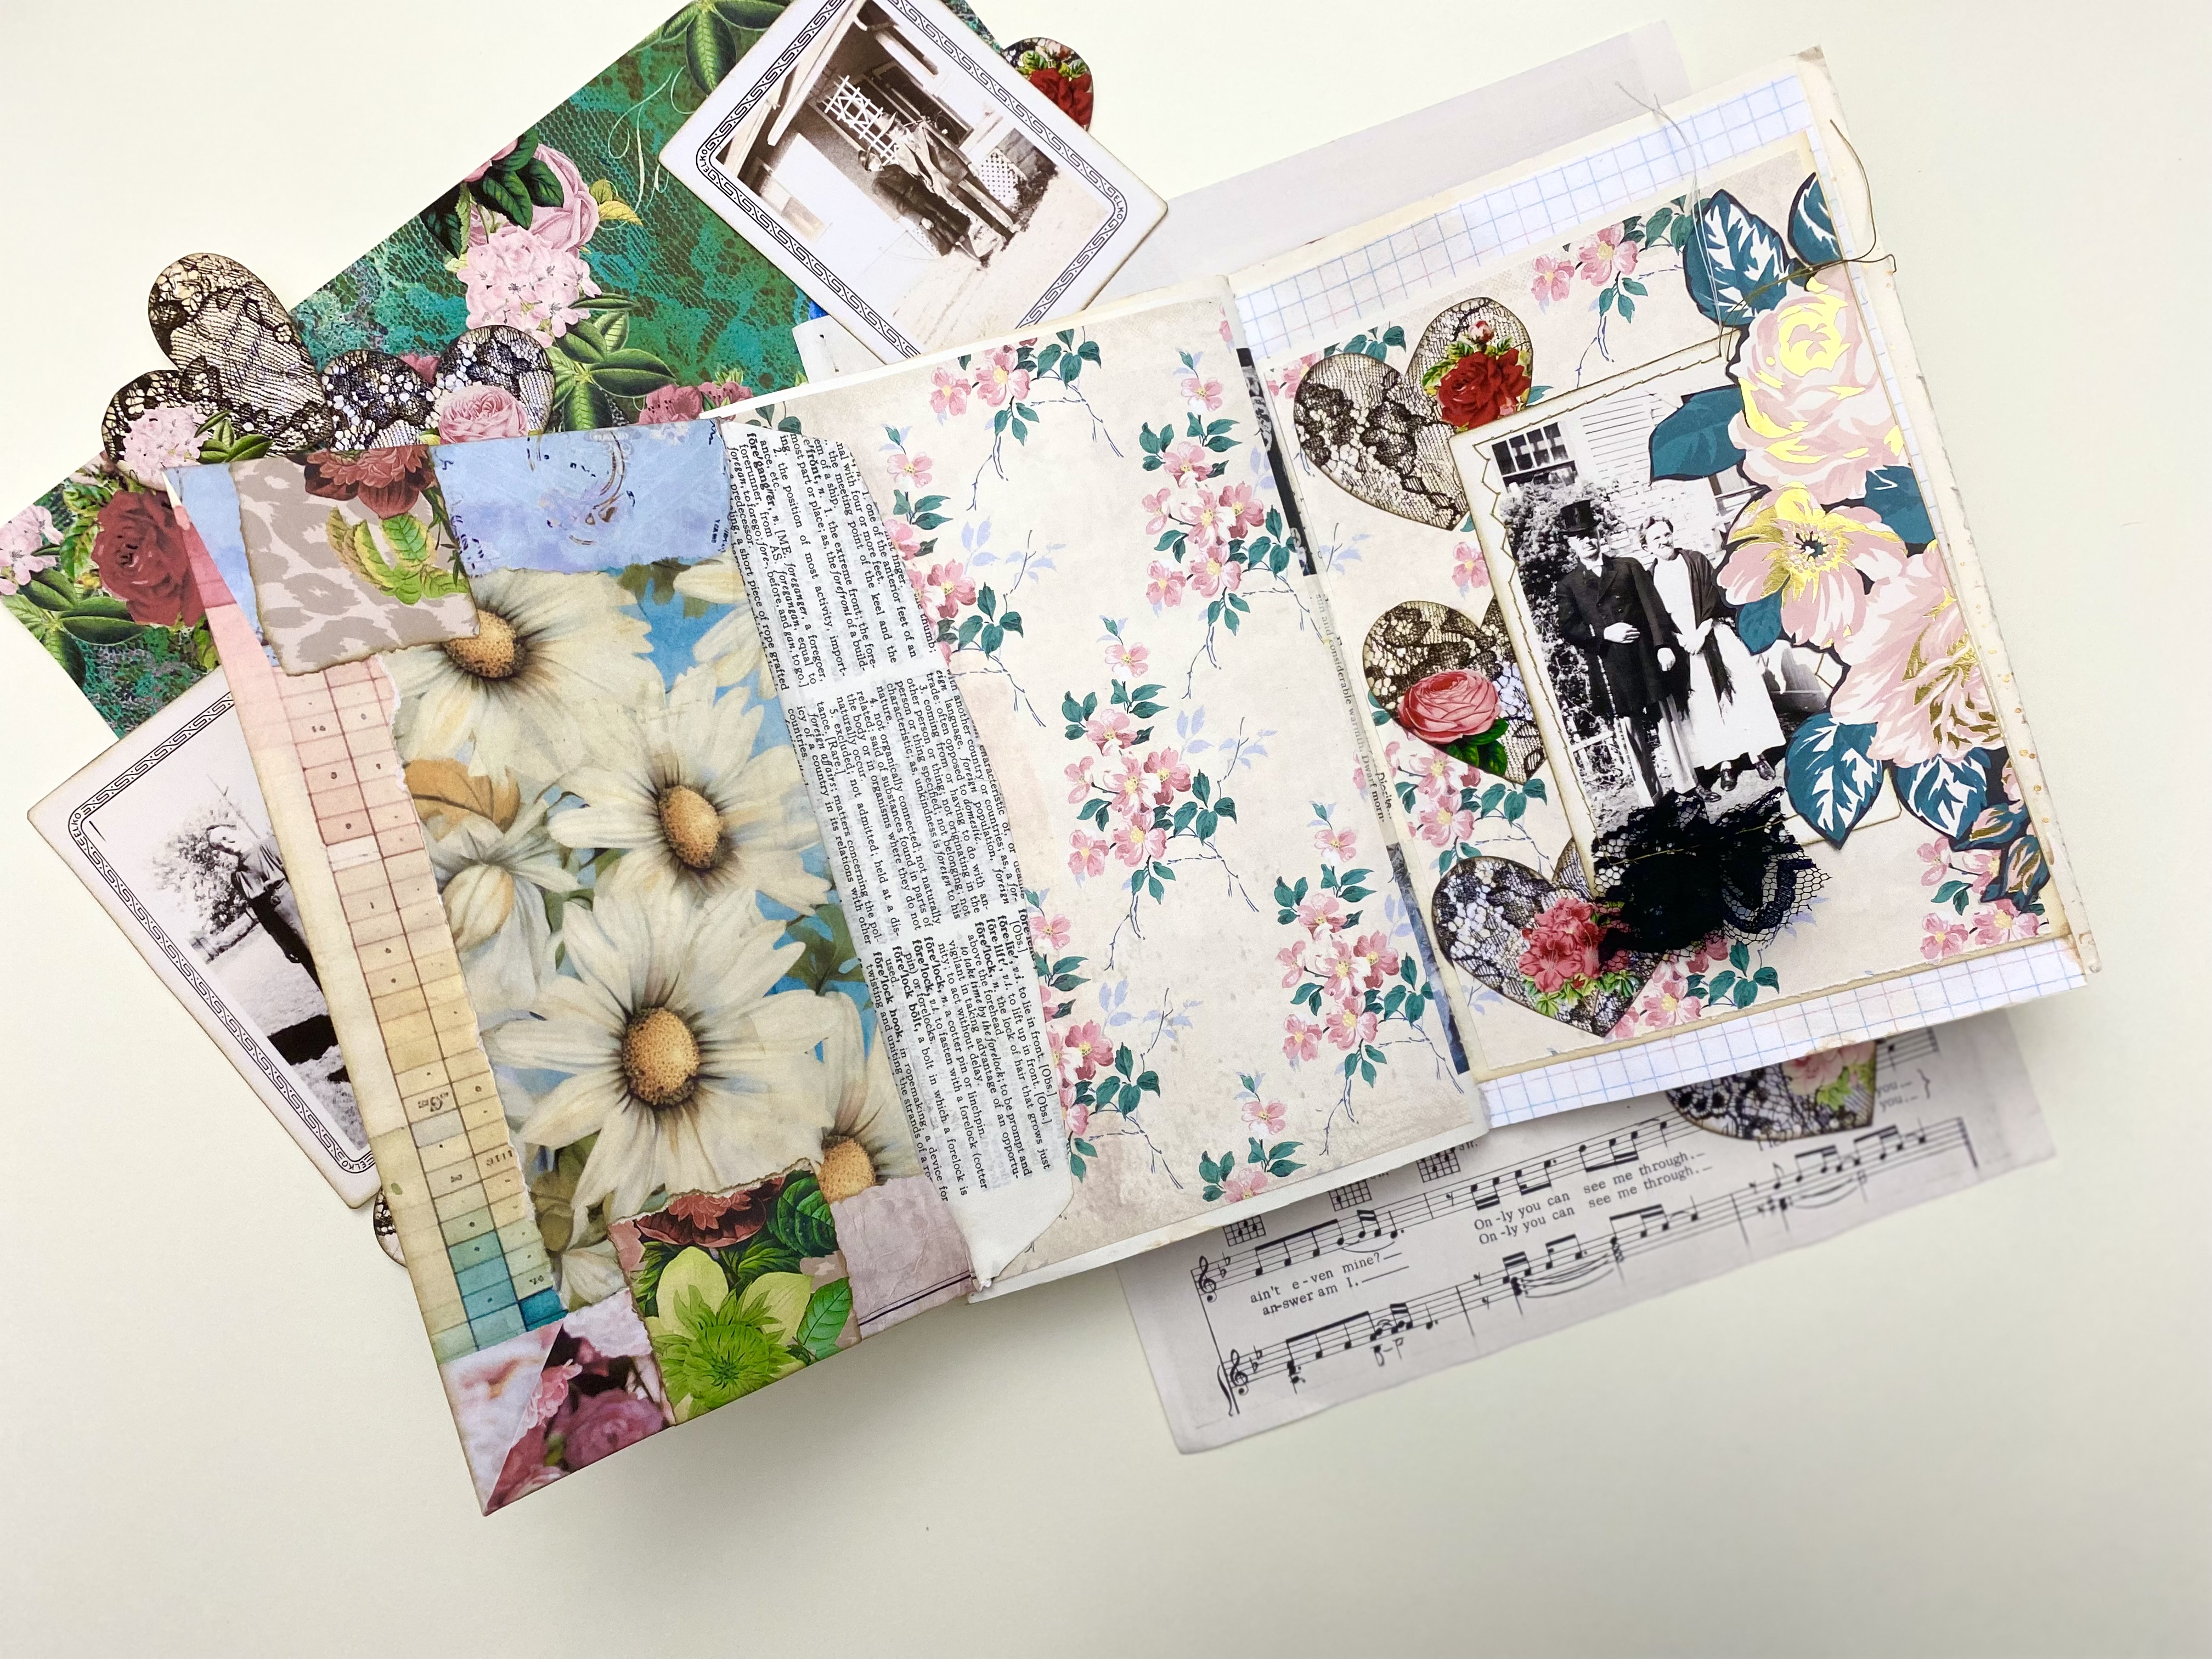
Then I tackled my supply of kitsch and colorful. I still love color, but I’m over my pages looking like a hippy bus. I don’t want to go completely neutral, but our art/junk journaling needs to…has to…reflect our state of mind and spirit. If gluing sequins onto paper is what puts a spring in your step, I say go for it, absolutely and unapologetically!
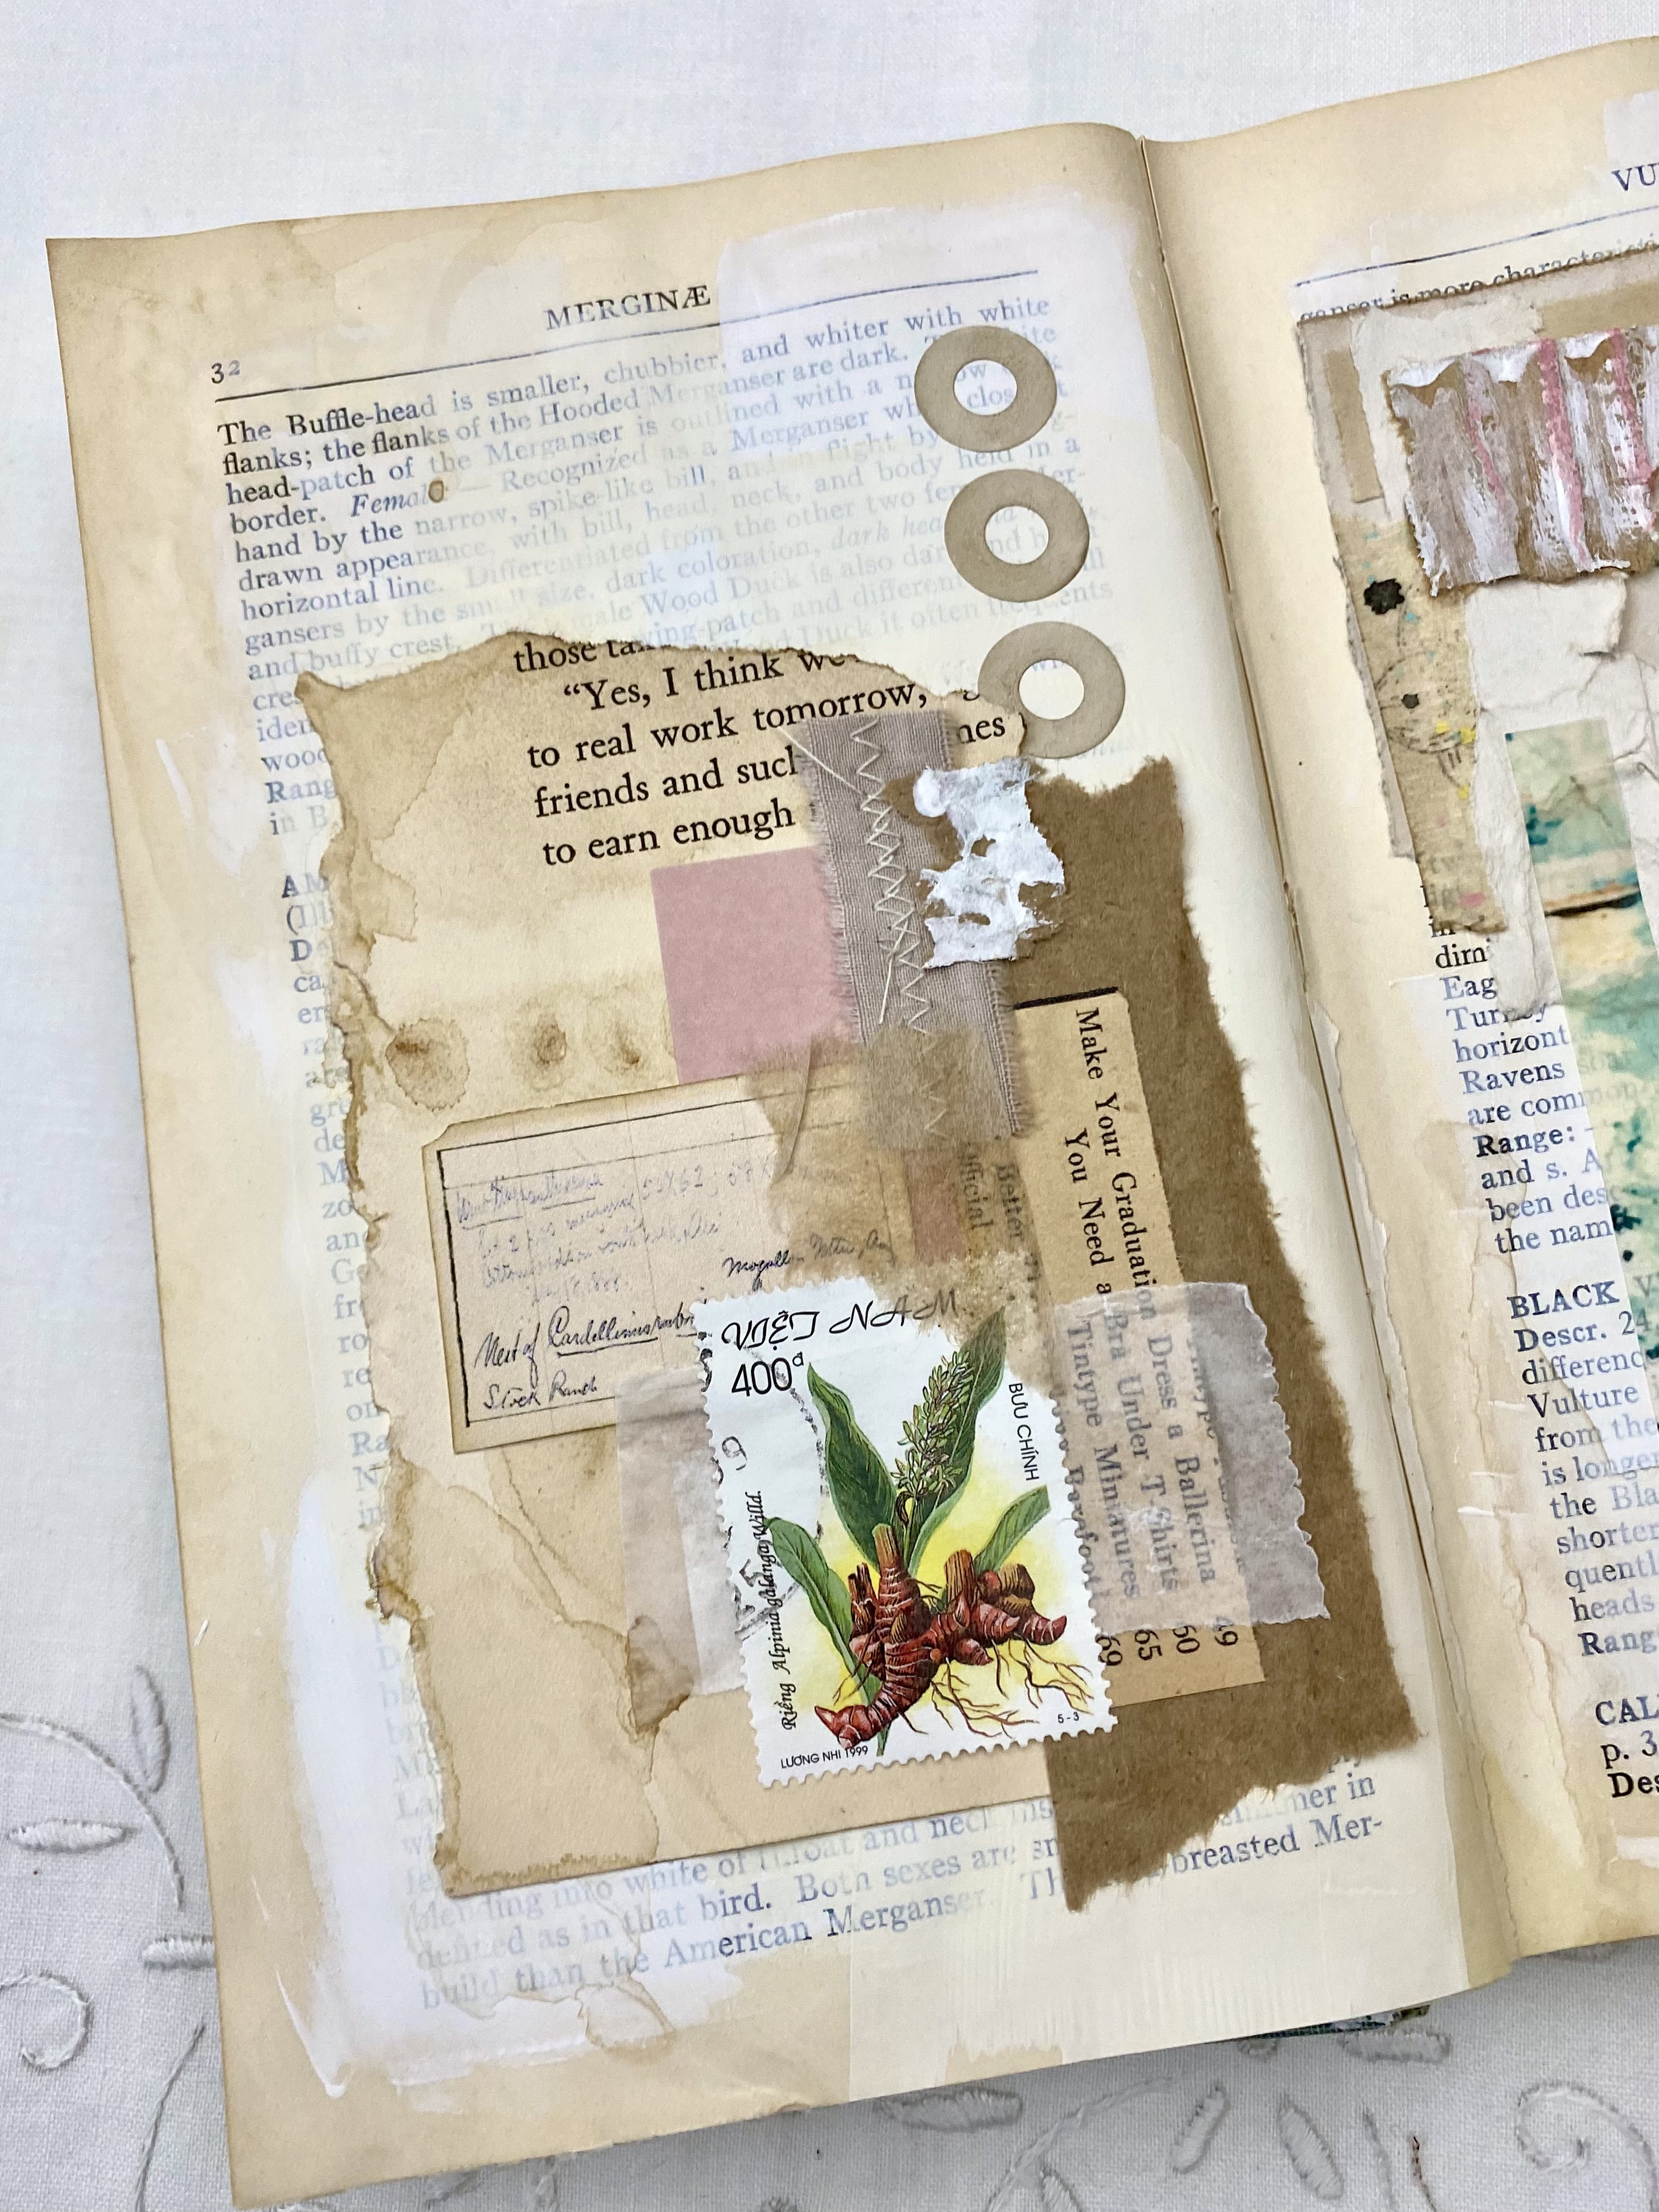
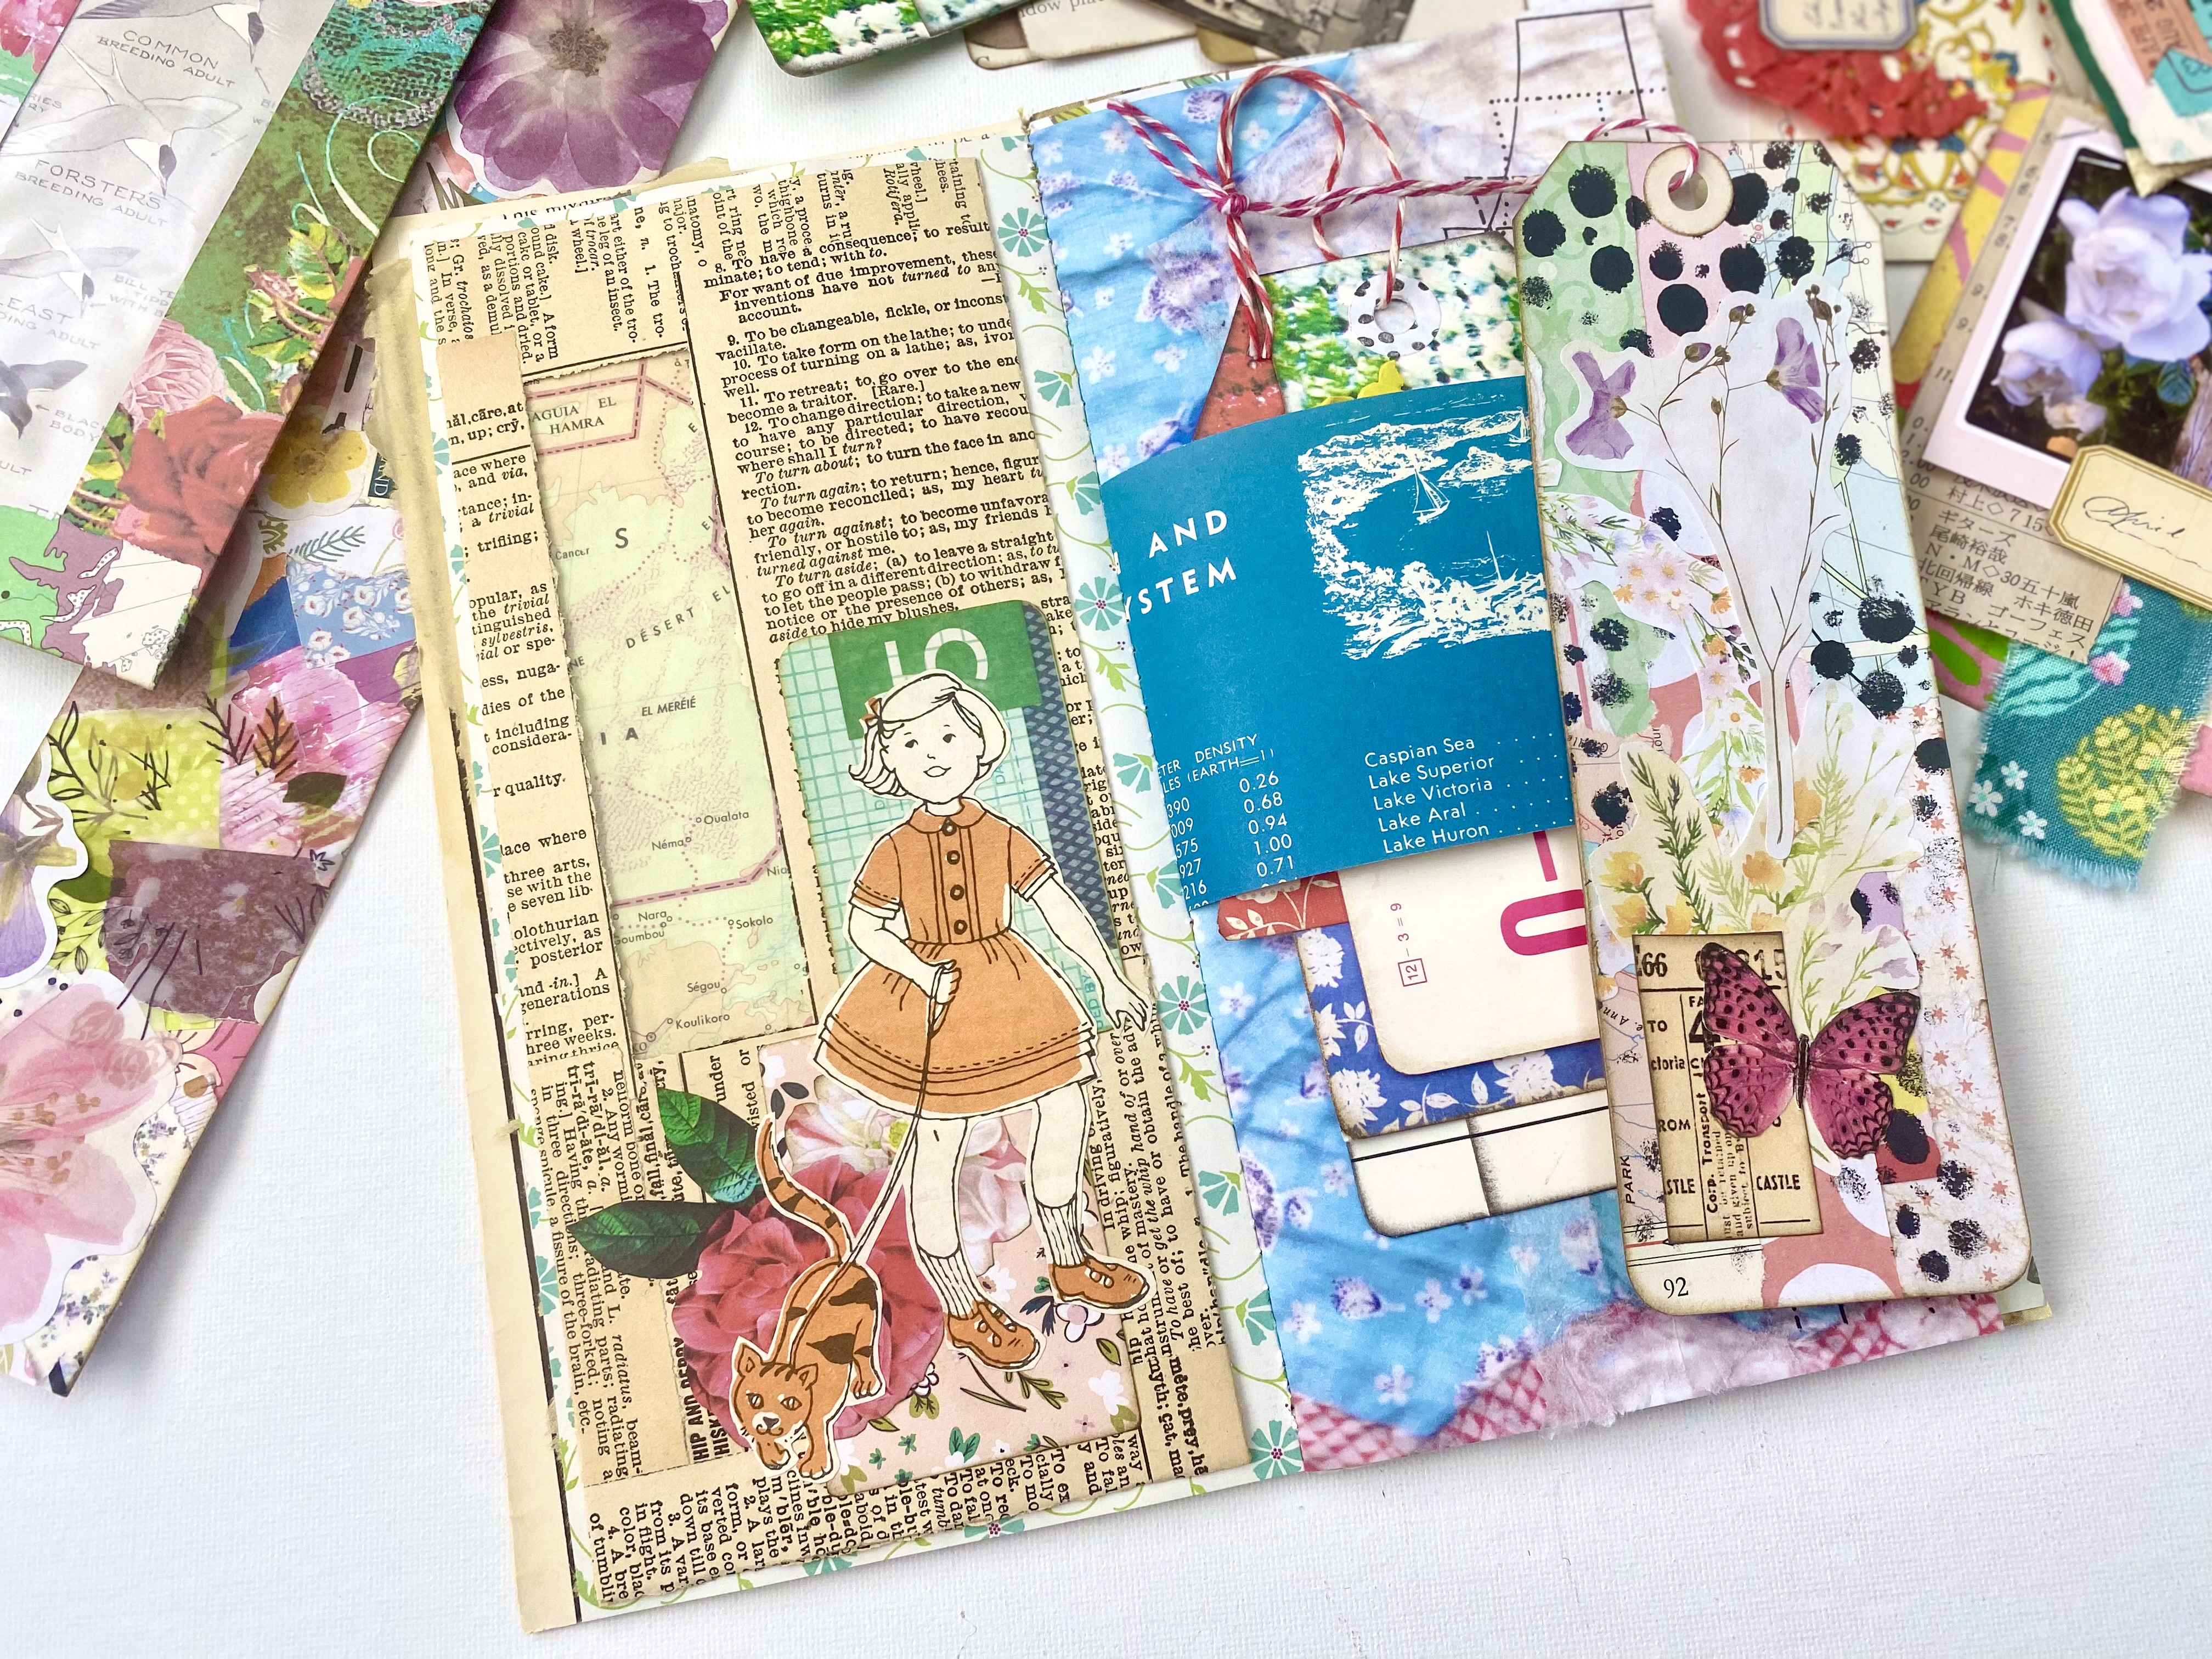
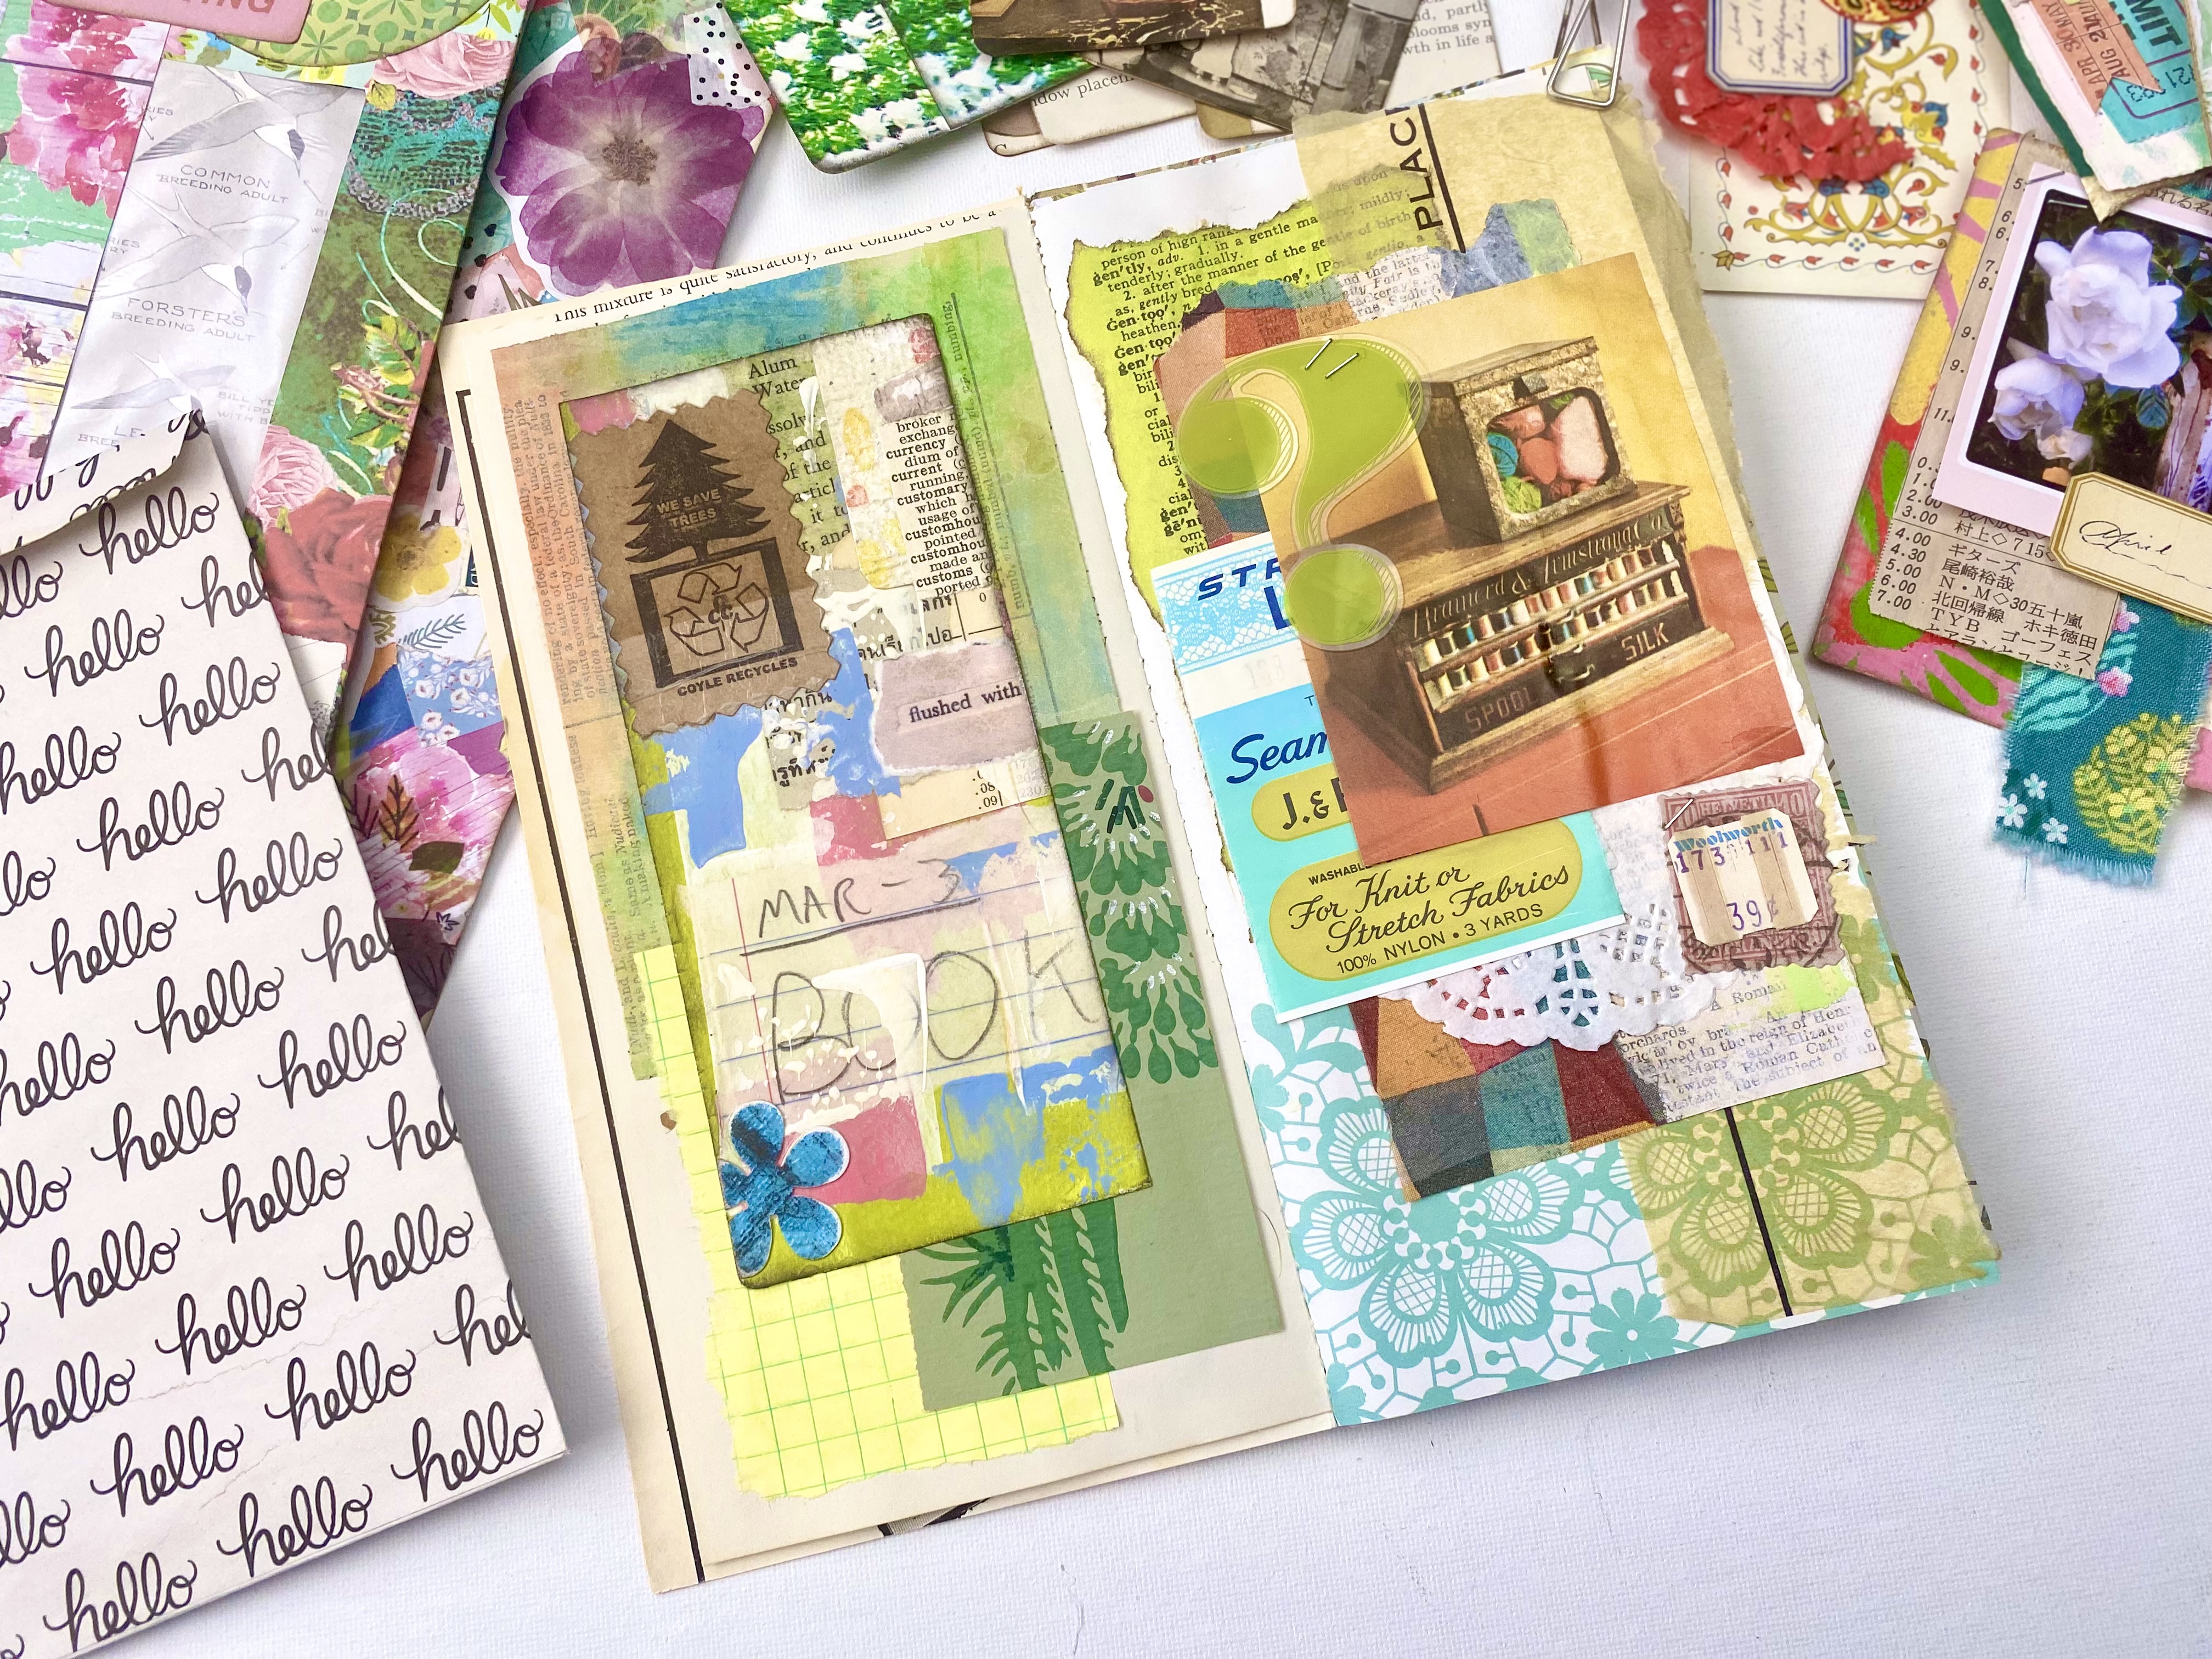
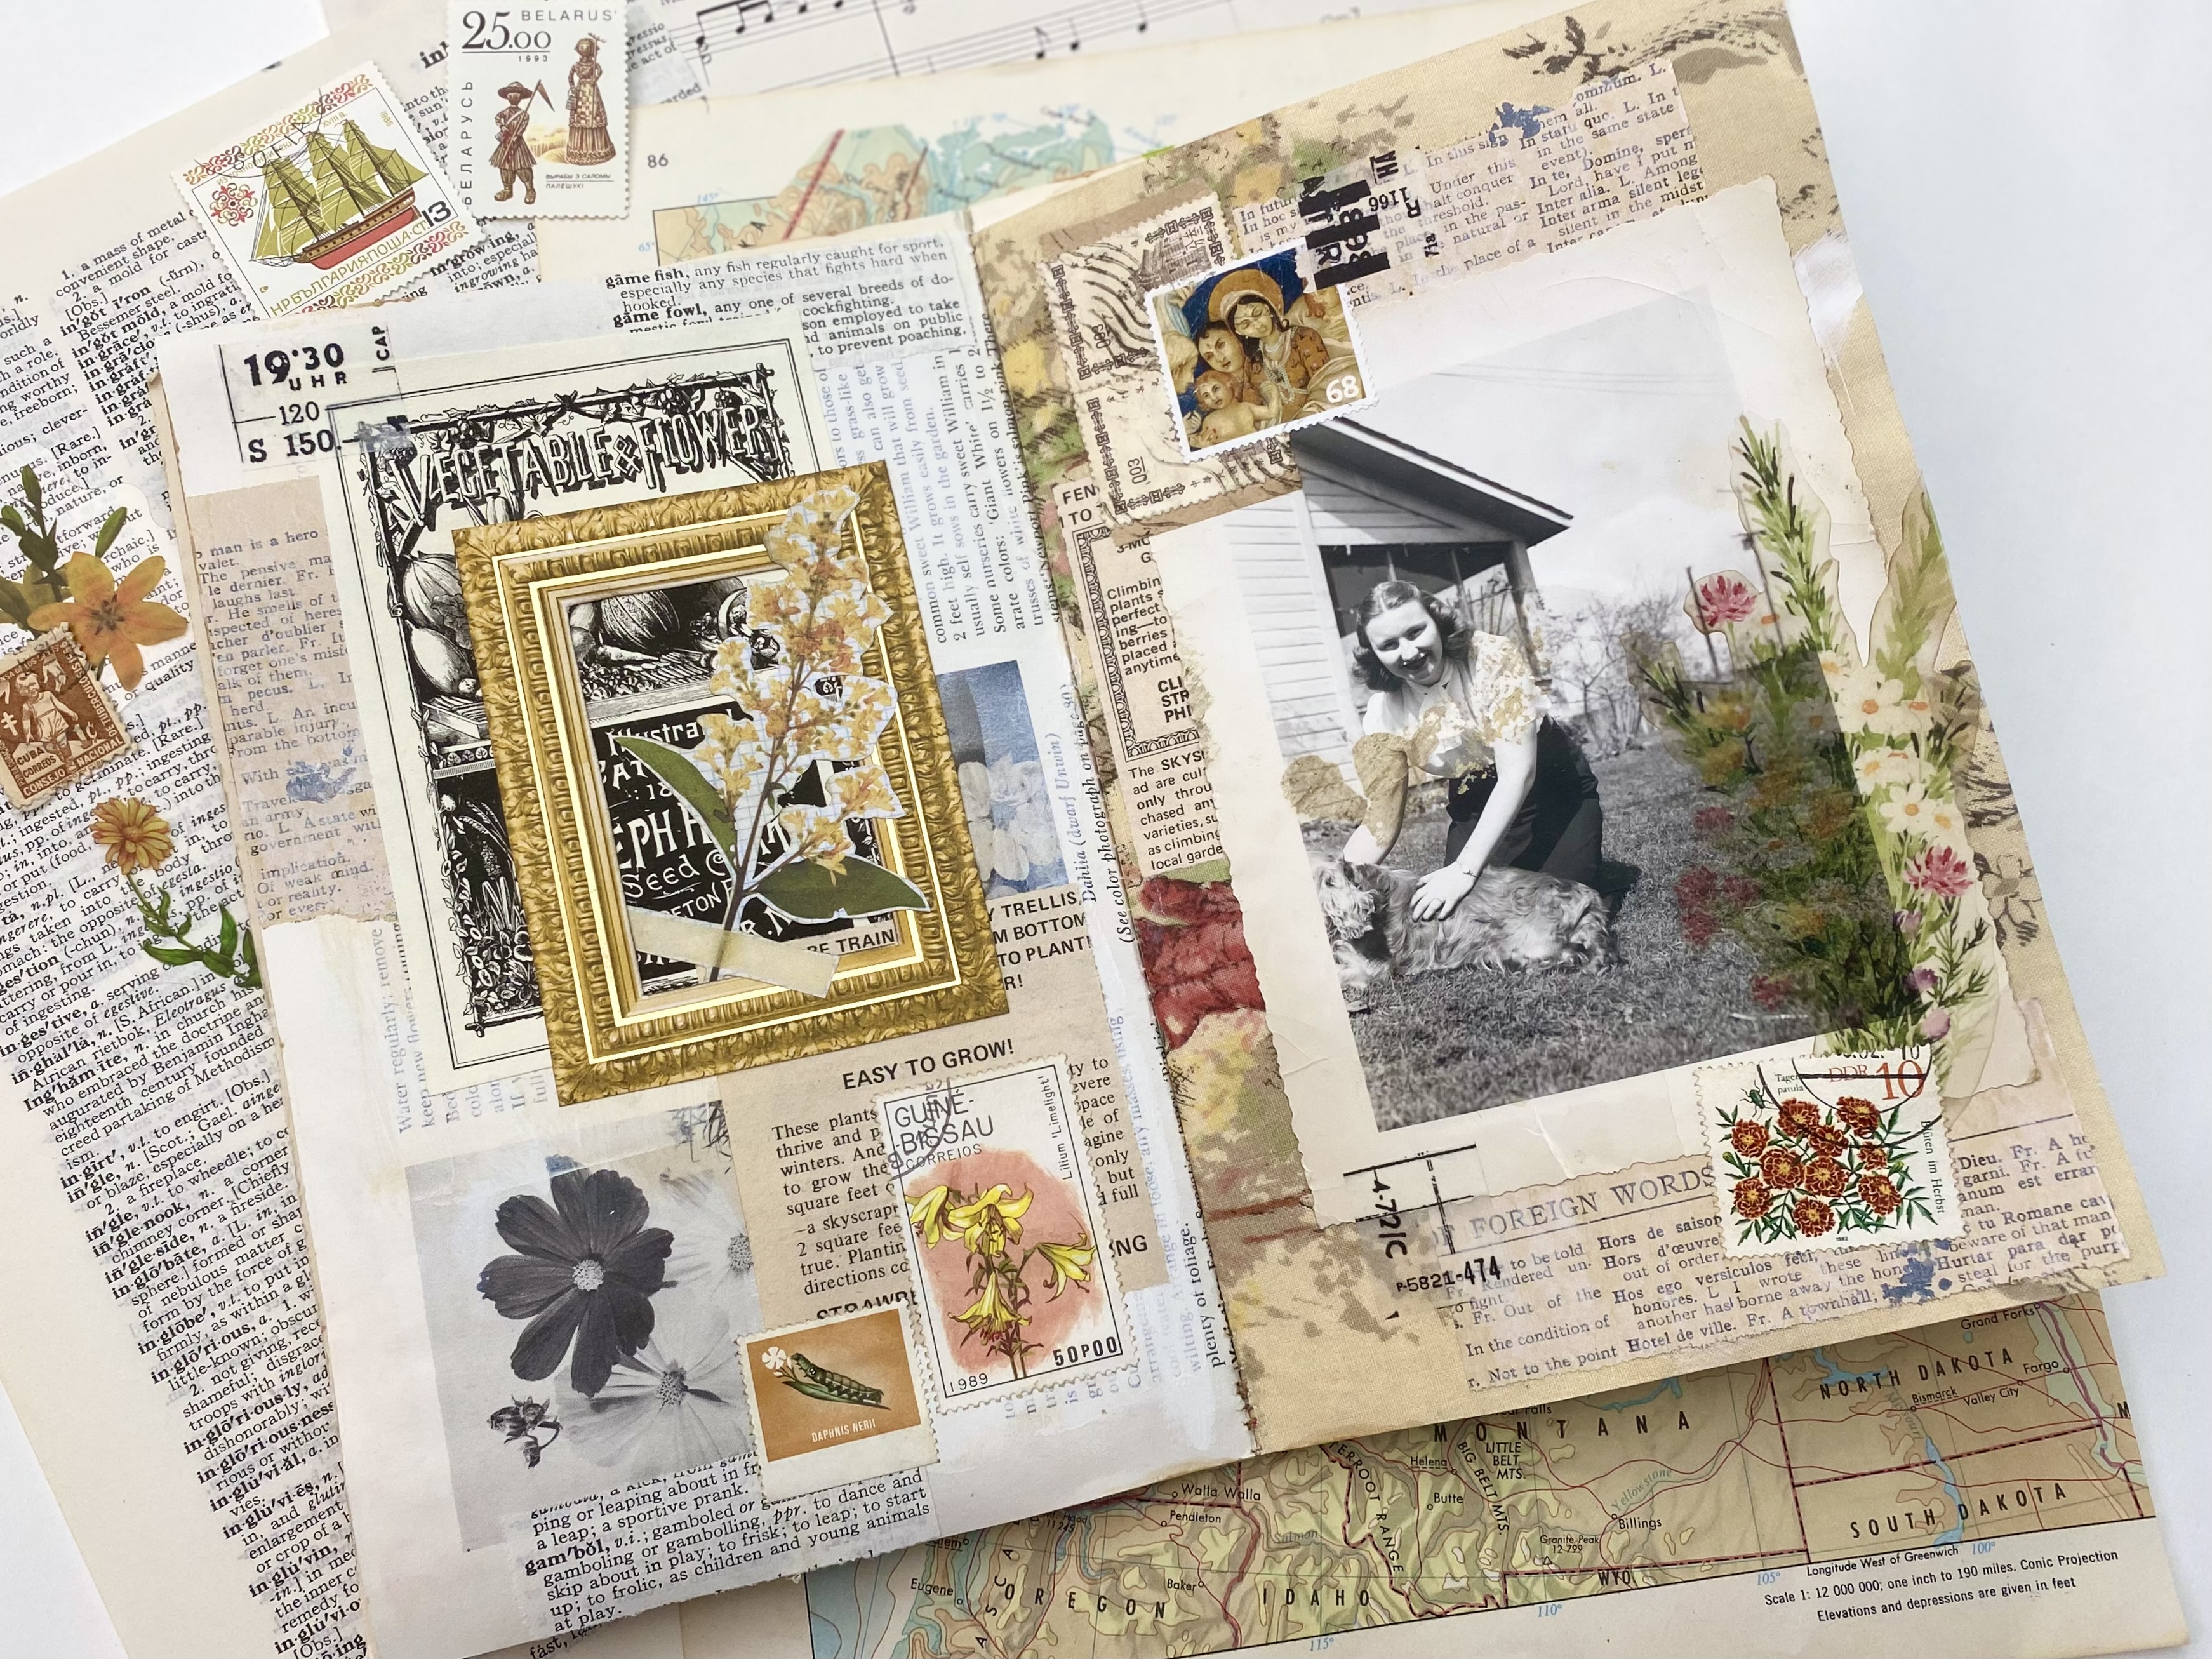
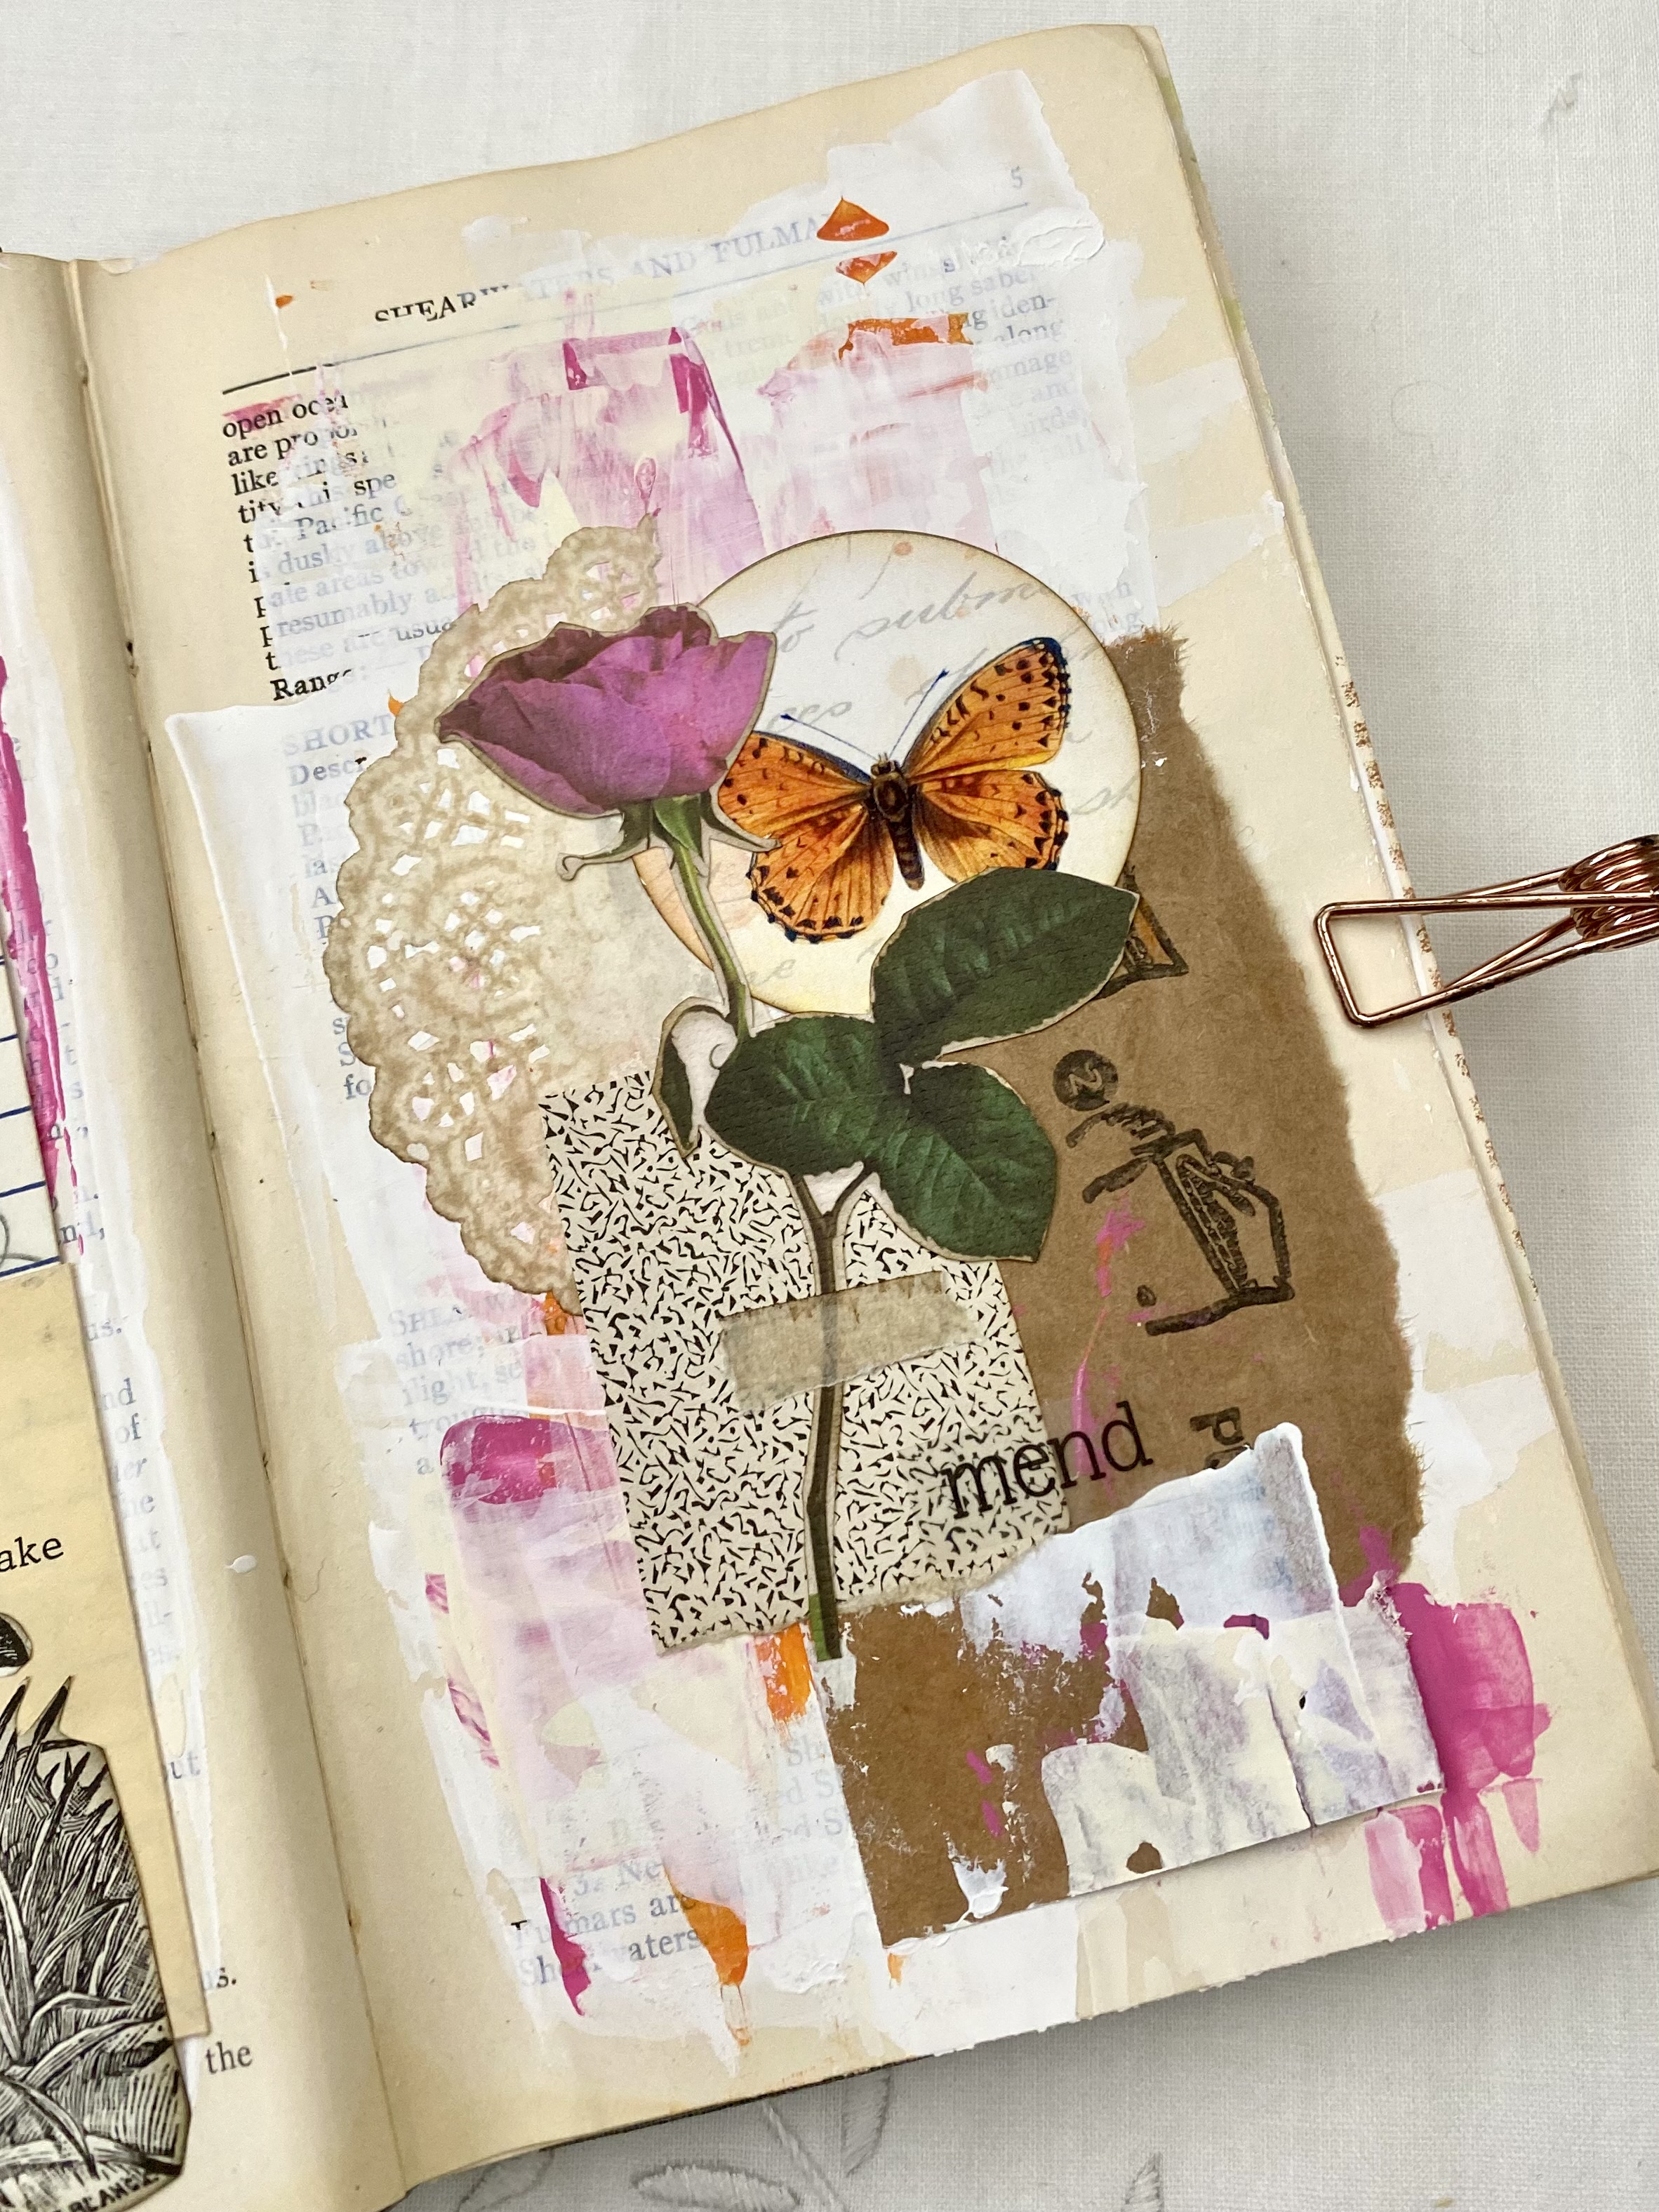
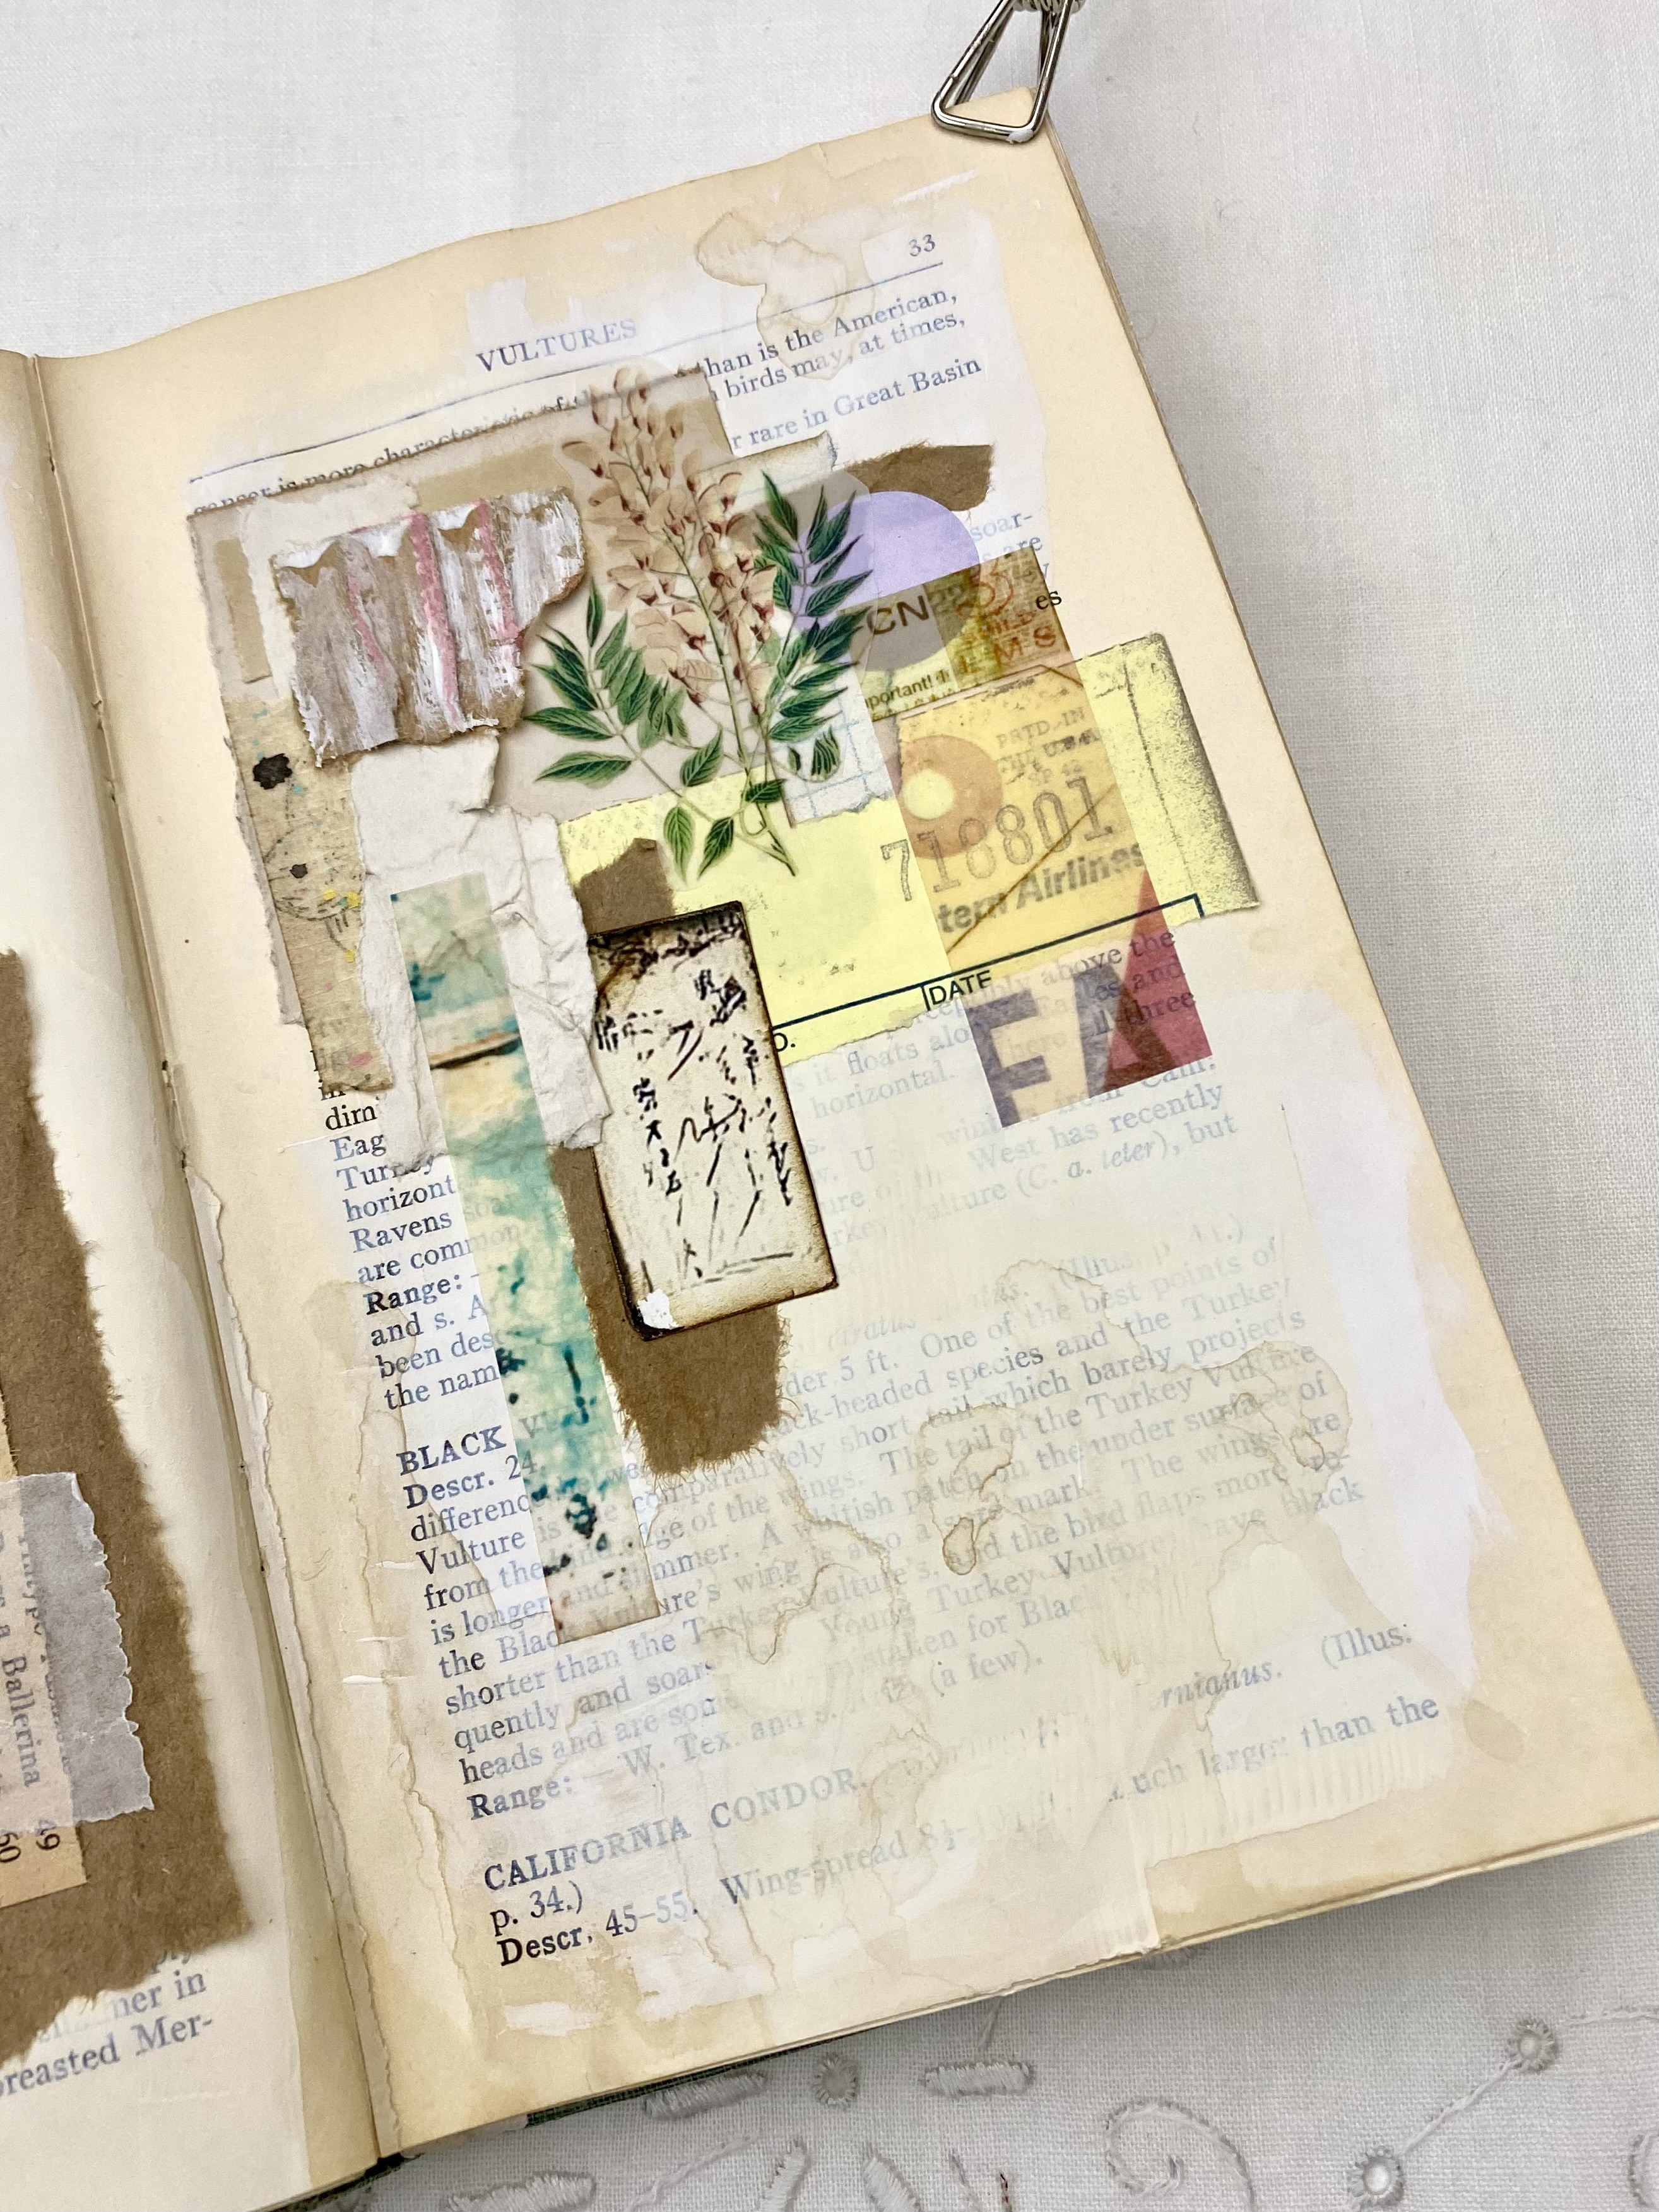
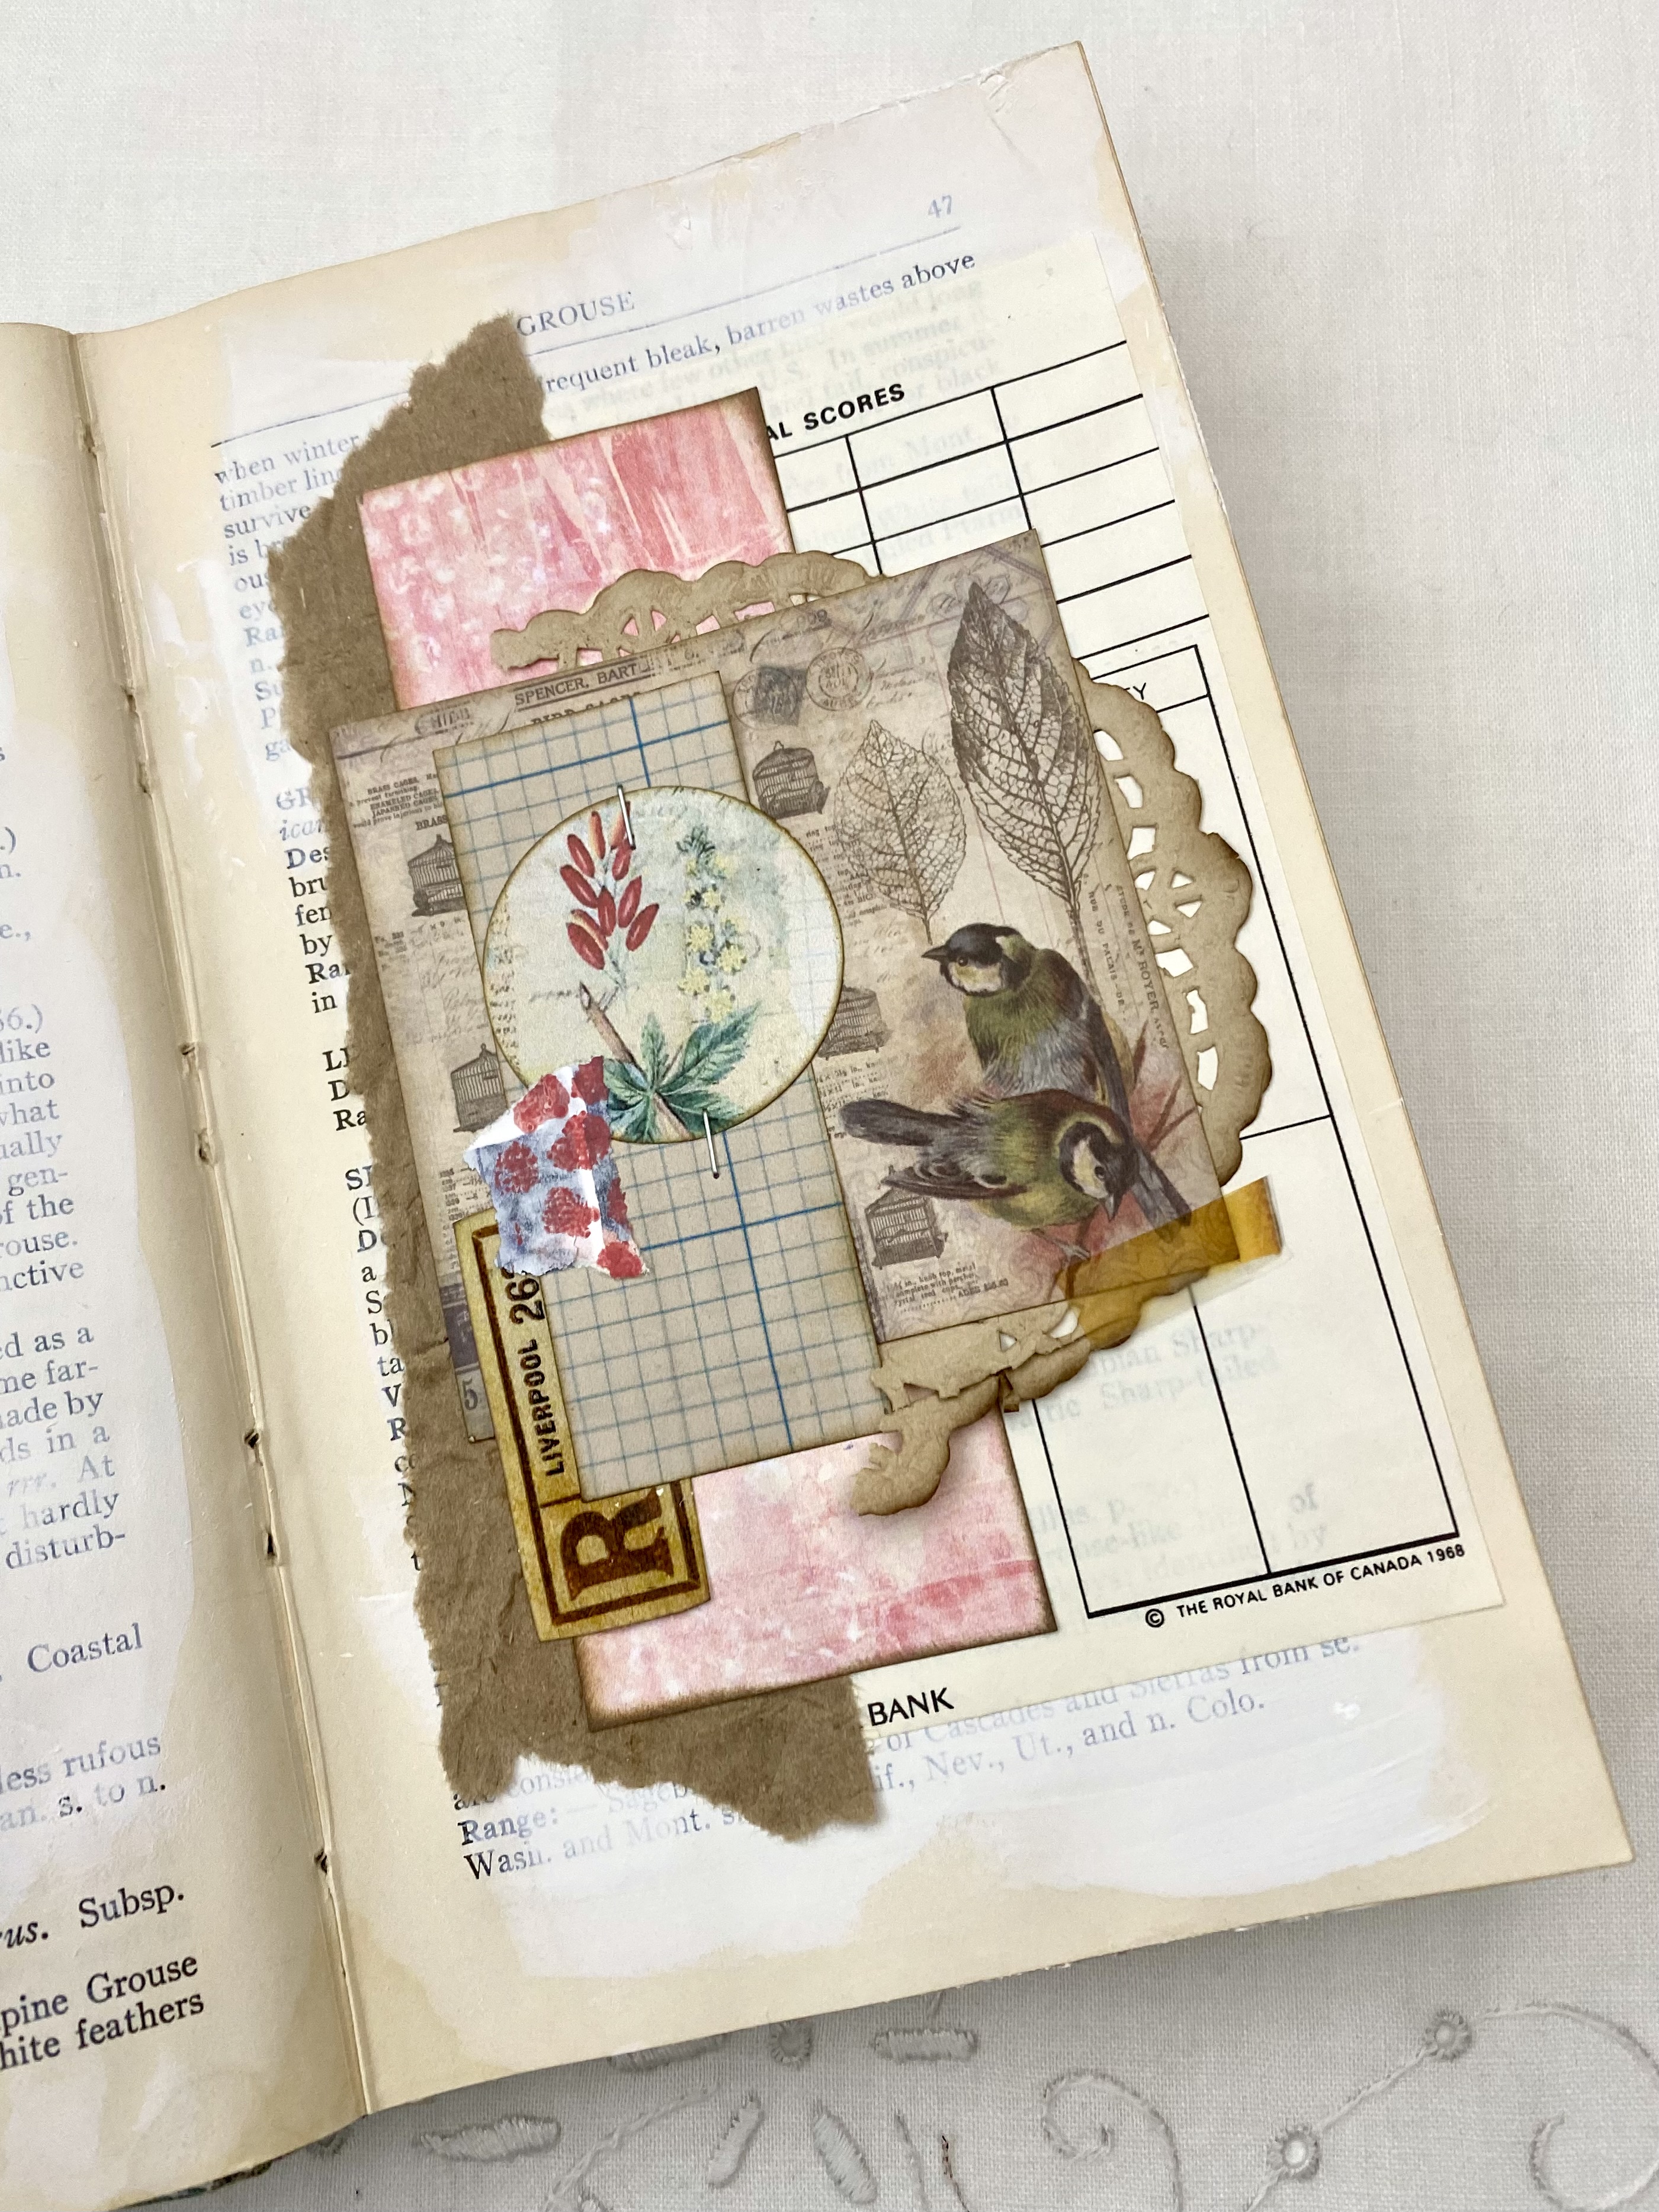
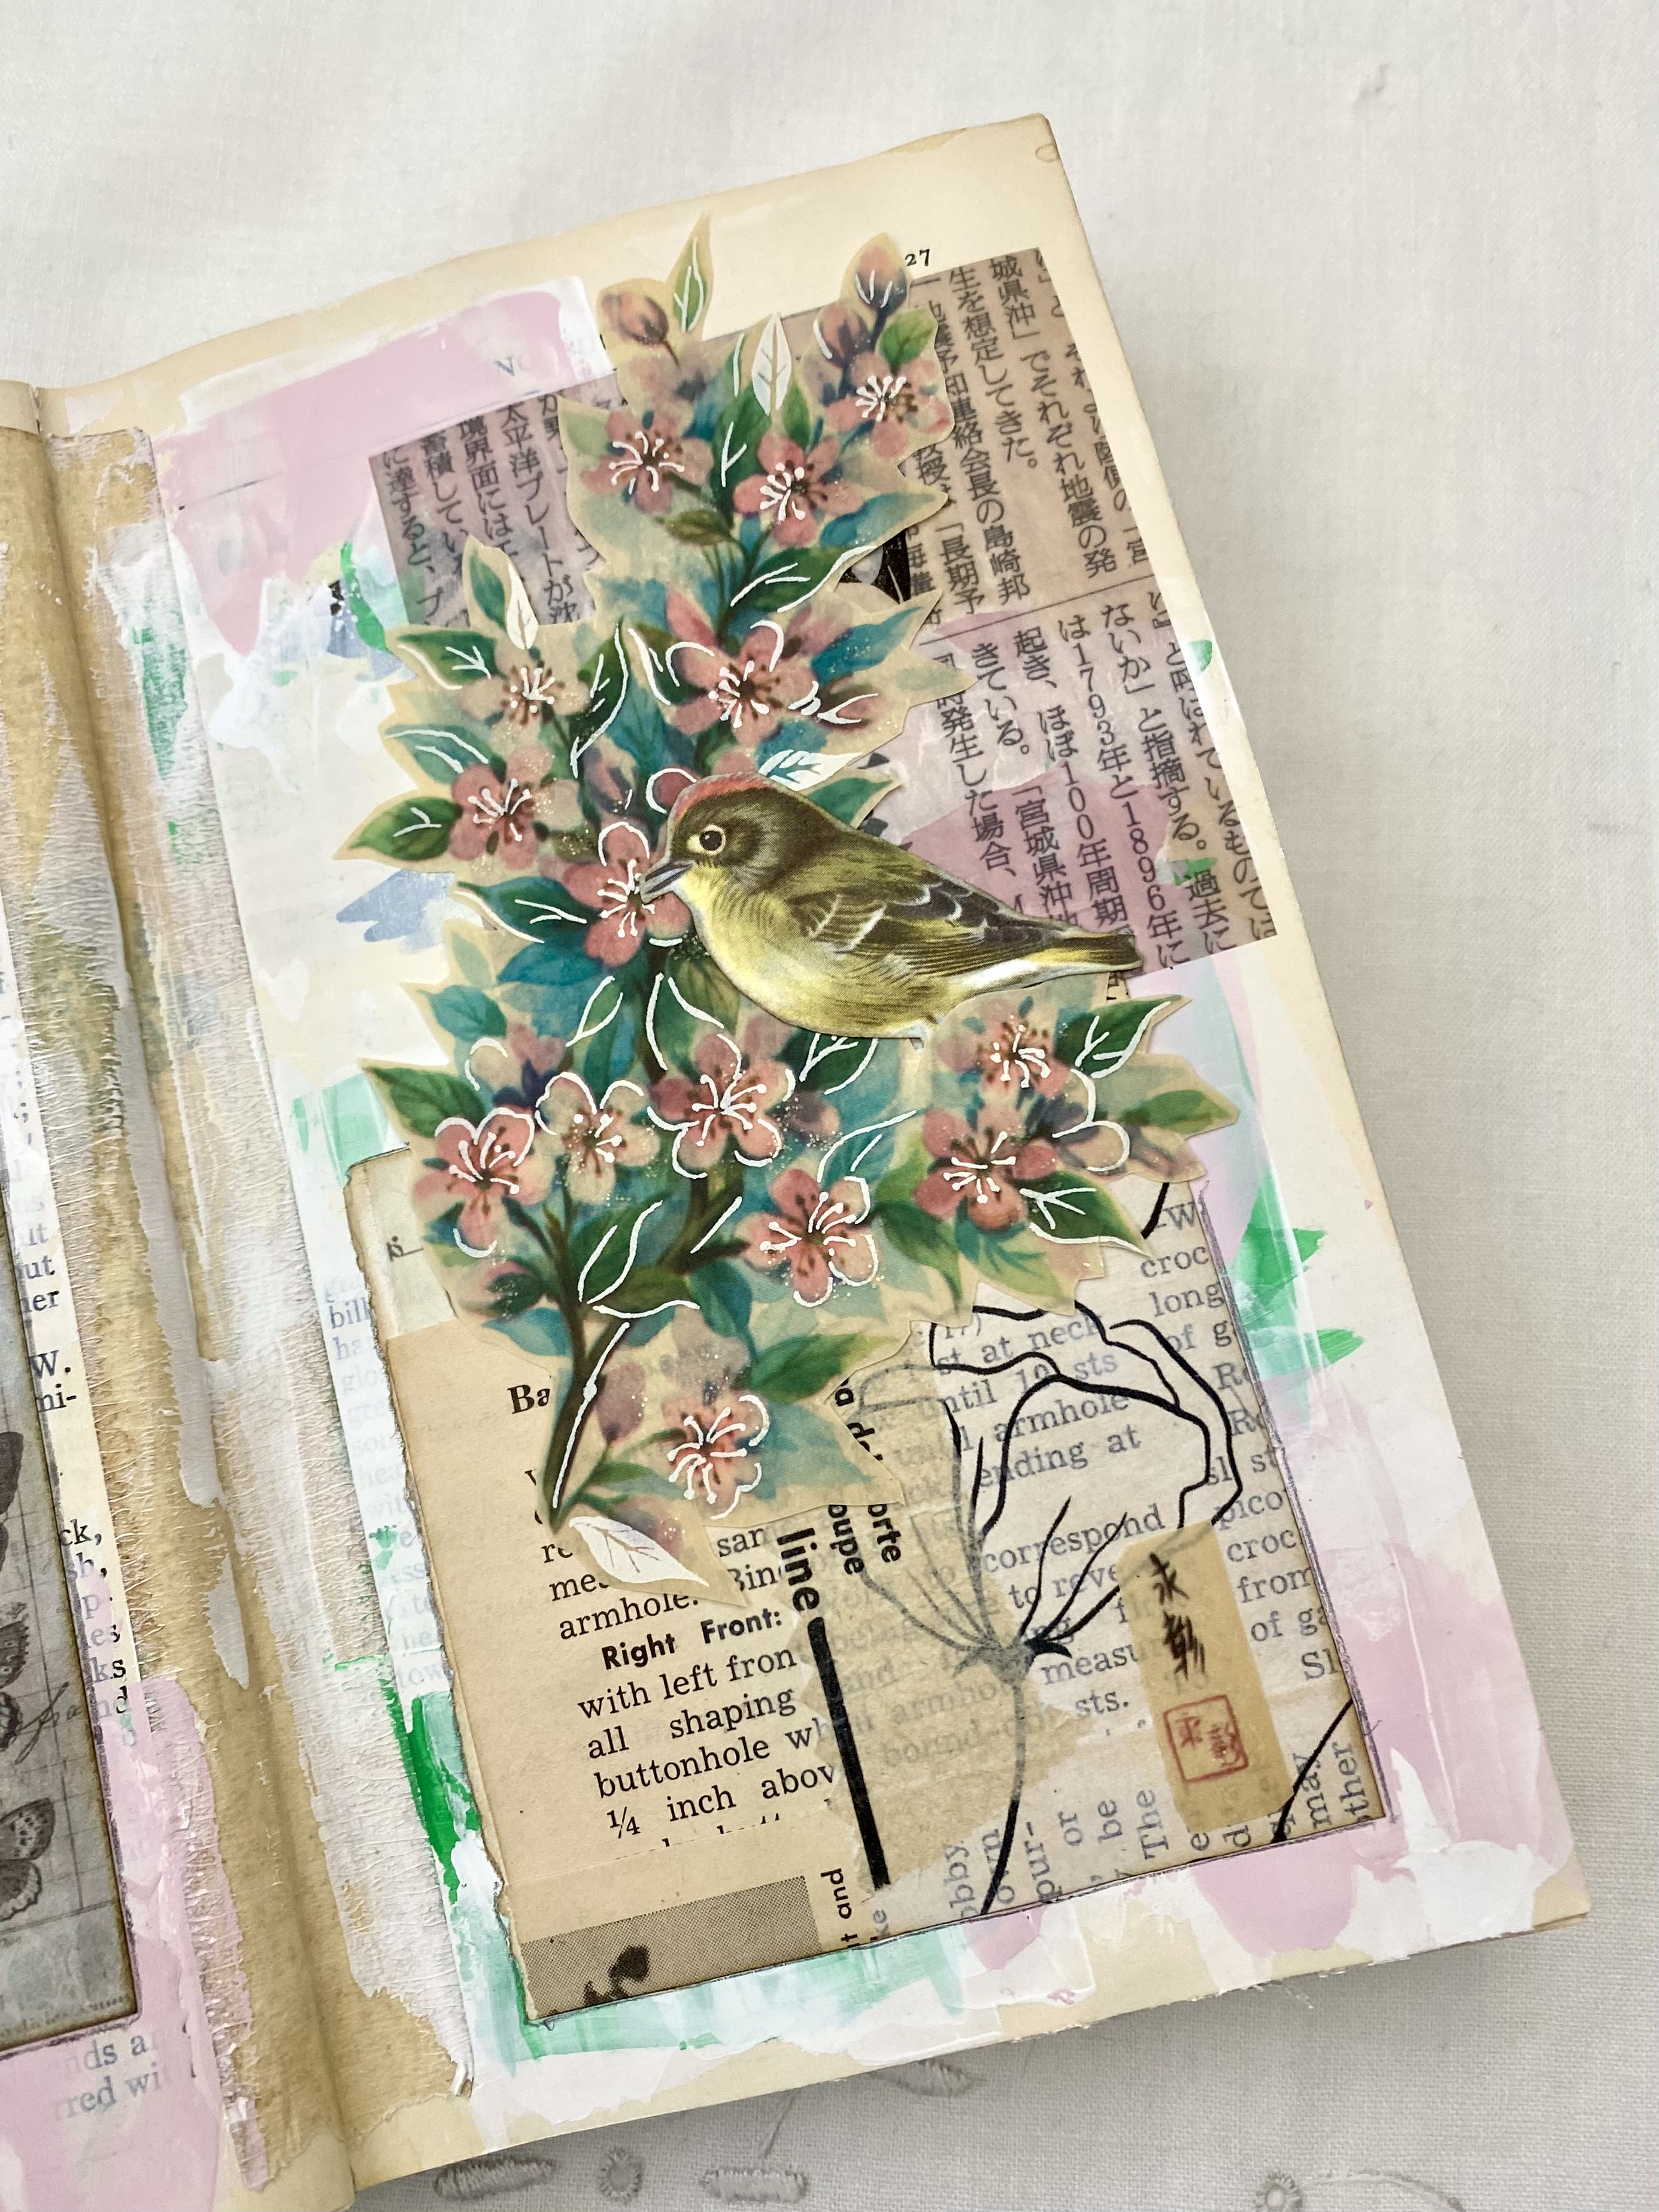
Lately, I have been drawn toward glueing small bits of paper to page, the smaller the better and the more neutral the calmer. I’m struggling with the current state of the world and just need a soft place to land when things feel a bit too much, and this has been really helpful for me to change my focus a bit. (Over the years people have accused me of caring too much, of course until that particular person required me to care about them…that’s kind of a chuckle!)
I don’t really know what inspired me to jump back on here with words and pictures. Maybe I needed a bit of quiet time over the past year to gather my thoughts, or find the courage to be honest out loud so to speak.
I have shared a few photos on Instagram, but the sense of community there has disappeared. This feels more like home to me, I hope you feel the same.
I’m not going to put any stress on myself to be here on some kind of schedule, just when I have something to say. If you are still here after my many absences, Thank You, it means the world!
Until next time,
Have a great day,
Hugs,
Patty