Flower Cuttings

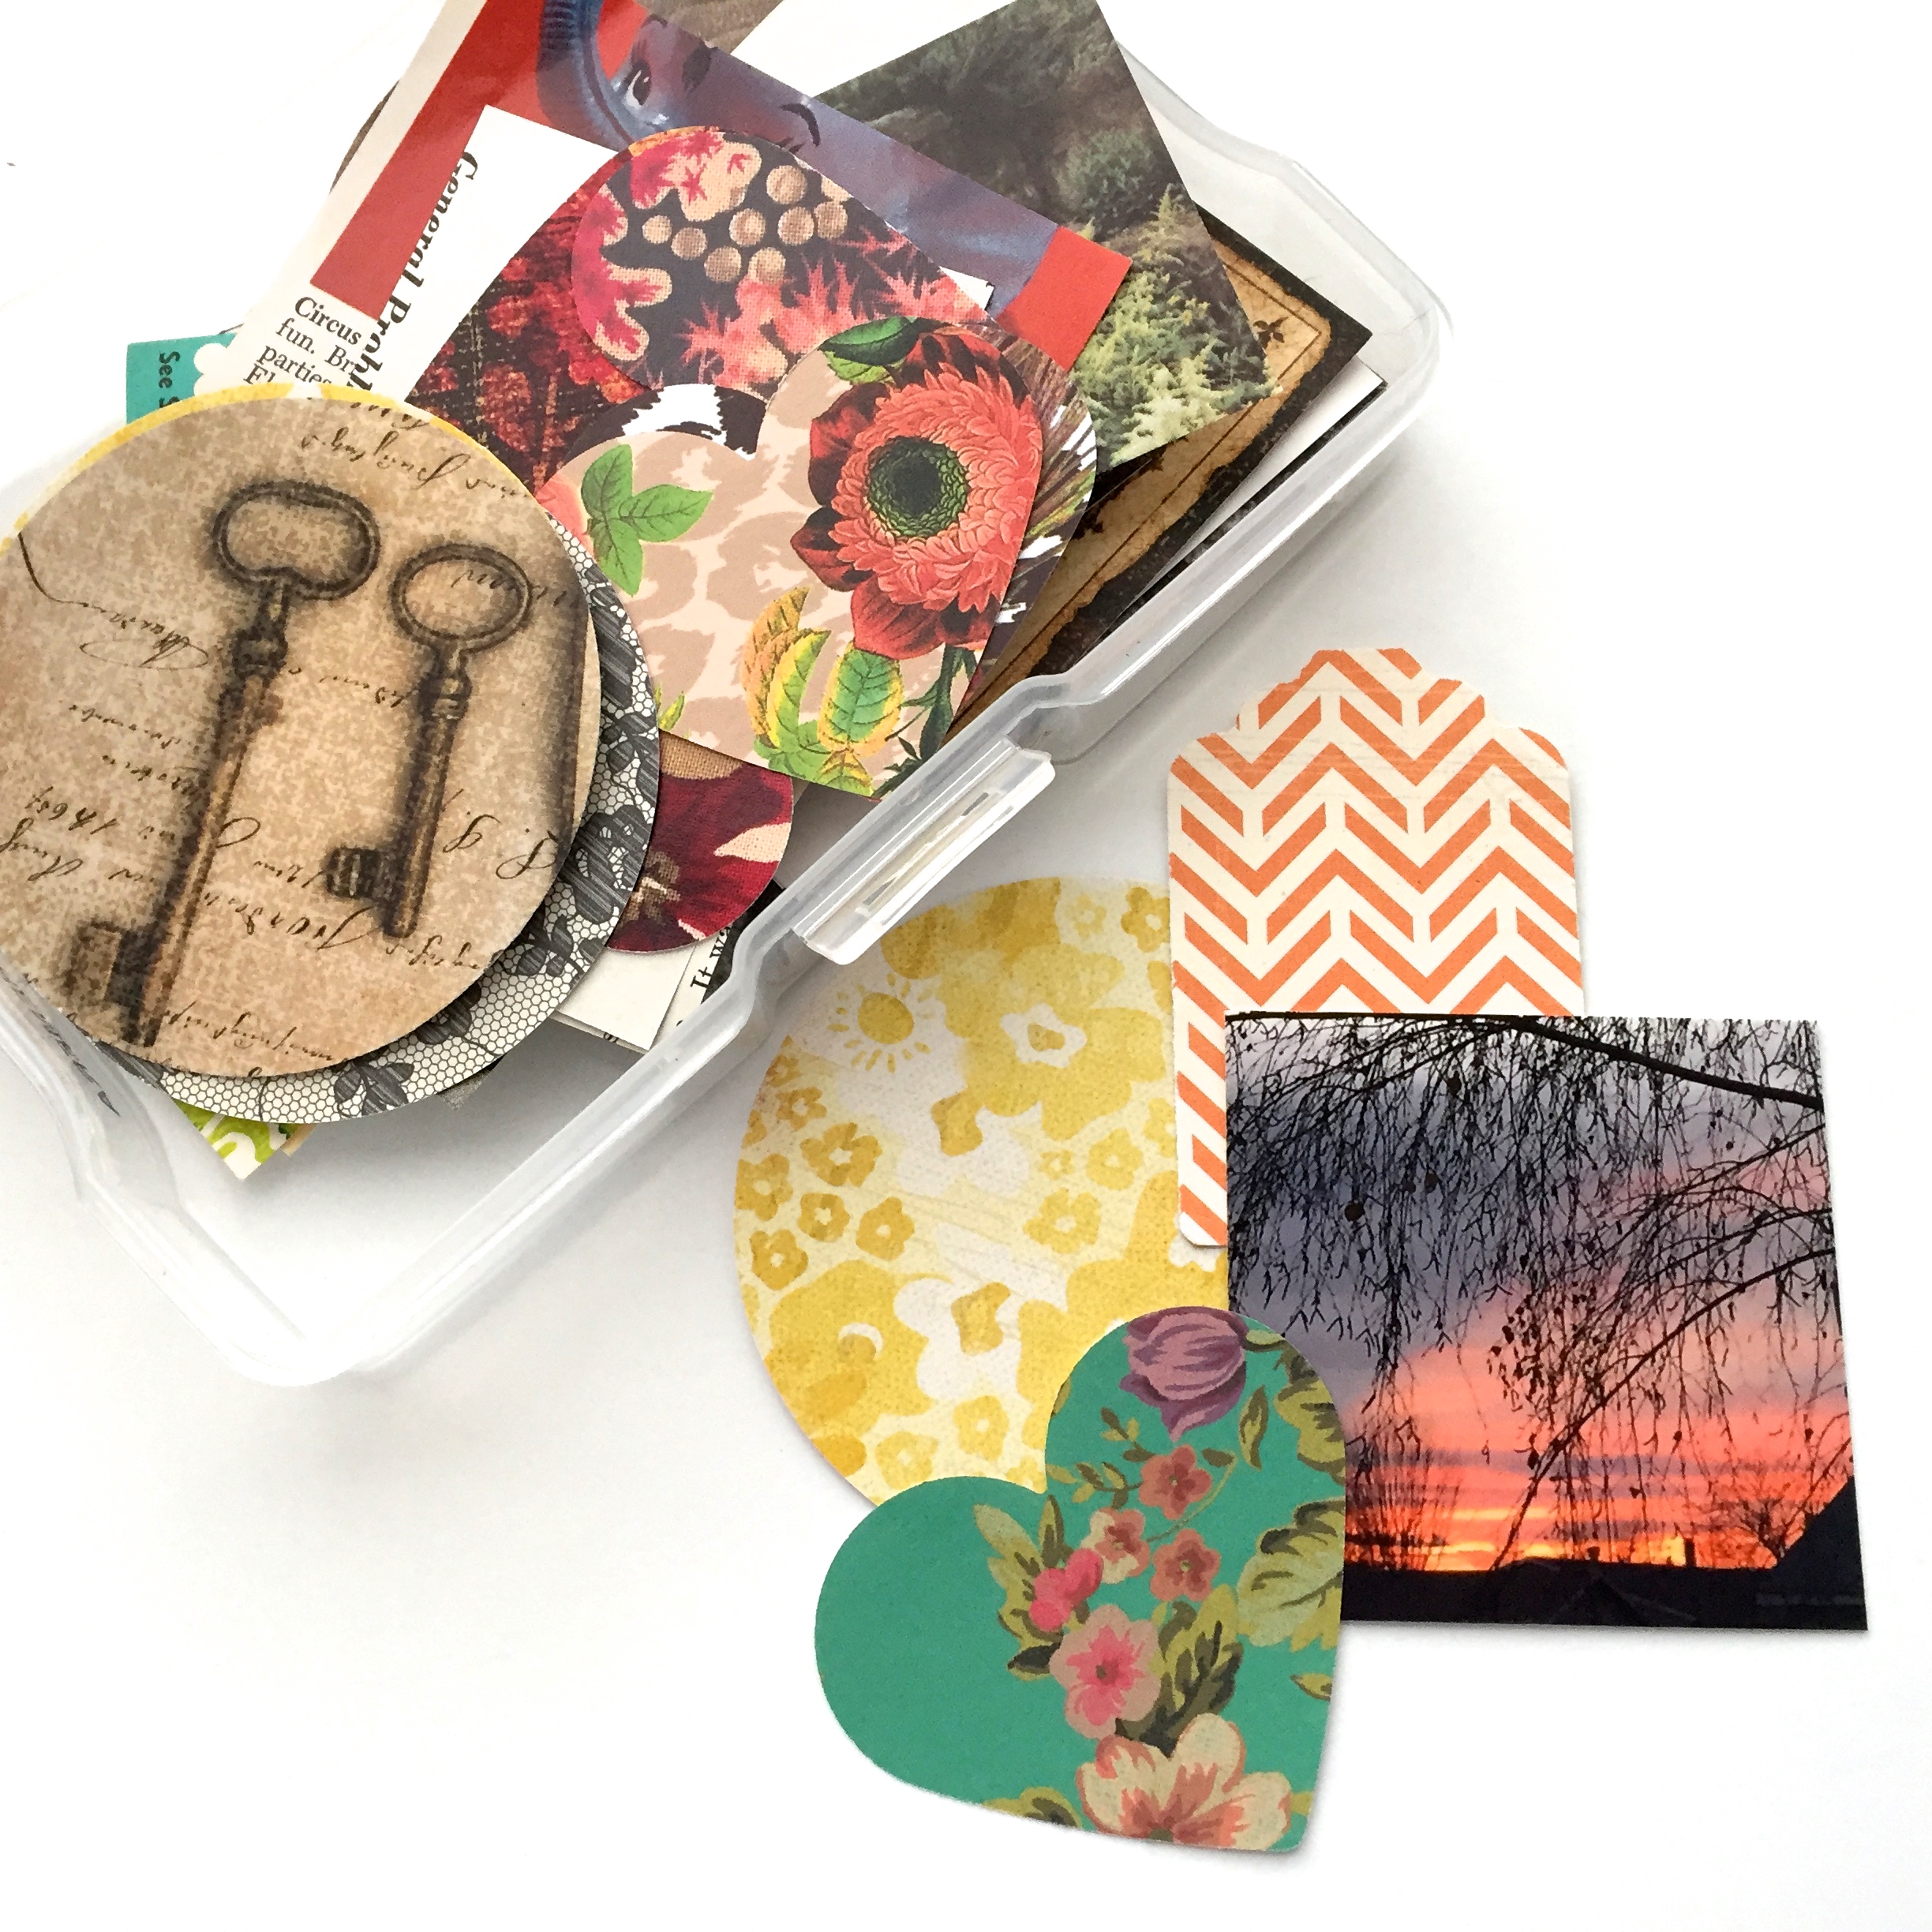
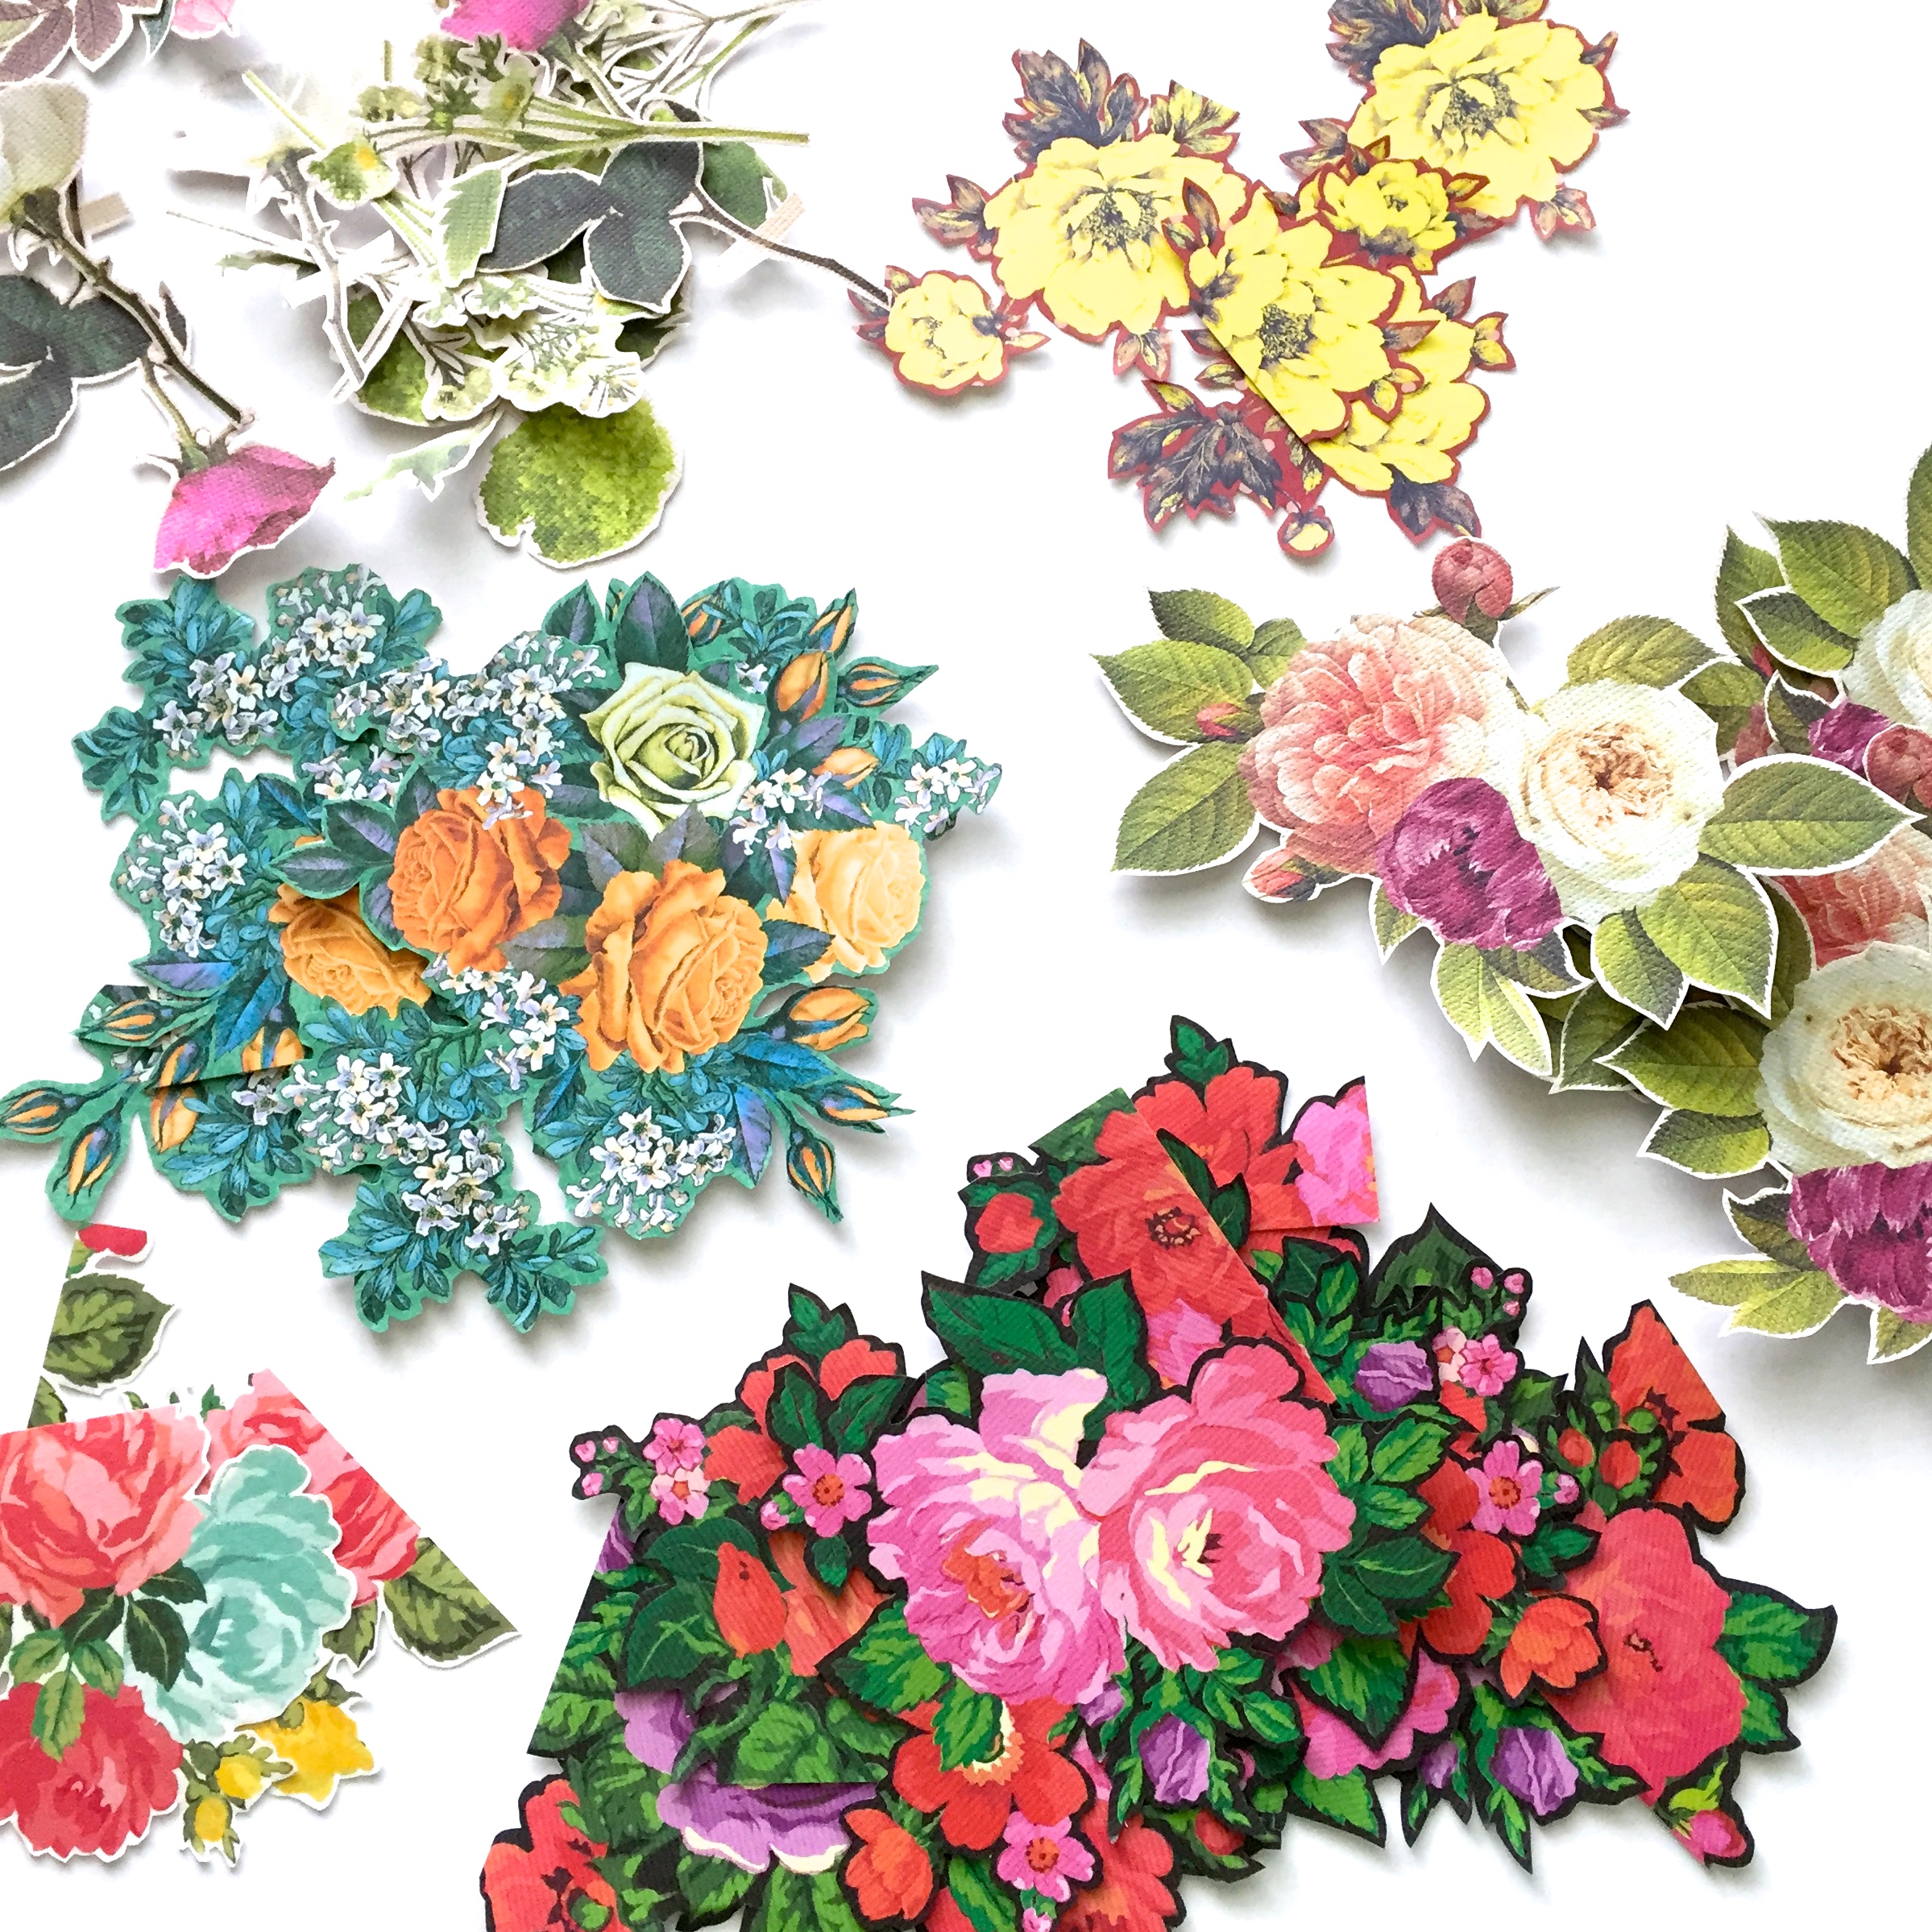
Well, it looks like I have a new obsession..flower cutting.

And, I have to admit I’m quite chuffed at having figured out an inexpensive way to get lots of flowers…

Now, I’m sure lots of people have already figured this trick out, but it’s new to me. I was actually in my car, on another one of my adventures to find some kind of poster or ephemera pack full of flowers, in other words, spend more money, but I actually just turned the car around and went back home because…

…I had already bought tons of floral scrapbook paper the week before.

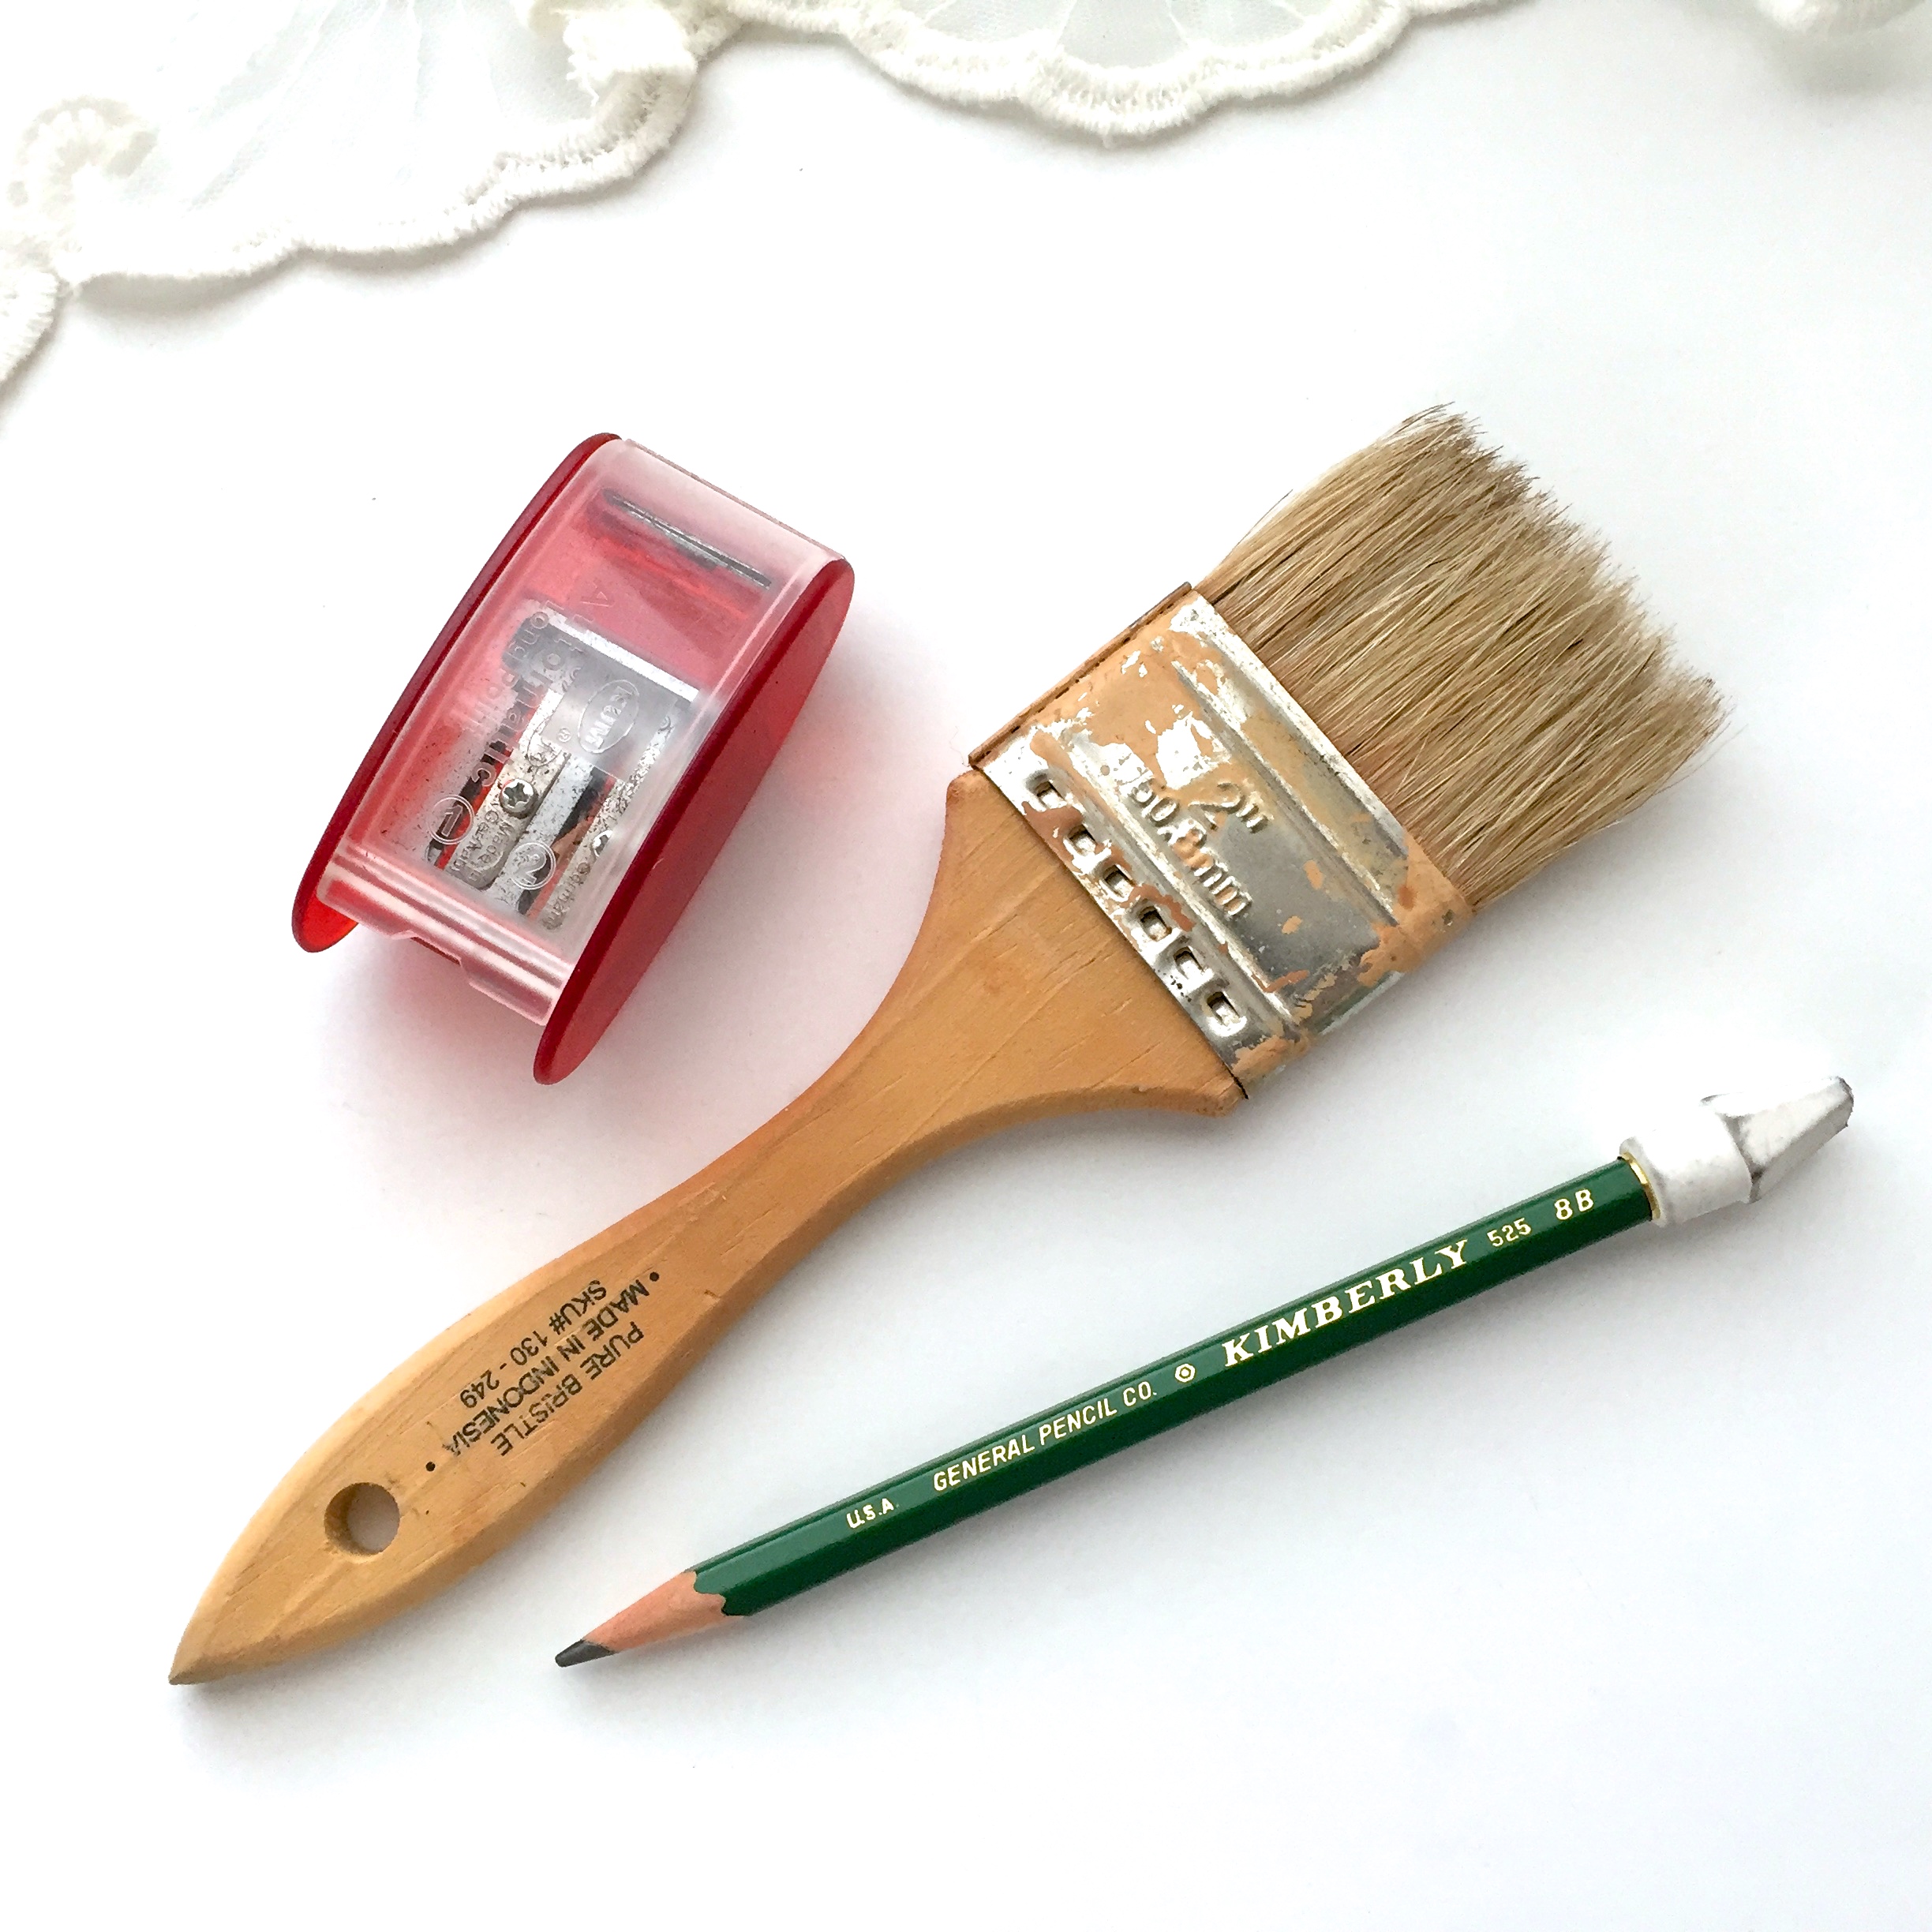
All I needed is was a good pair of scissors and some time. Can you imagine how many flowers one could get from a paper pad with a 40% off coupon? Mindblown!

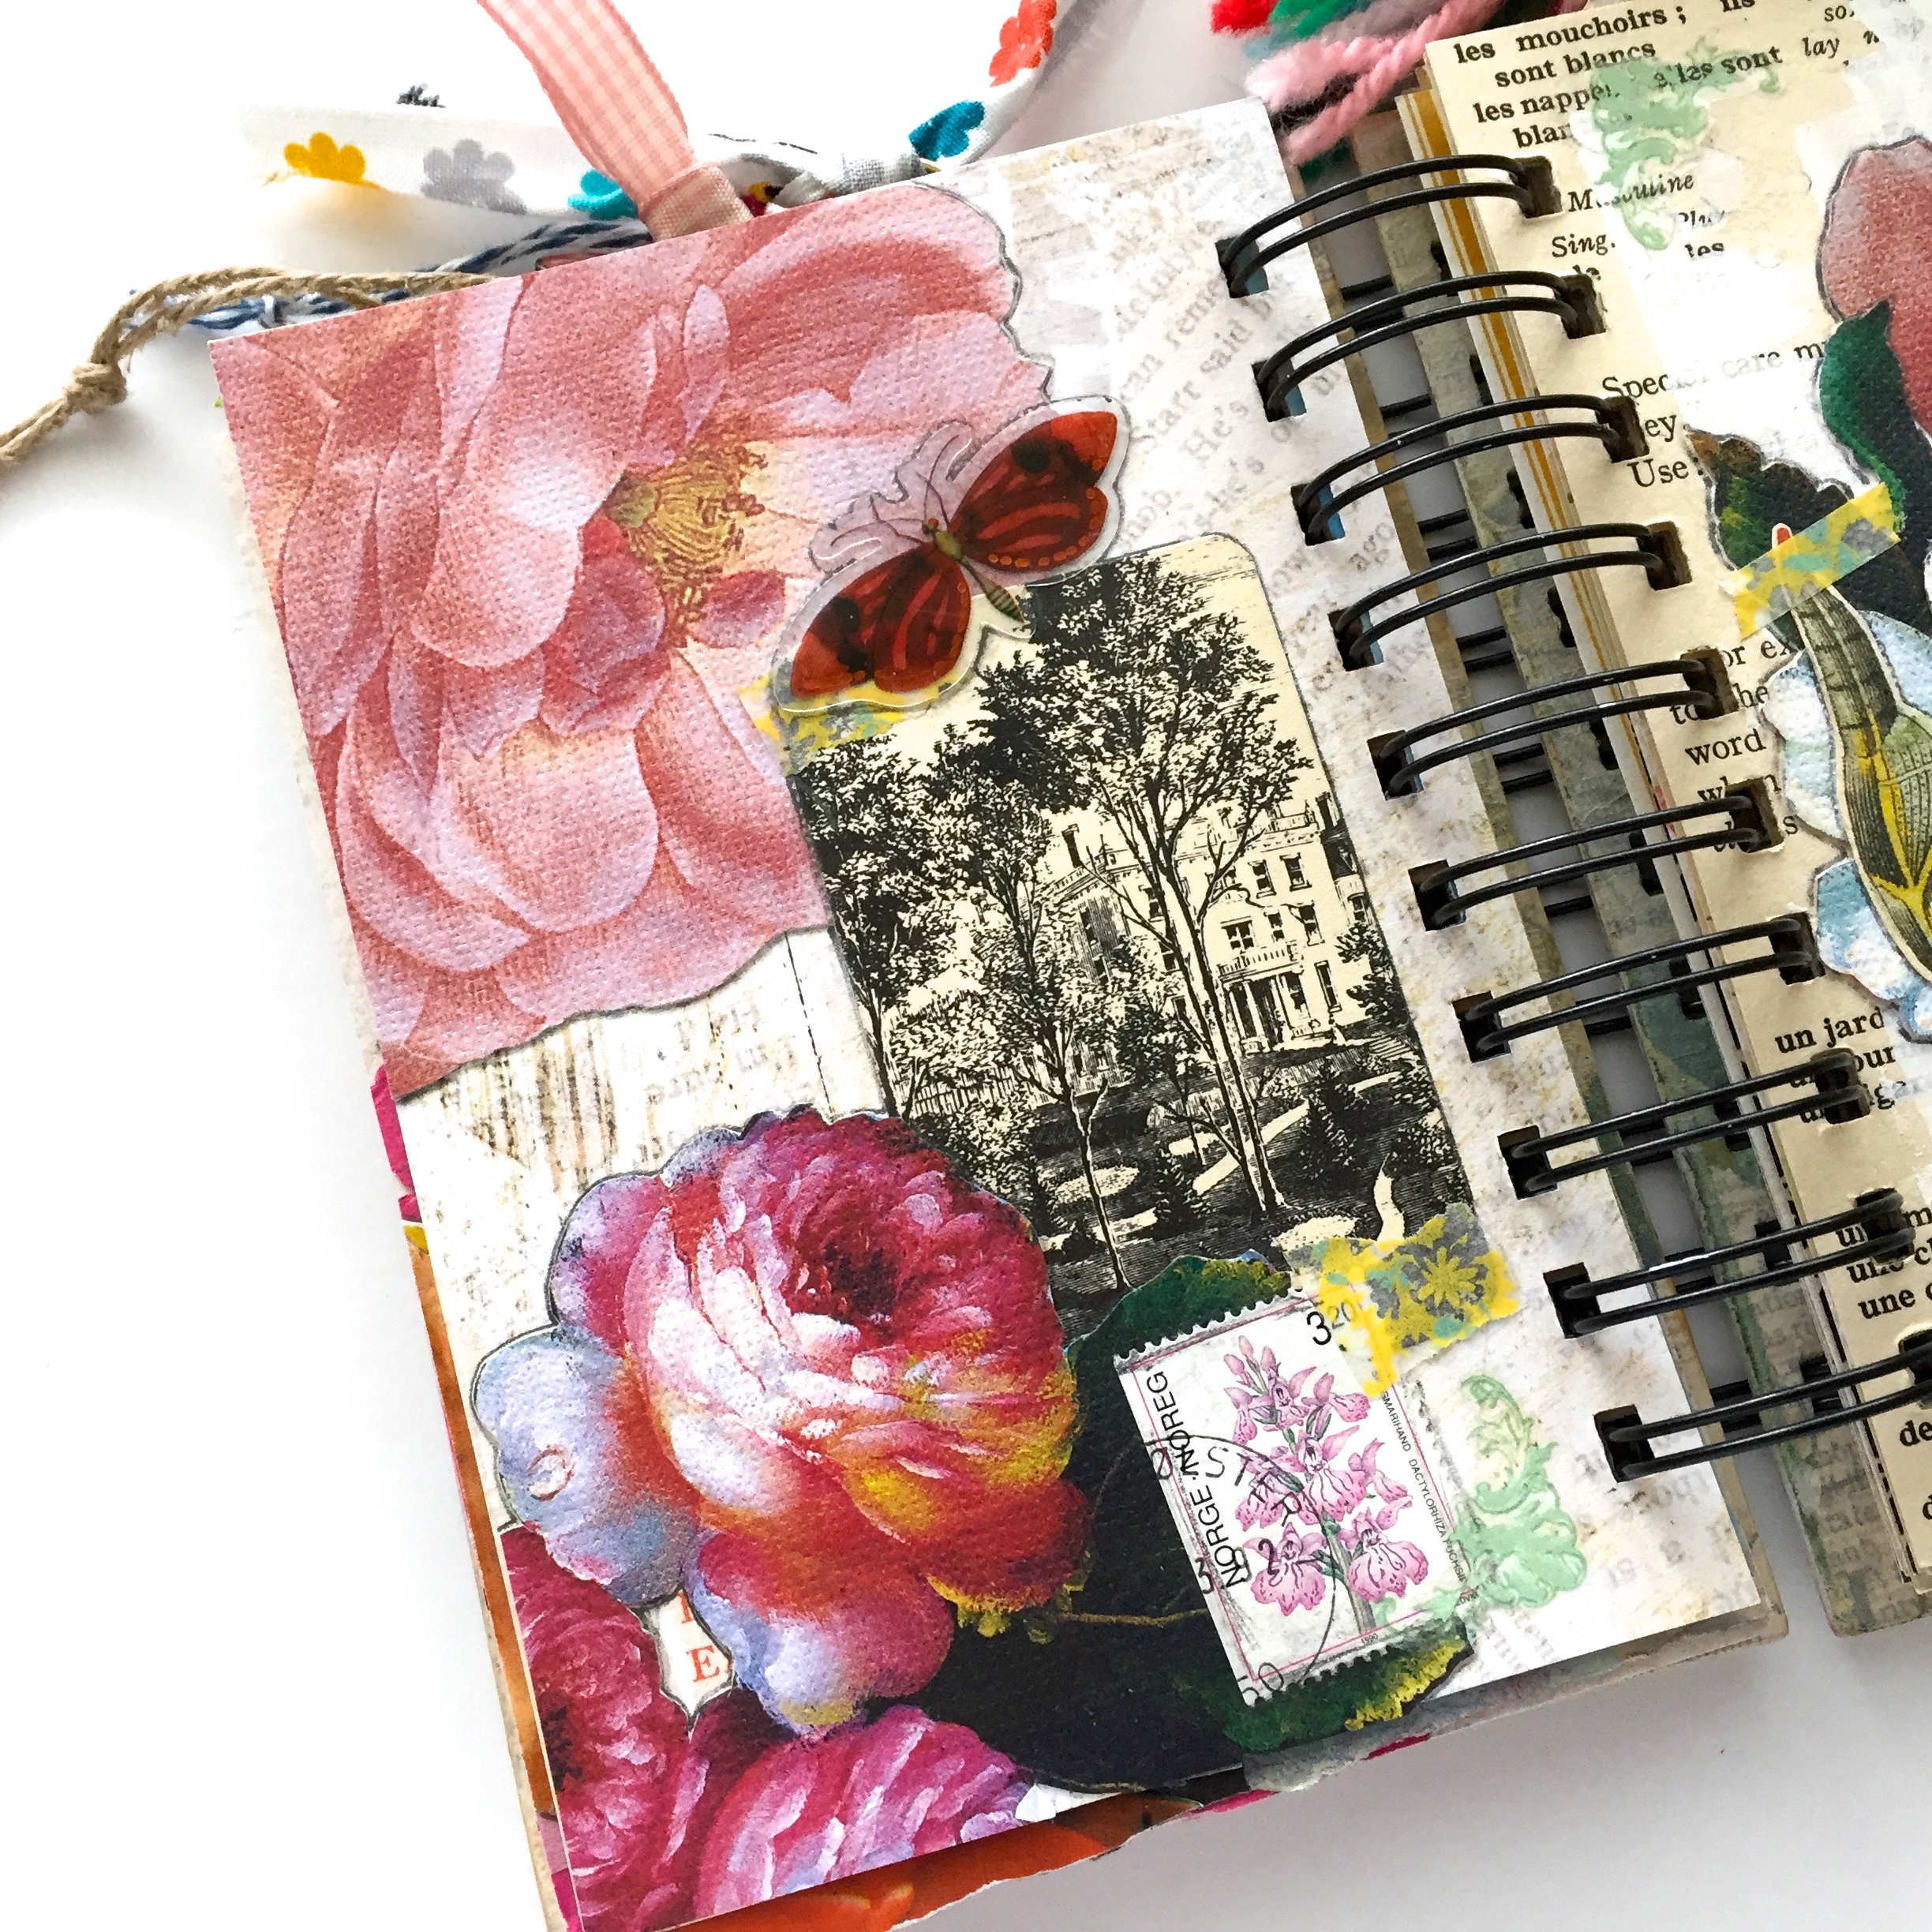
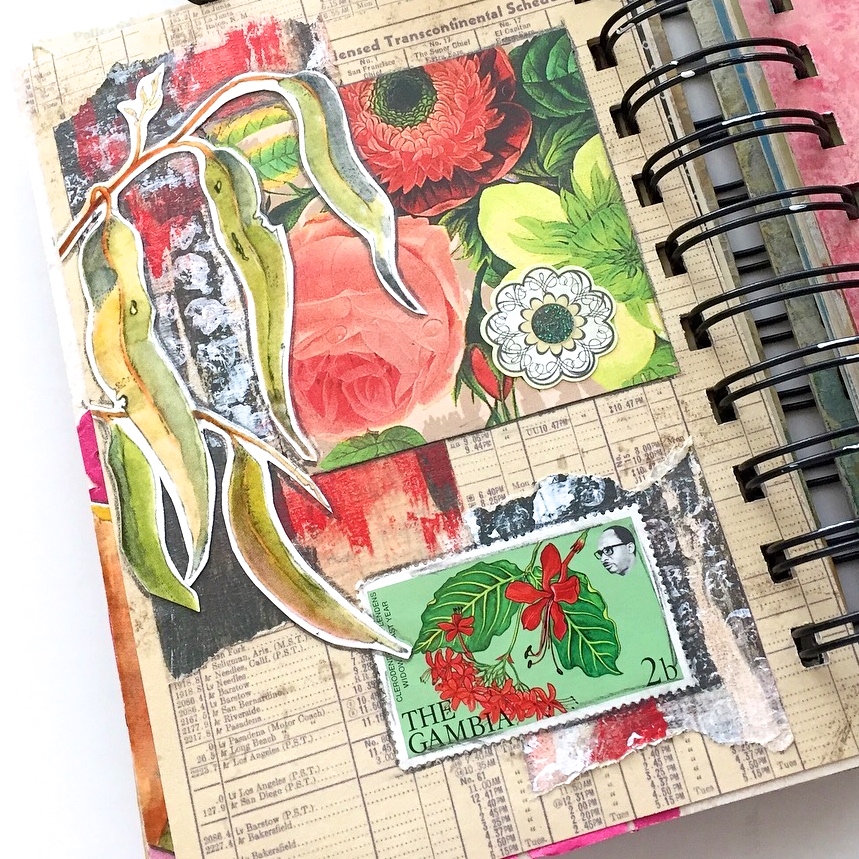
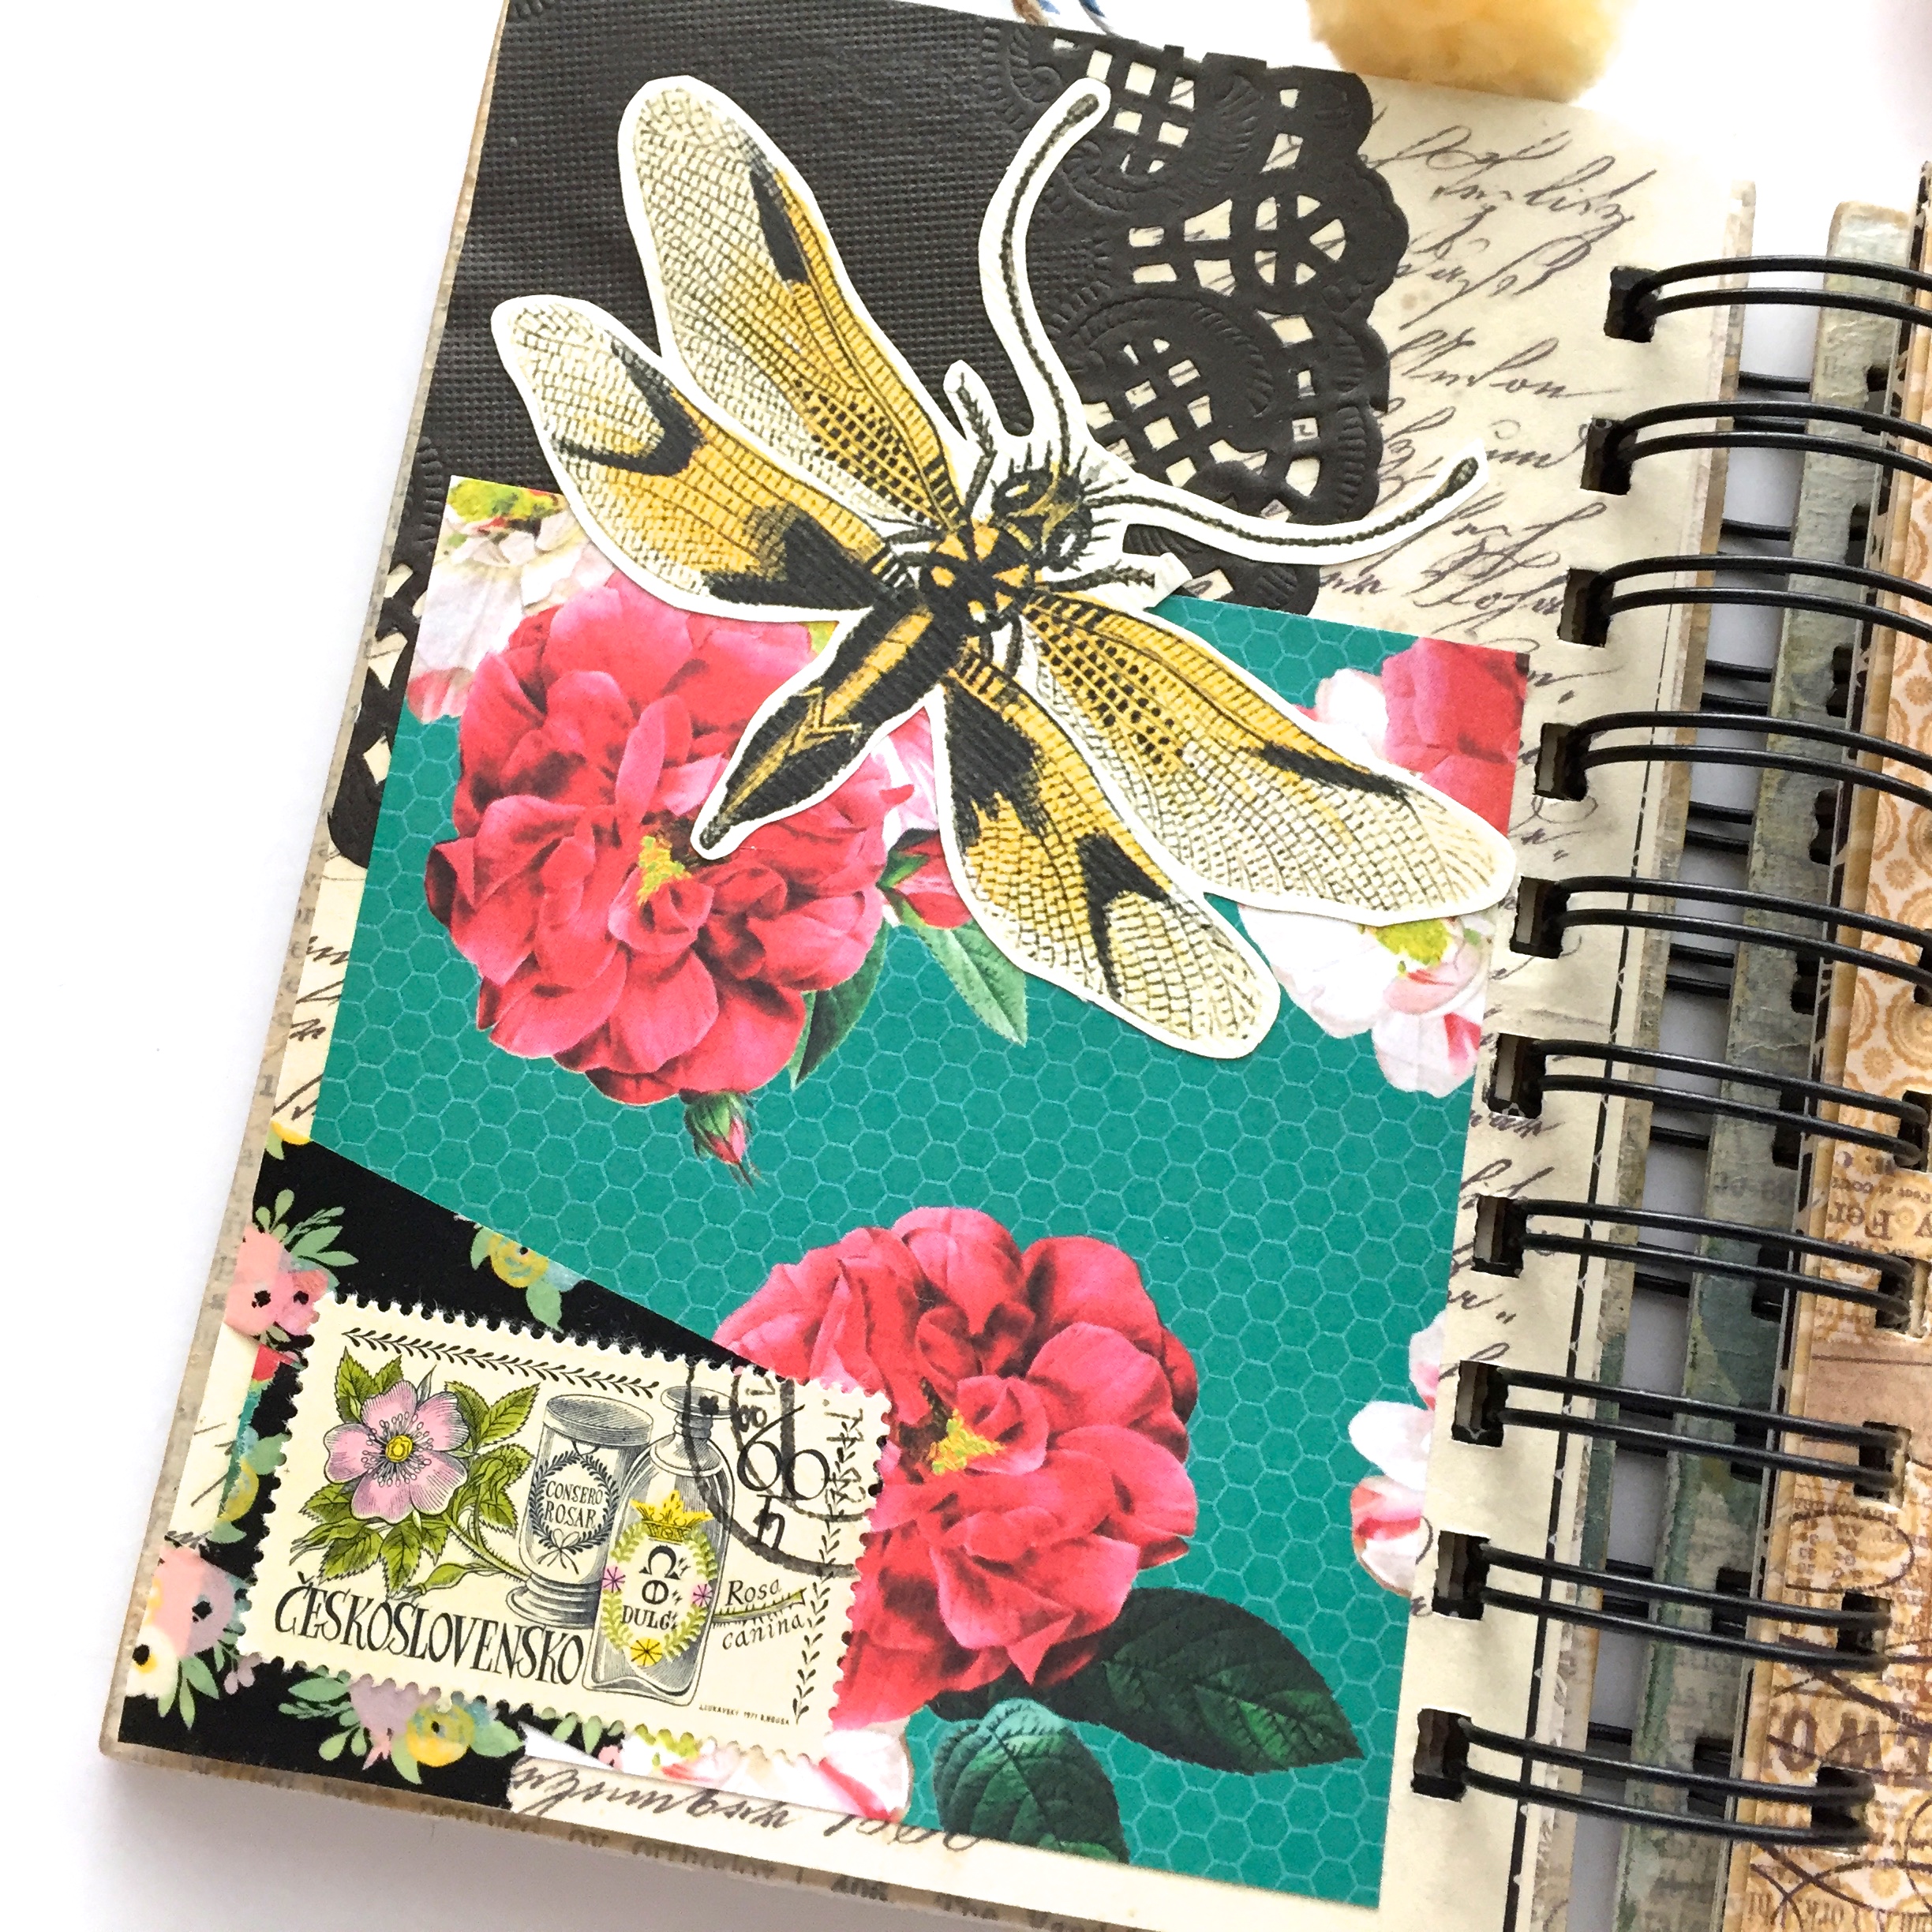
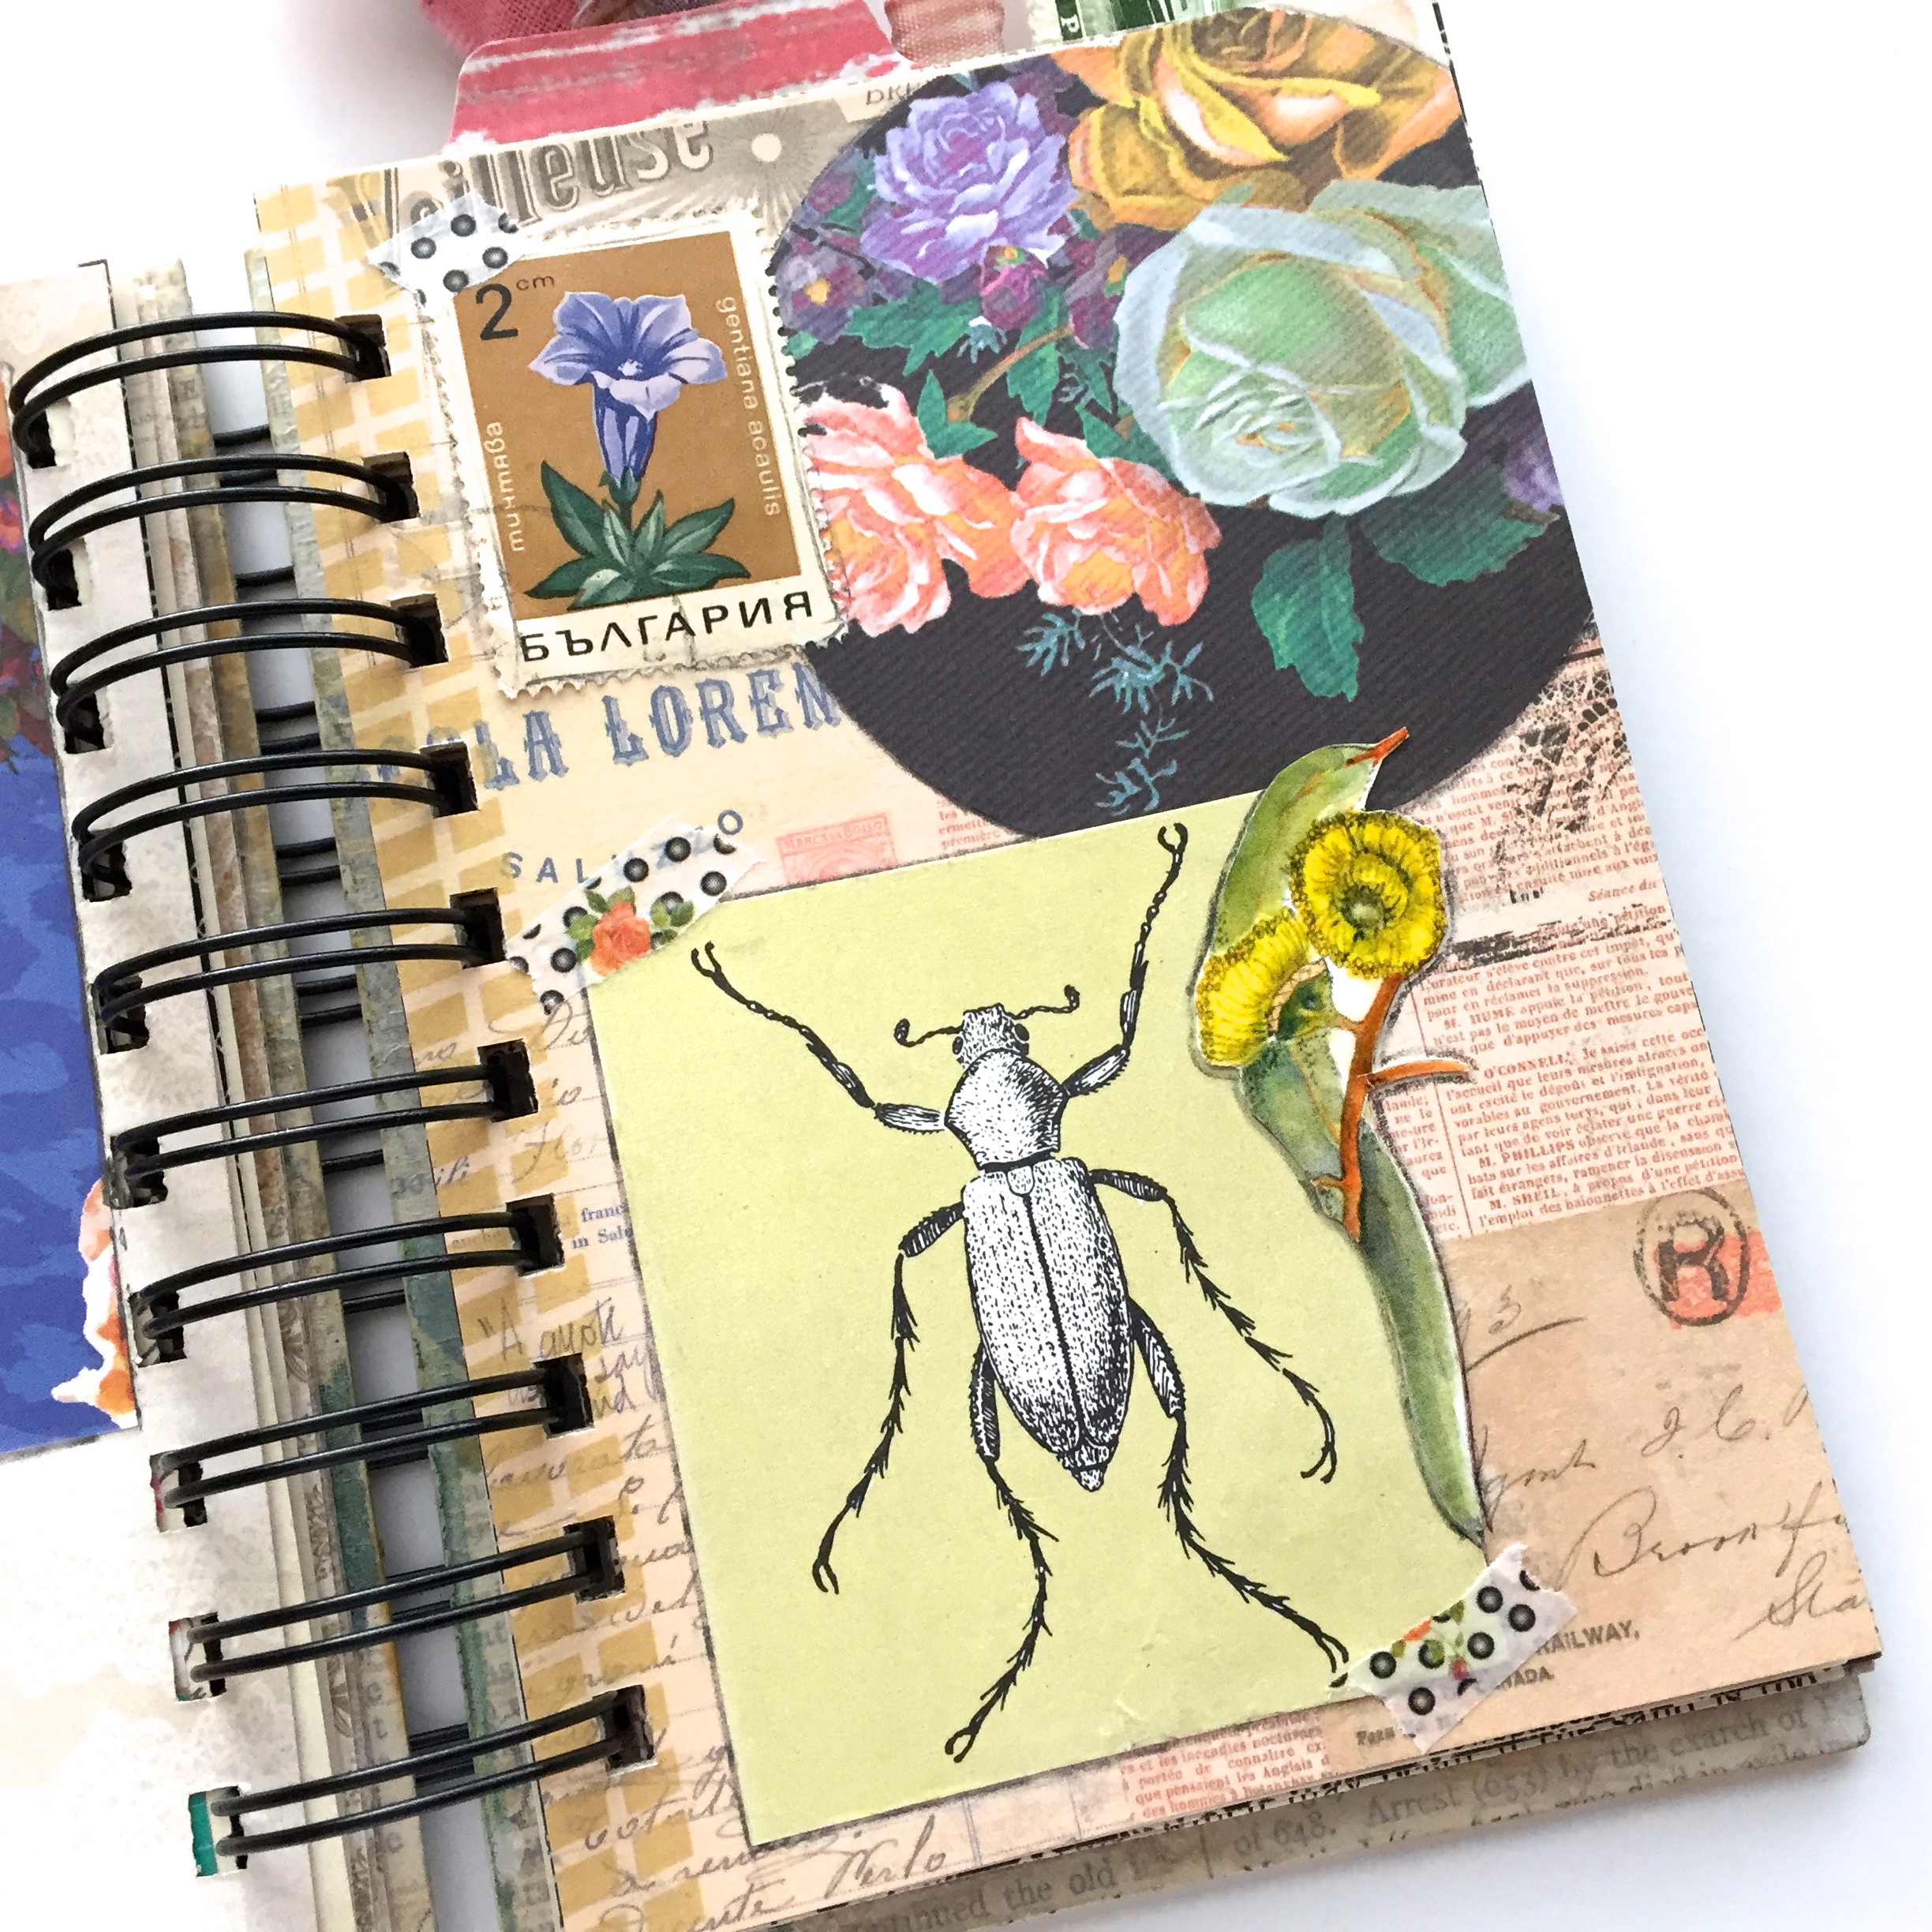
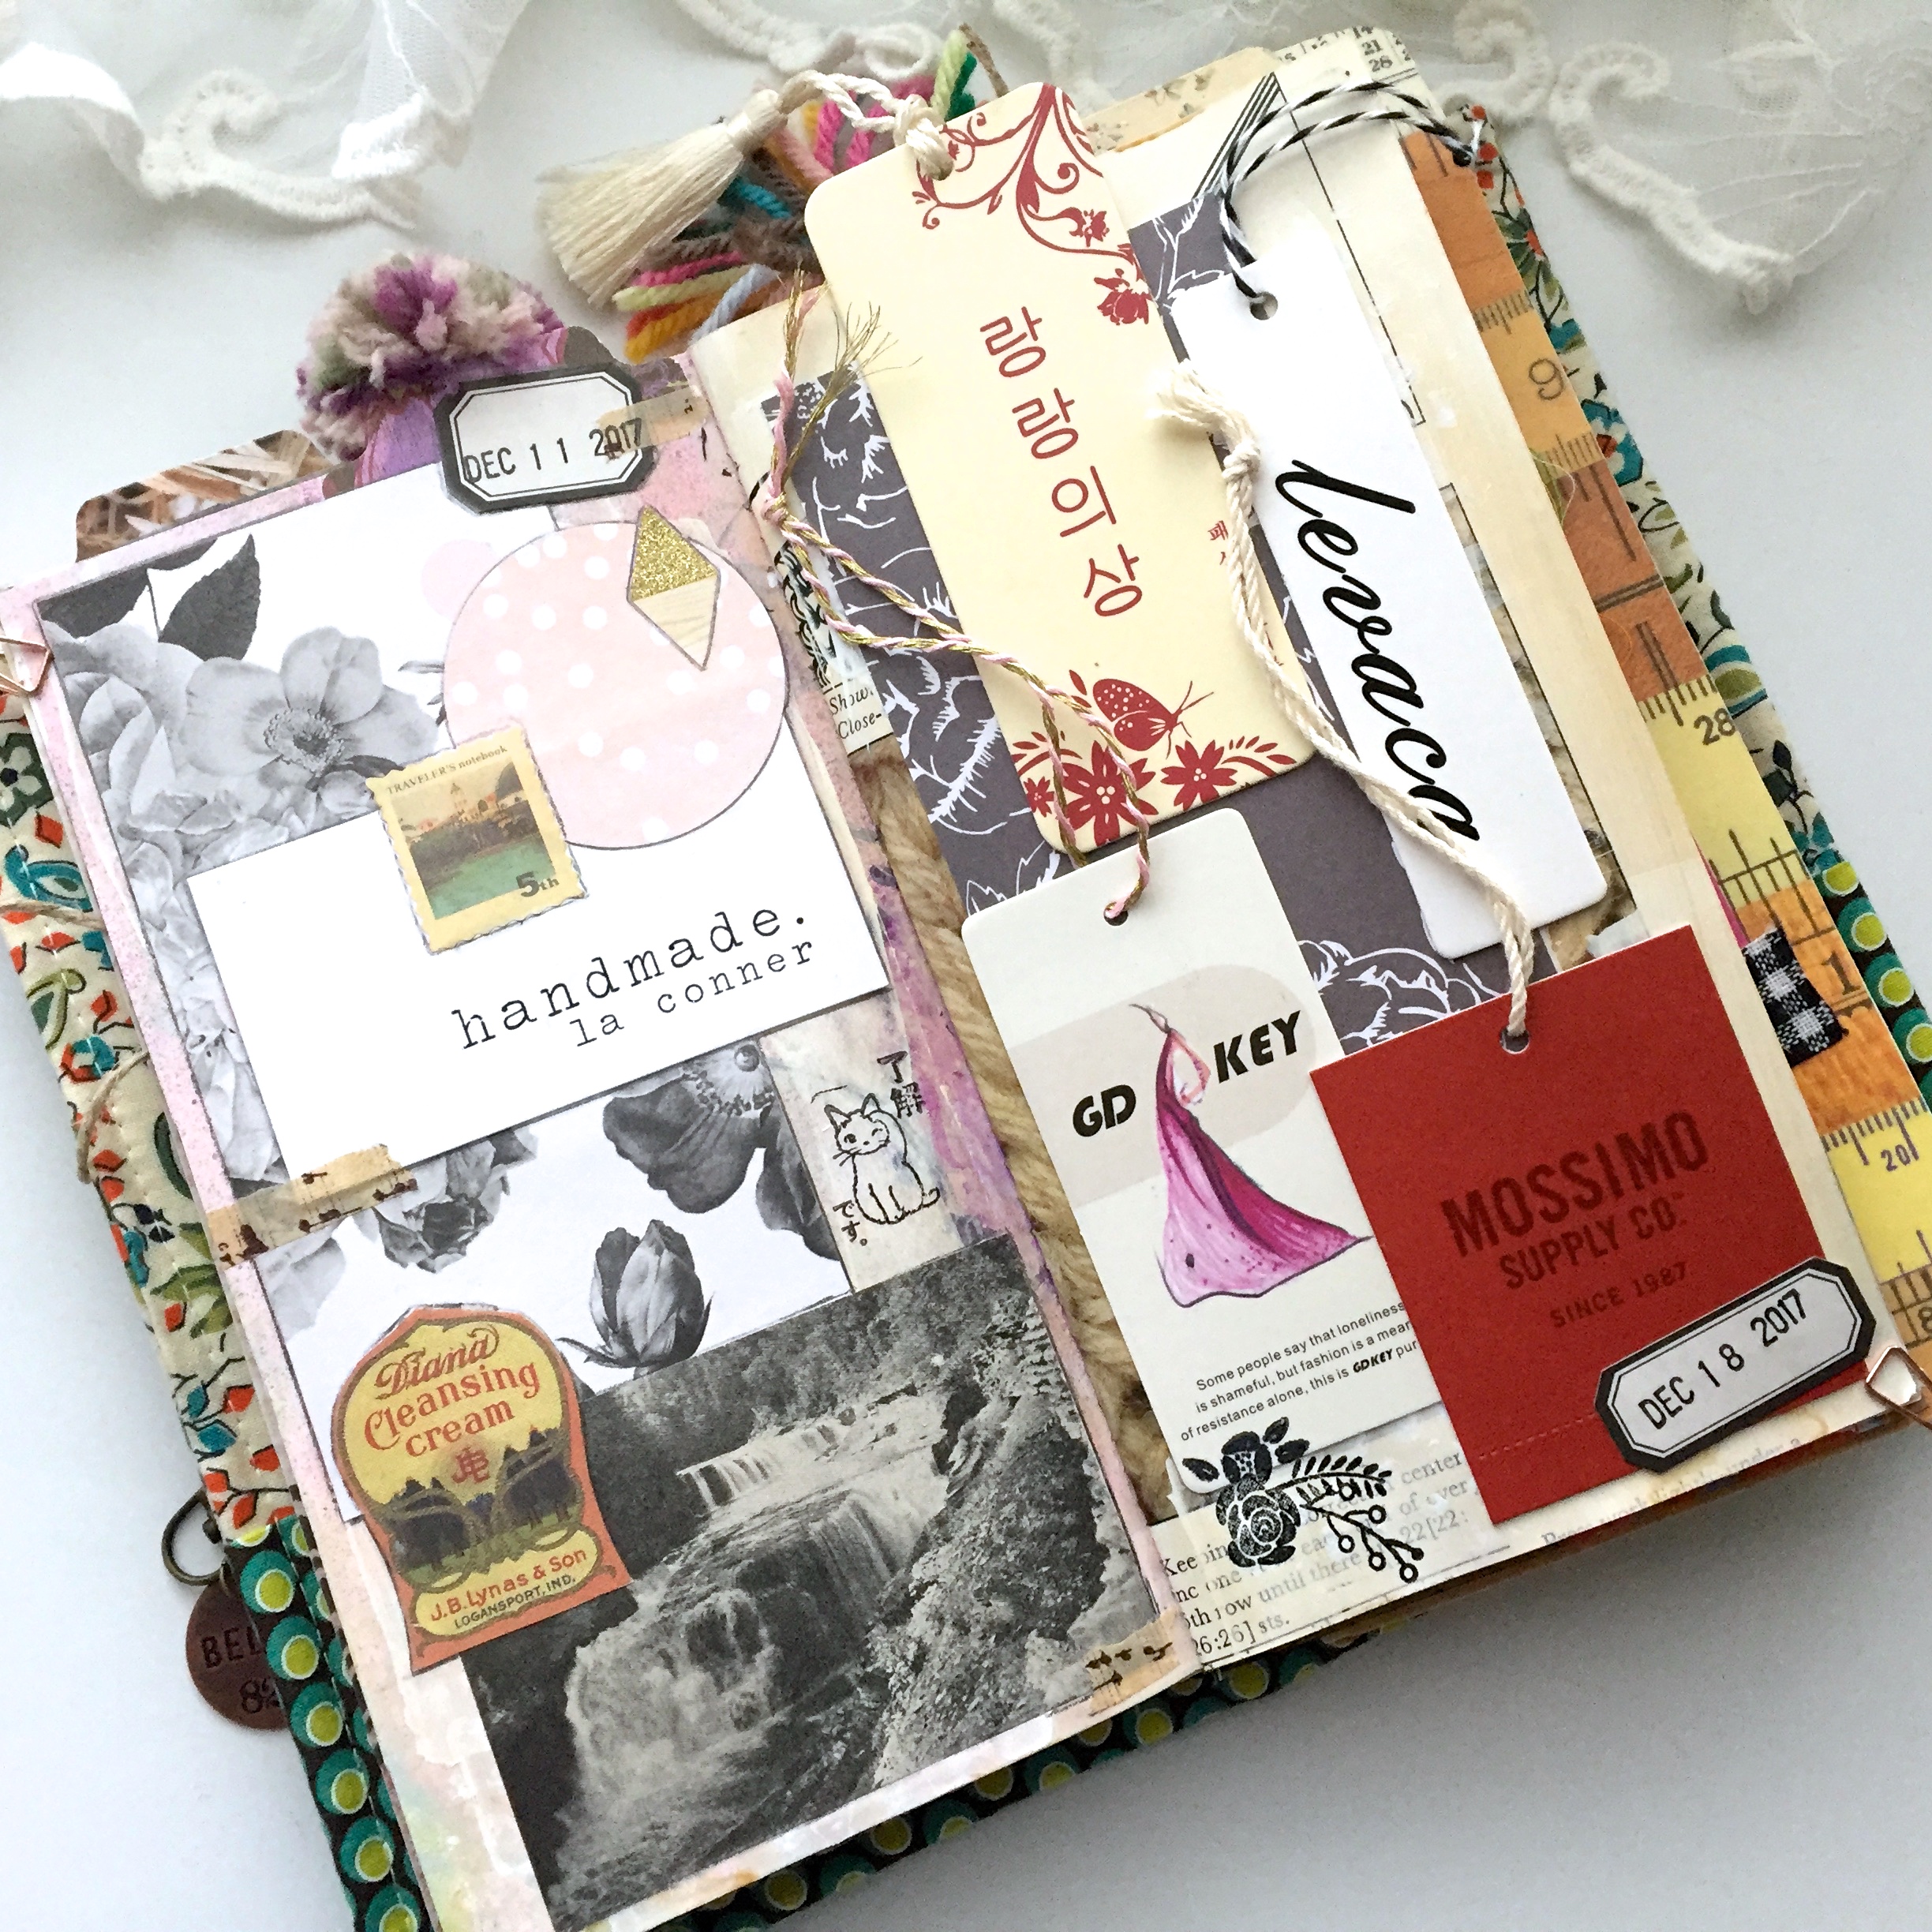
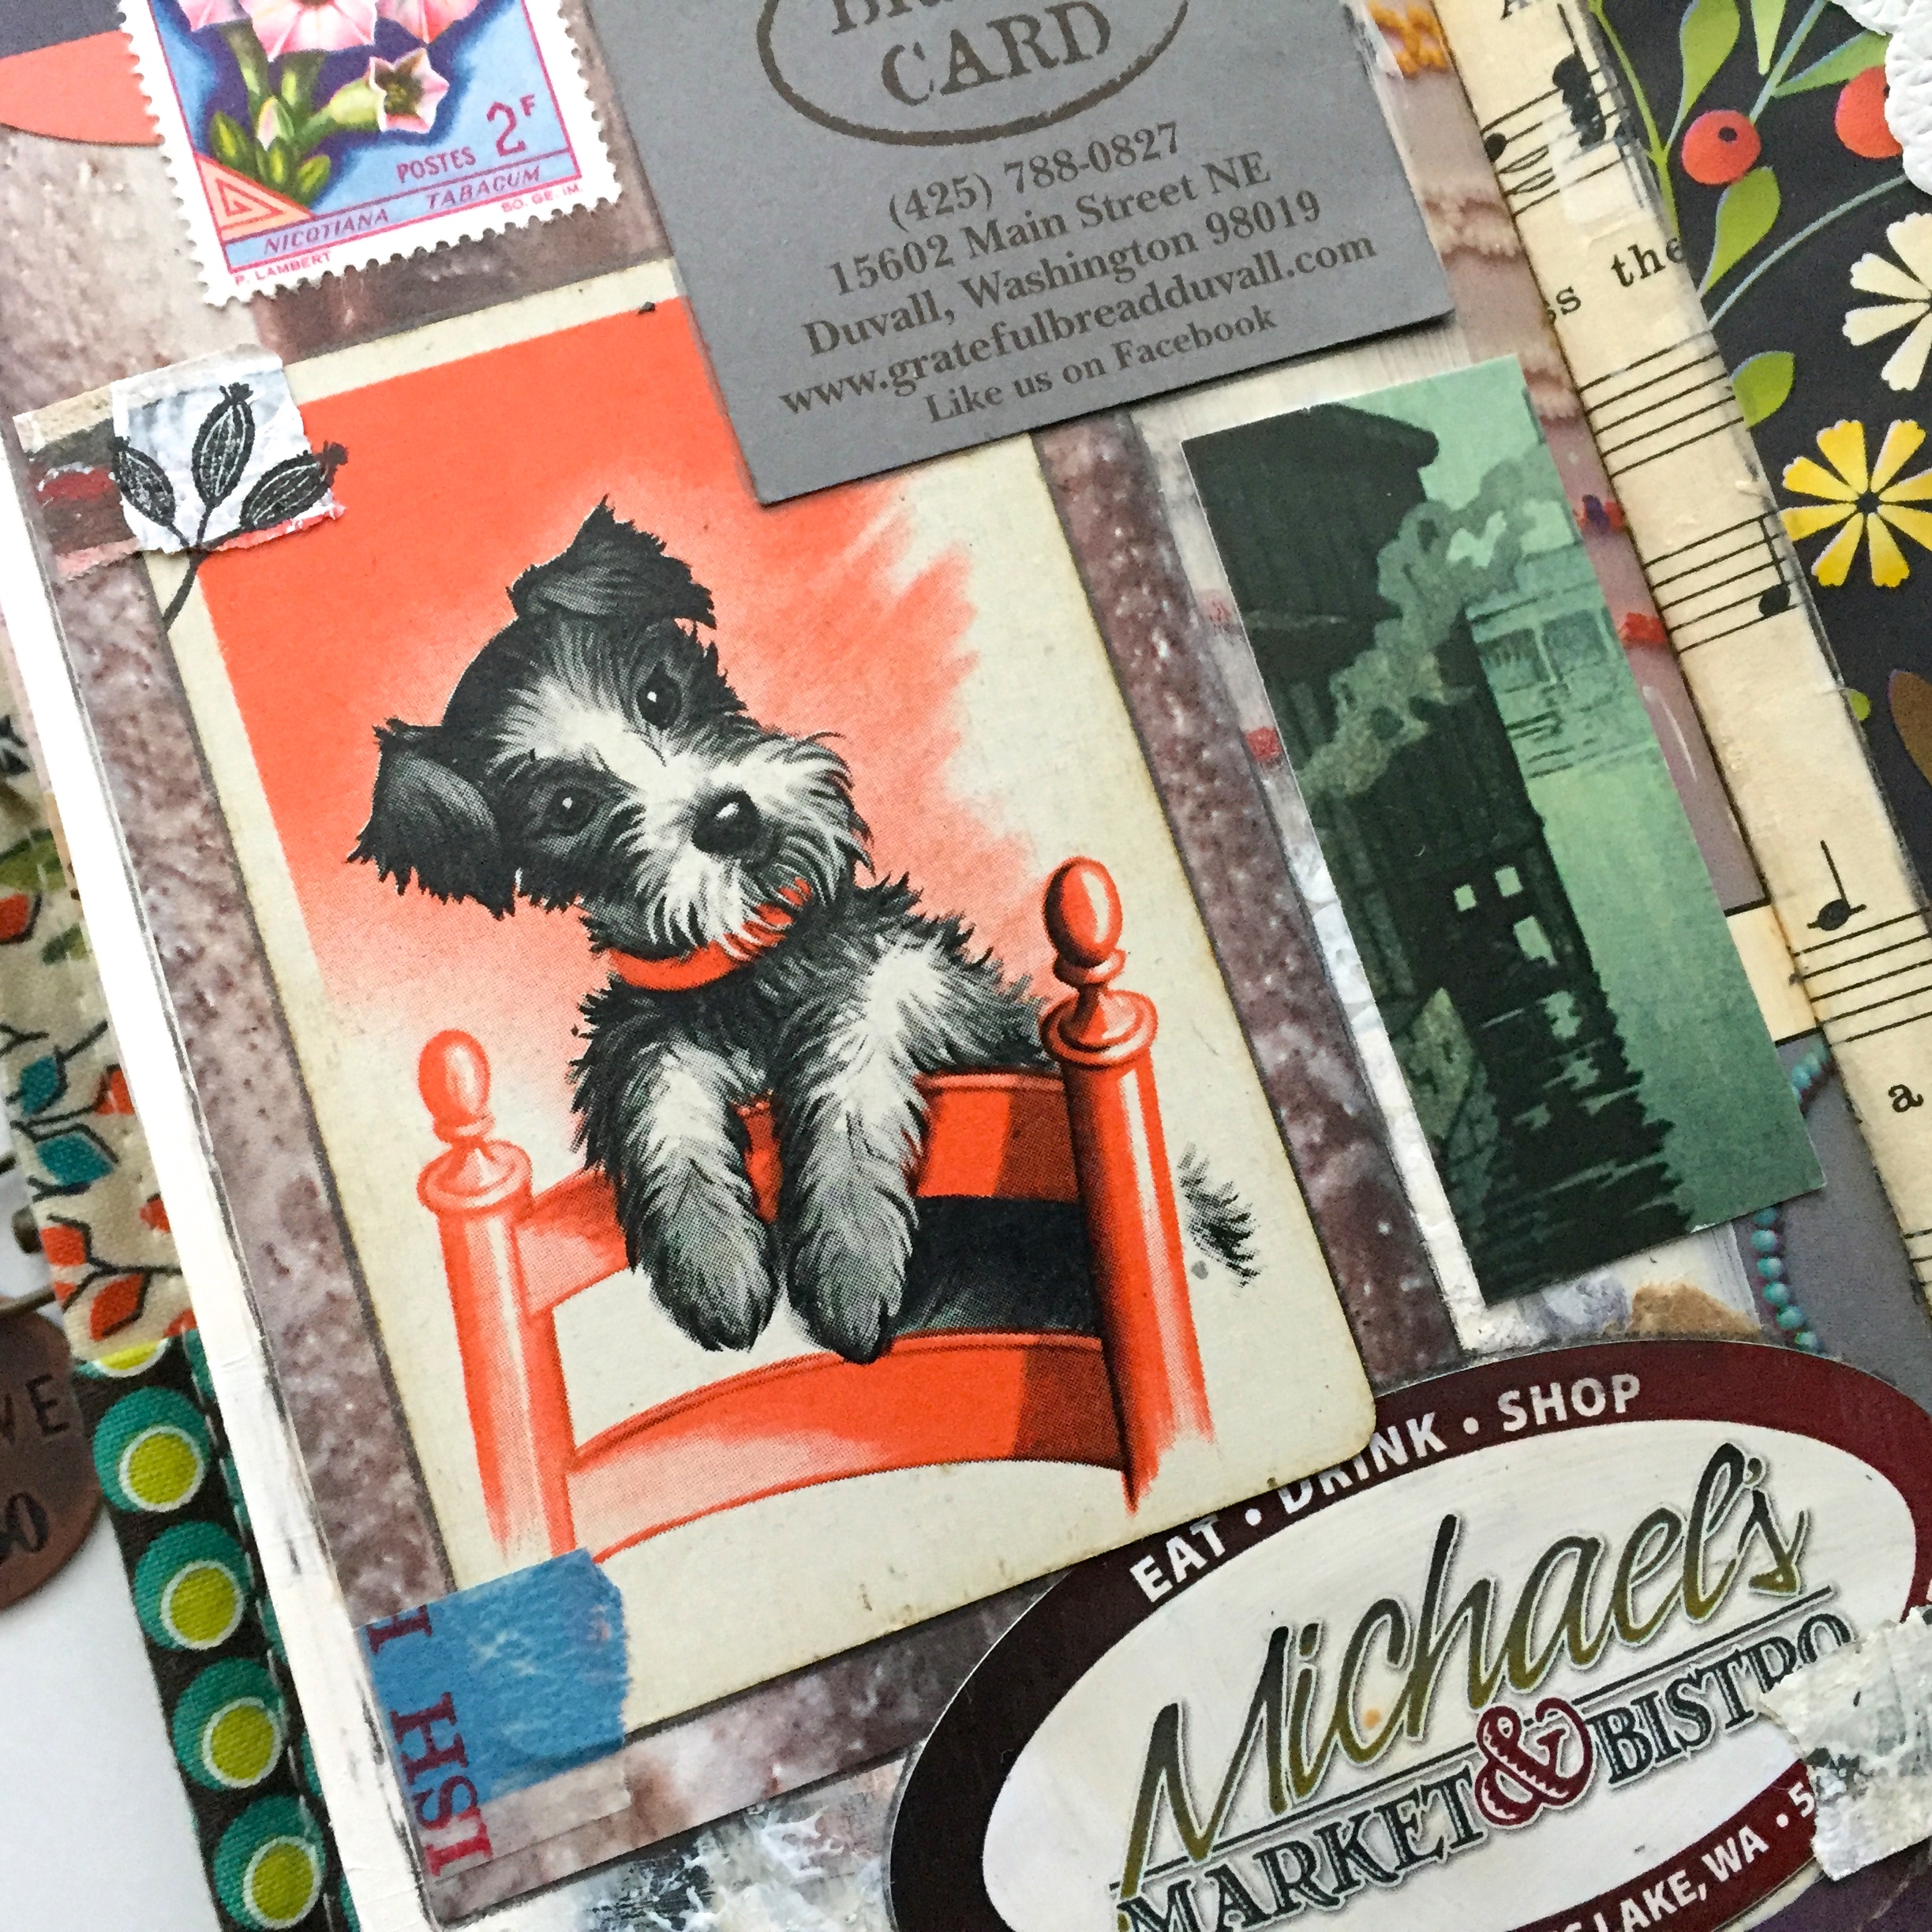
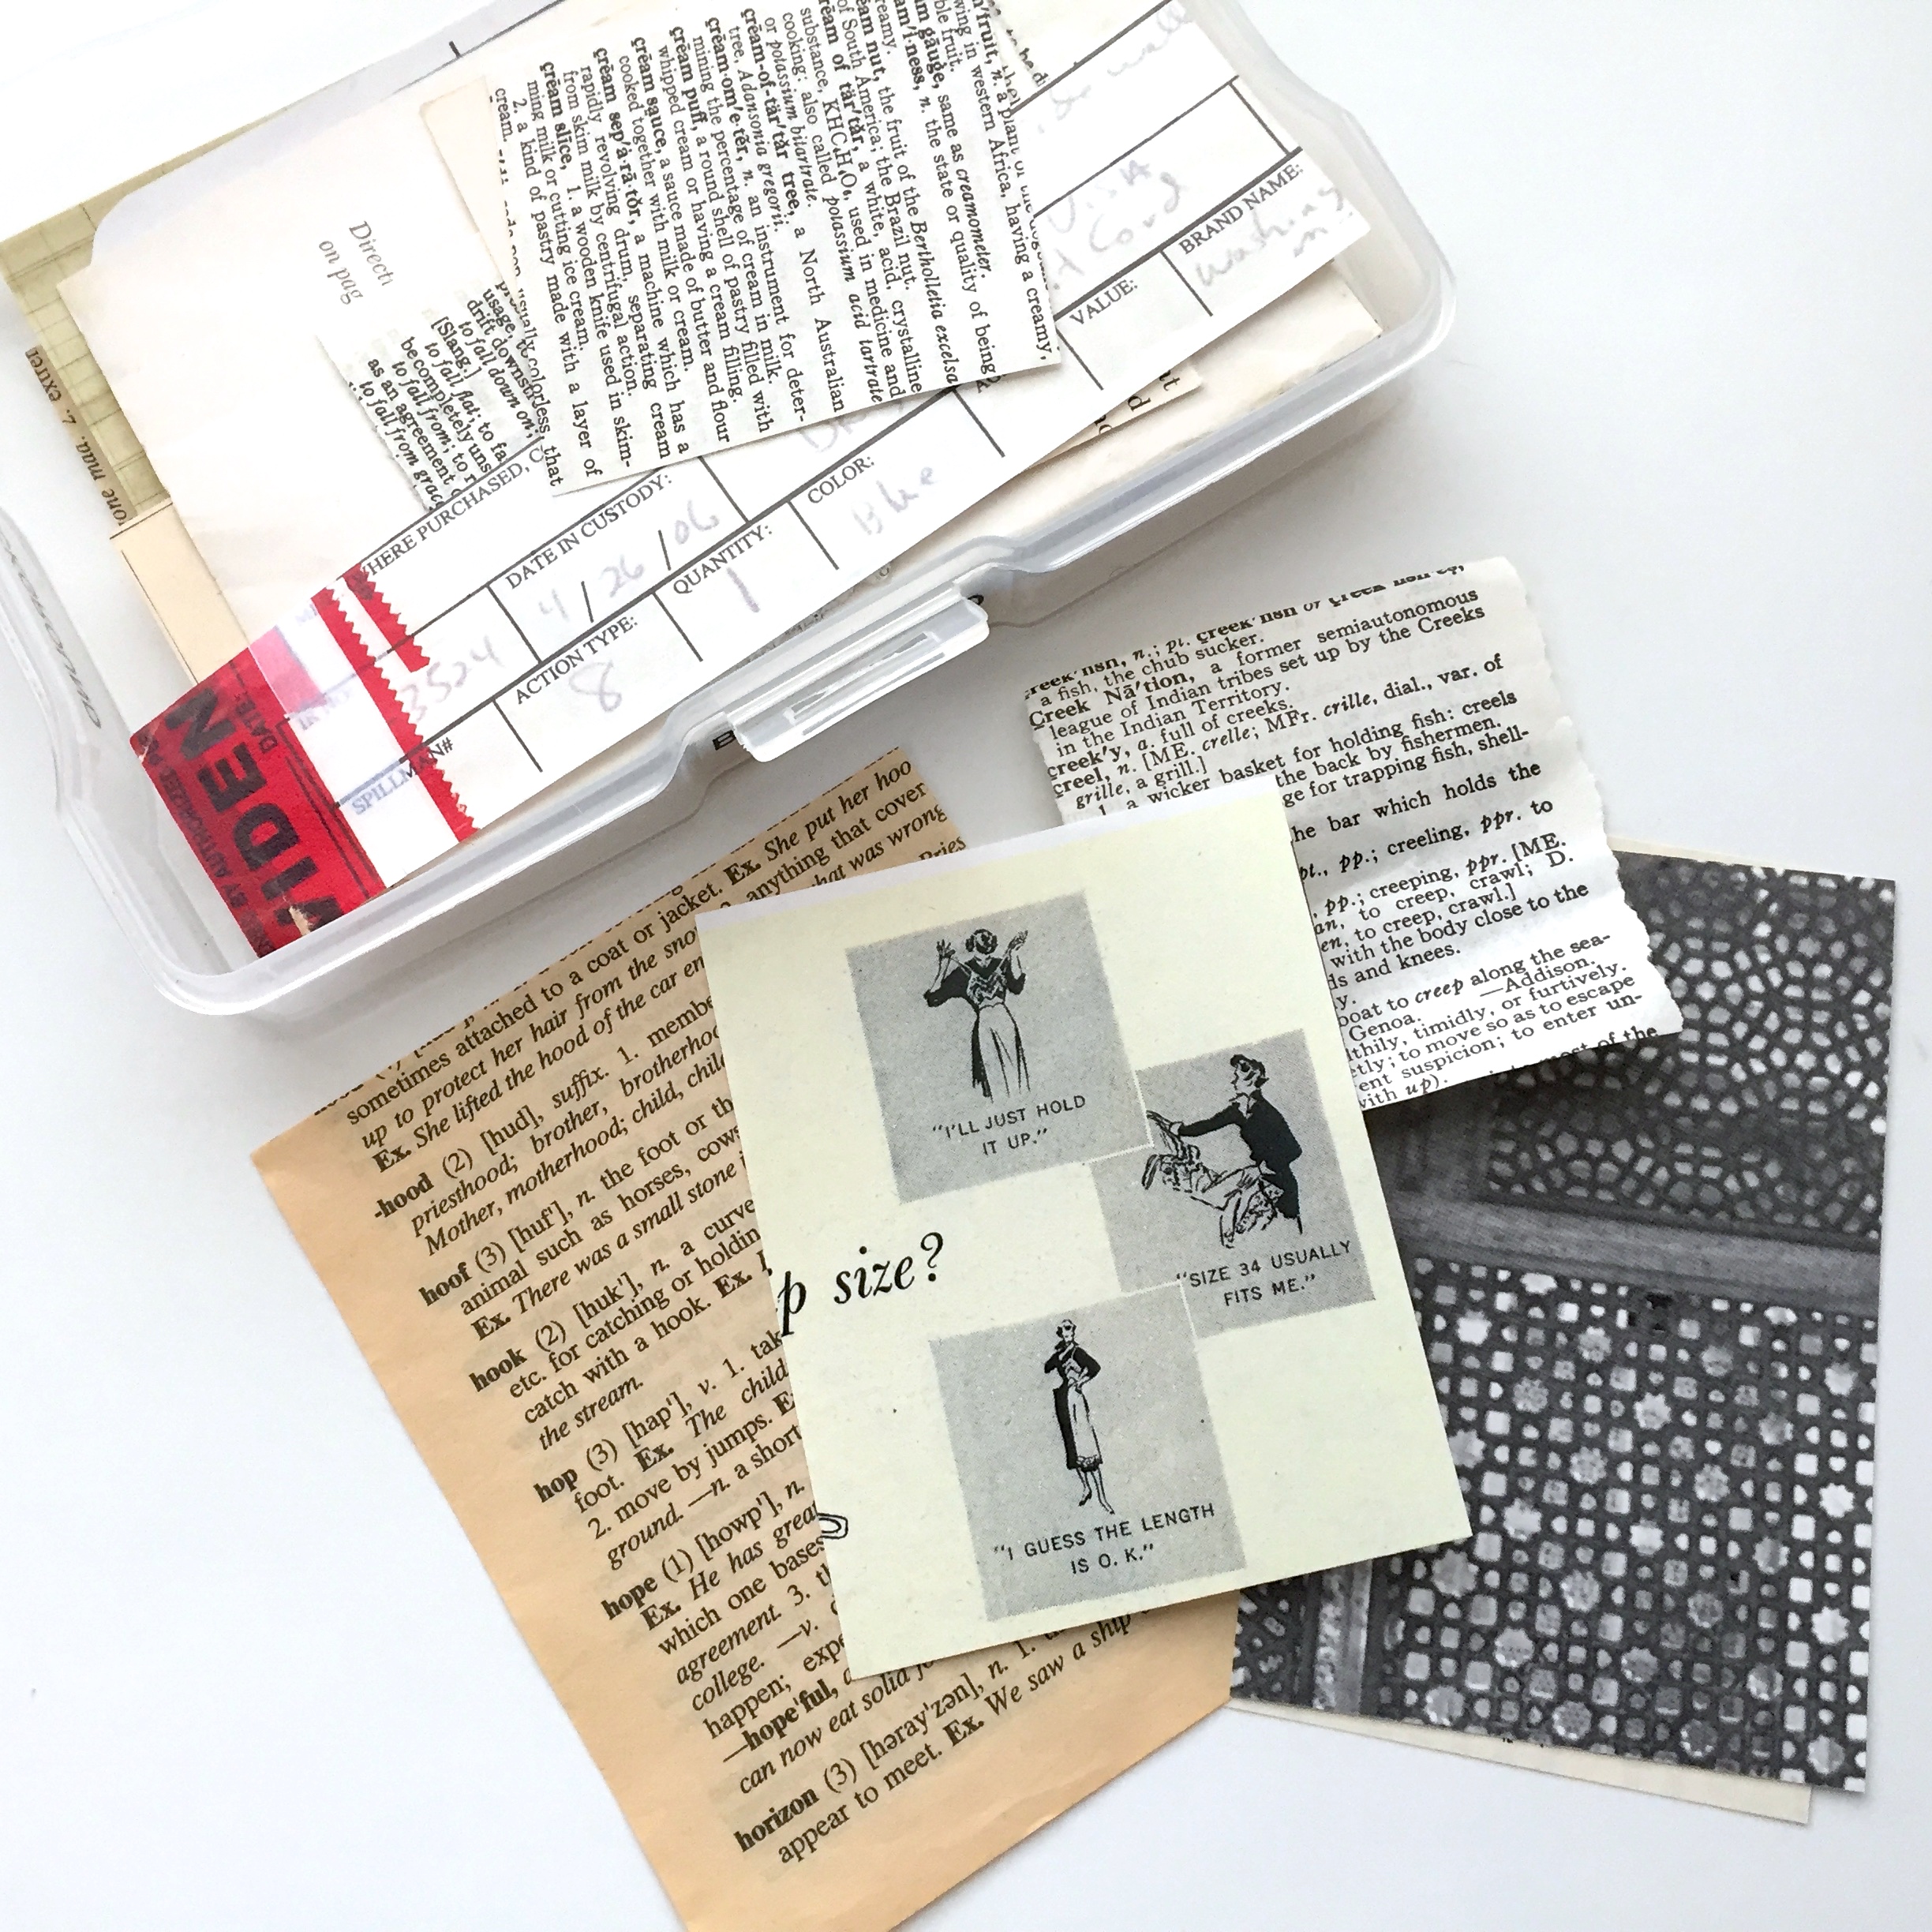
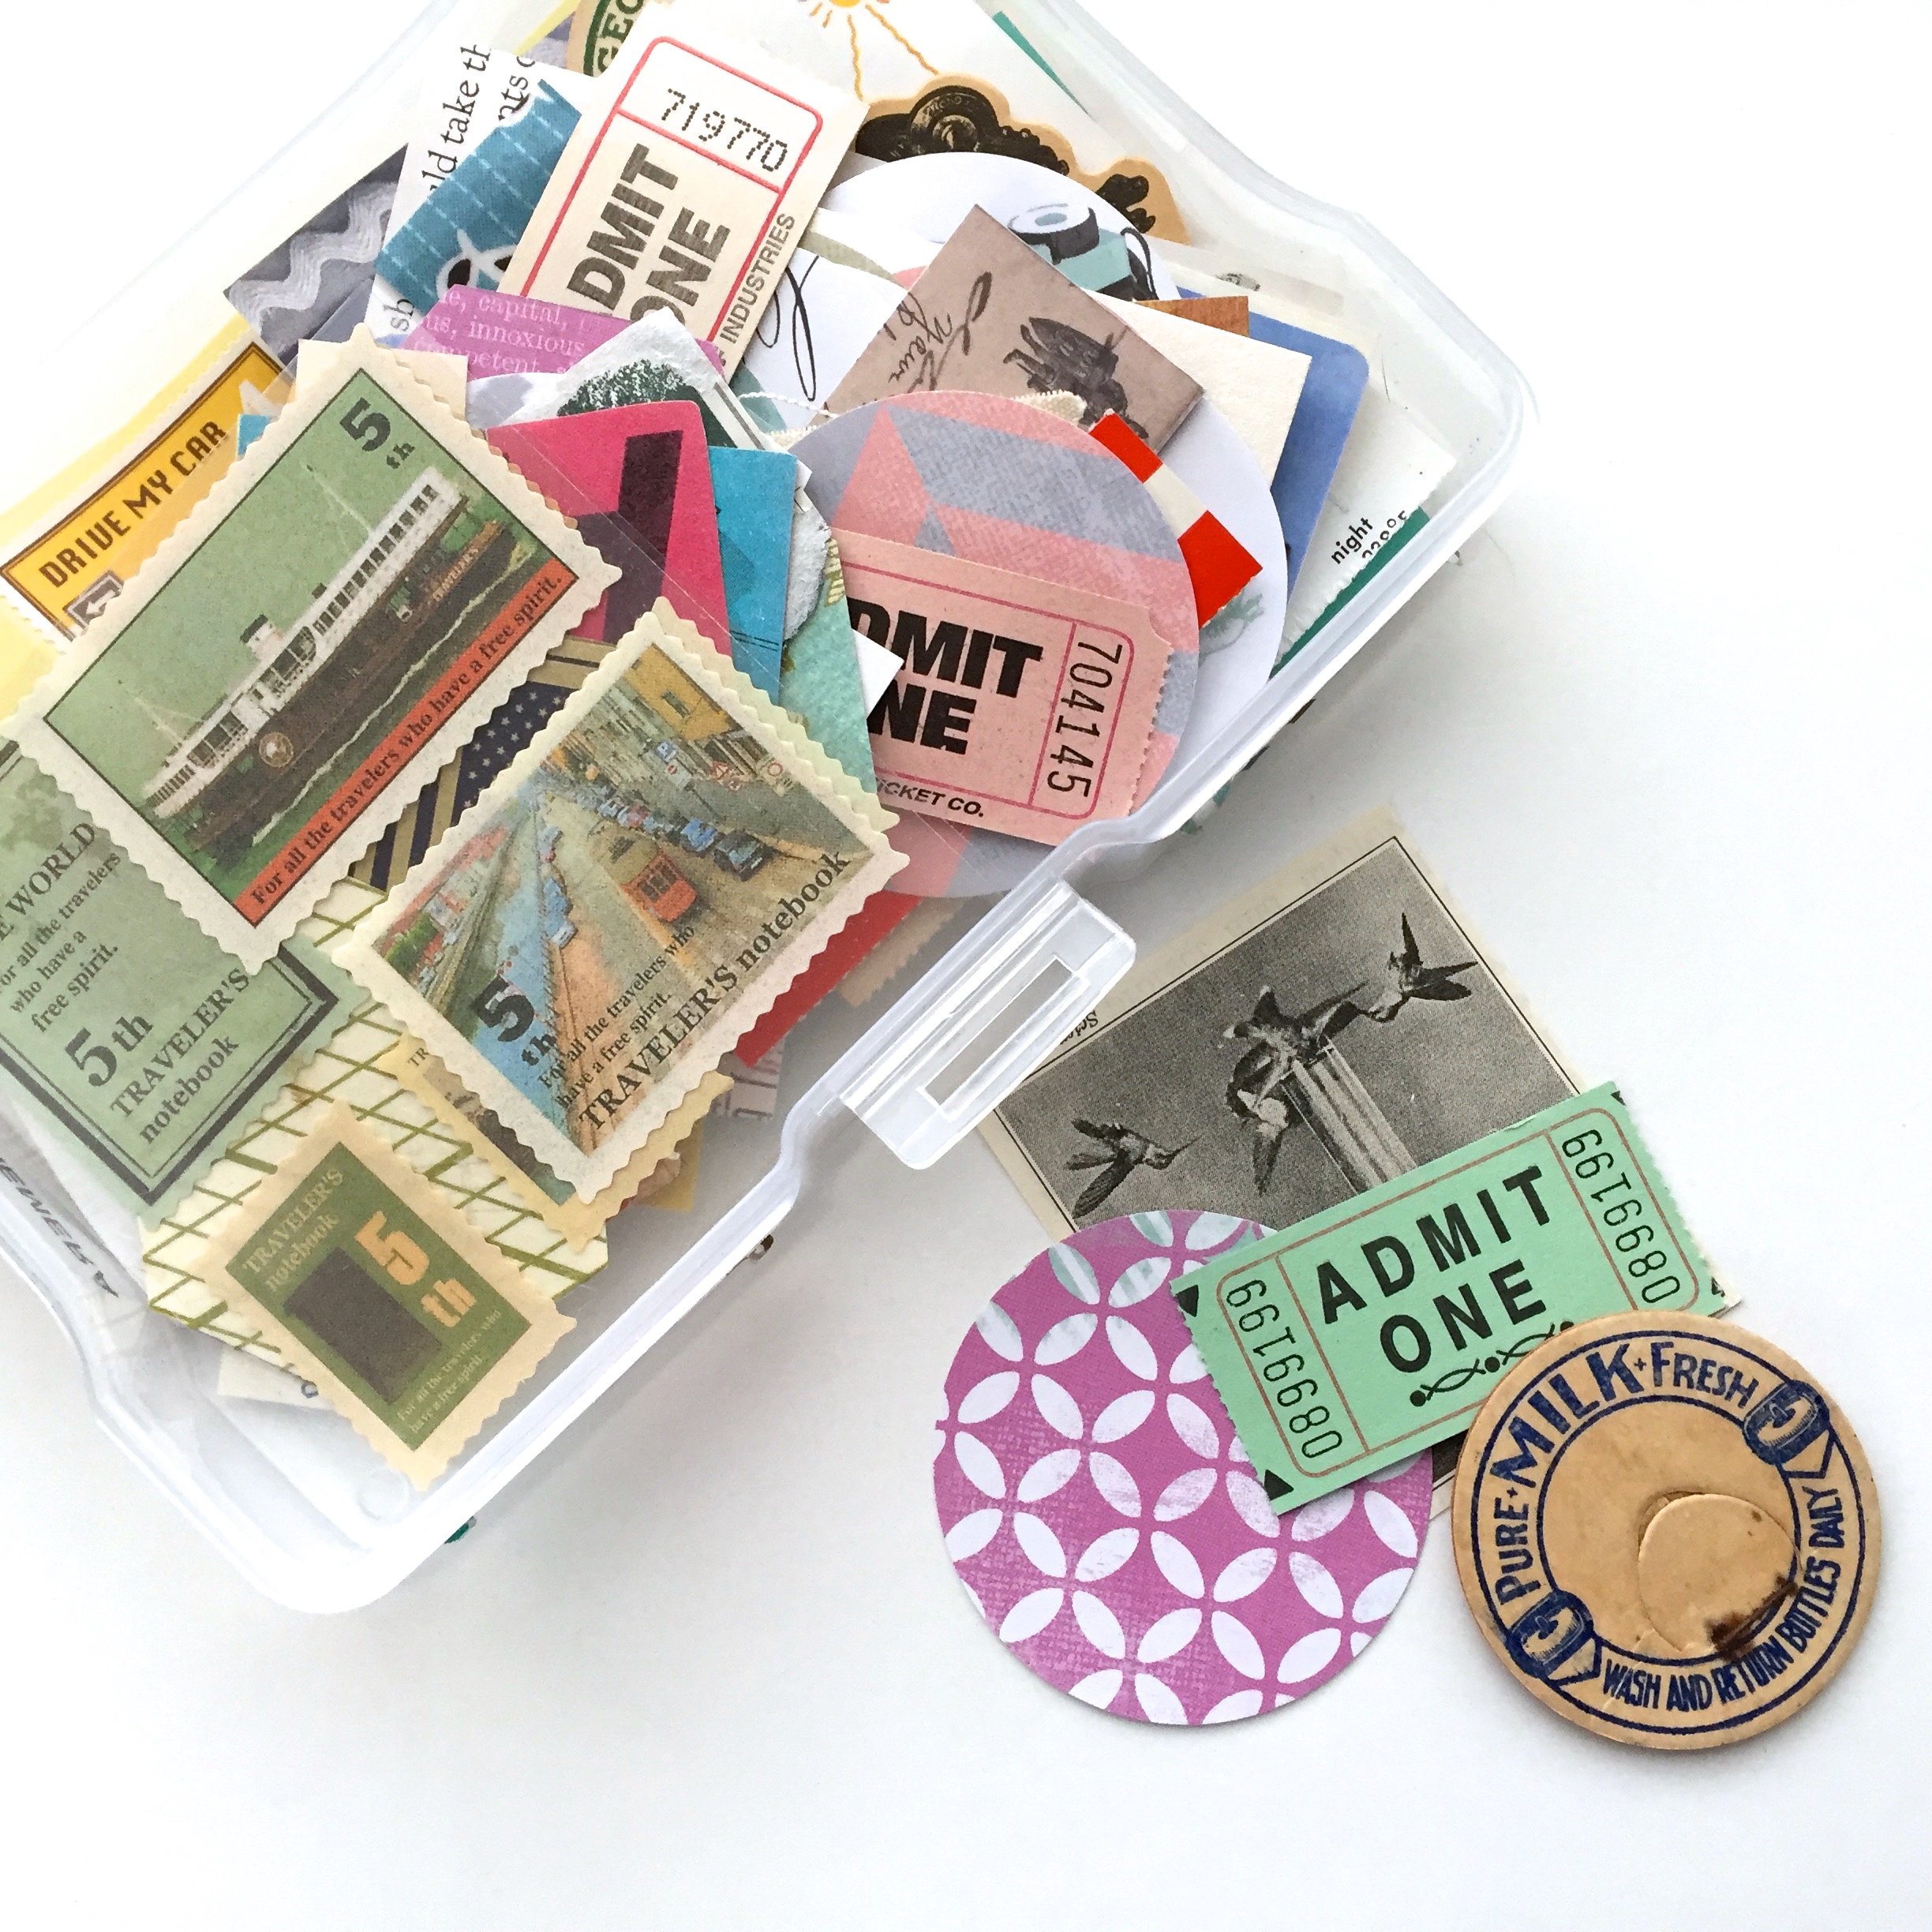
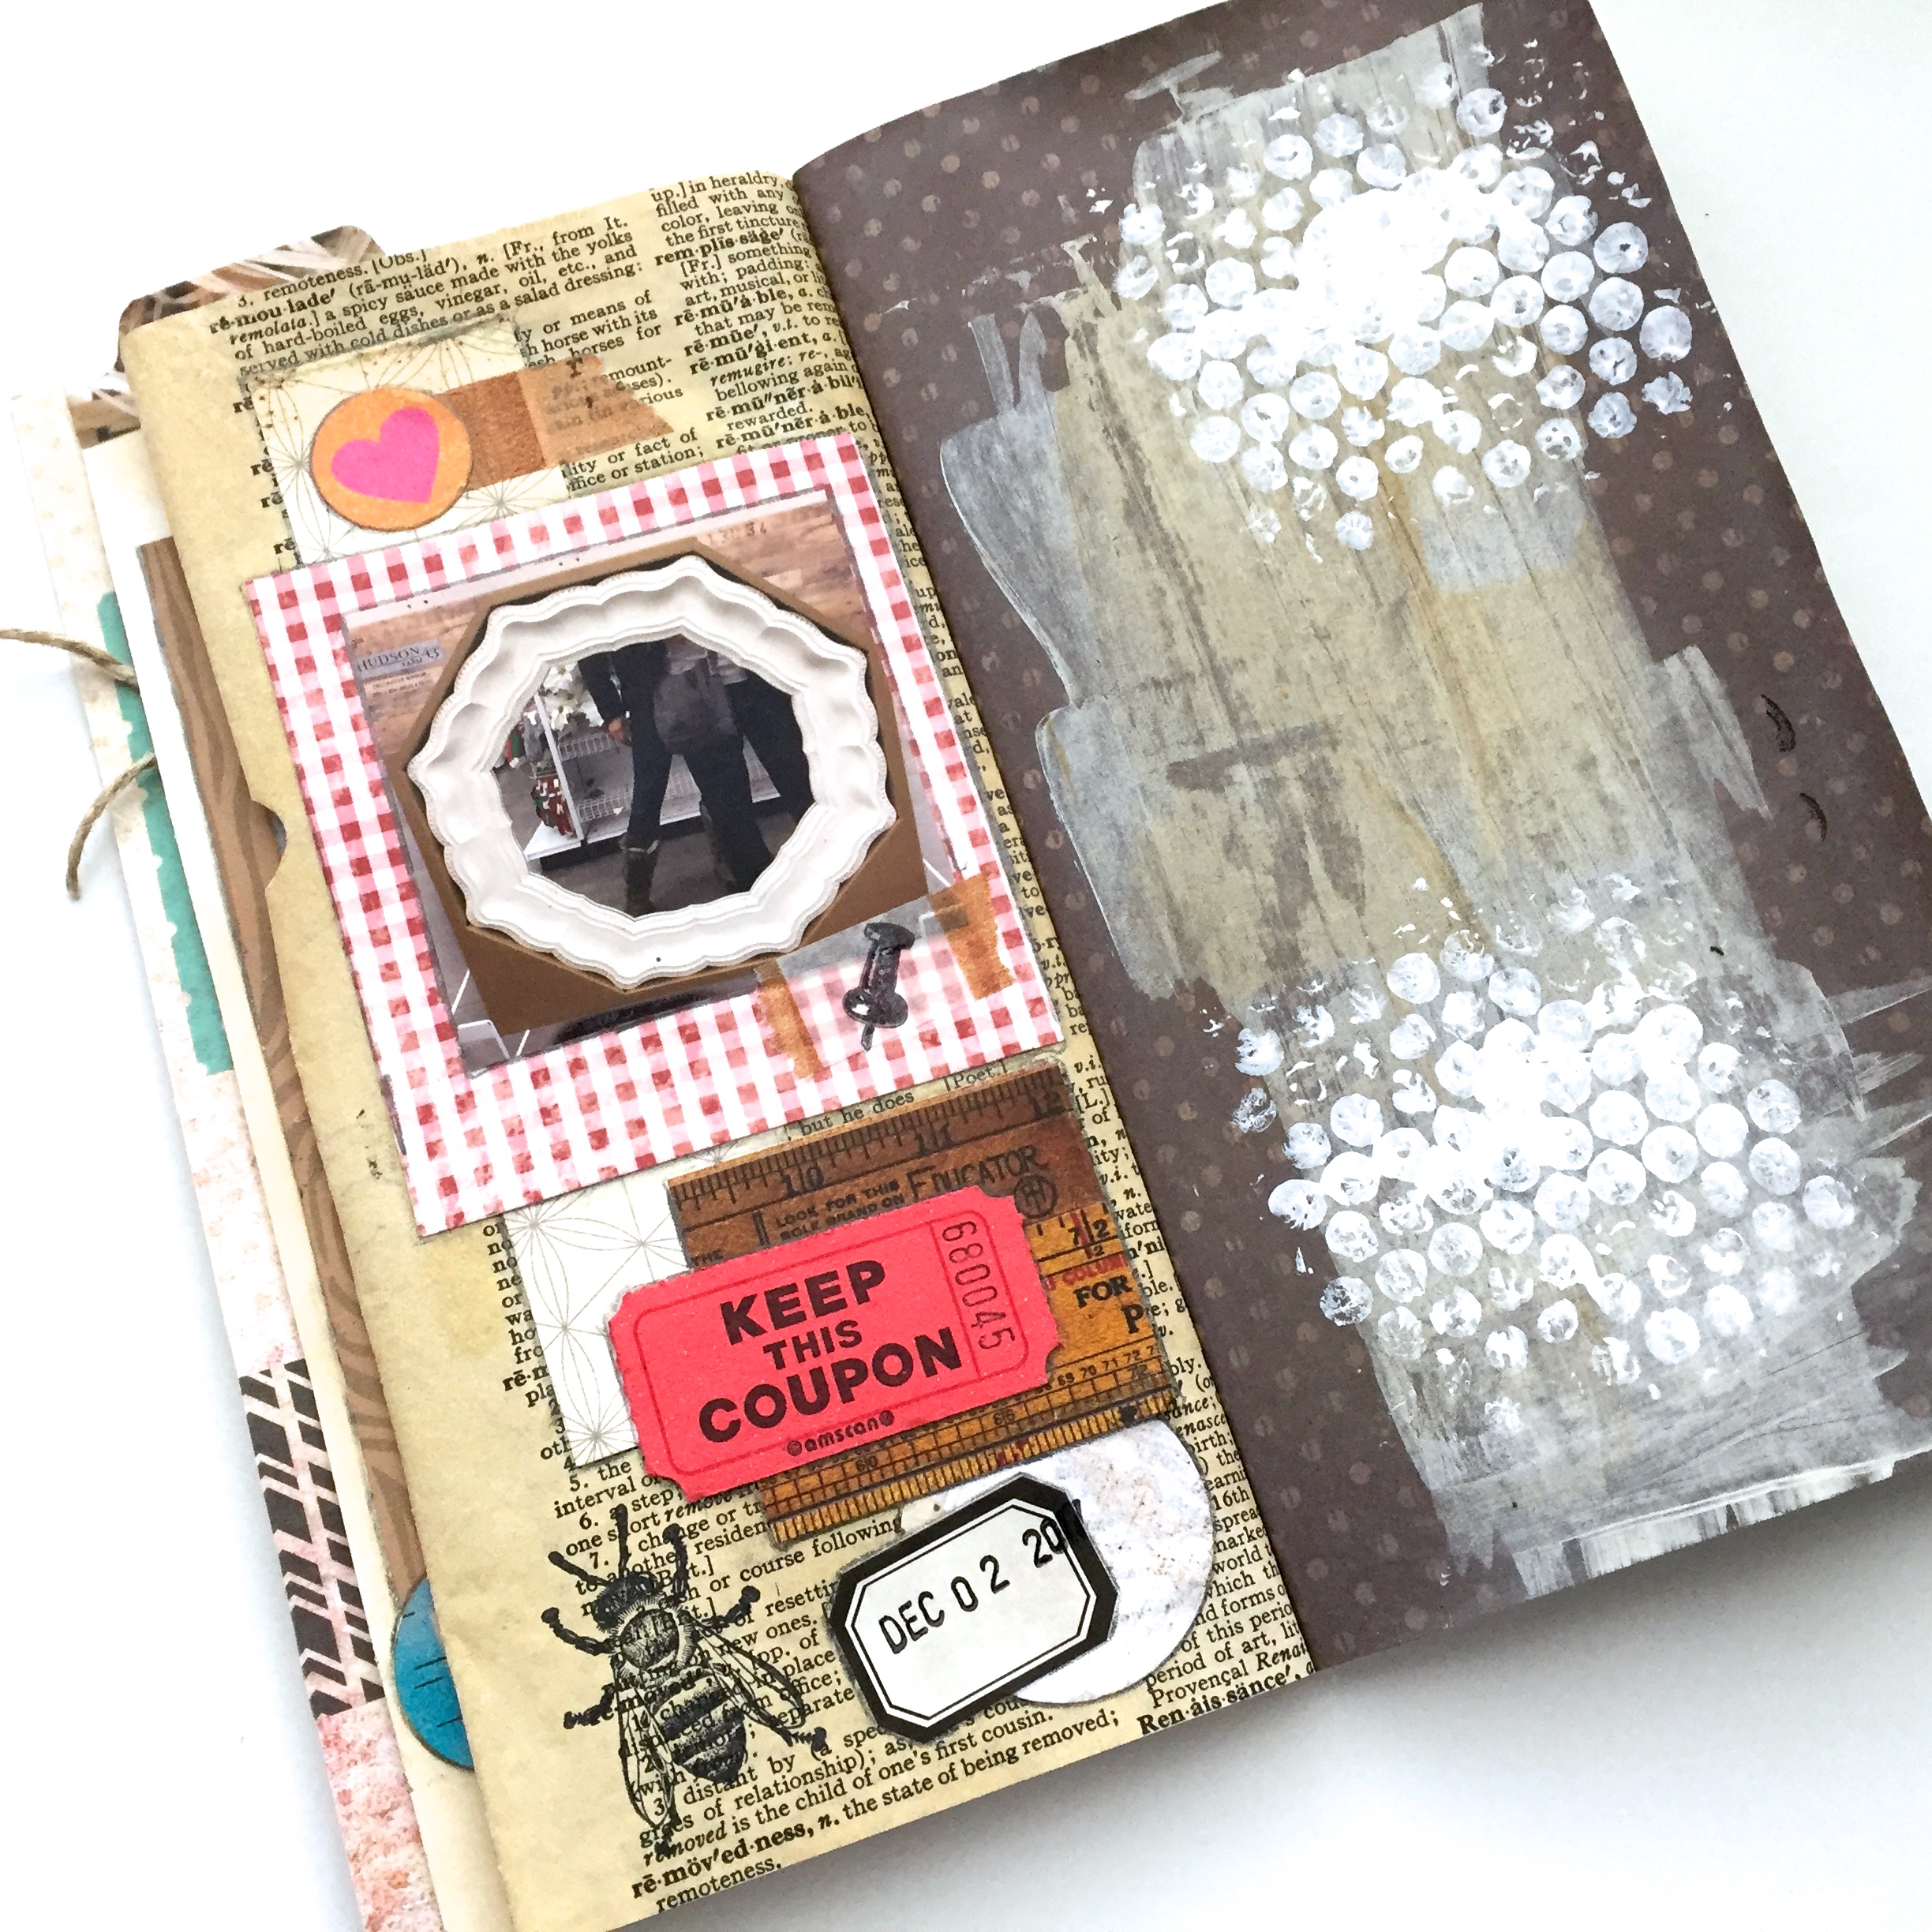
All I need is a few images, an insect or two, and some glue, (and of course a postage stamp.)

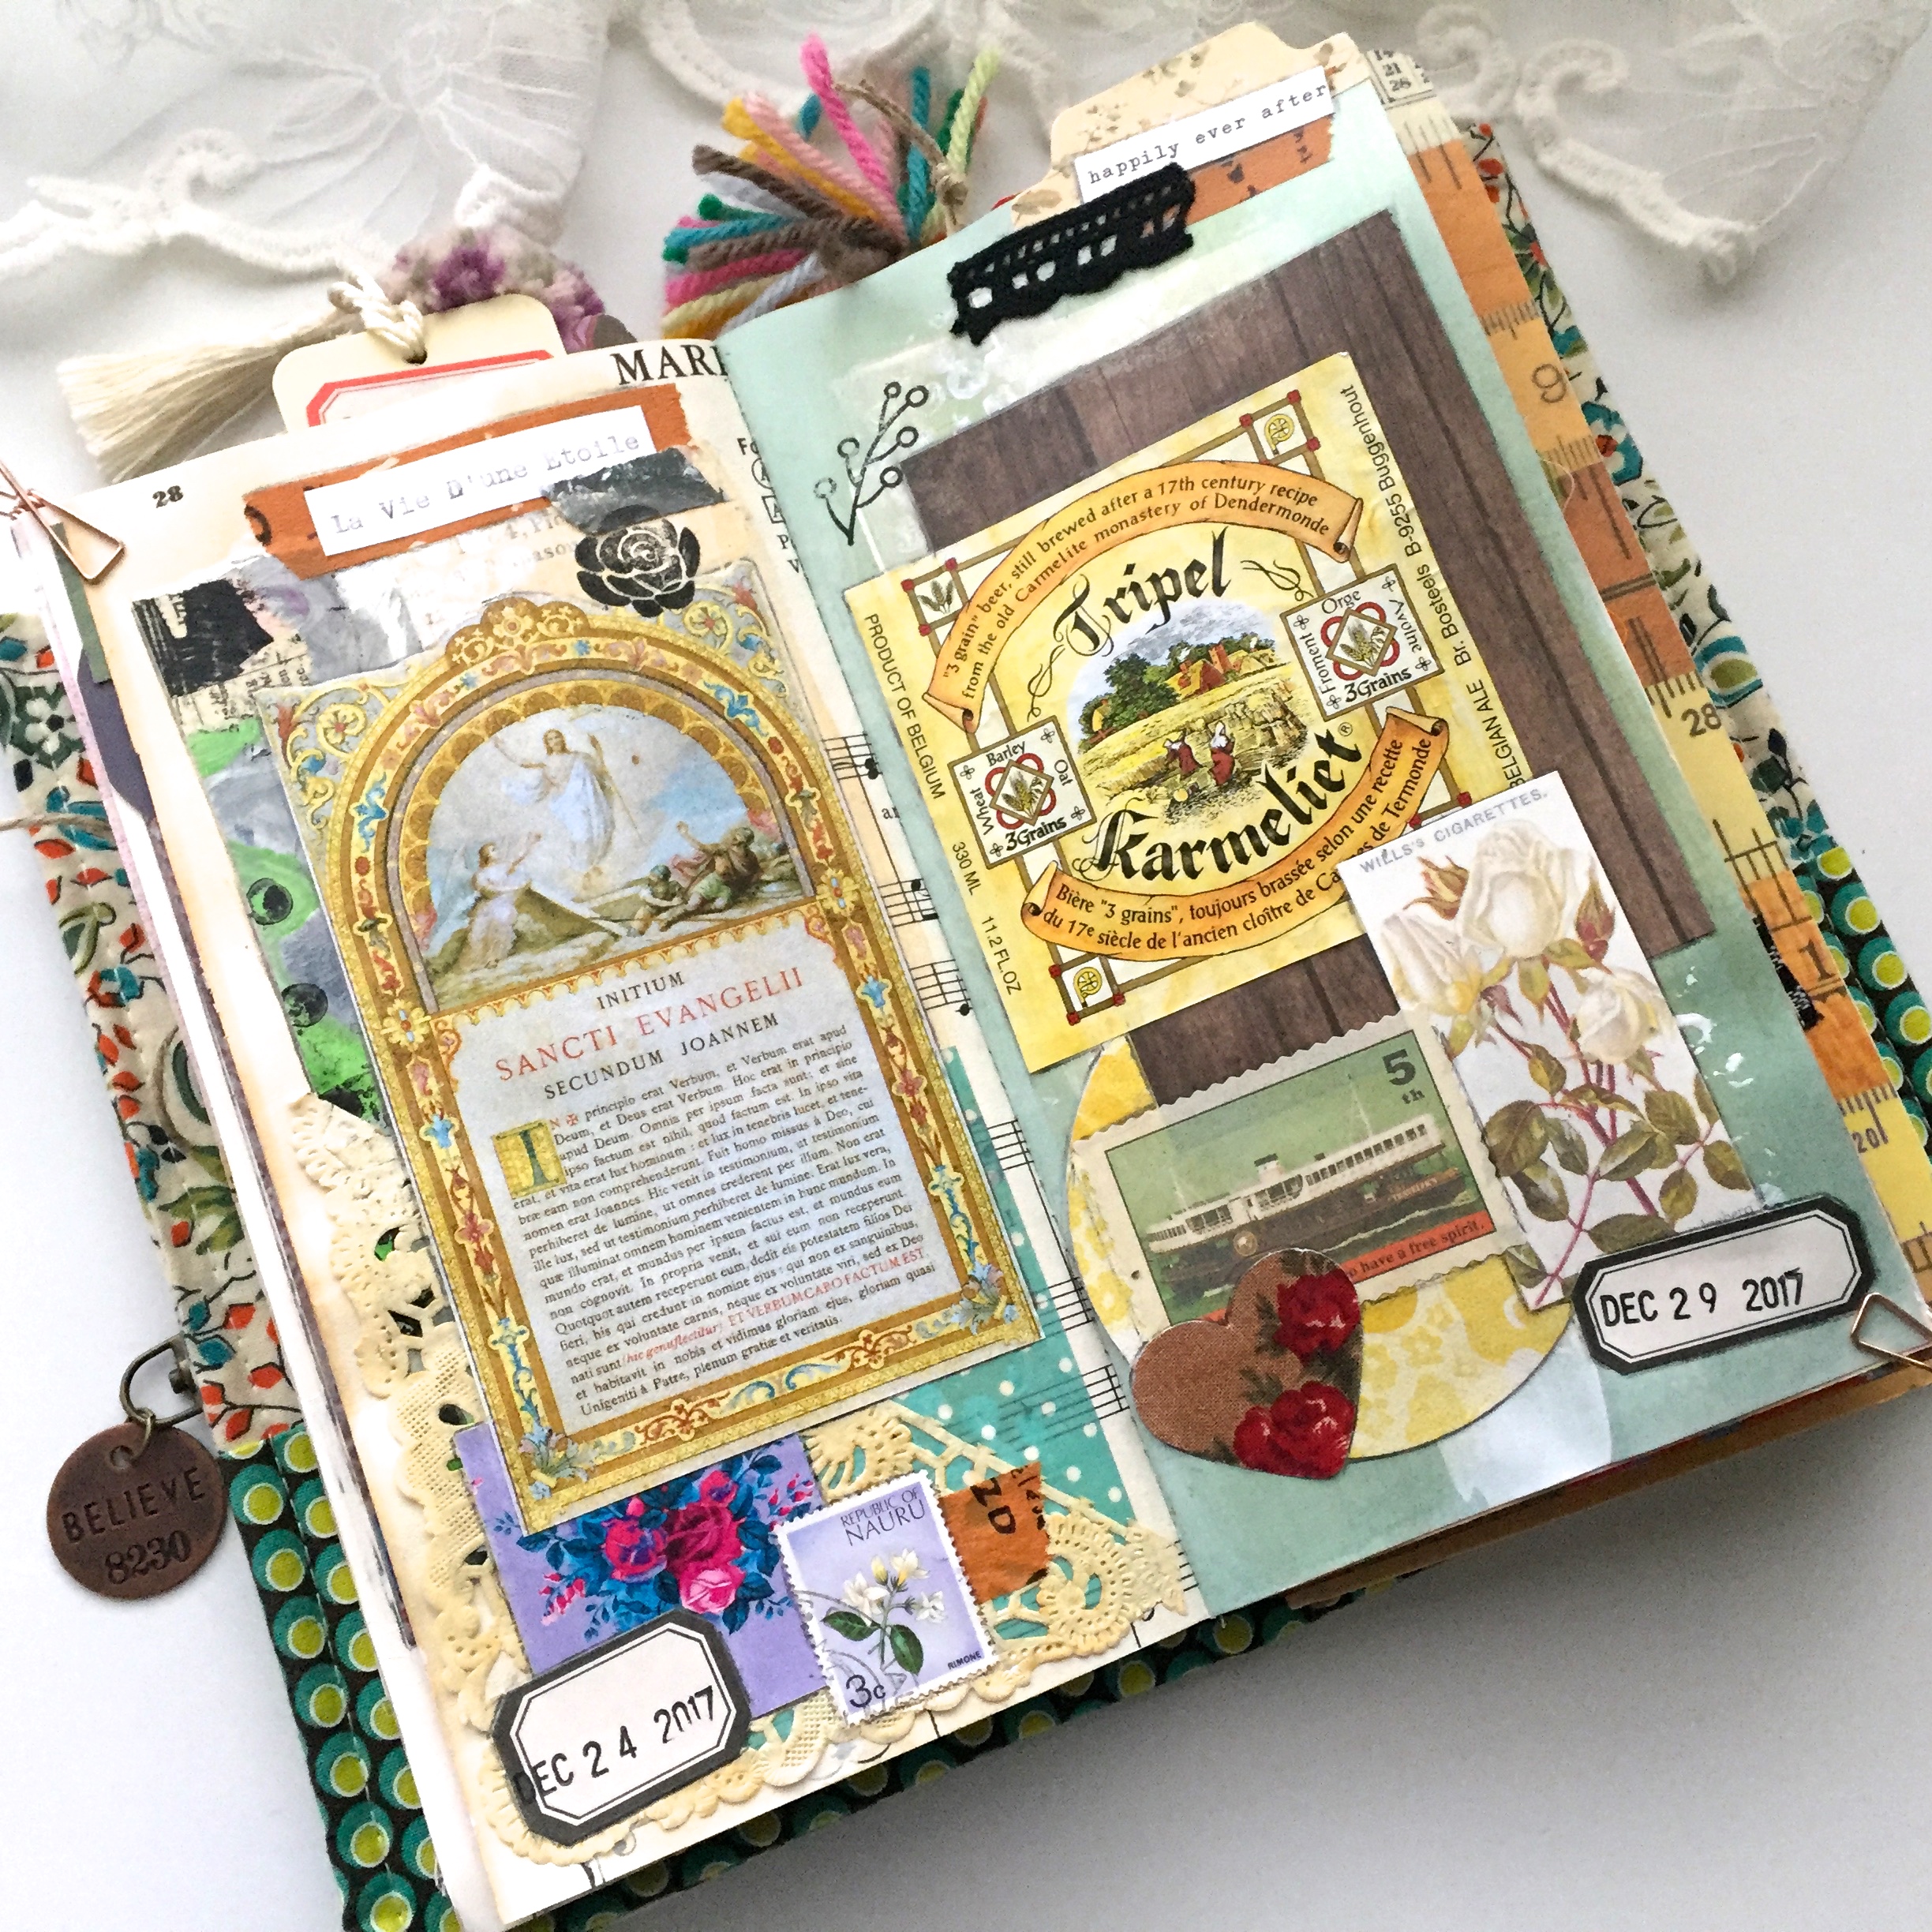
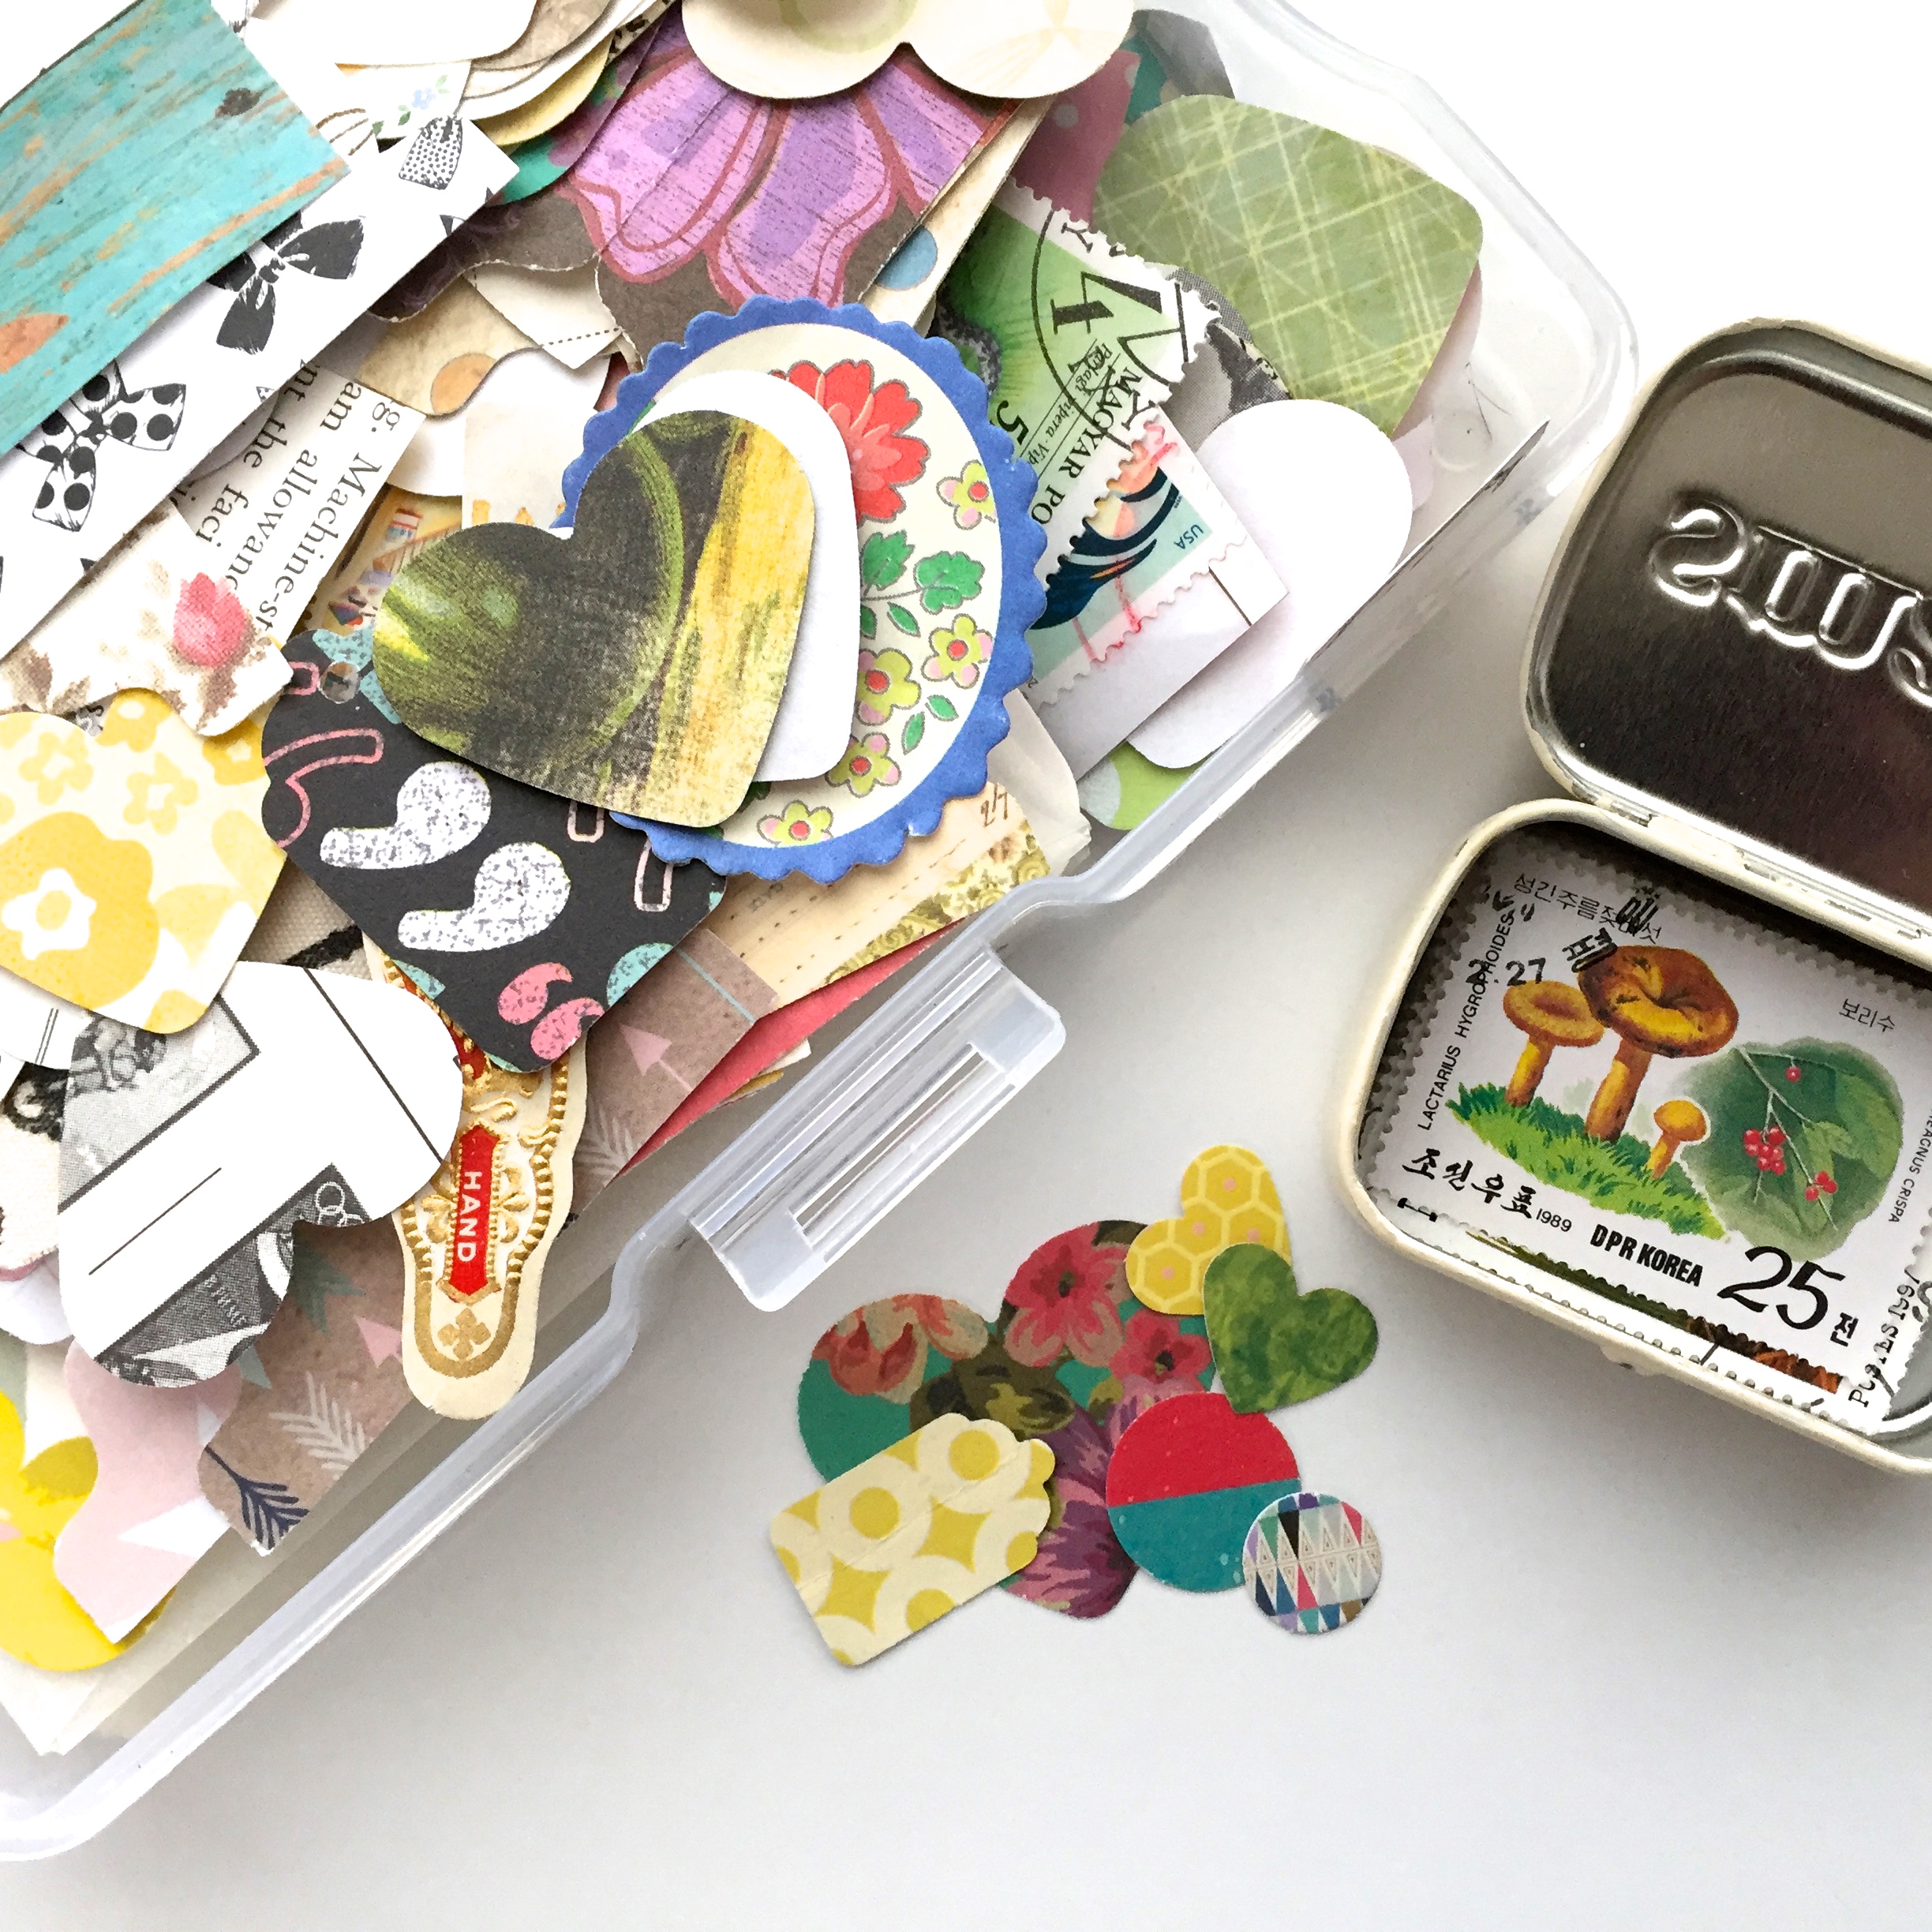
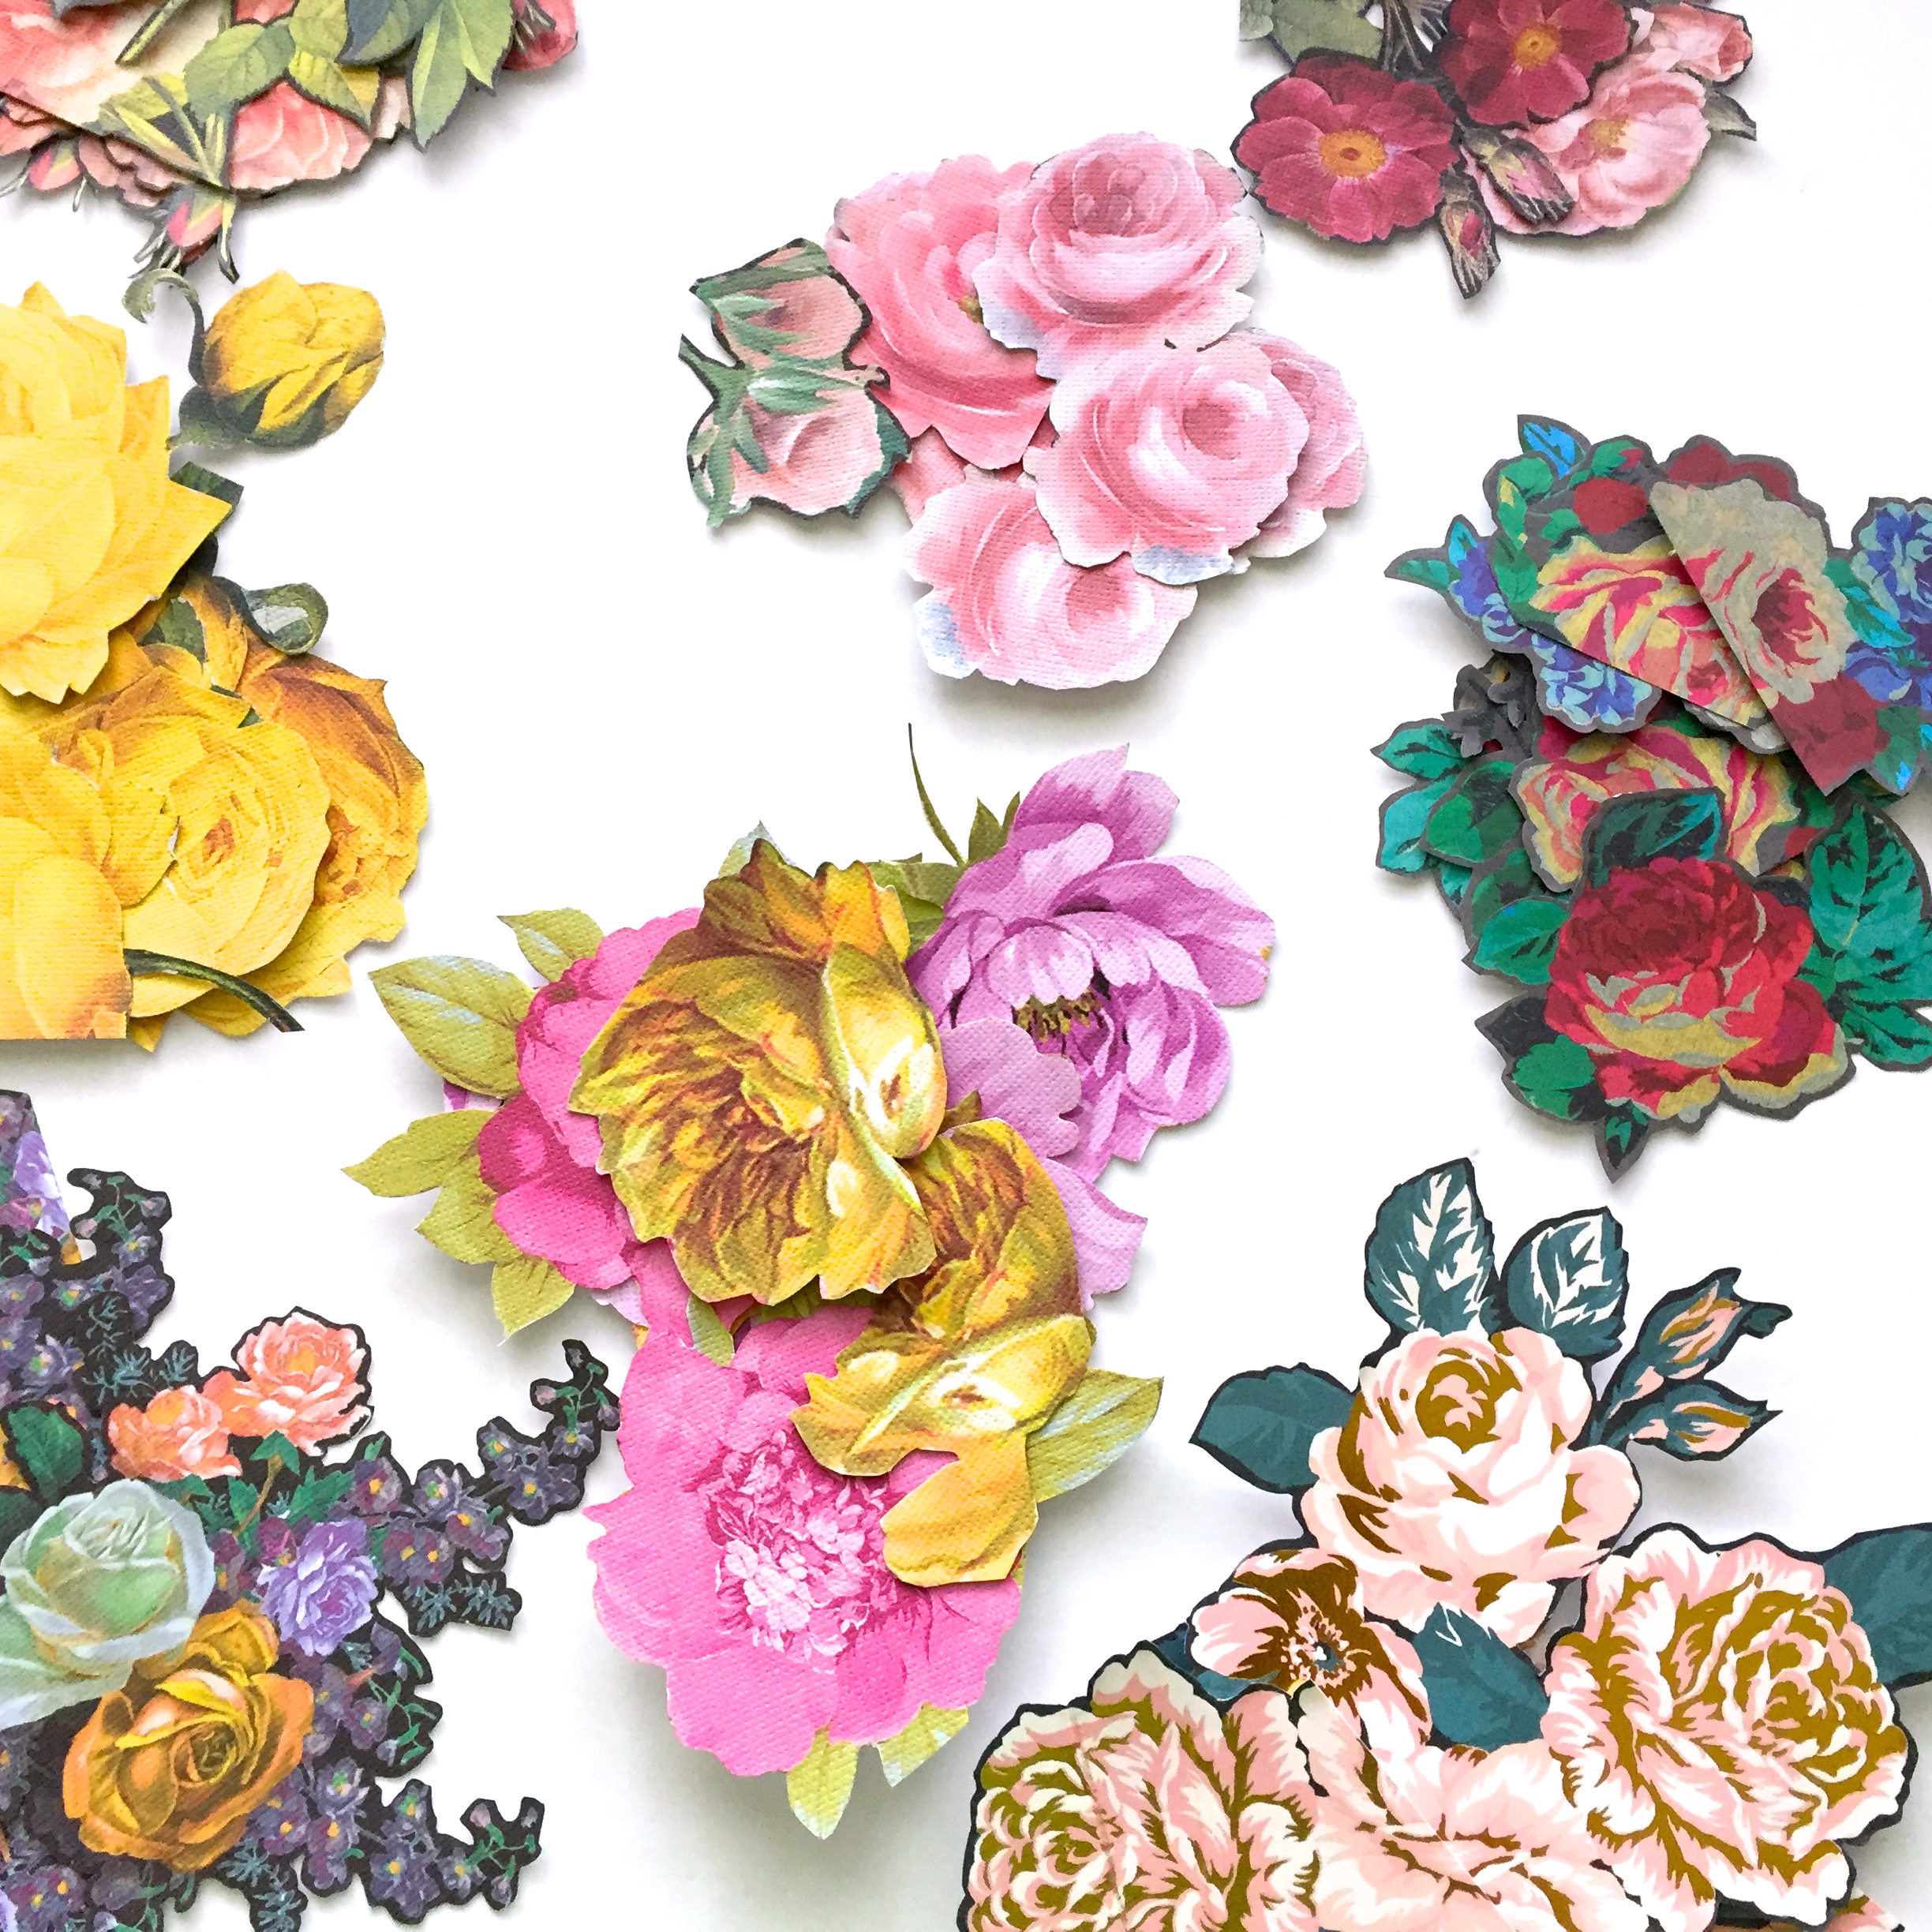
I love how some of them have a dark background to give the flower contrast. If bits of the flower peal up a bit, I tuck a piece of ephemera under it, like it’s giving it a little hug. (how cute is that!)

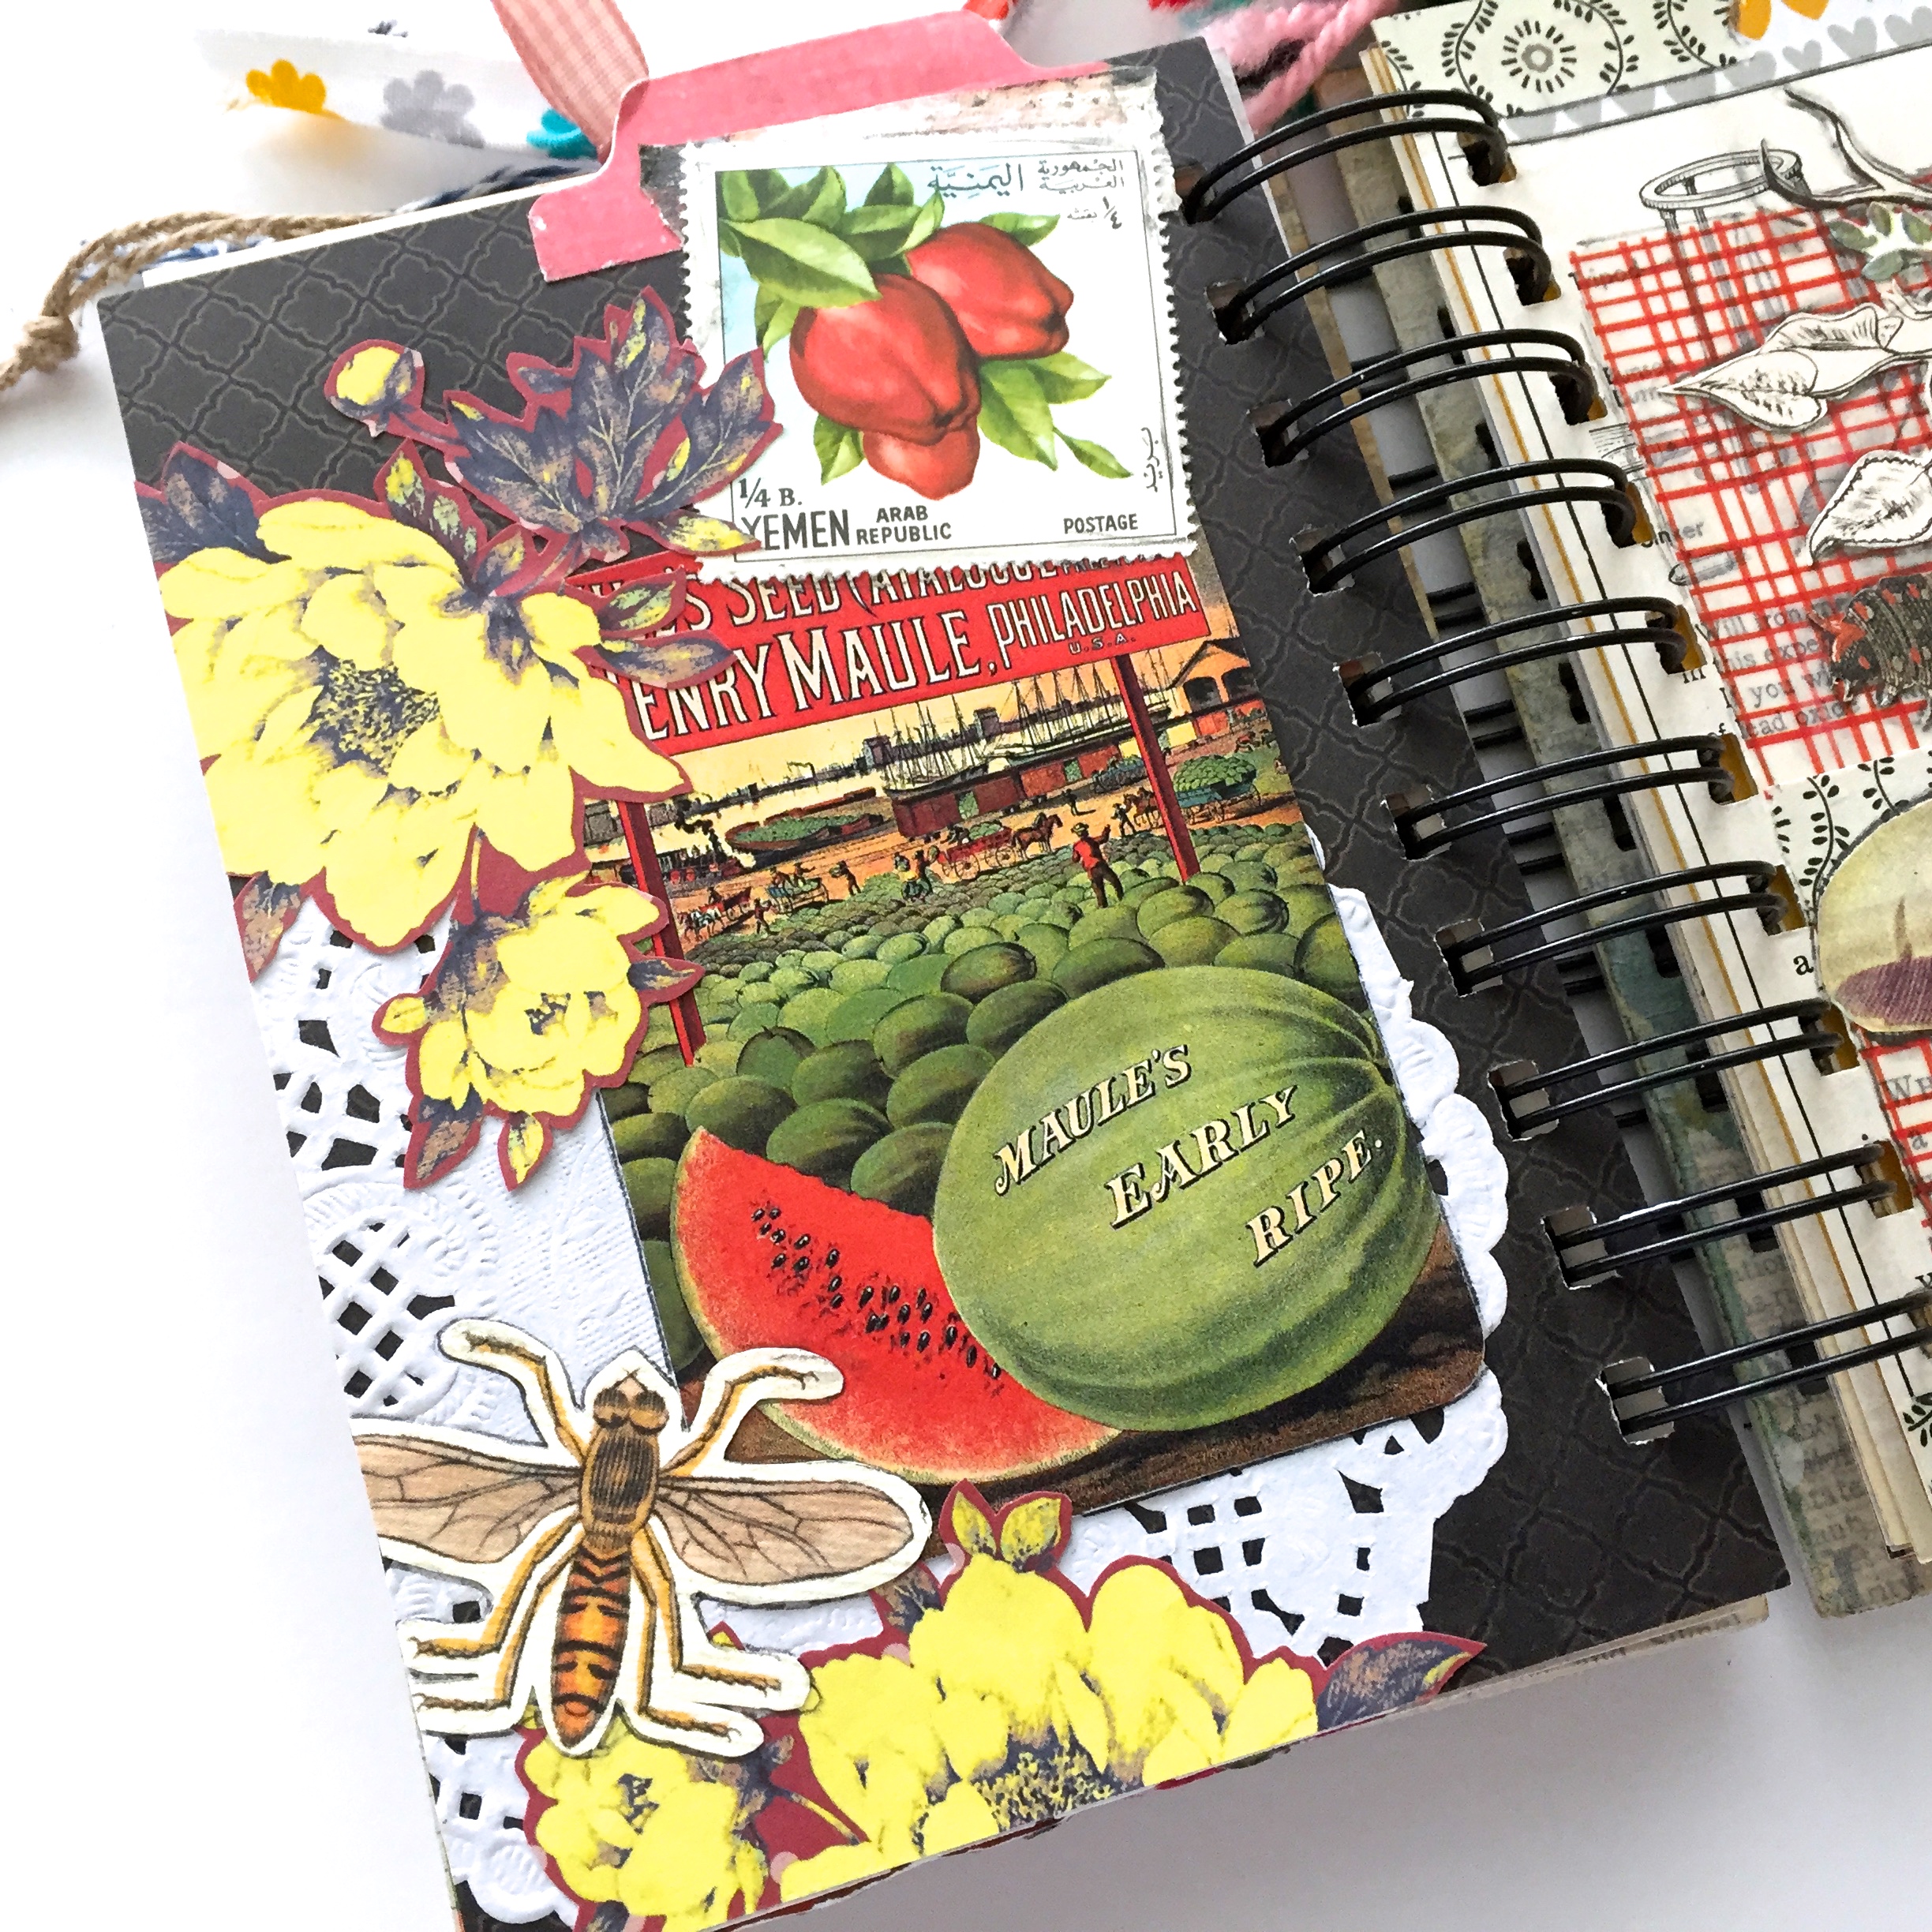
These little yellow roses had a red background that really made them pop. There are so many options with these, cards, mail art, decoupage…

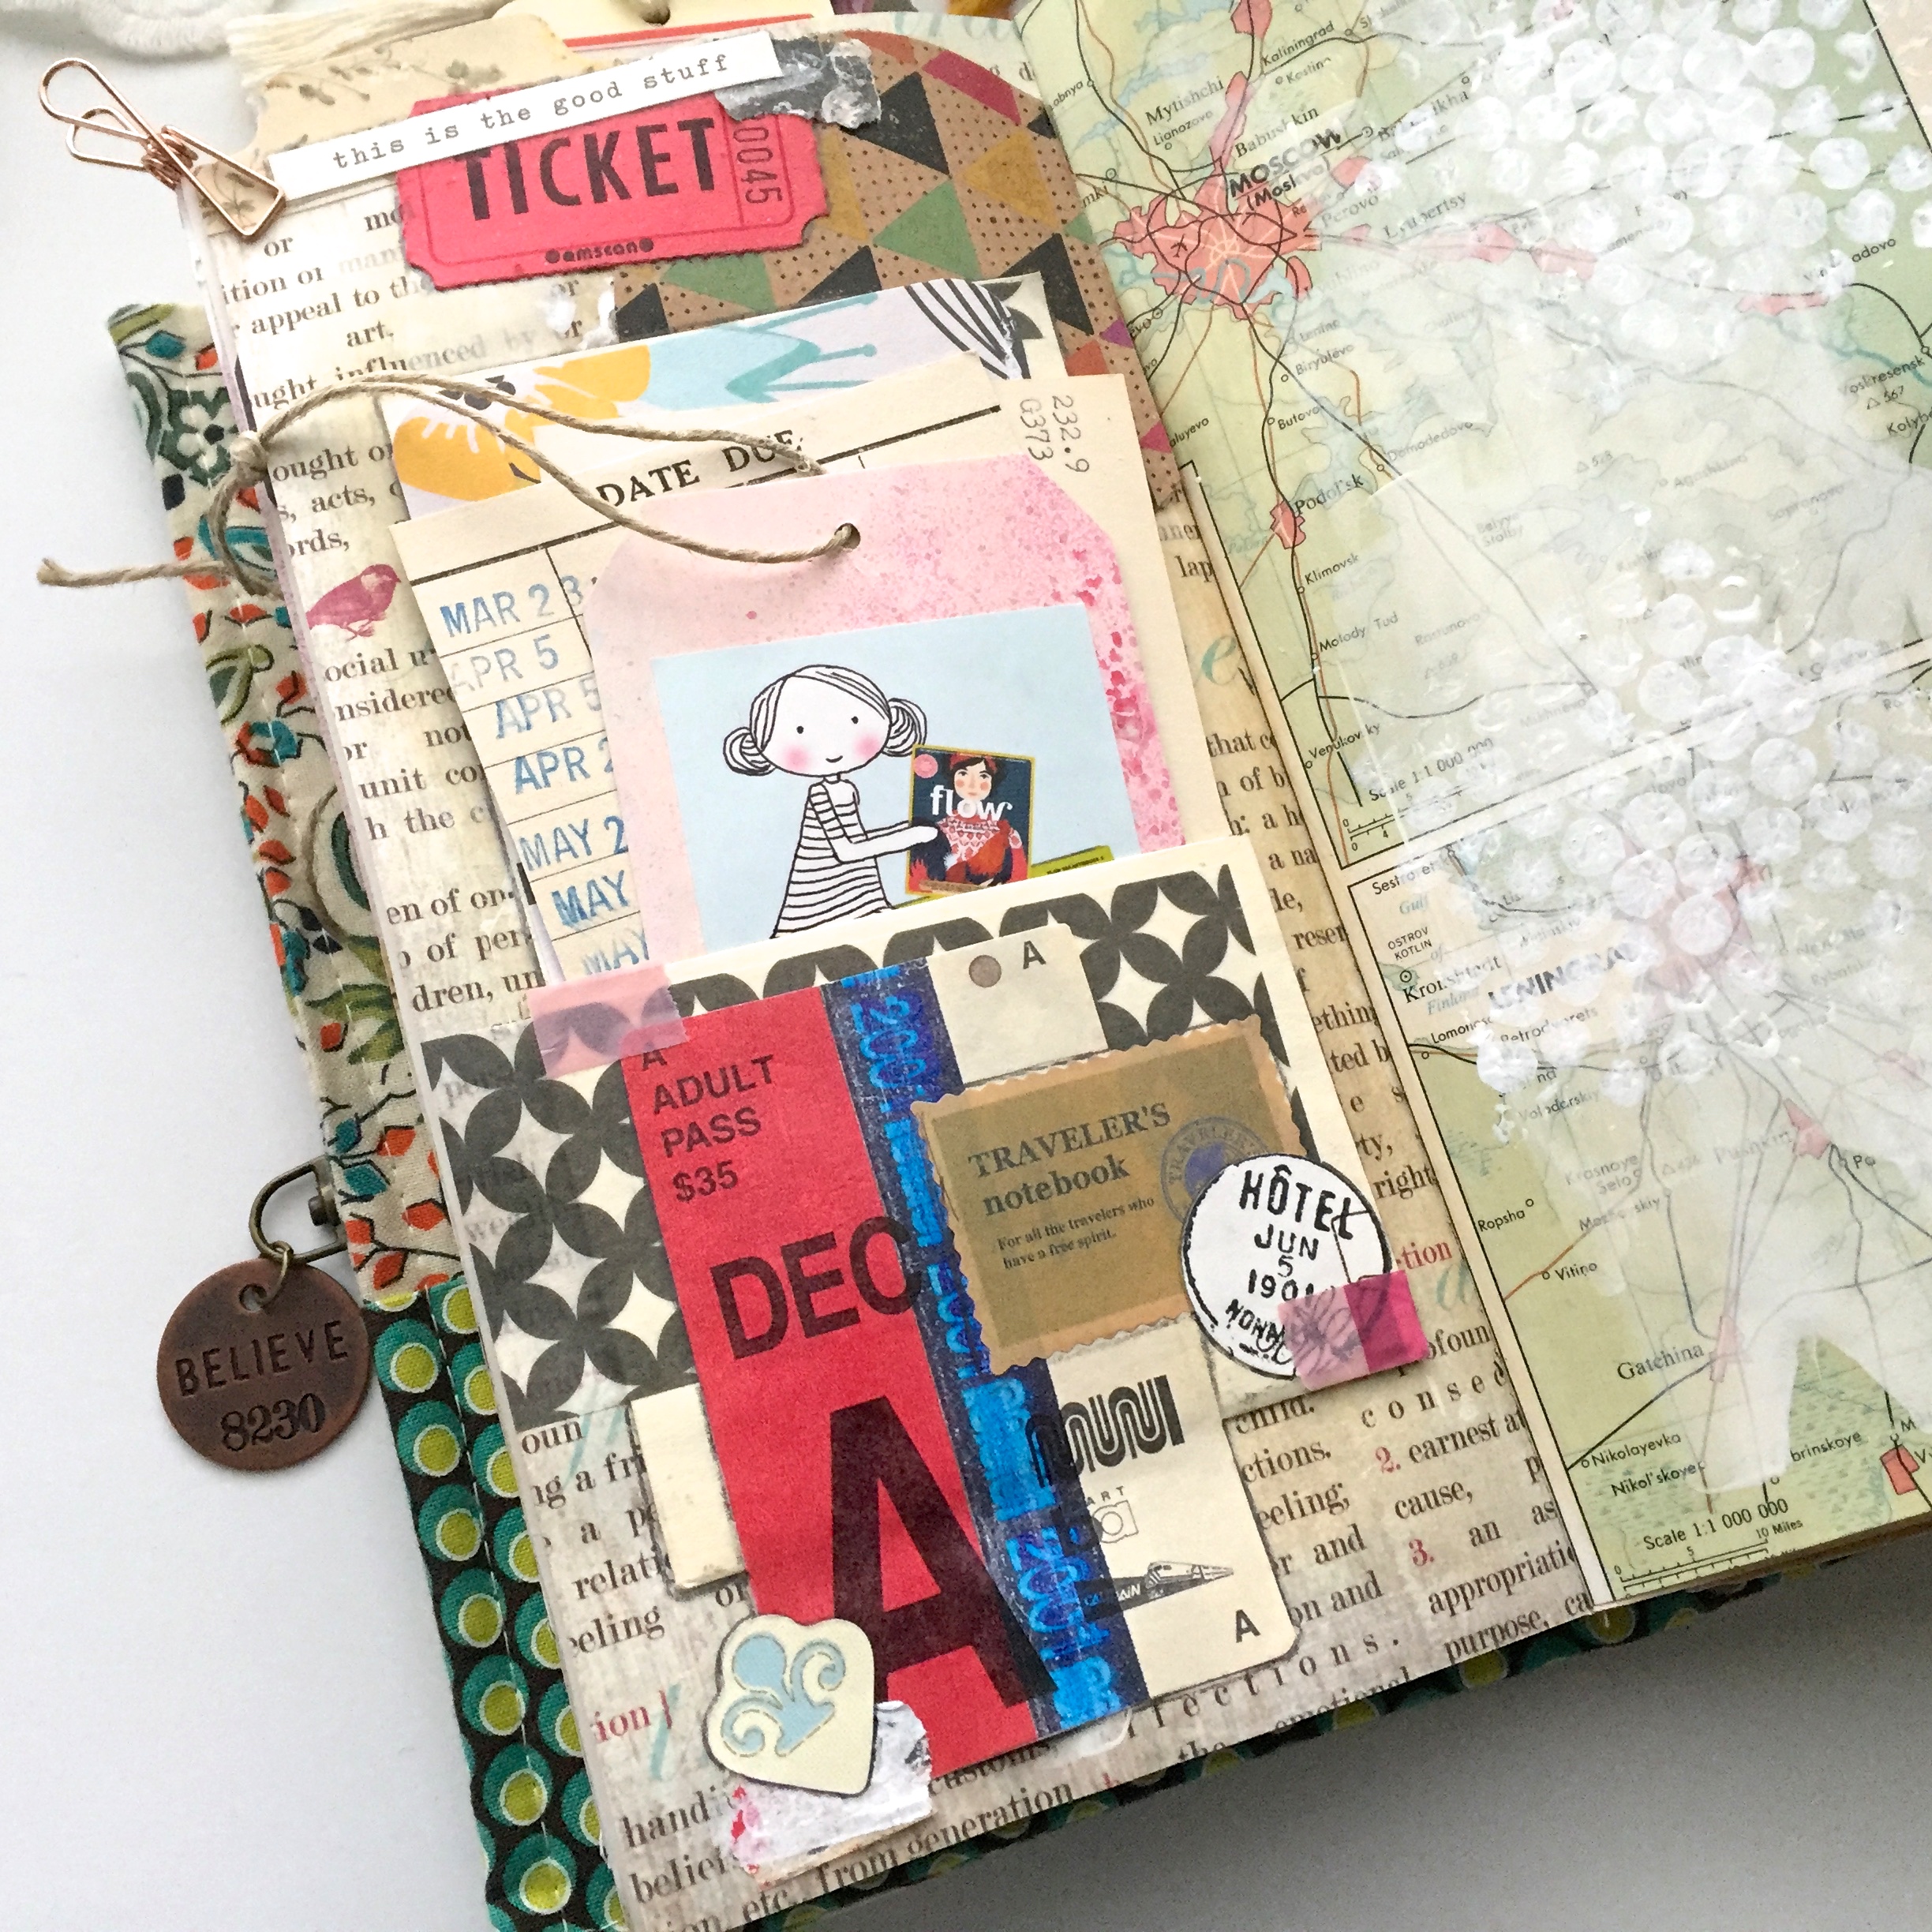
I’m just so tickled to have found an easy way to have tons of flowers on hand, I use the heck out of them. I may have to add these to my ephemera packs. let me know if you think that’s a good idea, okay.

Once again,

Thank you so much for the visit,

Have a great weekend,

~Patty

Painting Tape!

“Painting Tape”! Hmmm…sounds about as exciting as watching it dry. Well, I’m going to try to make it sound a little more interesting than that. I made some painted masking tape a couple of weeks ago, and I’ve been having so much fun with it, I decided to make some more. And I thought I might as well snap some photos along the way to share in case you might be interested.

So, here we go…

Ingredients: wide masking tape, acrylic paint in your choice of color, gesso (or white paint), bubble wrap, and a plastic card or putty knife.

Here is the layering process.

I used my grandson’s finger painting tray for this, which was a great idea, this made it super easy clean up.

I went back over the tape with a darker shade of pink with my finger tip just to add a little more color. One of the nicest surprises was that you can see through the tape in spots.

Here is a finished page using some of the tape. I like to tear it off then slice it thin like washi tape…

…or use it as a background piece. The great thing about this is that you can make it in any color scheme you want. I just tape it to the plastic containers I use to keep my ephemera in and it’s always right there where I need it.

(You can see a little more about my art journaling organization here.)

So, there you go, my latest obsession.

I finally feel like I’m getting back into the swing of things with my art journals. I need to stop questioning why I like arranging small bits on paper and just get to it!


As always,

Thanks for the visit,

Have a great weekend,

~Patty

My Mini Art Journal

I haven’t been spending very much time on my art journals lately. Sometimes the inspiration just isn’t there…so I decided to go look for it instead of waiting for it to find me.

It’s past mid April, and the ground is still too soggy to get out into the garden, so I thought I’d bring the garden inside.

Birds, bugs, flowers, small bits of cute that have been tucked away for the winter.

I’m embarrassed to say that I forget half the things I own. That insect is from a poster I bought a couple of years ago. As you can see, he was super easy to cut out.

This is a journal I’ve had for a few years. As sometimes happens with me, it stalled out, so I’m working on revitalizing it.

I’m definitely not afraid to tear everything out of a journal and start from scratch.

Luckily, this one only had a couple of unwanted pages. I’m actually going to add more pages to this little journal!

I splurged on some beautiful floral paper this week and I’m having too much fun positioning my bits and pieces as not to cover up the flowers.

I don’t even know how long I’ve had that bird sticker, probably 10 years. He’s finally found a perfect home.

I’m going to try something new for me, I’m going to attempt to work on one art journal at a time until it’s finished. My biggest problem is the amount of supplies I have out when working on so many projects, and then I get over-inspired and jump into new projects (actually, I get bored easily too) So lets see how this works out.

Well, that’s it for now. It’s still a tad gloomy out there, so I’m going to work on a few pages.


Until next time (sooner I hope),

Have a great day,

Thanks for the visit,

~Patty

Gratitude Journal Progress

You know, I almost decided not to write a blog post about my gratitude journal because it’s pretty much all I’ve talked about this year. But then again, it’s pretty much all I’ve worked on this year. Well artistically anyway, so yeah.

I’m happy to say that I’ve made it through the Holidays, and am now poised to get caught up on January. Between the weather and staying busy catching up on everything else around the house, there’s not really too much to document, so that should go pretty fast.

On the left is a remembrance page of a day out shopping with one of my best friends. To the right are tags I collected from my latest wardrobe revamp. This is something that happens about as often as Haley’s Comet, so it was definitely worth noting!

More shopping and dining out with my daughter on the left there, and some Christmas snuggles between my daughter and my grandson on the right.

You may be wondering if I will actually remember any of this in the years to come, which is really valid concern, so I will be covering that point soon…like after a couple of photos soon.

How cute is that!

On the left is a piece from a Christmas card, and on the right is a label from a super tasty beer my son brought over for me to try, so good.

And that’s it for December, whew!

Now to the documenting part…

I decided to use a vintage library pocket to put cards and tags in for journaling.

I adhered lined paper on the back sides. If you look closely, you can see that I journaled under each date that corresponds to my pages. This is new to me, and I love it! There’s nothing earth shattering about my journaling, I just don’t like the way it looks on my pages, so this is a perfect fix for me!

I just gave myself a “high five”…okay, don’t judge me! 🙂

I’ve been spending the last month catching up on so many things, #oneword2018, Lara Casey’s PowerSheets, Project Life, my planners, Oy!

I hope to be ready to share how I’m doing my “Word for the Year” soon, I’m still working out some of the details.

So, until next time,

Thanks for popping in,

Have a great week,

~Patty


Gratitude Journal Organization

Last week, I promised a post about my art journaling organizational process, and here it is a week later! I know, I can hardly believe it myself (insert surprised look!)

First, I’m going to show a little of the art journaling tote I’m using for this project.

 I purchased this tote from Hobby Lobby on a 50% off sale, which made it about $12. It’s got loads of pockets and such, but it’s the plastic photo cases I’m going to talk about today. As you can see I have labeled them, and this is where the “process” comes in. It really saves time on having a pile of ephemera to sort through. As I go through each layer, I know which case to grab. I’ve been using this technique over the last year or so, and it really works for me

First layer “Background” pieces: I like to use these on the scrapbook or painted pages to give them a vintage look. Sometimes, I’ll scrape a little paint over them so that they will “blend” into the background.

2nd layer “Paper pieces”: scrapbook paper, origami paper, photocopies of fabric, anything with color or pattern.

3rd layer “Medium ephemera”: these usually consist of the focal piece along with large die cuts or random images. As you can see, I’m building my layers from larger to smaller.

4th layer “Small ephemera”: tickets, small stickers, die cuts, images.

Finally, “Extra small ephemera”: the usual suspects, only smaller.

After all my layers are built, I go around most of the pieces with pencil for contrast. I use a “General” 8B pencil with a “Helix” cap eraser. I use the paint brush to brush off the eraser bits as not to smear the pencil lines. That pencil sharpener  is a Kum AS2, super awesome!

(I’m not paid for sharing links, I just want to be helpful)

Last but not least, the ink stamping. The date stamp of course, but using my decorative stamps kind of went to the wayside, so I’m trying to get back into the habit.

The finished product, a page of my daughter and I shopping before Christmas.

I hope you can see how I built the layers on this page. There is a video of my process here, I just wanted to share a little of the organizational aspects with you today.

I’ve made quite a few promises to myself this year, writing a weekly blog post being one, but also quality instead of quantity. Two to three art journal pages a week is quite enough, those daily challenges can be a bit daunting.

There are lots of other things I have in the works to scale down, use what I have instead of buying, and using my own ingenuity, I’ll share some of that in my next blog post.

Until then,

Thanks for dropping by,

Have a great day,

~Patty