Happy Mail Winnings!

Last month one of my favorite artist on Instagram, artandwhimsey, hosted a giveaway. Long story short, I WON!

IMG_0705

Seriously, are you jealous yet!?

I could have done 6 pages with all this gorgeousness, and that’s still an option!

IMG_2591

IMG_2590

IMG_0699

A few close-ups in case your not drooling yet!

IMG_0810

This is the page I came up with. I have decided it’s time to step it up a bit with my pages, so I added some stenciling and doodling.

Belen made that tag on the right, I punched it with my Bind-it-all , clipped the edge, and popped into my journal! Love!IMG_0807

Doodling and I are not fast friends, but an attempt has been made, and I’m ready to take it on!

IMG_2710

An embellished tag with one of the super cute velum, handmade stickers and hand dyed ribbons Belen sent.

IMG_2716

So, there you have it!

If you would like to see some more of Belen’s beautiful work, head over to her IG account, or pop over to her blog: Art and Whimsey!

Once again, thank you so much for visiting my little blog, your visits are always appreciated!

Have a great week,

~Patty

My Dori Insert Makings

The other day, when I’m sure I was supposed to be doing something else, I came up with what I thought was a pretty clever idea. It started when I was about to use an insert I had purchased to do some art journaling in. The kraft colored paper was less than inspiring.

So, I put a think on it, “What would be inspiring?” Scrapbook paper! but, then I’d have to make a space for journaling. Graph paper! but then I’d have just a bunch of lines, not much more inspiring than the kraft paper.

So, I came up with this…

IMG_2669

How about printing graph lines onto the plain side of scrapbook paper!?

And here is how I did it…

IMG_2642

First, I chose some pretty colors of one-sided, thin scrapbook paper. The package didn’t say the weight, but I’m guessing about 24 lb., slightly heavier than average copy paper.

Next, cut them down to 8 1/2″ x 11″, so that they will fit into your printer.

IMG_0741

I purchased the pdf for this graph paper from One Little Penguin on Etsy for $4.00, can you say “Bargain”!

I set my printer to “borderless 8 1/2″ x 11” and hit “fill entire page” to completely fill the paper up.

IMG_2651

These are the tools I used, a ready made insert to get the right size, a cutting mat, a rotary cutter, a ruler, a bone folder, a long arm stapler from Amazon, and a brayer to get the crease nice and flat.

These tools are mentioned in the Youtube video I watched to learn how to make these. The link is *here* if you want to take a look, there are lots of videos on how to do this if that one doesn’t tickle your fancy.

IMG_2654

Once the inserts are made, you can use the leftovers to make matching ephemera! I ran some plain copy paper through to make matching graph paper for journaling pieces.

IMG_2666

See all the mixy-matchy! I added a few store-bought ephemera pieces and stickers too, how fun is that!

IMG_0765

It doesn’t take very much time or effort to get some page spreads ready for journaling and decorating! Stickers, stamping, more washi, and journaling, these pages fill up fast and look fantastic!

 I have already filled these two page spreads out, so it’s time to get some more done!

Thank you for stopping by,

Have a great weekend,

~Patty

Dori Making, Faith Journaling, and Expectations

In the midst of getting ready to drive over the mountains to spend Easter with my daughter, I decided I needed to take on learning how to make a “Fabric Dori”, to keep my faith journaling inserts in. You see, I had ordered some Illustrated Faith inserts a couple of weeks ago, was expecting them any day, and I wanted to be ready!

Well, it may sound strange hearing this from me, but I have been questioning the amount of time I spend on my creative pursuits. Thinking about them, planning them, buying supplies, then talking about them on social media. You can imagine how patient my husband must be! But he fishes, a lot, so let’s not go there…

IMG_2583Anyway, the inserts of course arrived when I was gone, but I had printed up some freebie downloads, and glued them in an insert I already had. That was all I really needed.

IMG_2638

When I got home, there was a gorgeous pile of Happy Mail waiting for me! So, I set to filling this Dori with Faith Journaling goodies!

IMG_2639

The insert on the right is a plain kraft paper one I’m going to use to art journal in. The one on the left is an Illustrated Faith insert from the “Beautiful” devotional kit.

Now to the expectations…

or lack there of…

IMG_2629

The first page in my I.F, “Created to Create” insert. When I read through it the first time, I didn’t know what to say. You see, I’ve been referred to as an artist in the past, I just don’t see myself as one. Maybe I have a different idea of what an artist is. All I know is, I feel a lot more comfortable with the label “Creative”, so let’s stick with that.

The most wonderful thing I realized after working on this page spread is that I don’t have to feel guilty about the amount of time I spend creating! My creativity runs throughout my life, my cooking, decorating, gardening. In a nut shell, I live a creative life! It truly is a gift from God!

So, no more guilt! (I hope!)

Thank you once again for stopping by,

Have a great day,

~Patty

Faith Journaling

It seems as though circumstances occurred around the same time to bring me to this place. A place where I feel comfortable and brave enough to share a part of my life that I usually keep private. The reason being that I didn’t want to come off as somebody that seemed pushy about their Faith.

I am not going to go into a lot of detail about my personal spiritual philosophies, I just wanted to share about something I have added, that makes me very happy.

IMG_2363
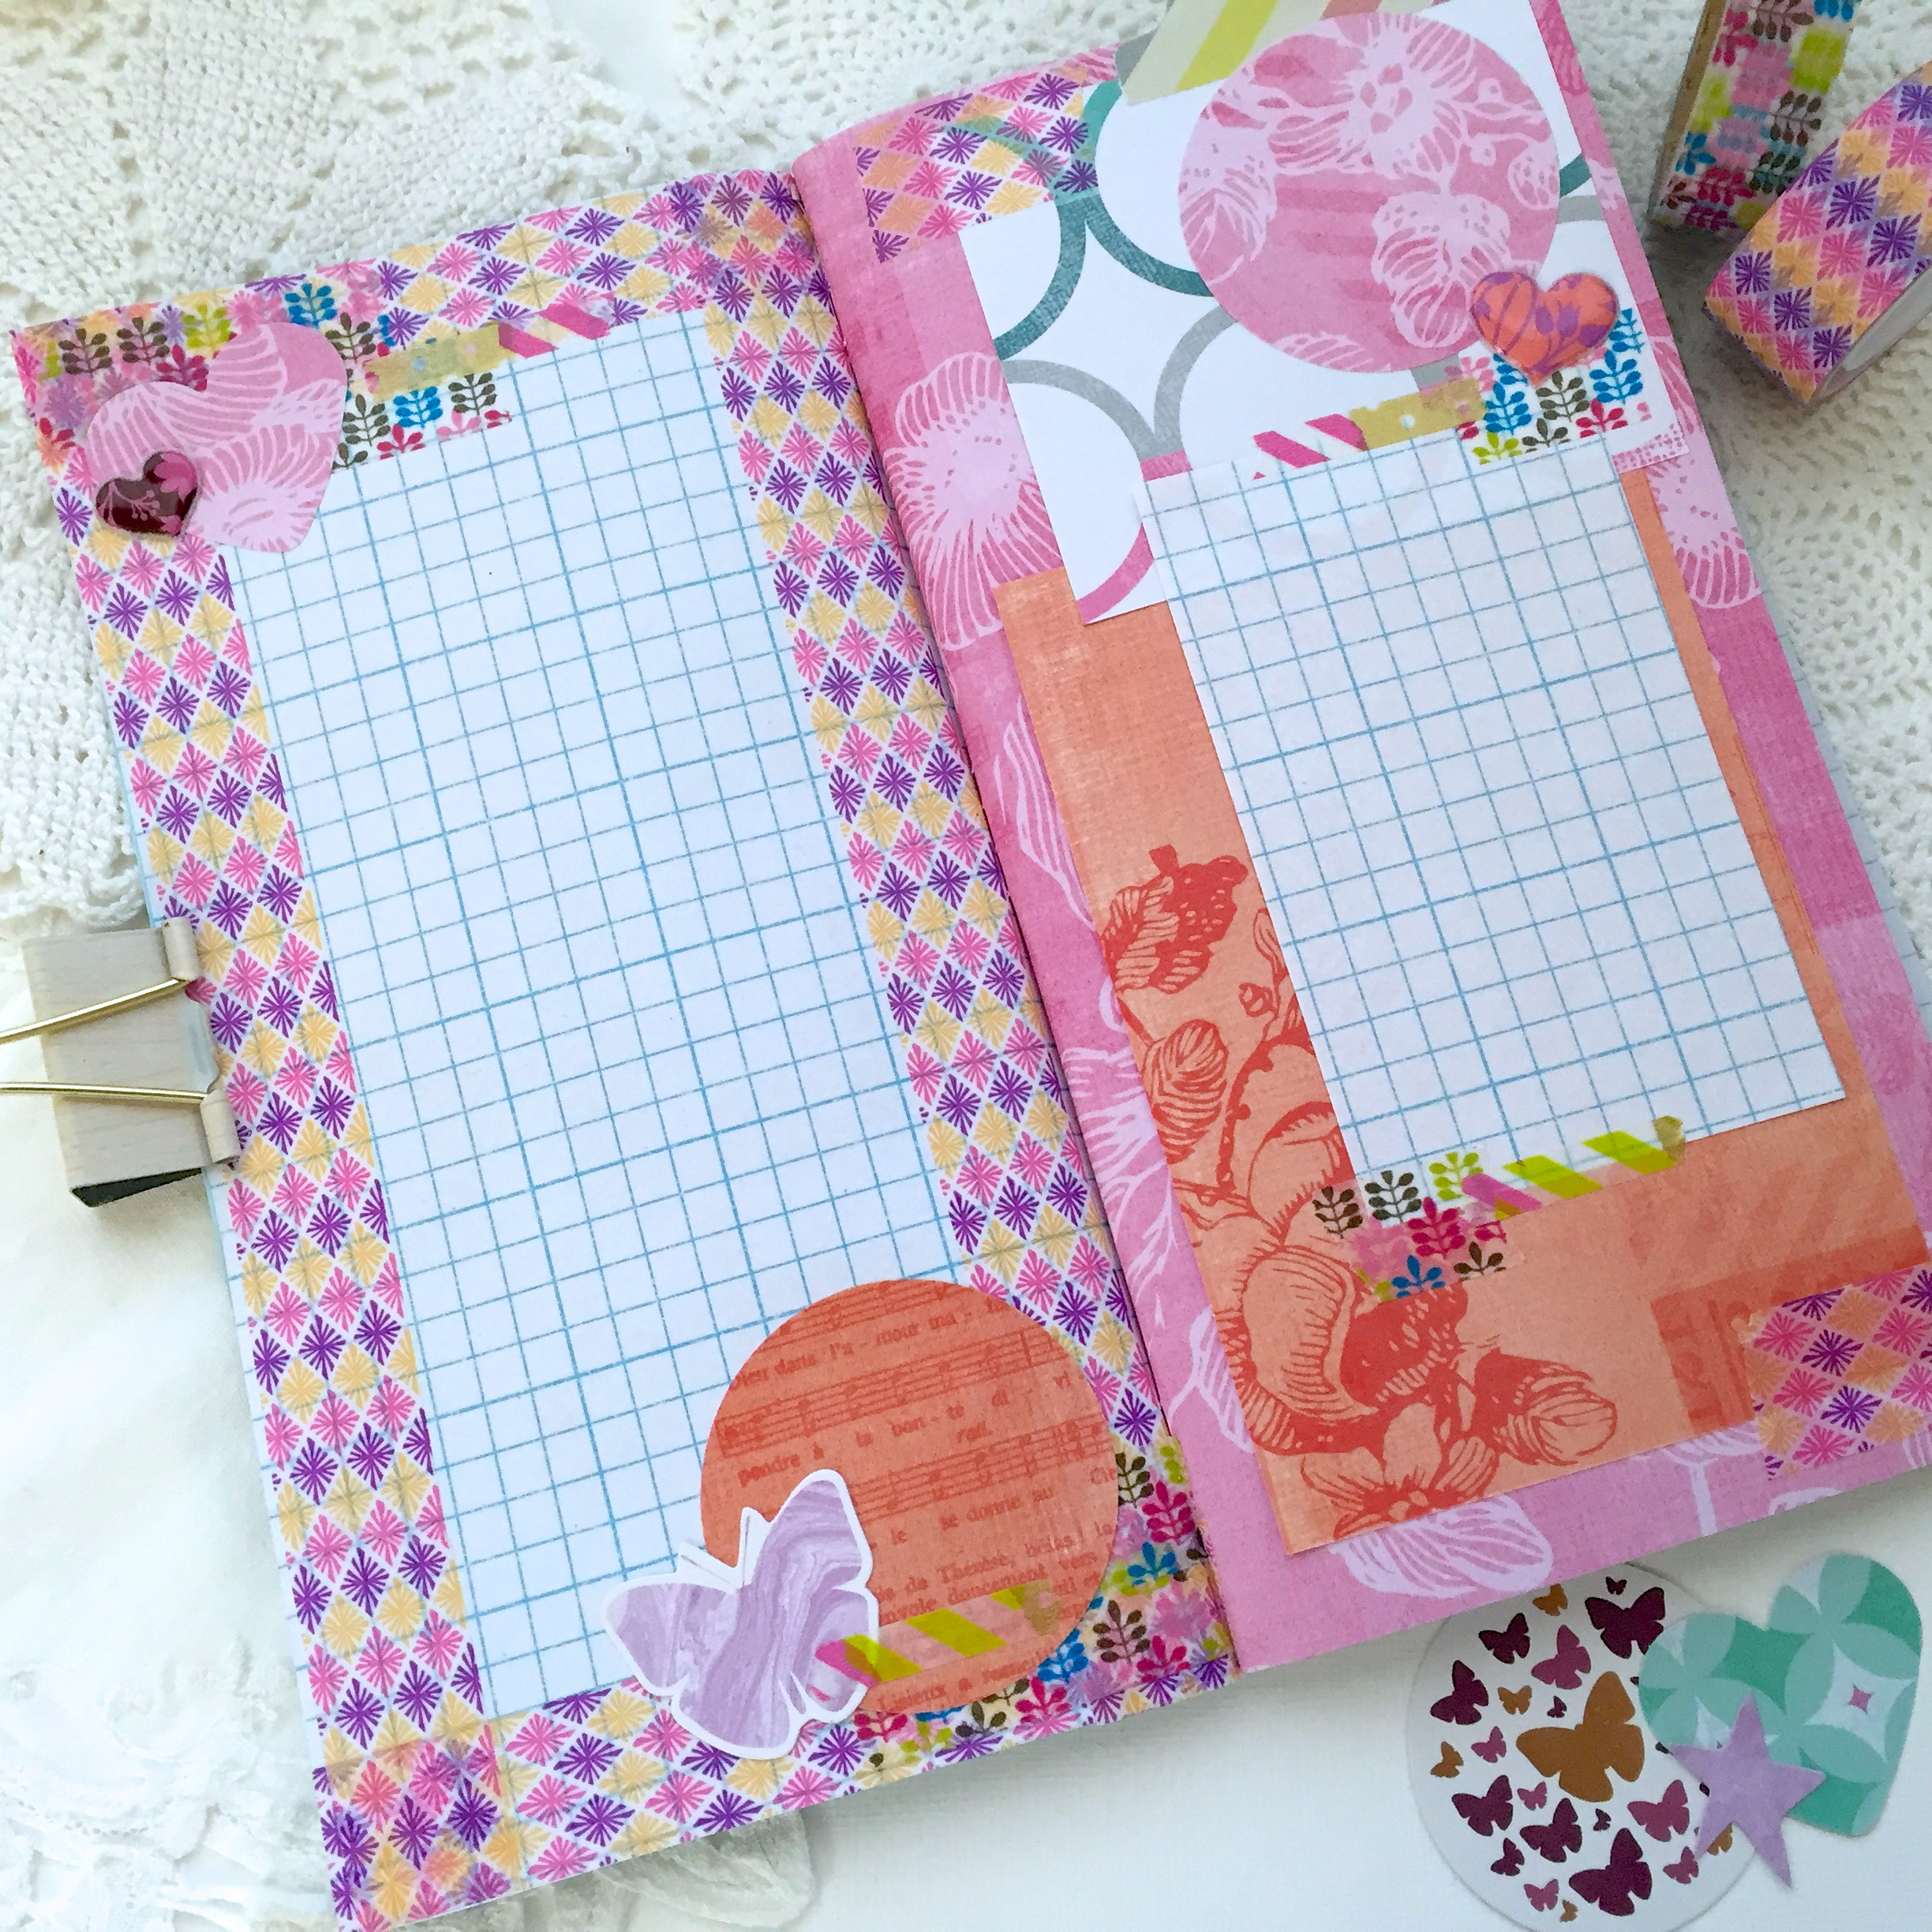
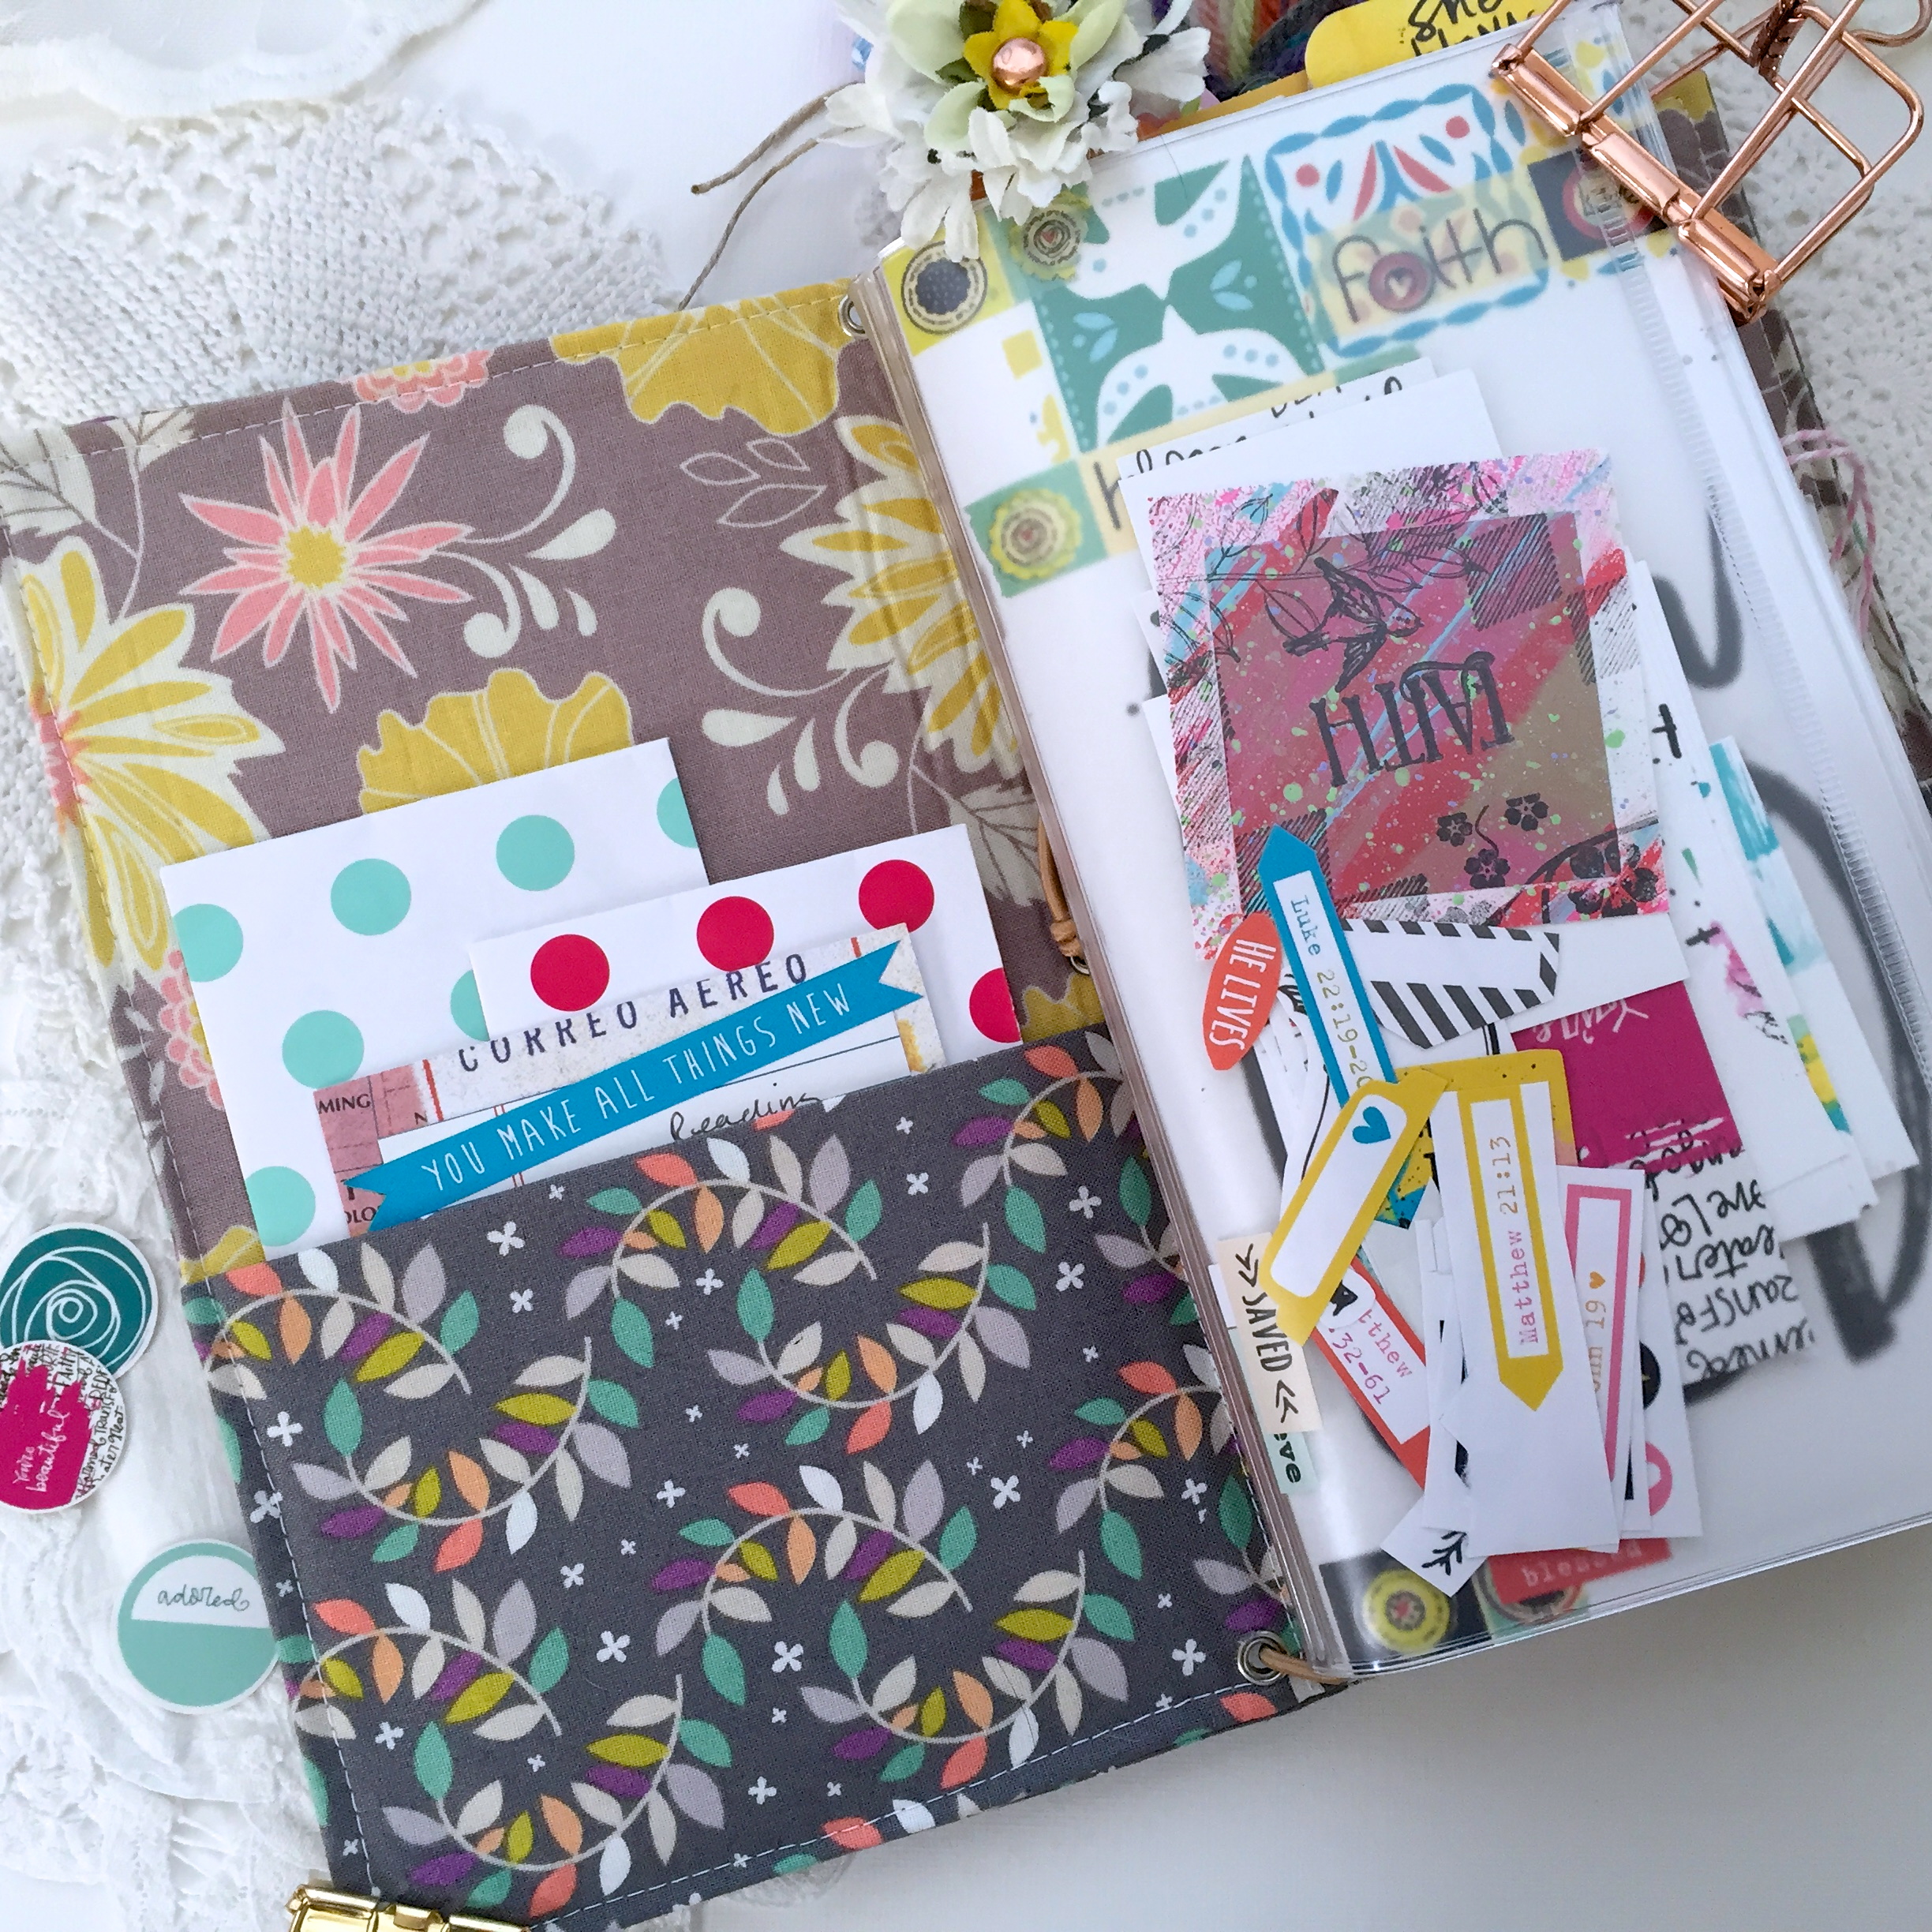
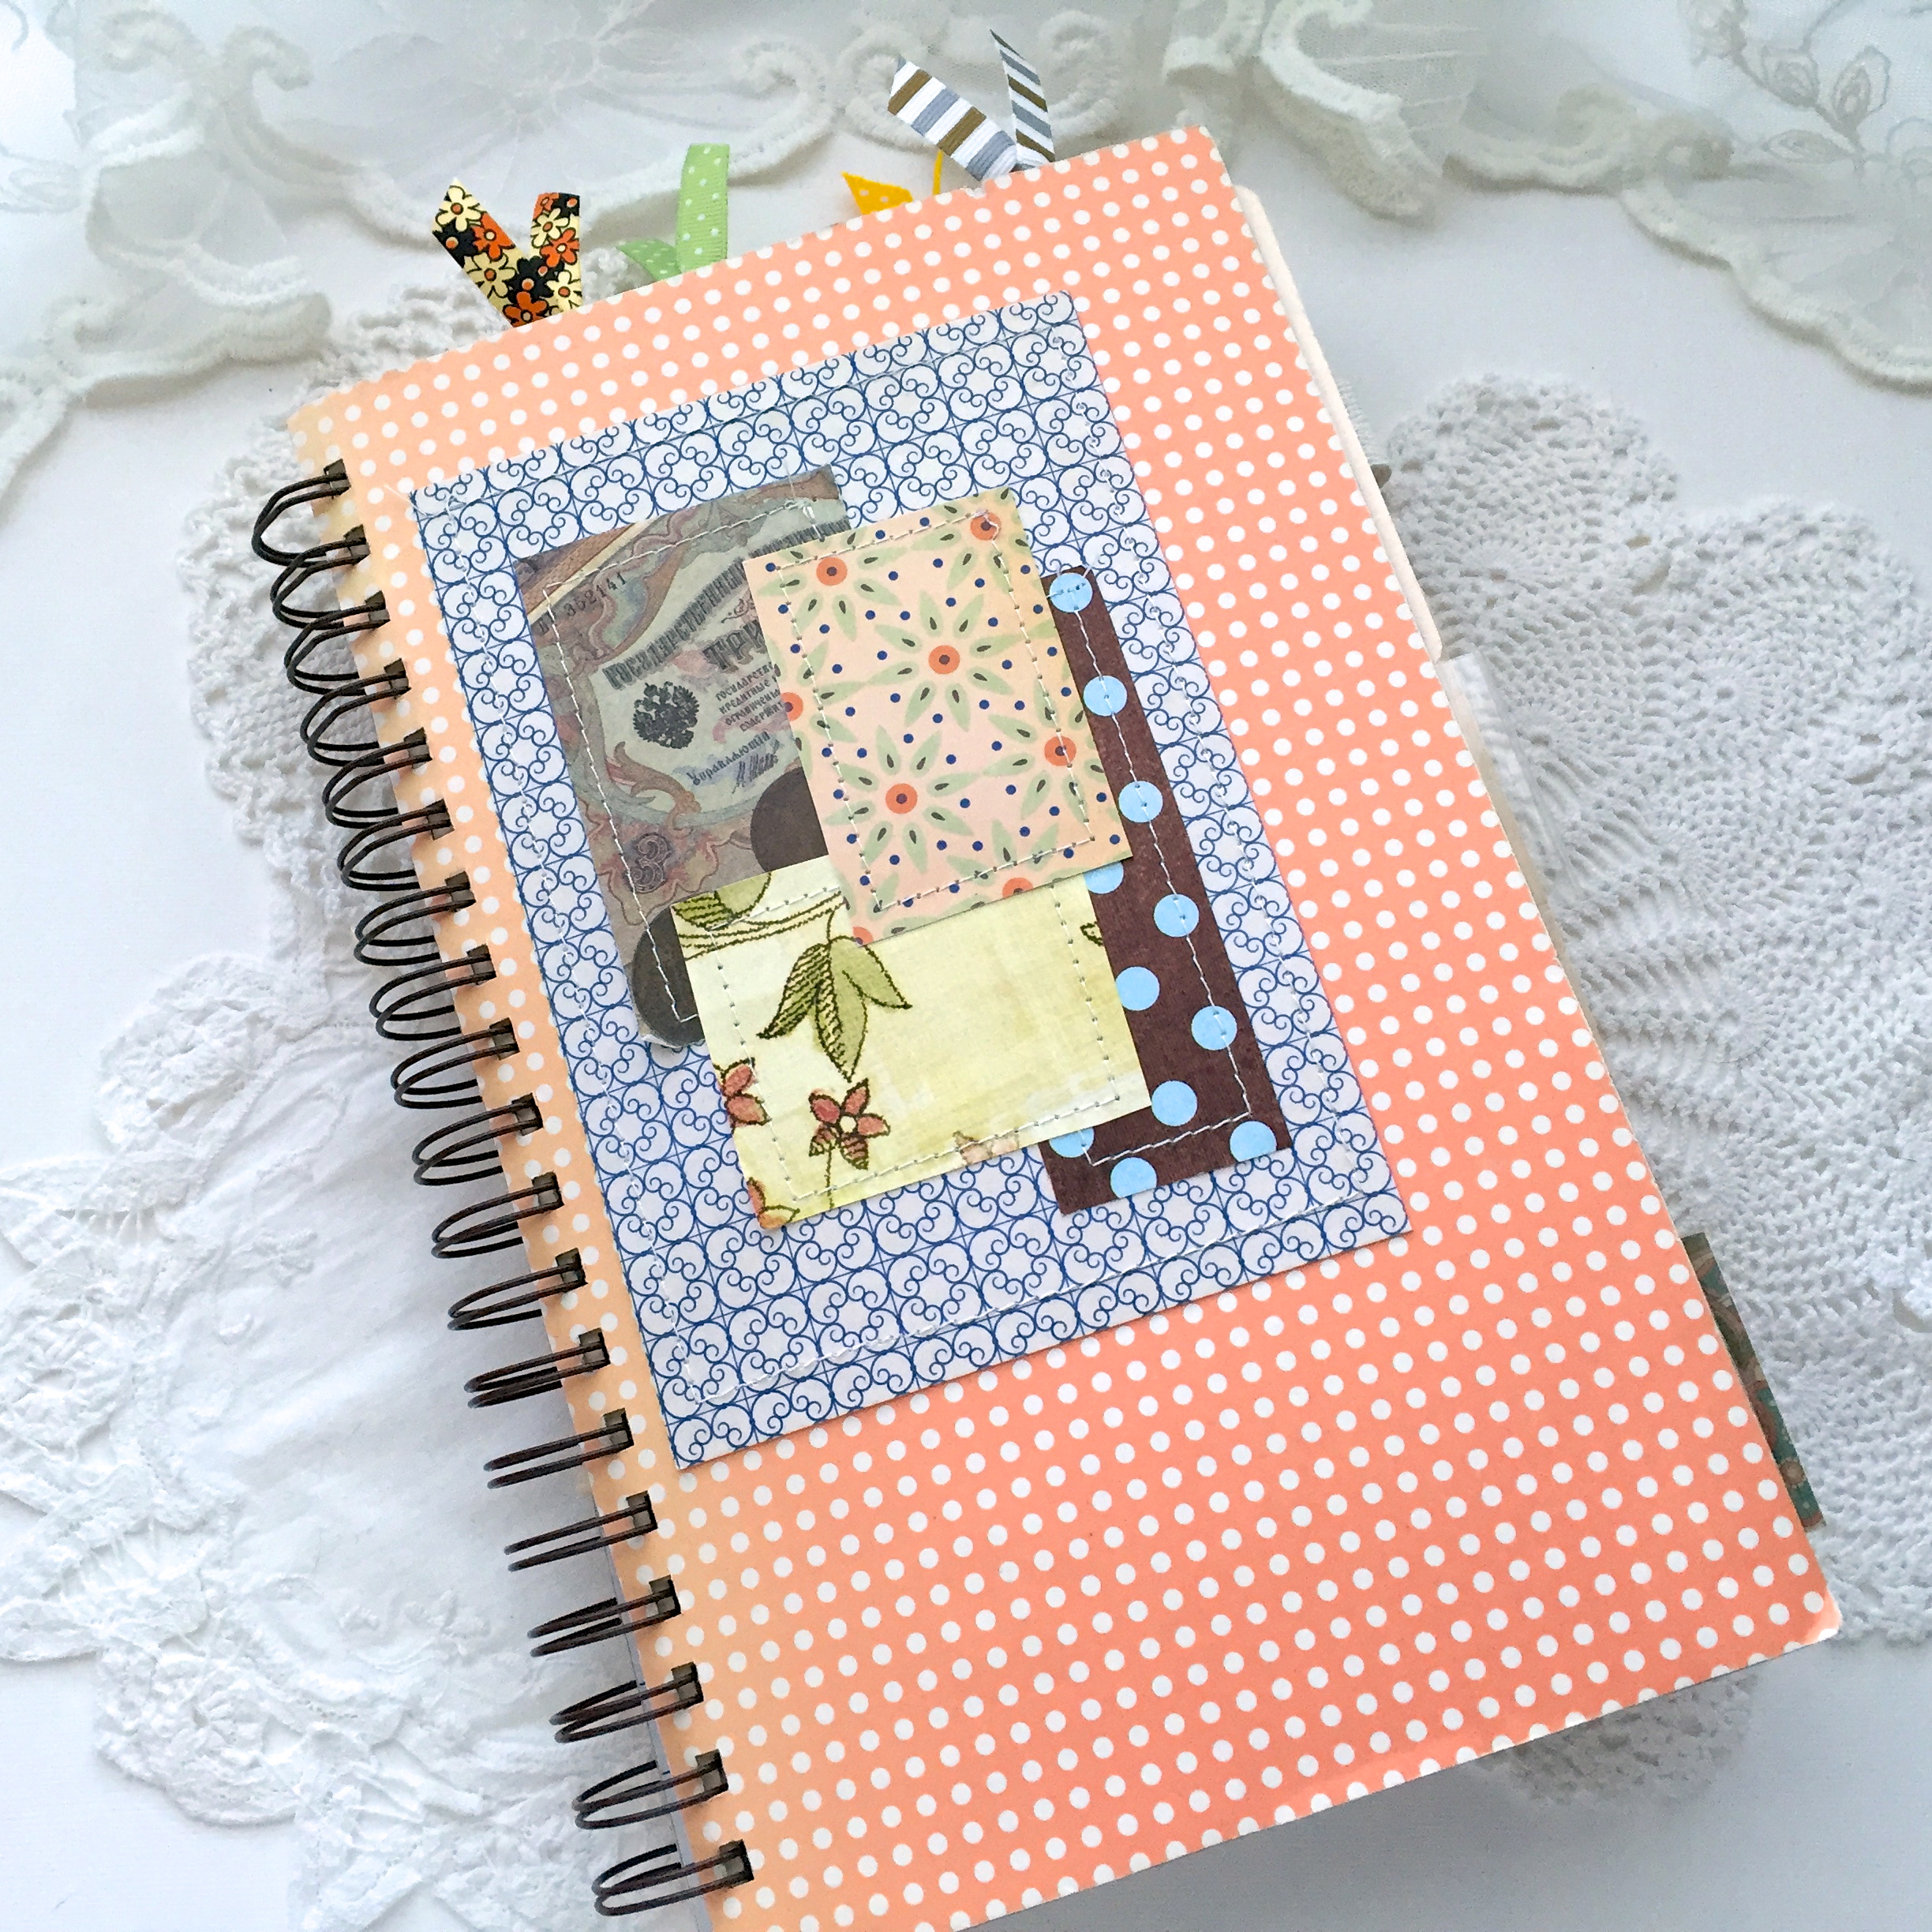
Faith journaling! A place where I can journal about my thoughts on a book I’m reading, write down something I need to pray about, or just to create a beautiful space to enjoy.

I made a prayer journal years ago, but it sat on a shelf until I finally took it apart. Faith journaling happens to be one of the things in my vision/goal journal that I wanted to achieve this year. Luckily, there is an abundance of inspiration and ideas out there to encourage us.

IMG_2366
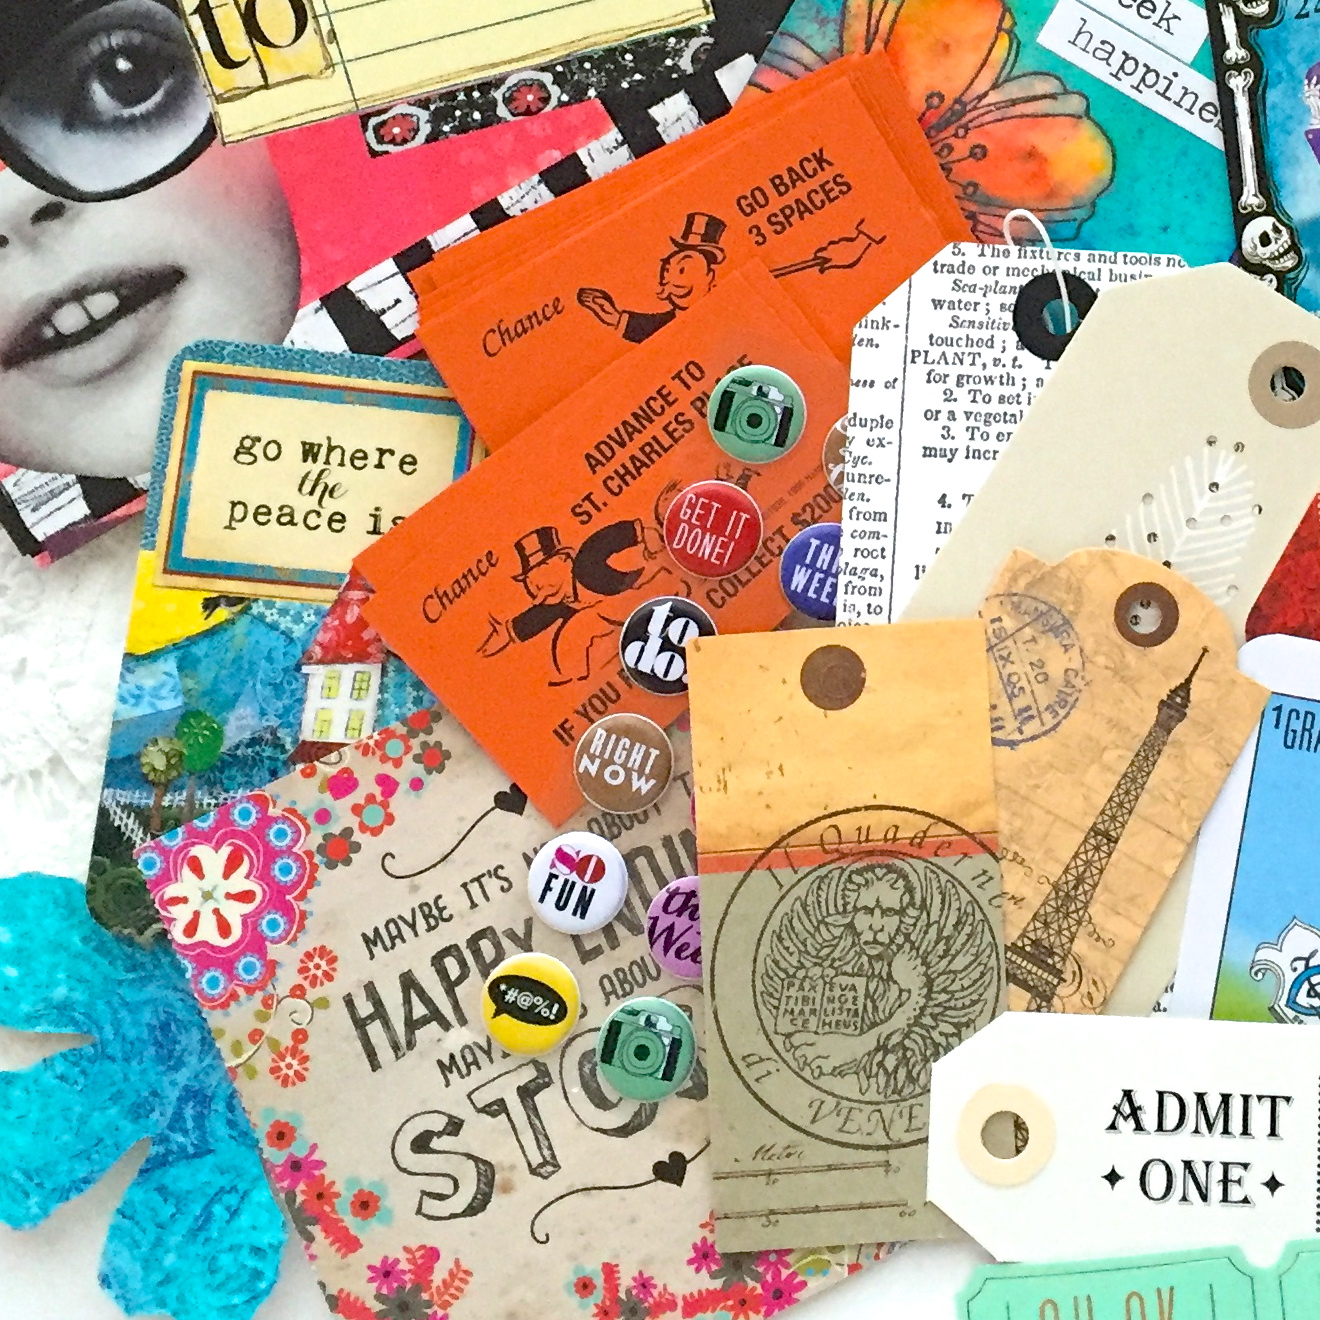
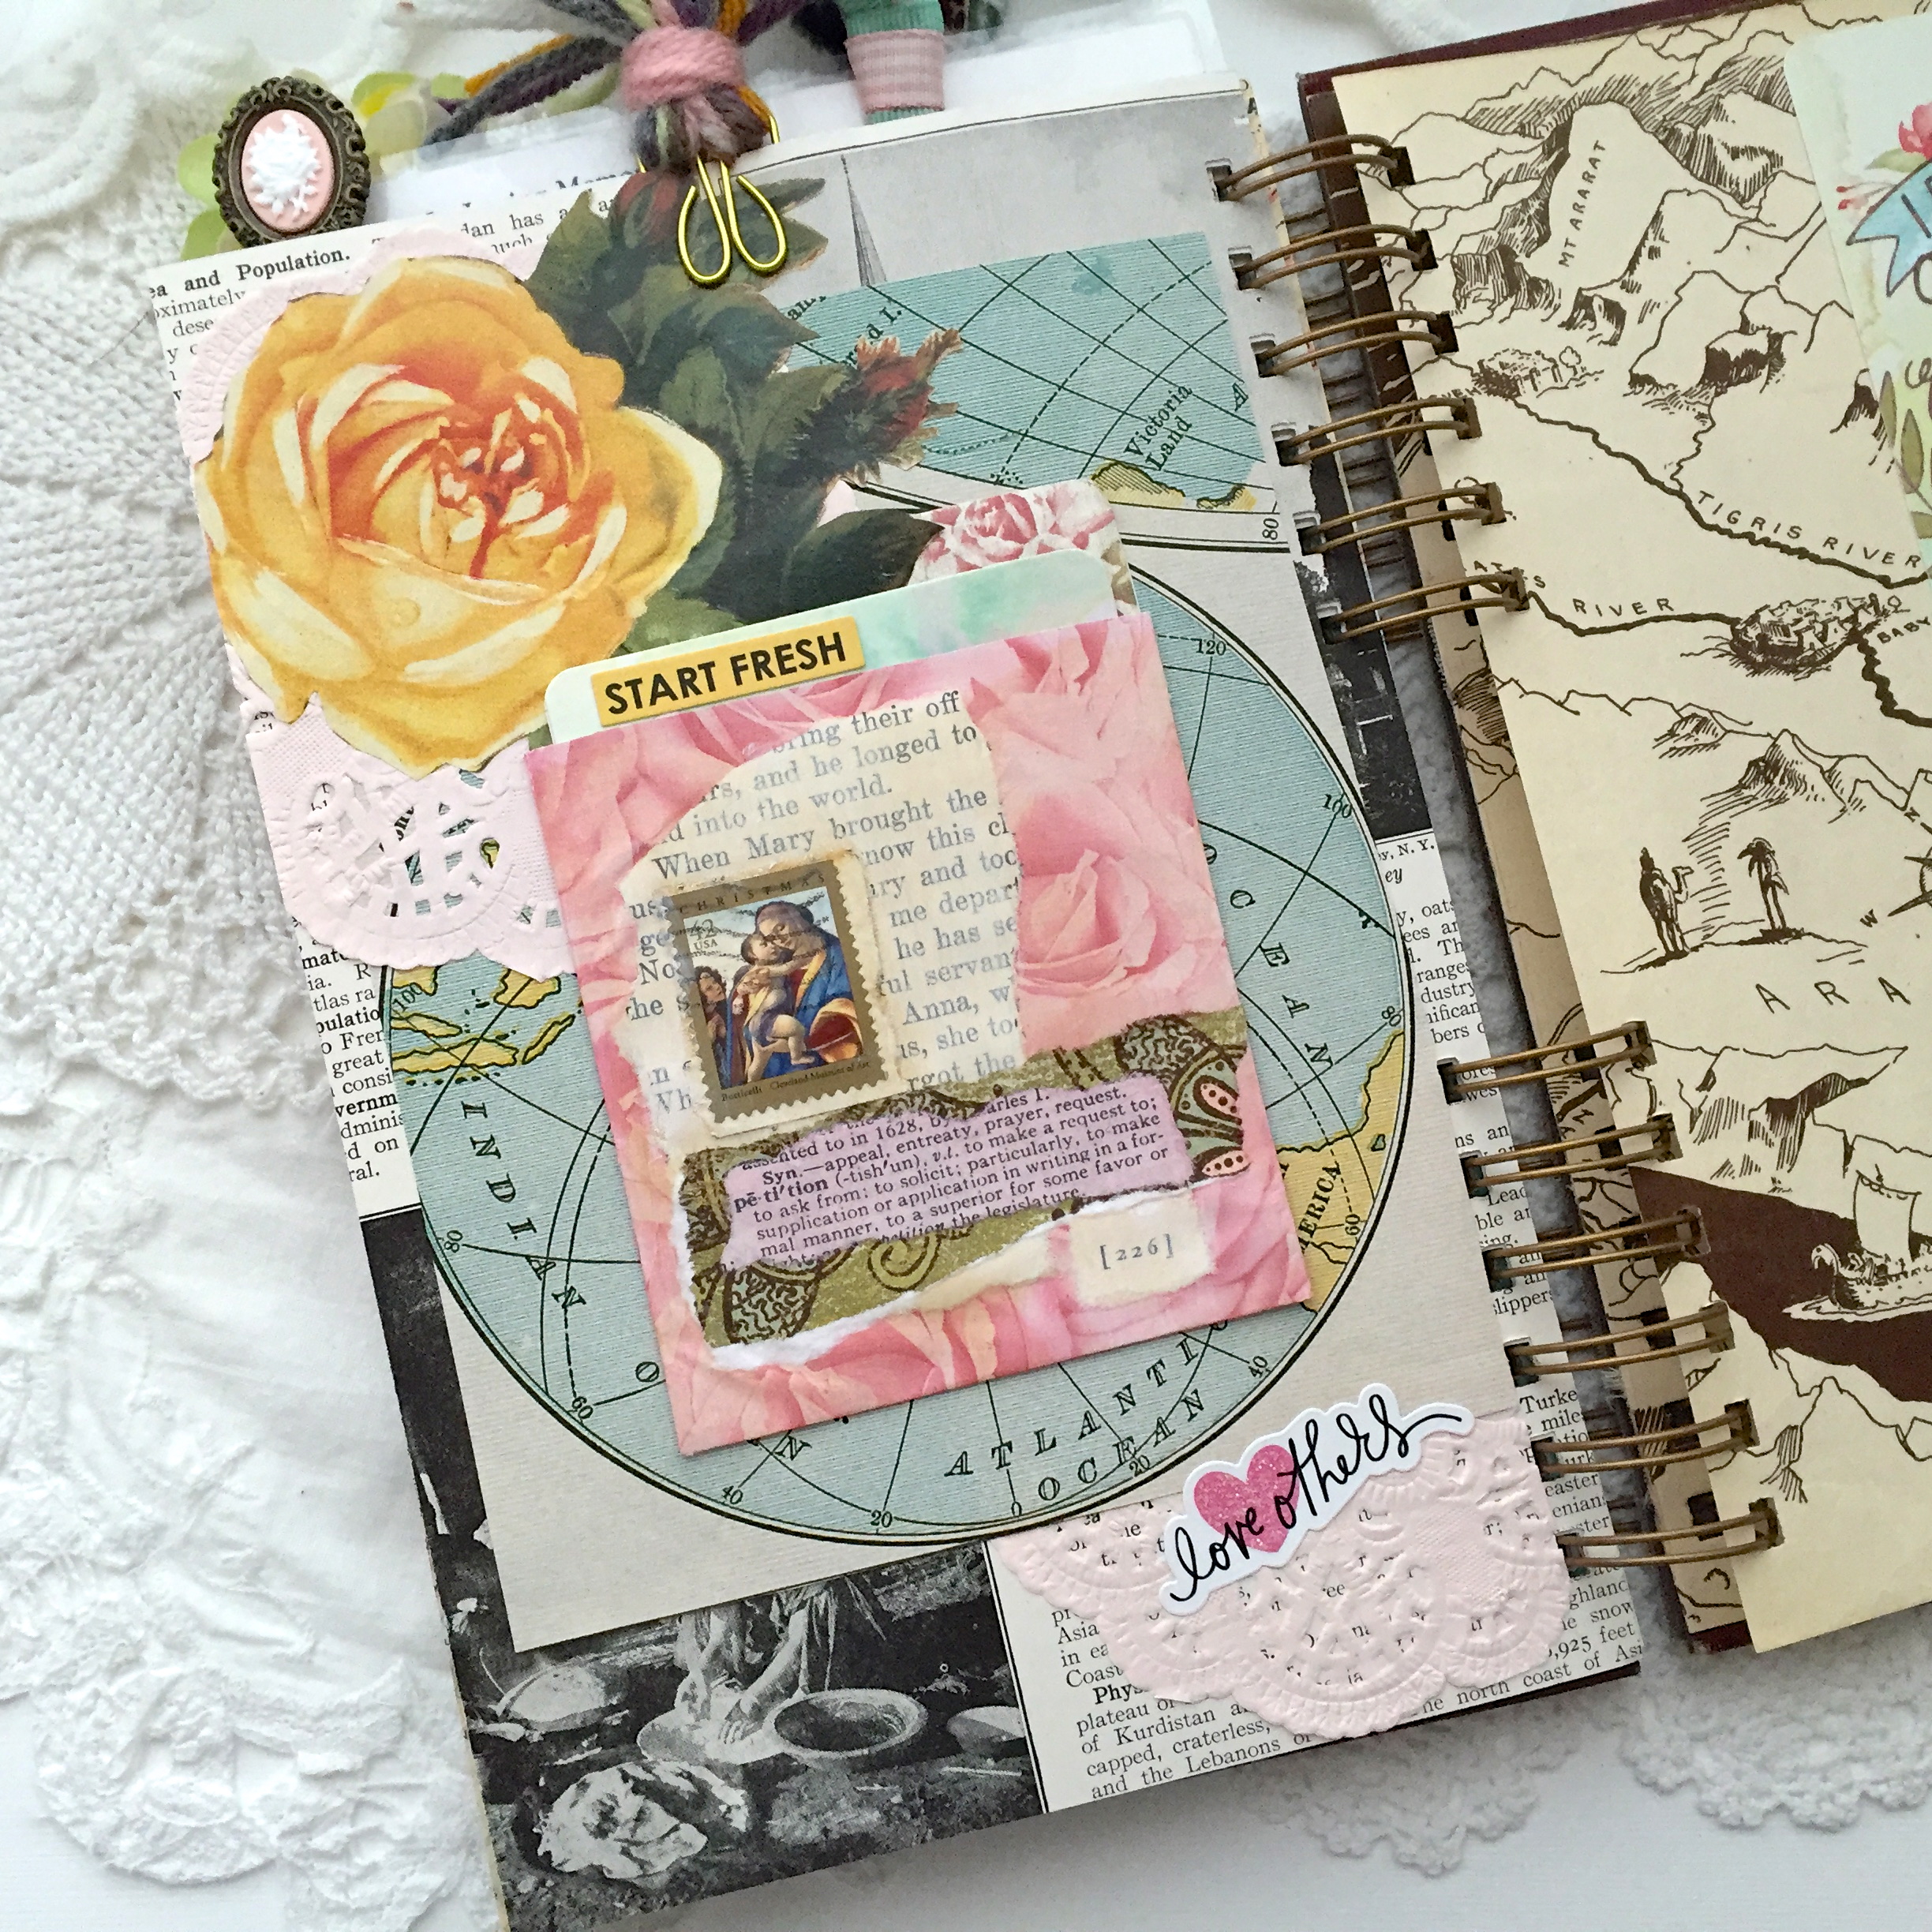
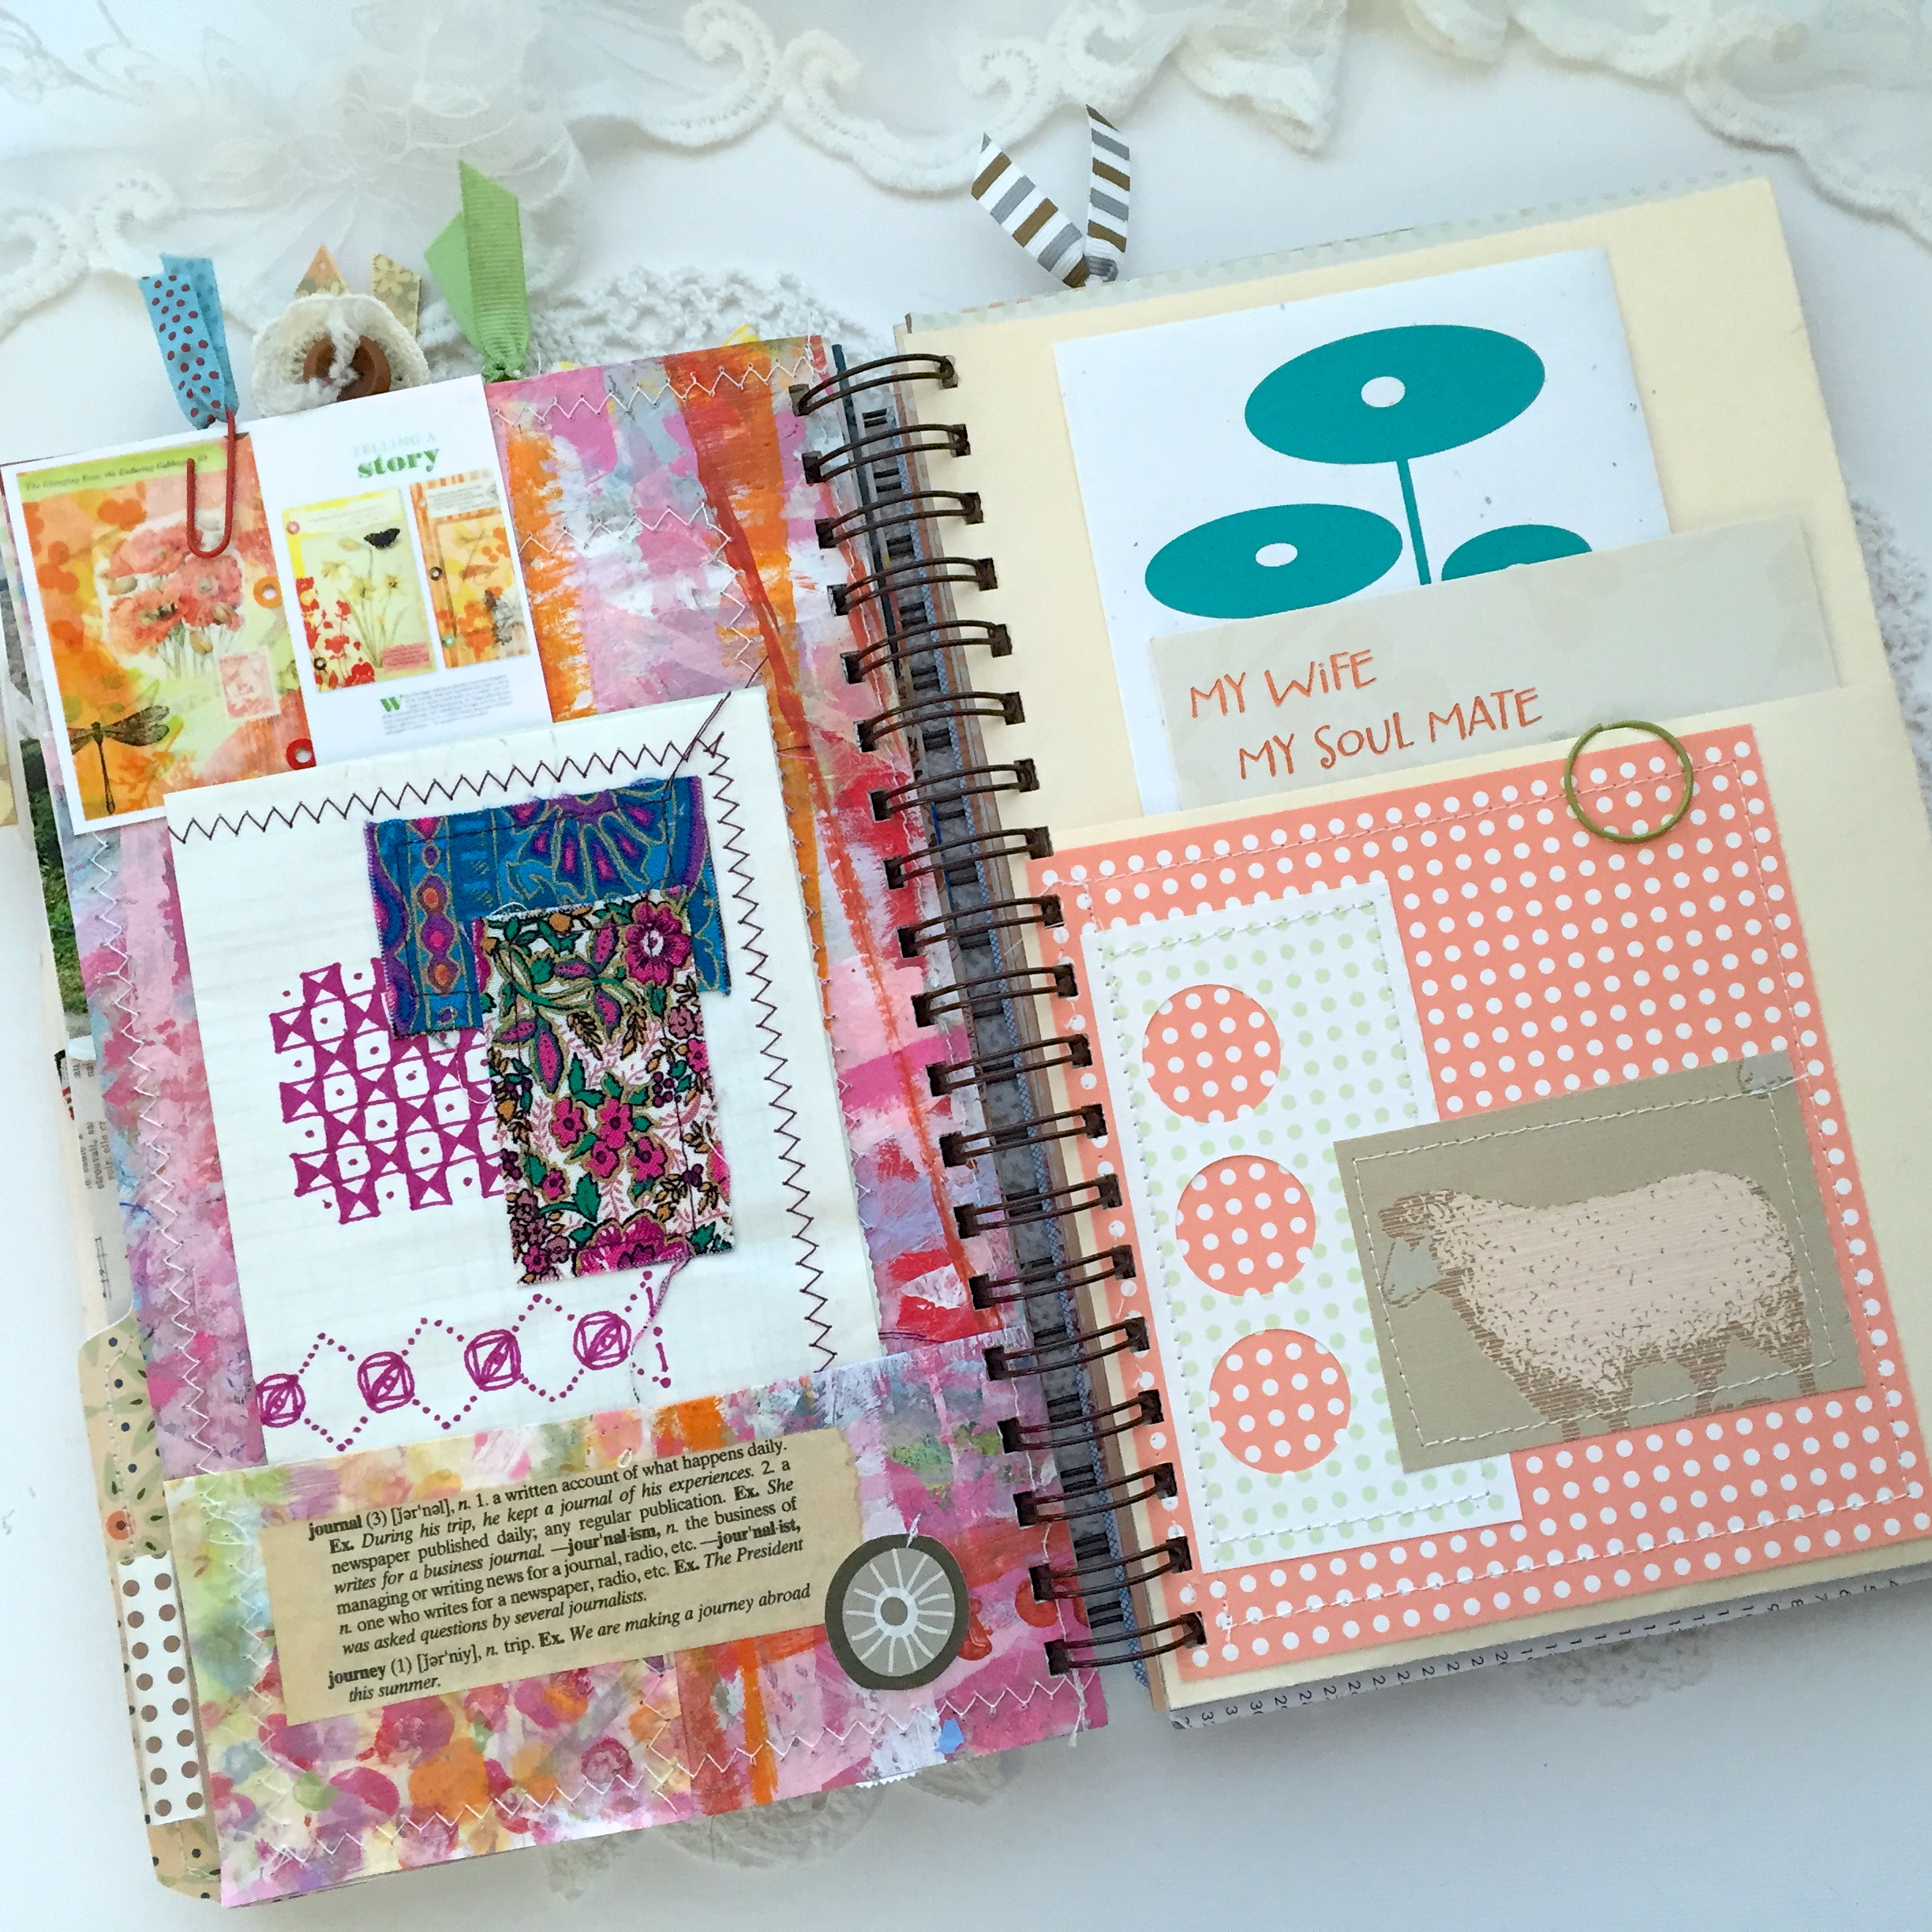
Along with family keepsakes and a few store bought goodies, I was able to pull my pages together in the way that I had hoped to, vintage mixed with contemporary.

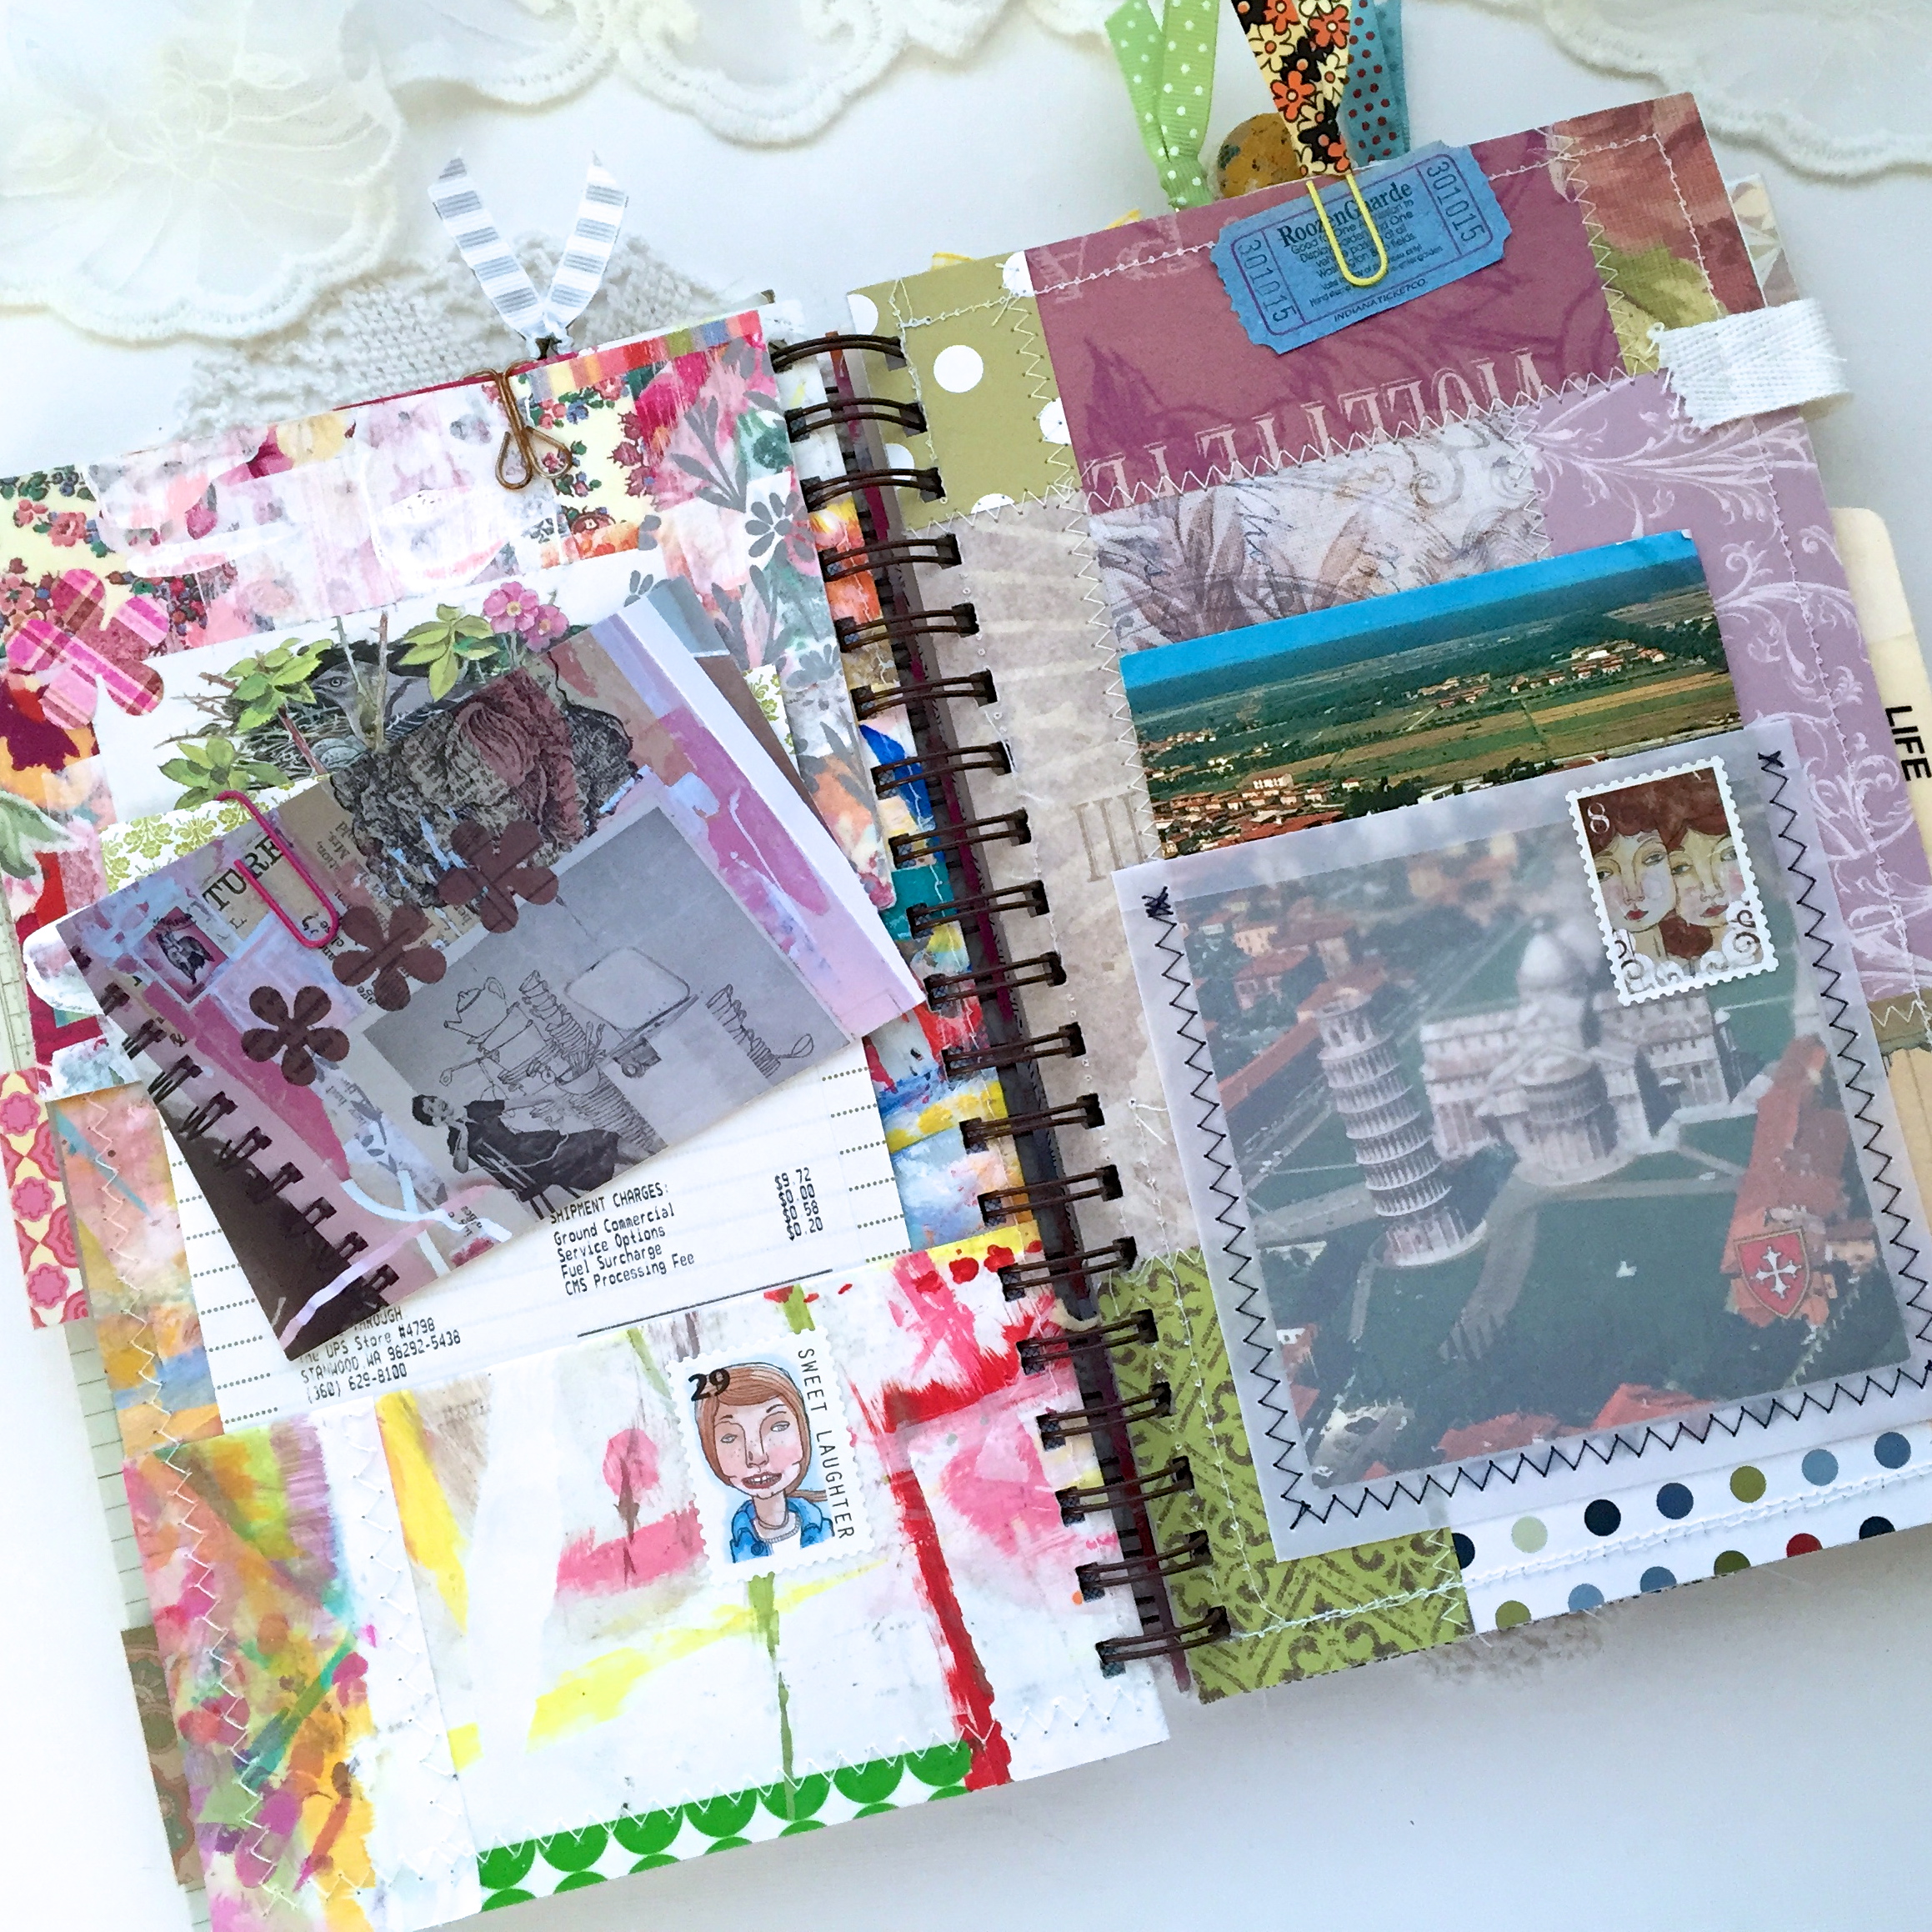
I am using adhesive photo pockets to put delicate family keepsakes in because they have prayers on the back, and I like to read them now and again.

IMG_2370

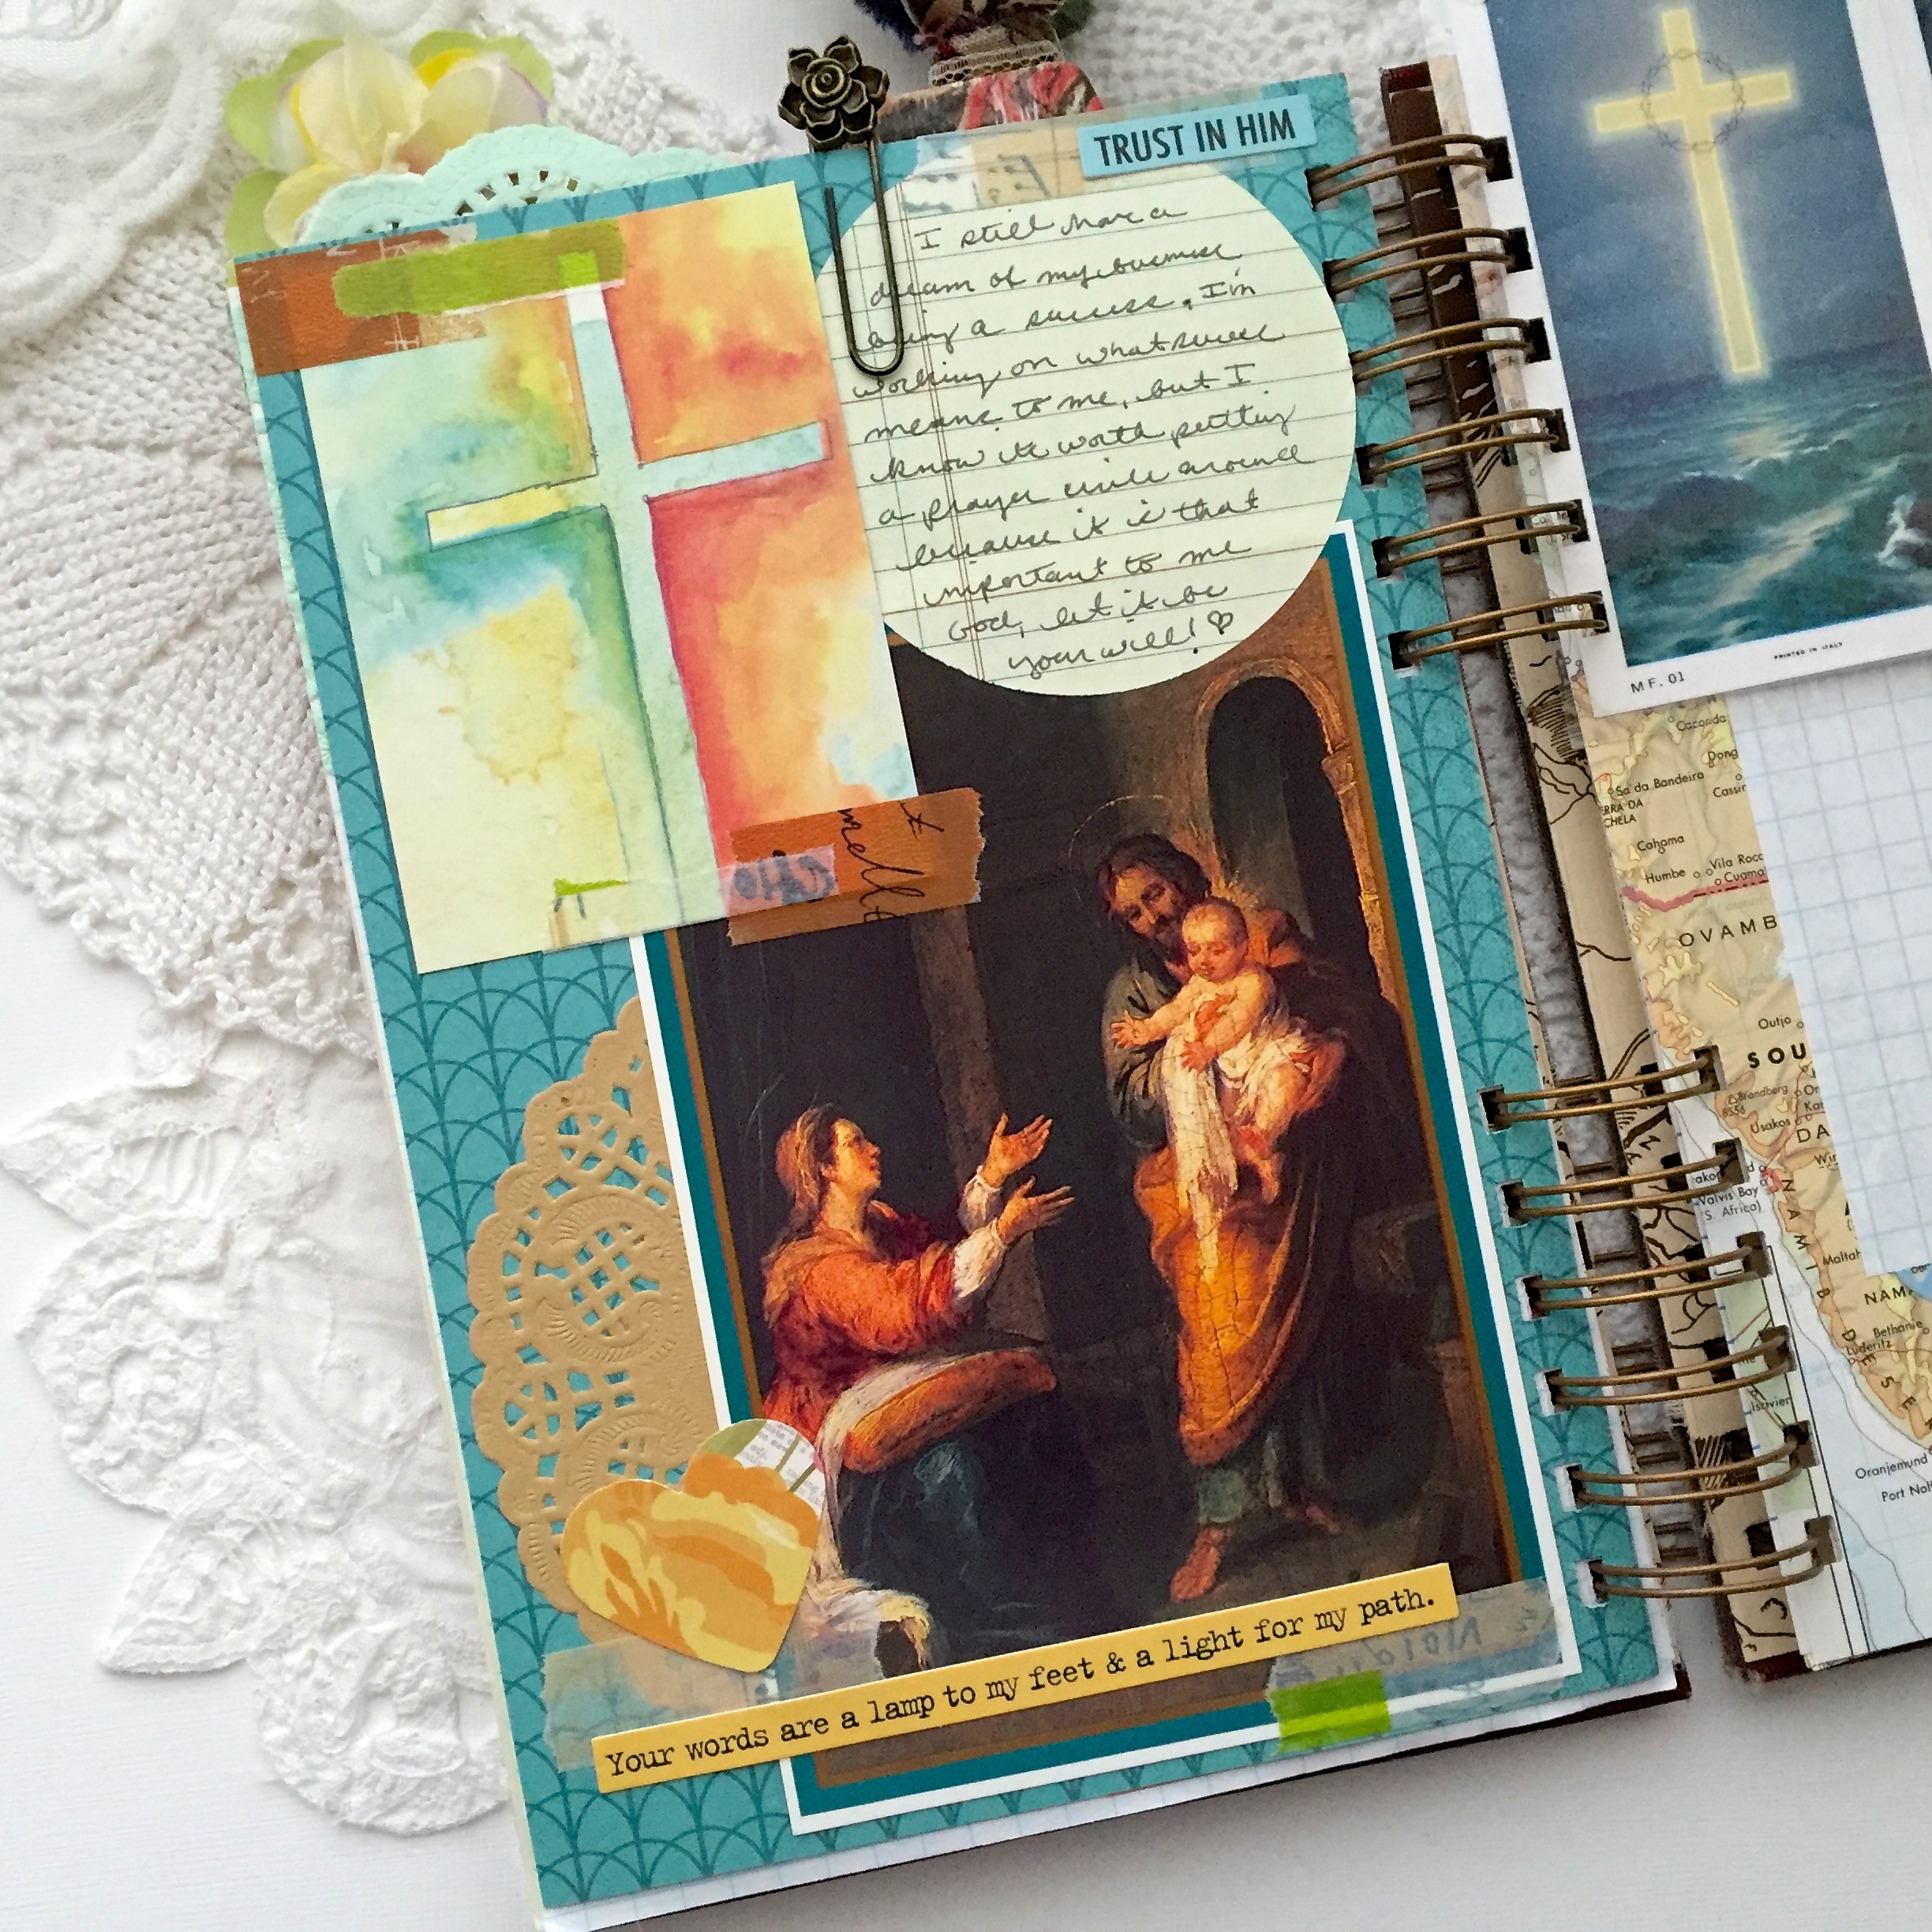
I’m sure you will notice that this journal does lean a bit towards the Catholic church, there’s a very good reason for that, our family of origin is Catholic, and over the years I have saved many of the Christmas and Prayer cards we’ve received.

IMG_2369

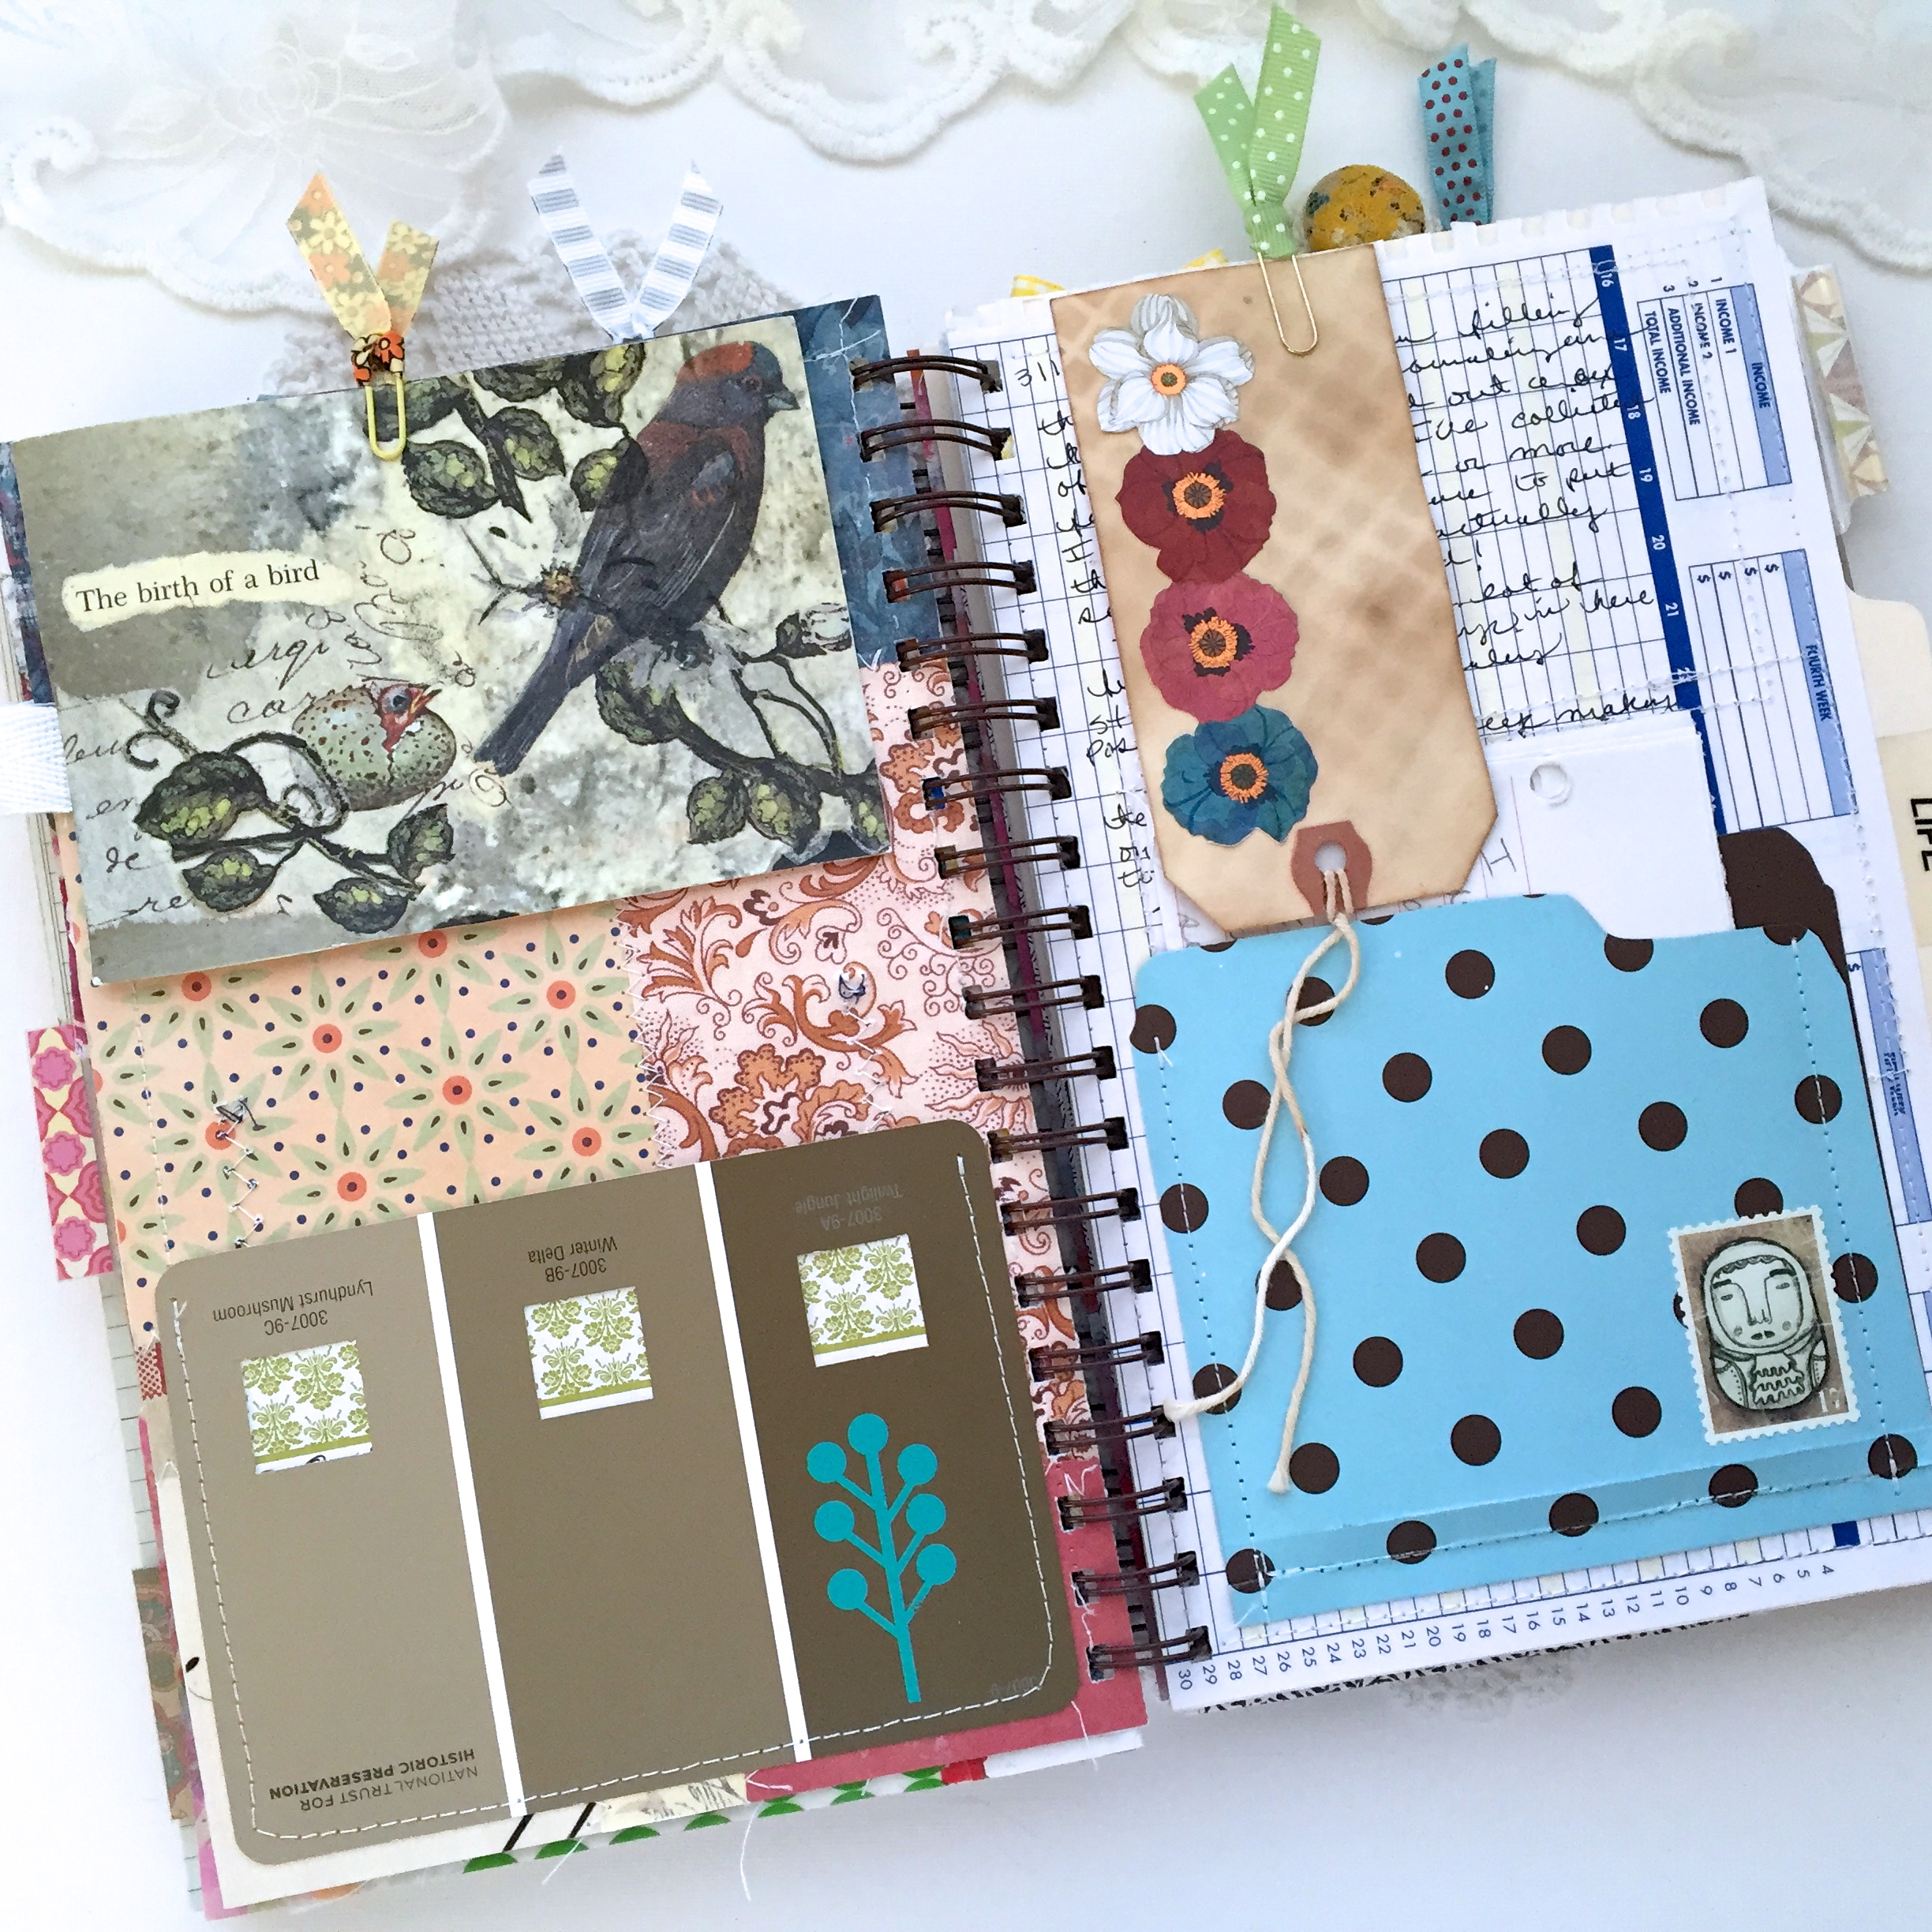
Of course, this style of art journaling will work for any Faith. I personally love having a place to keep some of my family memories along with having a beautiful place to journal.

IMG_2373

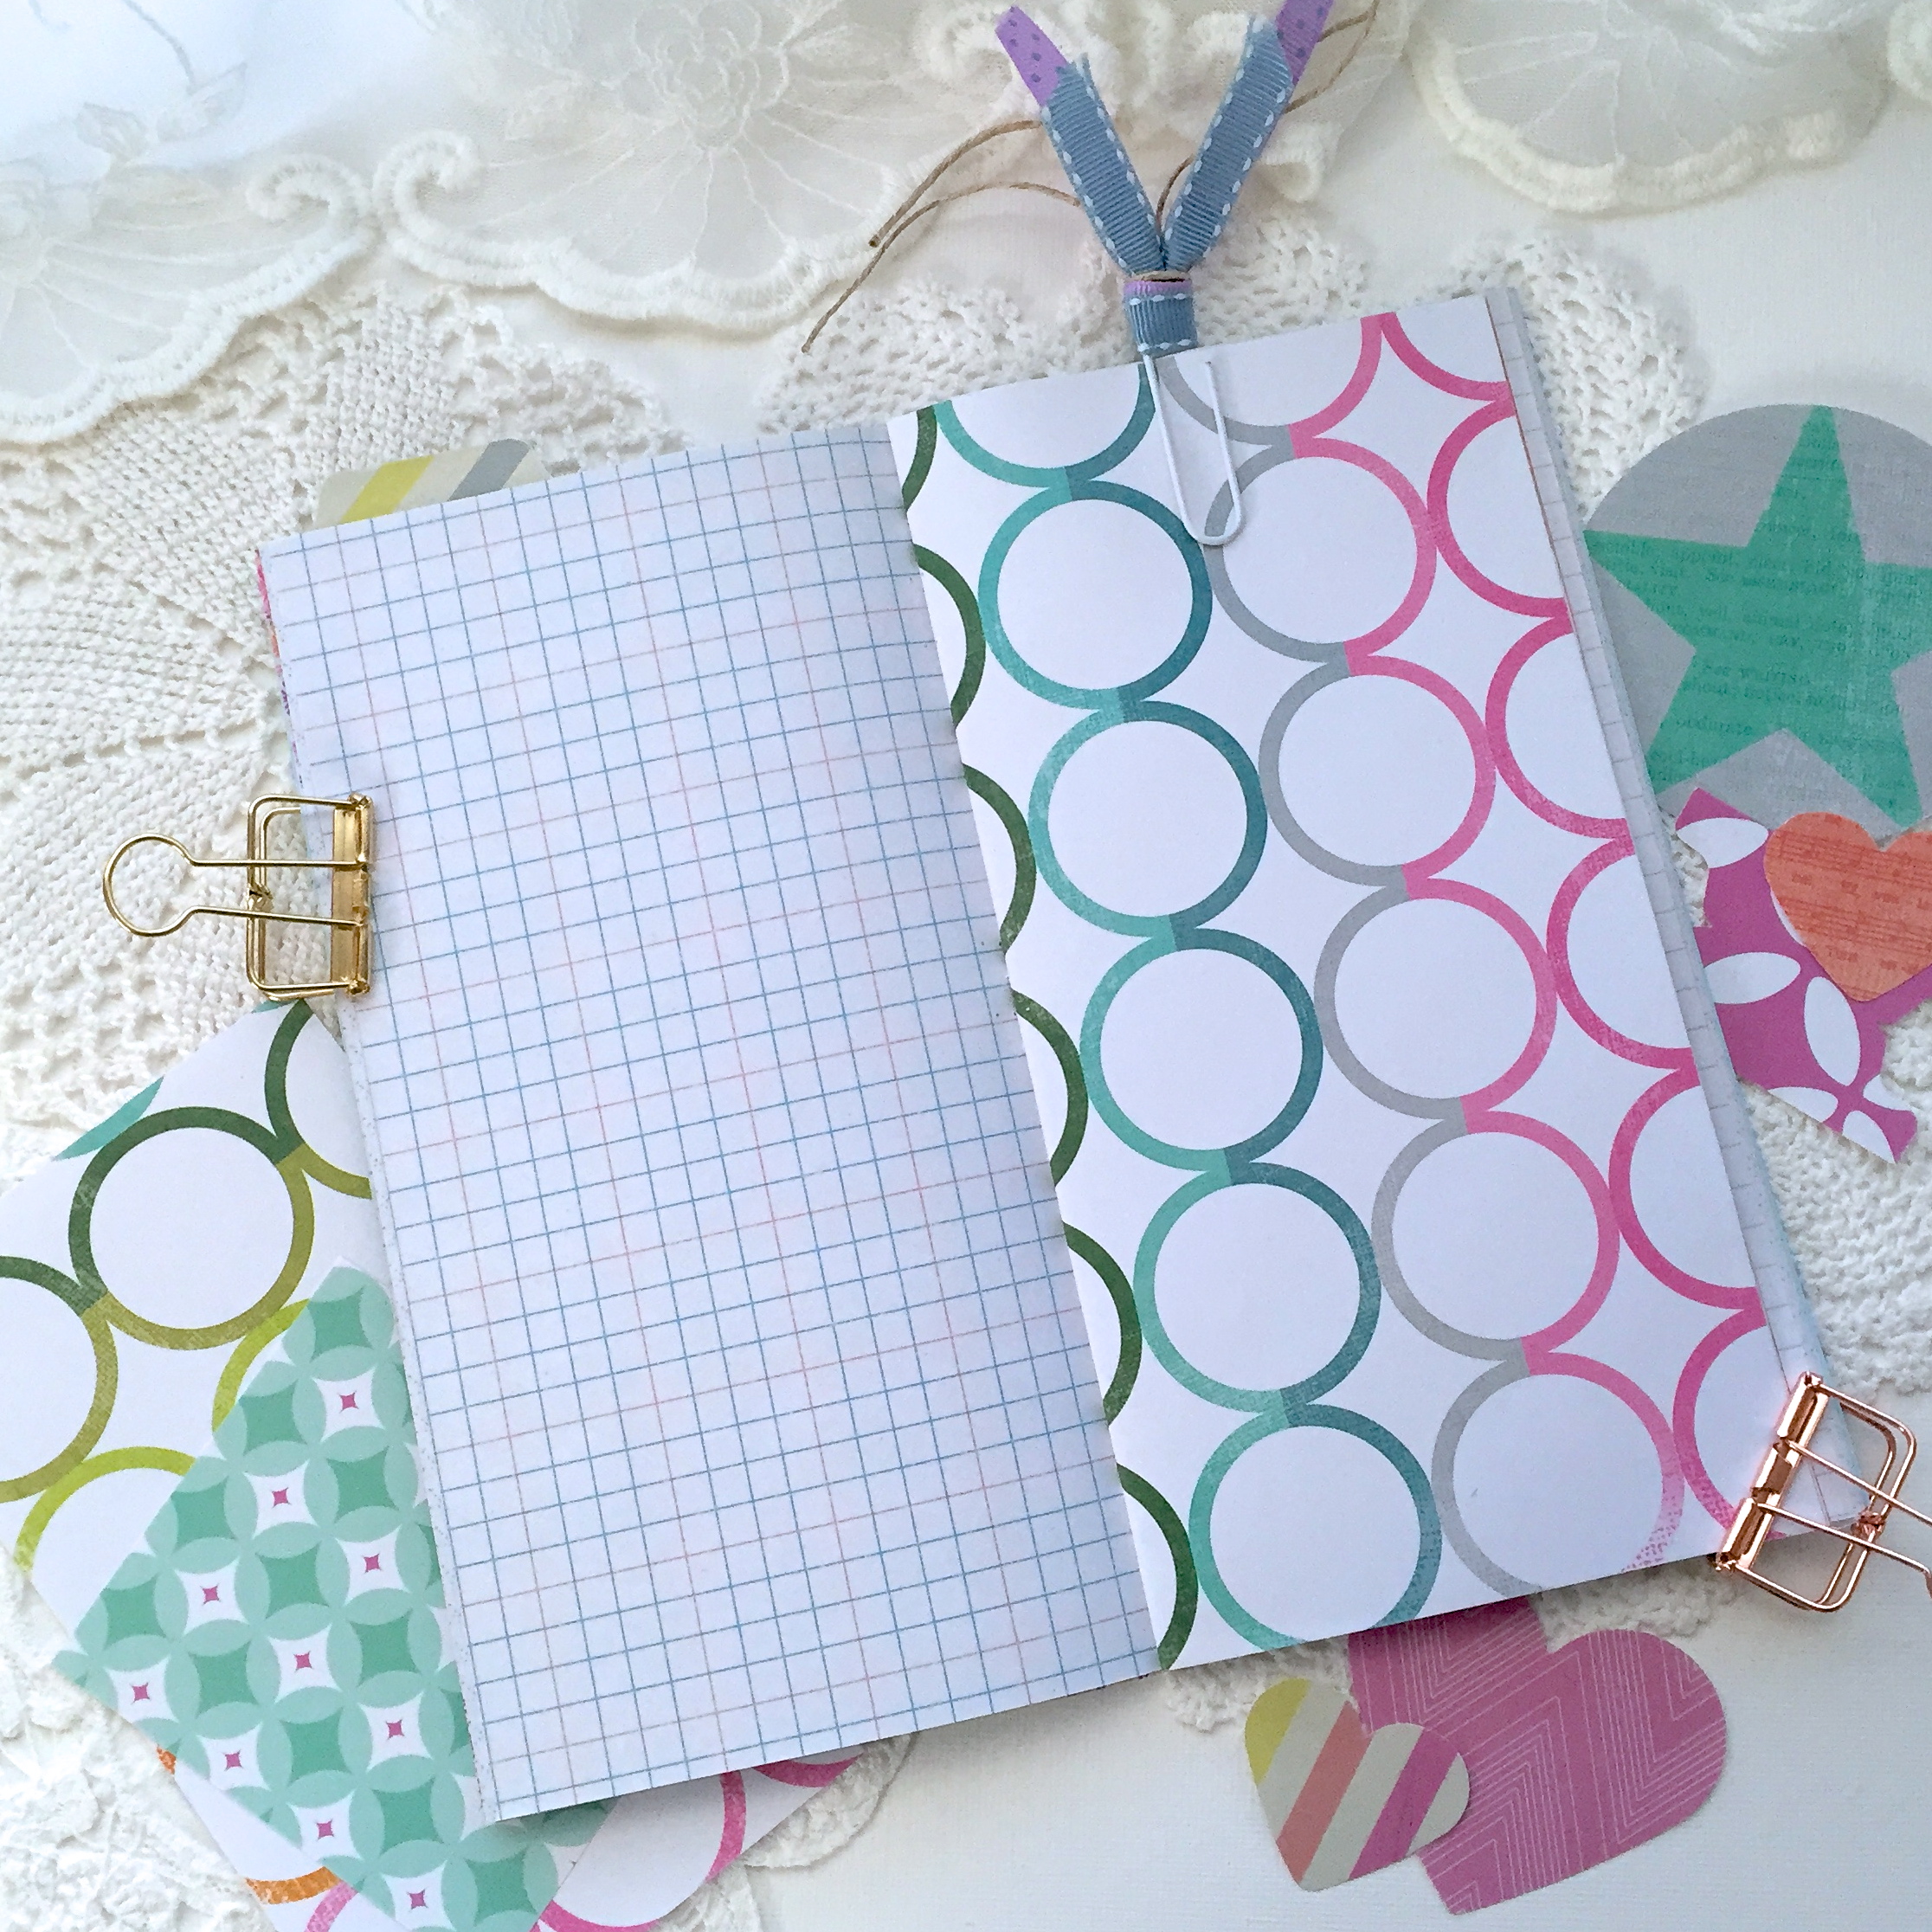
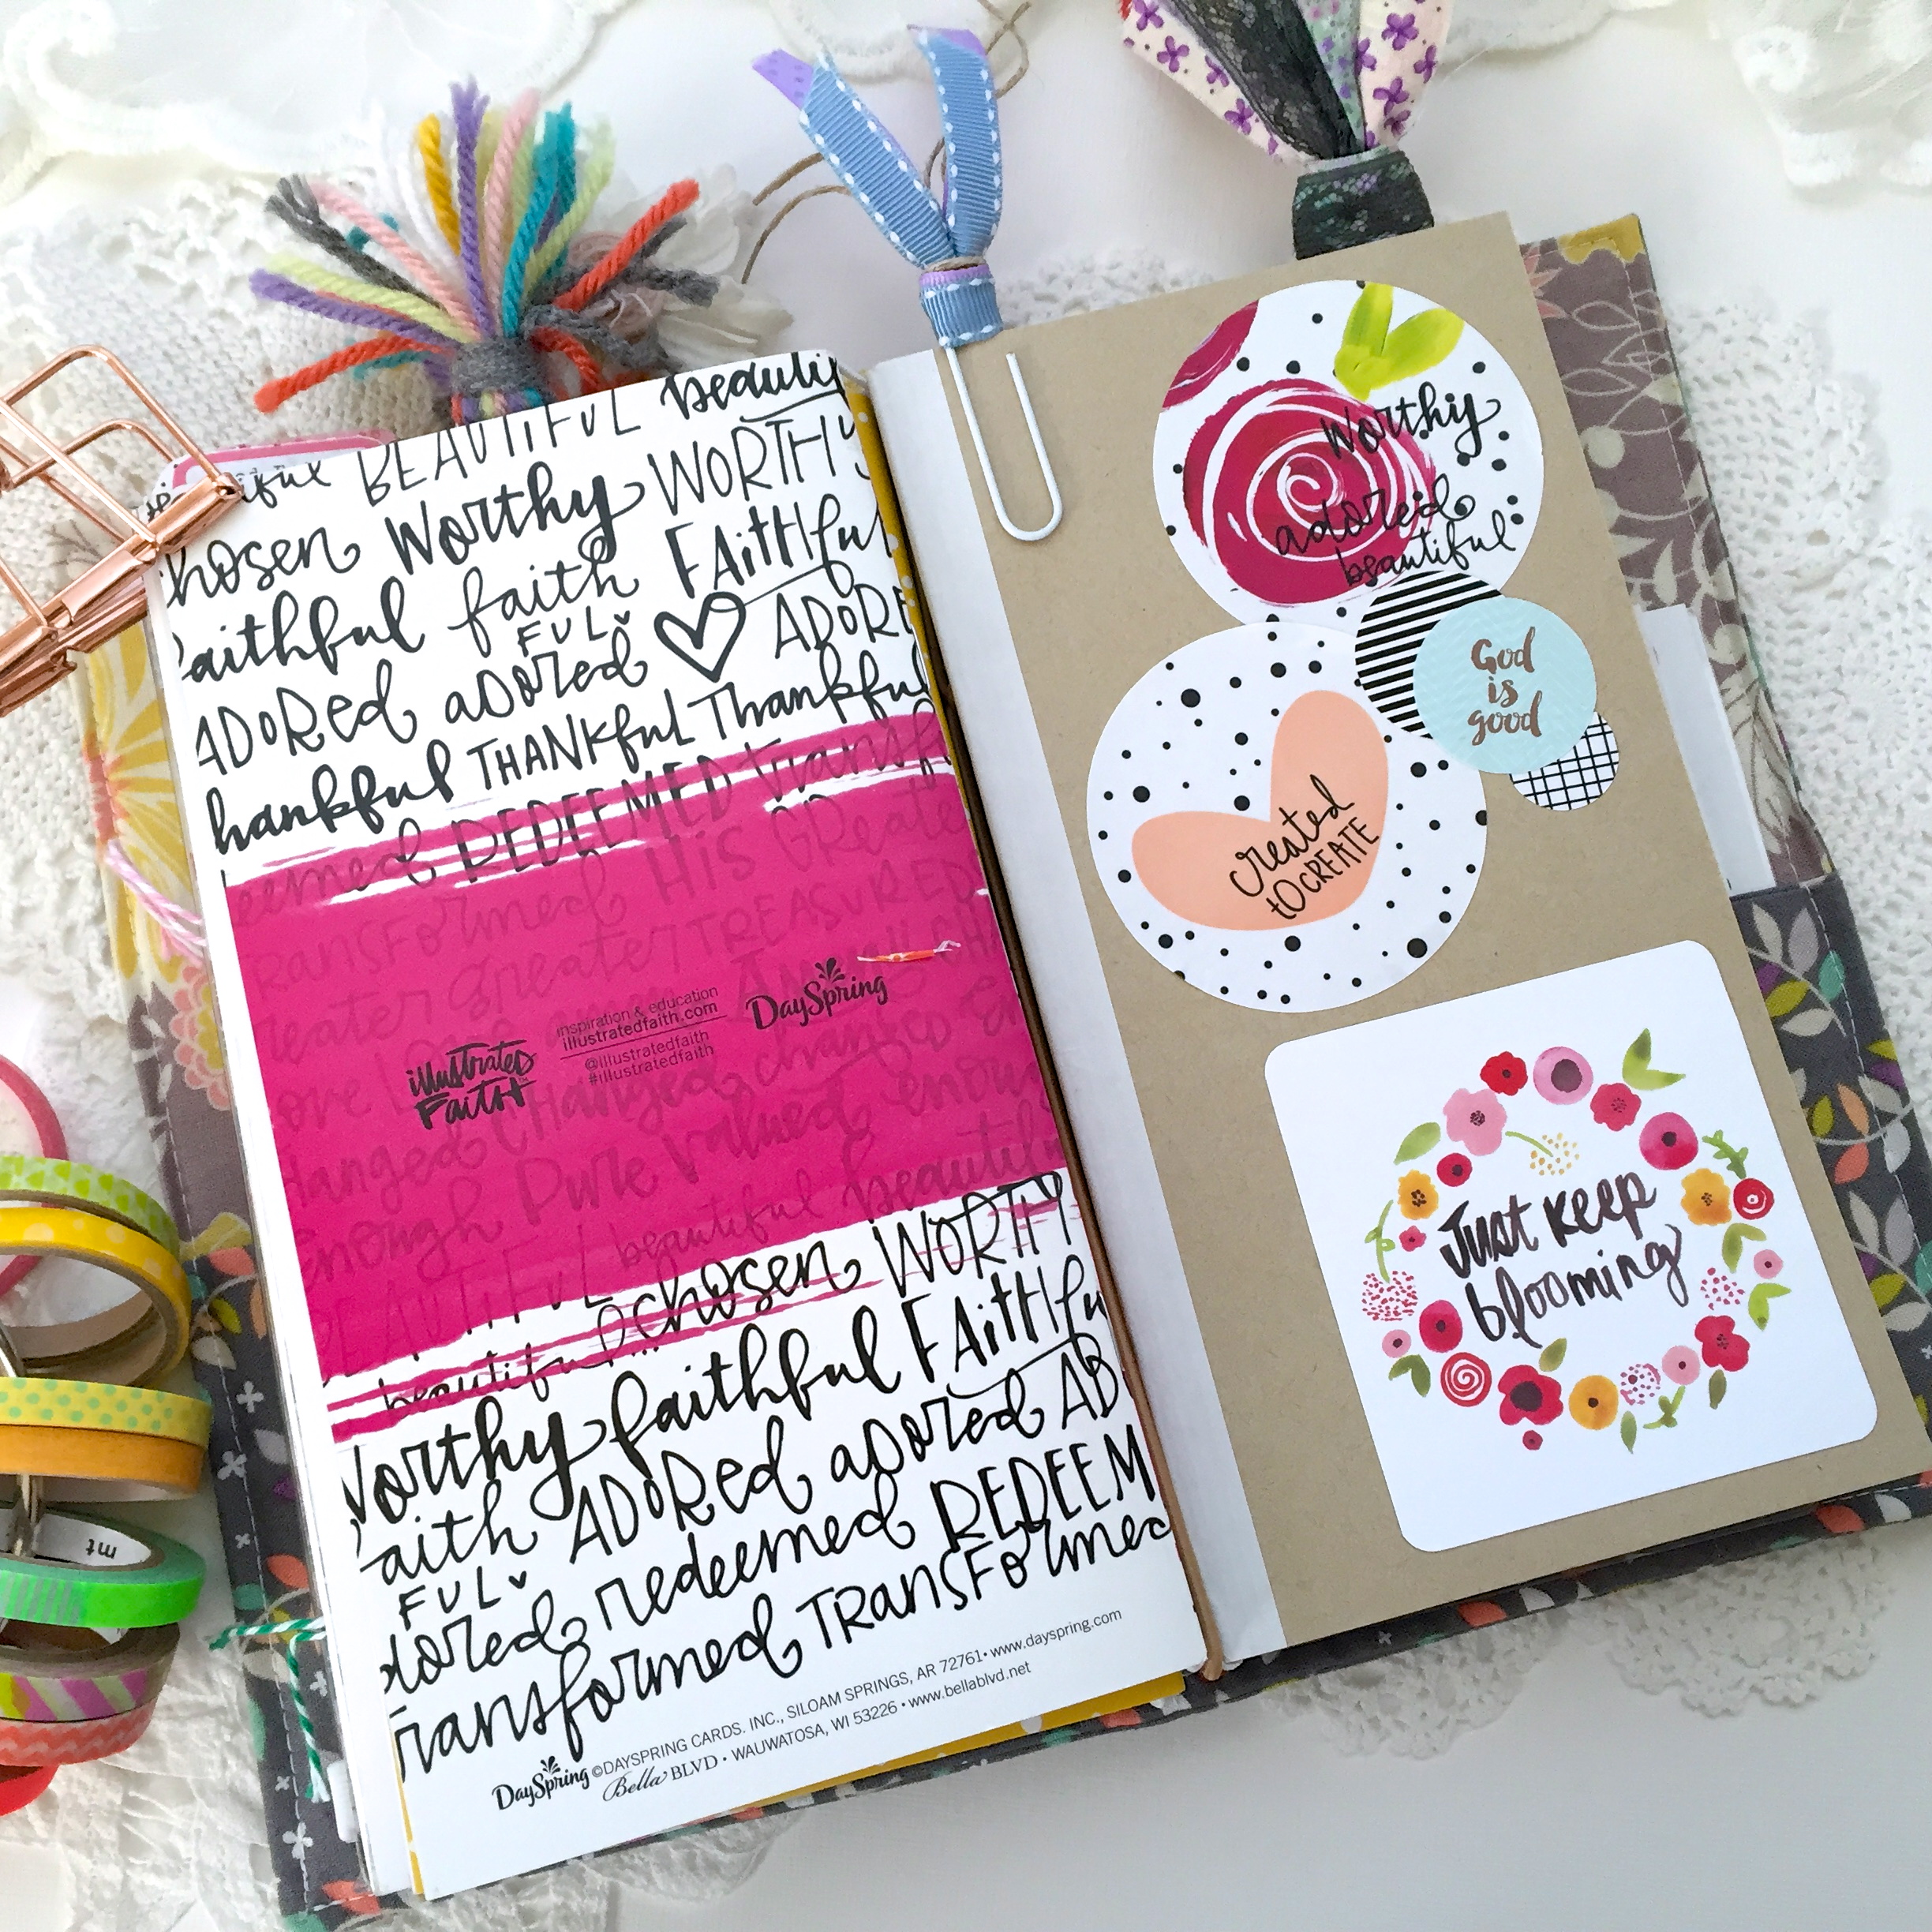
As you can see, I have finished quite a few pages that I can go to when I need to write something down. I have found that this is super helpful. There’s nothing like losing the thought because there was no place to put it!

IMG_2374

I have spent a lot of time combing the internet for ideas and inspiration. The best places I have found are Pinterest (of course), Instagram, Youtube, Illustrated Faith, and now The Reset Girl. Cori and Shanna both have channels on Youtube, so go check them out!

I’ll be taking a Faith journaling class in April with Cori and Shanna, I can’t wait!

IMG_2376

That lavender cross is something that has been stuffed in a closet for decades. It was lovingly placed in an Easter card from my dad and stepmom long, long ago. I kept it all these years knowing that someday it would find the right place. This makes me very happy! And, reinforces the belief to not throw things away just because they don’t have a home yet!

IMG_2379

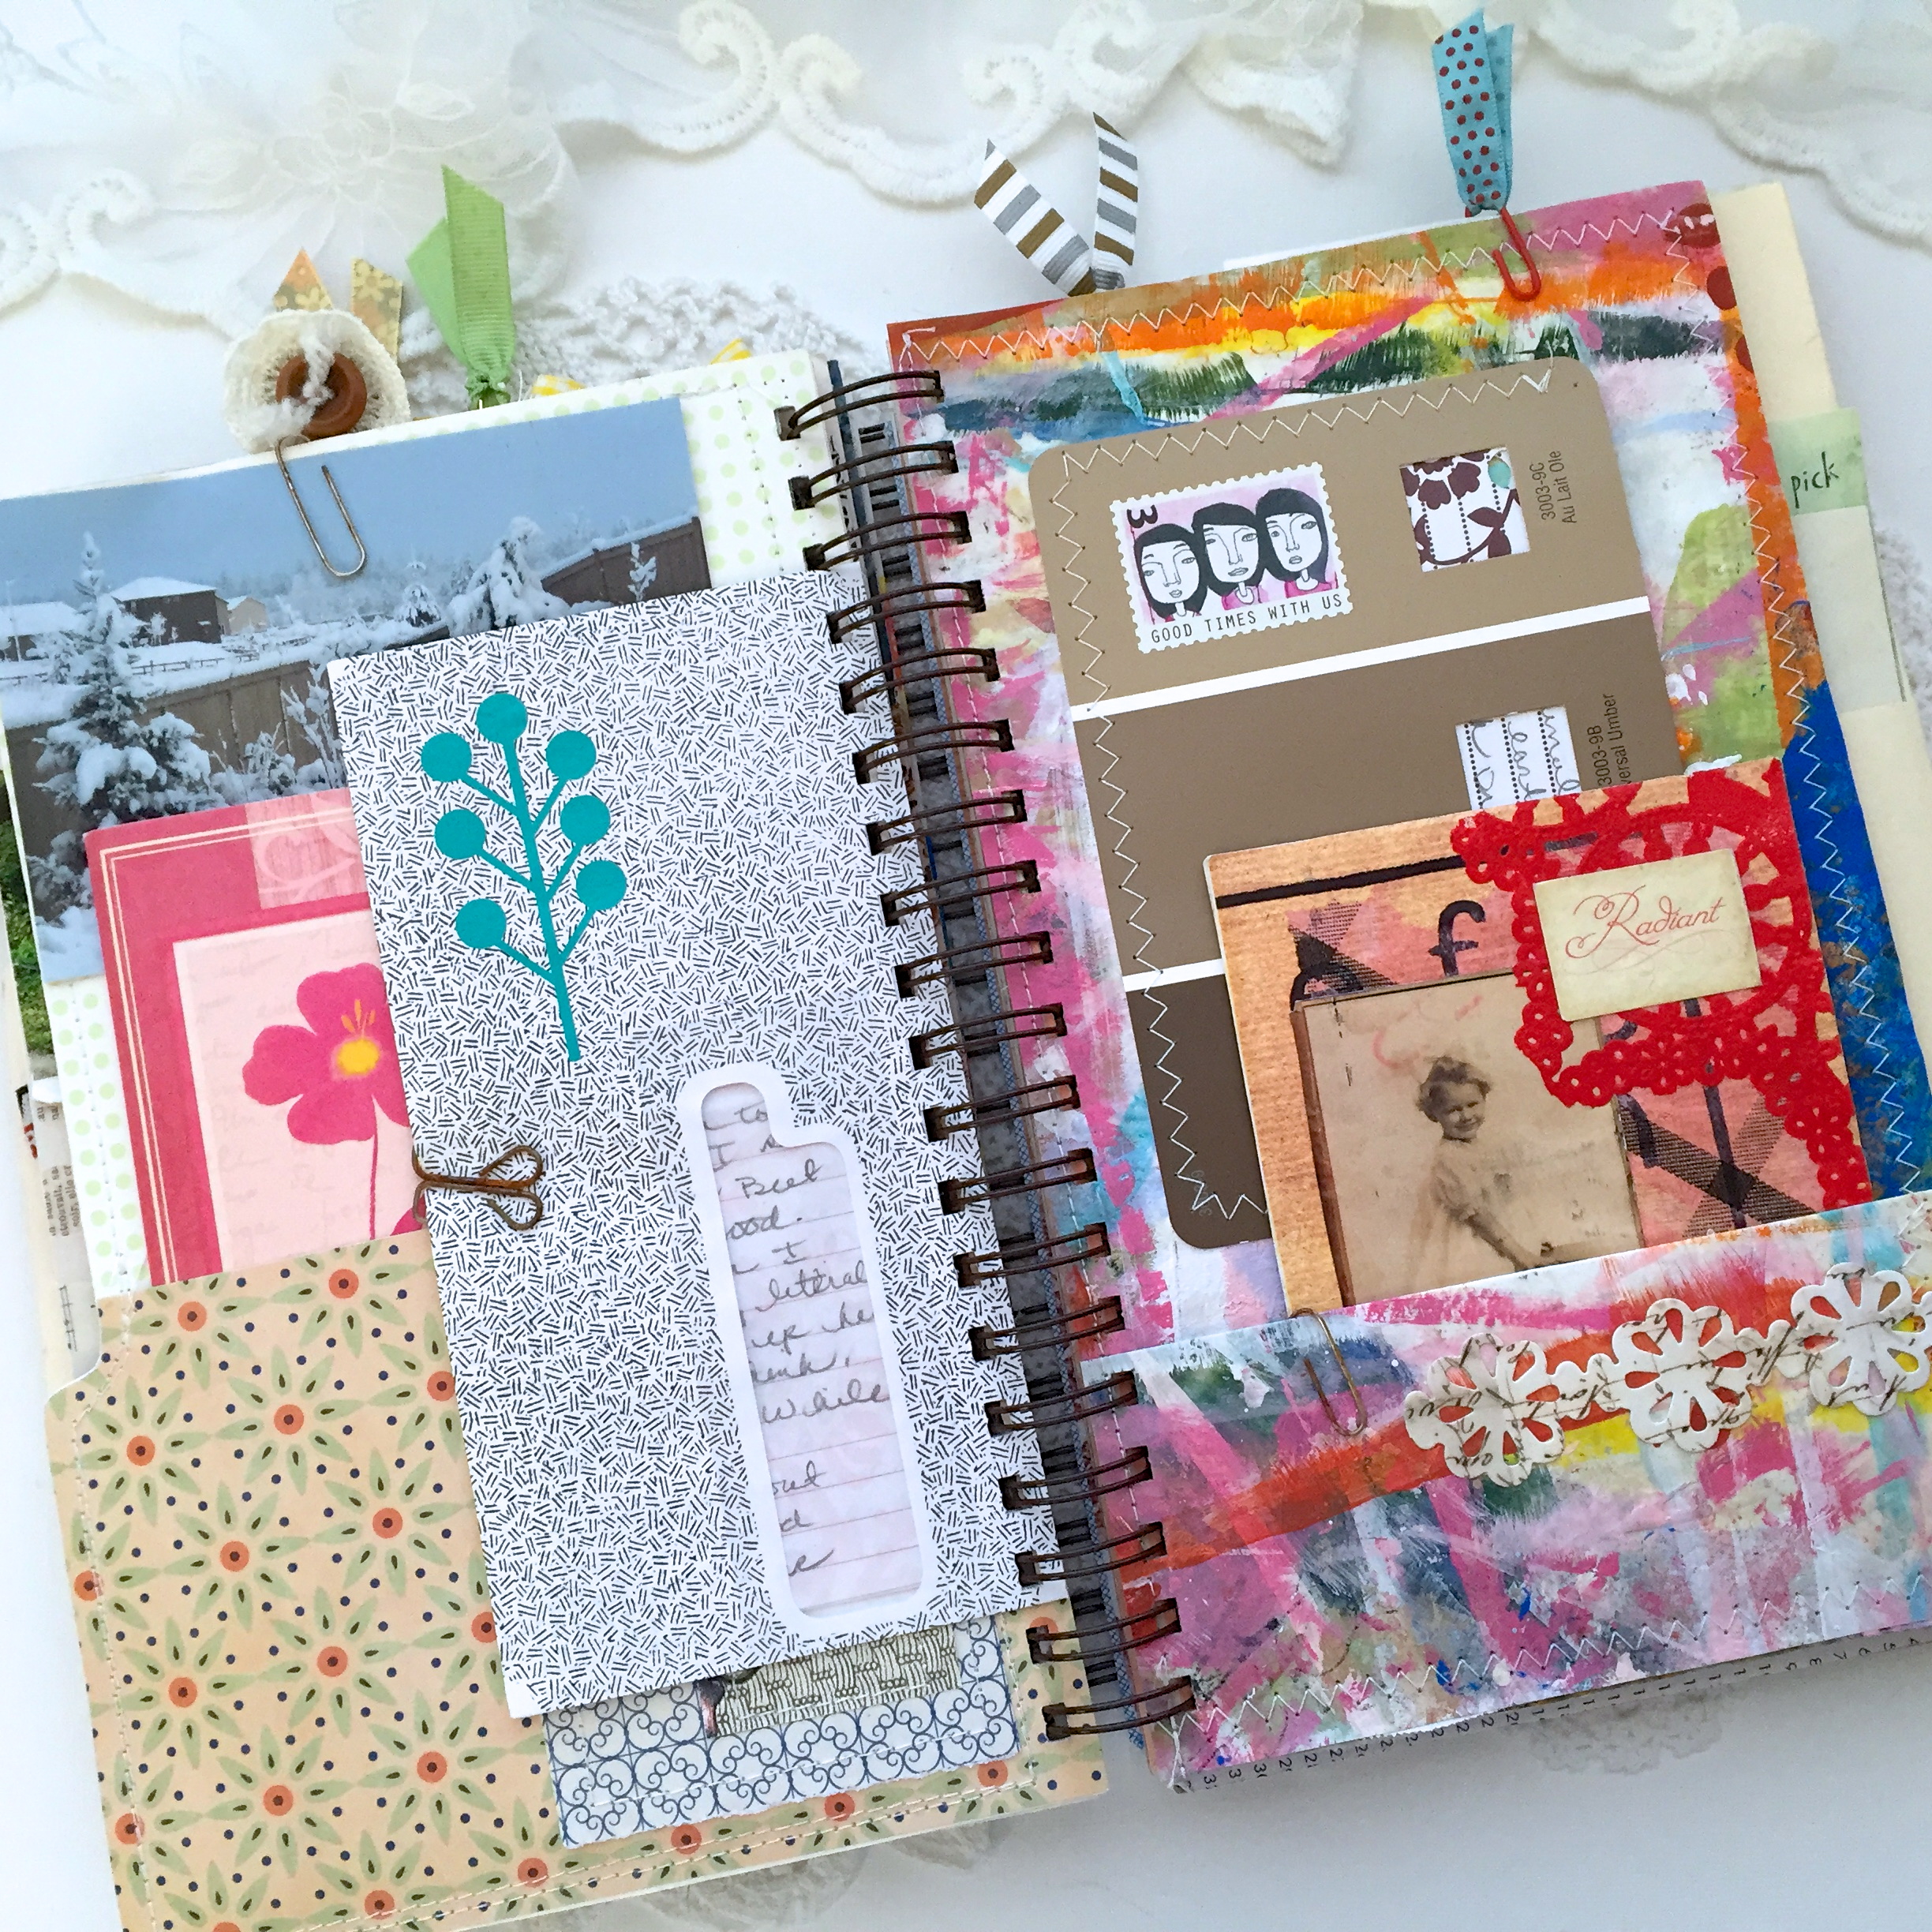
A library pocket from that prayer journal that didn’t quite make it.

Now that I have a place for all those keepsakes from over the years, I will be starting on the journal that you can see at the top left in the first photo. It will have a distinctly different look to it with lots of retro kitschy-ness along with contemporary colors and embellishments, that should be fun!

I will be putting some Faith journals in my shoppe pretty soon, I’ll let you know as soon as that happens.

As always,

Thank you for your time,

Have a great weekend,

~Patty

Throw Back Thursday 3.3

I have been wanting to do one of these TBT’s for a long time. But, because of the type of scheduling I do for my blog posts, this is the first Thursday I’ve landed on in a long time.

This is going to be a pretty photo heavy blog post, so I hope you have a beverage at hand!

IMG_2198

My first keepsake journal! I read some of my old journaling in it, I spend a lot of time talking about how much I love it!

The majority of it is sewn together, this was my “sewing” phase, and an excellent way to use up scraps! What you will see inside is the flotsam and jetsam that I pulled out of drawers and envelopes that I had collected over the years.

Let’s get started…

IMG_2223

My favorite postcard ever! It was sent to me back in the ’90s from my brother when he lived in Ireland. I made a pocket out of velum so that you could see the whole card.

On the left is a handmade postcard and a pocket made from a paint swatch with some journaling tucked inside.

IMG_2225

The page on the right is a piece of the freezer paper I use to protect my desk when I’m painting. I love the effect of an instant background. I made a pocket to store things too!

On the left is a postcard from my mother-in-law from Italy.

IMG_2226

Another postcard and a journaling pocket. If you look closely, you can see some of the stitching on the pages.

IMG_2228More journaling. That envelope on the right is one  I took apart and glued back together inside out. I stamped the word “safe” onto a piece of paper and glued it into the window.

If you’ve noticed the aqua rub ons and faux stamps, I thought the eclectic mix of colors and styles in this journal could use a little cohesiveness, so I added them throughout, and I needed to use them up!

IMG_2234

IMG_2238

More postcards and journaling…with pockets…

IMG_2241

On the left, there is a photo of my first article in Art Journaling magazine and in the pocket is a friend’s doodle. She doodles a lot and I always keep them. I sewed some fabric onto it and journaled inside.

On the right is a pocket with an anniversary card from my husband and some journaling in an envelope.

Well, I hope you enjoyed this trip down memory lane, and I hope I gave you a few good ideas for using up some random crap! It all seems random until you put it all together in one place.

Once again,

Thank you for visiting,

Have a great day,

~Patty