Putting It In Neutral!

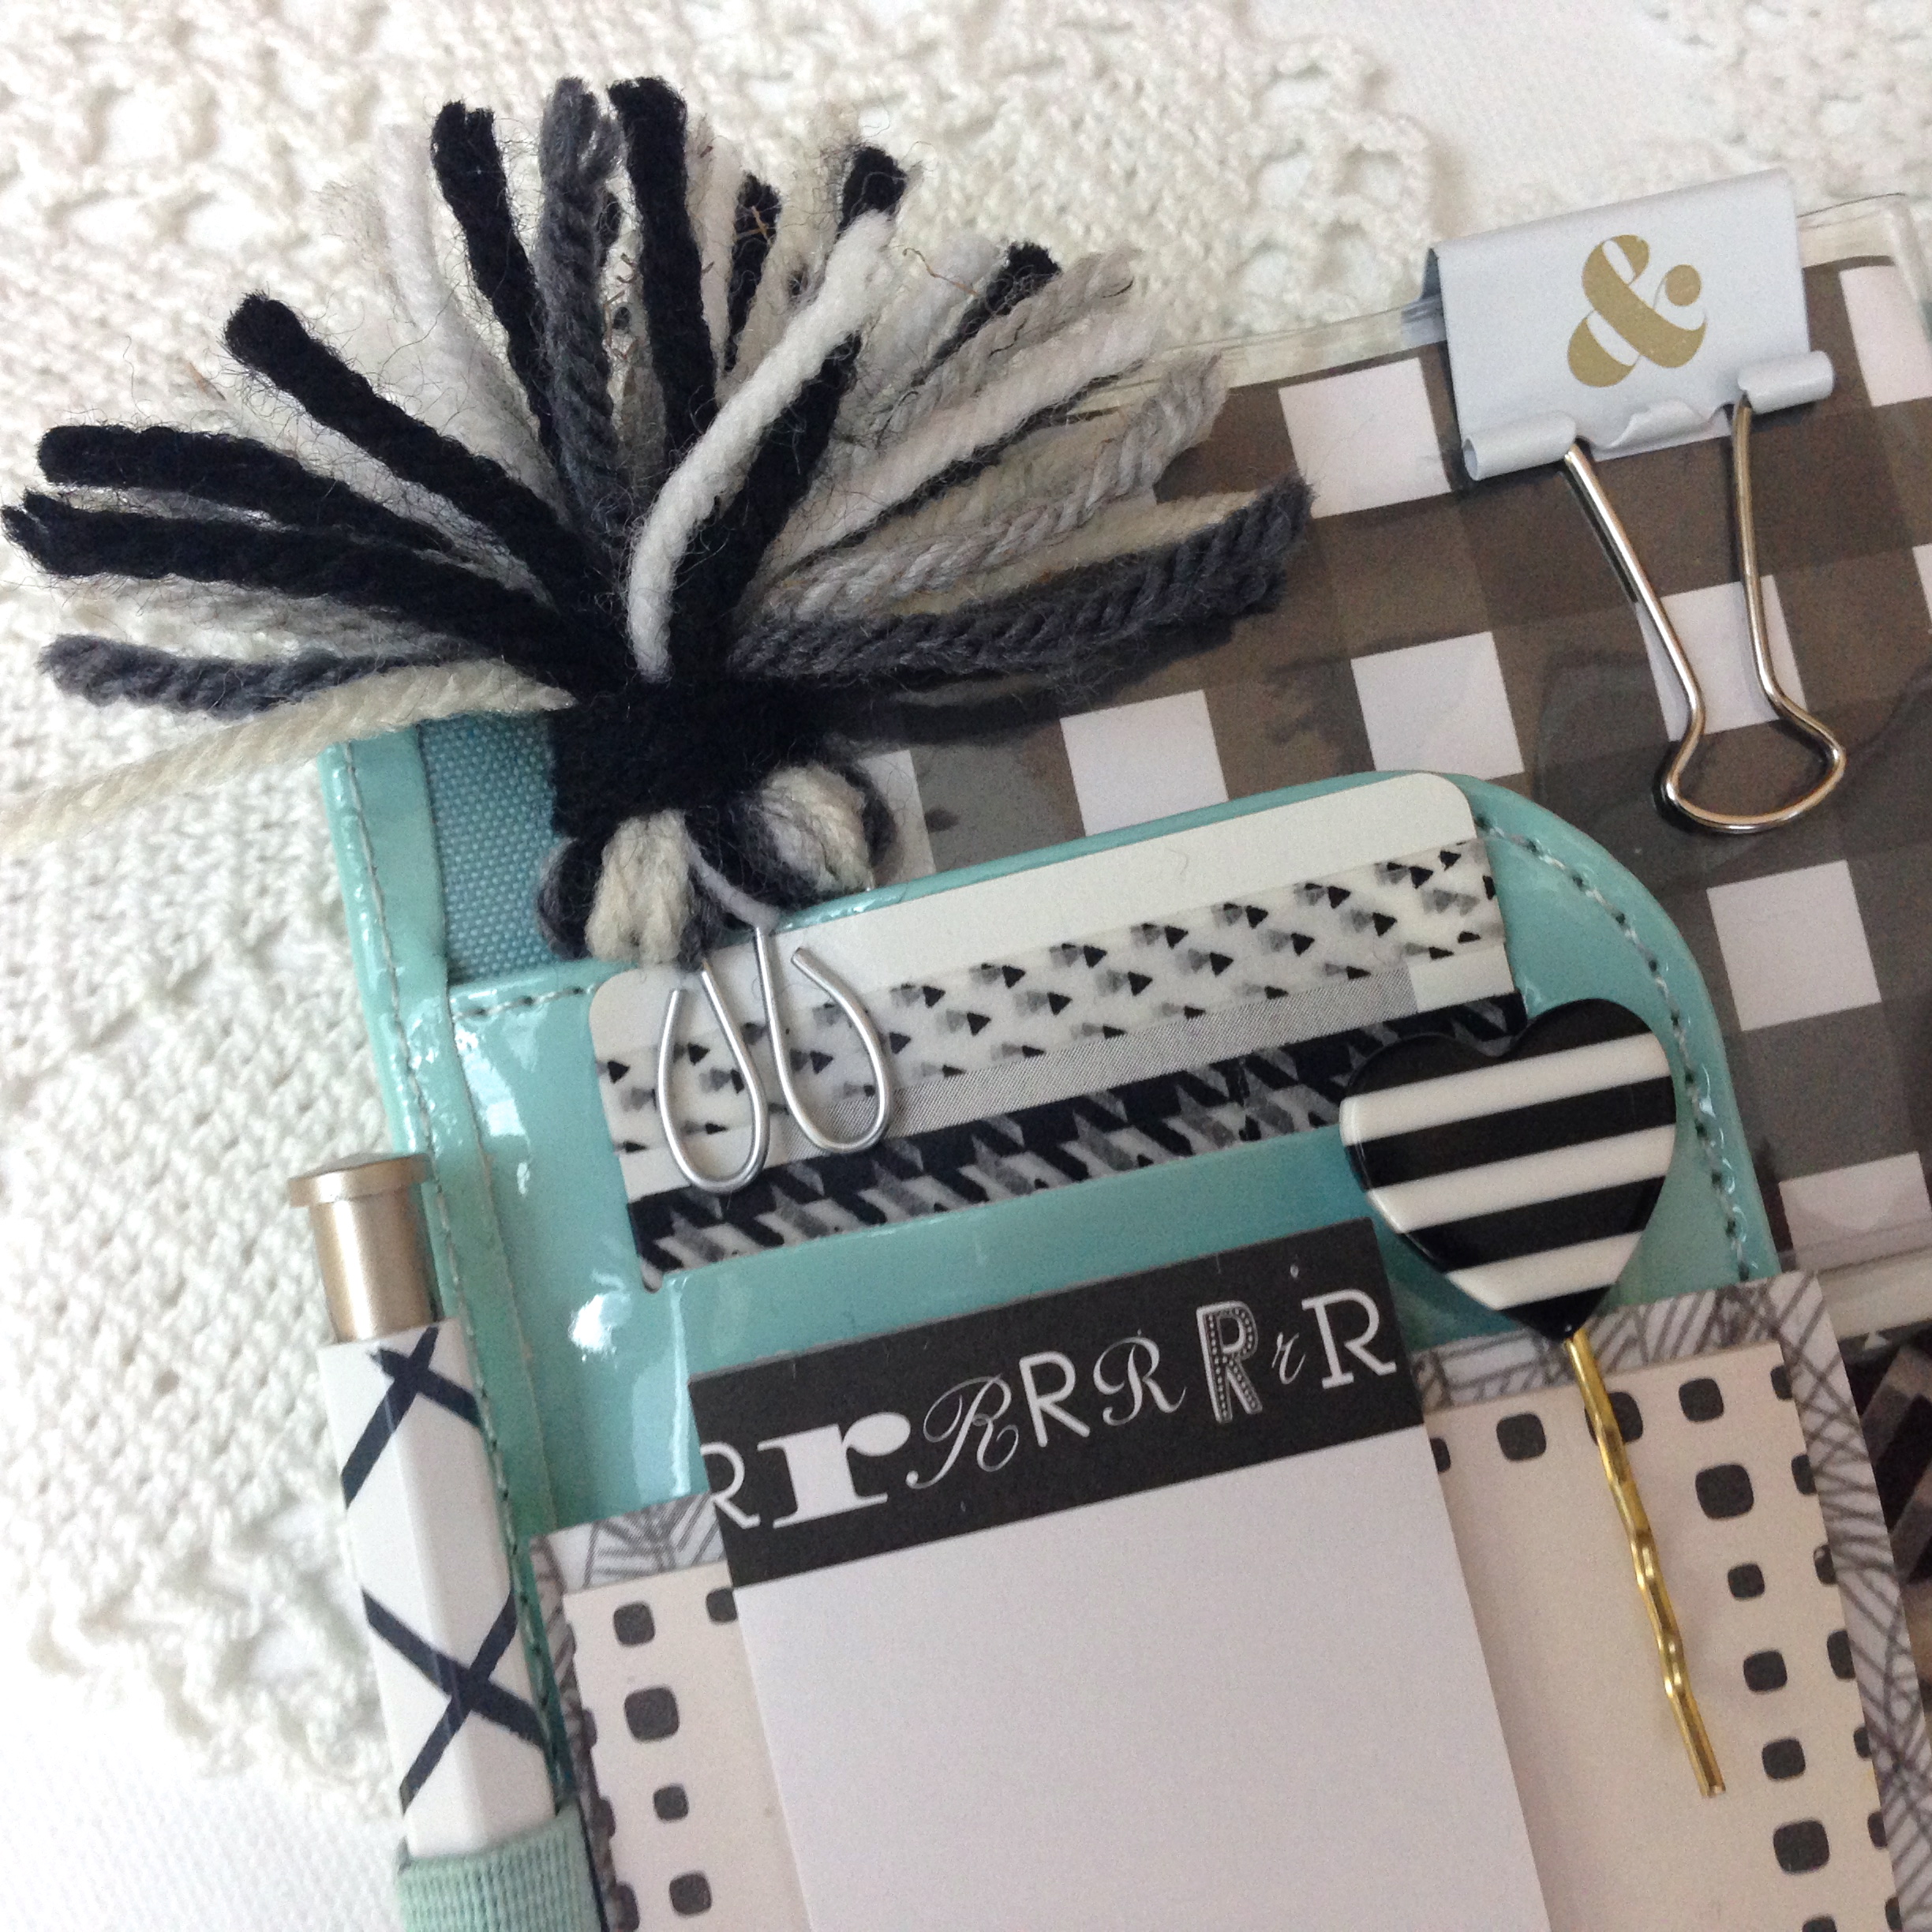
My personal size Filofax has needed a re-do almost since I bought it, waaaaay back when I first started this planner “journey”, about nine months ago. This is my wallet, so I didn’t want to go crazy with color, but I didn’t see this coming…

IMG_0071

It started with the idea of wanting to use black and white ephemera, and it kind of took off from there. I love it!

There has been so many times when I’m out and about and want to plan or take notes, but I really didn’t have this fitted up with the right tools. Basically, I’ve just been lugging this around with me, jotting things down in it once in a while, and using it like a large pen holder!
IMG_0090

Now, because it’s so pretty to look at, I open it up and use it all the time!

Should I make some of these neutral Tassel Clips for my shoppe? I’d love your input!
IMG_0079

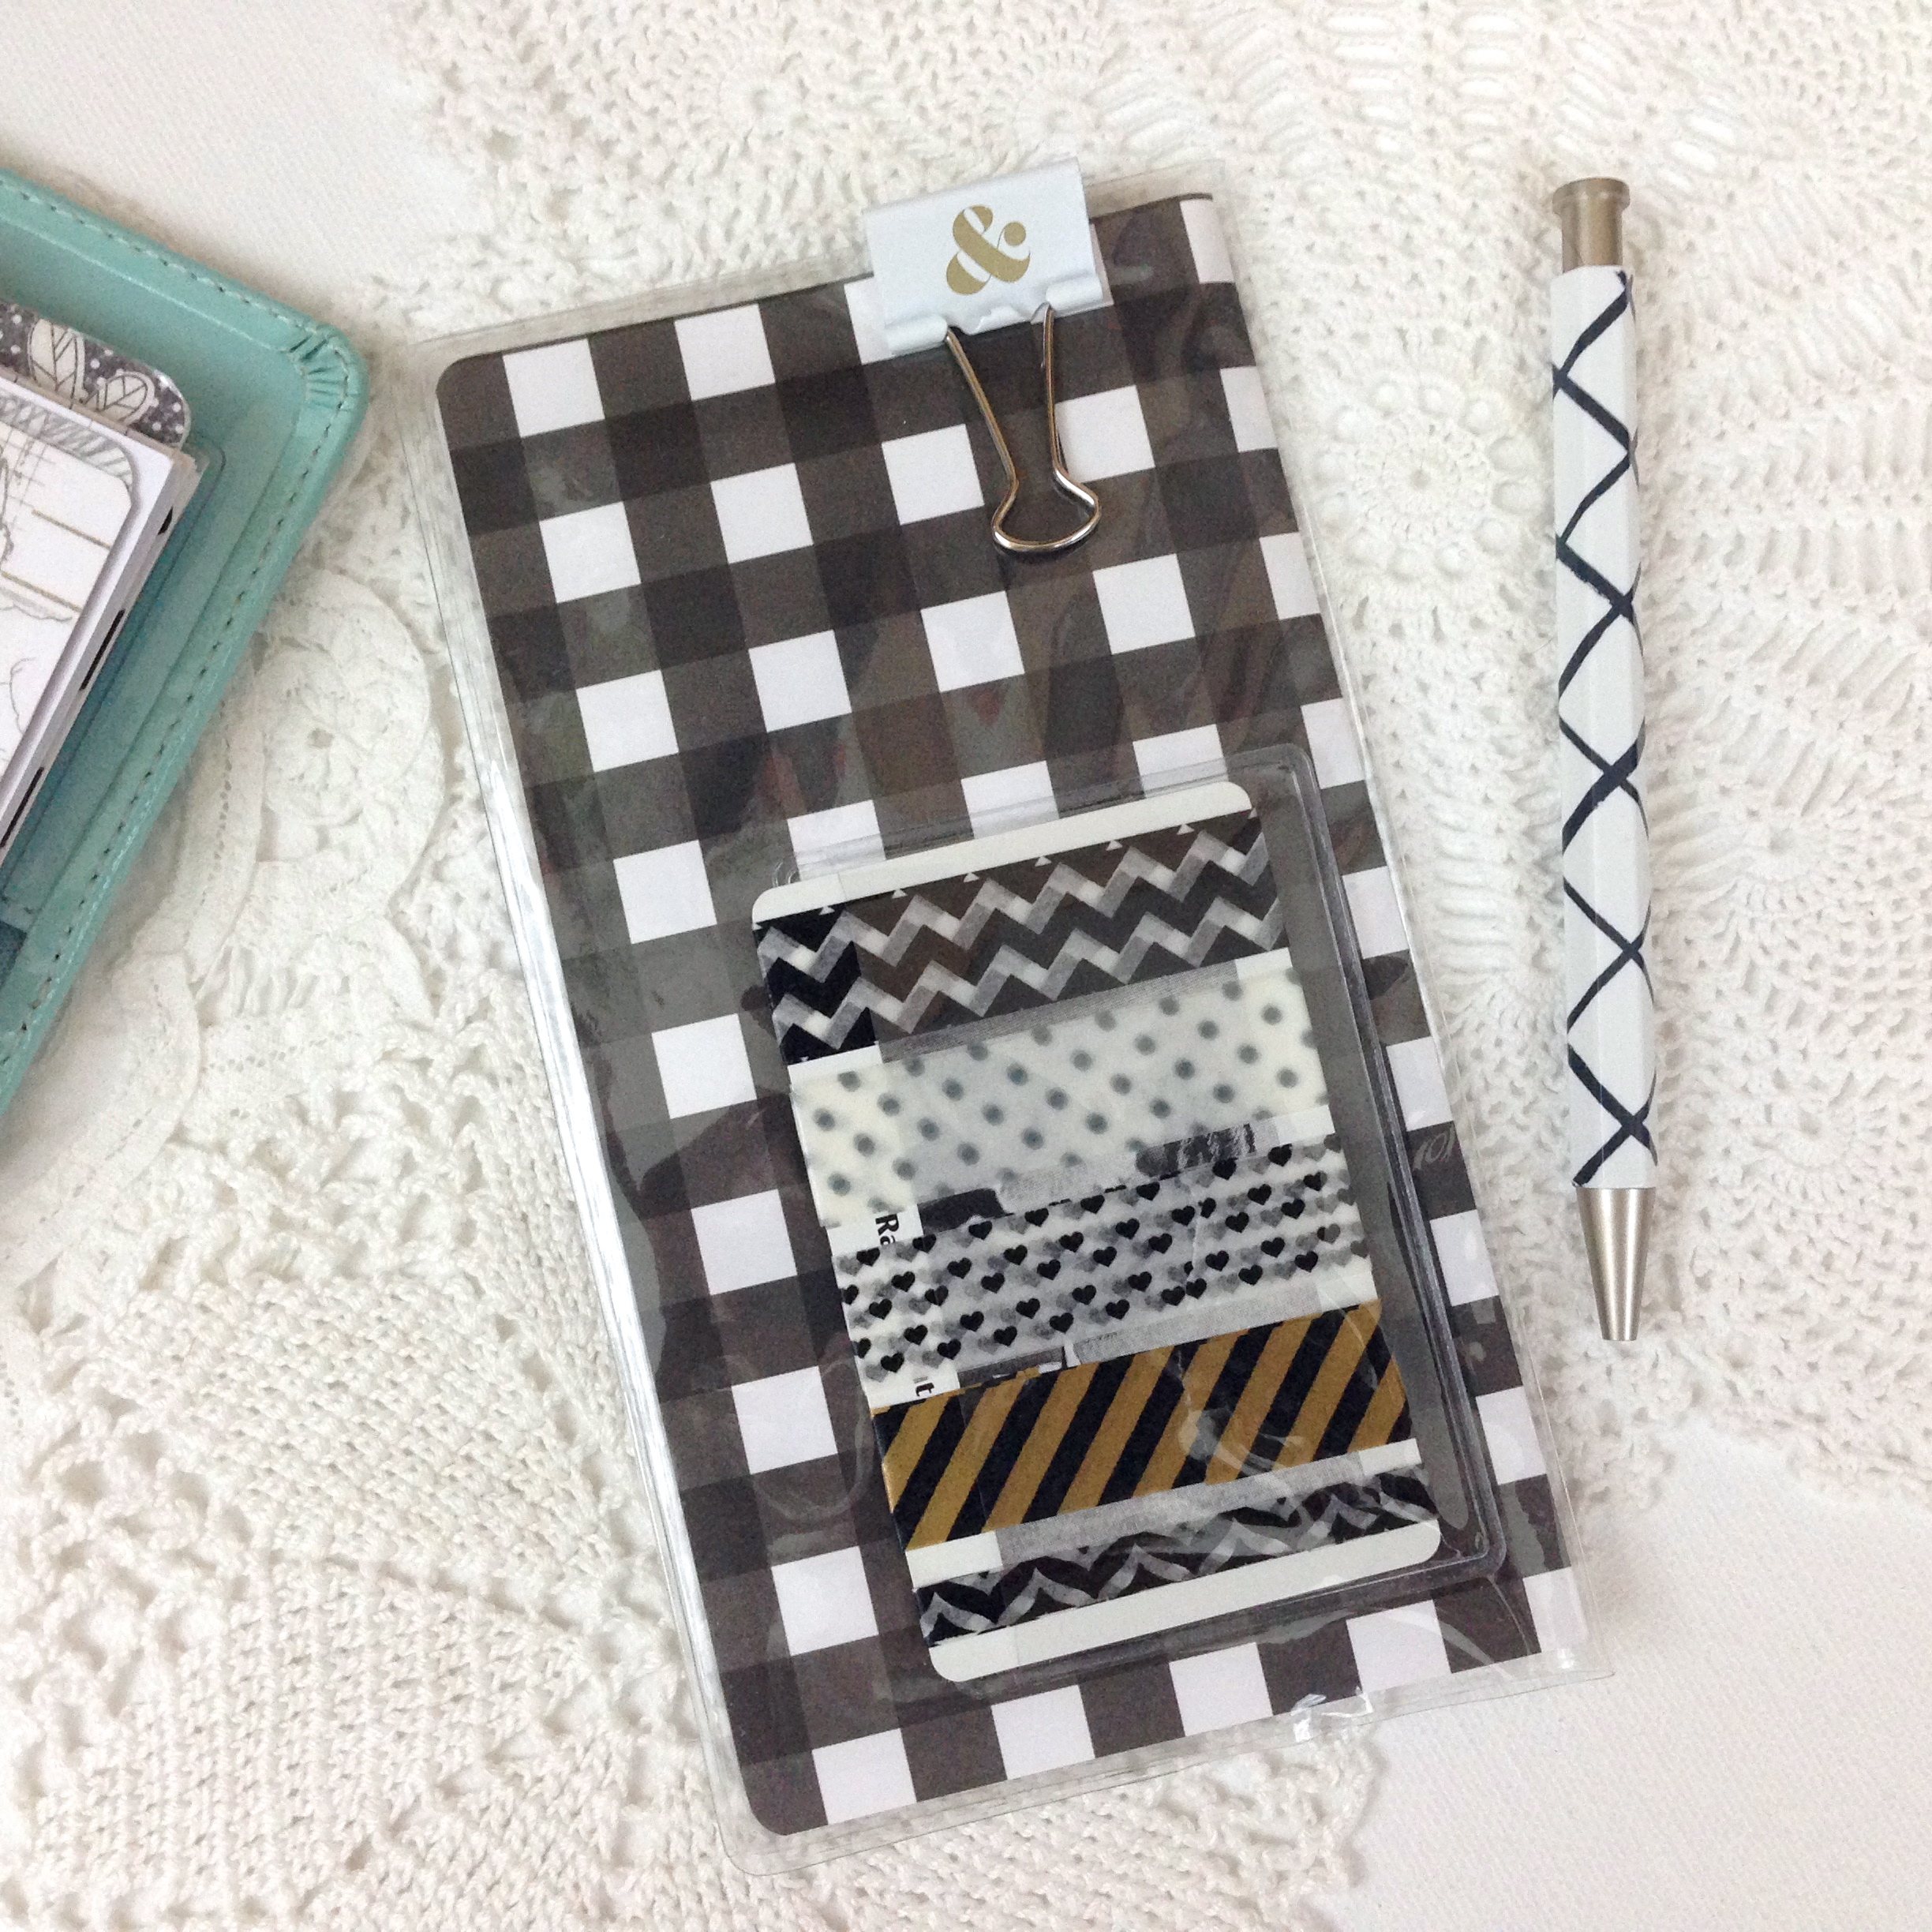
This is the plastic cover from an inexpensive pocket calendar. I took out the calendar and slipped in this coordinating paper. I used an adhesive business card holder to hold this washi taped playing card. I can never have enough washi on hand!

IMG_0086

The inside holds more sticky notes. I have had these forever, I’d love to start using them!
IMG_0076

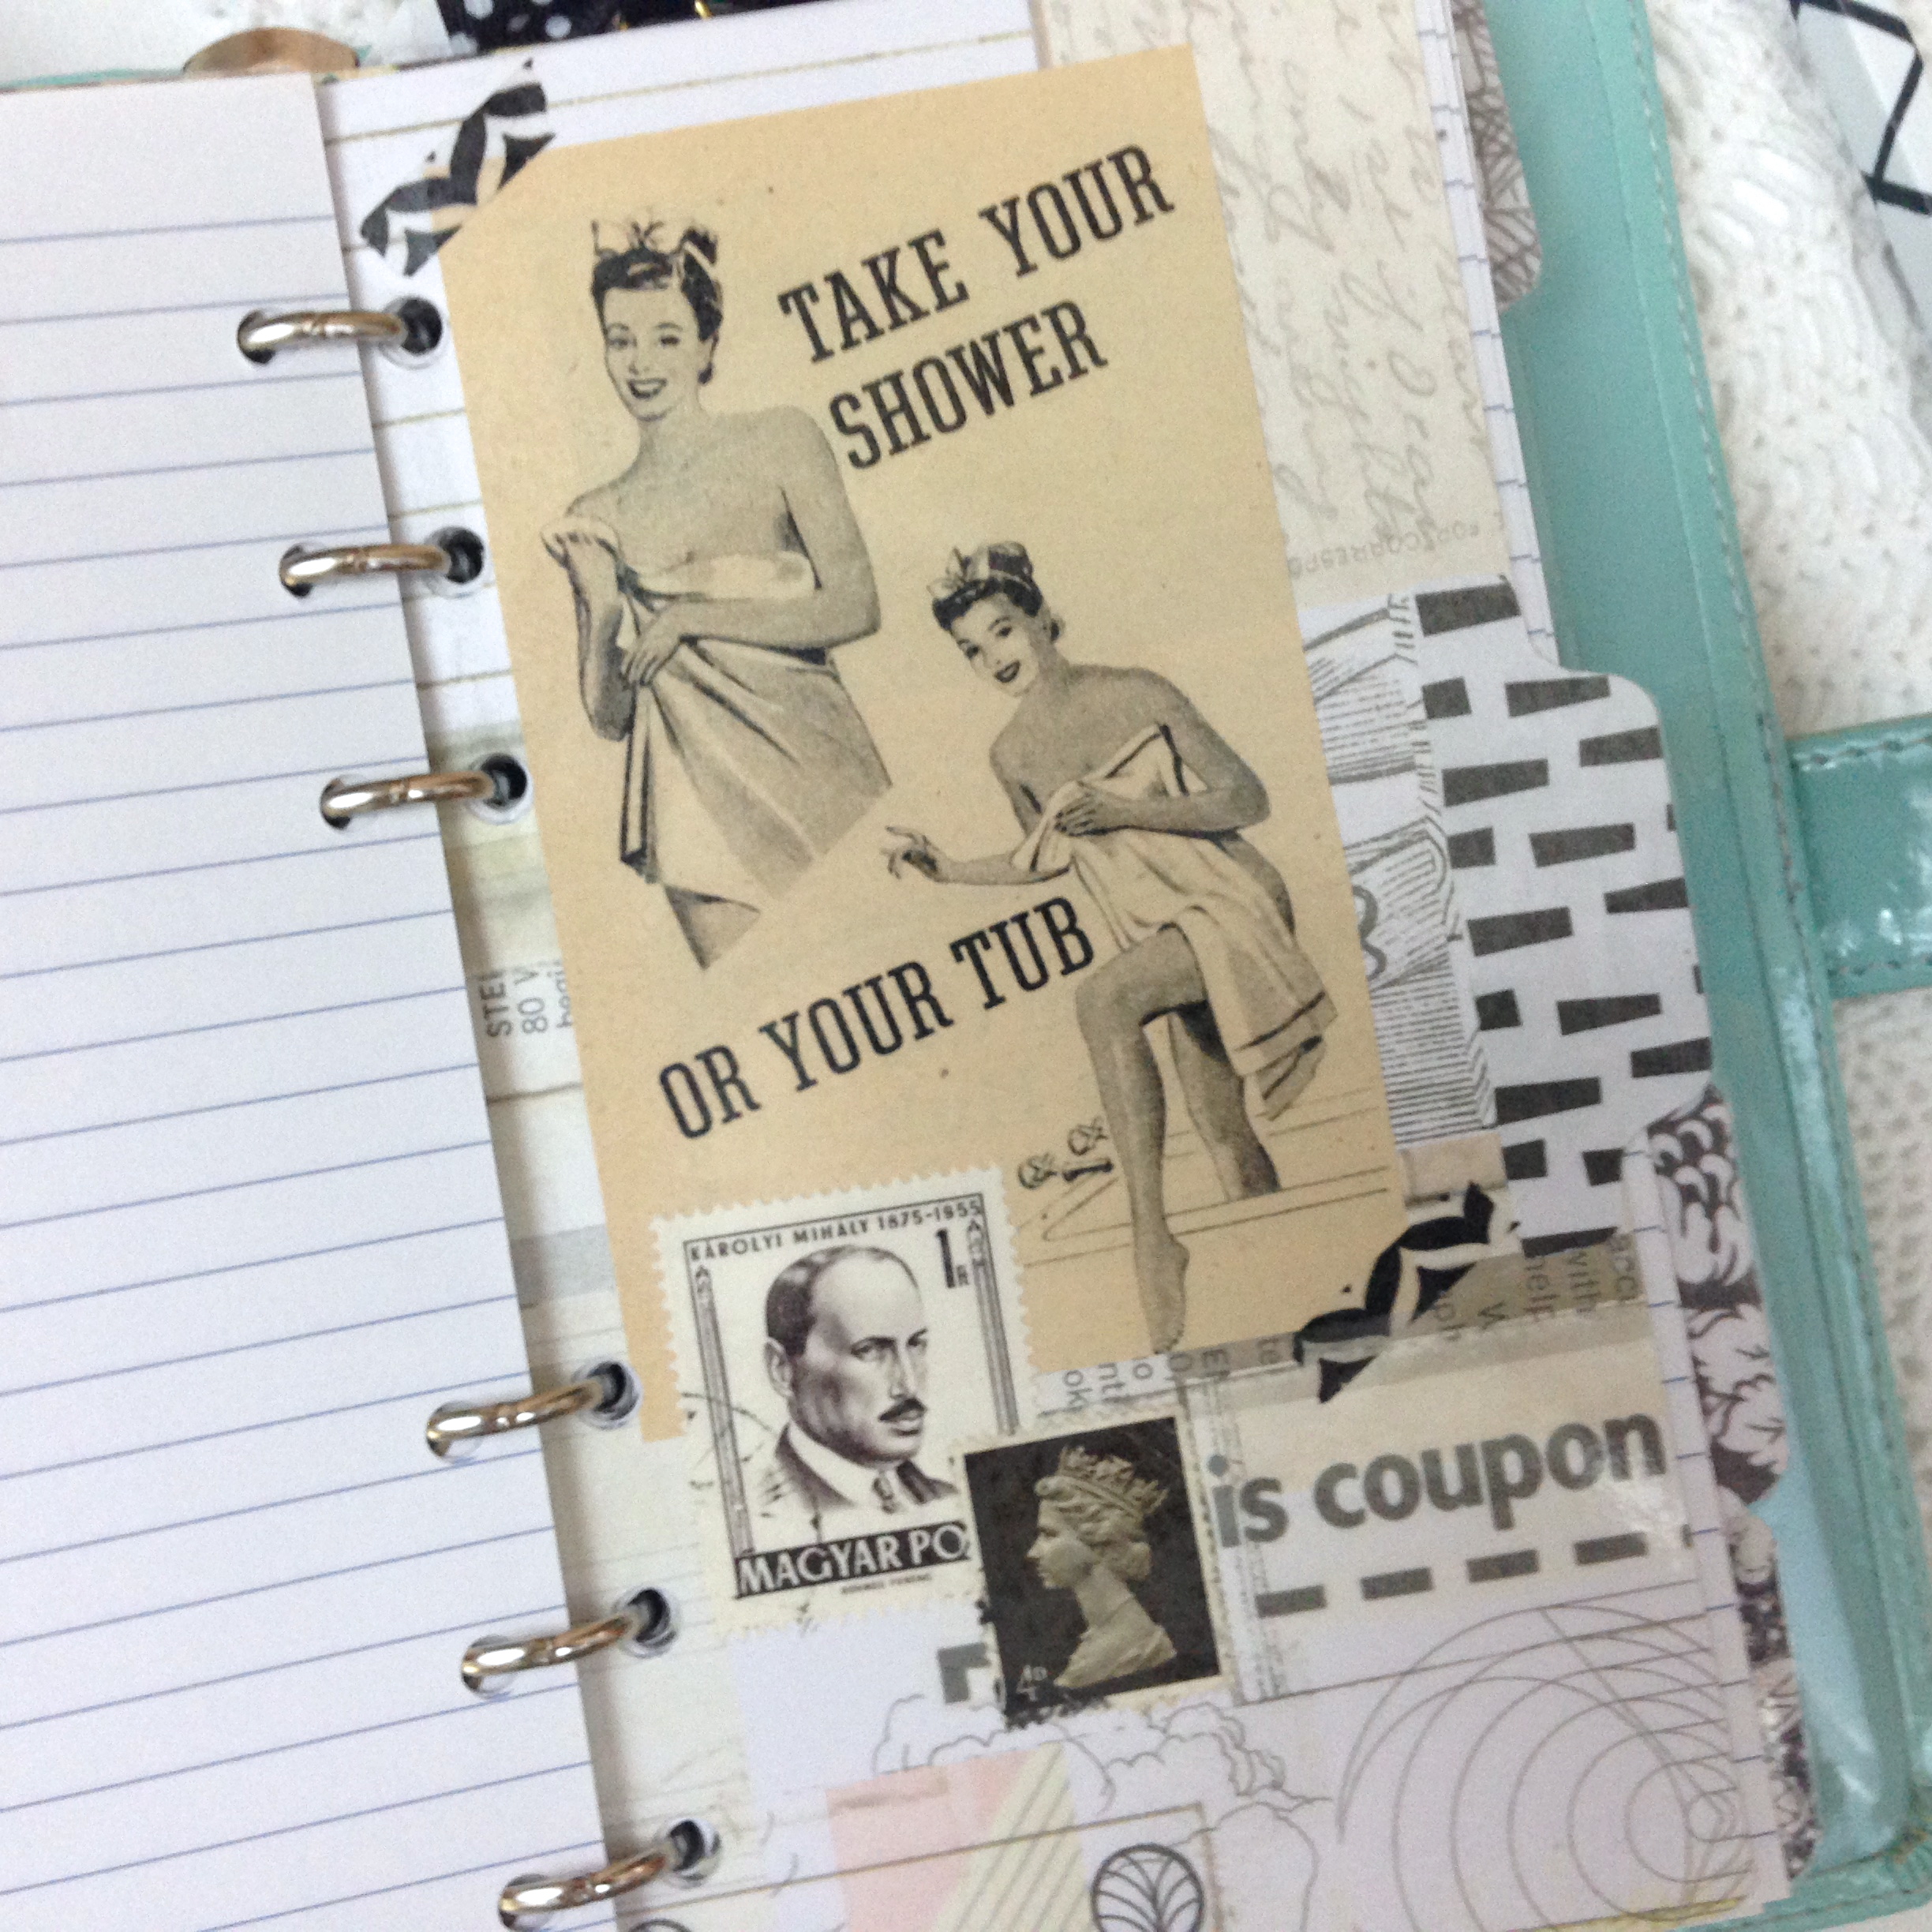
One of the dividers. I’m not sure what this ad is for…take your tub where!? I haven’t labeled the dividers yet, that’s still a work in progress.

IMG_0077

This divider is kind of dreamy. I like to cover the fronts of my dividers with contact paper to give them a little more strength, but for the most part, to protect the delicate vintage ephemera.

I have one more planner to redecorate, my yellow personal size Filofax, I’ll share that as soon as I come up with an idea.

Thanks for stopping by,

Have a great day,

~Patty

RadishBlossoms 2K Giveaway Winners!

I am happy to announce we have our winners!

IMG_0039

One from Instagram, and one from my blog, how cool is that!

Blog winner: Nanci

Instagram winner: @ombra_die_sogni

Congratulations! And Thank You to everybody that participated! I was truly overwhelmed with the wonderful responses and I hope to do another one of these again!

Nanci, please email your address to me and I will send out your journal!

Once again, Thank You,

And as always, thank you for stopping by,

~Patty

Holiday Planner Decor

From the amount of time that I have been spending on Halloween decor lately, you wouldn’t think it really wasn’t my favorite day of the year! I wonder if not working at Michael’s anymore has something to do with not feeling burnt out on Holiday decor…of any kind!

I’m going with YES!

So, in the spirit of things…

IMG_9889…I finally finished decorating my “Holiday Planner”! I need this mostly to jot down menus, gift ideas, and such.IMG_9891

Or an excuse to buy another planner! 😁  But, also to be able to use some of the ephemera I can’t let go of. A dog with a hat! Hello!

IMG_9890

But, I think this is what really did it for me! This little “Legend of Sleepy Hollow” stamp has been sitting on my desk for I don’t know how long. I was afraid to use it somewhere and never find it again. I’m so happy to finally find a safe place to keep it.

I will be changing this dashboard out for Thanksgiving, my favorite Holiday, very soon! So, look for that!

Until then, Thanks for stopping by,

Have a great day,

~Patty

*Don’t forget to take a look at Giveaway post to be eligible to win a prize!*


#RadishBlossoms Giveaway!

Yesterday, I decided celebrate having 2000 followers on Instagram by hosting a giveaway! Well, it didn’t seem fair to my loyal blog followers, so I’m opening it up to my blog too! Yay!

That means that if you are reading this on facebook, you can enter by simply following the same rules!

IMG_9980_Fotor

The rules are simple:

Follow my blog and make a comment!

That’s it!

If you are already following my blog, awesome, just leave a comment!

What you will win:

One of those ❀mini art journals❀ along with one ❀ephemera pack❀.

This giveaway is open to the U.S. and Internationally!

You can enter once a day following the above rules.

The giveaway runs through Saturday, Oct. 31st, 6:oo pm PST . A winner will be chosen at random and announced on Sunday, Nov. 1st

Good Luck,

Thanks for the visit,

~Patty

iHanna Post Card Swap Makings

I think I look forward to the iHanna PCS more every time it comes around! It’s only twice a year, I wish it was at least four! But since I’m on the side of having fun, not running it, that’s easy for me to say.

I haven’t written a process post in a long time, so I thought this would be a great opportunity to share a little of mine.

Warning: this post is pretty photo heavy, so I’ll try to keep the text to a minimum.

IMG_9950

This is what I started out with, pages from a couple of journals that didn’t quite work out that I cut to size. This happens once in a while, I’ll over do it on the journal makings, then decide to move on.

These seemed a bit too bright, and needed a little strengthening up, so step two…

IMG_9946

Hoping these will do the trick! Tissue paper and napkins.

With the napkins you will want to pull the the layers apart, there are usually three, save the printed one to adhere with matte medium. (it’s a whole process I can cover in another post if you would like).

IMG_9953

I was concerned that the colors would fade too much, but as soon as they had dried, I was happy.

IMG_9945

I have had these snarky recipe cards clanking around for a few years. They are the perfect size for post cards with lines for writing to boot!

IMG_9958

The ephemera I have chosen to work with. I will collect things throughout the year that might work for making happy mail. I wanted to go all out “postal” themed with this swap.

IMG_9962The layering process goes as such: card base, tissue paper, main image, large stamps, washi tape, smaller stamps, die cut/punch out, and more washi. Apply a coat of satin varnish if you are so inclined. Let dry, then sand the edges smooth…my favorite part! See the rounded corners, Love!

After all the layering, varnishing, and sanding, they feel quite substantial!

IMG_9964

They look a bit like a mini journal page, no surprise there!

IMG_9968

And because I have received too many cards that look like the mail truck did a burnout on them, I make envelopes out of book pages (again, another process I can share if you would like). These were made from a 1970’s crafting book.

IMG_9961

So there you have it! I had so much fun making these, I decided to make more to send to some of my friends!

If I left out anything, or if you have any questions, please don’t hesitate to ask!

Once again, thank you for stopping by,

Have a great day,

~Patty