Keepsake Journal With Organization

You may be wondering when I’m going to write a blog post that doesn’t contain organizational tips. Not anytime soon, I’m still trying to get organized (hard to believe, right)! This project almost went to the wayside, marked Done,  until I scrolled through my photos and realized I still really wanted to keep it going.

These are the times I really want to remember, just the day-to-day fun stuff with some of my favorite people!

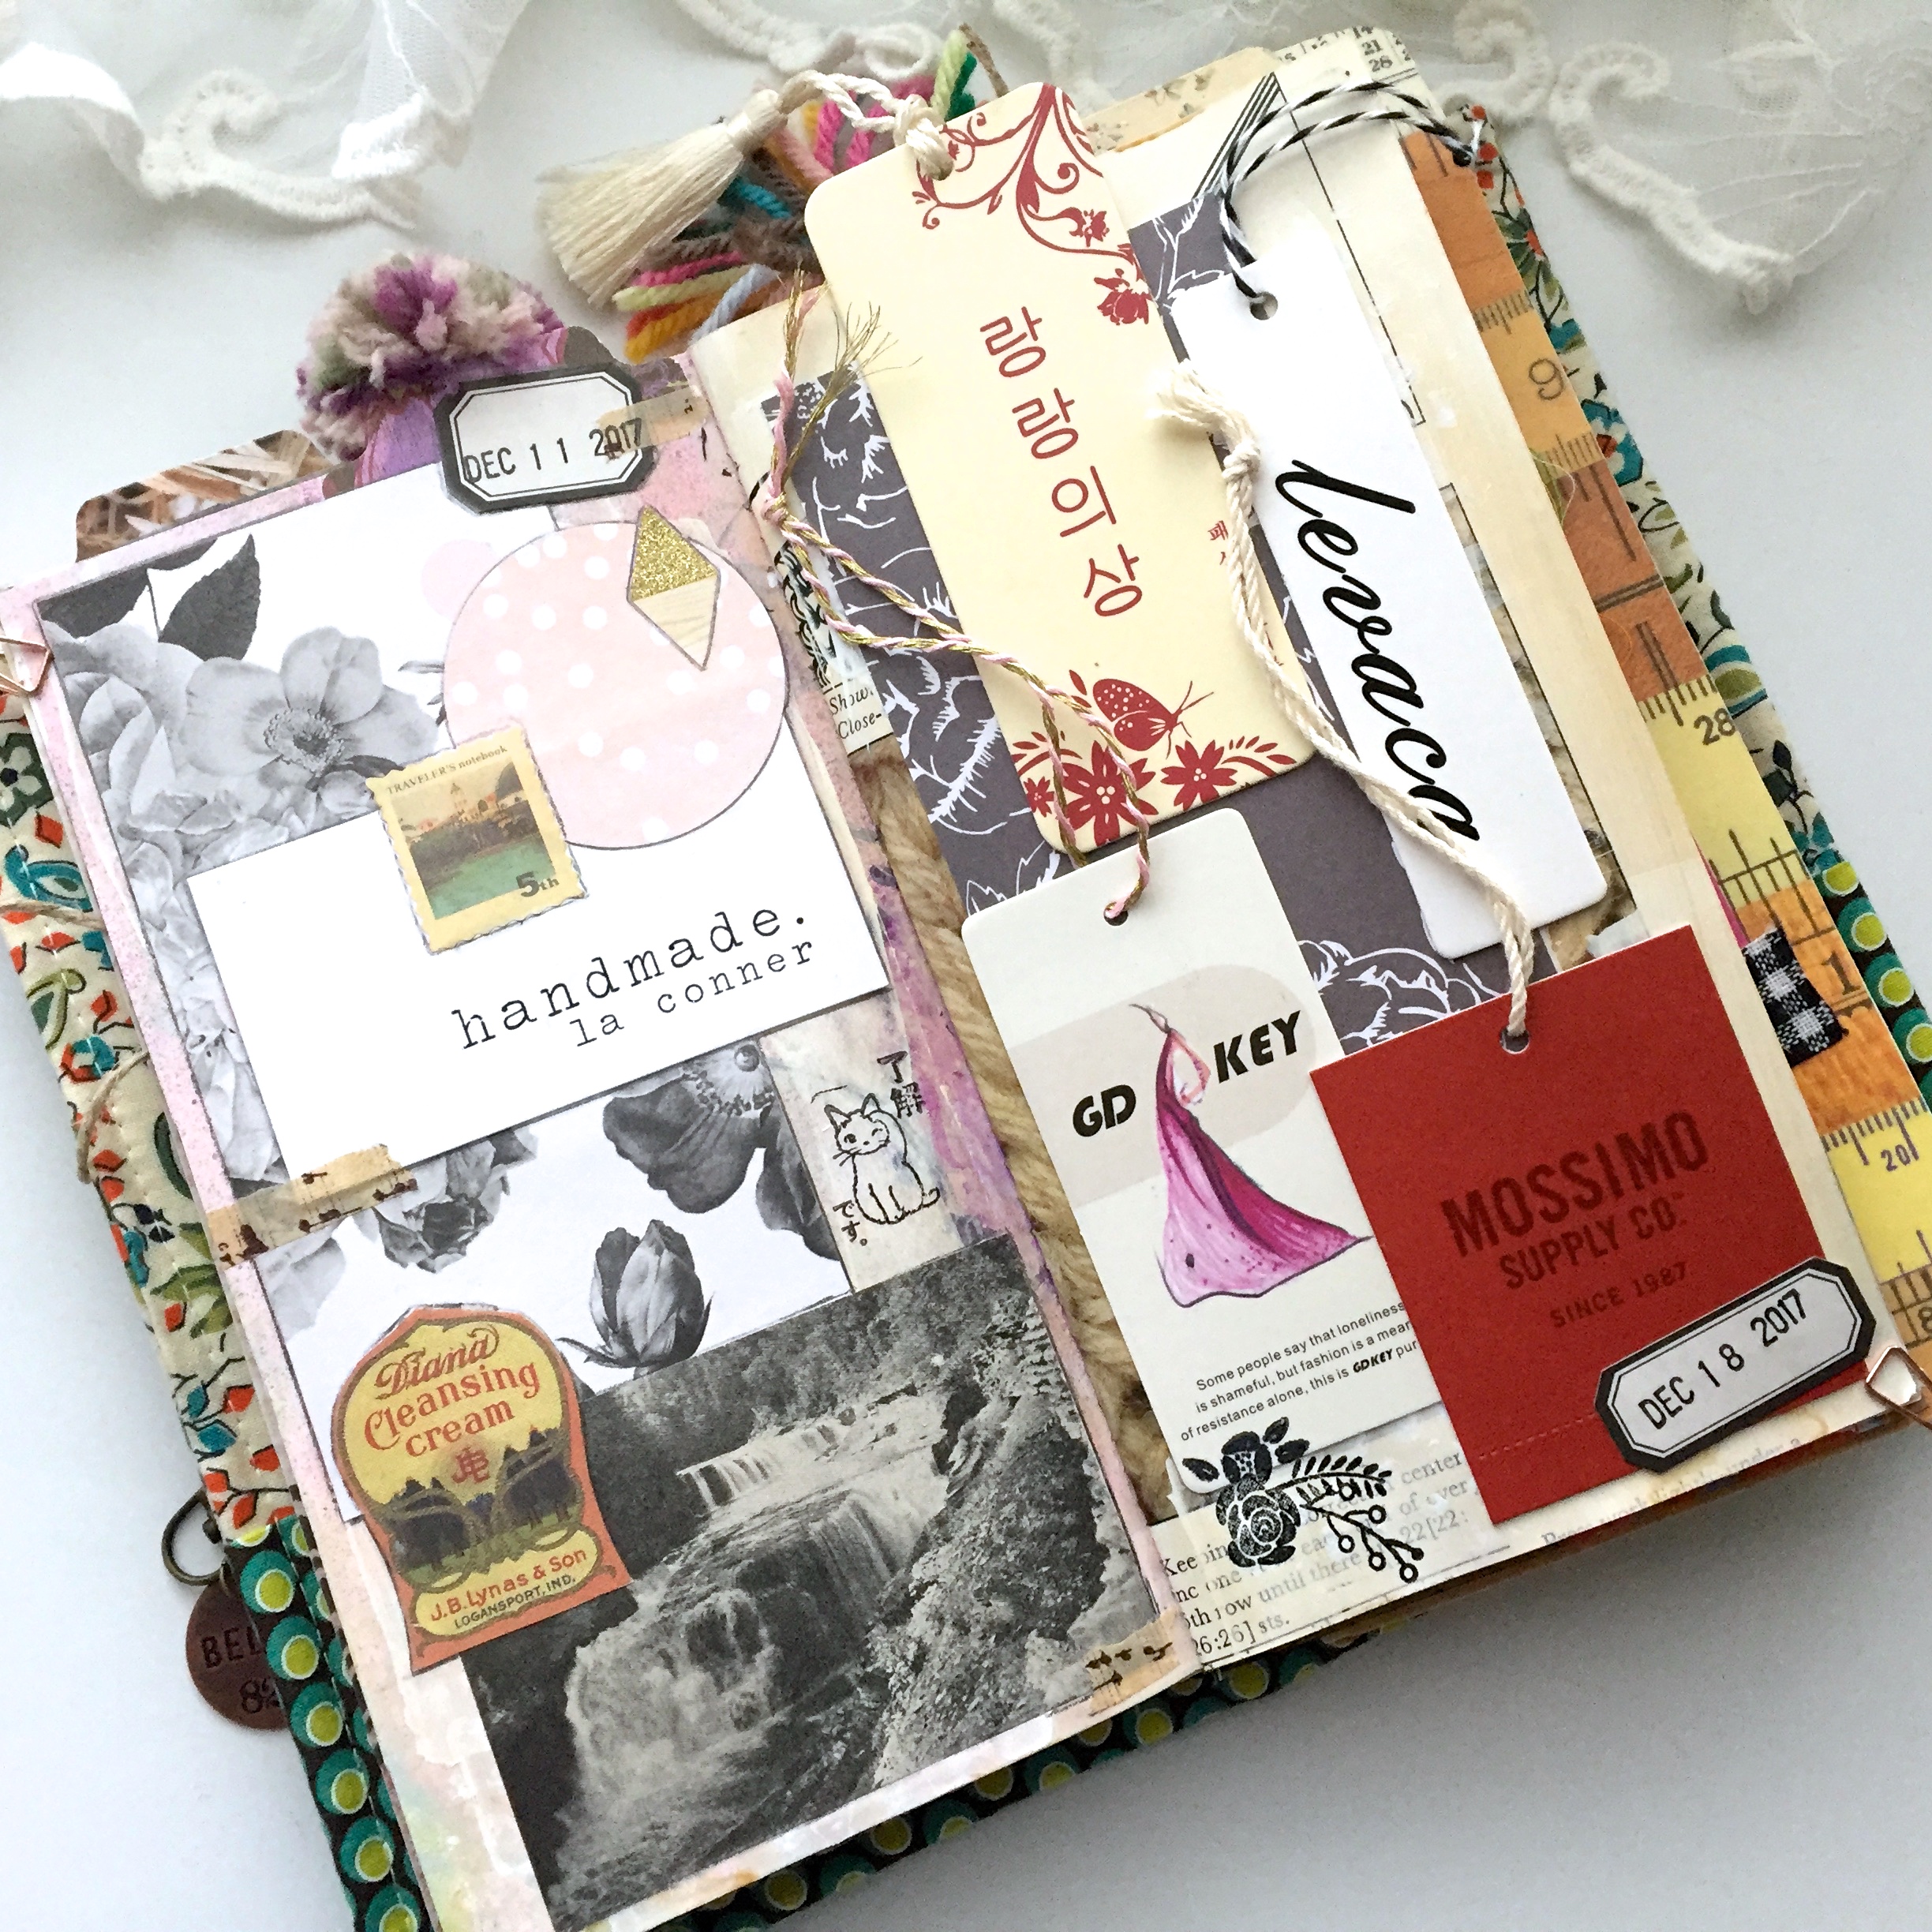
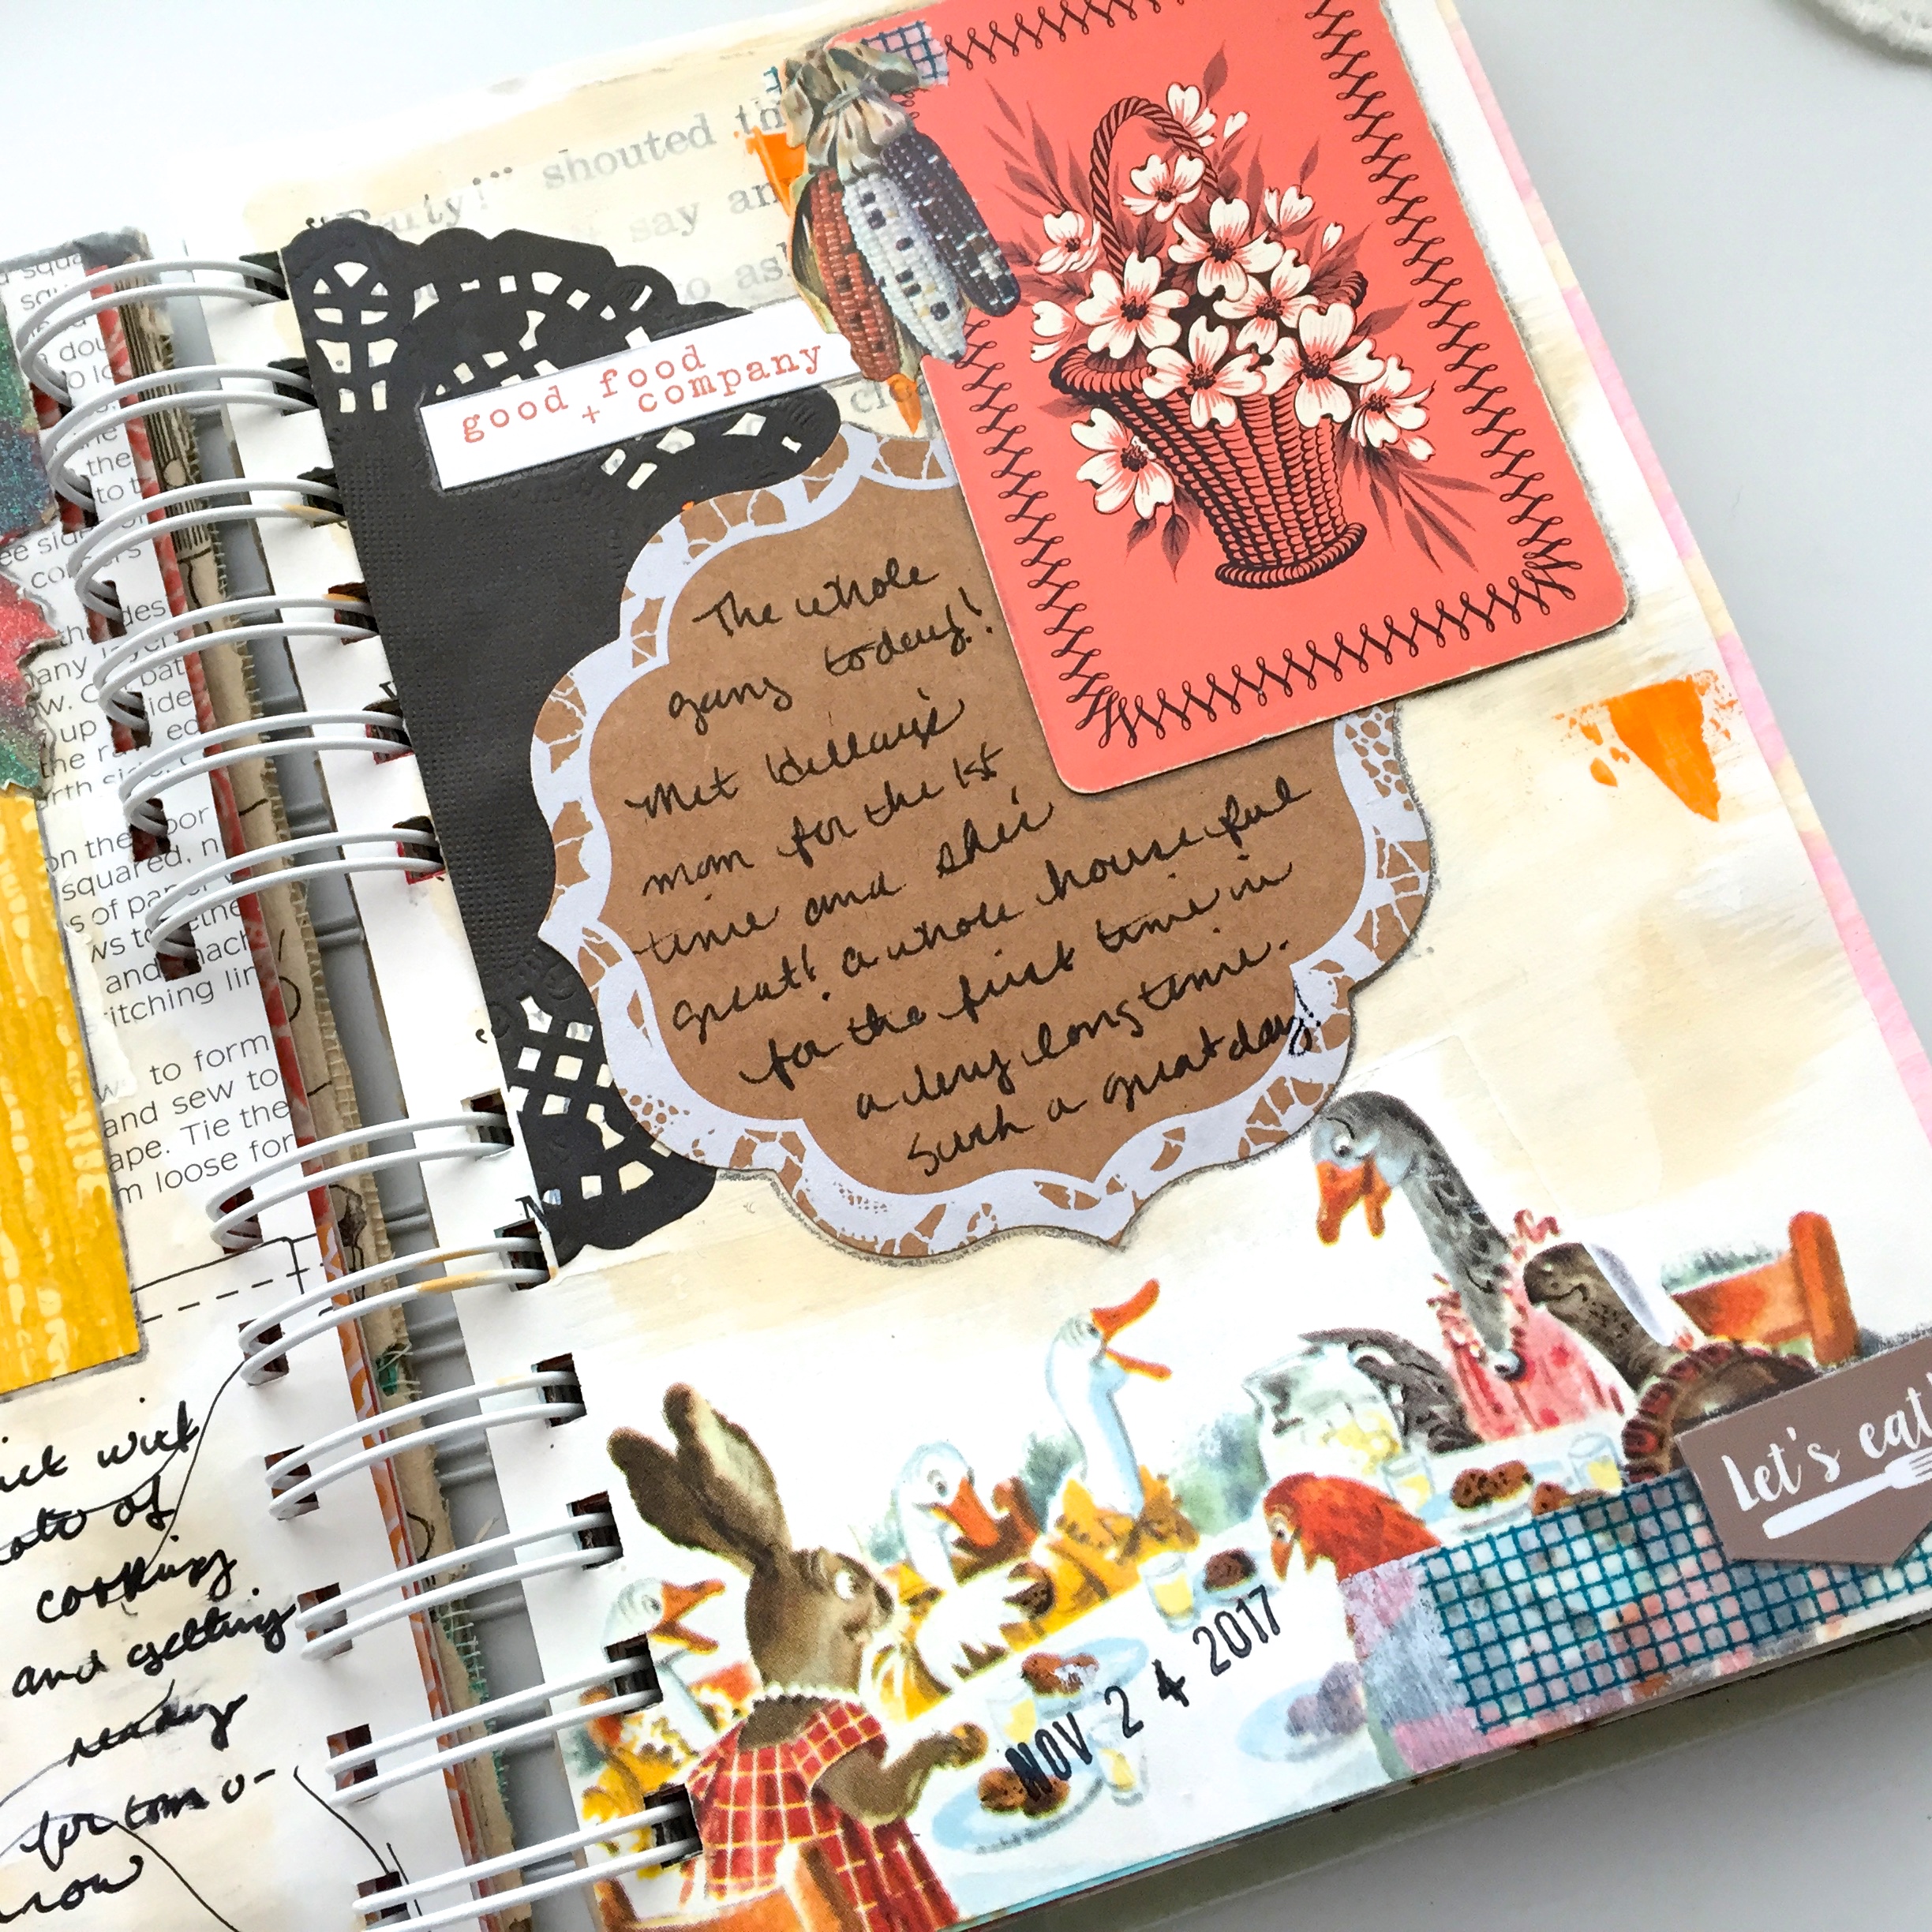
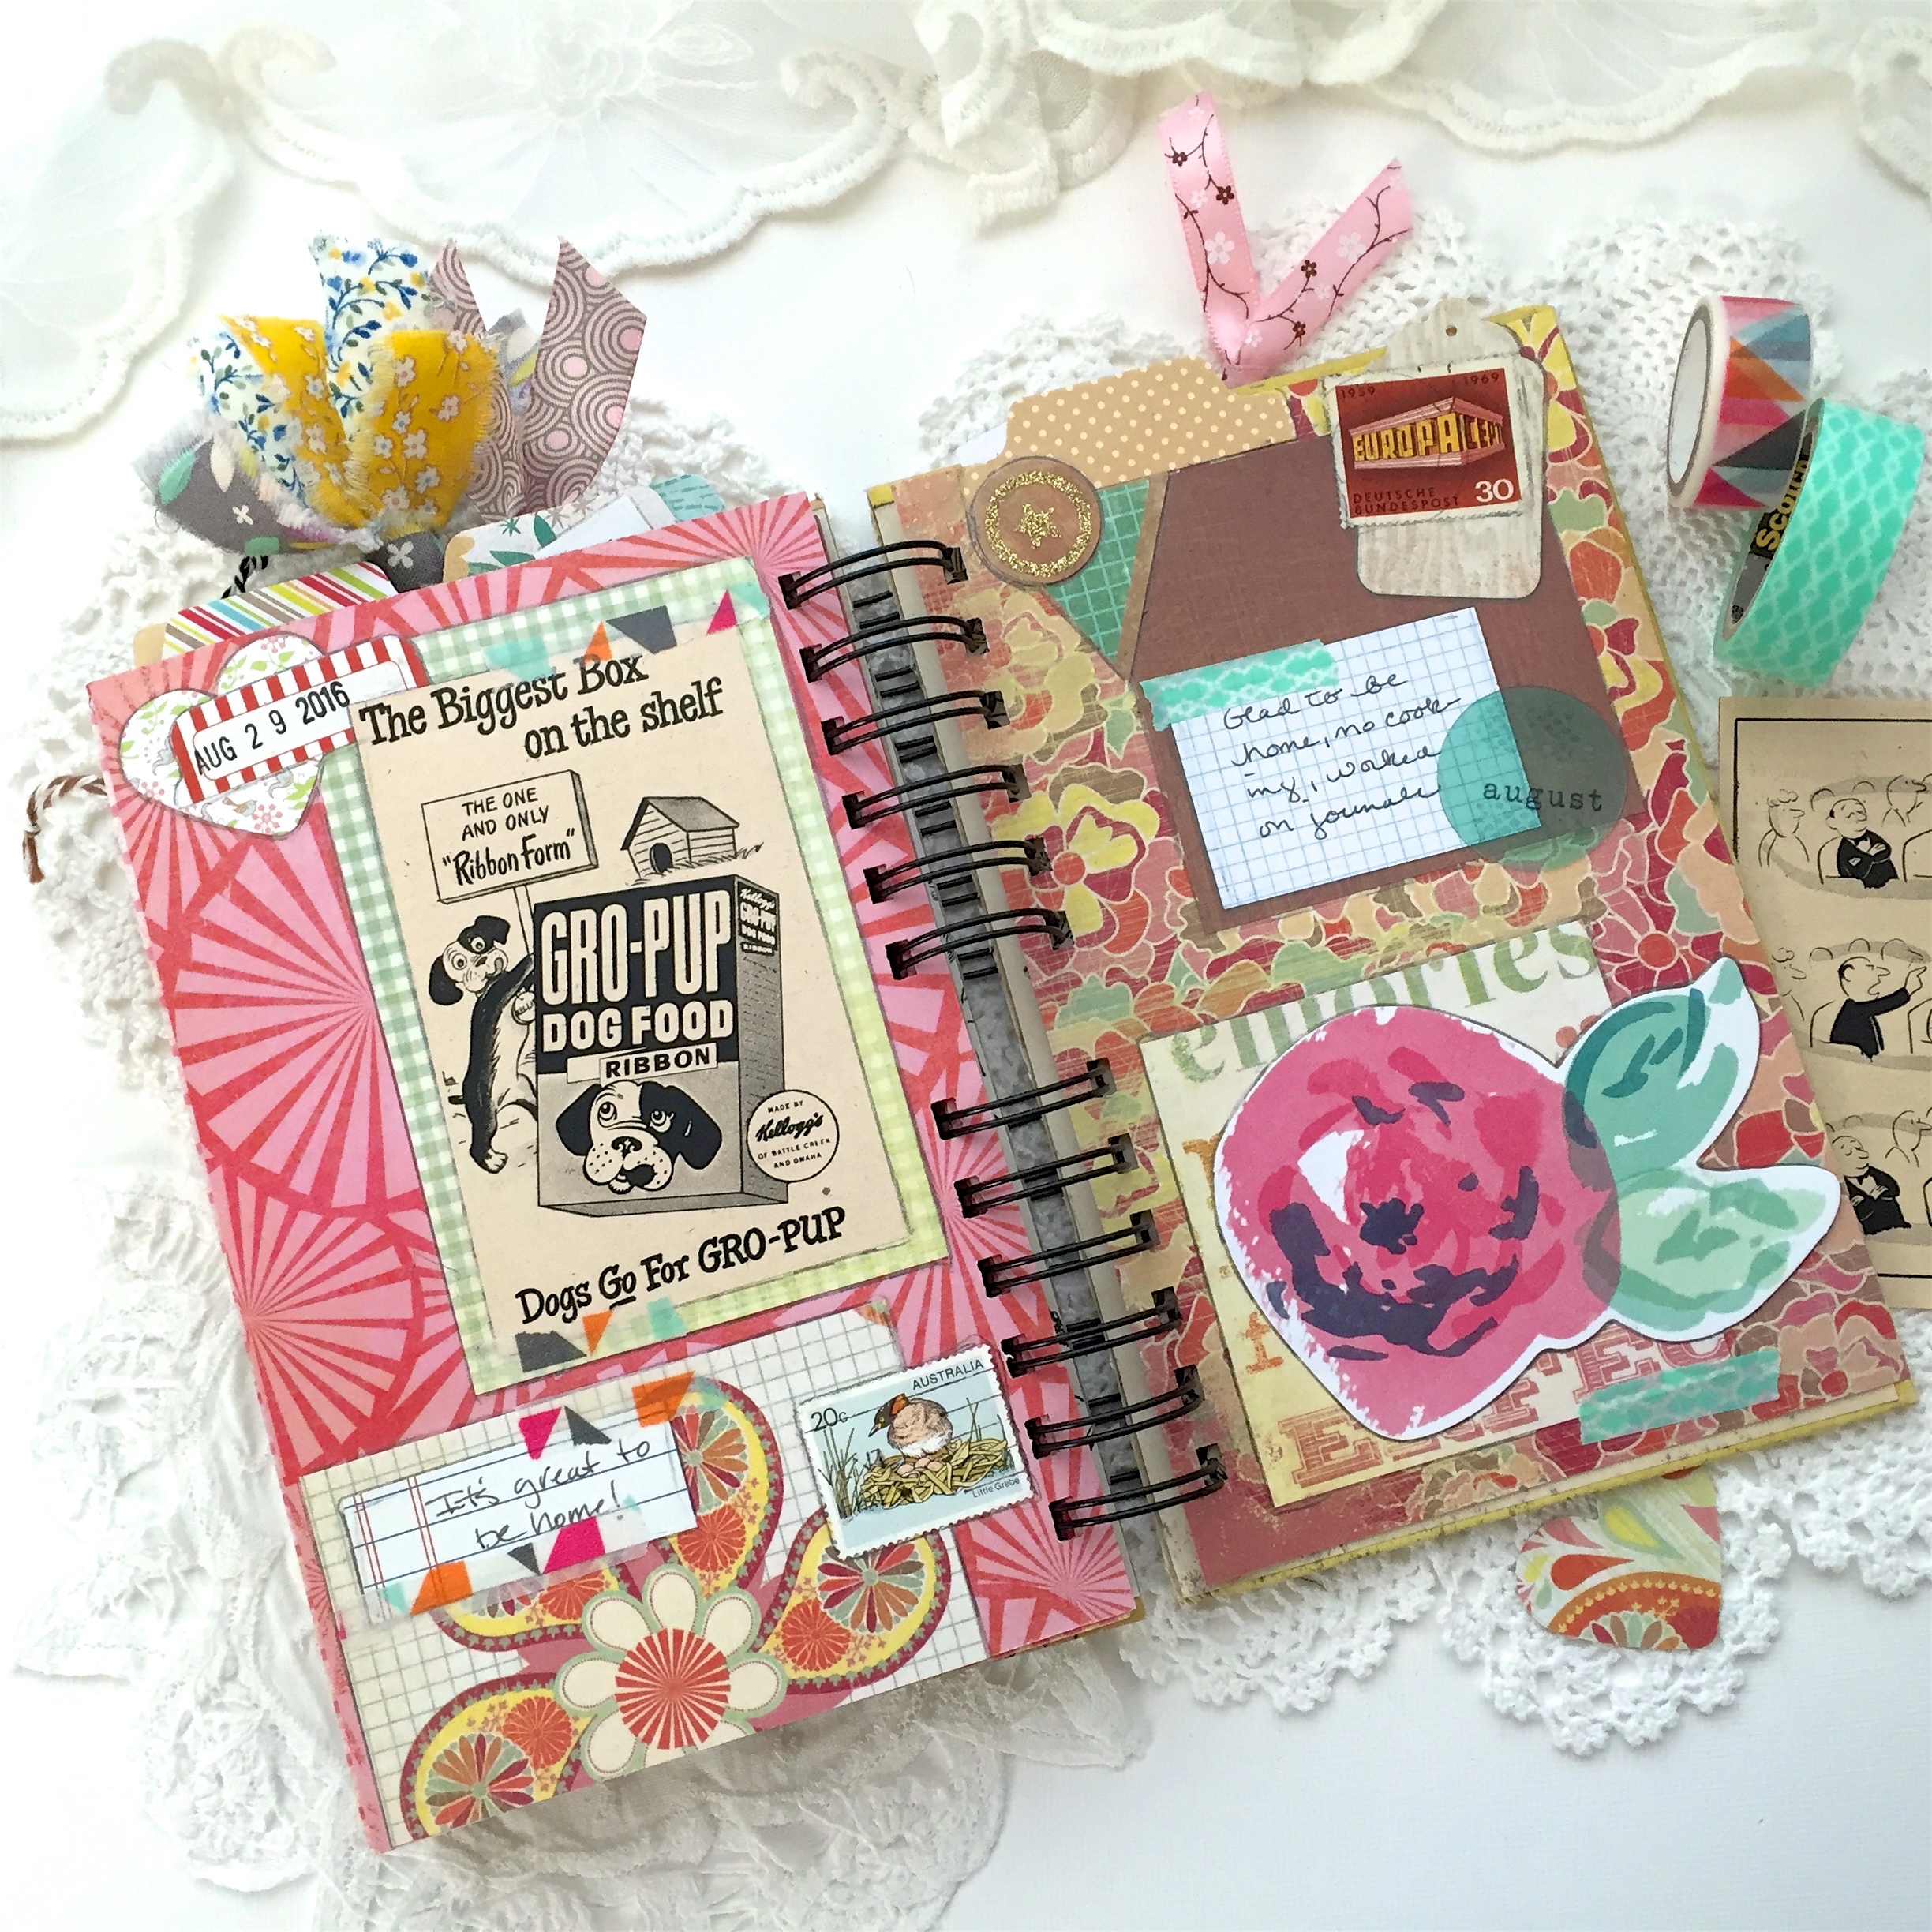
Sometimes I’ll add a little journaling to my pages, but not always. The journaling for the photo on the left is under that little tip-in. Anything goes in this journal, it’s just a fun place to hold onto memories.

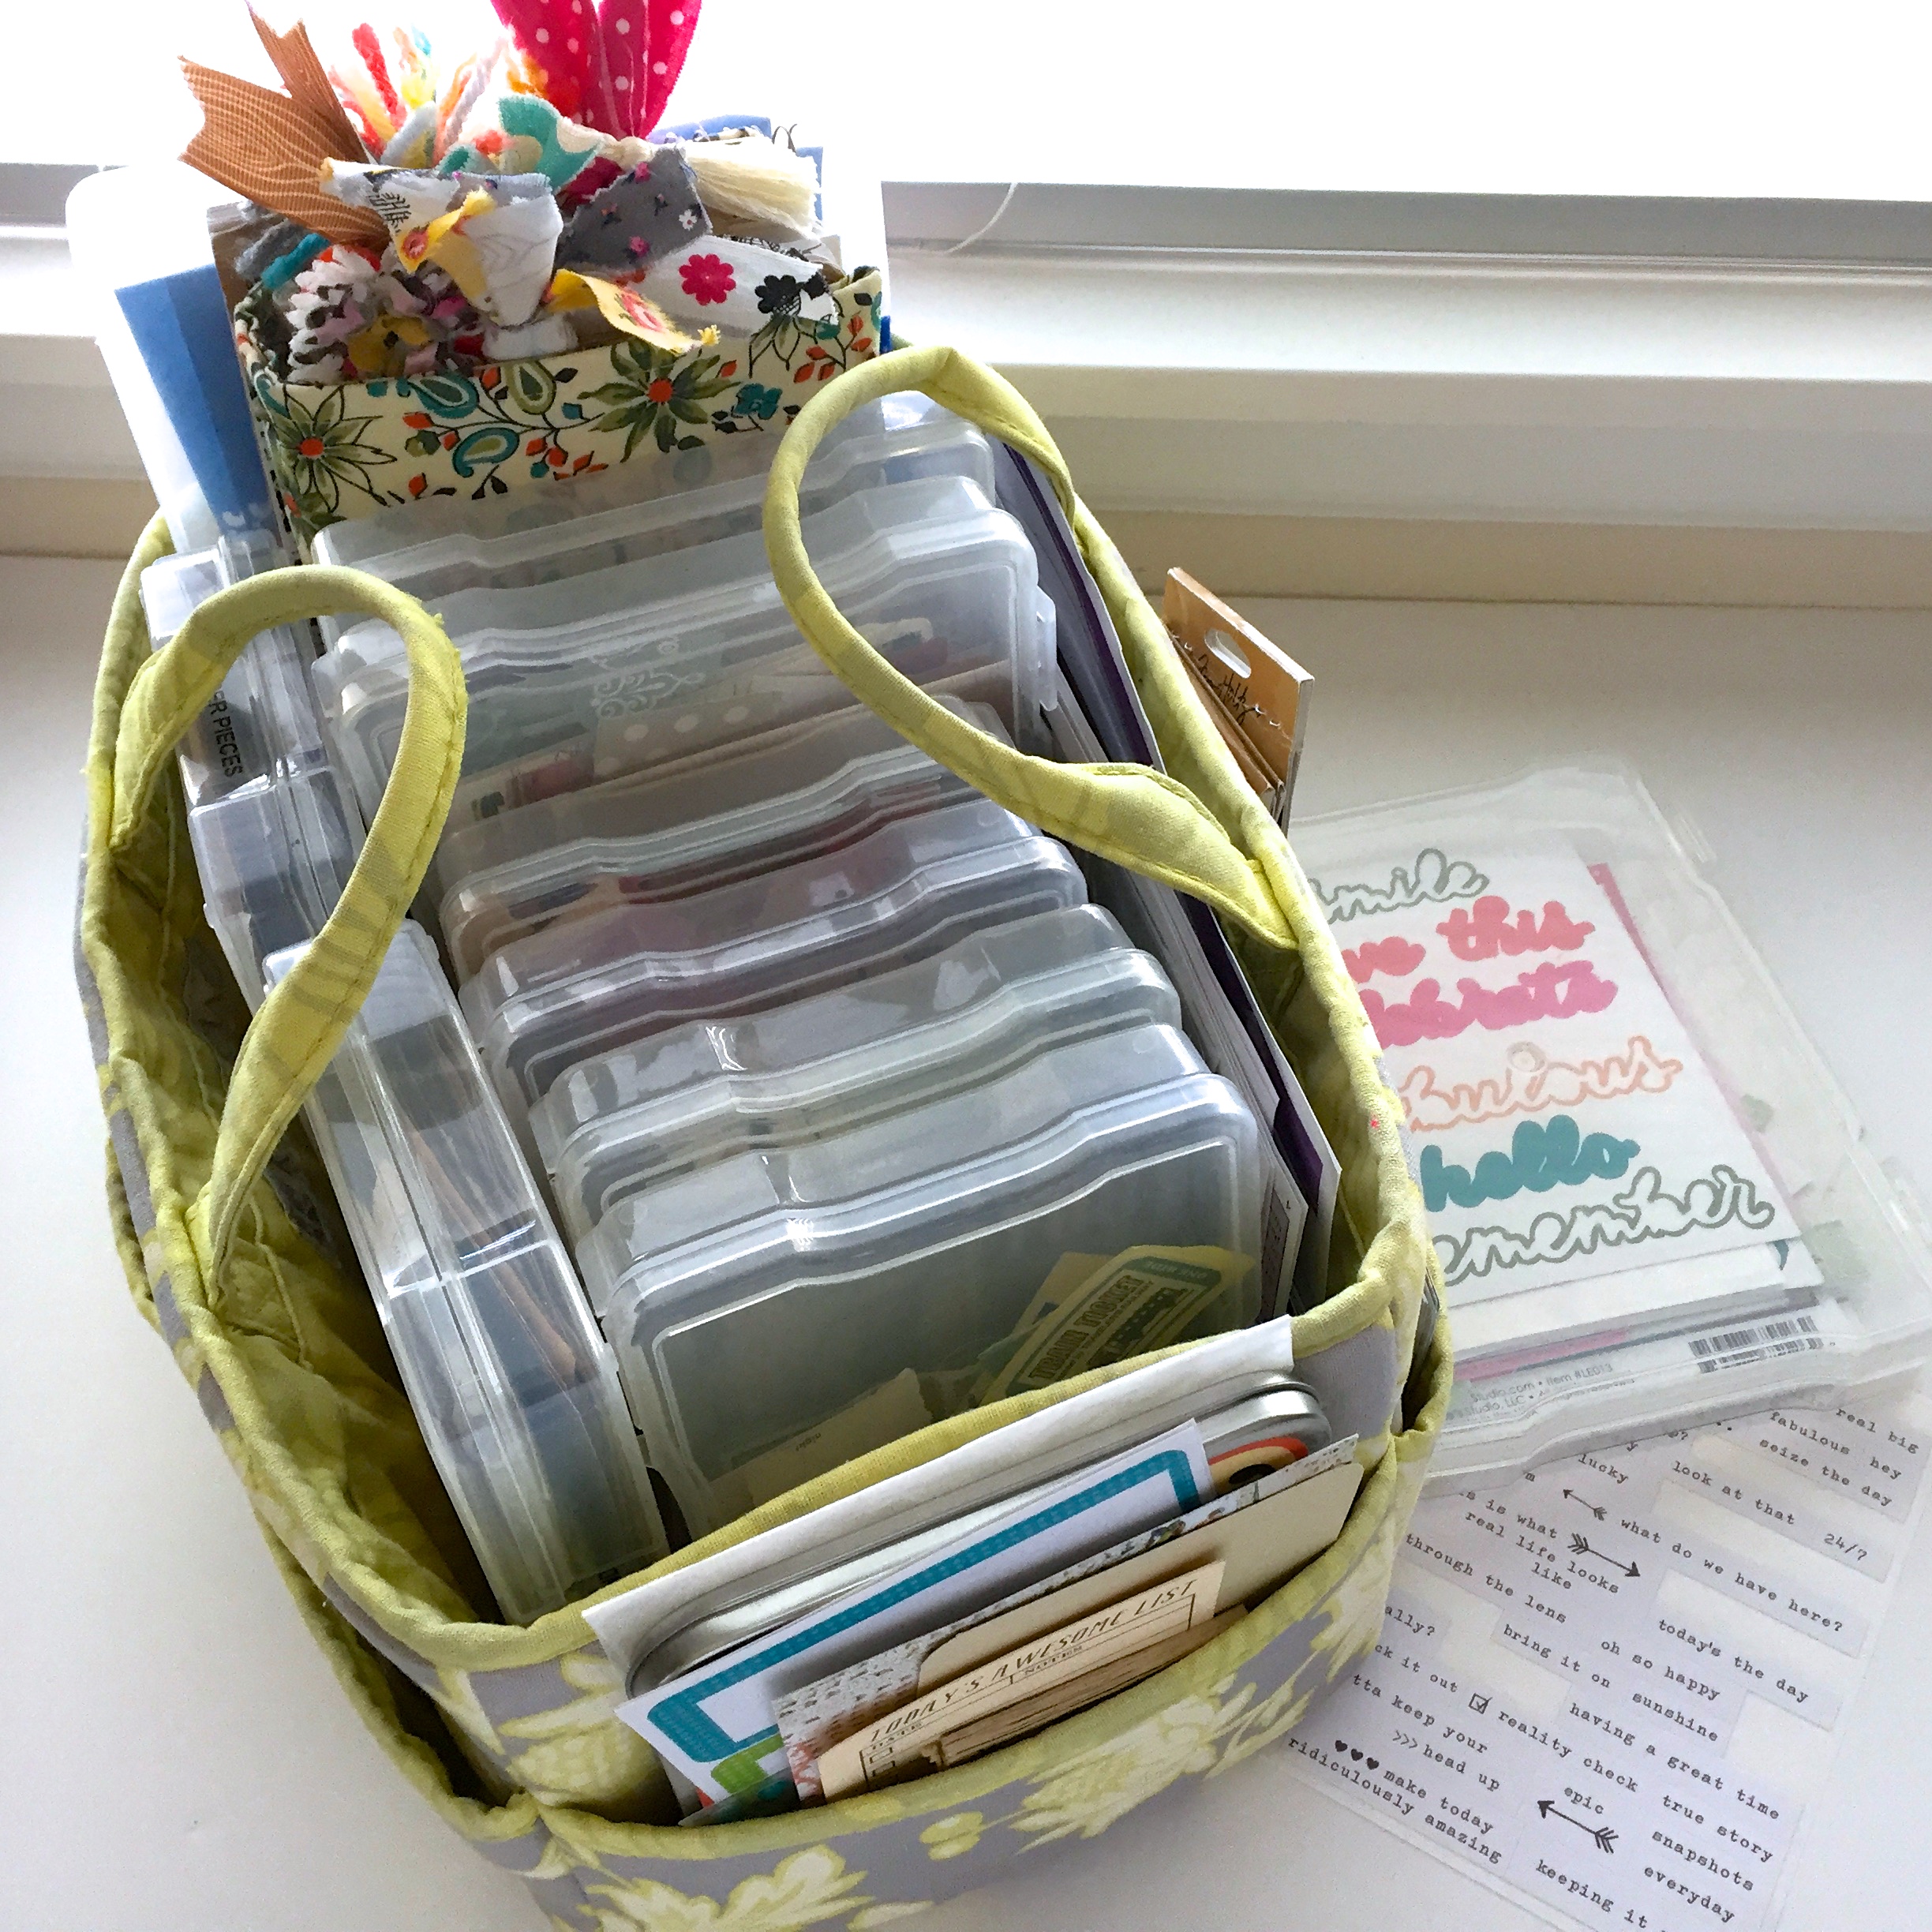
My biggest problem was having all the bits and pieces spread in different parts of the house. I tried a few options, but this tote really worked out the best. This was my “Random” art journaling tote. I found that a lot of the “randomness” in it worked perfectly with this project, so it wasn’t a difficult shift.

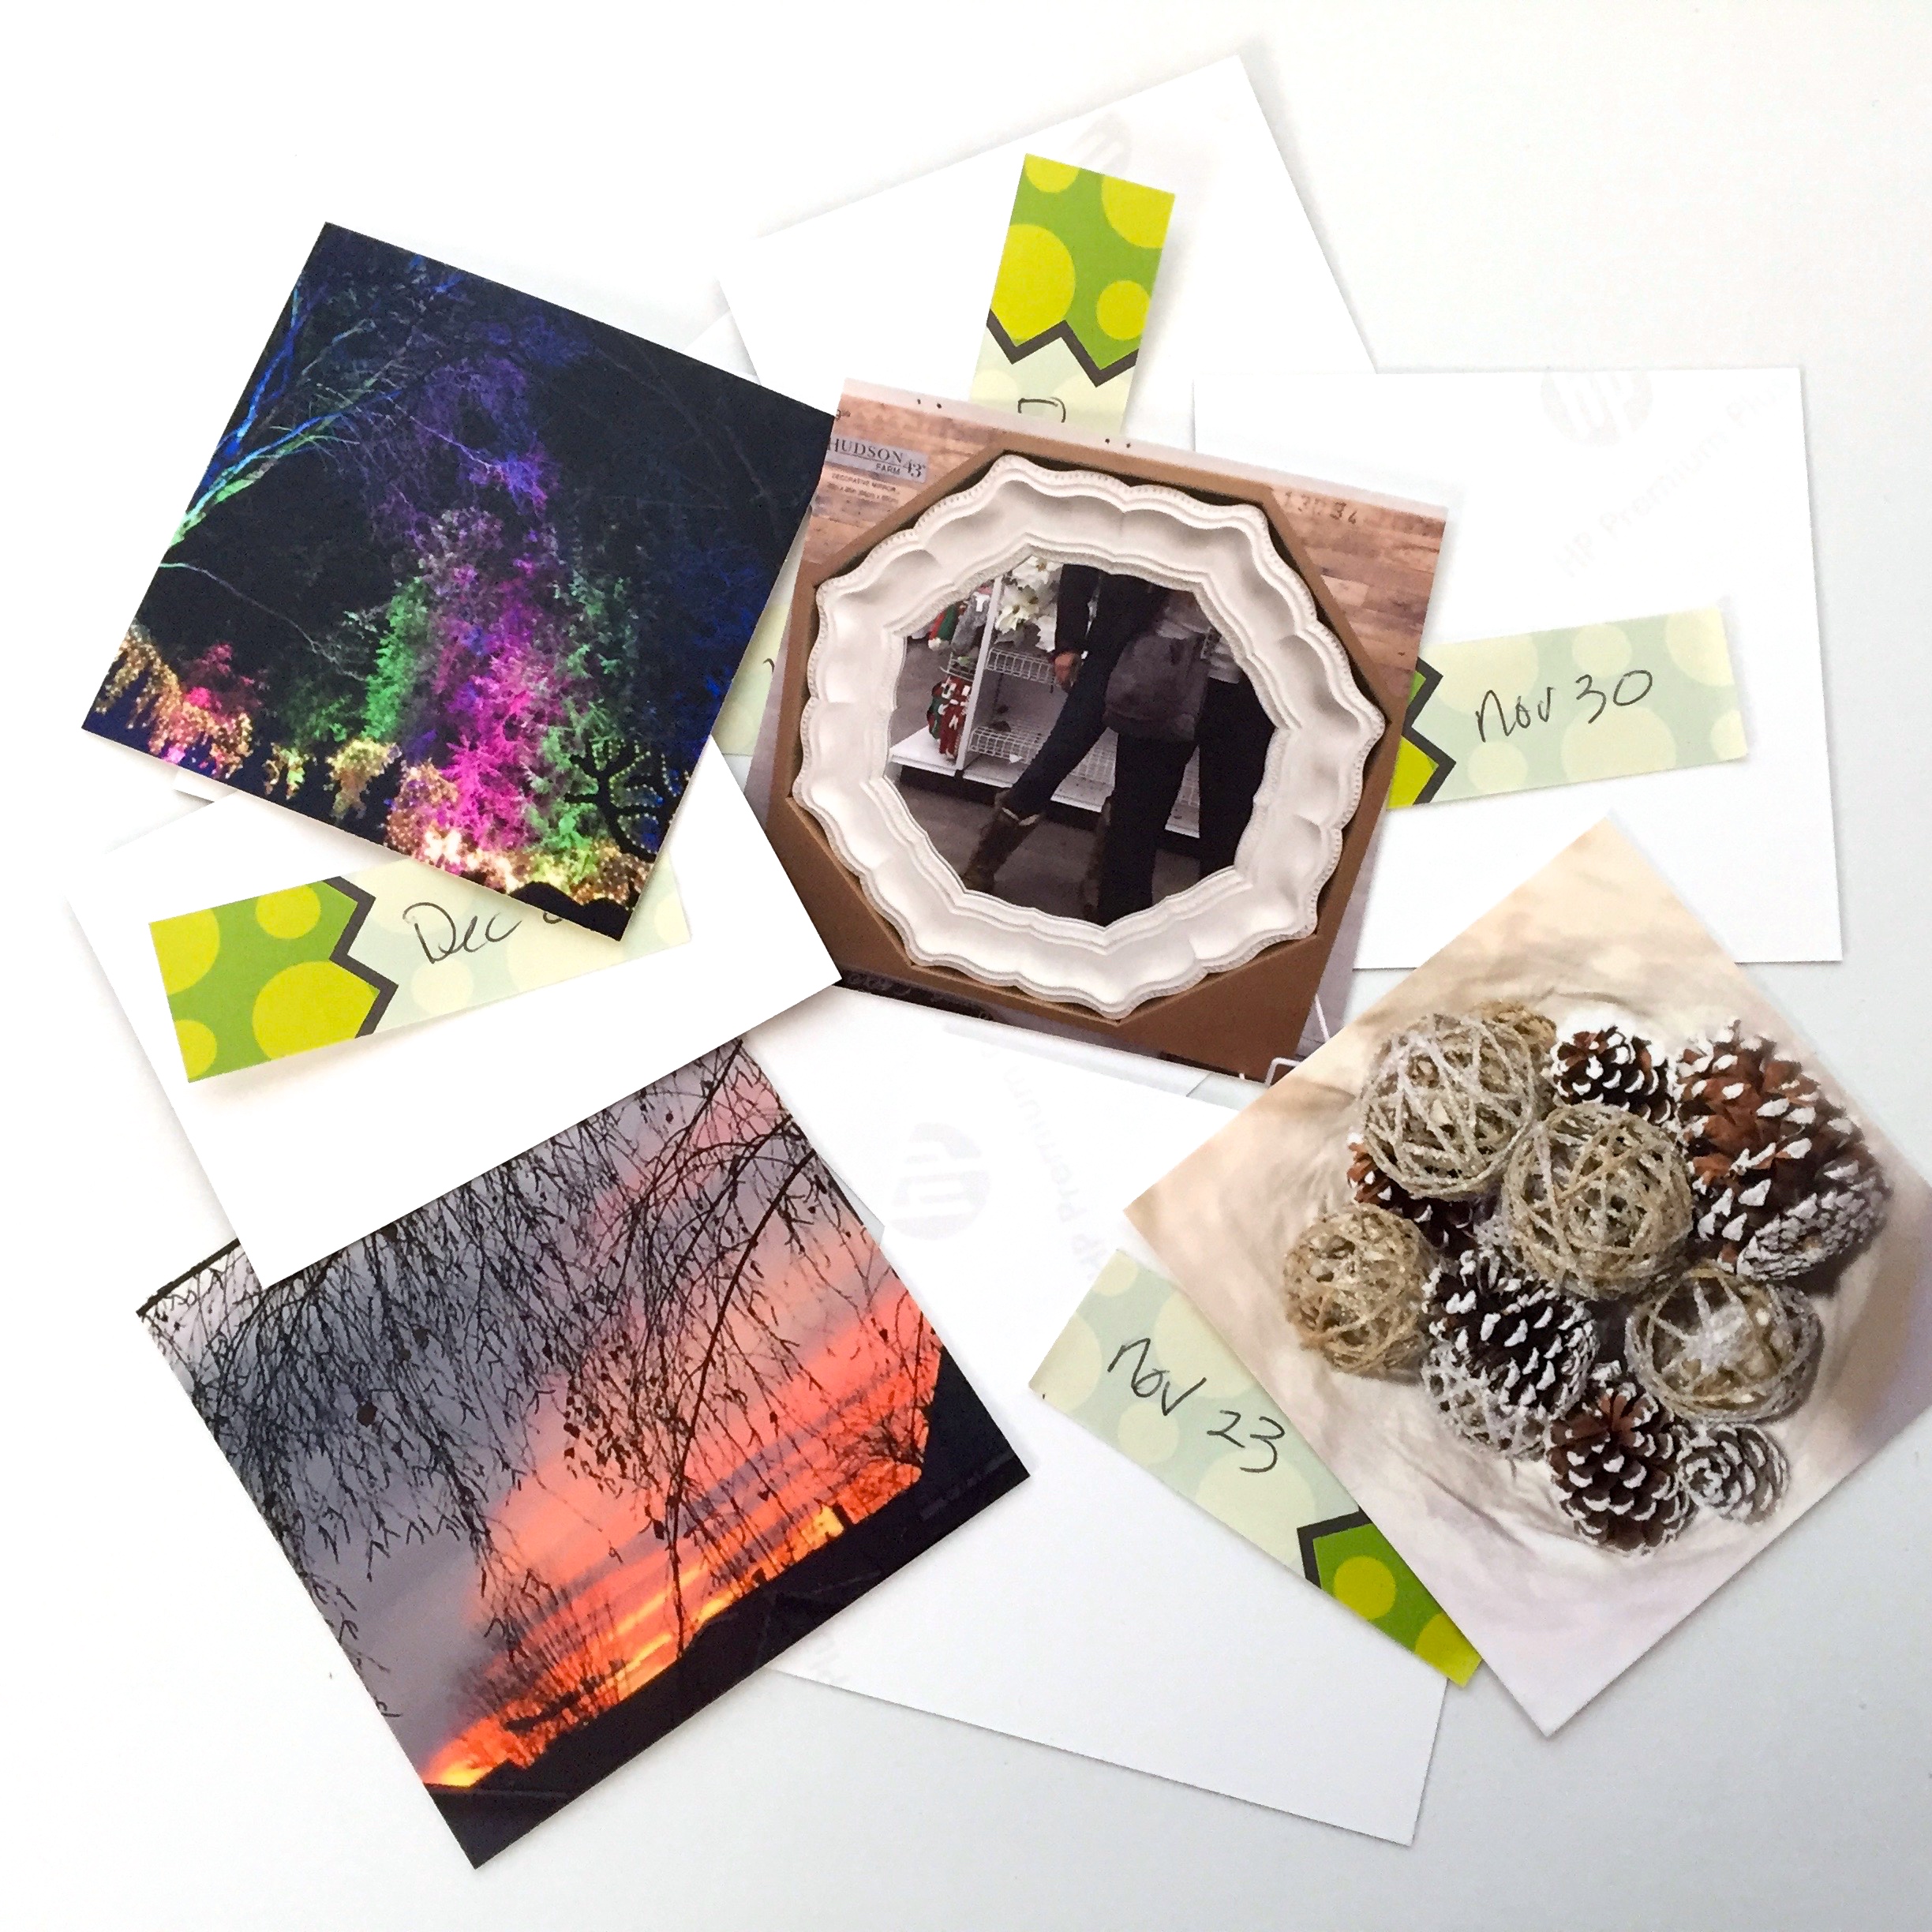
One trick I happened upon was printing the photos with the dates printed at the bottom, super handy! My plan is to work on one month of memories a week until I’m caught up. I’ll toss each month’s ephemera, along with the photos, into this photo keeper until I’m ready to get started.

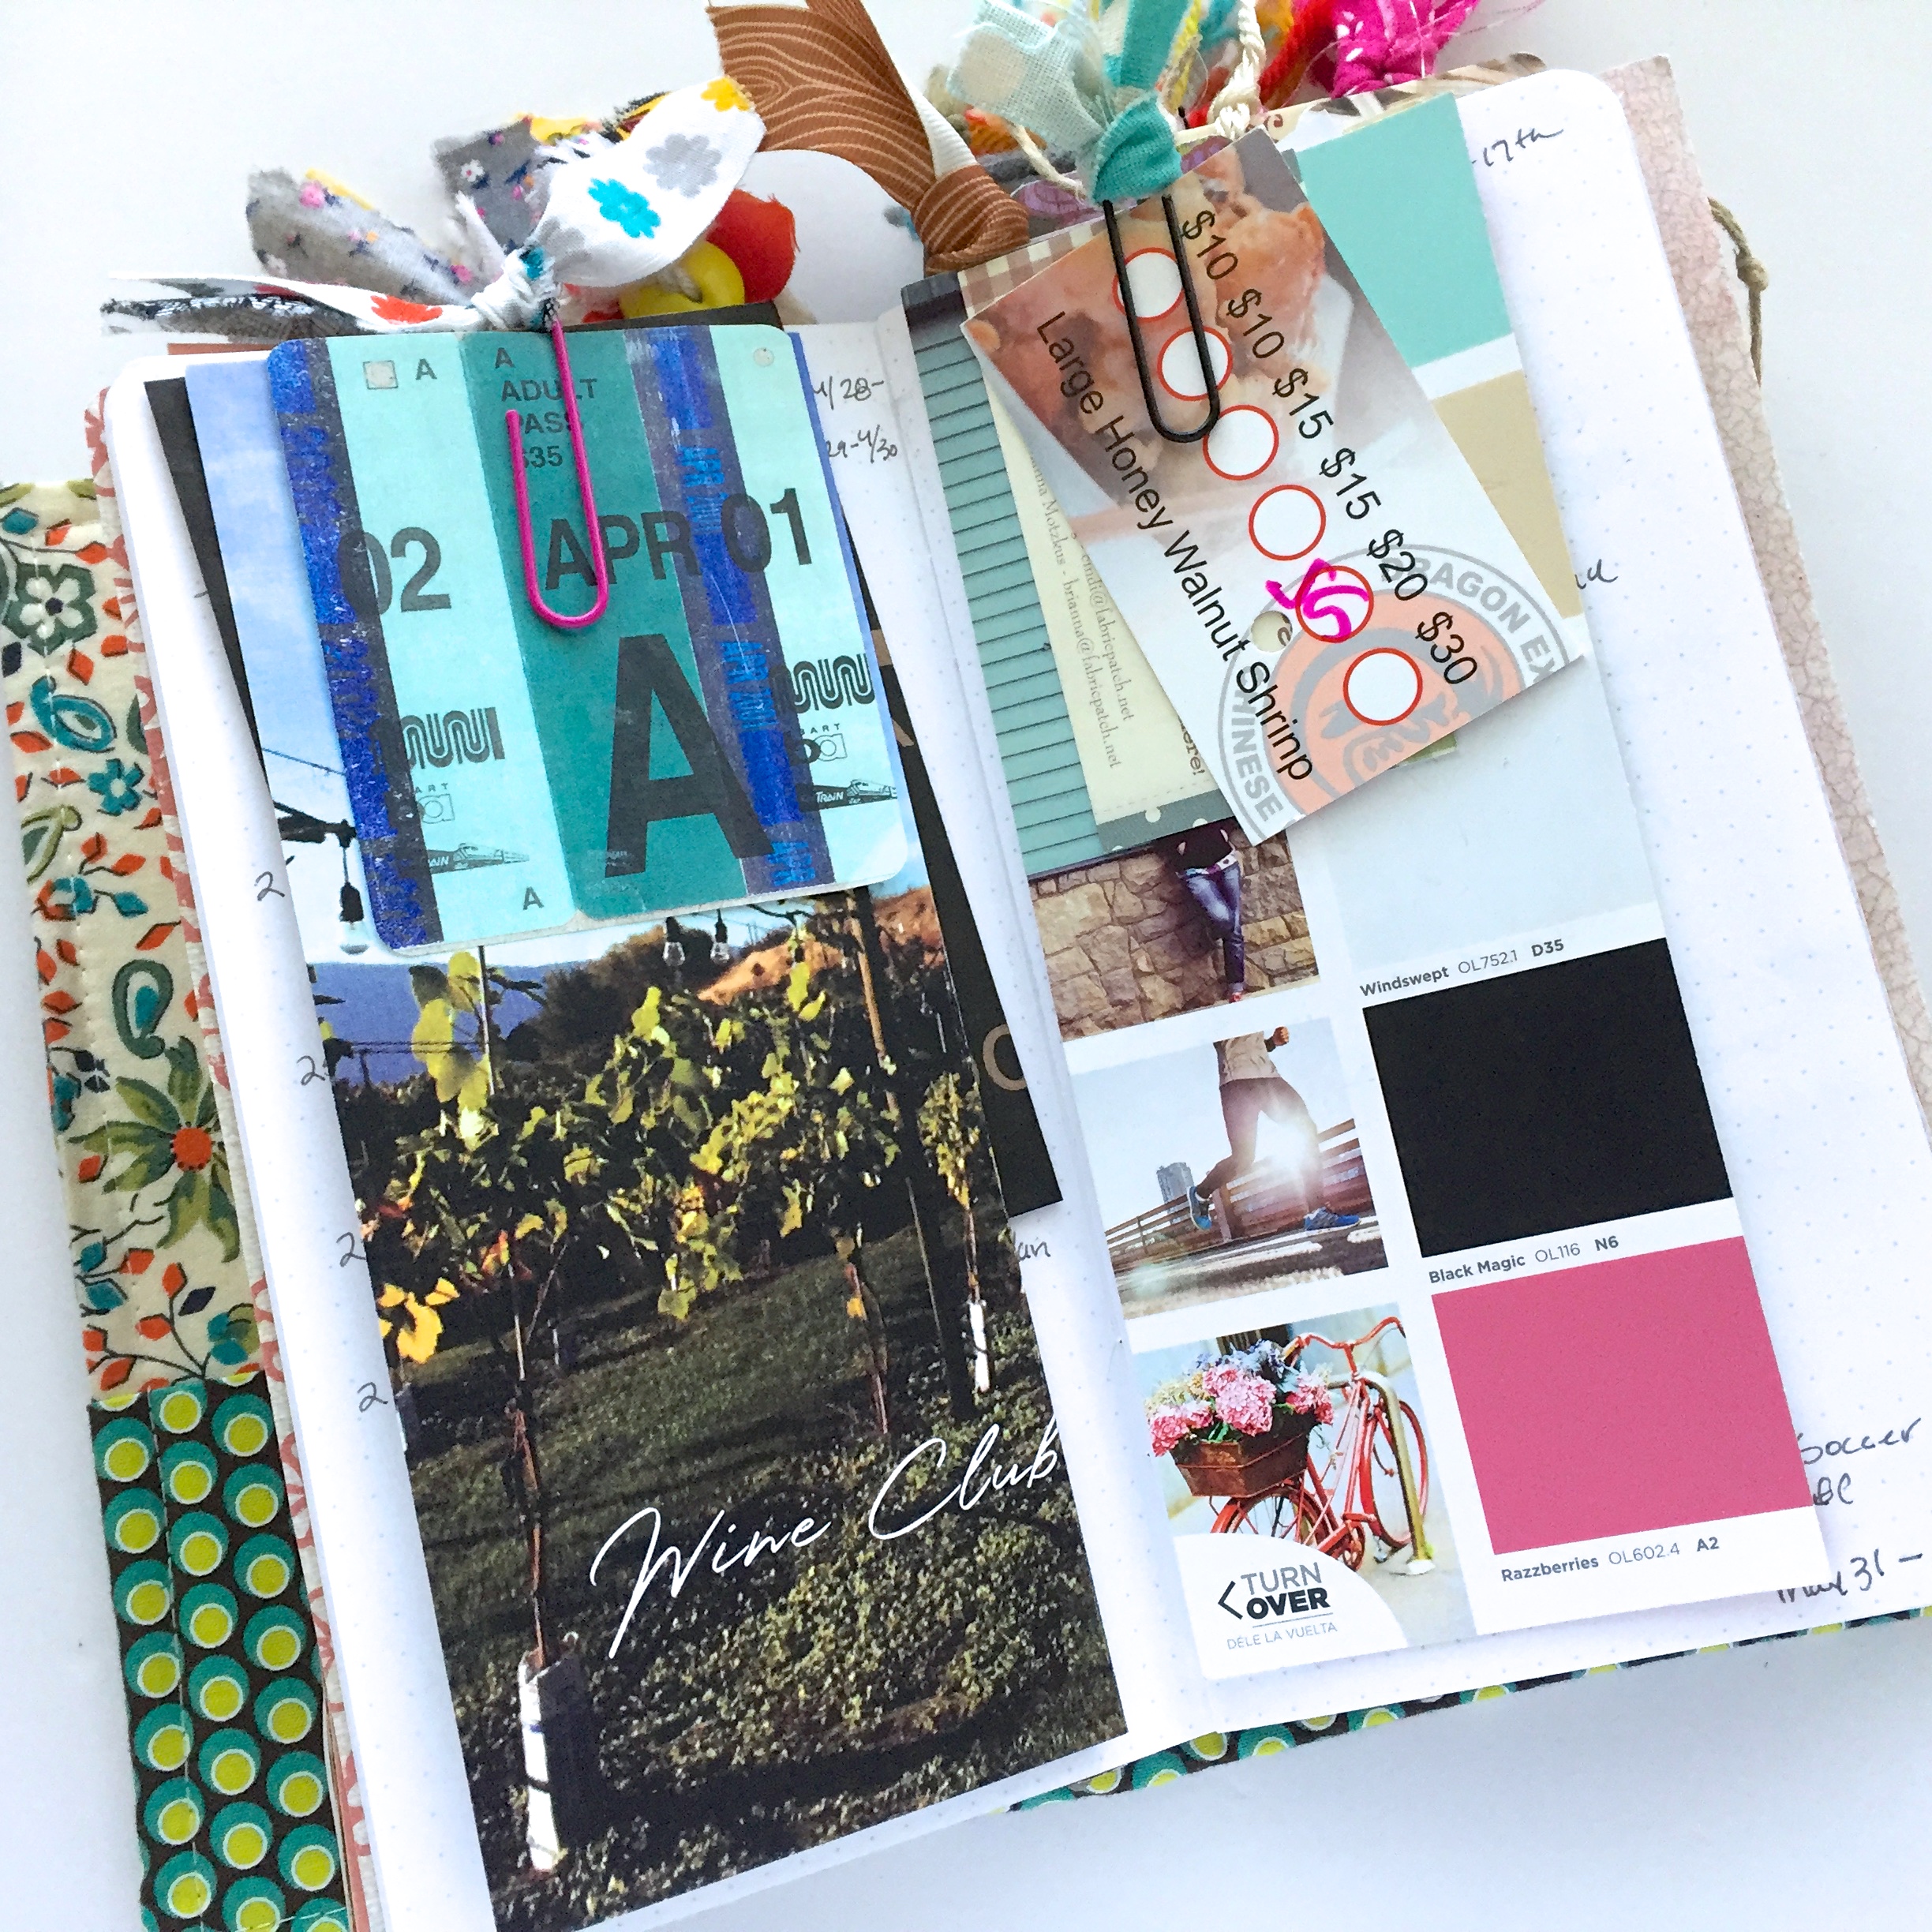
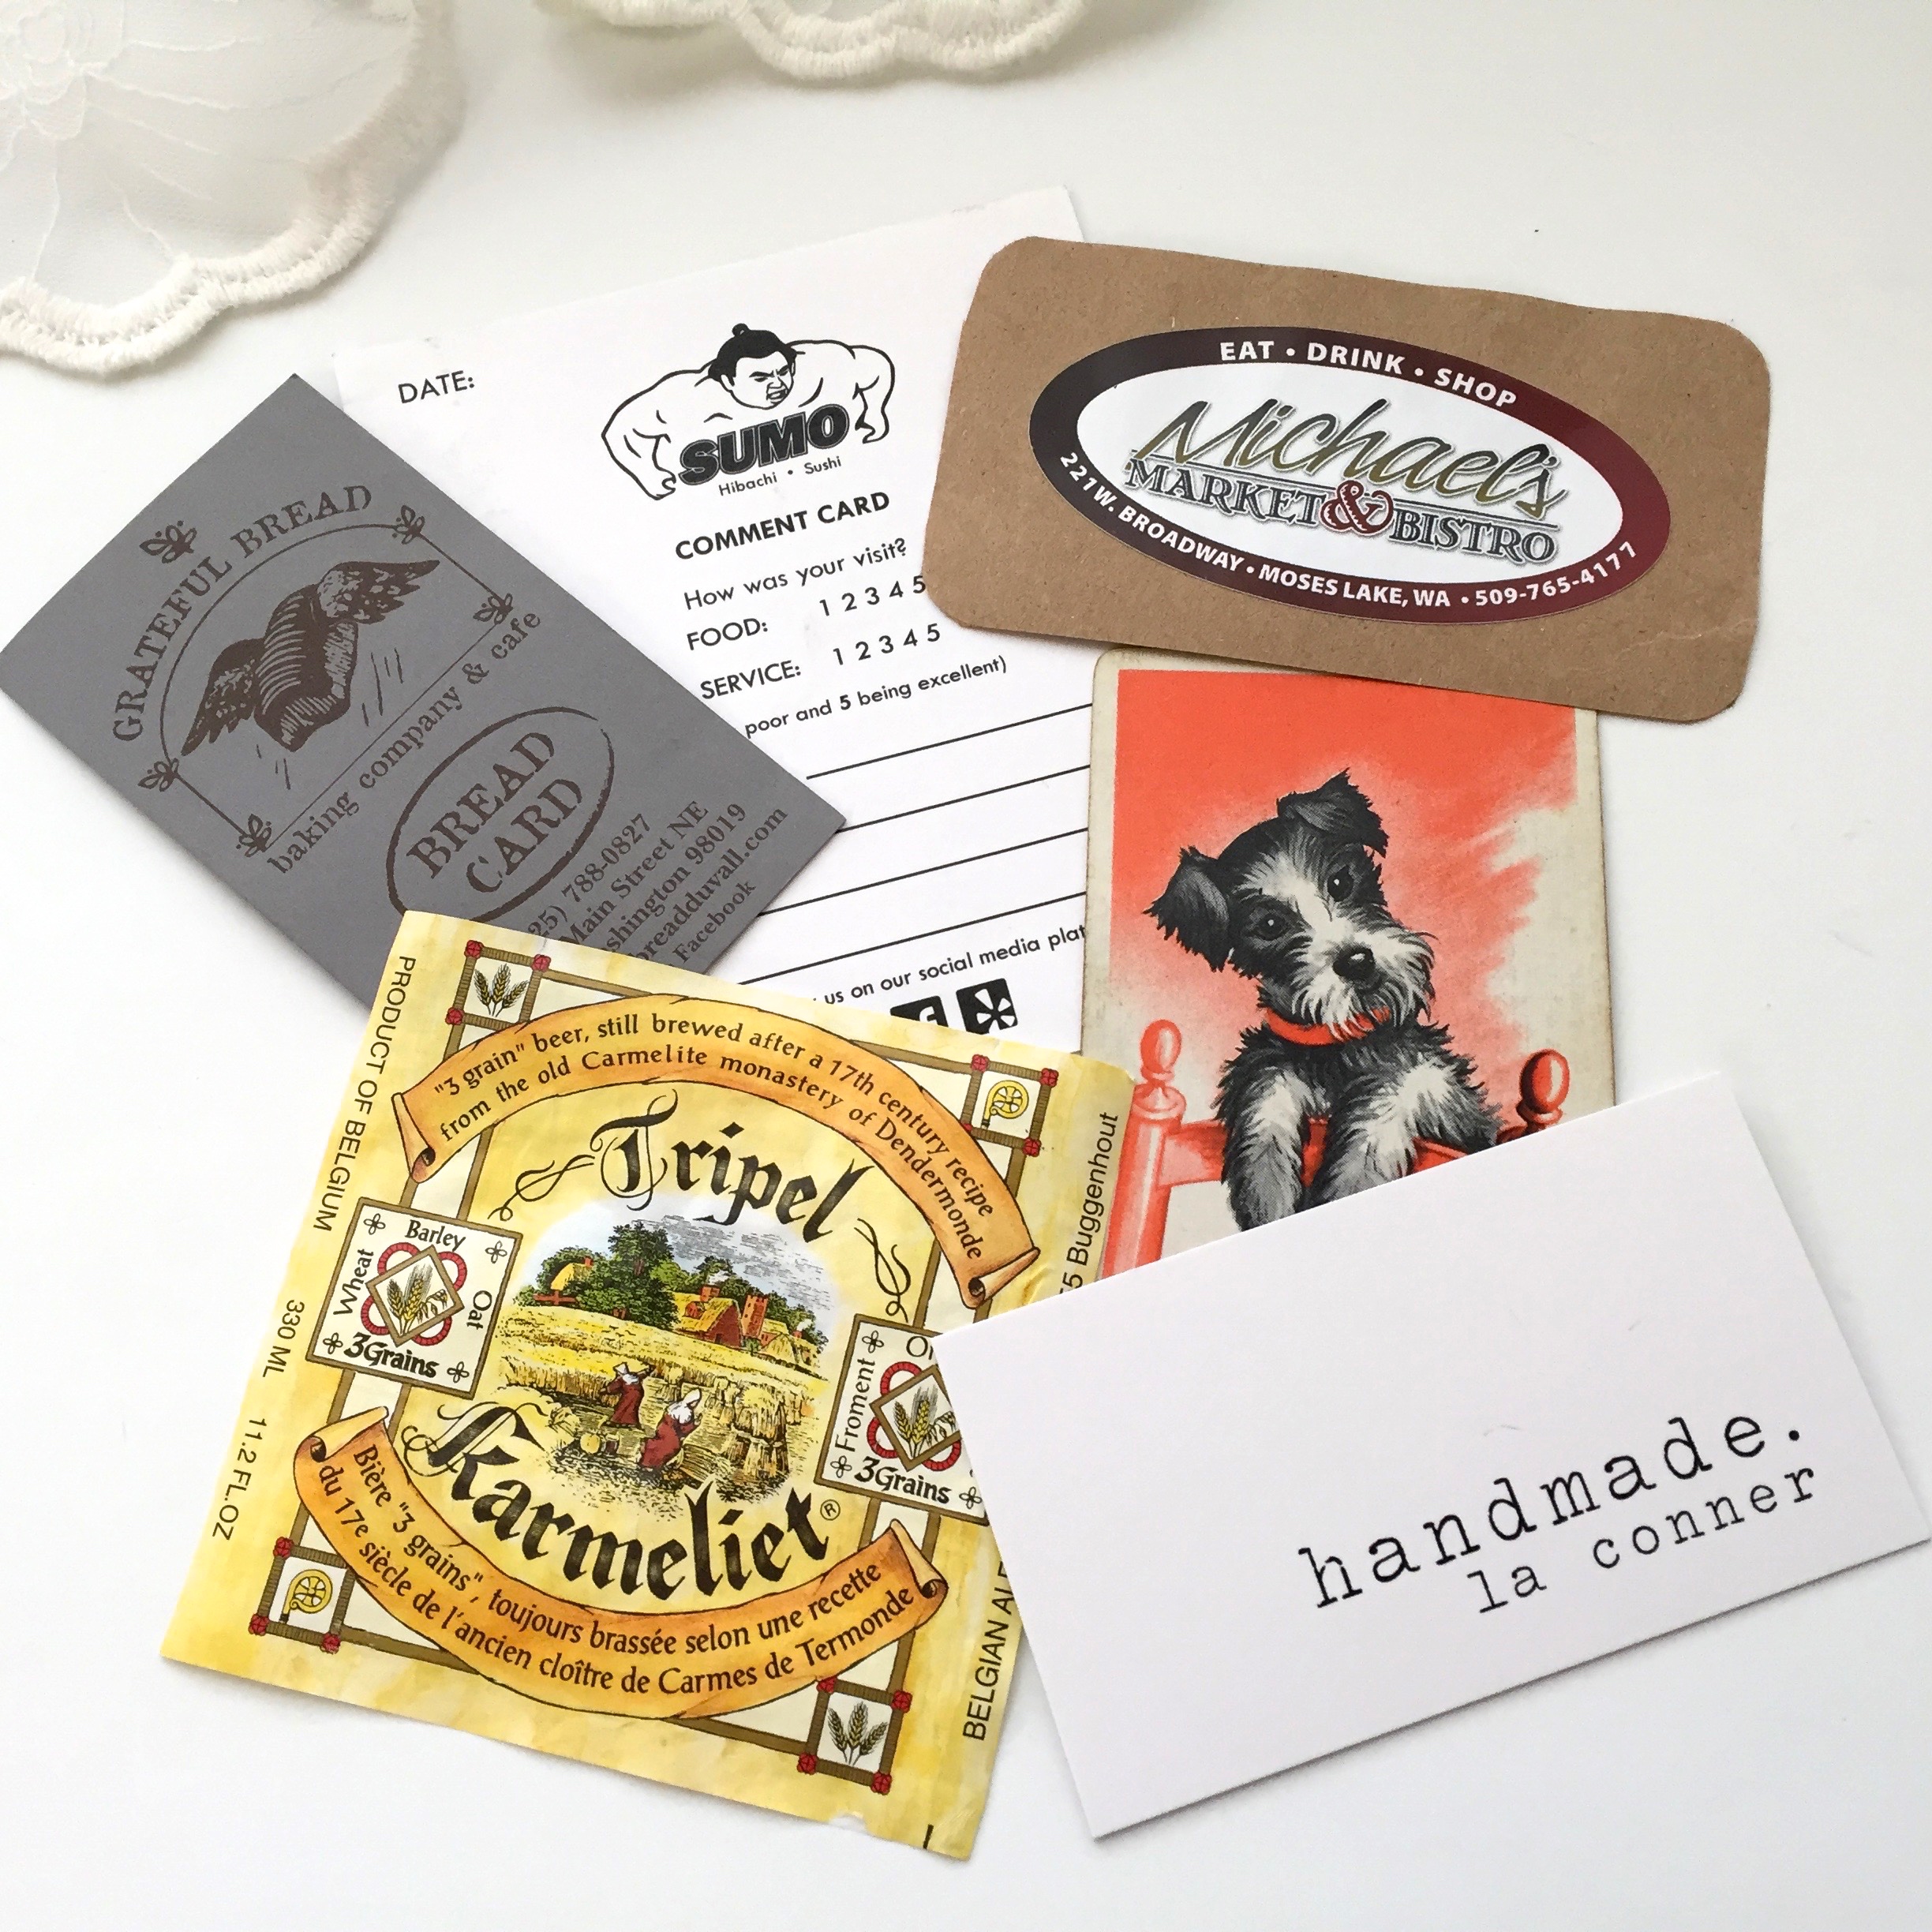
Because I had put this project on the back burner, it was a bit tricky coming up with some of these fun bits and bobs to art journal with, but I found a few things tucked around my art space. As I run across things, I paperclip them into this insert on the corresponding date, then jot down a note or two.

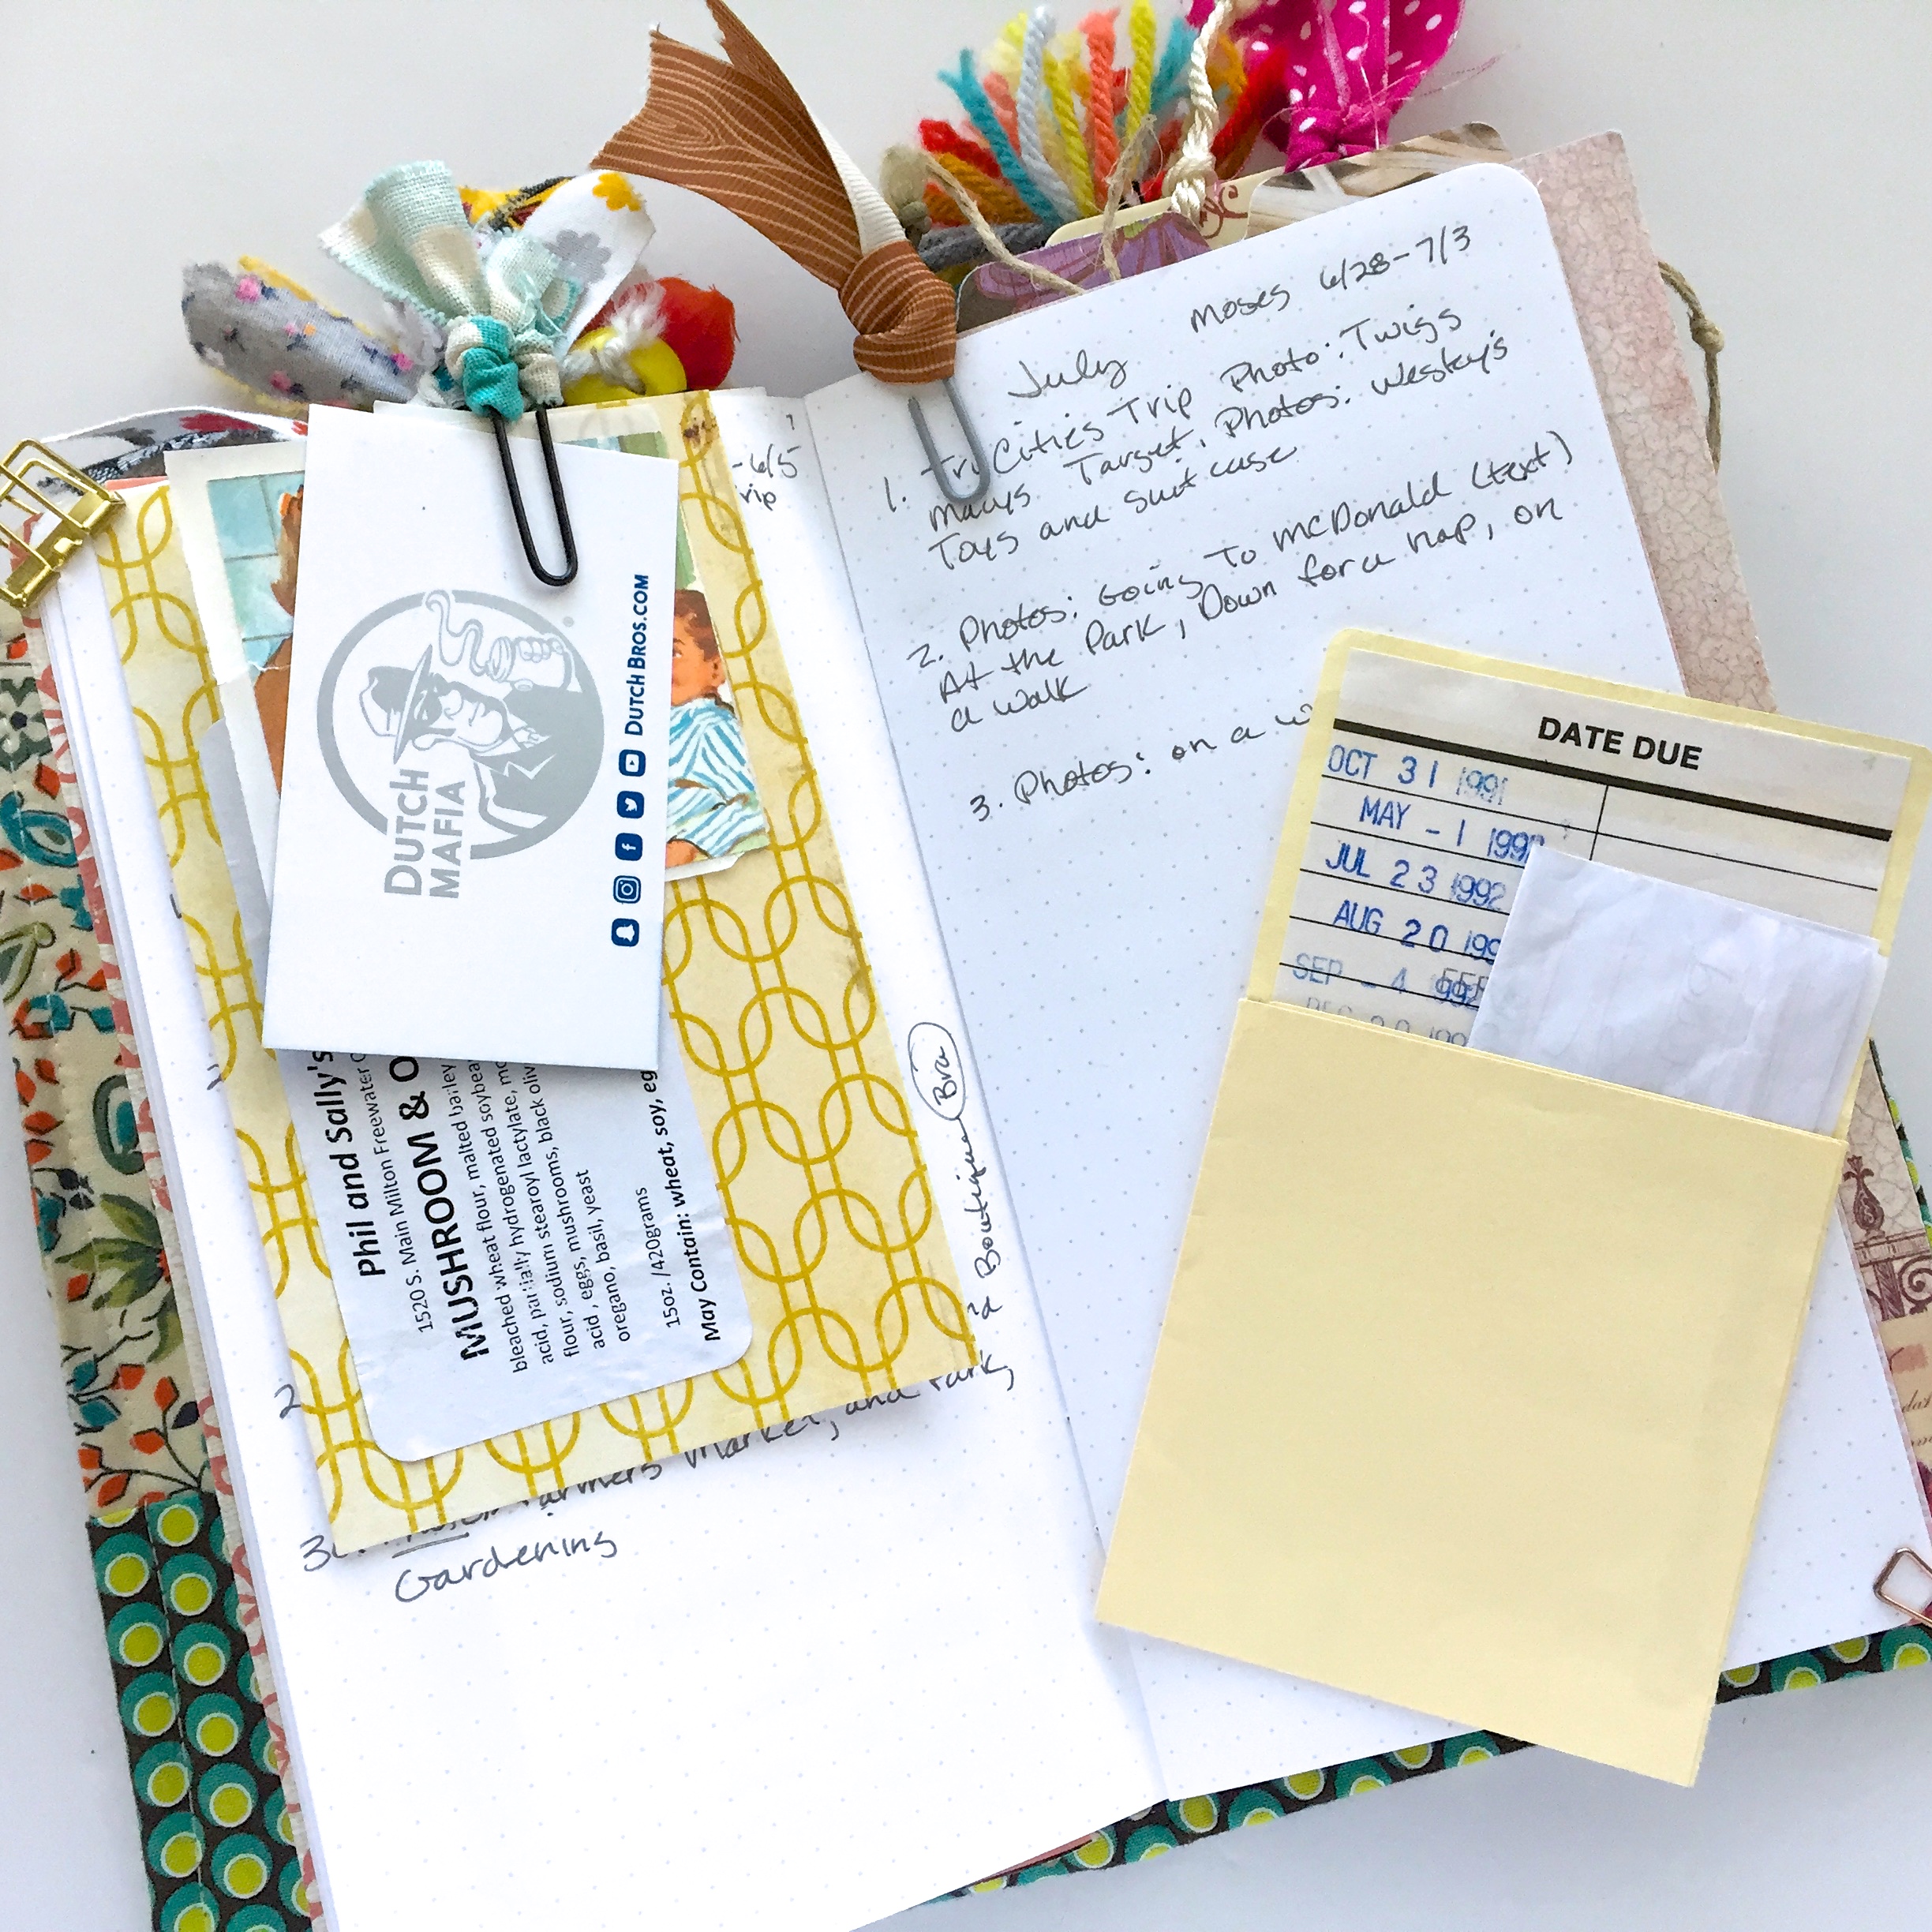
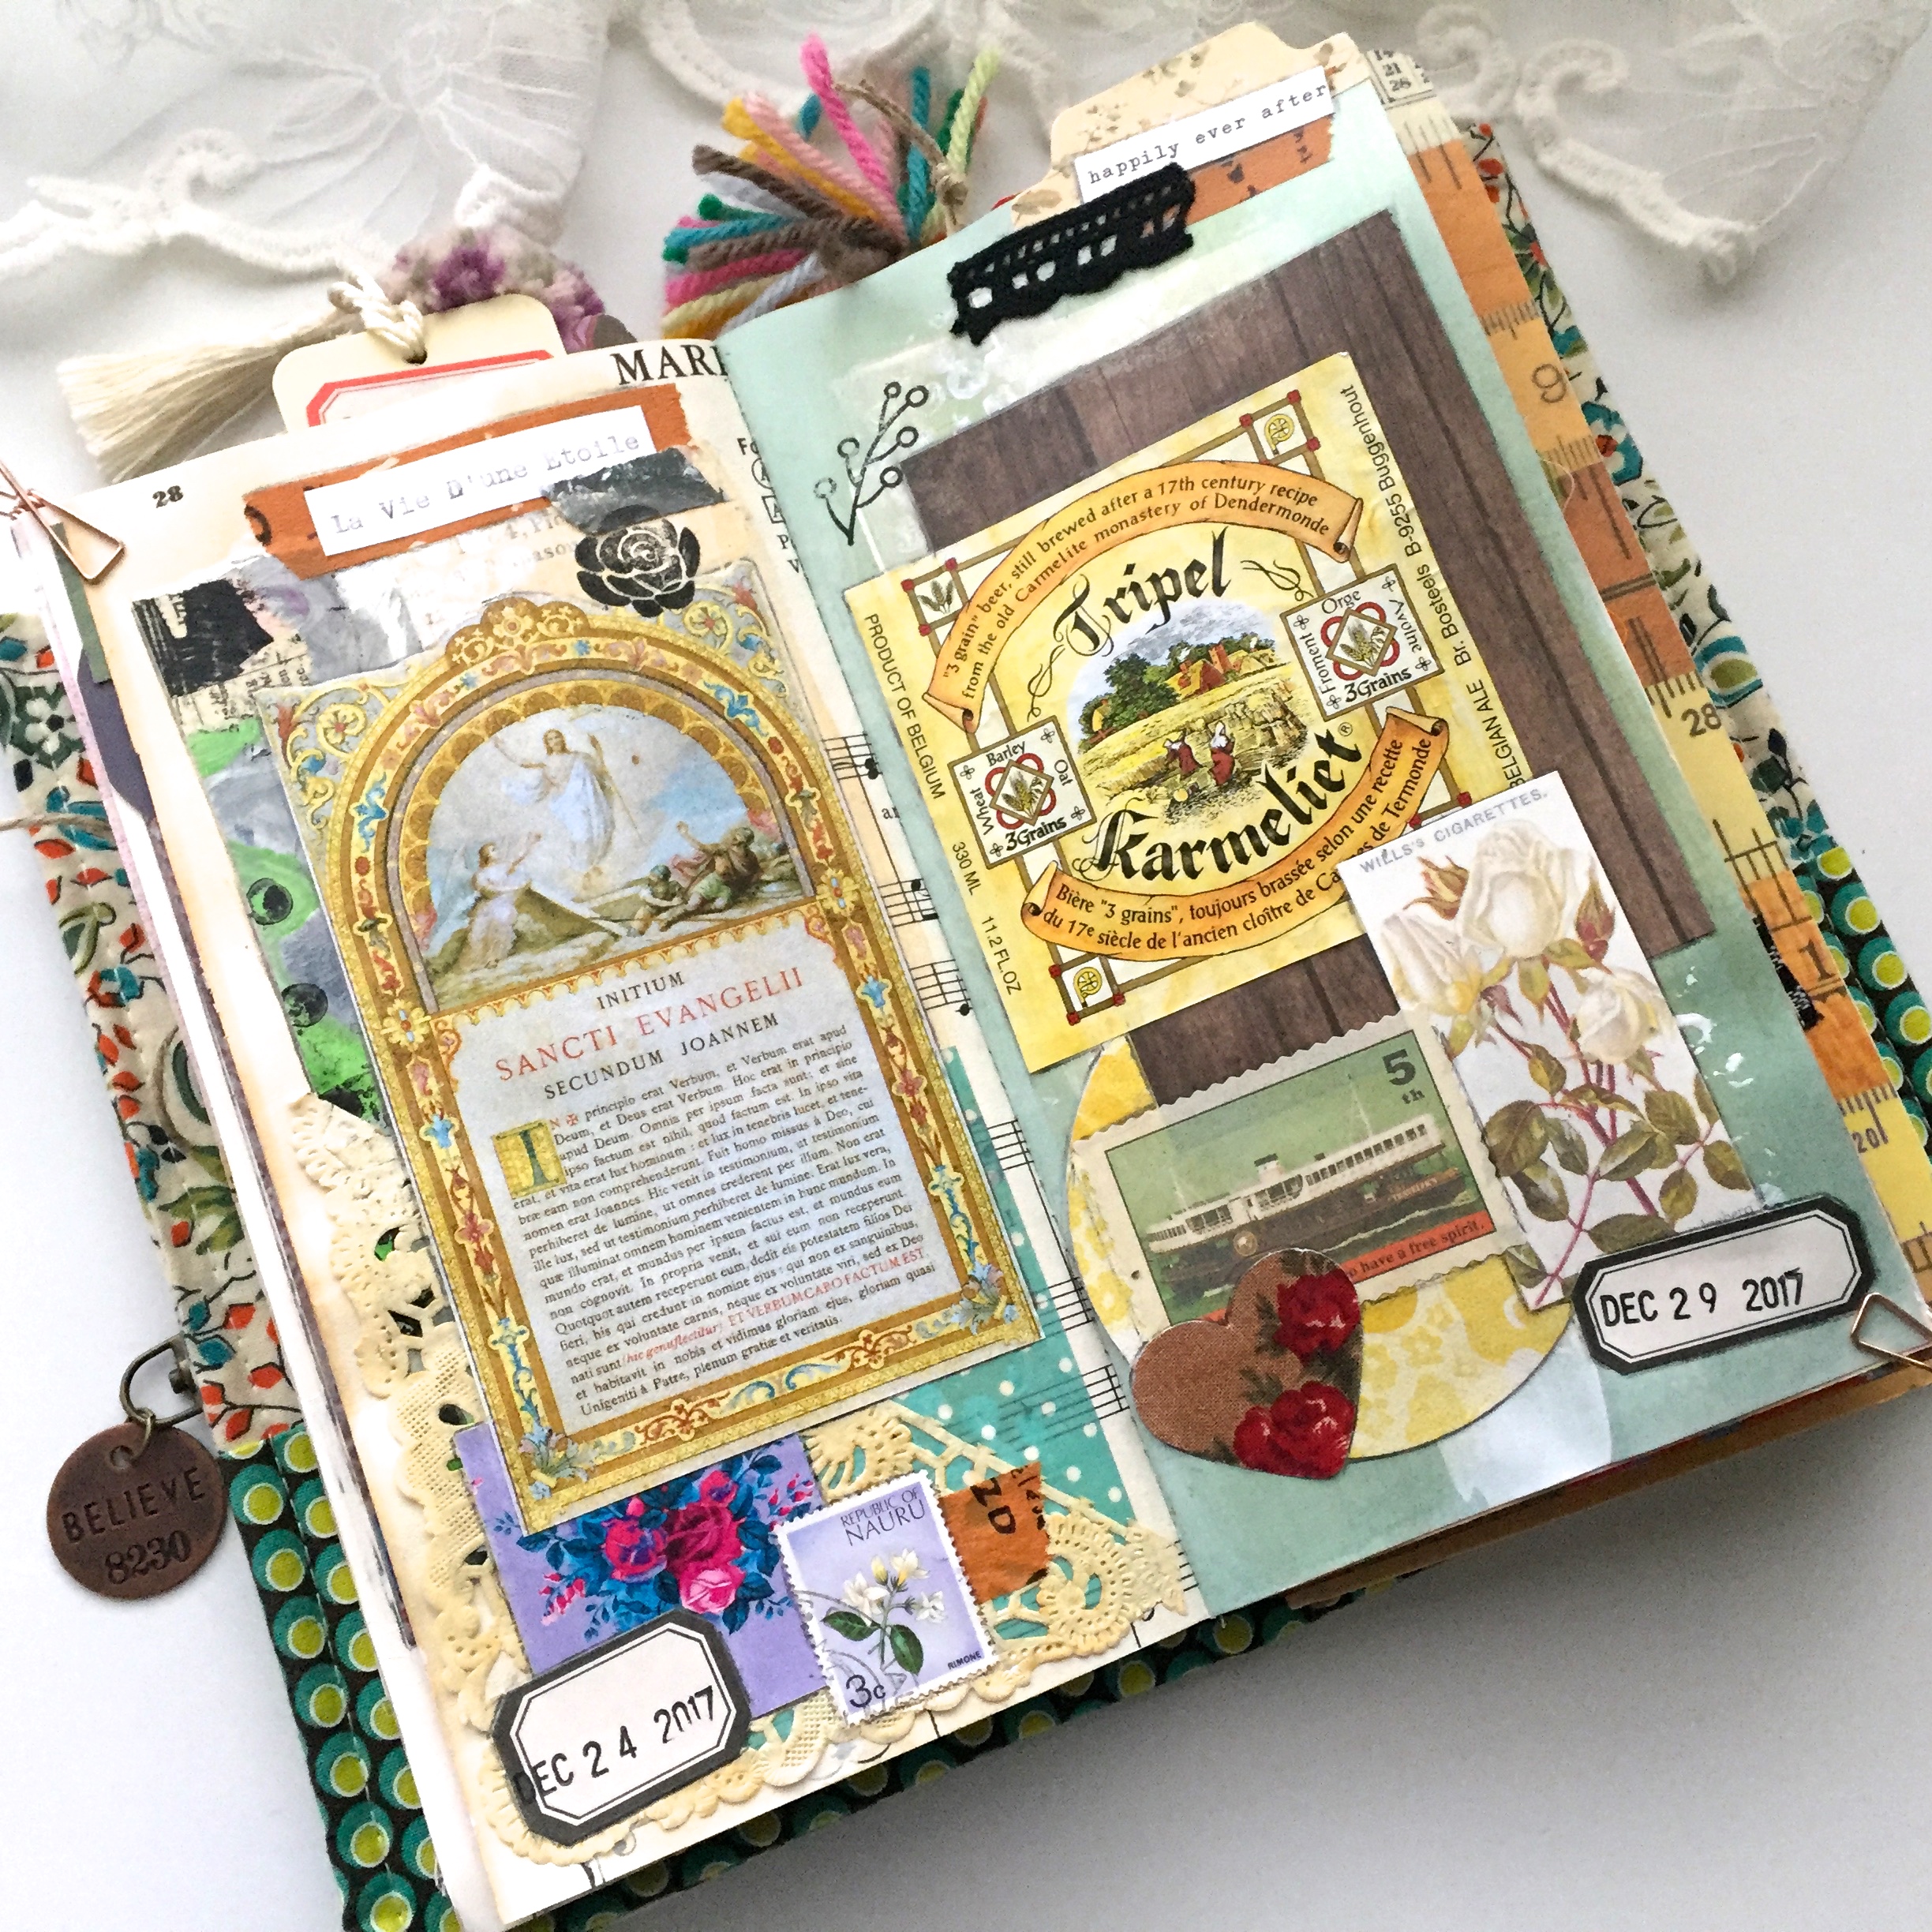
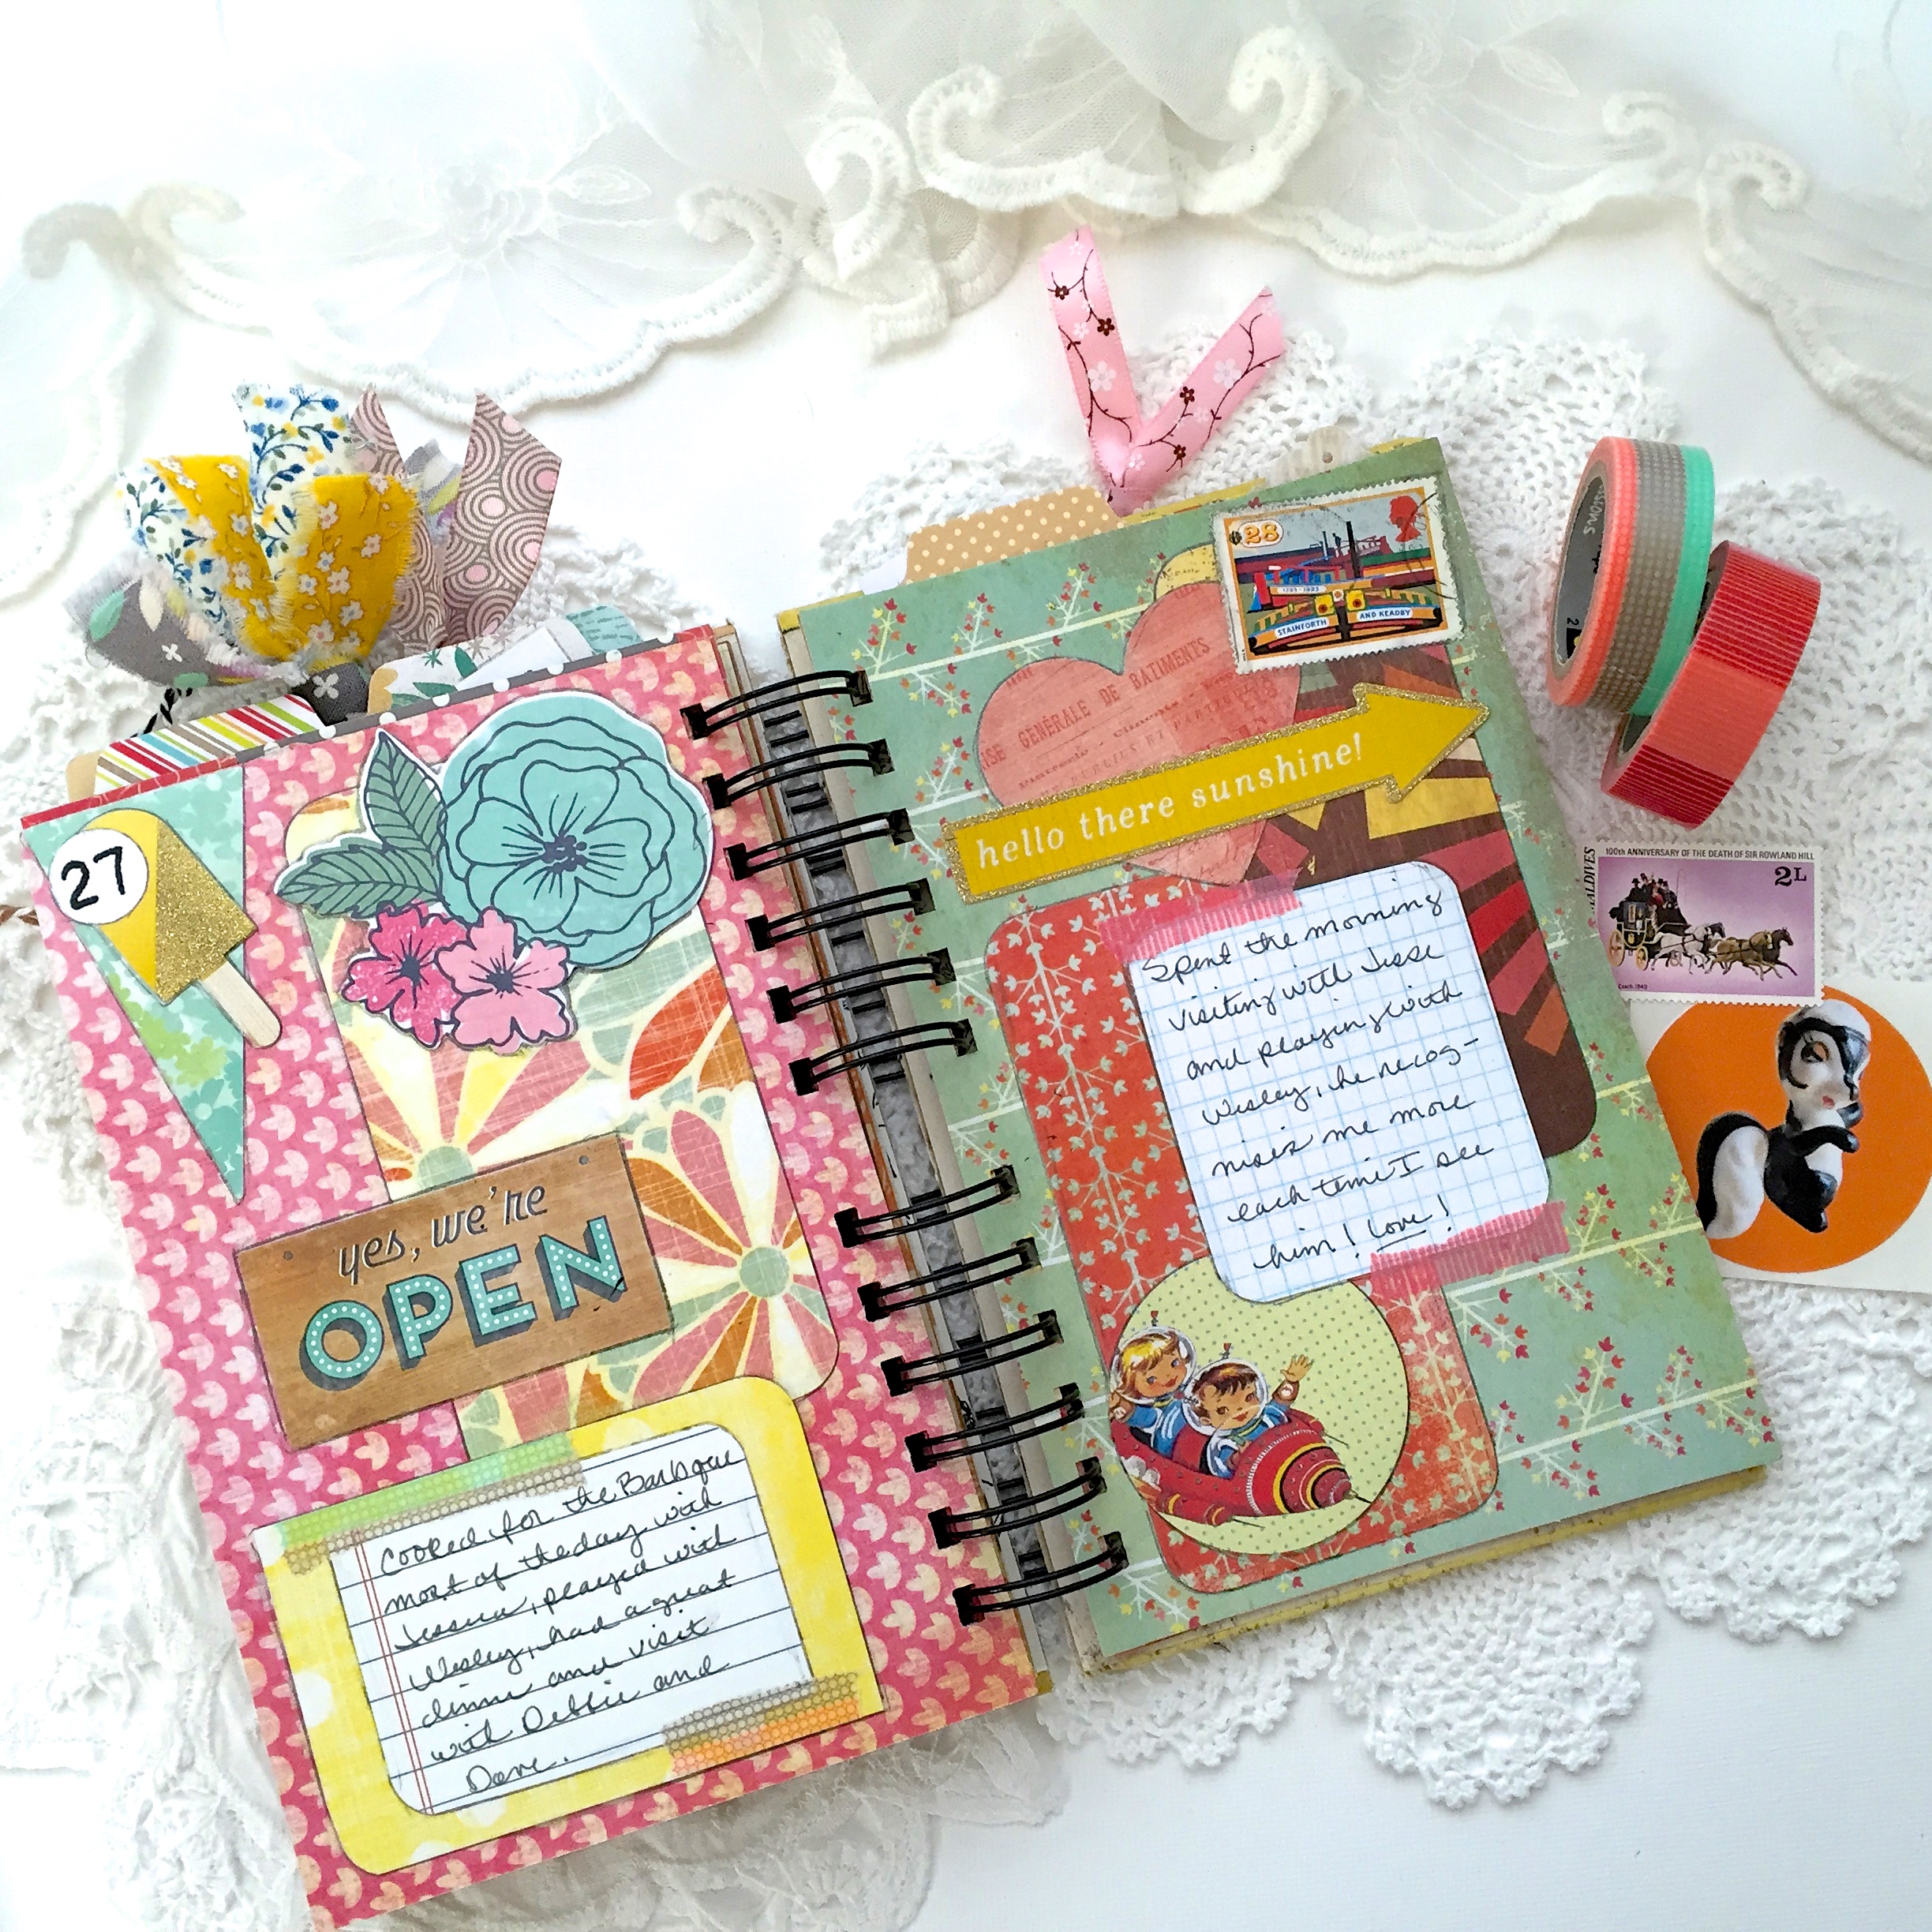
That library pocket on the right is holding a “To Do” list my daughter made that we were laughing hysterically about. I wrote the date and what we were laughing about on it, then popped it right in (love my pockets!). Many of these are not things I would put in a Project Life album, but definitely fun memories worth keeping and documenting. I hope she re-reads that list one day and laughs all over again!

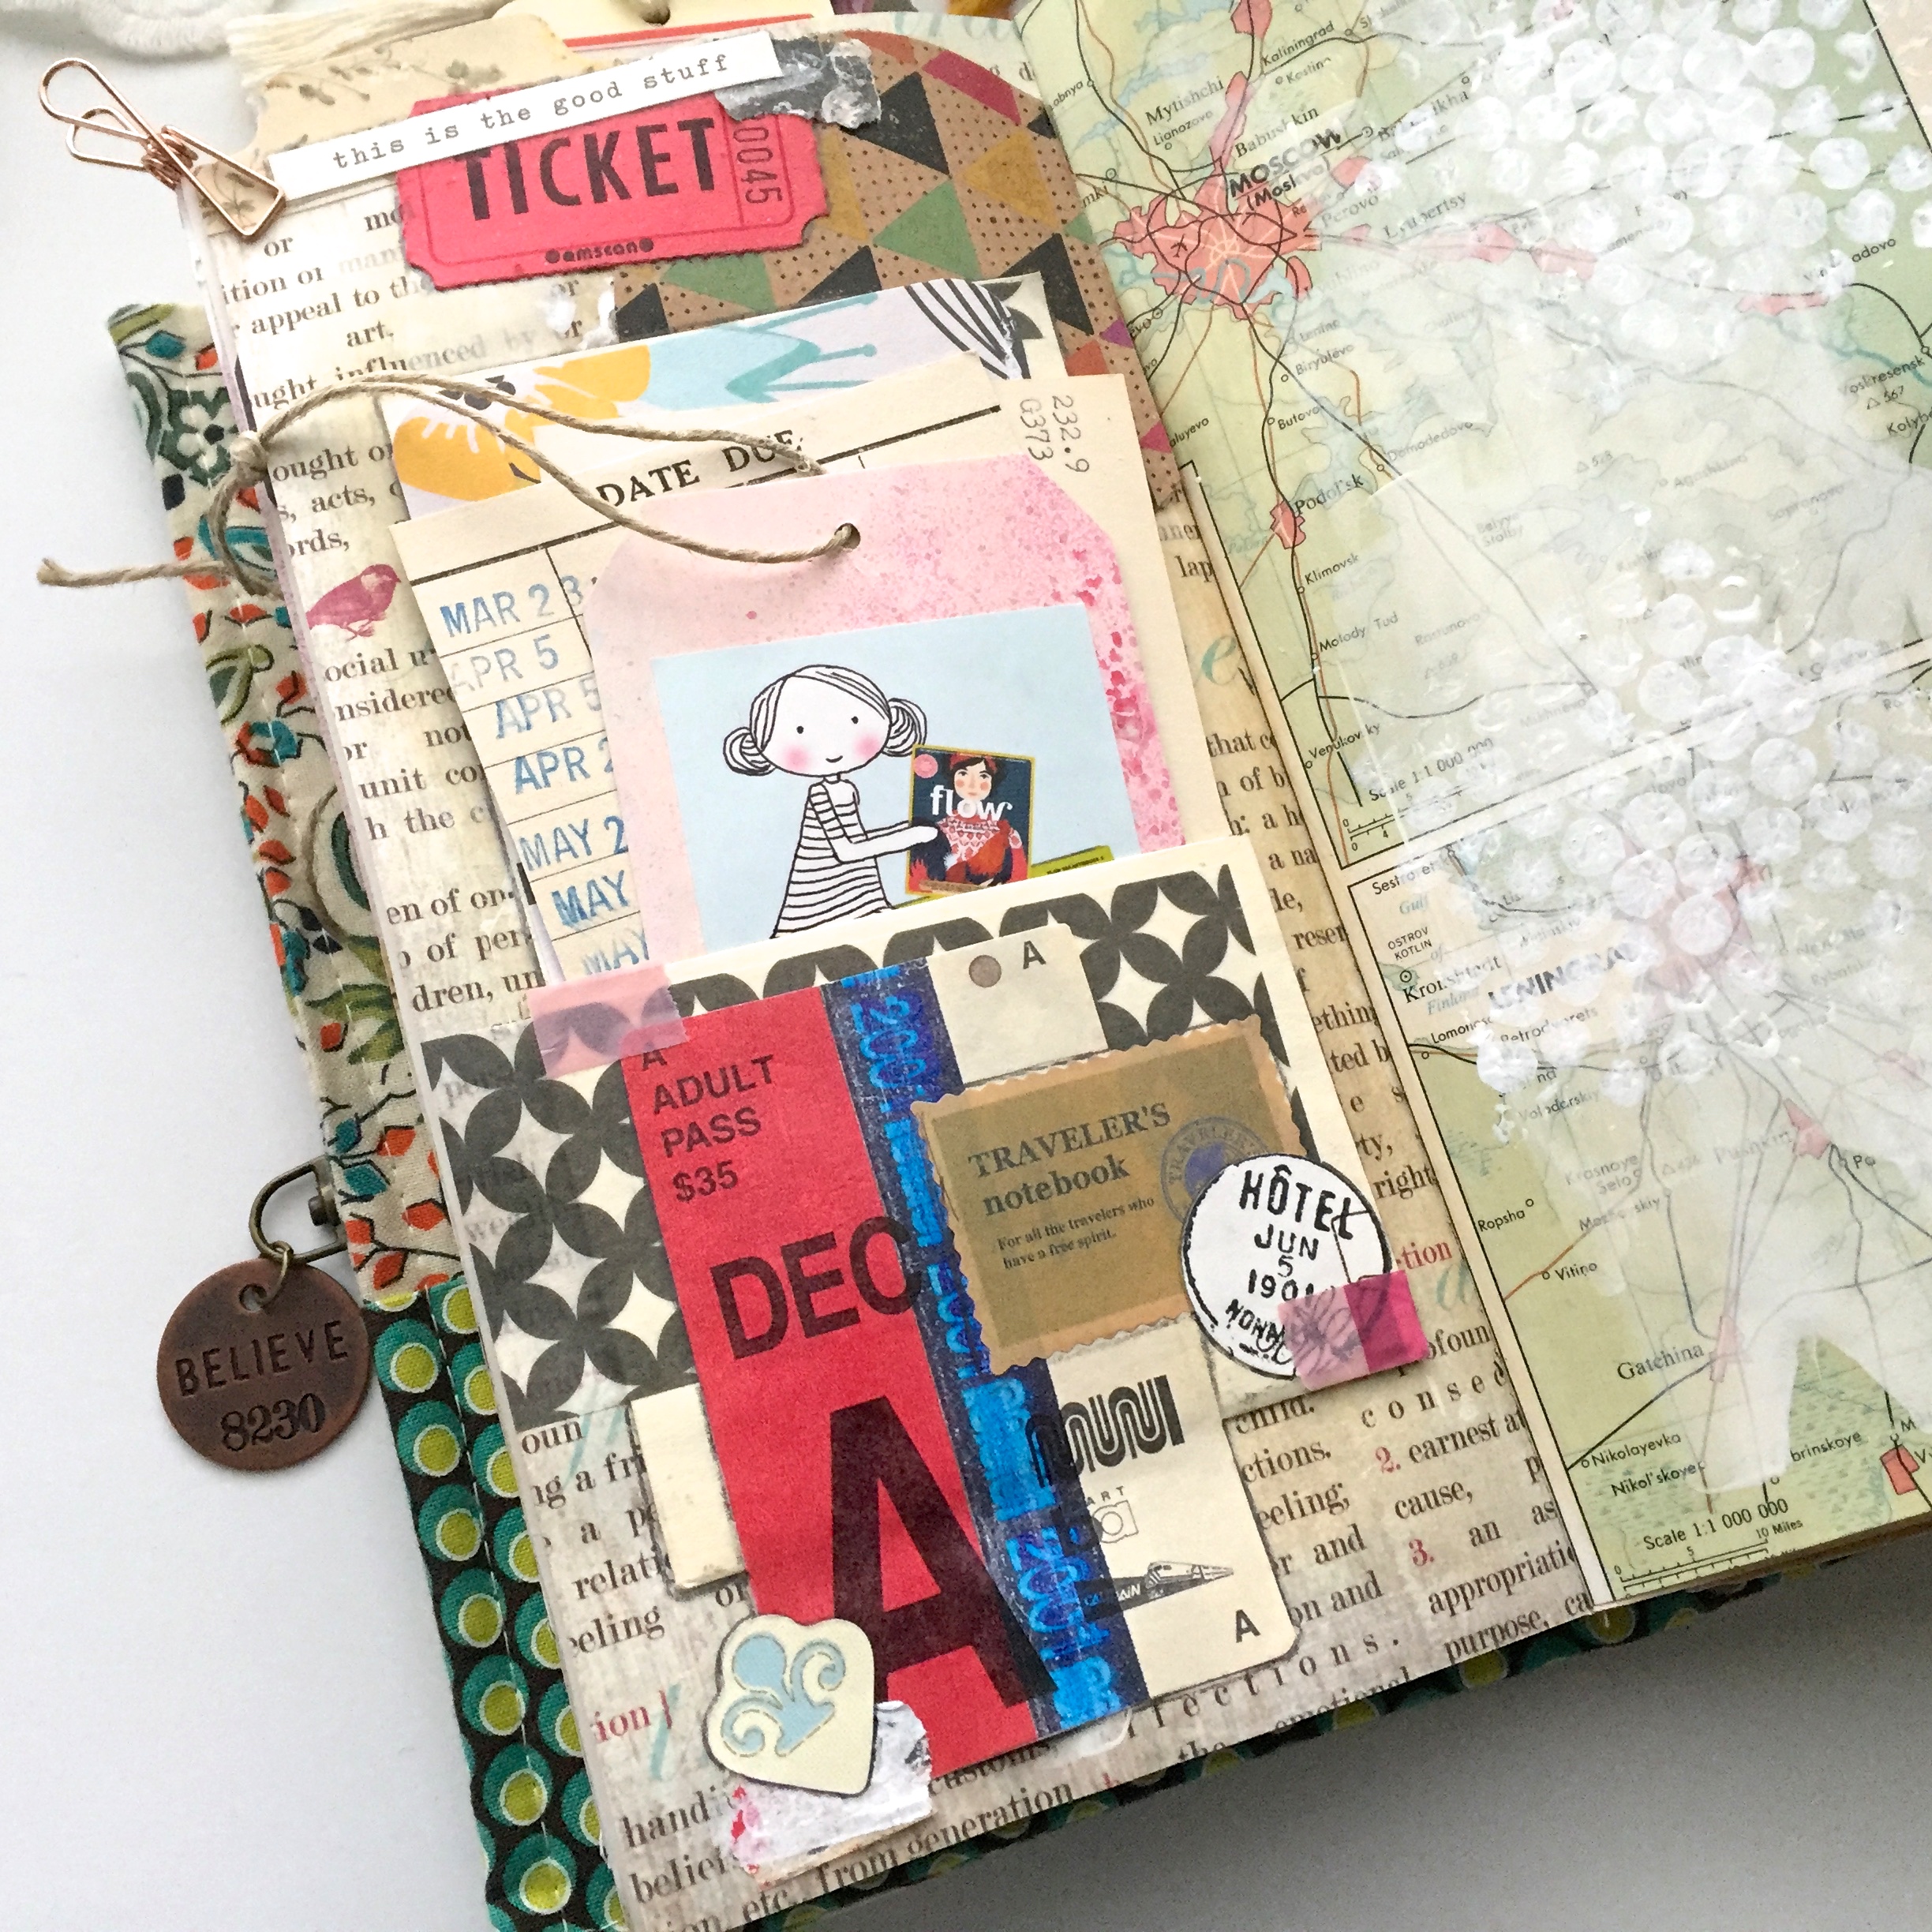
I jumped ahead date wise with this page spread because I wanted to adhere it to the stronger pages of this journal insert. My grandson made this cute little page, put it up on the wall, then proceeded to tear it off the wall when he was supposed to be napping. I had a hard time rescuing it, but it’s safe now! (Fyi: I think my daughter colored in that flower, he’s more of a sticker boy!)

The little bug-a-boo!

The quality of the photos are not an issue for me with this project, my main concern is to get the memories down before I forget them!

So, there you have it, another bit of my organization. This keepsake journal would still be sitting on a shelf with no hope of getting worked on if I didn’t literally pull it together. Nothing screams procrastination like disorganization in my world.

I hope this post gave you some helpful hints towards pulling some of your sweet memories into a keepsake journal.

No Rules, just get them down!

Thanks as always for the visit,

Have a great week,

~Patty


SaveSave

SaveSave

SaveSave

SaveSave

Gratitude Journal Progress

You know, I almost decided not to write a blog post about my gratitude journal because it’s pretty much all I’ve talked about this year. But then again, it’s pretty much all I’ve worked on this year. Well artistically anyway, so yeah.

I’m happy to say that I’ve made it through the Holidays, and am now poised to get caught up on January. Between the weather and staying busy catching up on everything else around the house, there’s not really too much to document, so that should go pretty fast.

On the left is a remembrance page of a day out shopping with one of my best friends. To the right are tags I collected from my latest wardrobe revamp. This is something that happens about as often as Haley’s Comet, so it was definitely worth noting!

More shopping and dining out with my daughter on the left there, and some Christmas snuggles between my daughter and my grandson on the right.

You may be wondering if I will actually remember any of this in the years to come, which is really valid concern, so I will be covering that point soon…like after a couple of photos soon.

How cute is that!

On the left is a piece from a Christmas card, and on the right is a label from a super tasty beer my son brought over for me to try, so good.

And that’s it for December, whew!

Now to the documenting part…

I decided to use a vintage library pocket to put cards and tags in for journaling.

I adhered lined paper on the back sides. If you look closely, you can see that I journaled under each date that corresponds to my pages. This is new to me, and I love it! There’s nothing earth shattering about my journaling, I just don’t like the way it looks on my pages, so this is a perfect fix for me!

I just gave myself a “high five”…okay, don’t judge me! 🙂

I’ve been spending the last month catching up on so many things, #oneword2018, Lara Casey’s PowerSheets, Project Life, my planners, Oy!

I hope to be ready to share how I’m doing my “Word for the Year” soon, I’m still working out some of the details.

So, until next time,

Thanks for popping in,

Have a great week,

~Patty


A New Gratitude Journal

Lately, finding the time, or inspiration, to jump back into art journaling was waning fast. The hustle-bustle of gearing up, then winding down, from the Holidays left me with only enough energy to get back to organizing, planning, and cleaning.

But, because there were still quite a few memories that didn’t make into my  “Holiday Journal”, I started a new one. It’s going to be kind of a “Gratitude” journal. I did one of these few years back, but that one was a daily gratitude journal, and it became too daunting, so I’m going to try a new approach this time and hopefully this one will be easier to keep up with.

Today, I thought I would share a few elements that I used to get this art journal organized.

First, I went through my photos and grabbed some memories. My family was spread all over the place this year and we didn’t have time to take a lot of photos, so grabbed what I could. I made sure to attach the dates on the back to keep them in order.

In my travels over the last month or so I grabbed paper ephemera whenever I thought of it. I’m super glad I did because these bits will be perfect for this project!

Next, I prepped my pages. Here, I prepped one side to show the difference, it shows up much better on the text and scrapbook paper pages, but there you go.

First I scrape some gesso, then a layer of tinted matte medium, then a bubble wrap stamp with more gesso. Most of it gets covered with collage, but small bits poke out enough for interest.

This is a page of my grandson wearing his camouflage antlers while brushing his teeth. Unfortunately, I forgot to turn on the blinking lights before taking this photo 😦

I’m still attempting to use up as much random ephemera as I can, and I have to say I’m making quite a dent in it. I actually had to open up another “box of random” to fill my art journaling containers! Speaking of which, in my next blog post I hope to share some of my organizing techniques for art journaling, I almost have it down to a science.

That’s it for now, I’m supposed to be driving over the pass right now, but one of my goals this year is to write one blog post a week, and I didn’t want to put it off longer than I should.

So, until next week (I hope),

Thank you for the visit,

~Patty

2017 Holiday Journal

Well, it’s that time of year again! Time to start documenting the Holiday season. There seems to be something more special about every year that I want to record, our family is growing, and there is so much to be thankful for right now!

This journal sat in my shoppe for two years, it needed some love. So, I took it apart and added lots of fun, kitschy pages, along with some fall themed because I start these journals on Thanksgiving and work on them until the new year.

The first page spread is a pocket pages and a vintage book page I fell in love with. I spent this day getting the house ready for guests, and this homey scene captured the mood perfectly.

This little Dennison envelope had been bouncing around for a few years and I wanted to give it a home before it fell apart. It reminds me of those little “shakers” people are adding to their pages and happy mail.

Because I don’t always have room on my pages to journal, I decorated an envelope to keep some journaling paper in. Once in a while I’ll pour extra coffee onto a cookie sheet and dye vintage paper to have on hand. (maybe I should add these to my shoppe journals soon!?)

This year, I’m going to have my date stamp on hand! I put together a little tote from Hobby Lobby to keep all my supplies organized, I’m still driving over the pass to the east side once in a while and don’t want to forget things, but I’ll share more about that on another day.

The day after Thanksgiving we had a full house! Kids, dogs, new friends, and hopefully, new family!

My soon-to-be weekend page.

Of course, not everyday is a smash up success, I have crappy days like everyone else, but these journals give me a chance to reflect on the wonderful things that I want to be grateful for, especially with all the blessings I have in my life right now. I sometimes wonder if I would even notice my blessings if I didn’t have a place to document them.

And I have to say that You, my readers, are one of my many blessings!

Until next time,

Thank you for stopping by,

Have a great week,

~Patty

Gratitude Collage Journal “flip through”

A couple of weeks ago I announced on IG and FB, that I would be uploading a “flip through” video of my August gratitude journal, onto my YouTube channel. Then, I realized that it would be much simpler to take some photos and share them here, and I’m all about what’s easier these days! So, here goes…

img_5160

Days 19 & 20

The usual suspects: playing card, postage stamps, various store bought ephemera bits, and washi tape. I try to tie my page spreads together in some way, with this one I thought the horses did the trick.

img_5161

Days 21 & 22

A vintage summer theme here. On the page to the right, I used a technique I’ve been having a lot of fun with lately. I cut images from the same background paper then re-apply them randomly to the page. The three round pieces outlined with pencil were re-applied, it seems to give the page more depth.

img_5165

Days 23 & 24

This is mostly a play with color. Some days I don’t get as much done, but I’m always grateful for evenings spent with my honey!

img_5168

Days 25 & 26

One of my favorite things to do in my list journals is to find alternative ways to date them, I just used a circle stamp for the 26th. Also, I tried mirroring the grey with polka dots in the sticker over on the left, along with the flowers for a more cohesive look.

img_5170

Days 27 & 28

Some fun memories of our visit to see my daughter and her family. I took loads of photos, but I prefer to use those in my Midori gratitude journal.

I was lucky to find a postage stamp with 28 cents postage on it for the date, and it added a nice pop of color!

img_5172

Days 29 & 30

Nearing the end of my little journal. As you can see, I kind of threw these pages together. Monday, I was fighting a cold, by Tuesday it had won.

img_5174

Day 31

And the end of this journal. A wonderful keepsake, but not necessarily something I want to do every month, just here and there throughout the year. I may try one of these quarterly, just to hit the highlights next time, that will be after the Holidays…

I can’t wait to start this years Holiday journal! Those are my all time favorites to make!

But until then, I may have to pull out some of my old Holiday journals to share on this blog since they all got lost on “ye olde blog”. Just to get some creative inspiration going! Sounds like fun!

Thanks once again for the visit,

See you soon,

~Patty