Postcard Swap Tutorial…or not?

Today I thought I would share a short tutorial on how I made my postcards for the iHanna DIY-postcardswap, but it seems I had a few technical difficulties, i.e.: I accidentally deleted the photos…DOH!

Luckily, I didn’t delete all of the photos so I can give you a quick run down.

 I started out with some painted backgrounds, then adhered various botanical napkins, easy peasy. Some of the painted backgrounds were pretty ghastly, but the botanicals fixed that and actually made them quite interesting.

Then I embellished with the usual suspects: die cuts, postage stamps, washi tape, and chipboard letters (someday I’ll run out of these) Those butterflies at the top left were printed on Avery #8665 clear 8 1/2″x11″ shipping label paper. I purchased them from the Illustrated Faith Print & Pray shop. Follow the link, they are still available.

I just arranged the pieces in little clusters, then went around them with a #6B pencil, rounded the corners, and applied a layer of satin varnish to seal them and pop the color.

That’s about it for today. I’ve been staying super busy filling up my shoppe with Fall journal decor, Christmas journals, and ephemera packs, follow this link and have a look around. If you see something you like, use the coupon code CUSTOMERLOVE20 to receive 20% off your order.

As always, thanks for stopping by,

Have a wonderful week,

~Patty

SaveSave

Another Batch of Postcards

GIVEAWAY CLOSED! BUT PLEASE DON’T LET THAT STOP YOU FROM ENJOYING MY BLOG POST. THANK YOU TO EVERYONE WHO PARTICIPATED. I’LL BE SURE TO  HAVE ANOTHER ONE SOON!

My last postcard giveaway was a lot more successful than I thought it would be! As a matter of fact, because I neglected to put a stop on the offer to send one to anyone that emailed their address to me, I have fallen behind on sending them out.

And, because I can’t just make one or two at a time, I’m having another giveaway. Yay!

I want to give you plenty of time to think about it, so I wrote a super lengthy blog post. A process post for this latest batch:

img_6782

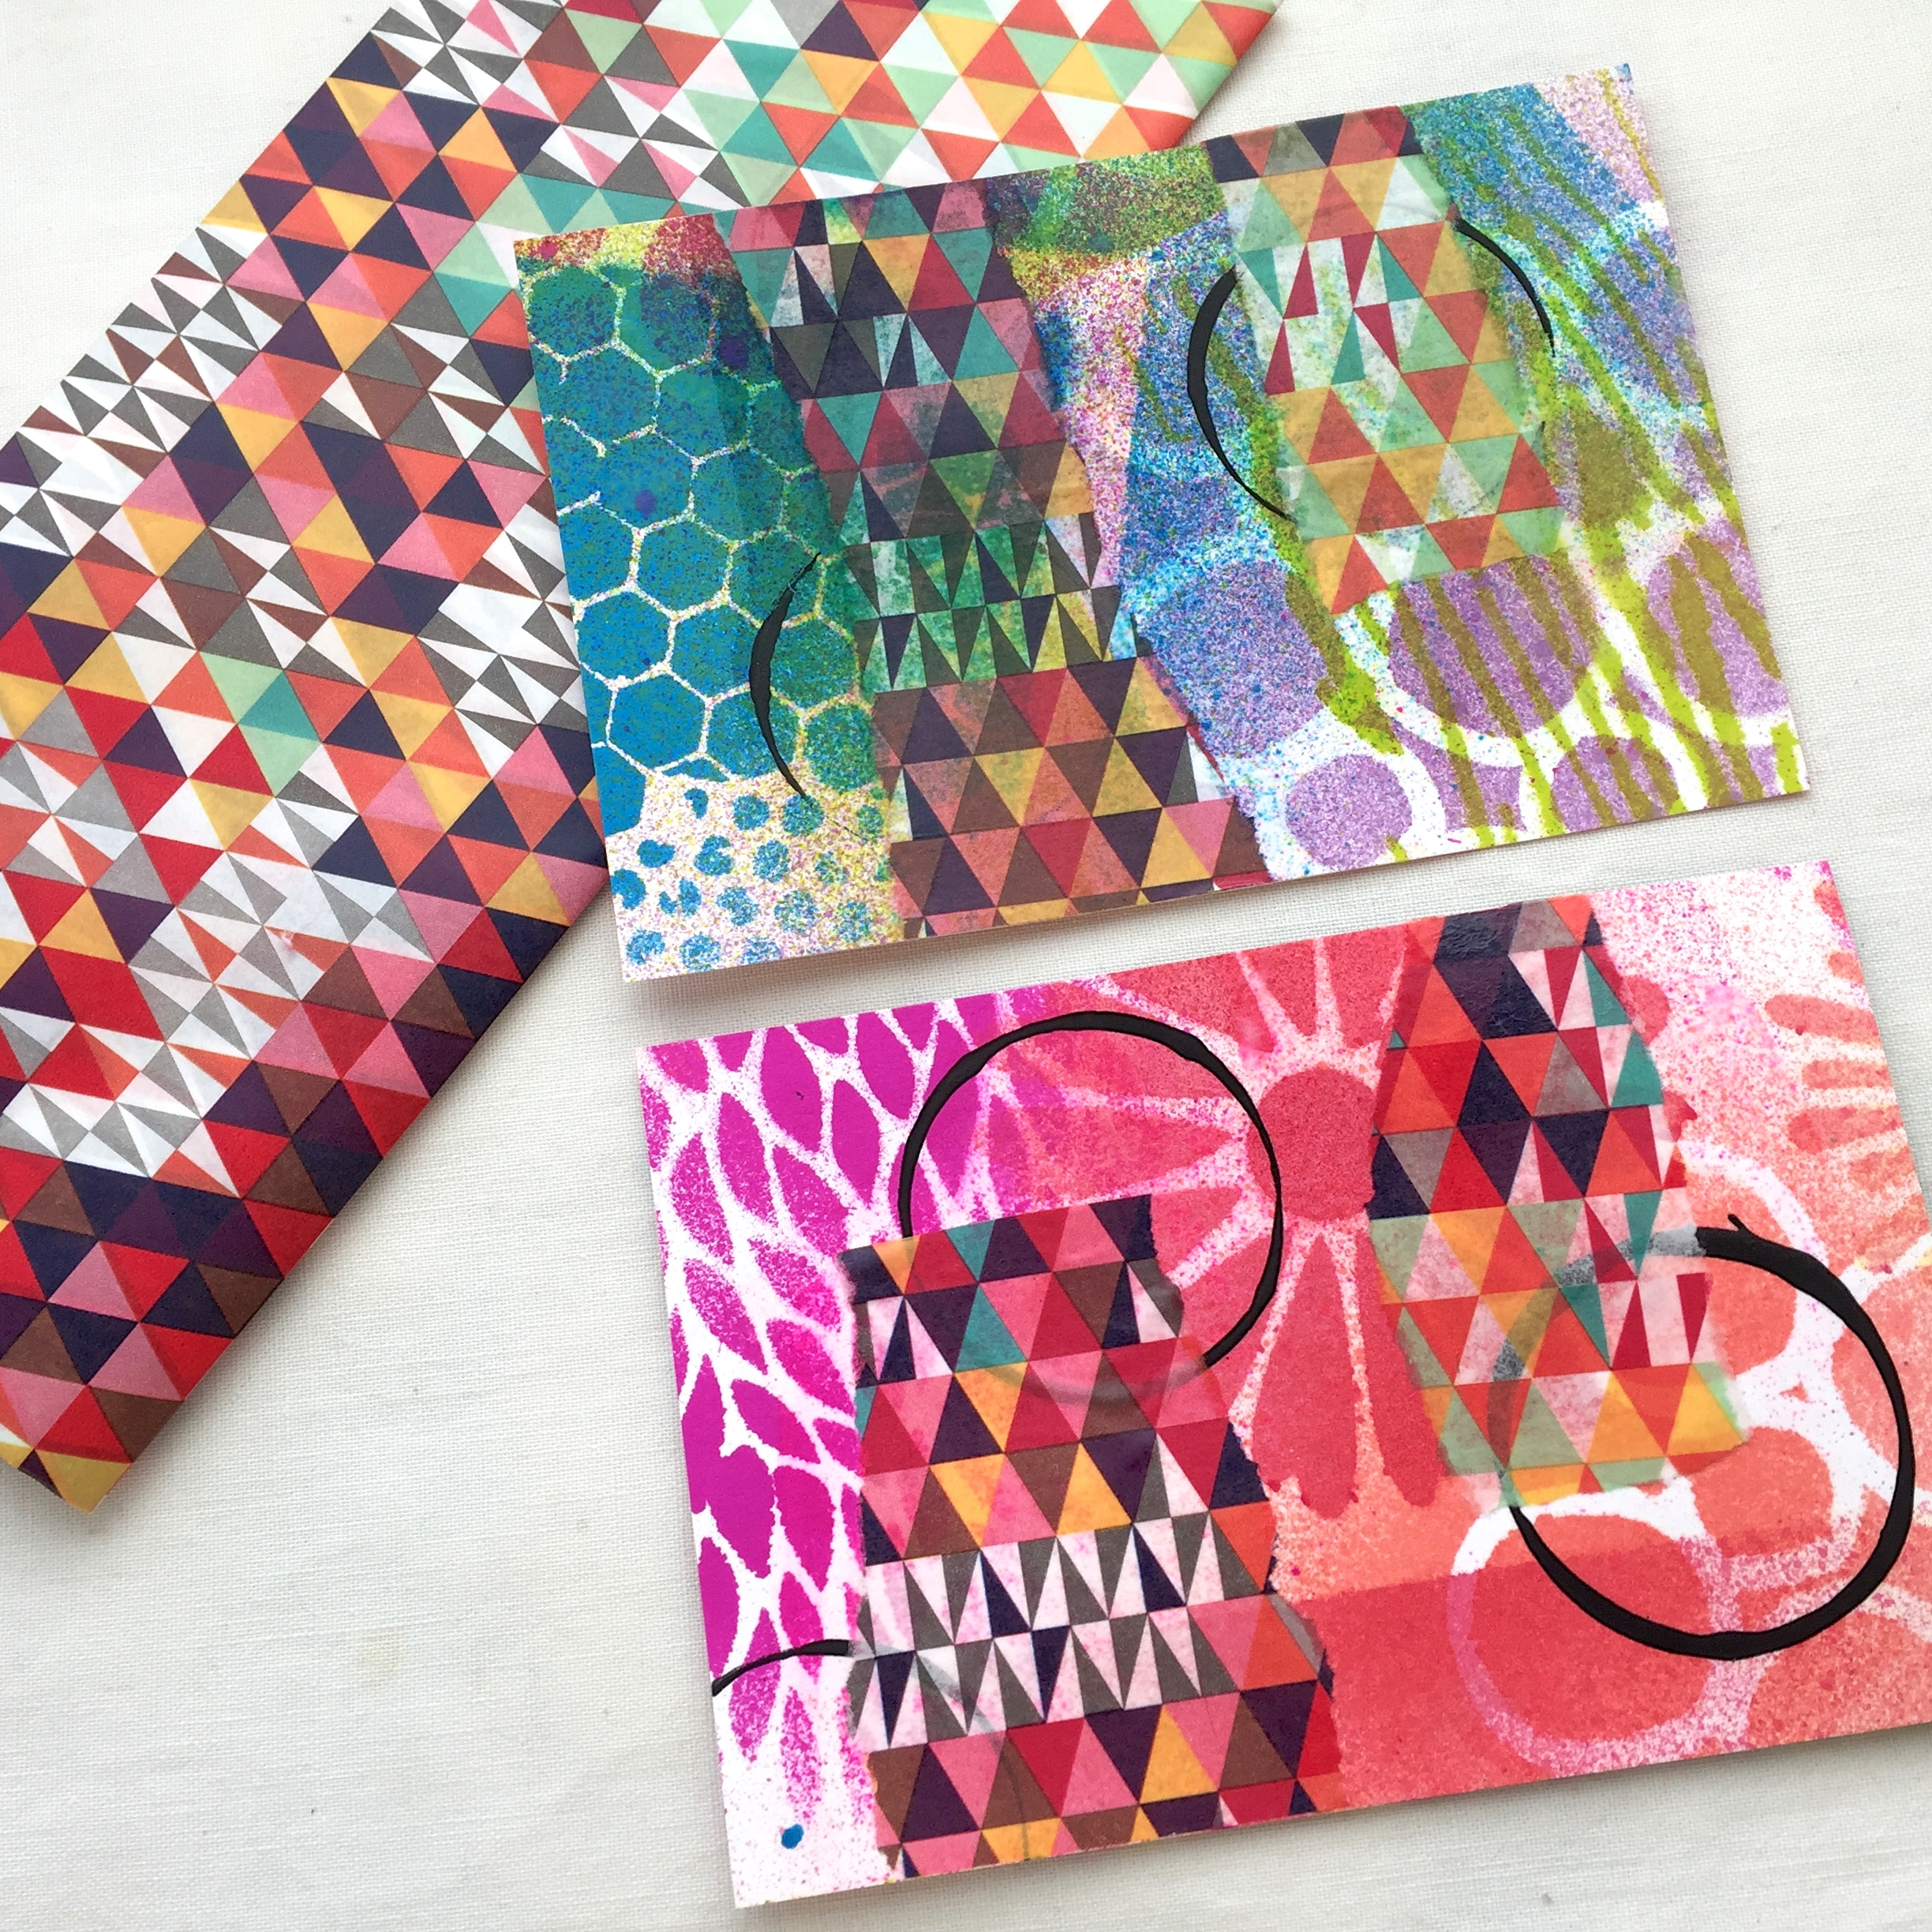
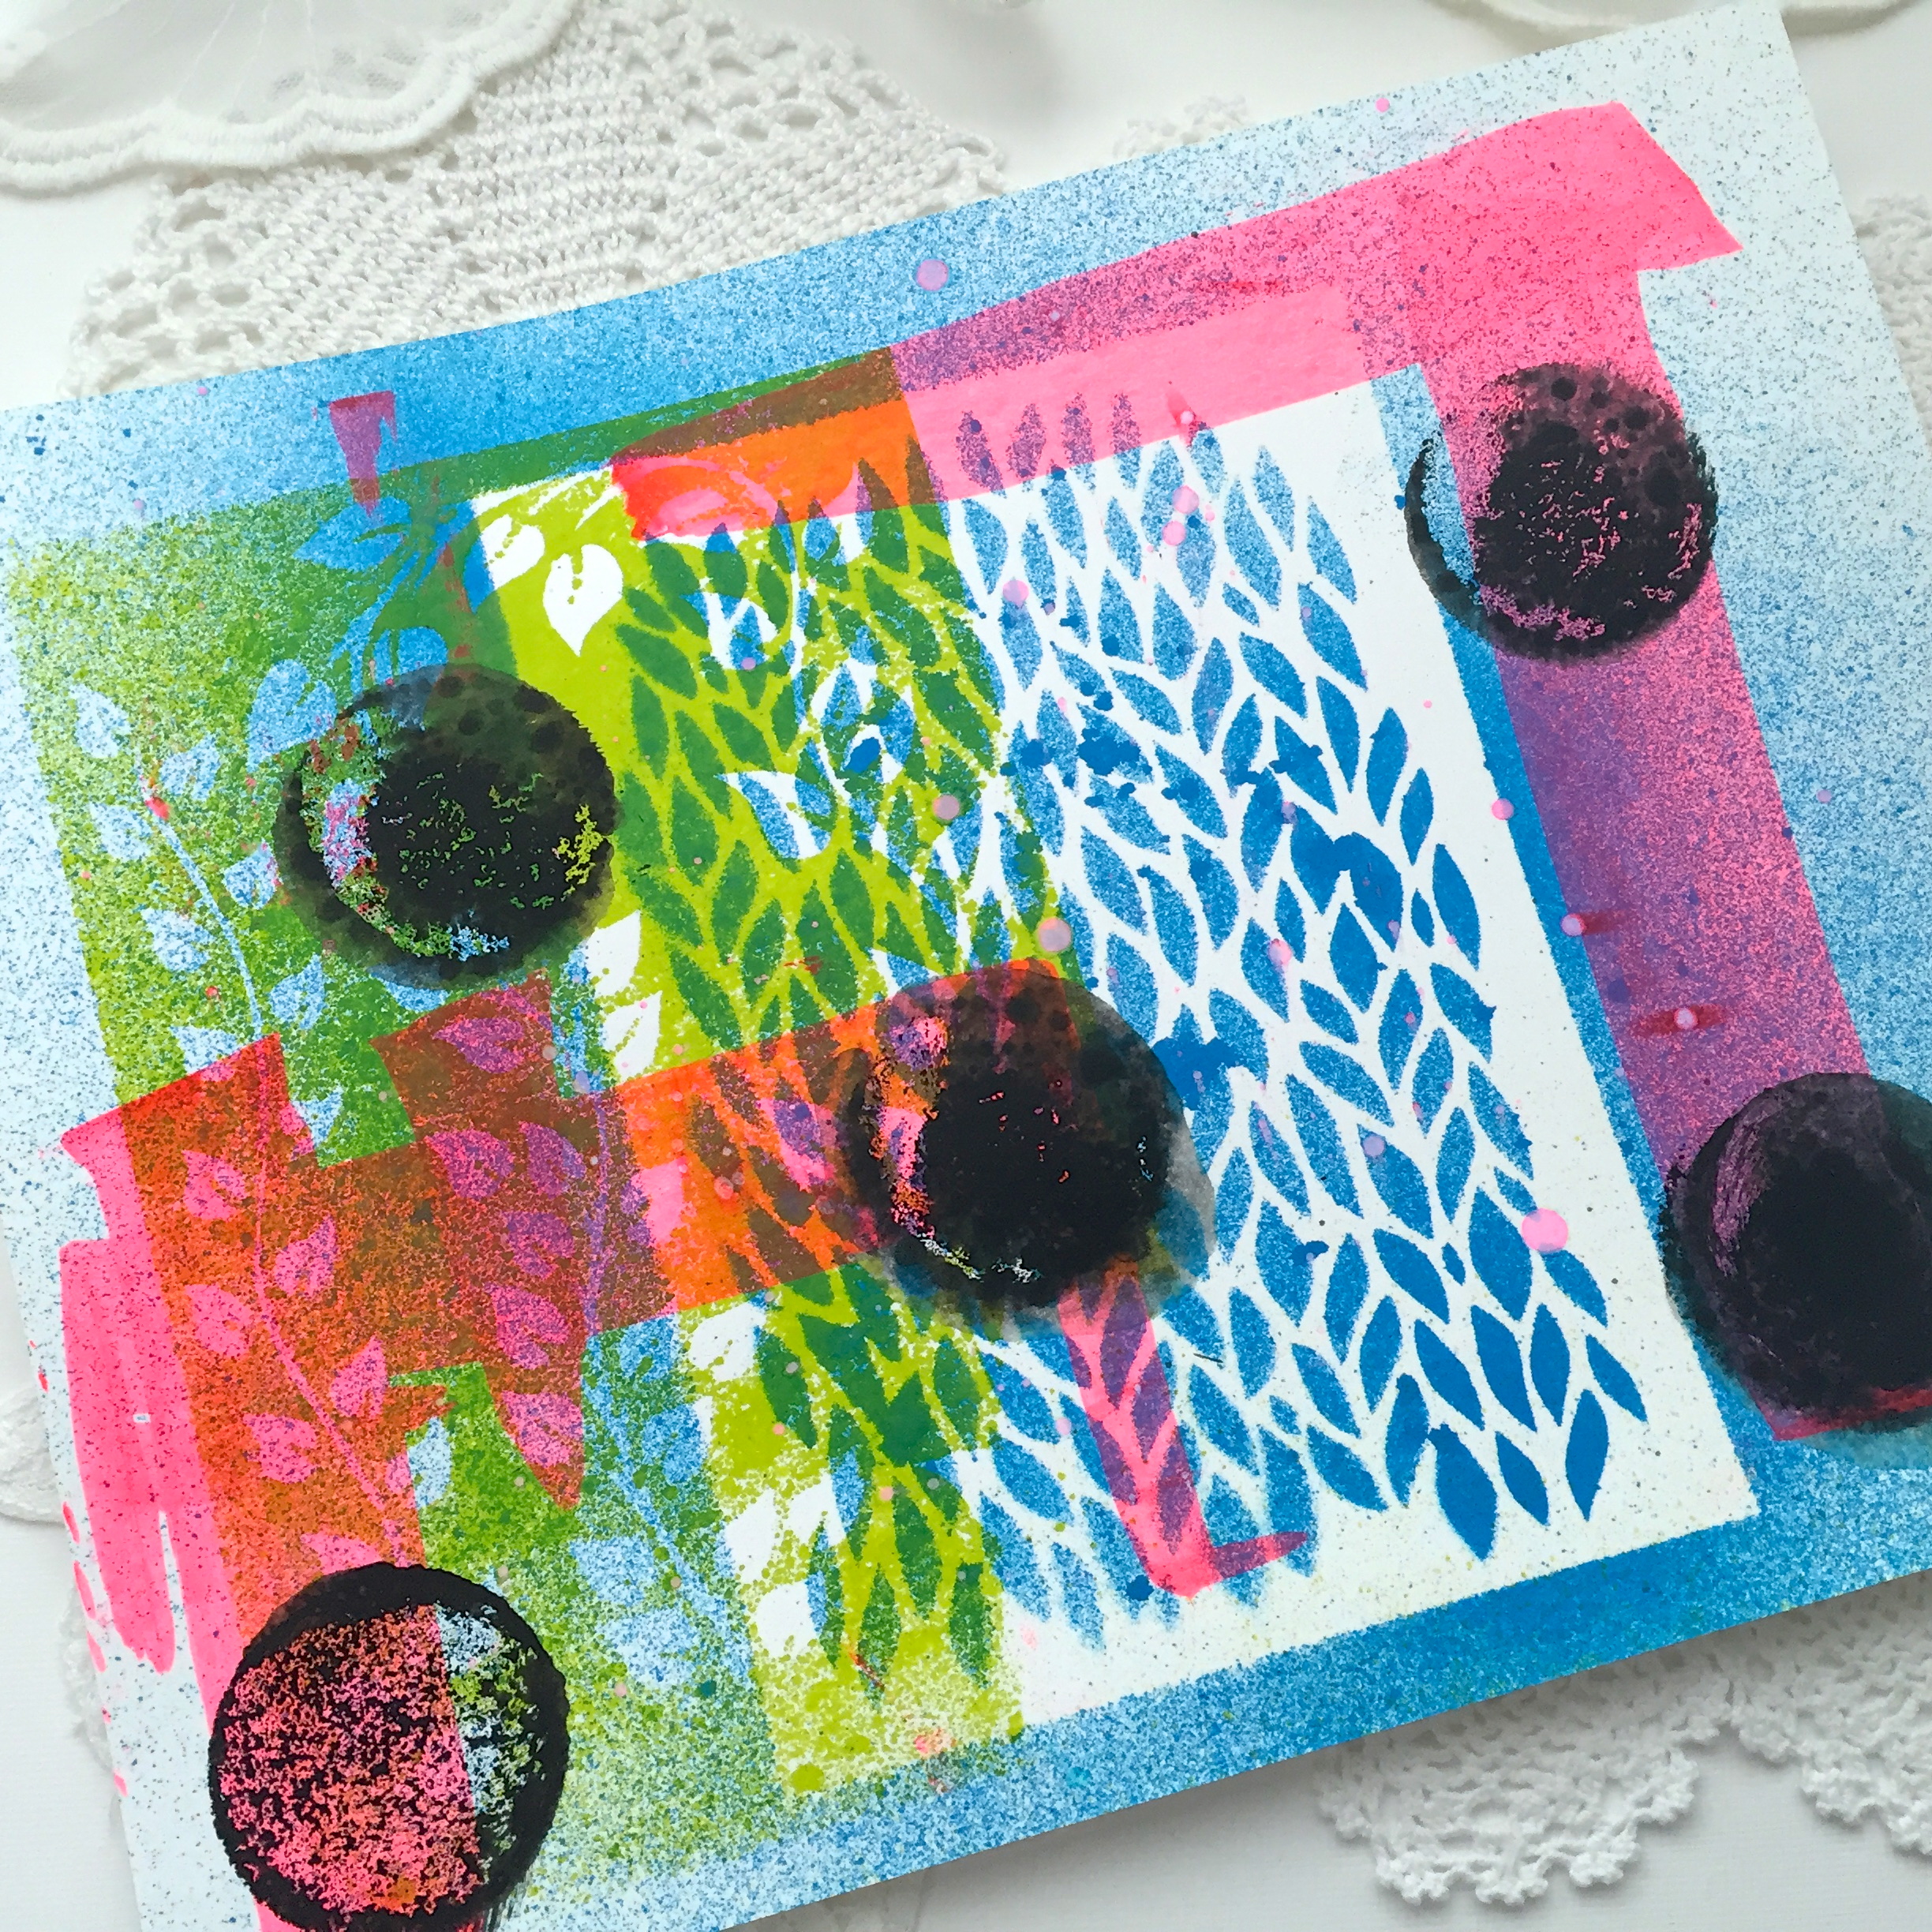
First, let’s start with the base layer. This is an experiment I did with layered painting from an online class I took. I’m not going to beat around the bush, I don’t like it! I don’t know if it’s because this is just not my style, or I just need to practice more.

It has been stuffed in my closet for a few months, and I think this is the perfect project for it. First, I adhered it onto heavy card stock…

img_6784

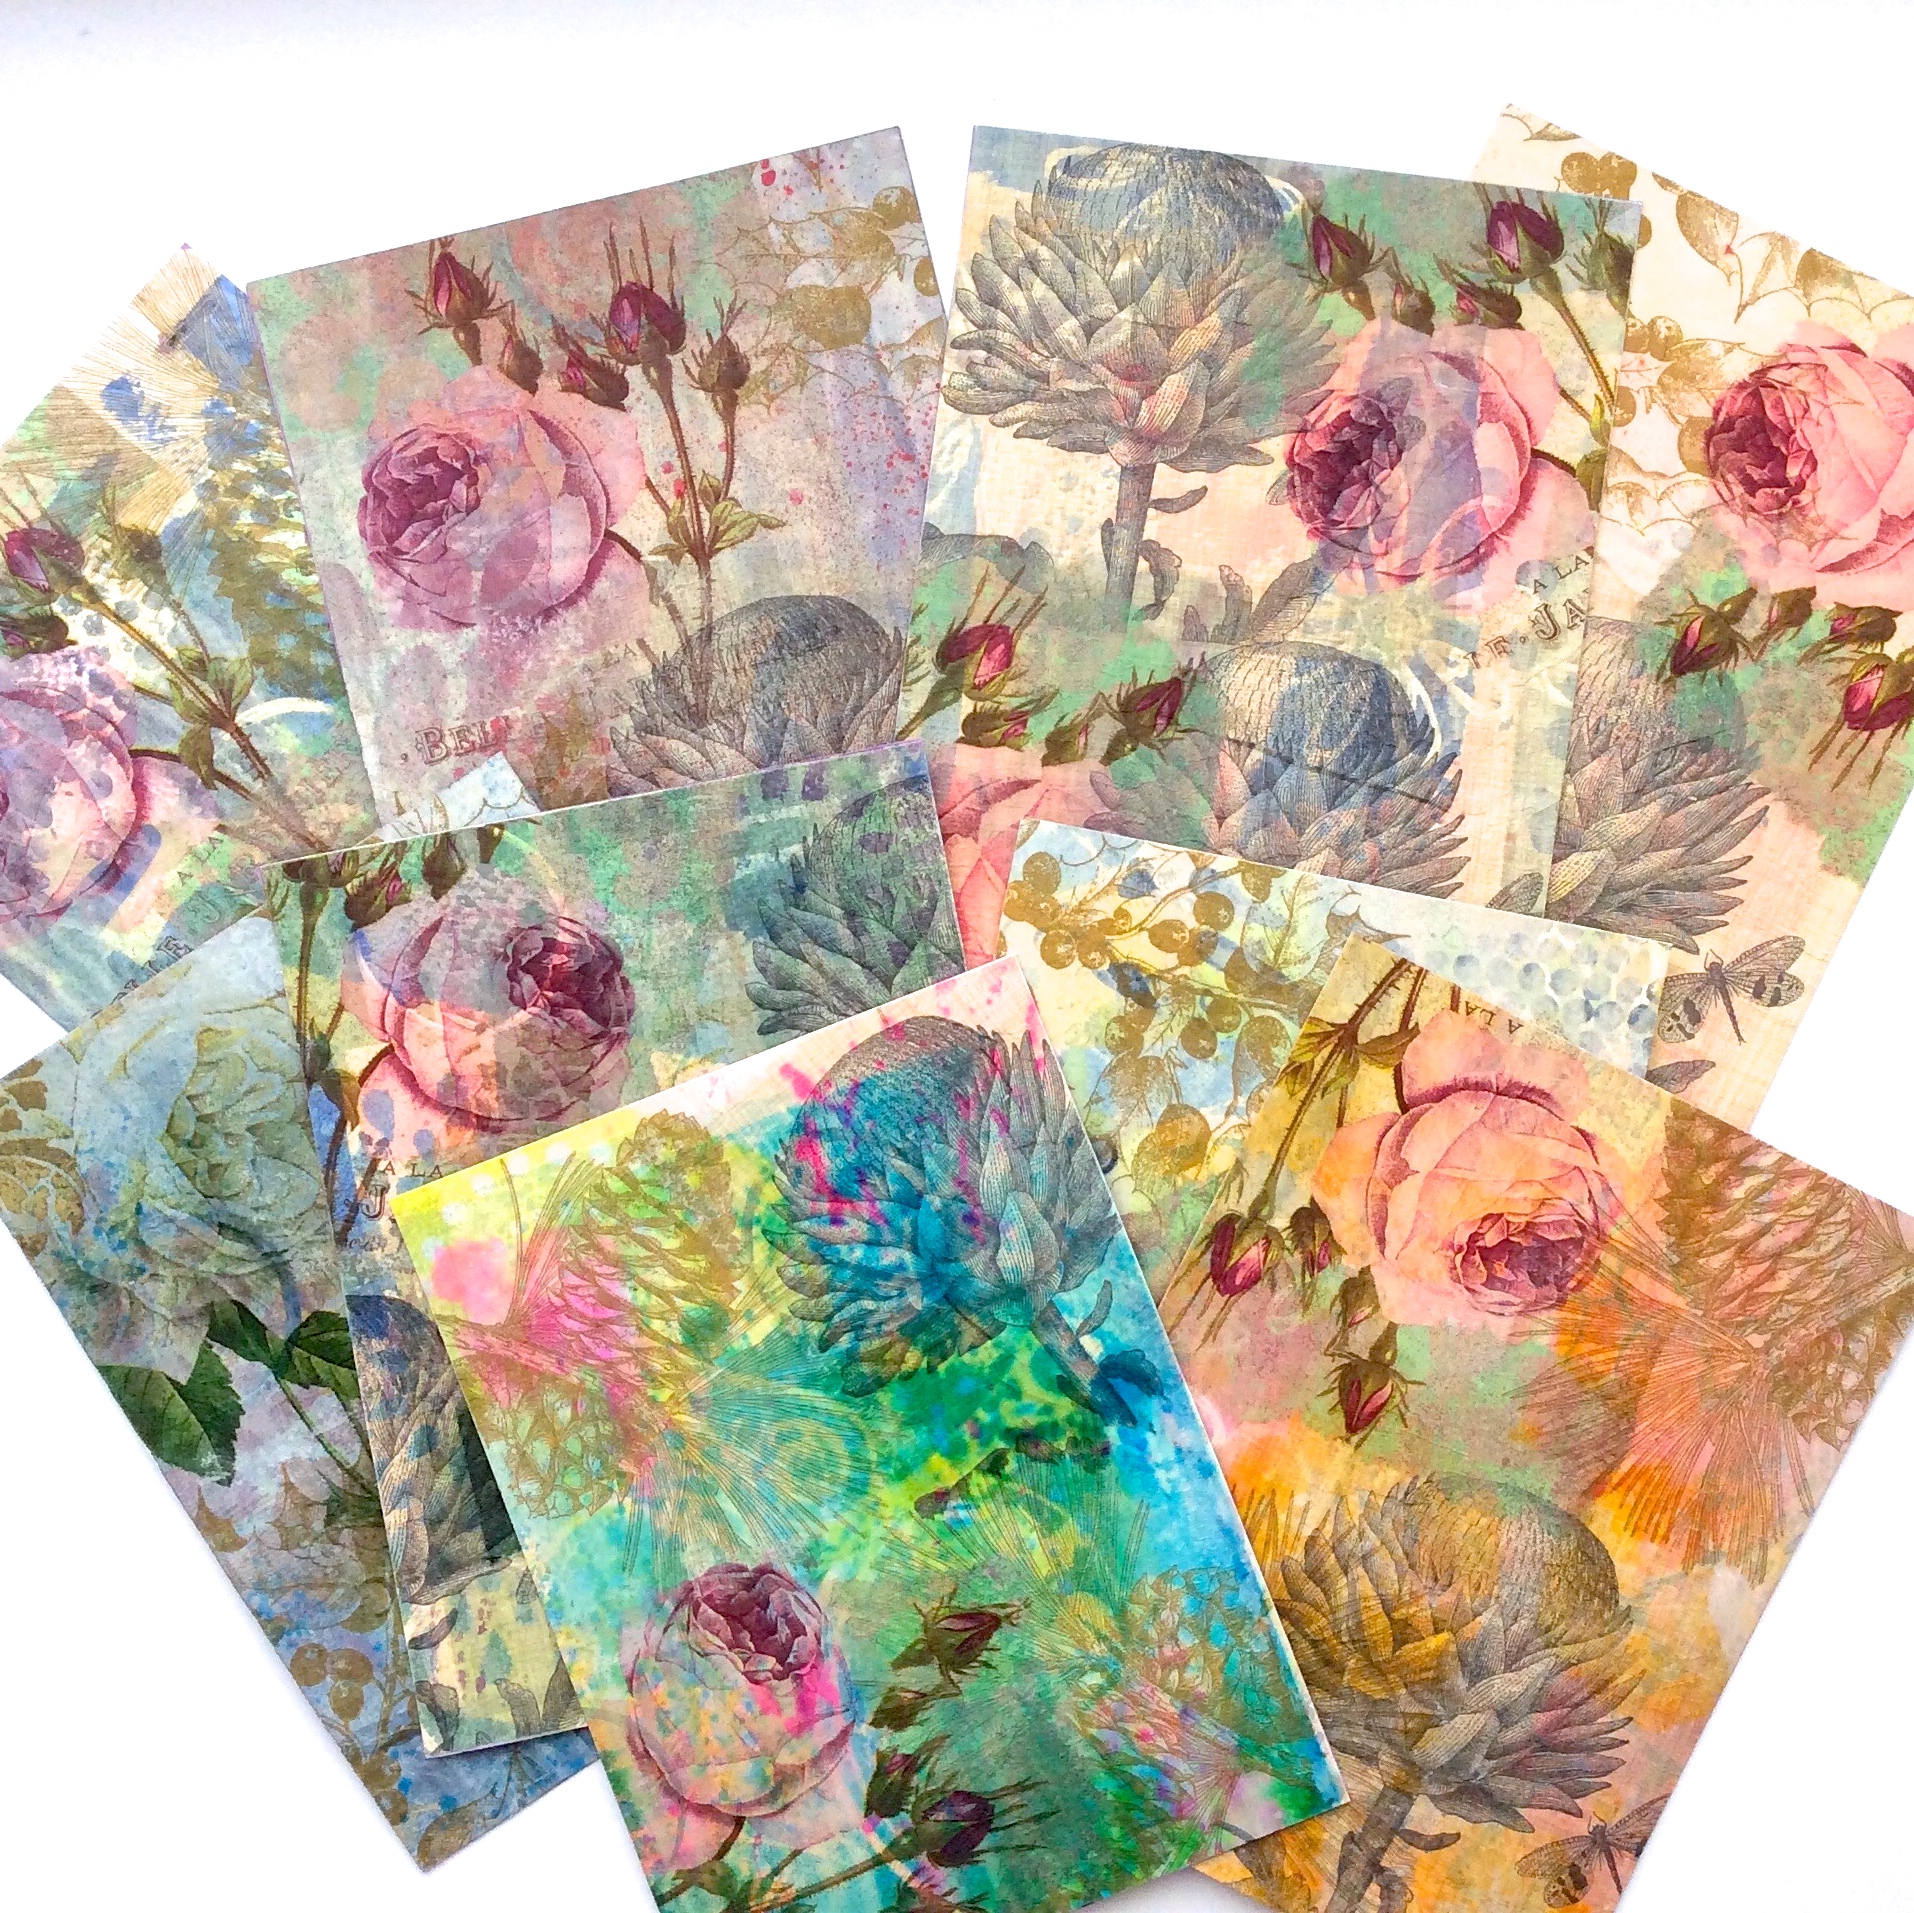
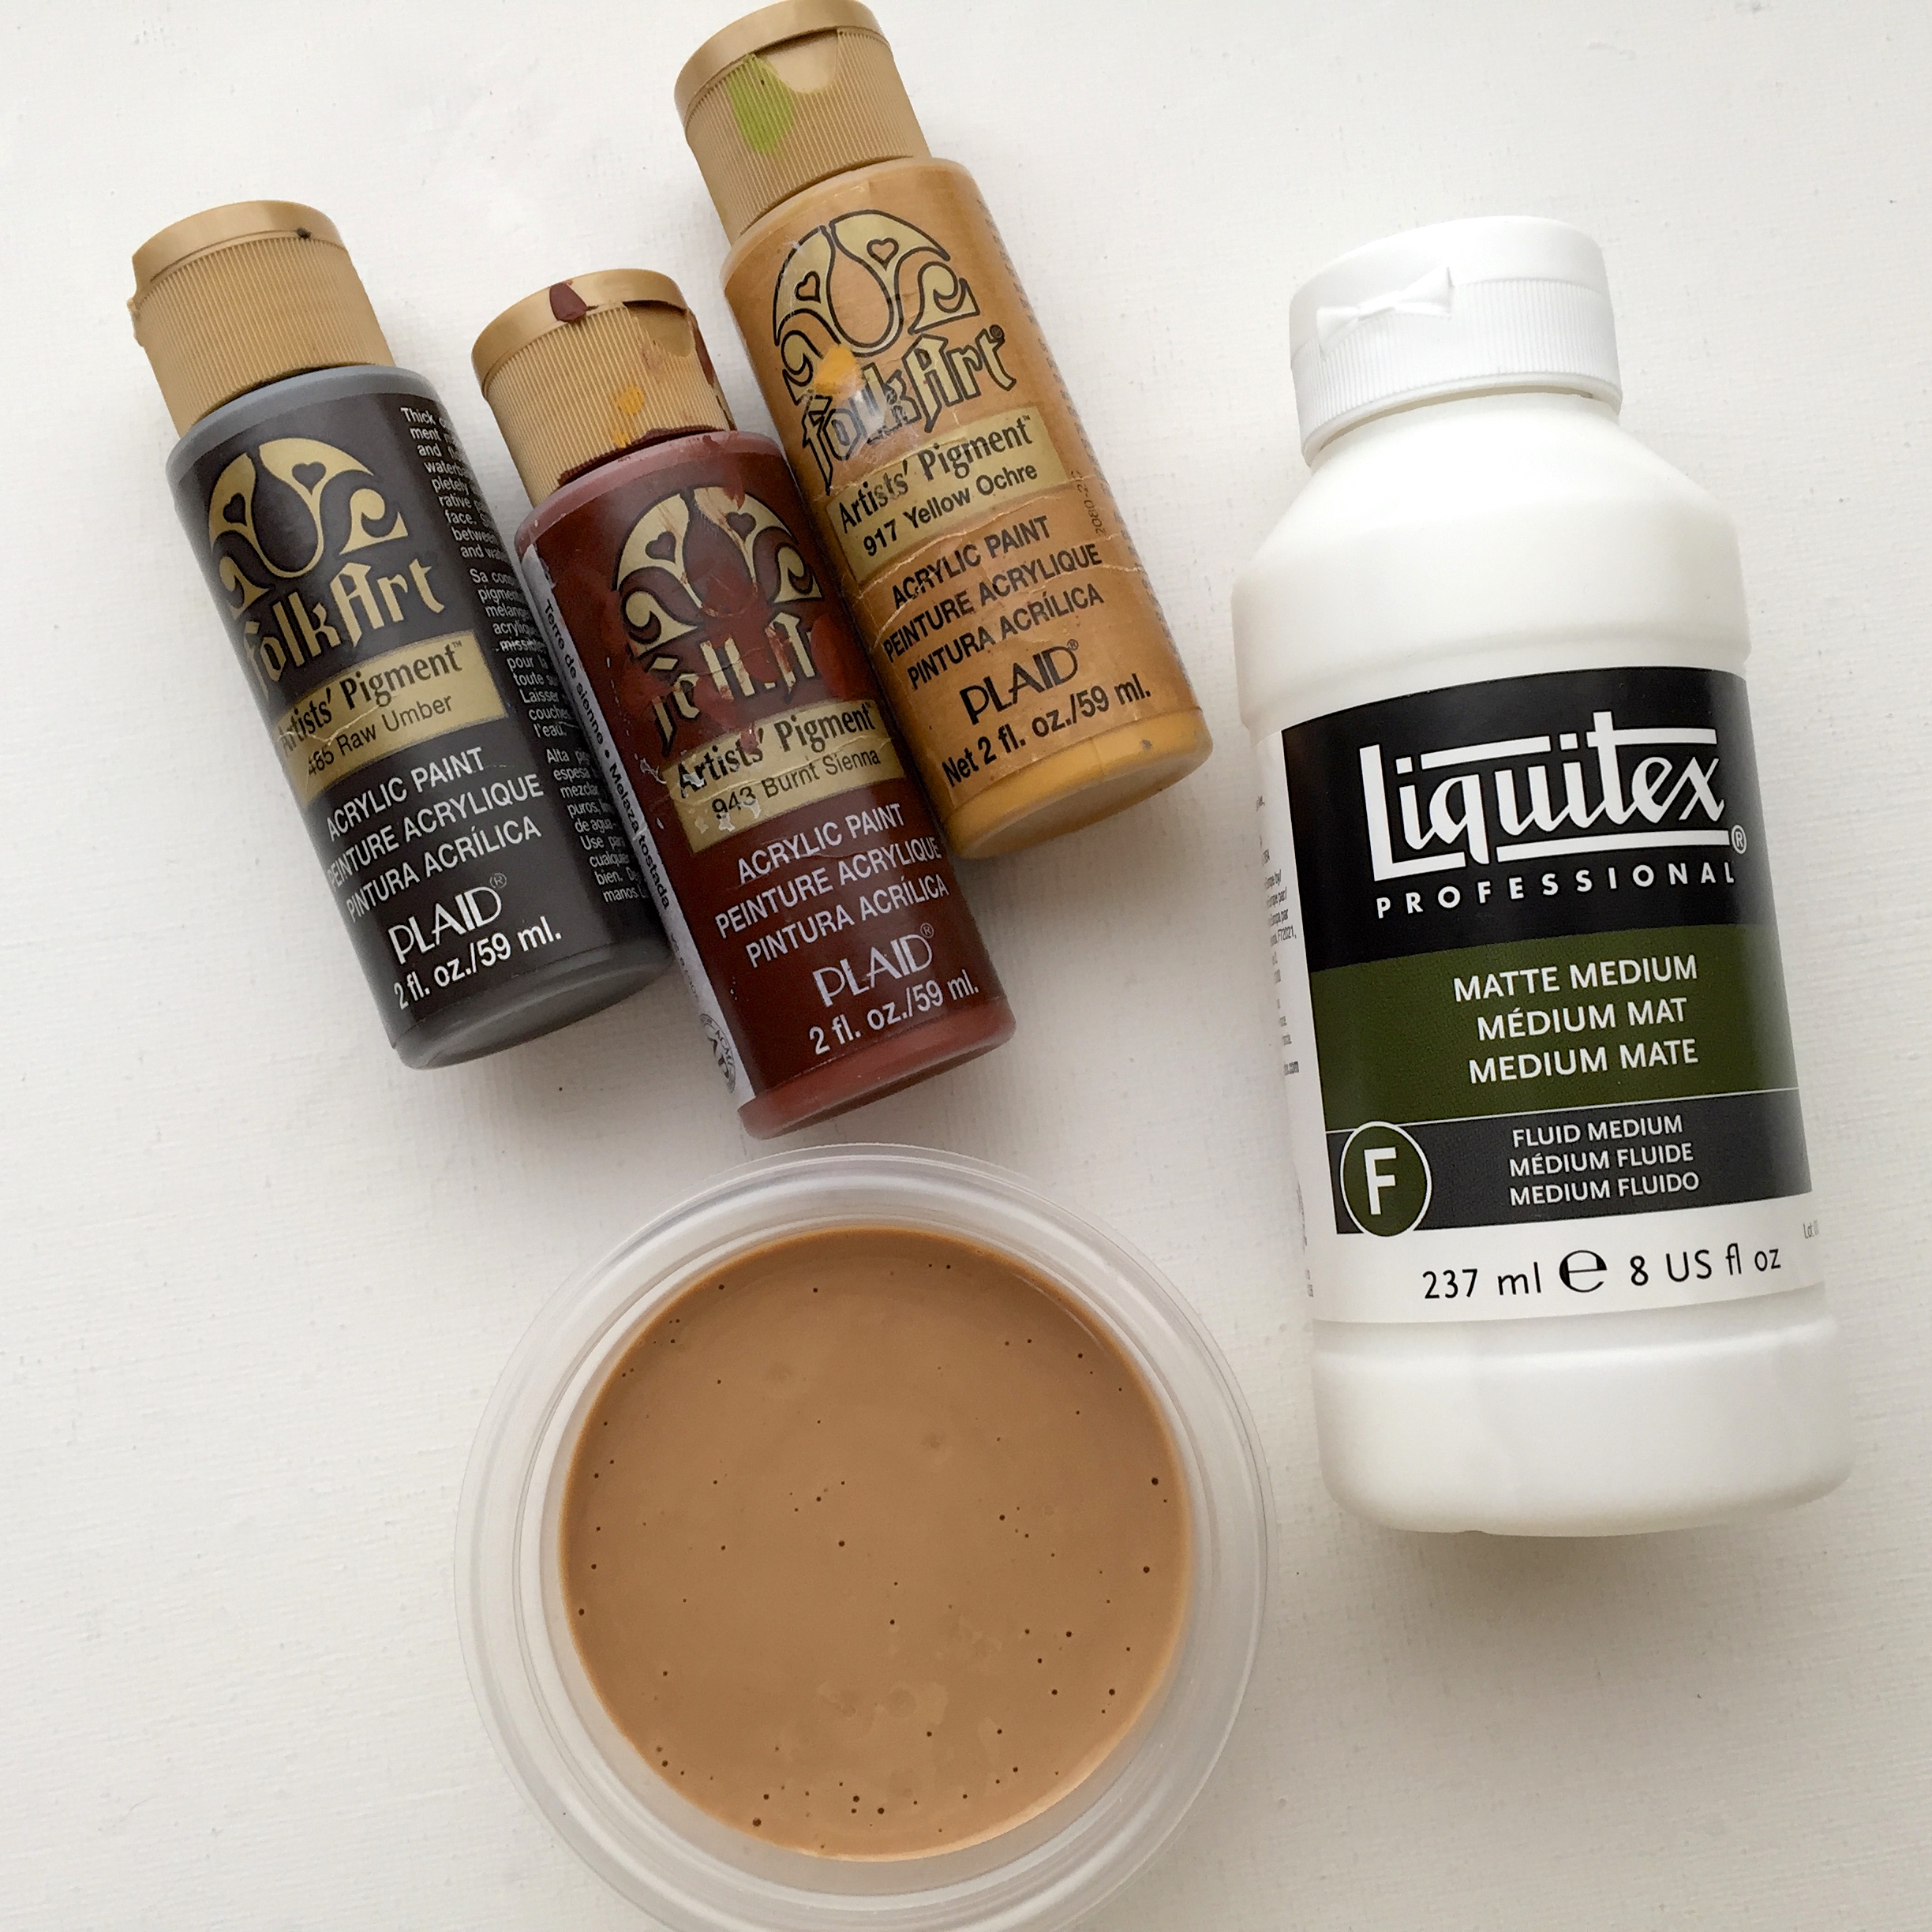
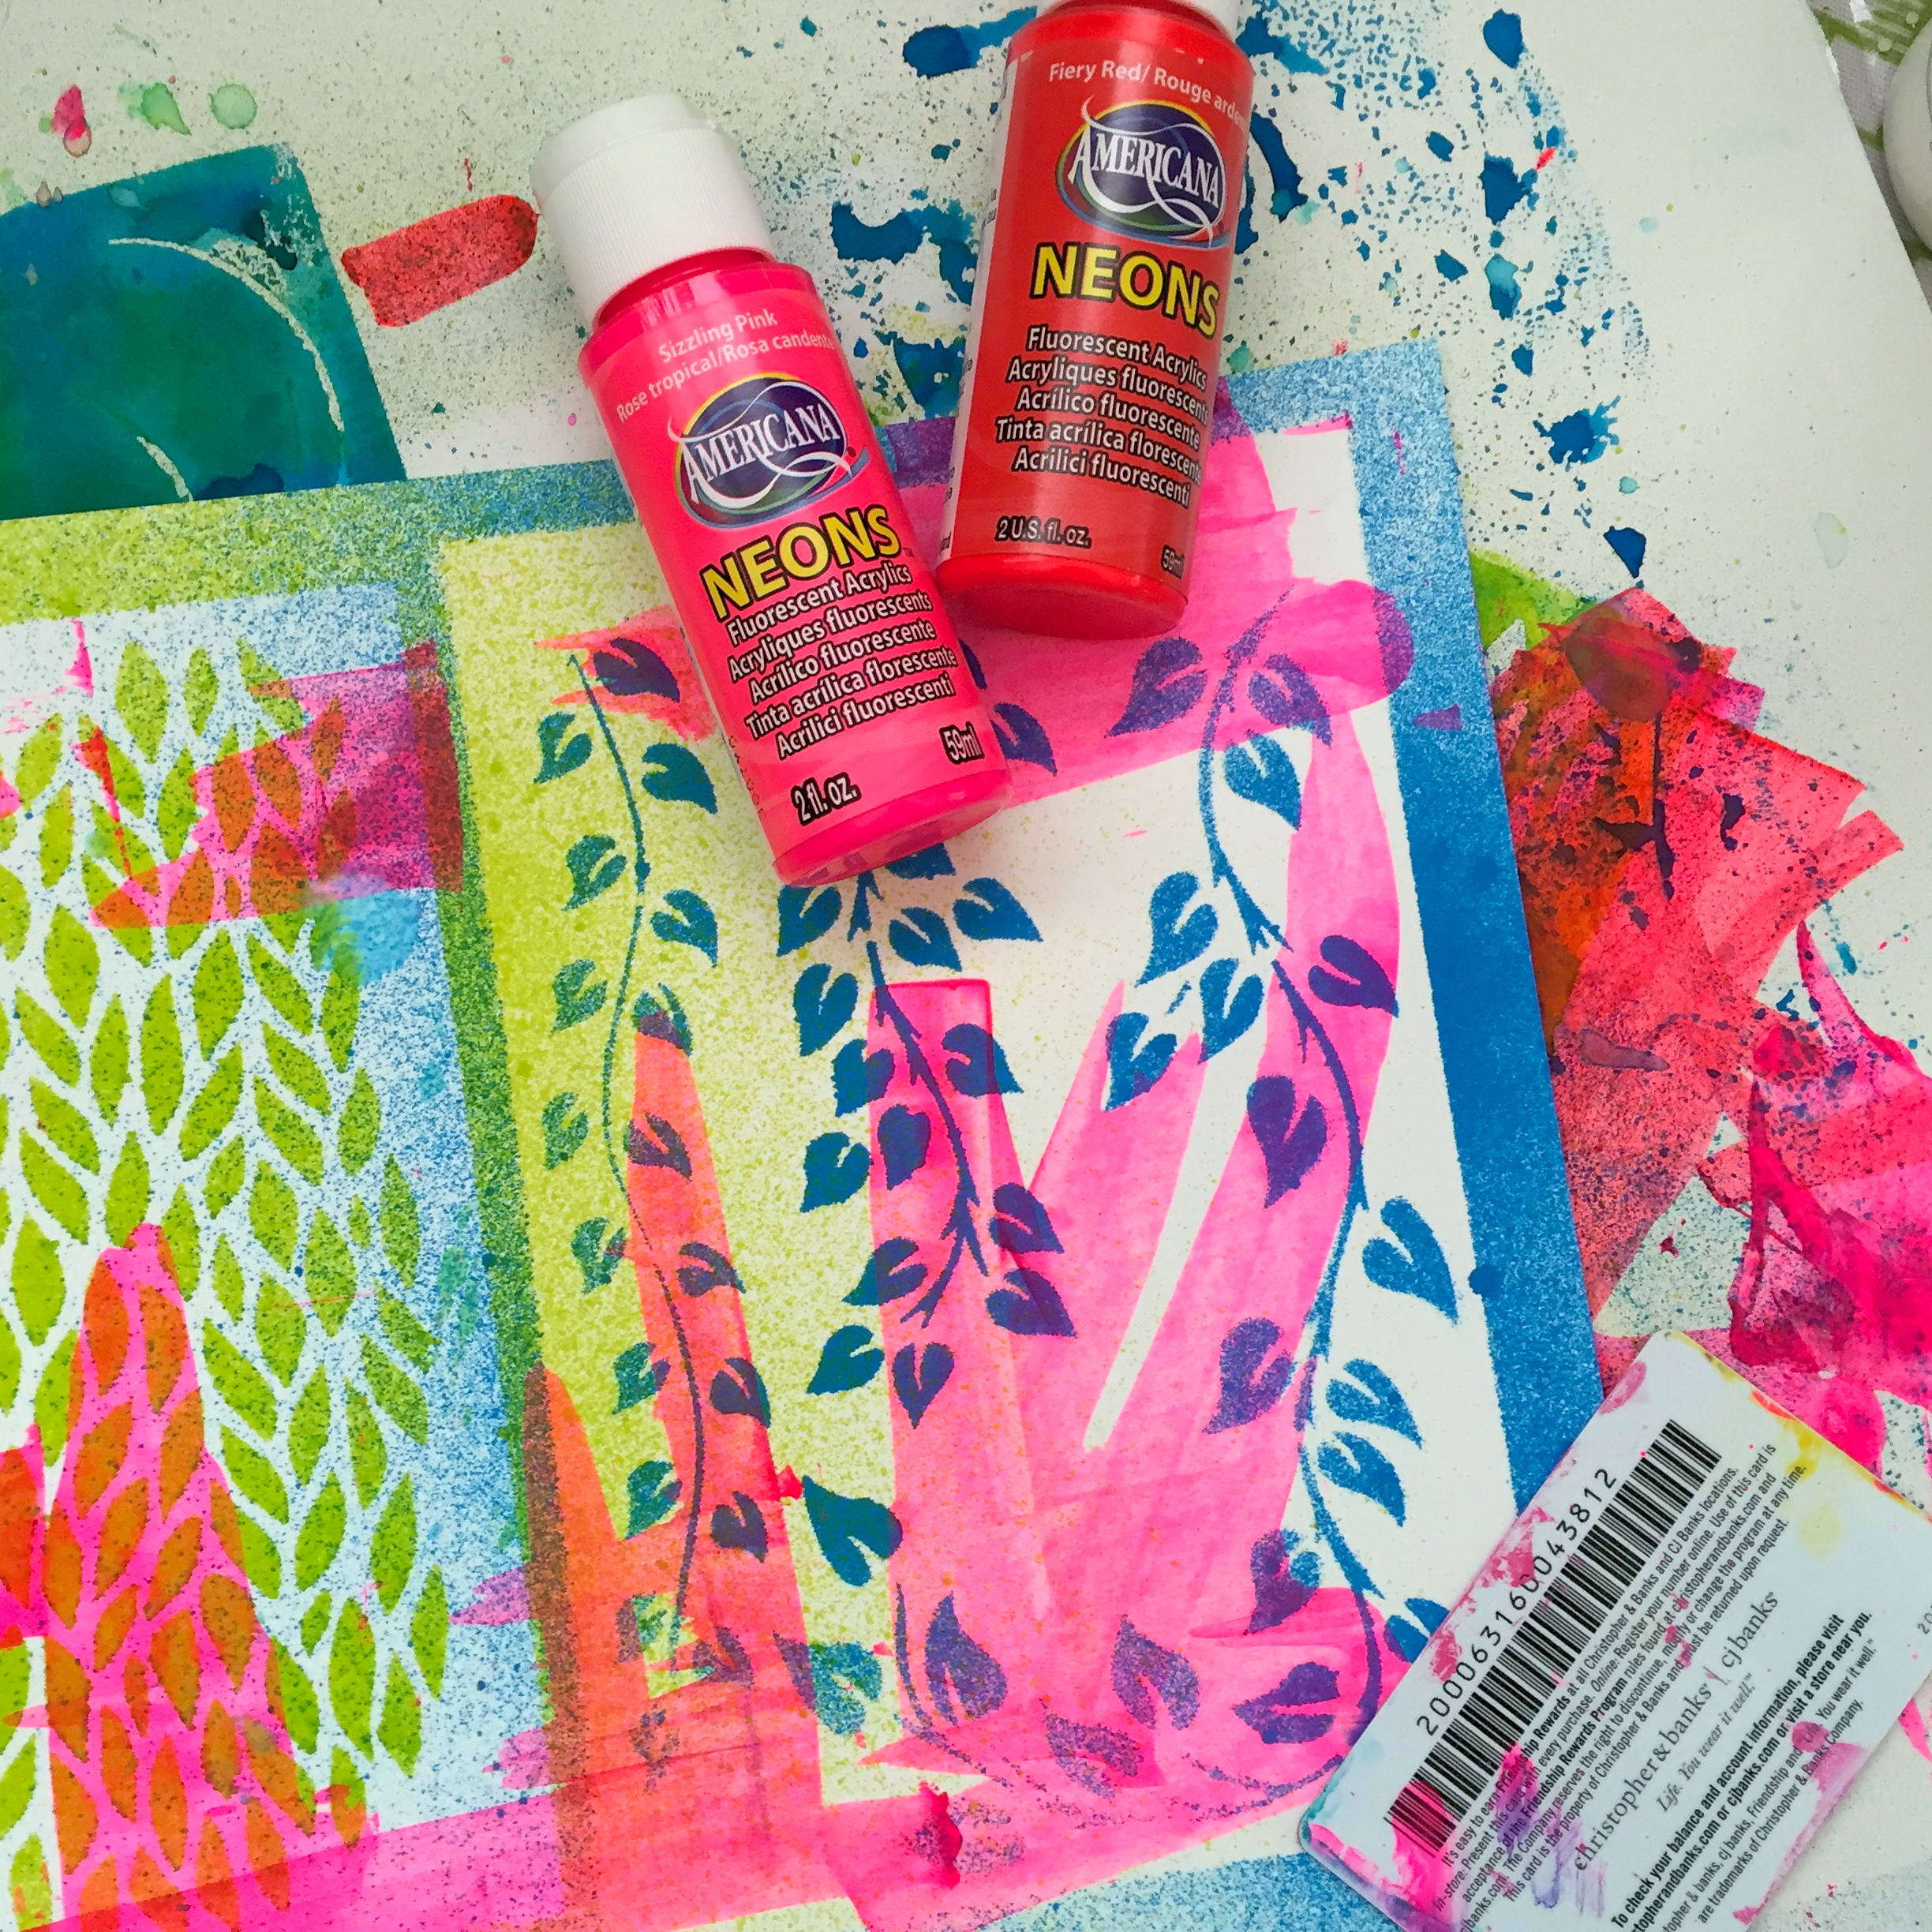
…then I started the layering process. My favorite tissue paper and matte medium. I always use Liquitex matte medium because it’s very smooth and doesn’t dry too fast, so the tissue paper won’t tear too easily.

img_6789

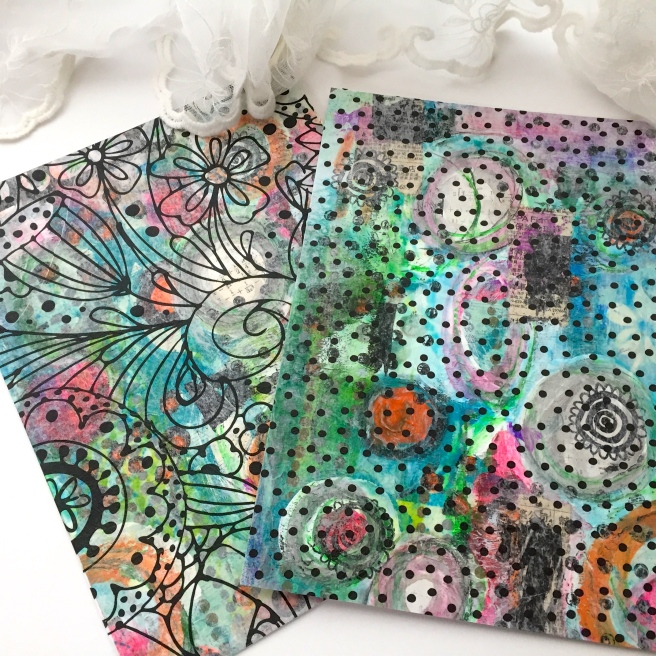
As you can see, the background is still visible, kinda.

img_6795

Next, a little doodle coloring. These pens said waterproof, but they still smeared a bit.

img_6793

But it looked pretty before it smeared.

img_6788

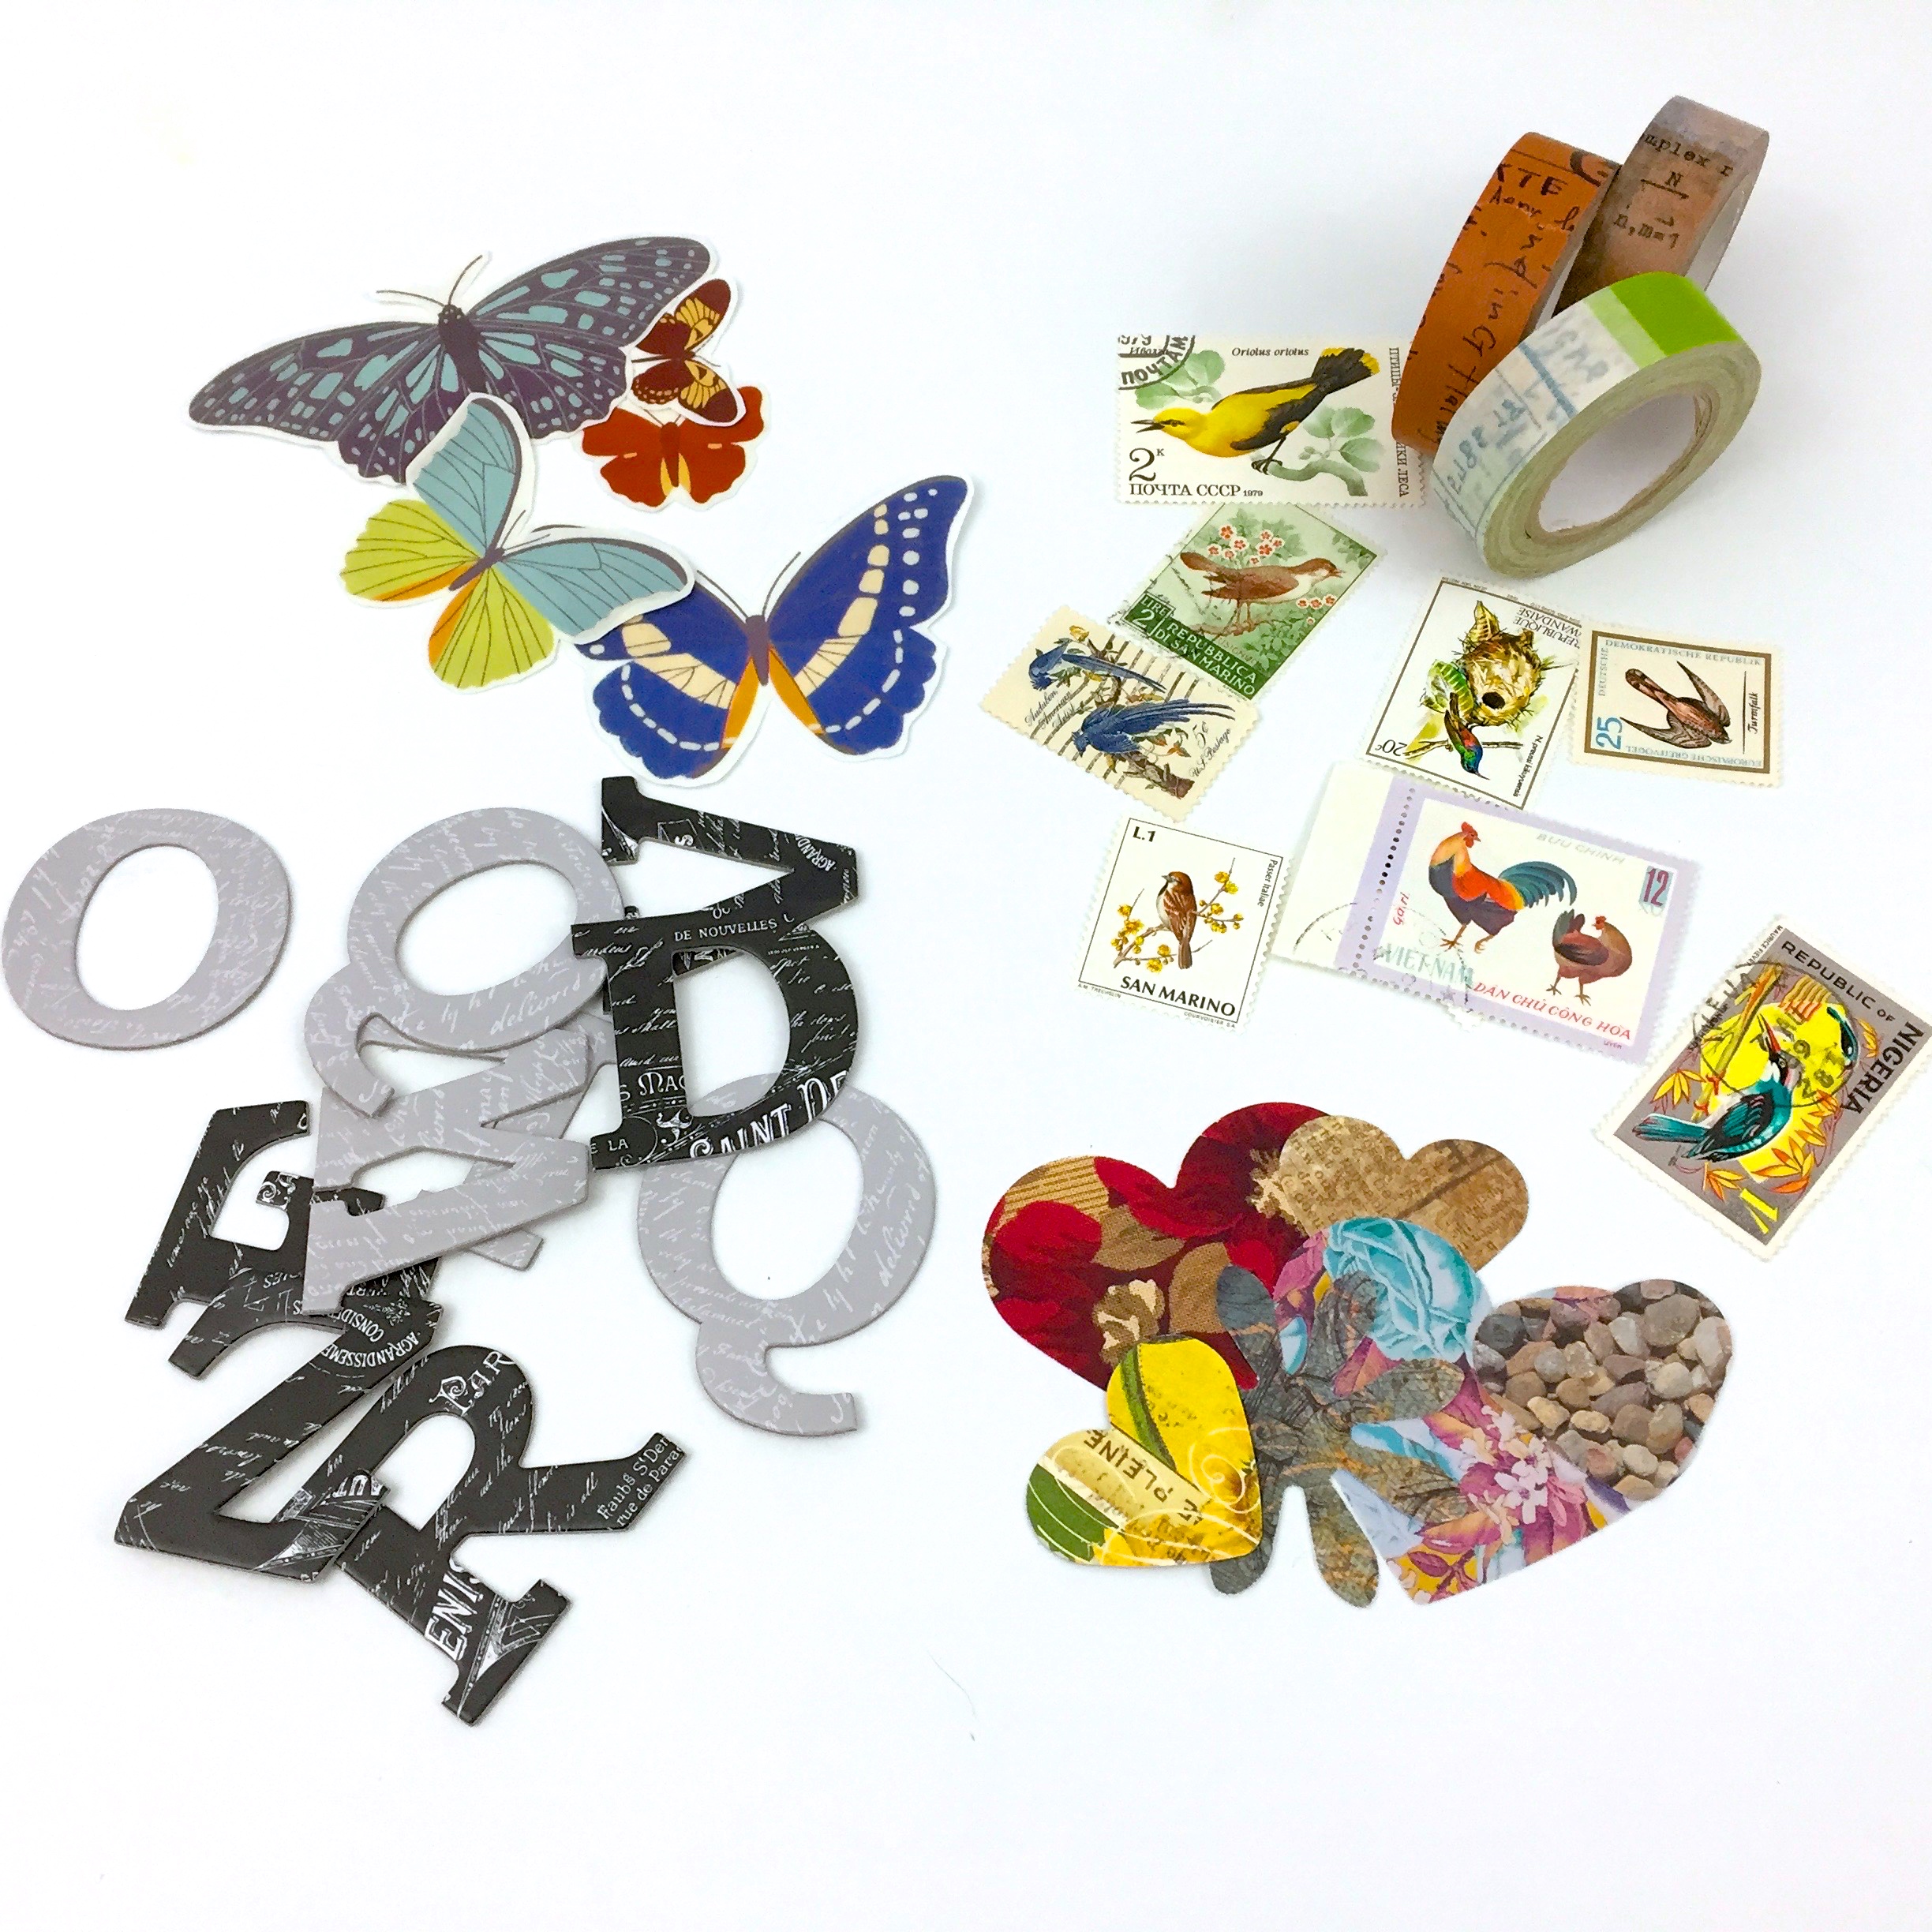
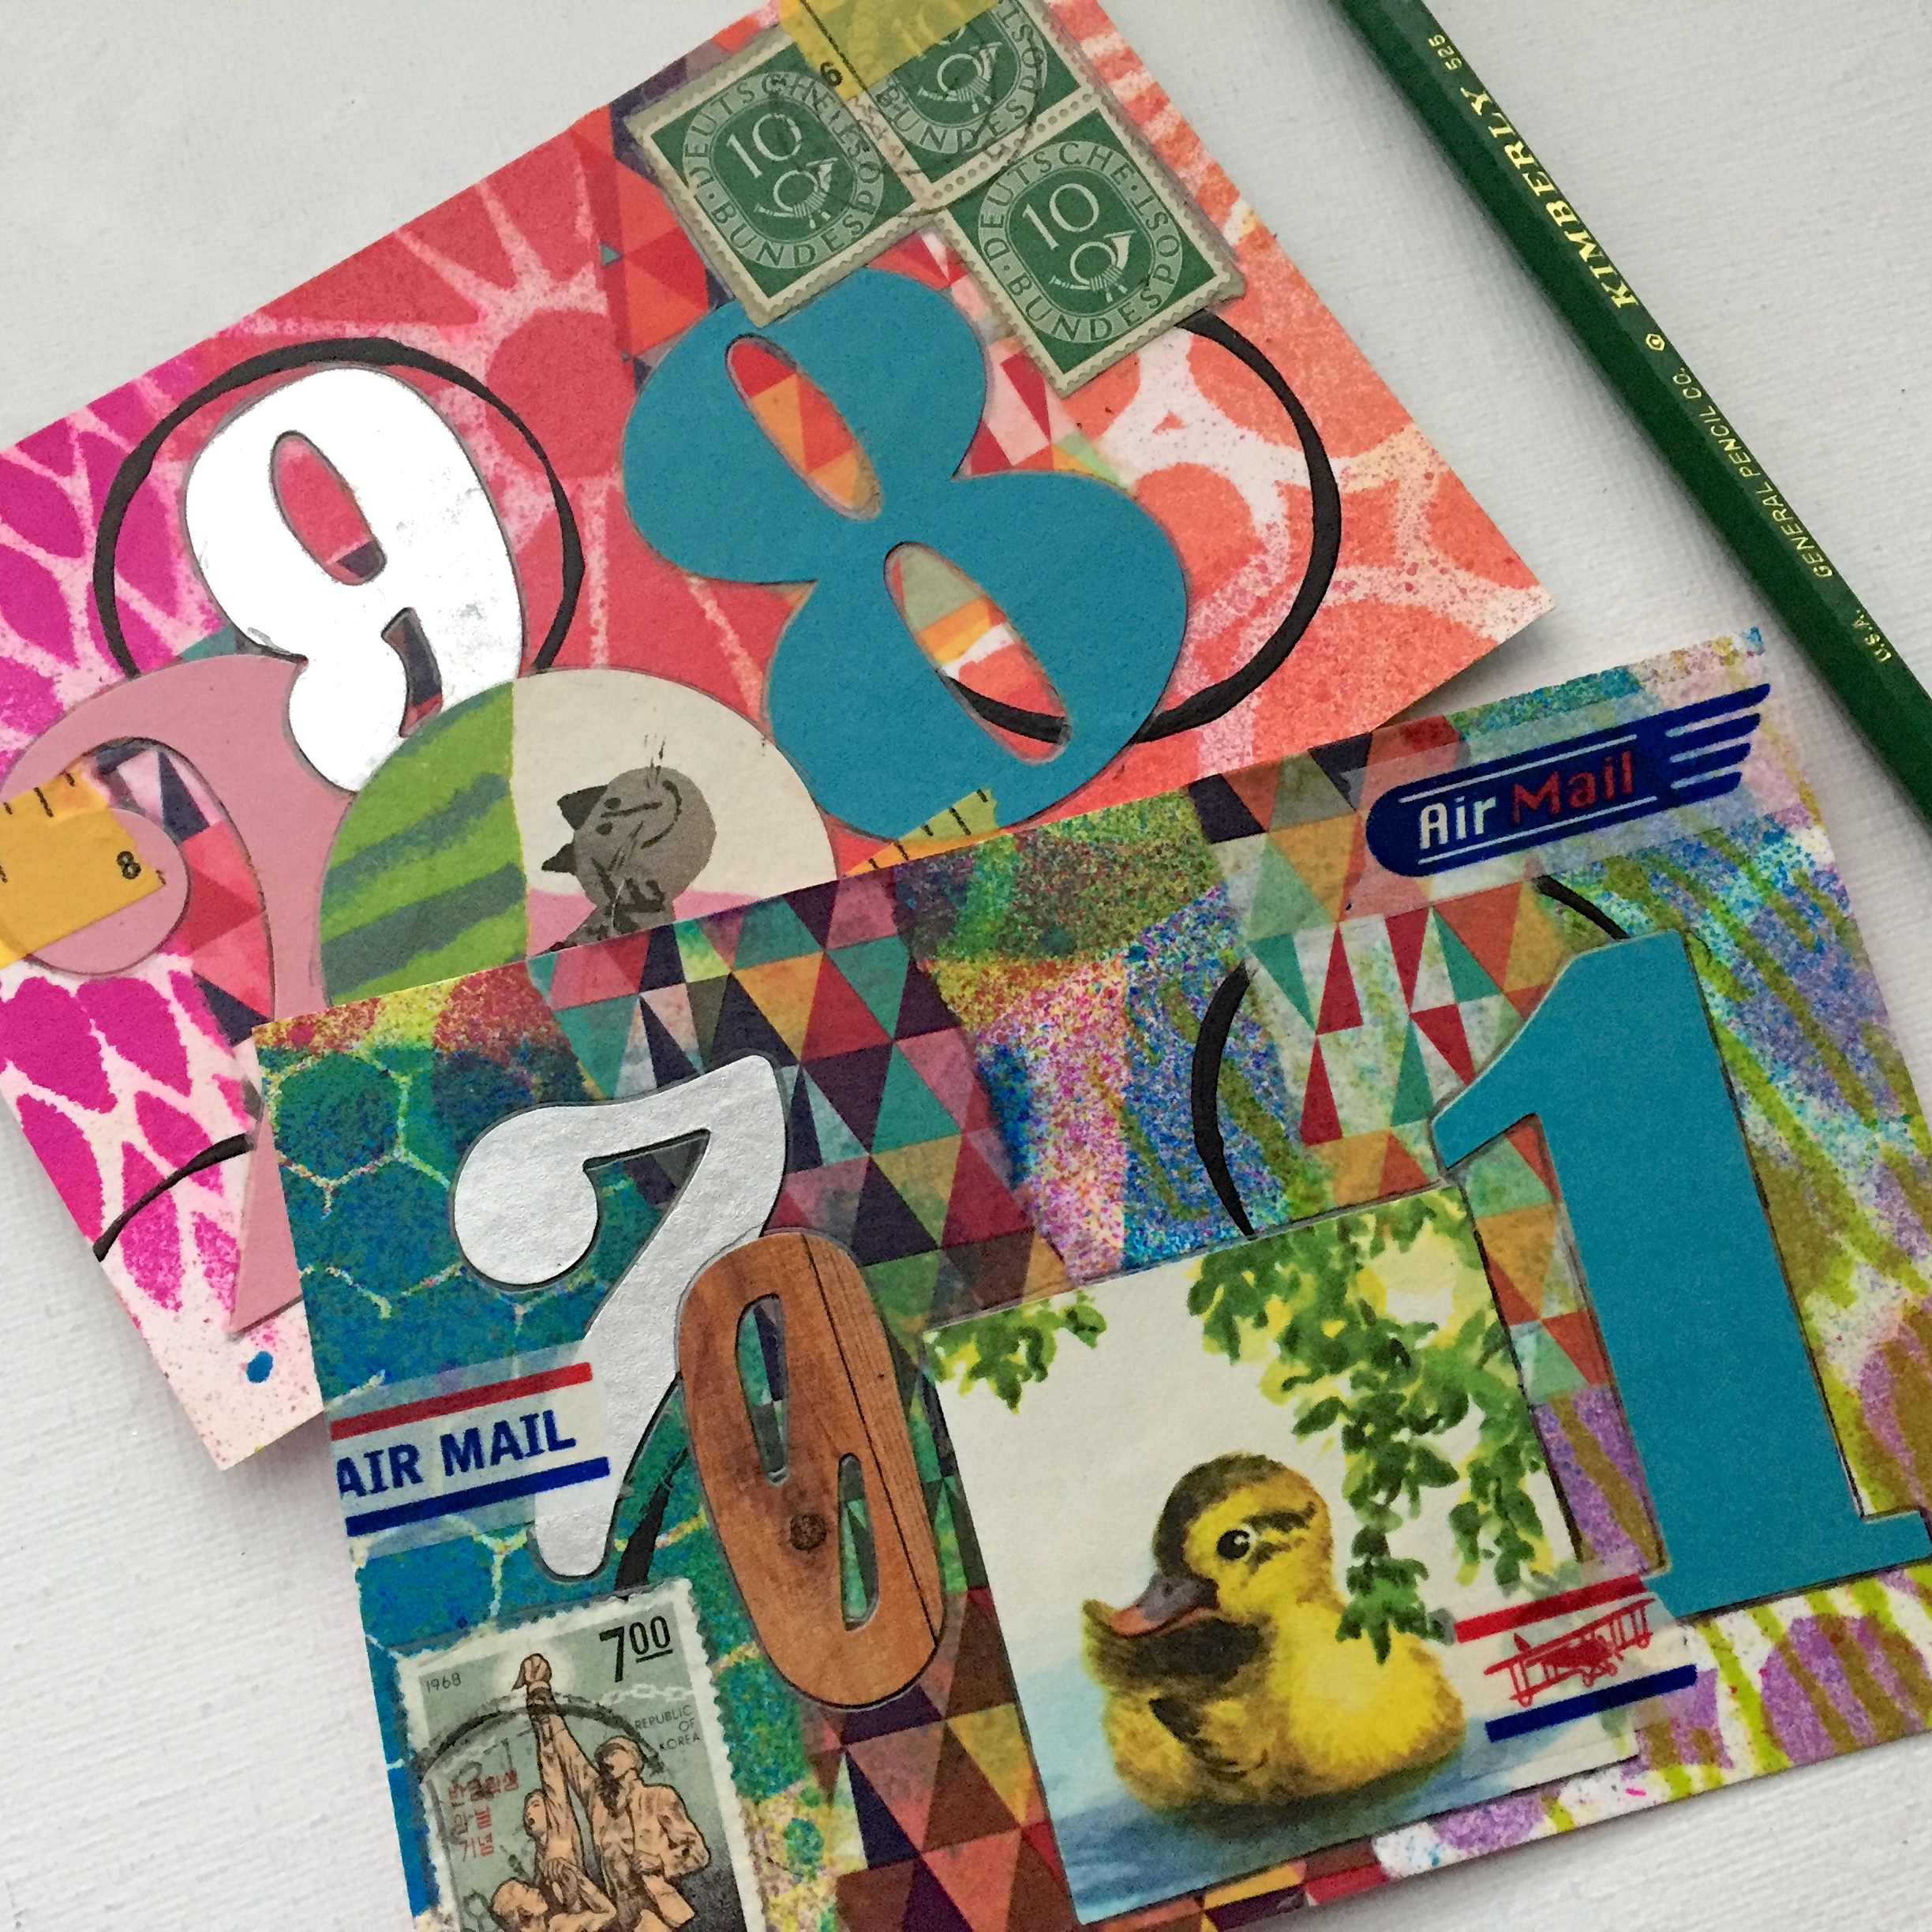
My new postcard making kit. This used to be my “Happy Mail” journal kit, but it sat around untouched for way too long, so I reorganized it. Instead of the envelopes labeled with the sender’s names, I organized them into categories, stickers, vintage ephemera, cards and tags, that sort of thing.

img_6798

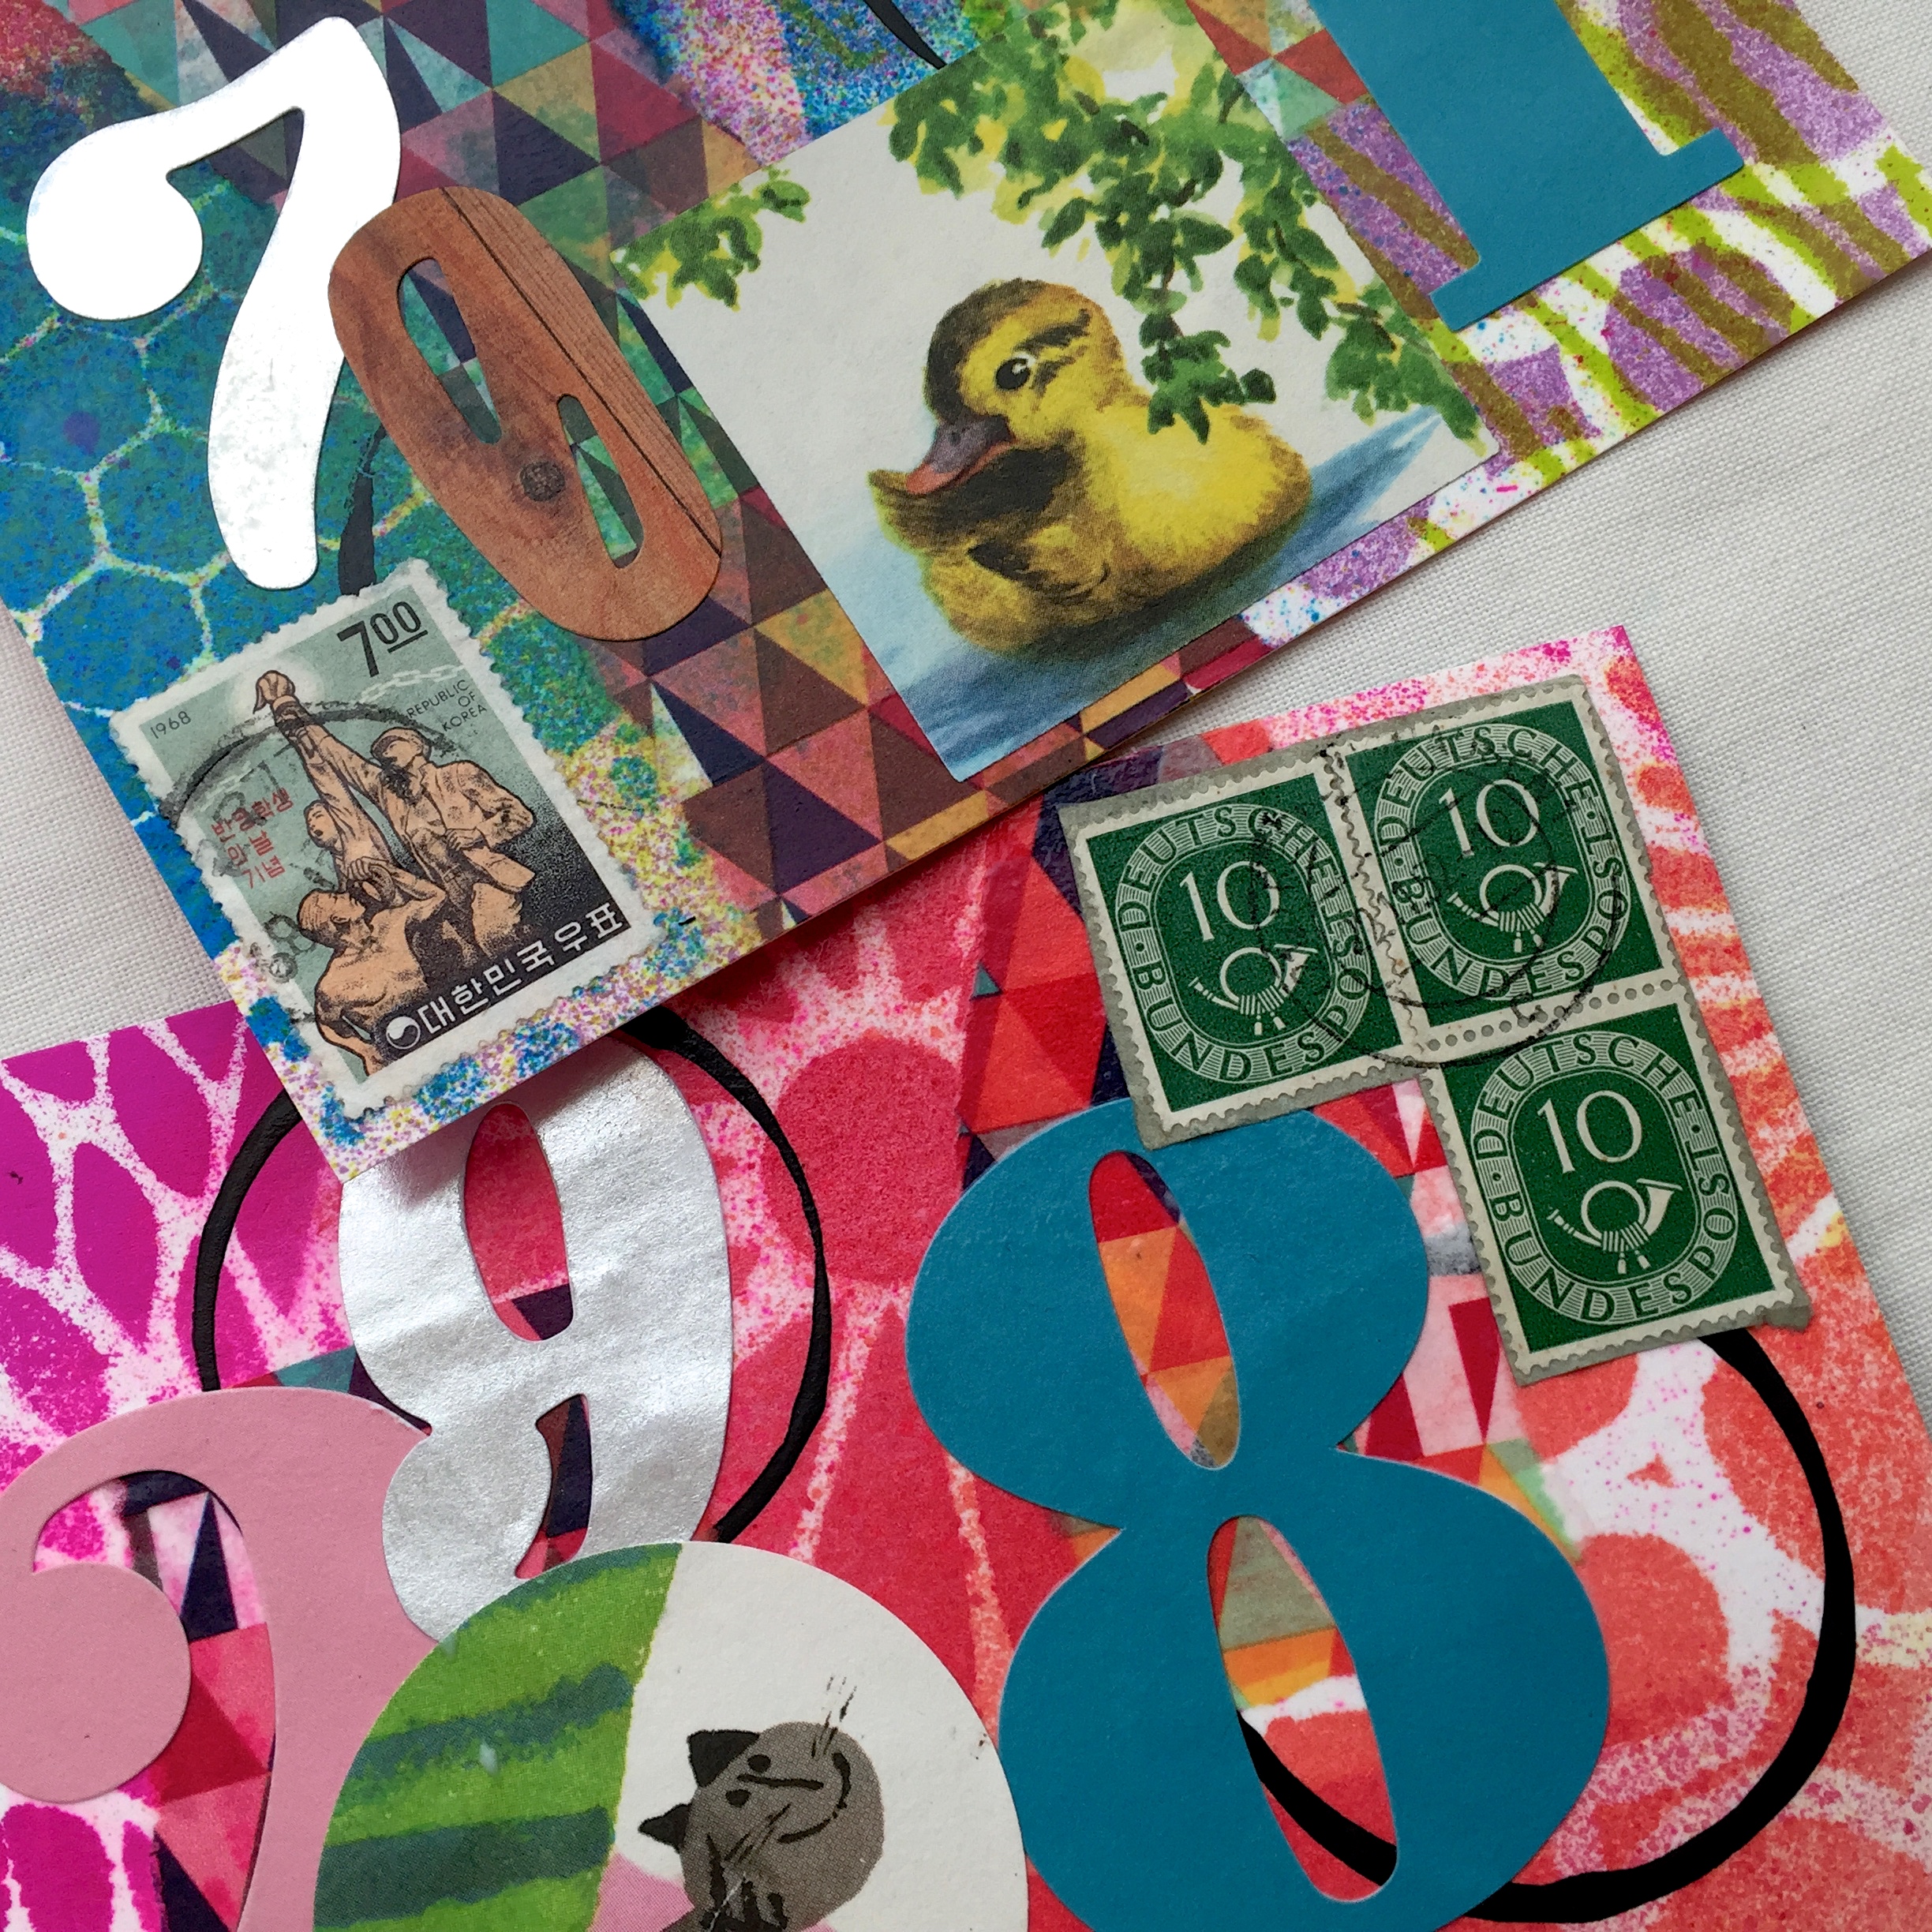
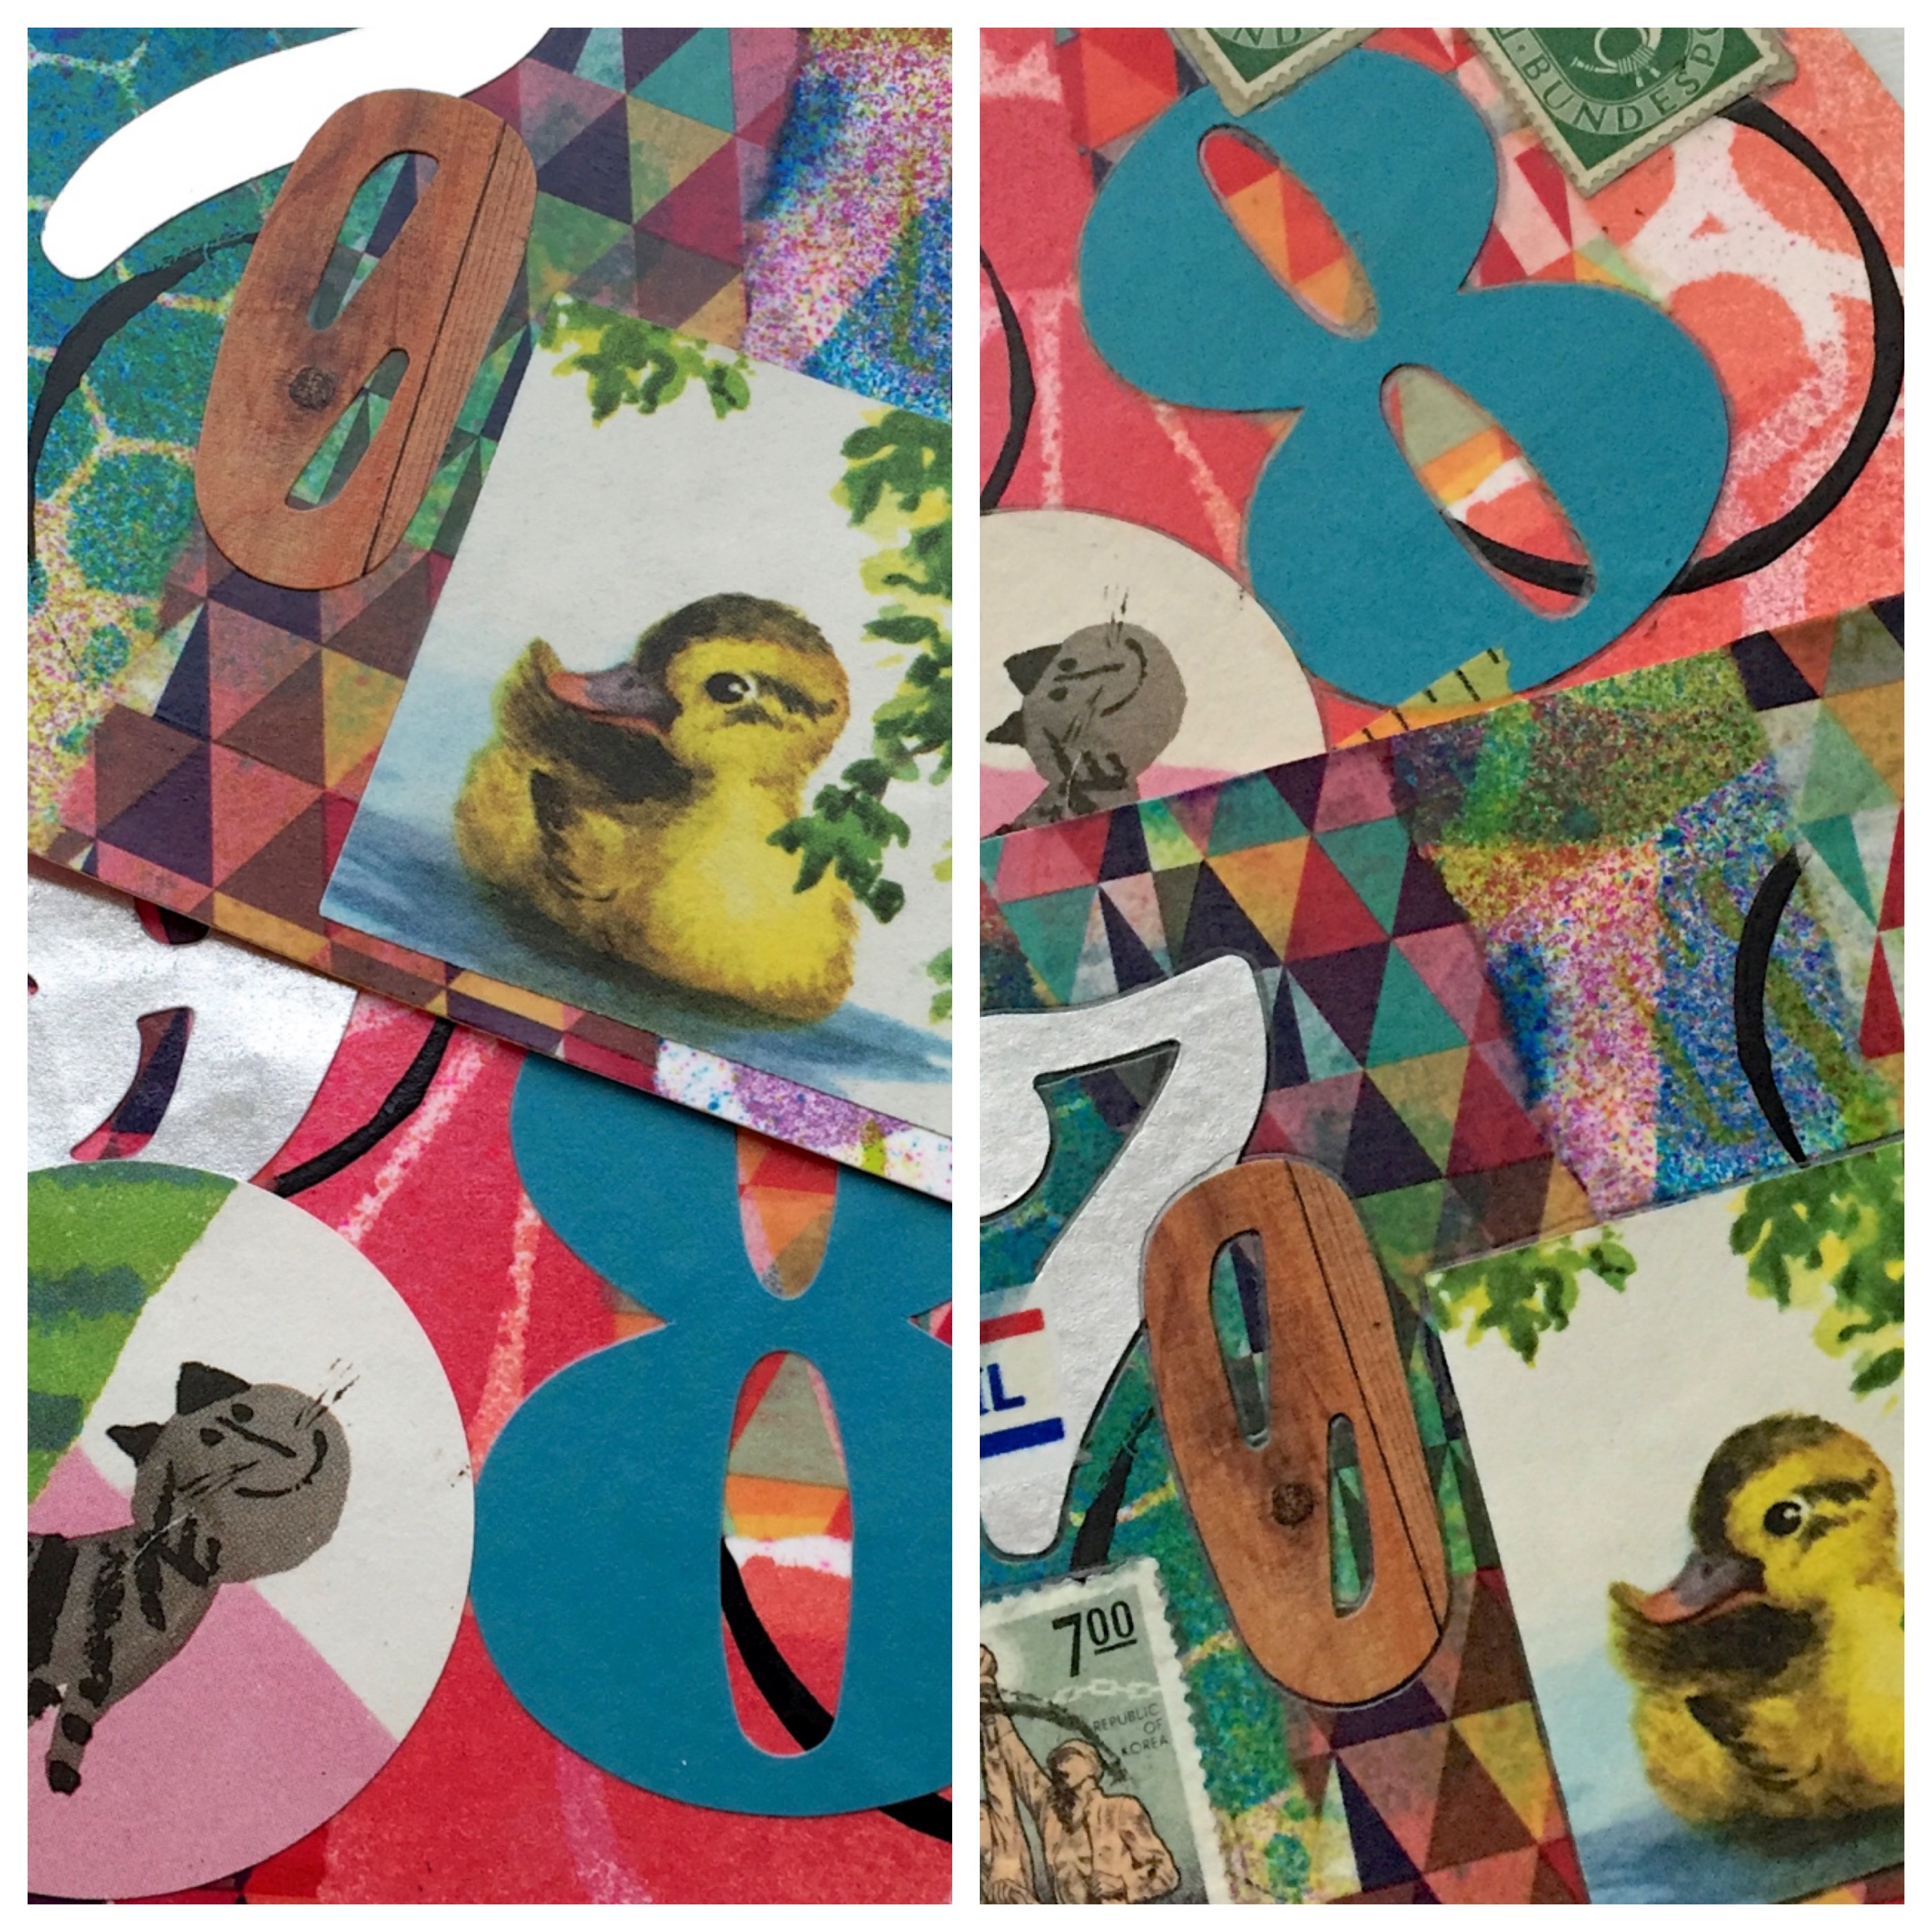
I have kind of a loose layering system, having my stash organized works much better for me. Because the background is such riot of color, I went with neutral images, then built from there. Some of you may recognize some of the goodies you have sent to me over the years, thank you!

First, stickers, then the image, stars and hearts, the postage stamps last.

img_6803

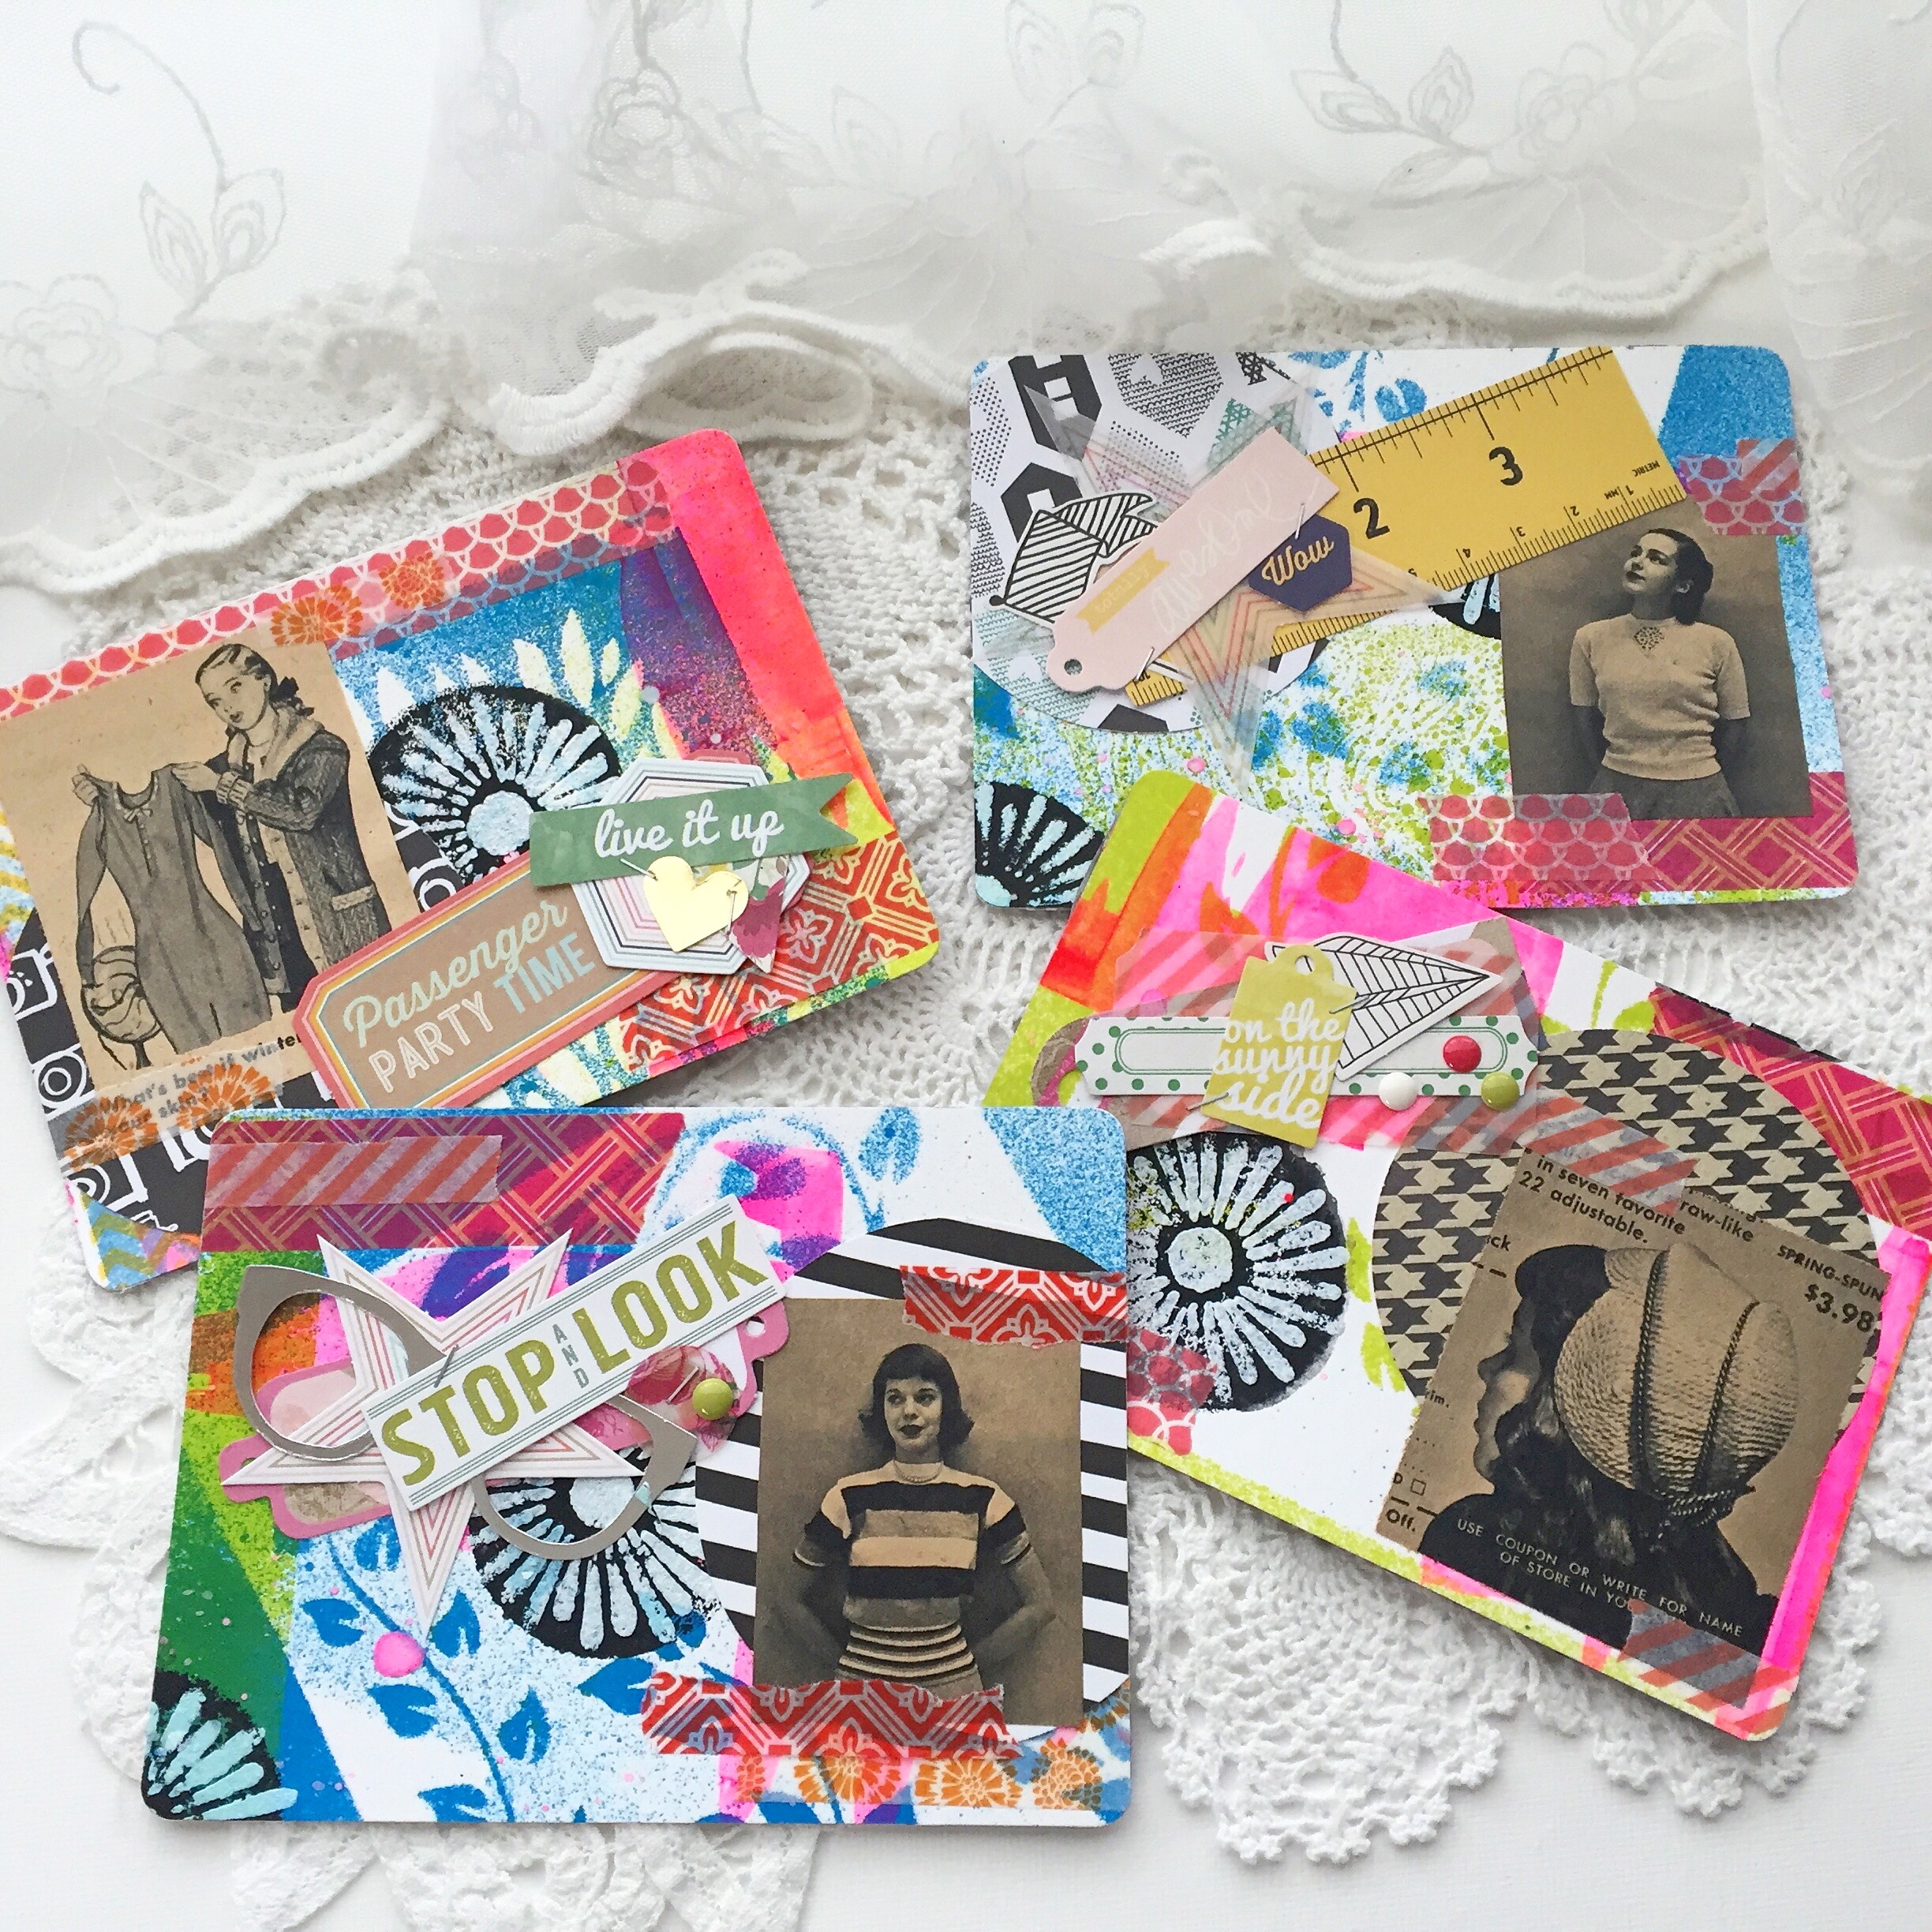
I went over each one with tinted matte medium (I explain that here). After they’re dry, I go around some of the elements with a 9B pencil and eraser. The card at the top left is the before, the lower right the after. I love the shadows and contrast the pencil makes.

img_6806
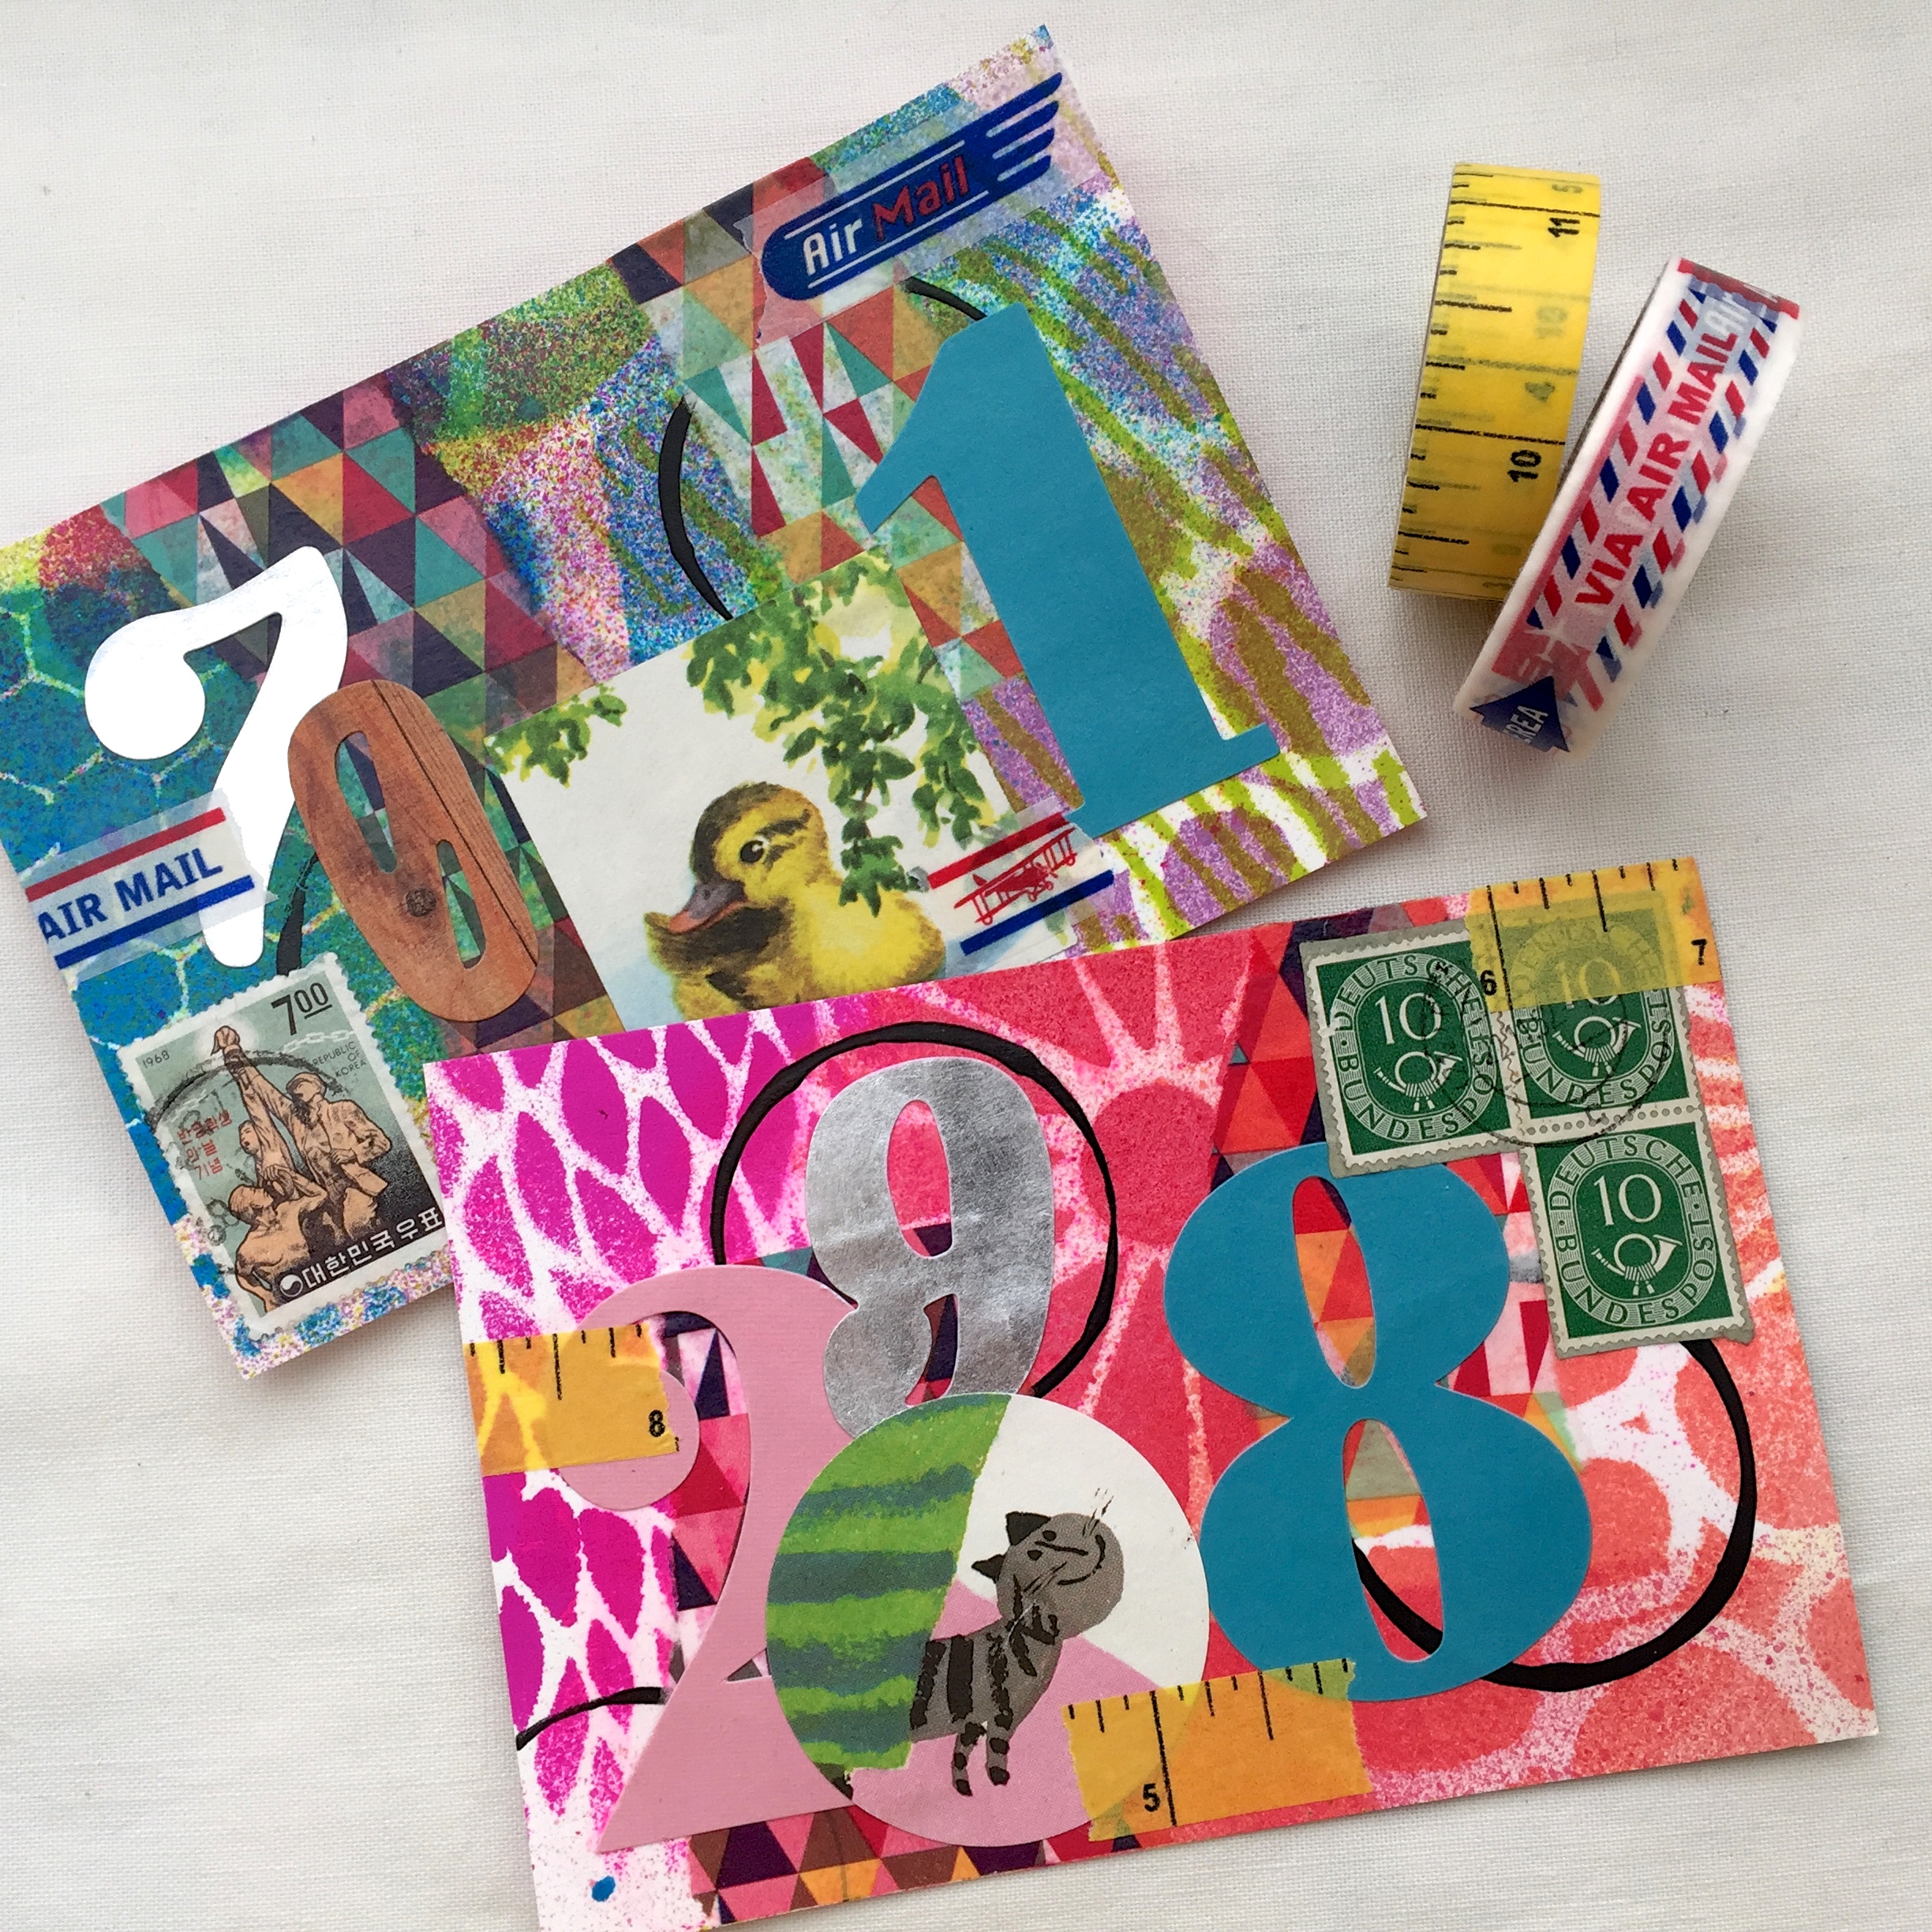
So, there they all are. The last layer is a coat of satin varnish, it seals the layers and saturates the colors a bit.

Now to the giveaway! I’m going to do this one a bit differently than my last one, I’ve made a few rules:

#1. You must follow my blog

#2. You must comment on this blog post

#3. Please email your physical address to me, the link is at the top right

(This giveaway is open internationally)

And that’s it!

I only made 8 of these, and 2 of them are promised to a couple of gals from my last giveaway (that means you Sue and Miss Iowa). So, the first 6 people that meet the above criteria will receive one of these cards, (I guess I’m assuming somebody will want one, geeze I hope so!)

If you have any questions, or if you feel as if I have left something out, please comment or email me. And if you would like to send a little postcard art to me, just email me, and I’ll send you my address 🙂

Once again,

Thank you for stopping by,

Have a great weekend,

~Patty

iHanna Fall 2016 Postcard Swap

Well, it’s that time of the year again. I’m supposed to downscaling my projects right now, but the iHanna PCS only comes around twice a year, and I couldn’t pass it up!

Once again, I have decided to share my postcard making process, I’ve added a few new steps. This post is photo heavy, so I will try to keep the jibber-jabber to a minimum:

img_5692

Step one: postcard backgrounds

I usually have a few left over pieces from my art journal makings, so I just cut them down to 6″ x 4″. These are a combination of spray dye, paint, stenciling, and stamping.

img_5697

Step two: adhering tissue paper

I tear long pieces of tissue paper, then adhere it with matte medium and a soft brush. This tissue is my newest favorite.

img_5705

Step three: adhere random ephemera

I have a lot of store bought ephemera I’m trying to use up, and projects like these are perfect for this!

img_5708

Step four: adhere vintage image

I always have book pages left over from my journal making, I go through them once in a while and punch or cut out the images, so I usually have lots of these on hand.

img_5710

Step five: postage stamps

What is mail art with out postage stamps, always one of my favorite additions.

img_5712

Step six: strategically placed washi tape

There’s a lot happening on these little cards, a bit of washi can give them some much needed structure.

img_5714

Step seven: a wash of “antiqued” matte medium

Just put a drop of each pigment color into some matte medium, mix, and apply to the entire surface of your project.

collage_fotor

Here’s a before and after.

The difference is subtle, but worth the extra step in my book. I use this technique on my art journal pages quite often. It tones down the whites and calms the brighter colors, giving the page/project a more cohesive look.

img_5729

Step eight:

Going around some of the features with pencil, this gives the piece depth and contrast.

img_5734

Step nine: address and send with Love!

img_5738

I had so much fun making these that I made 15 of them, I only needed 10 for the swap!

Once again,

Thank you for popping in,

Have a great weekend,

~Patty

Spring 2016 iHanna DIY Post Card Swap

Well, it’s that time of year again! Time to “art up” some post cards for the iHanna Post Card Swap!

This year I was at a complete loss as to how I was going to create them. Time was growing short, and I was getting a little nervous. Then it occurred to me that had been wanting to do some experimenting with ink spray, instant backgrounds!

IMG_3363

I realize a lot of people have been using these for quite a while, but I’m a chicken when it comes to trying newness, I love my comfort zone! There is a minimum of clean up with these, so I’m sold!

IMG_3368

I was kind feeling the neon calling, so a few swipes with a card and layers started happening.

IMG_3354

In an attempt to give the riot of color some stability, I added black pigment circles…hmmm…yeah, thats not working for me!

IMG_3357

Stenciled daisies, that’s the ticket! In my world, daisies solve a multitude of sins!

Onward…

IMG_1022One of my latest obsessions, ephemera stacking. I made about 20 of these in front of the T.V. one evening. Super handy to have around, especially for Happy Mail emergencies like this one.

I had more than a month to sew this project up, these saved my bacon!

IMG_1050

Vintage images, washi tape, large circle punch, ephemera stacking, and ‘Bob’s your uncle!’

IMG_3385

Lots of brightness too!

I put these together in one night! I hope my fellow post card swappers like them as much as I do!

IMG_3383

I even used my handy dandy envelope maker to make these lovely envelopes. I got mine at Michaels with a 40% off coupon.

So, there you have it. Another Post Card Swap under my belt. Now, I can sit back and watch the post cards arrive! Yay!

I’ll share those as soon as I receive all of them.

Thanks again for the visit,

Have a great day,

~Patty

Happy Mail Winnings!

Last month one of my favorite artist on Instagram, artandwhimsey, hosted a giveaway. Long story short, I WON!

IMG_0705

Seriously, are you jealous yet!?

I could have done 6 pages with all this gorgeousness, and that’s still an option!

IMG_2591

IMG_2590

IMG_0699

A few close-ups in case your not drooling yet!

IMG_0810

This is the page I came up with. I have decided it’s time to step it up a bit with my pages, so I added some stenciling and doodling.

Belen made that tag on the right, I punched it with my Bind-it-all , clipped the edge, and popped into my journal! Love!IMG_0807

Doodling and I are not fast friends, but an attempt has been made, and I’m ready to take it on!

IMG_2710

An embellished tag with one of the super cute velum, handmade stickers and hand dyed ribbons Belen sent.

IMG_2716

So, there you have it!

If you would like to see some more of Belen’s beautiful work, head over to her IG account, or pop over to her blog: Art and Whimsey!

Once again, thank you so much for visiting my little blog, your visits are always appreciated!

Have a great week,

~Patty