Keepsake Journal January Round-Up

I’m brushing the dust off January, and moving on to…February.

I realized that the only way I was going to catch up on this project is if I worked on, and finished, one month per week. I have to give my self goals with deadlines if I want to get anything done. It doesn’t stifle my creativity, it gets me off my procrastinating butt!

And look what I have to show for it…

…finished pages filled with cuteness!

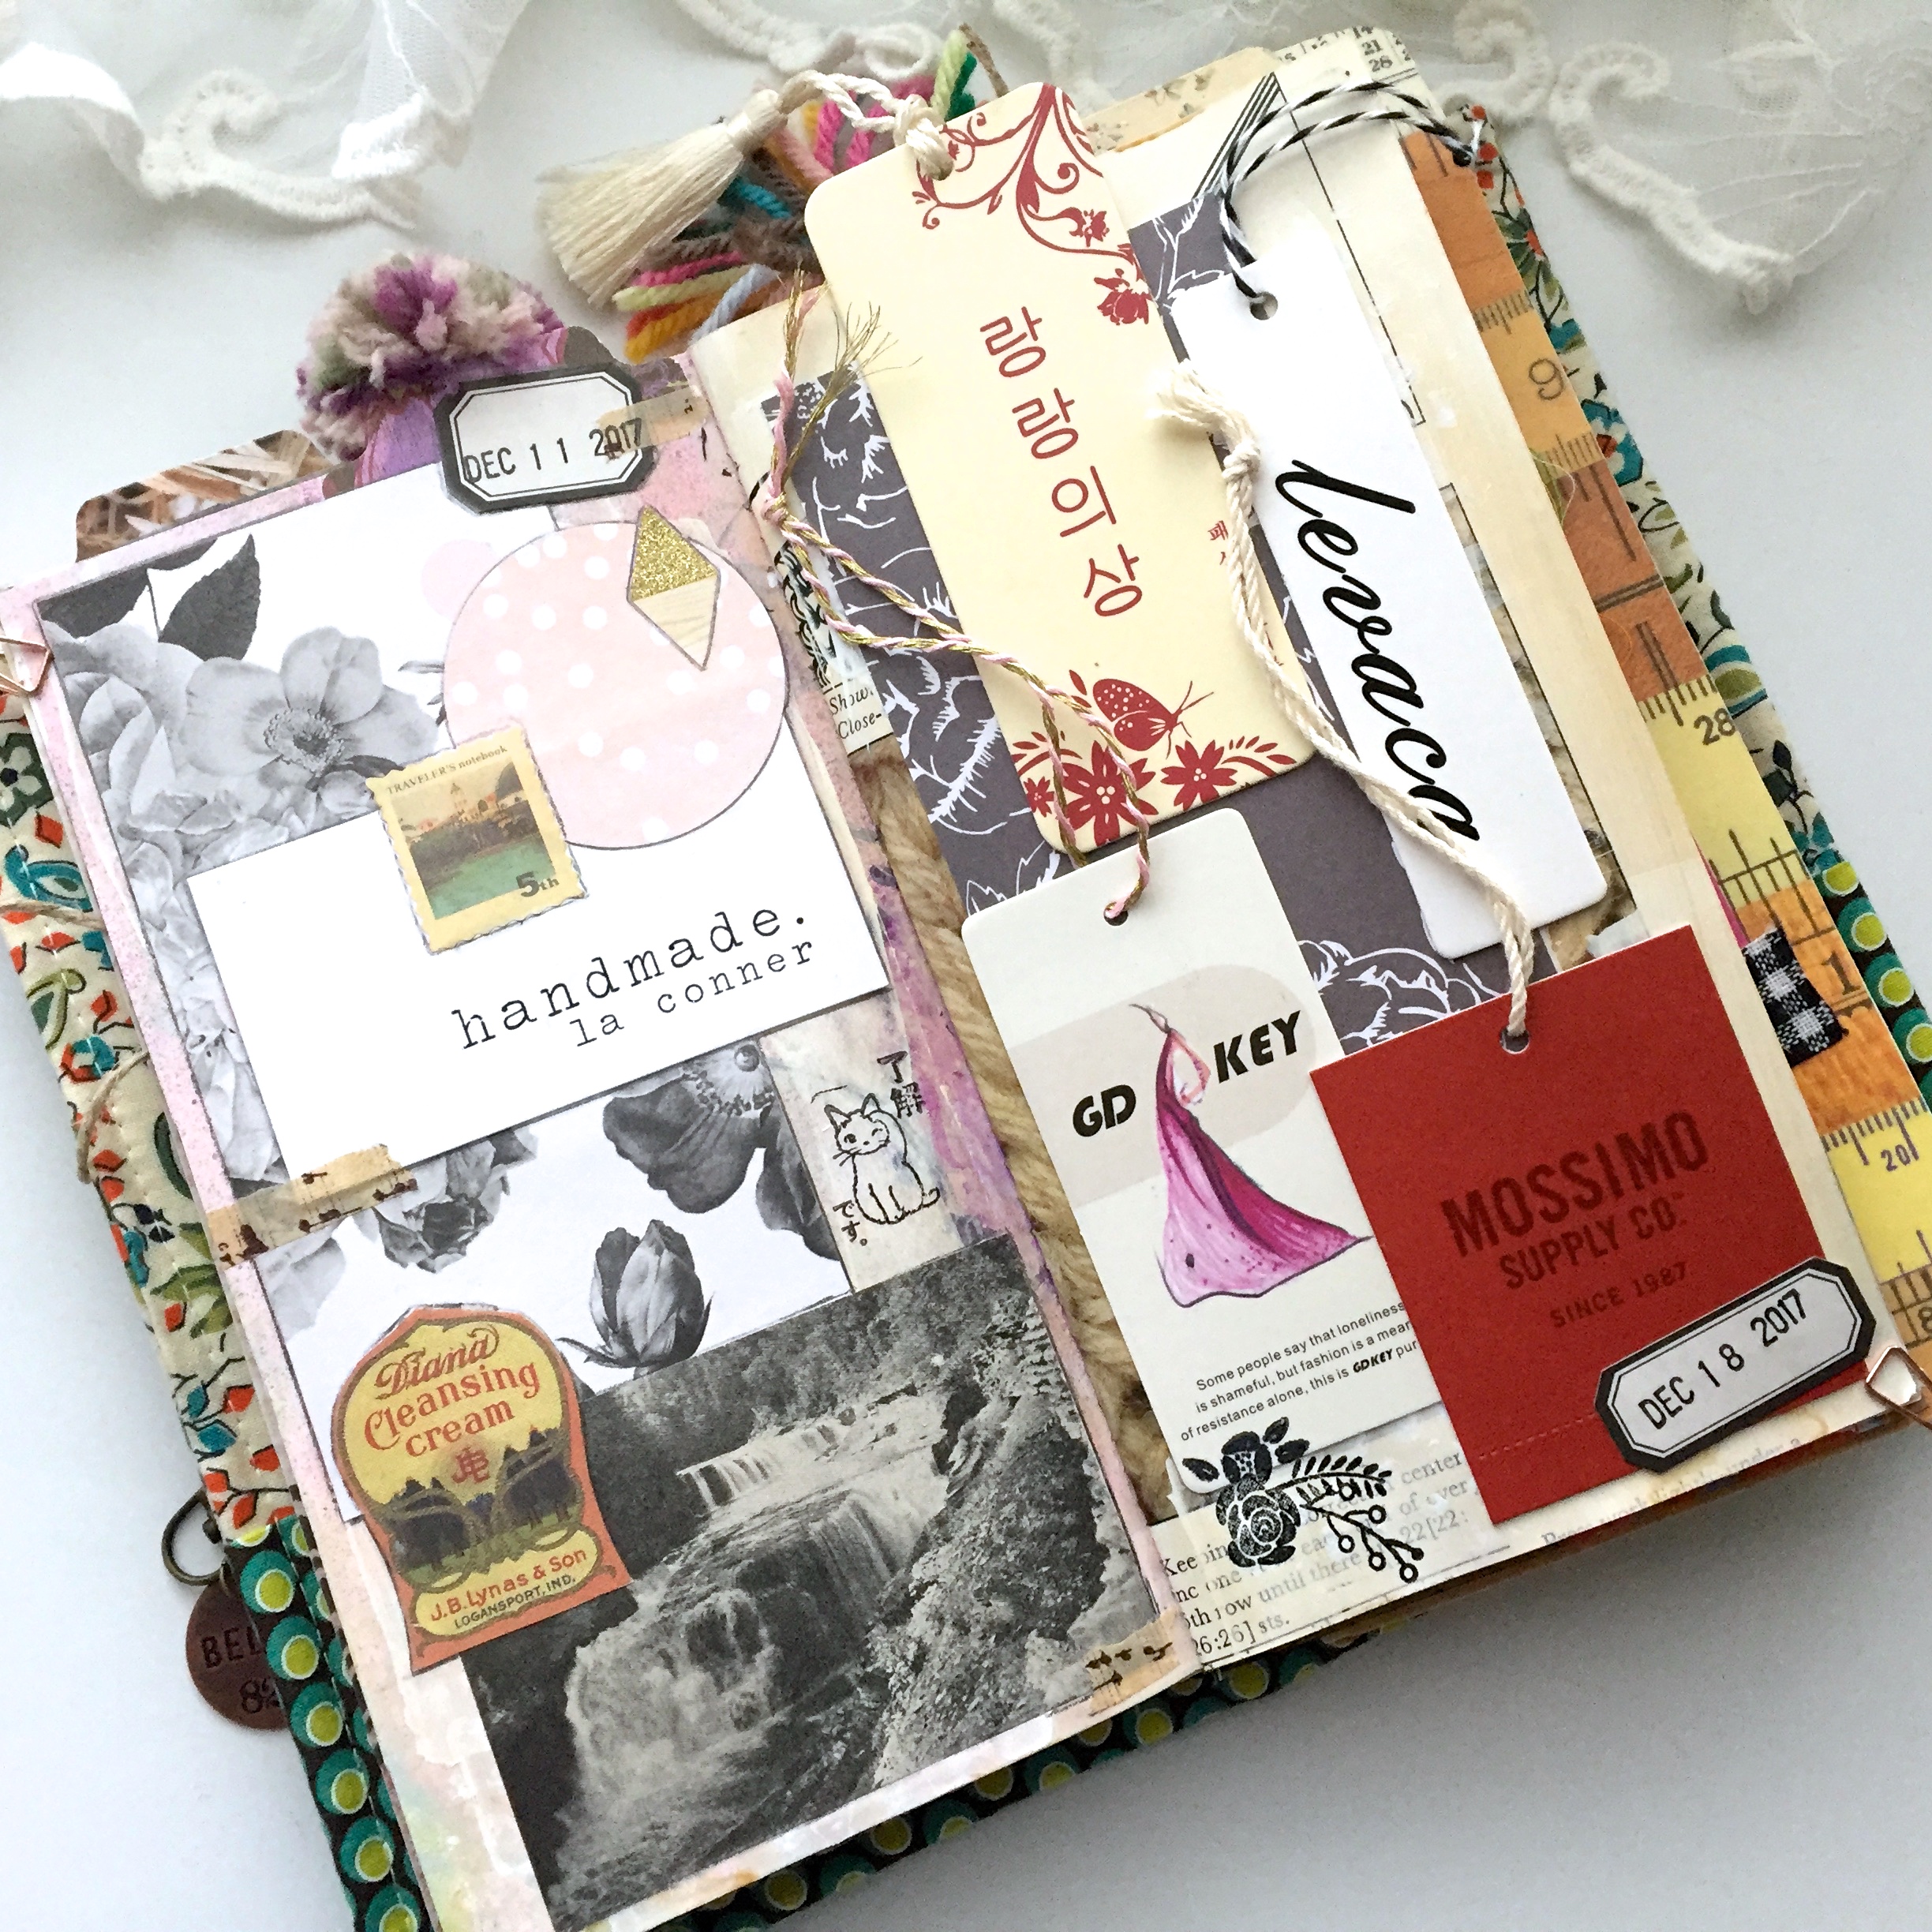
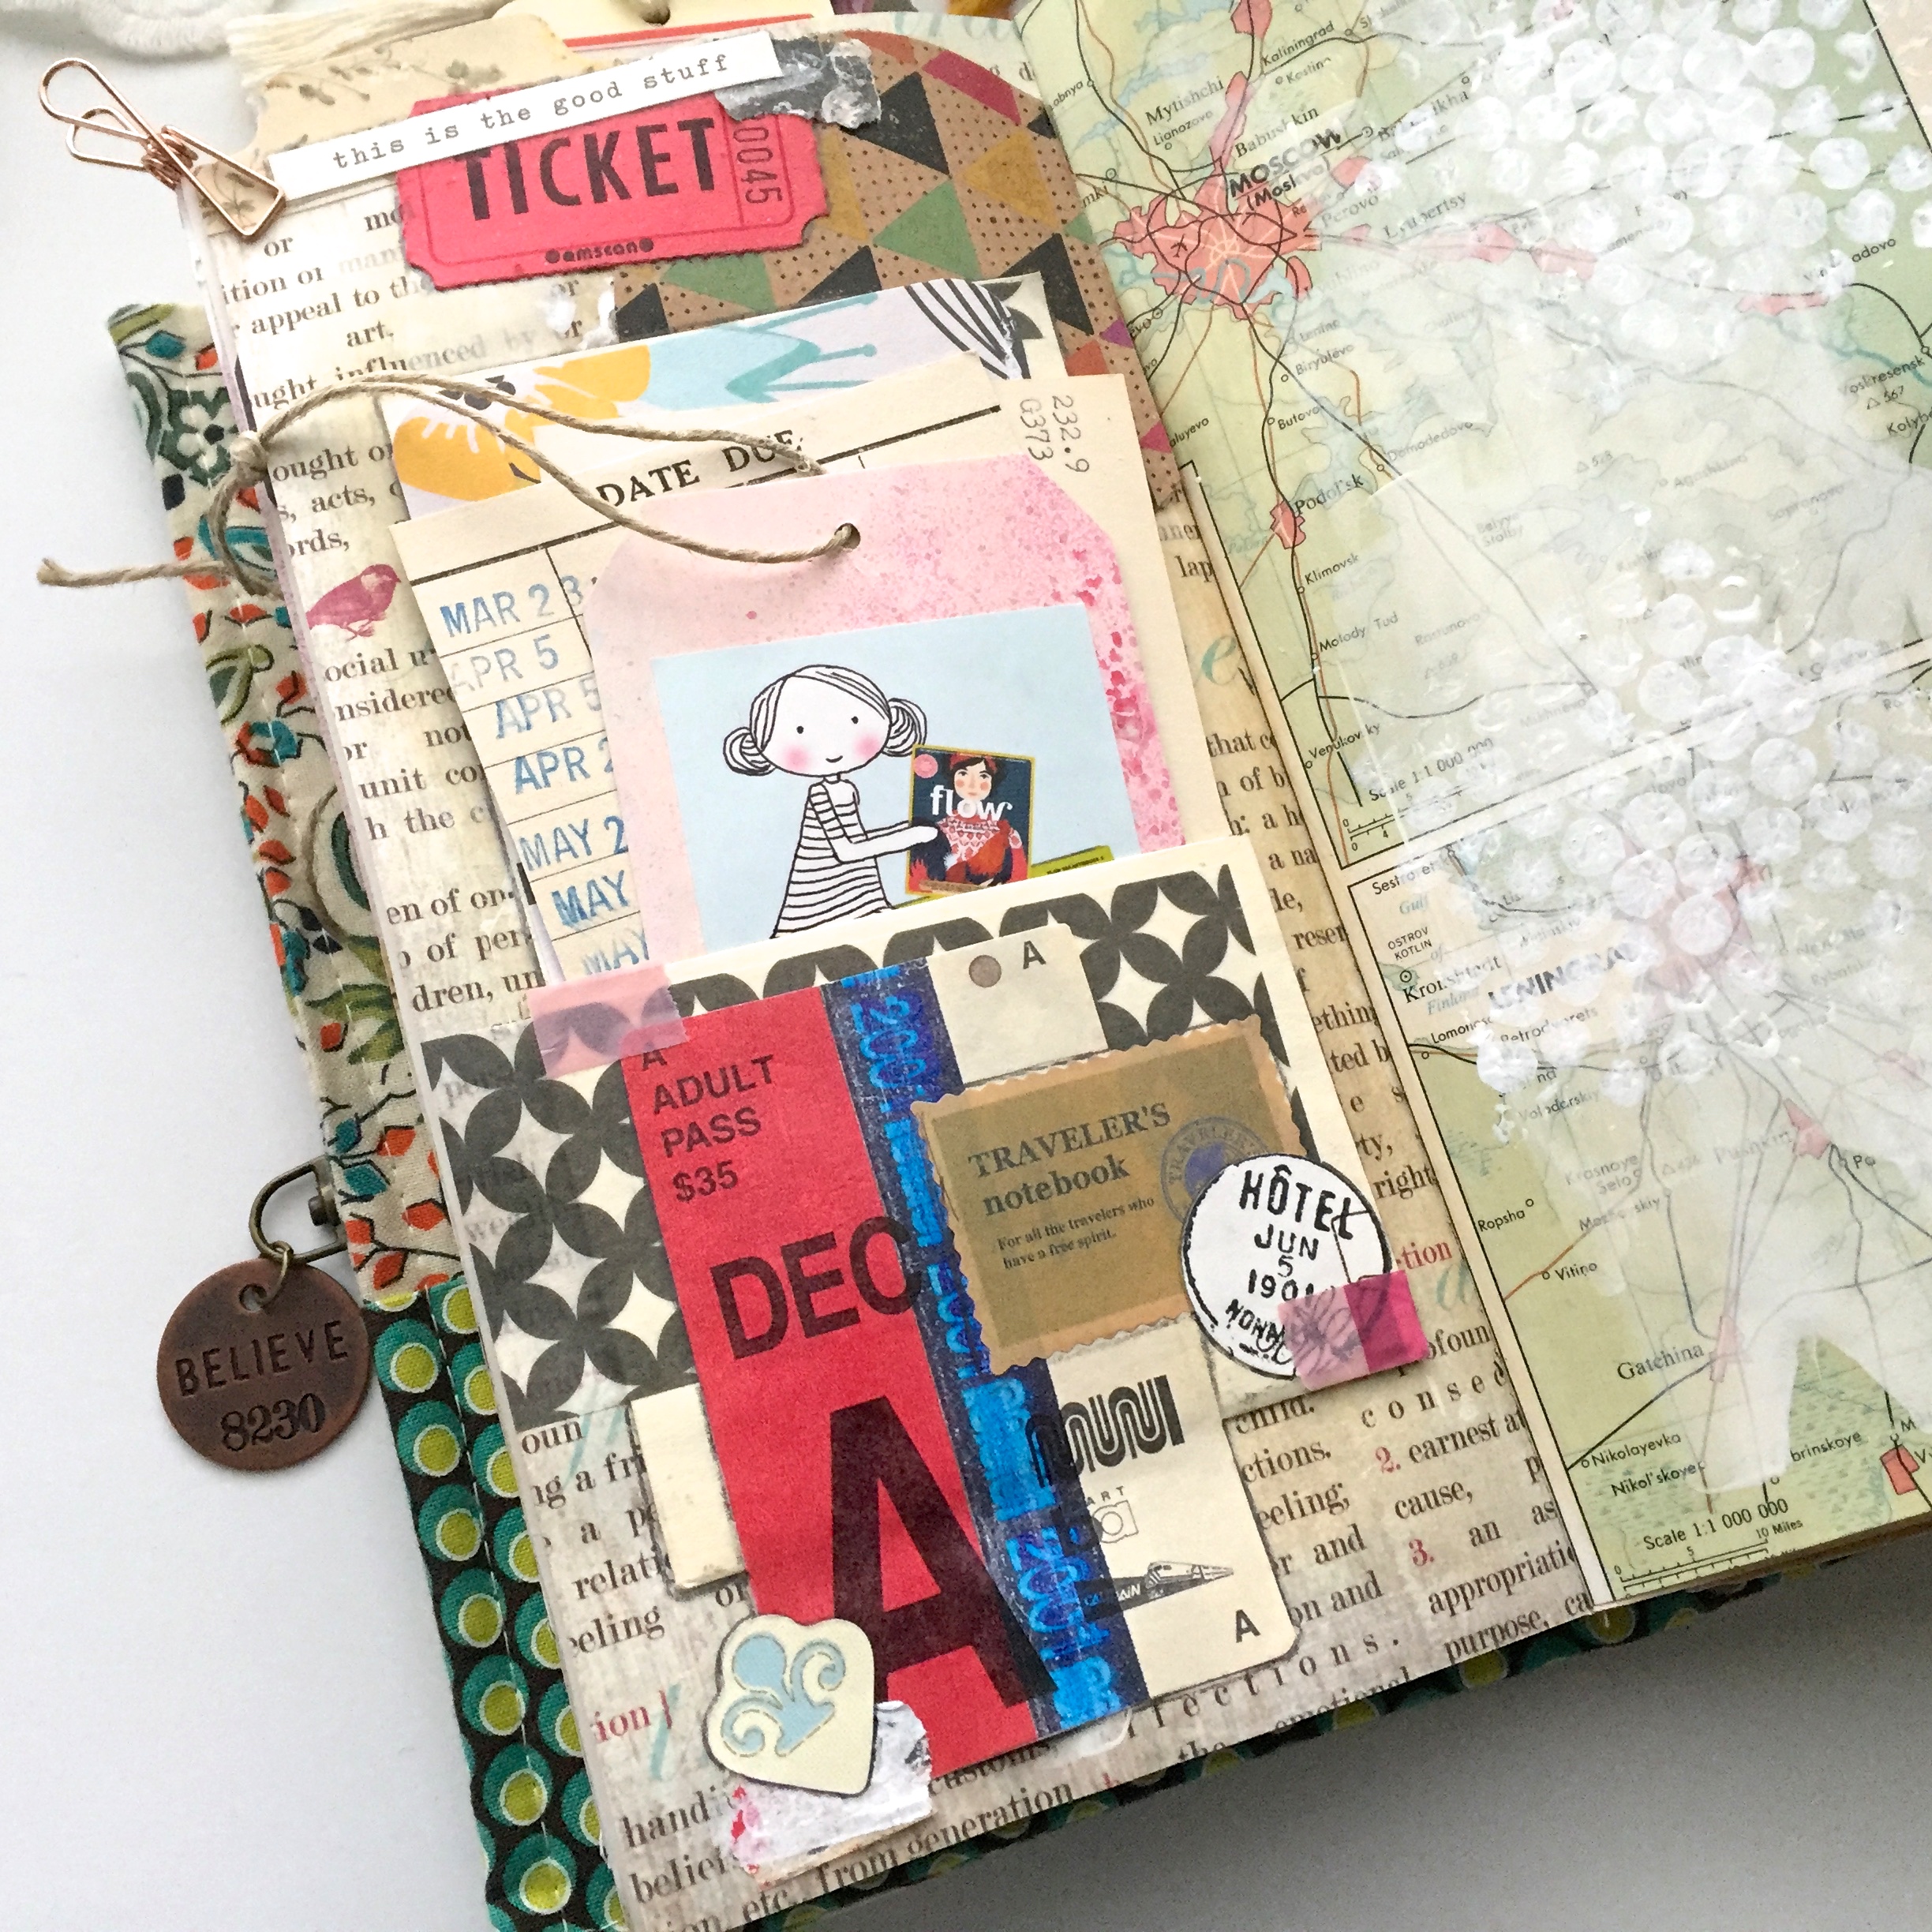
That stamped circle on the left is part of what I salvaged from one of his art projects. He has kind of a “create, seek and destroy” artist method. But what a wonderful way to use kid’s art in your journals!

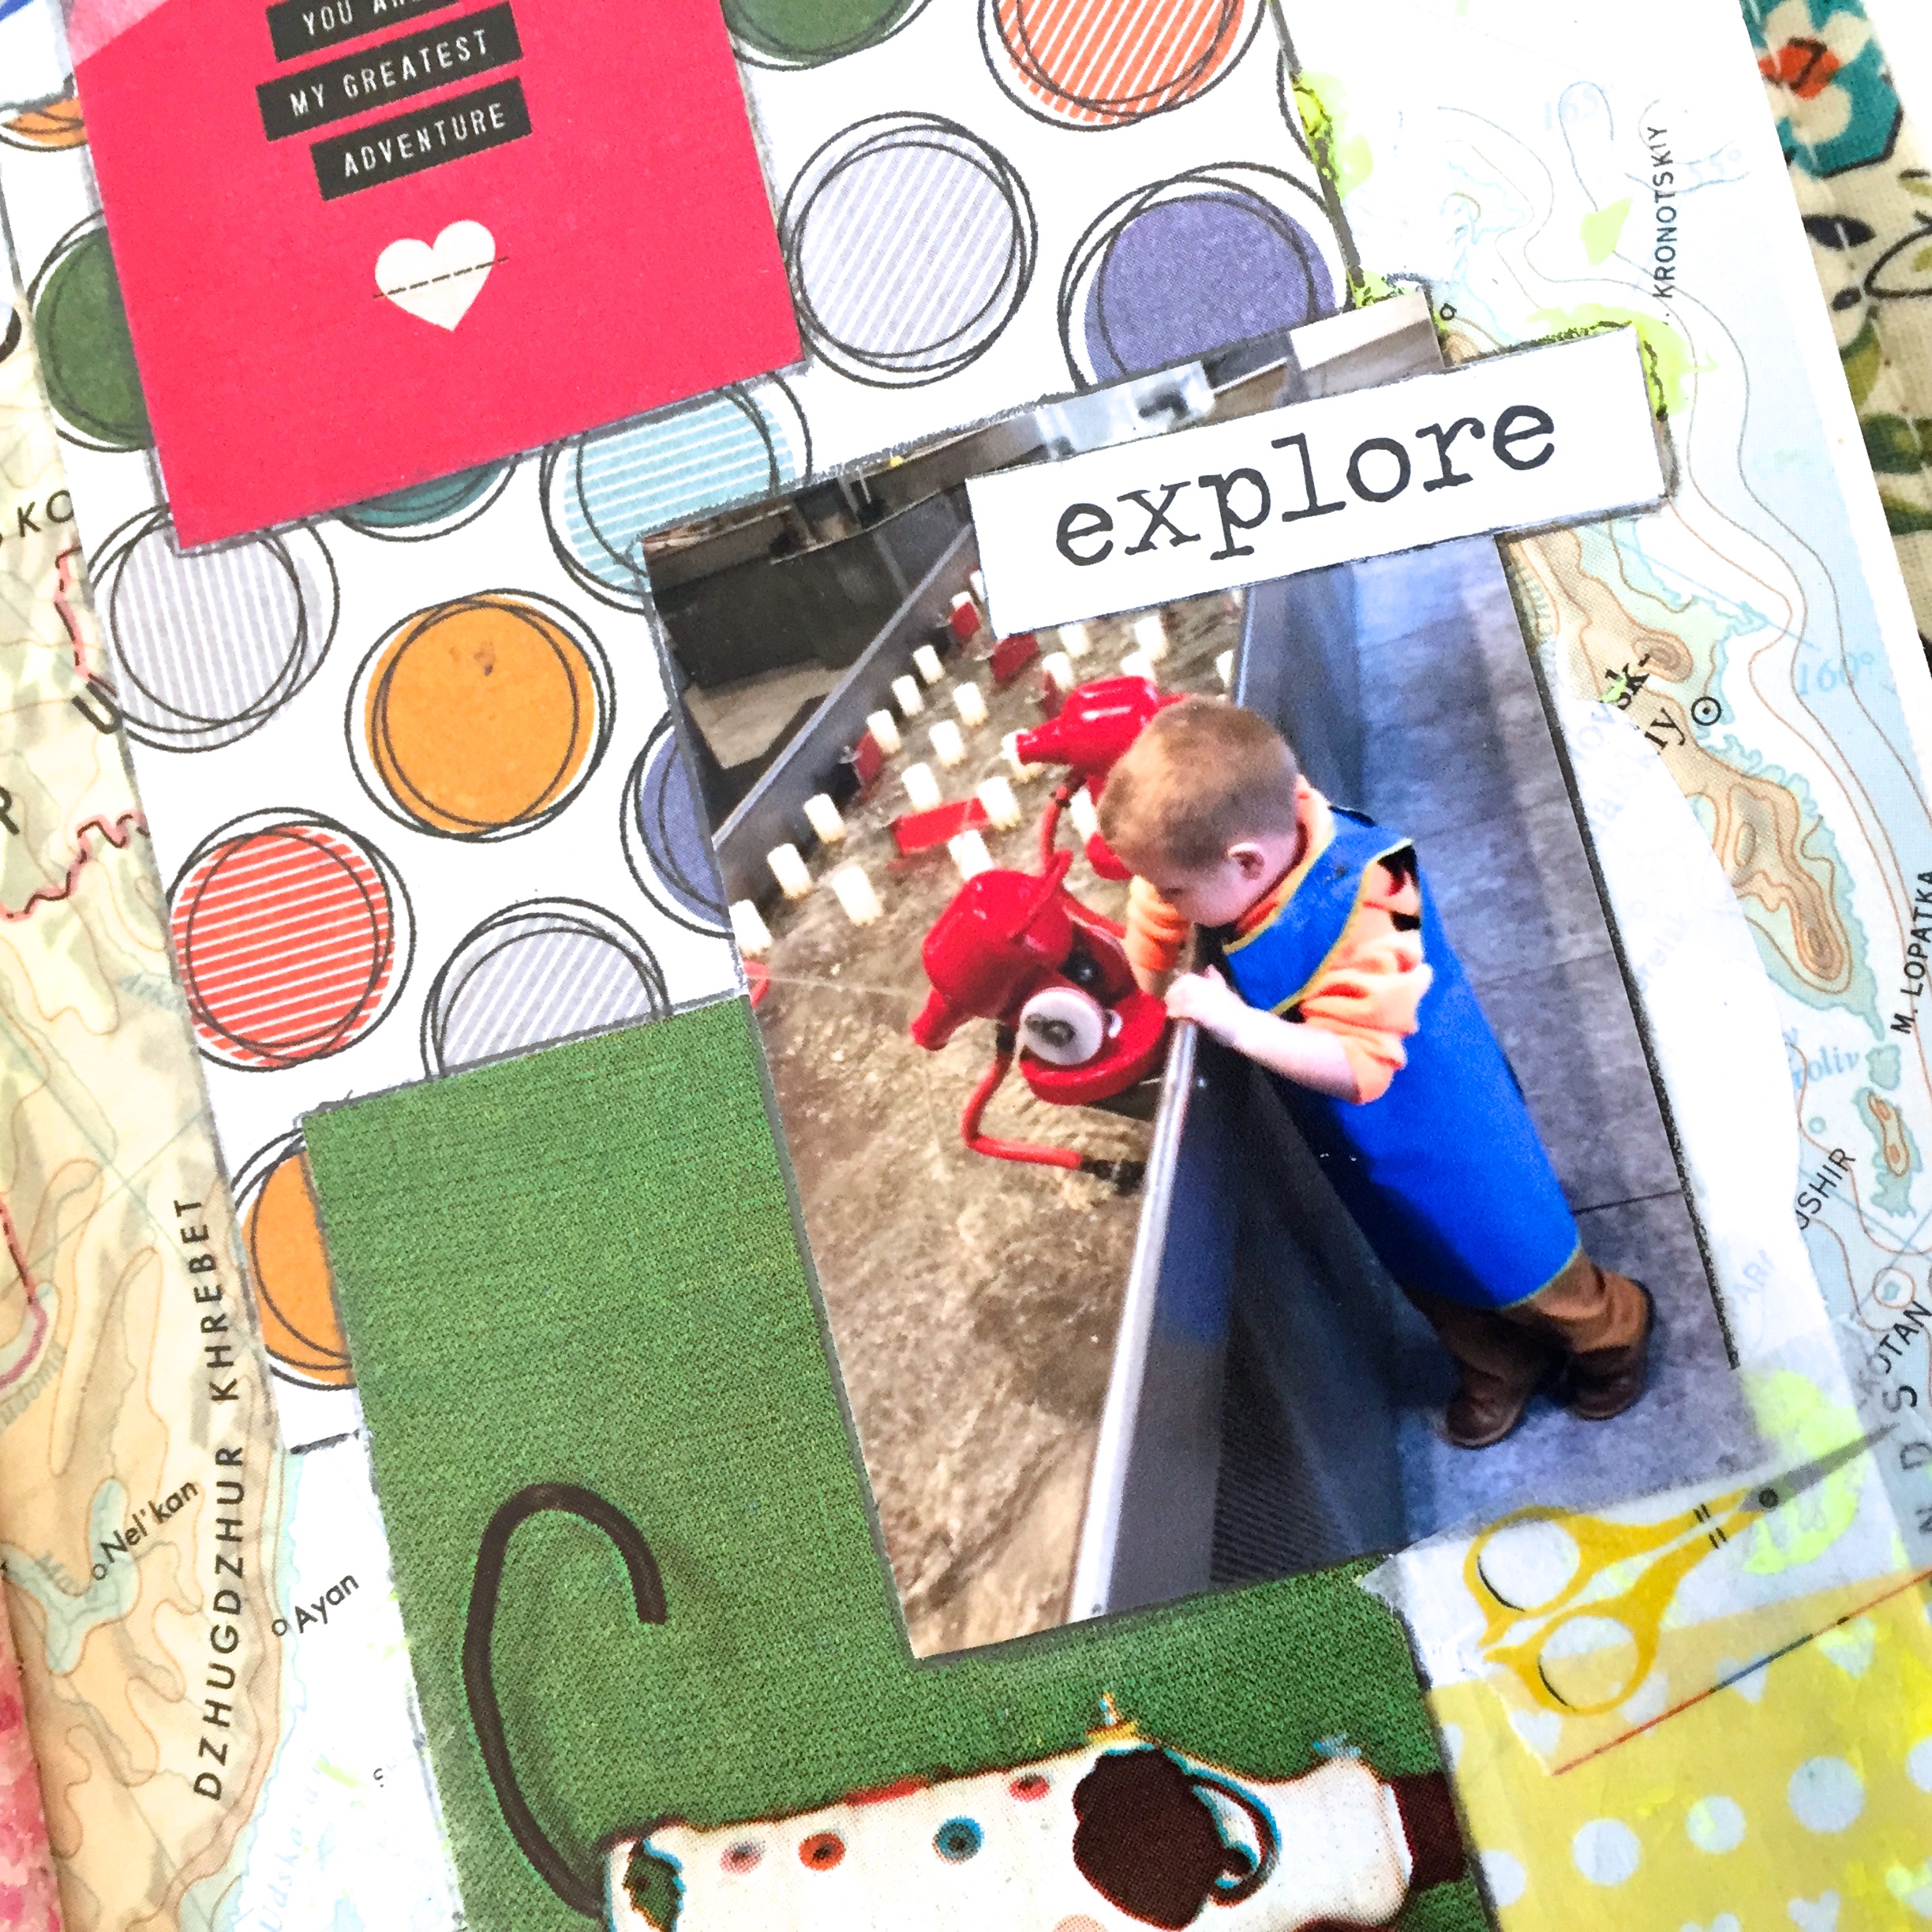
I wasn’t with him on this trip to the Children’s Museum, I printed this from a text photo. I usually keep my text photos for my *Becky Higgins Project Life app, but I’m not opposed to having multiple pics of this little fella.

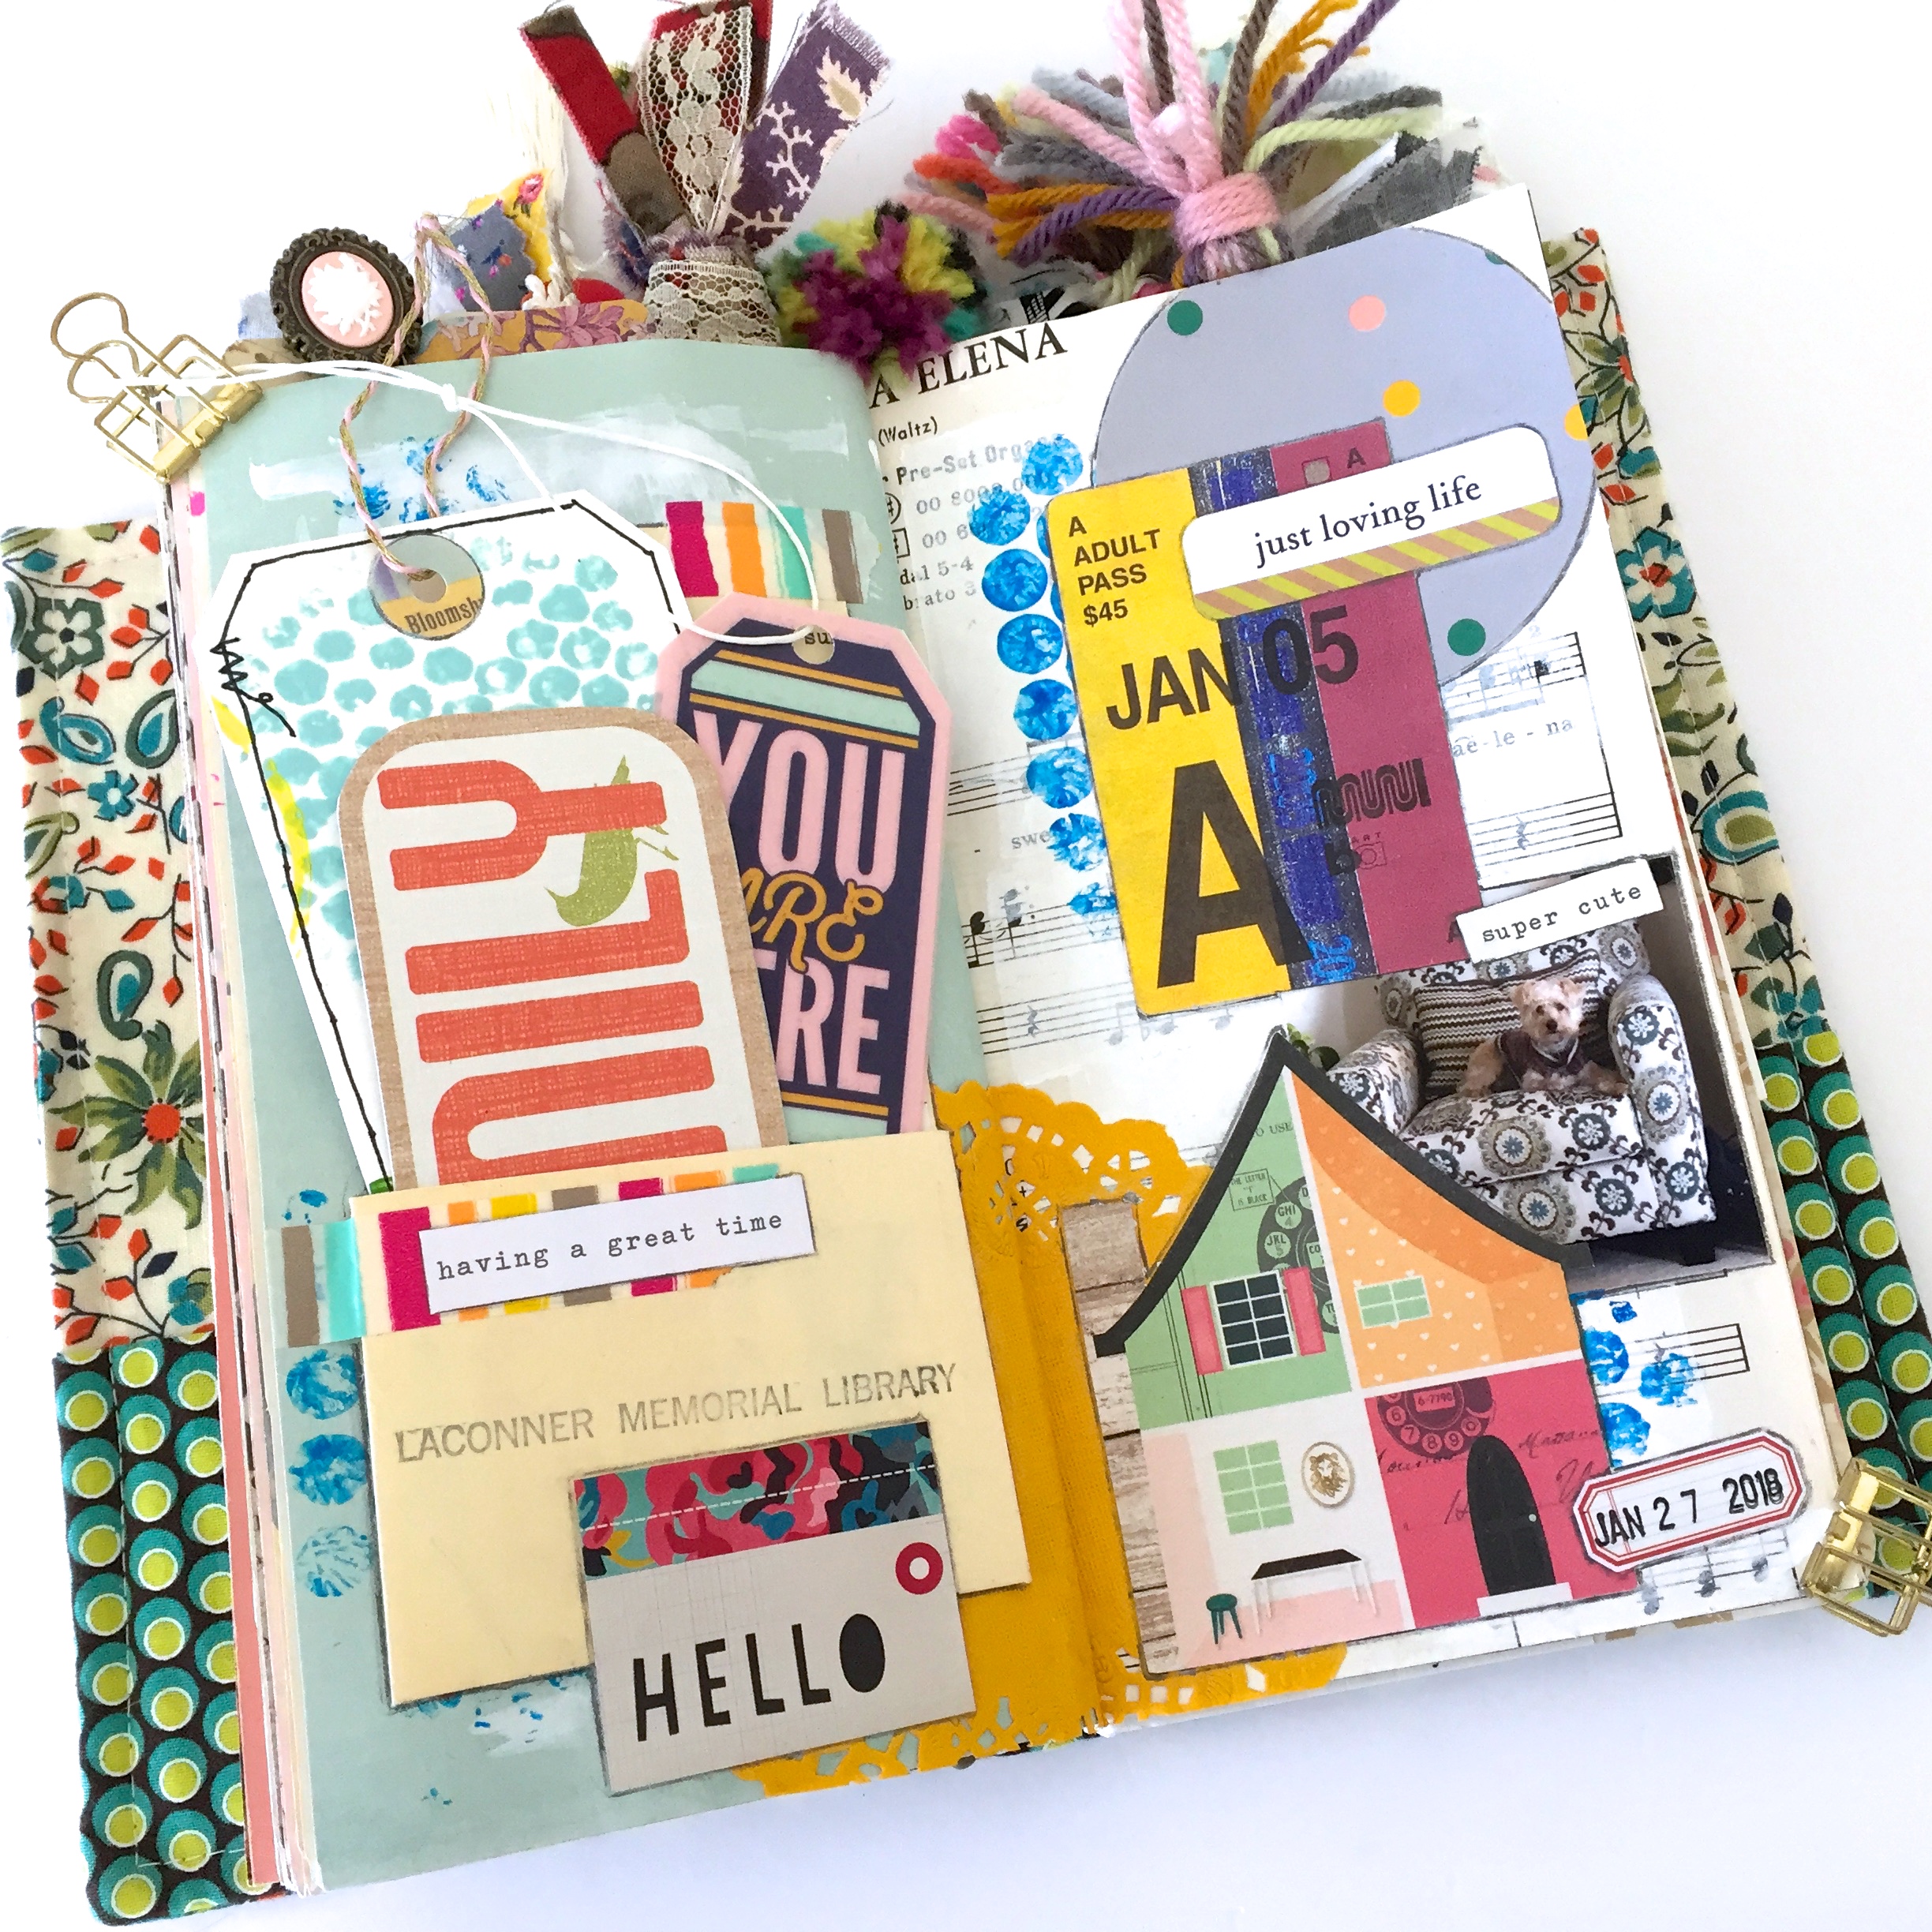
Some fun stuff from a trip to Chuck E. Cheese. I had to do some pretty strategic cropping to get this to fit, but it’s finally home. It’s super fun to collect ephemera from my travels, but keeping it all organized can get a bit tiresome. Big win here though!

He wasn’t quite sure what to think of Chuck E. at first, then he wanted to get up on stage with him!

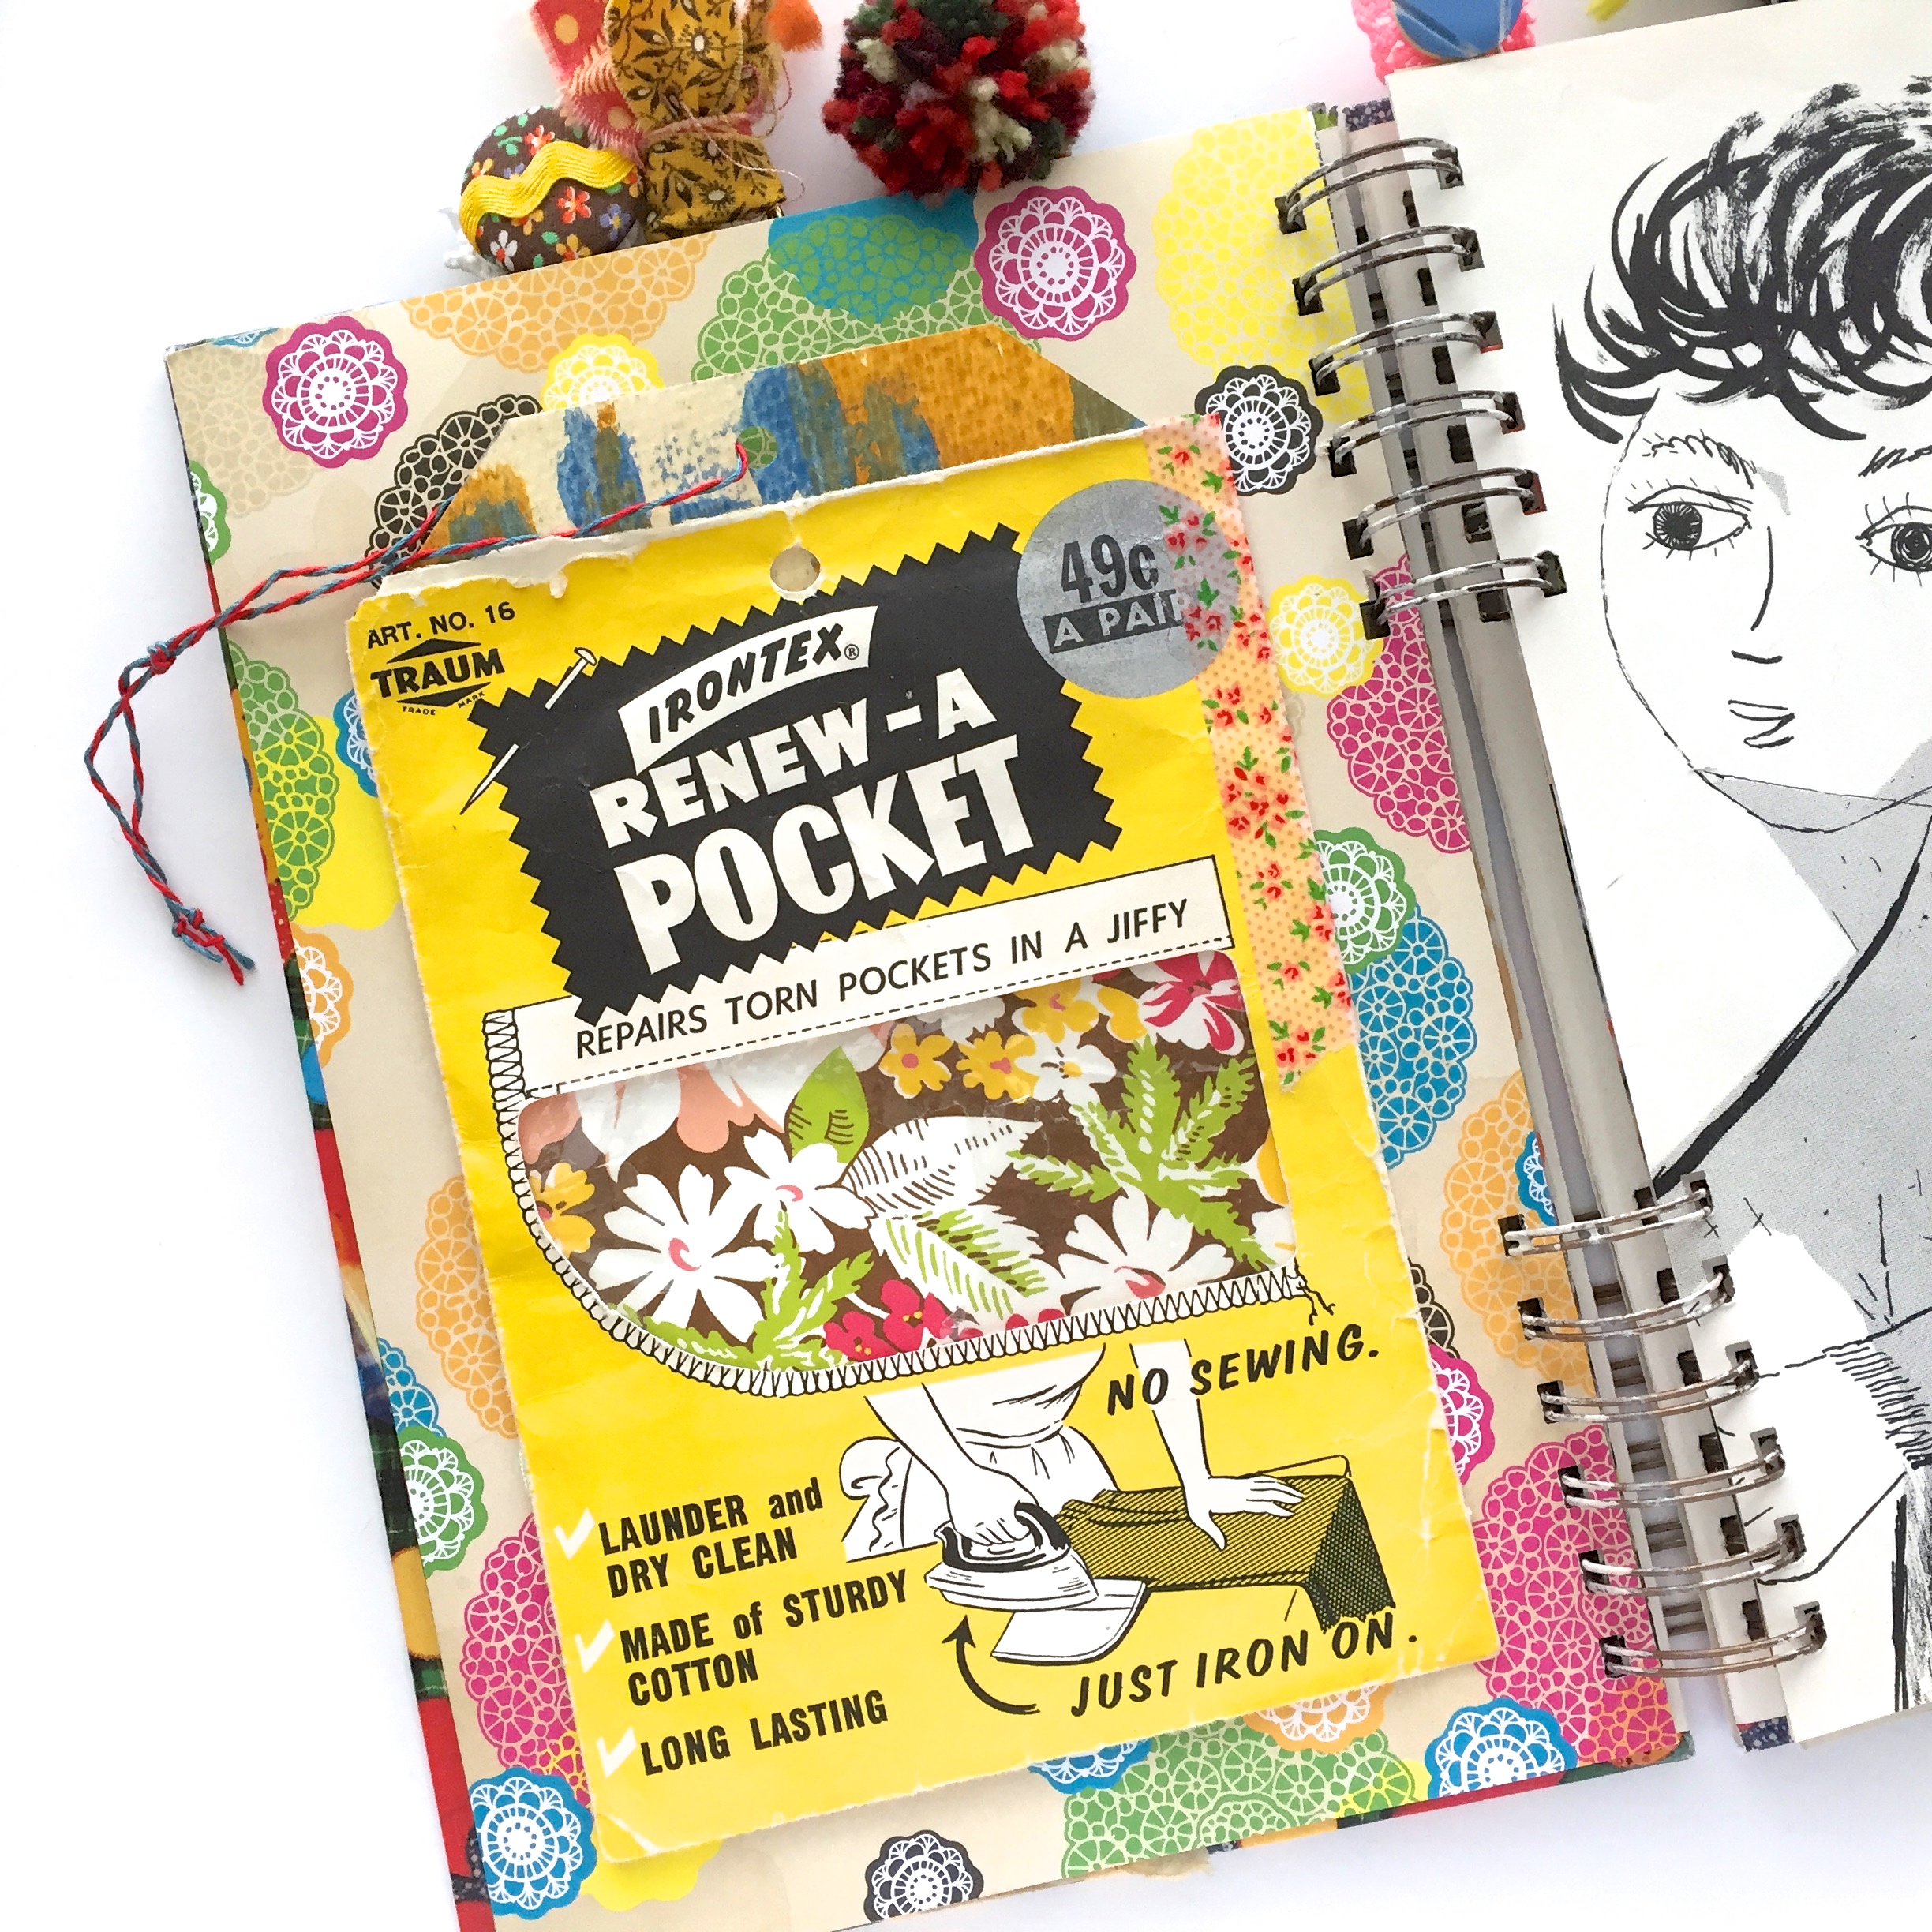
I loved having a library pocket to put journaling tags into from December, so I decided keep that going at the end of each month.

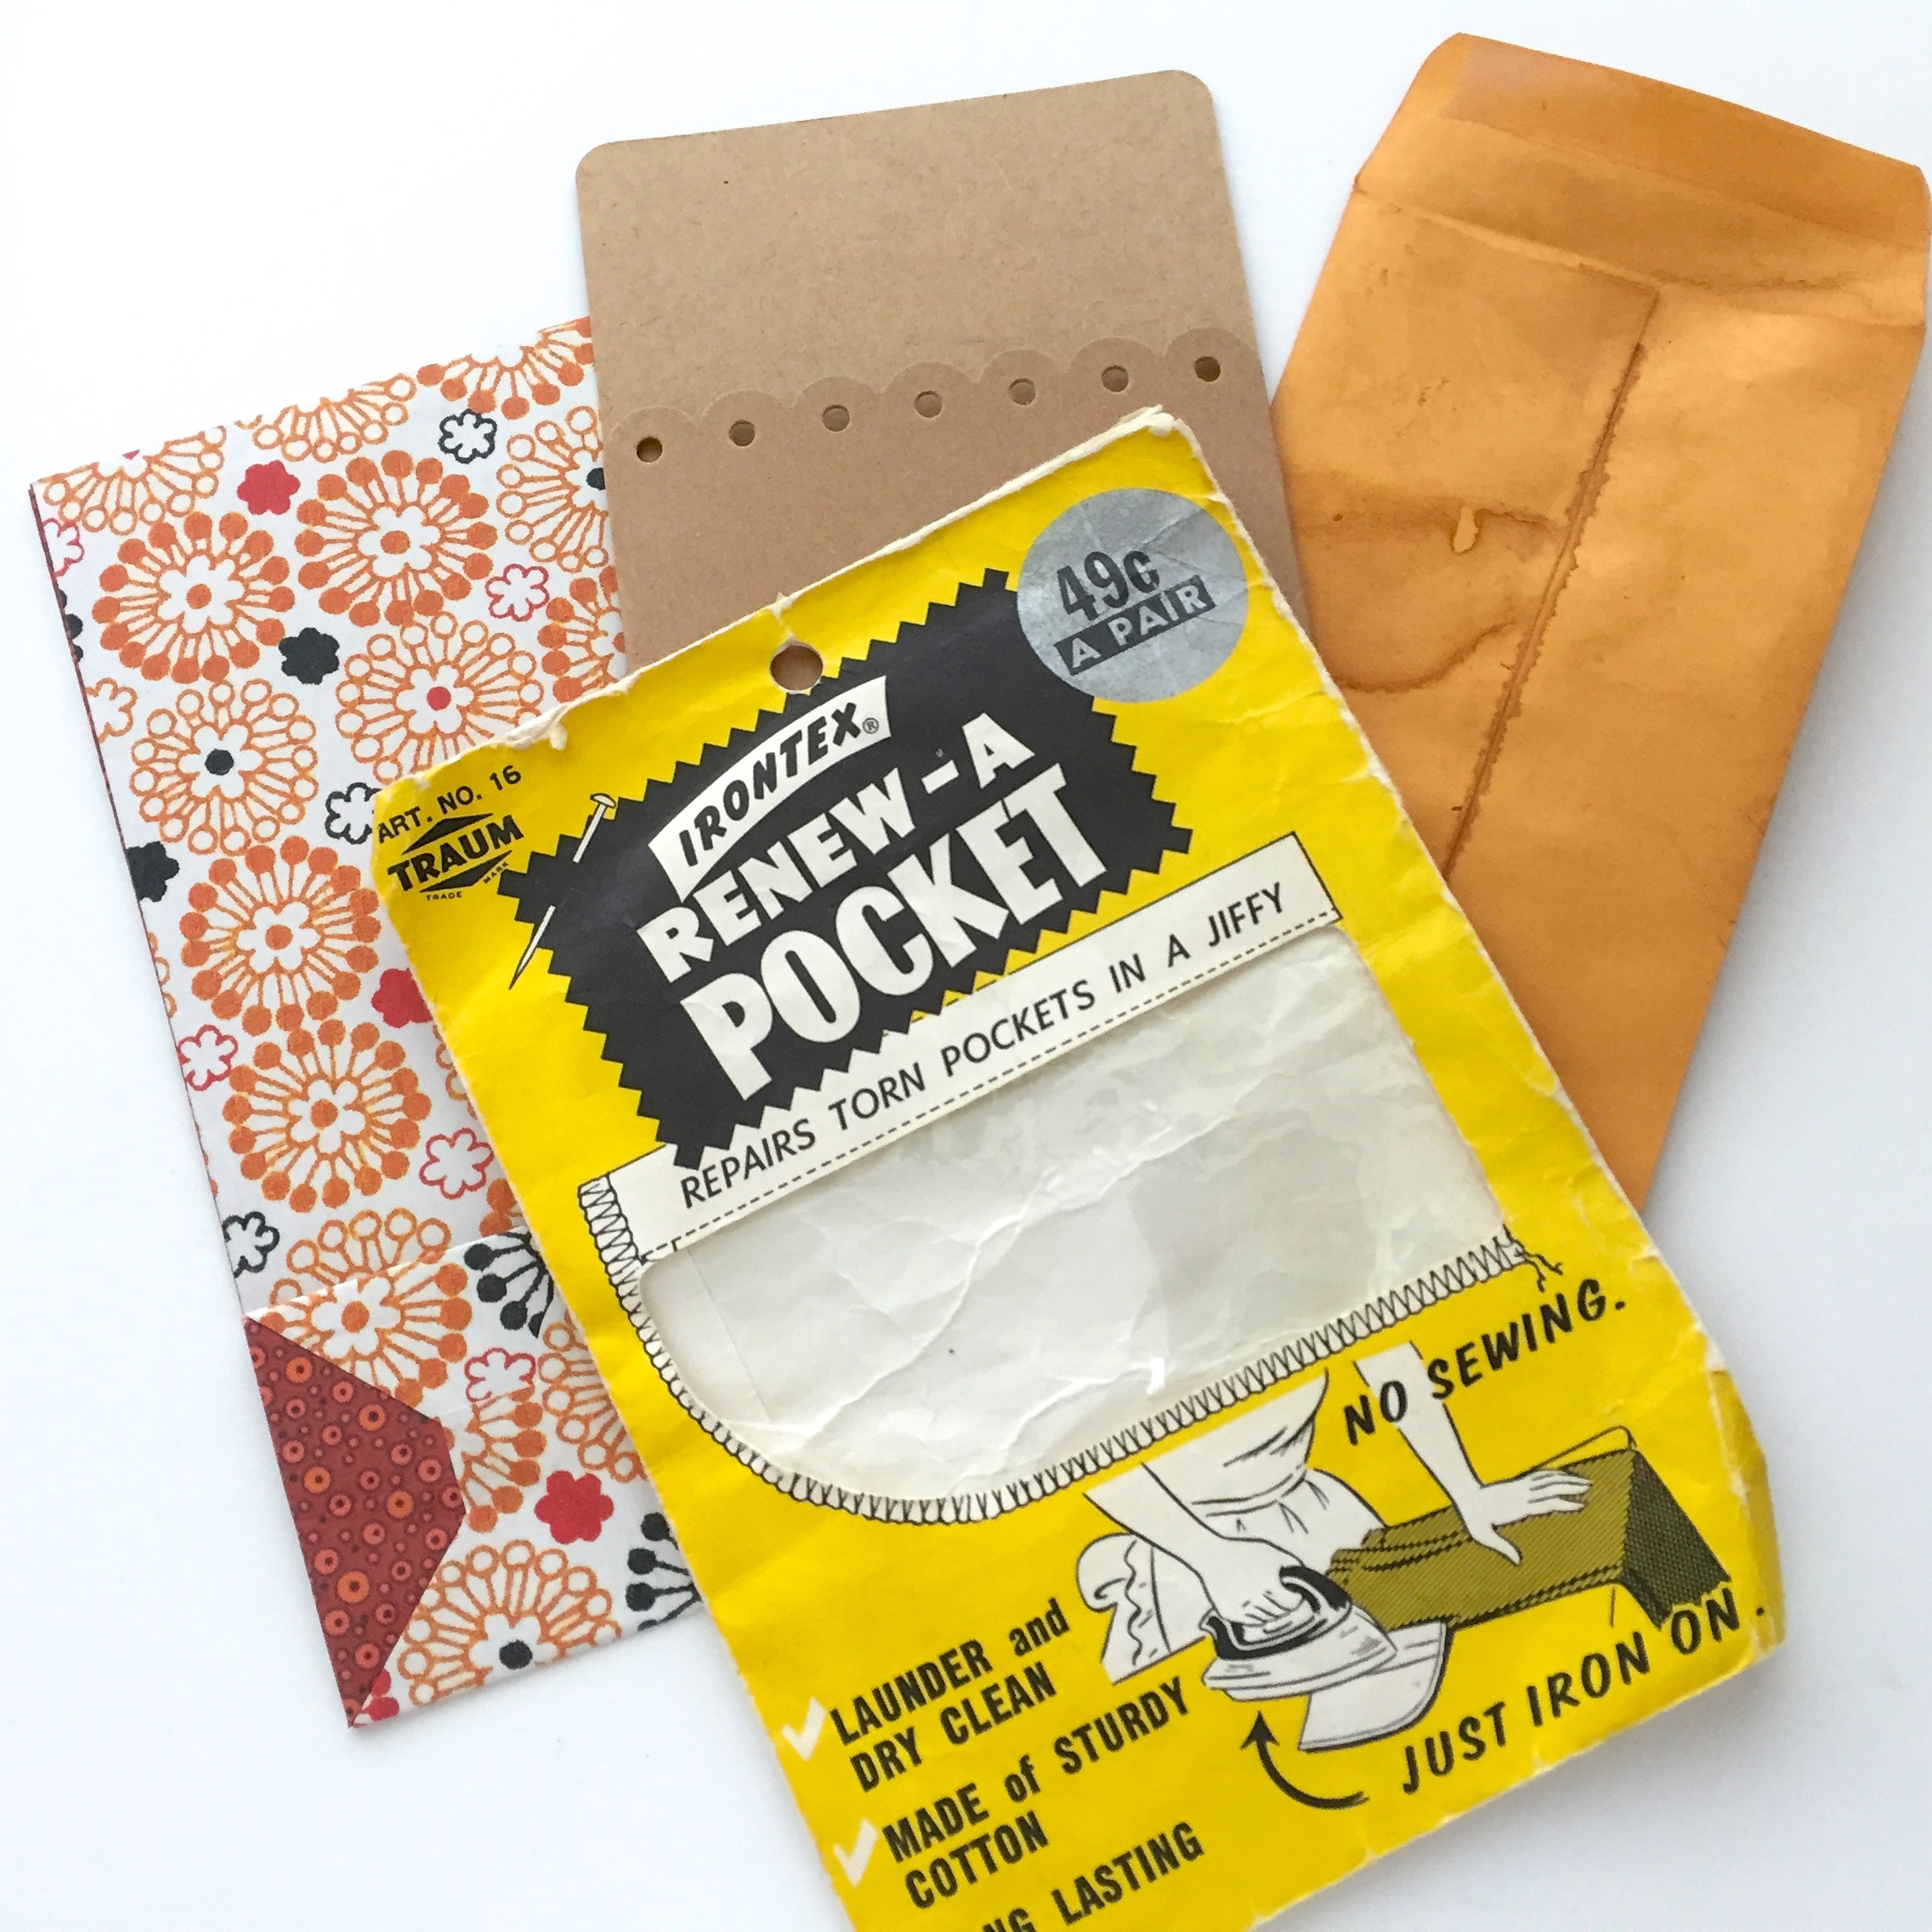
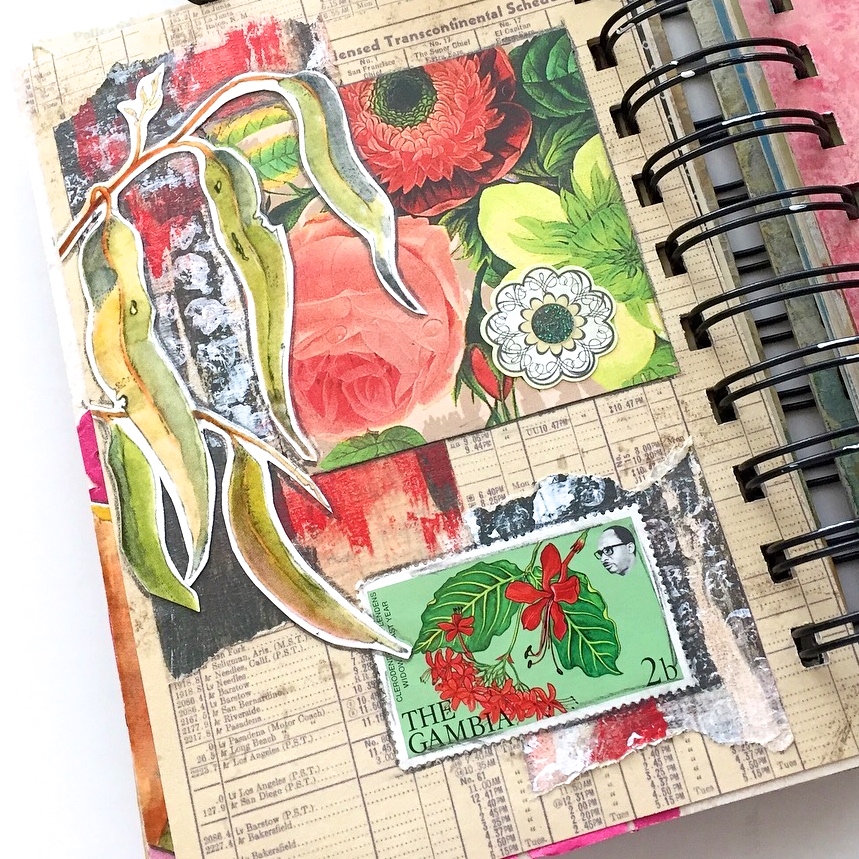
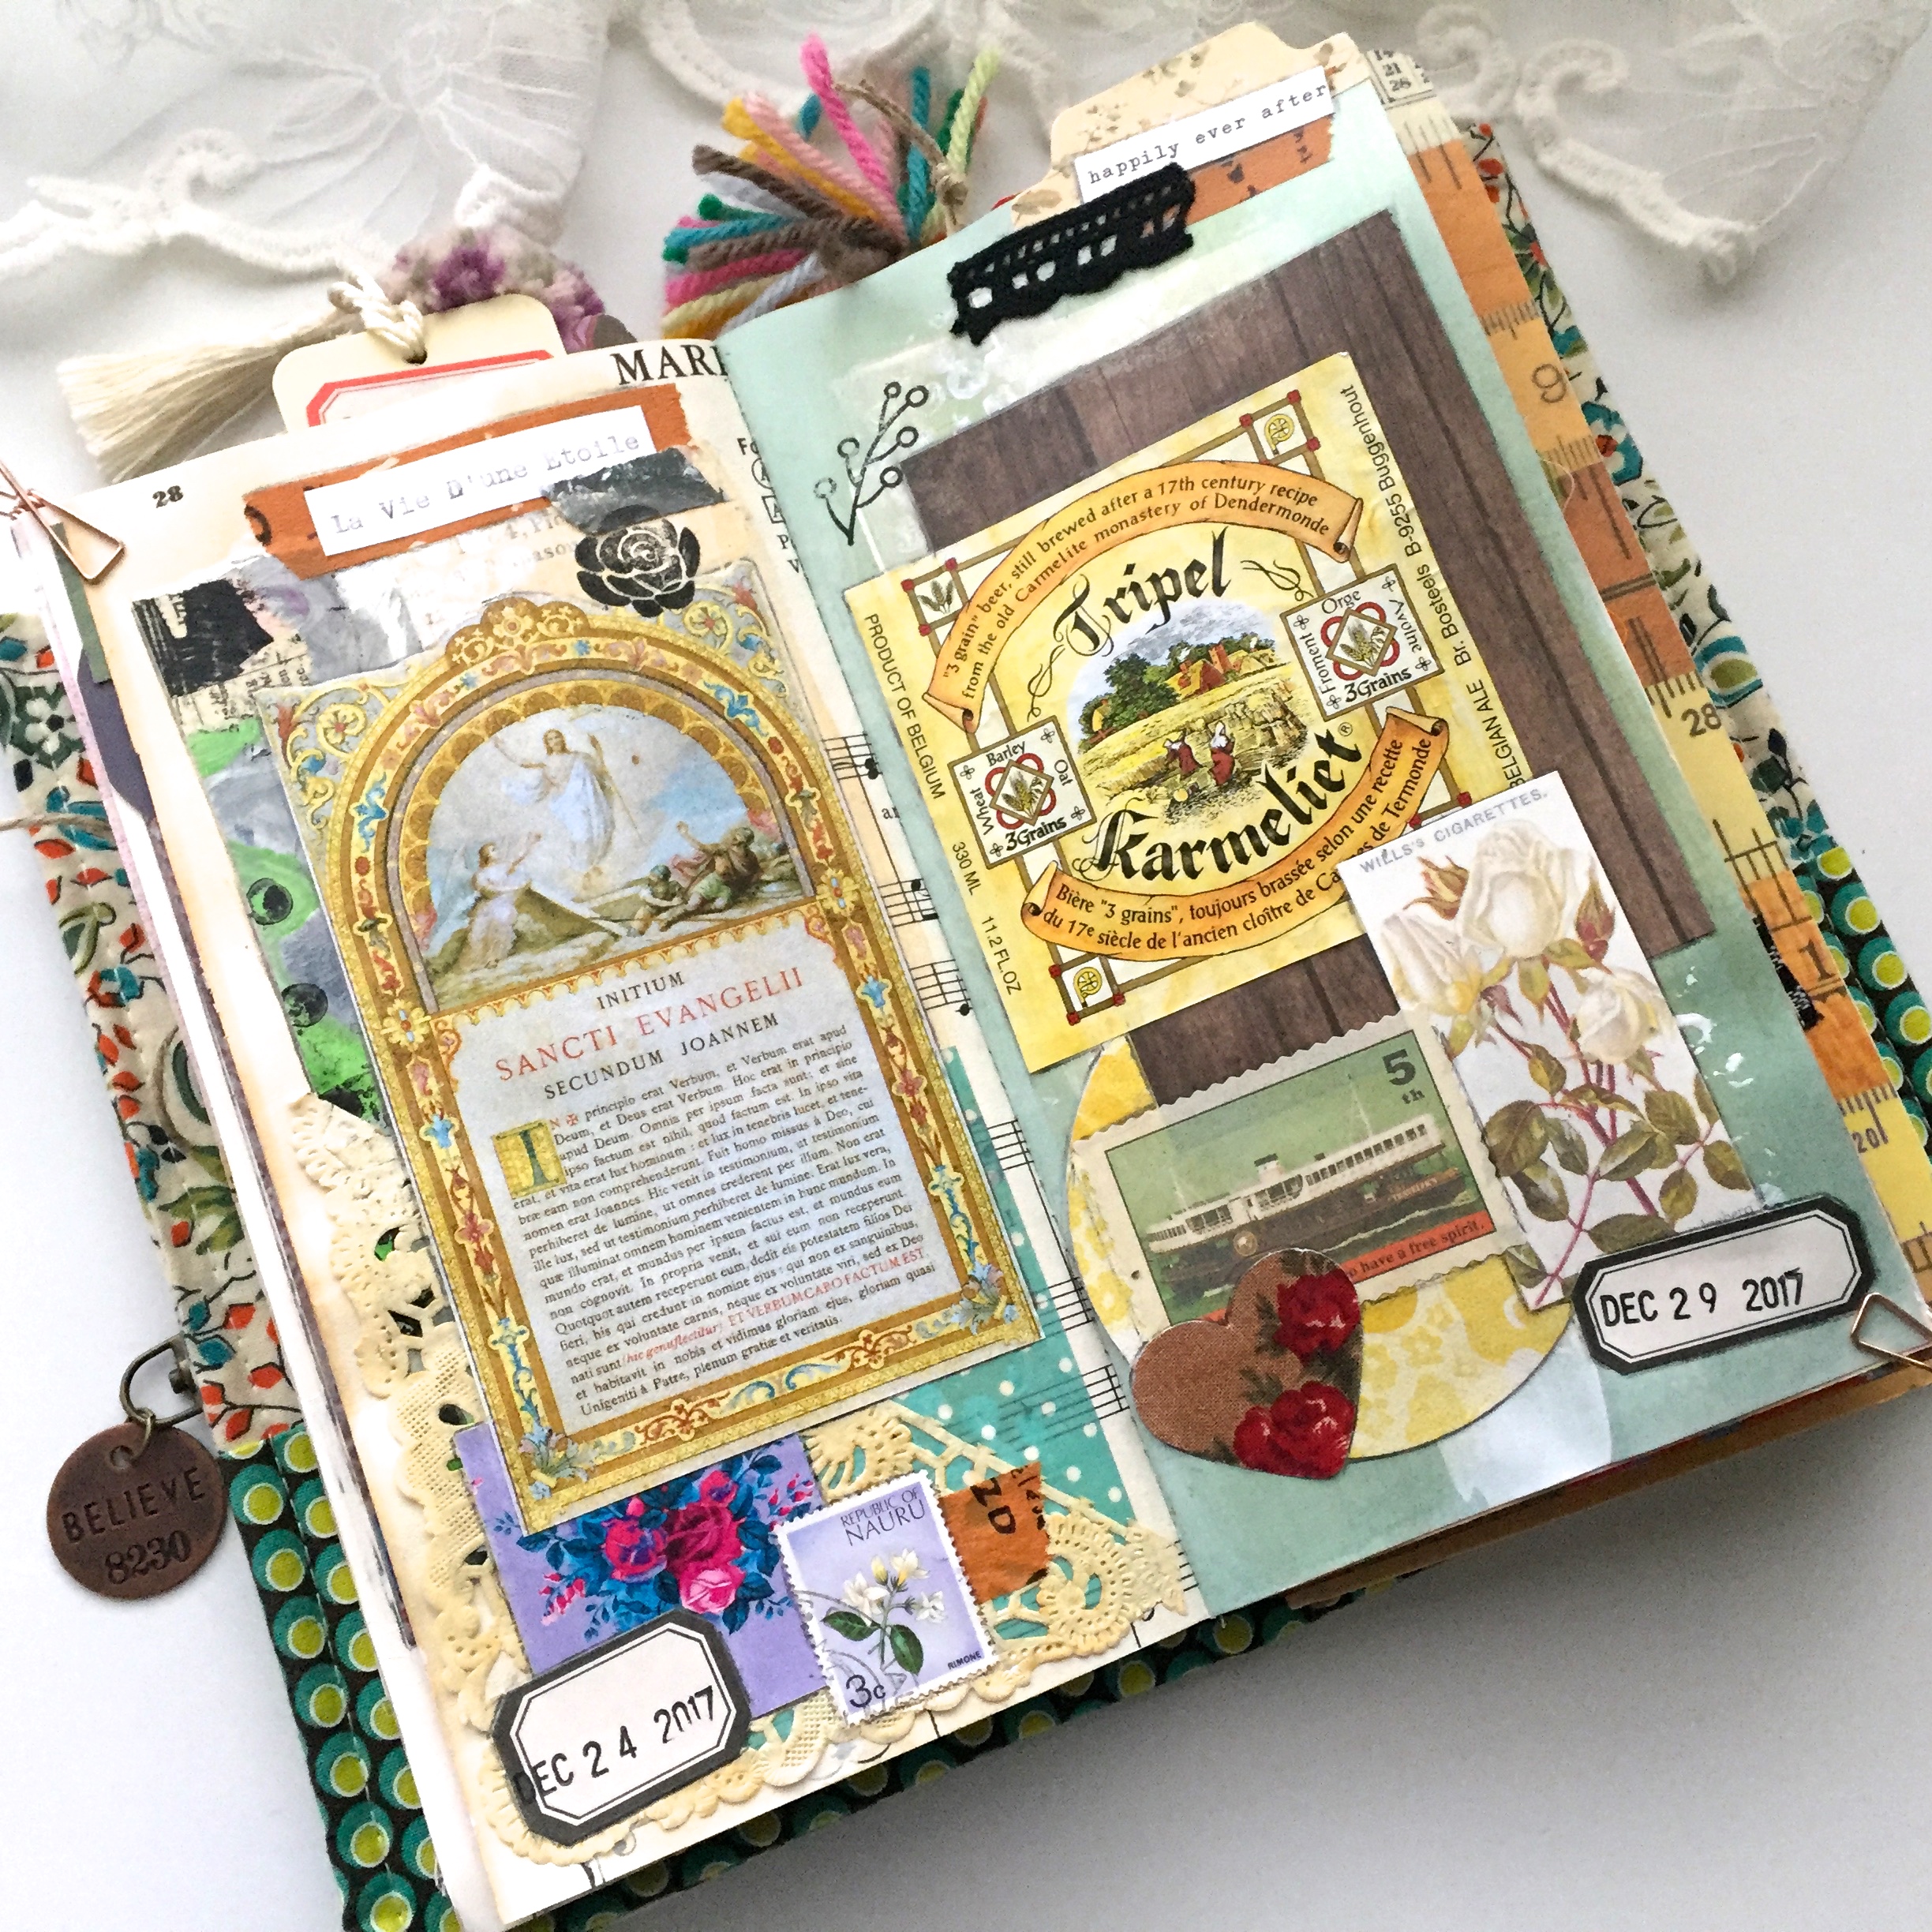
I’m really getting into using up my scrapbook ephemera in here. I’ve been holding onto some of this for years waiting for a home.

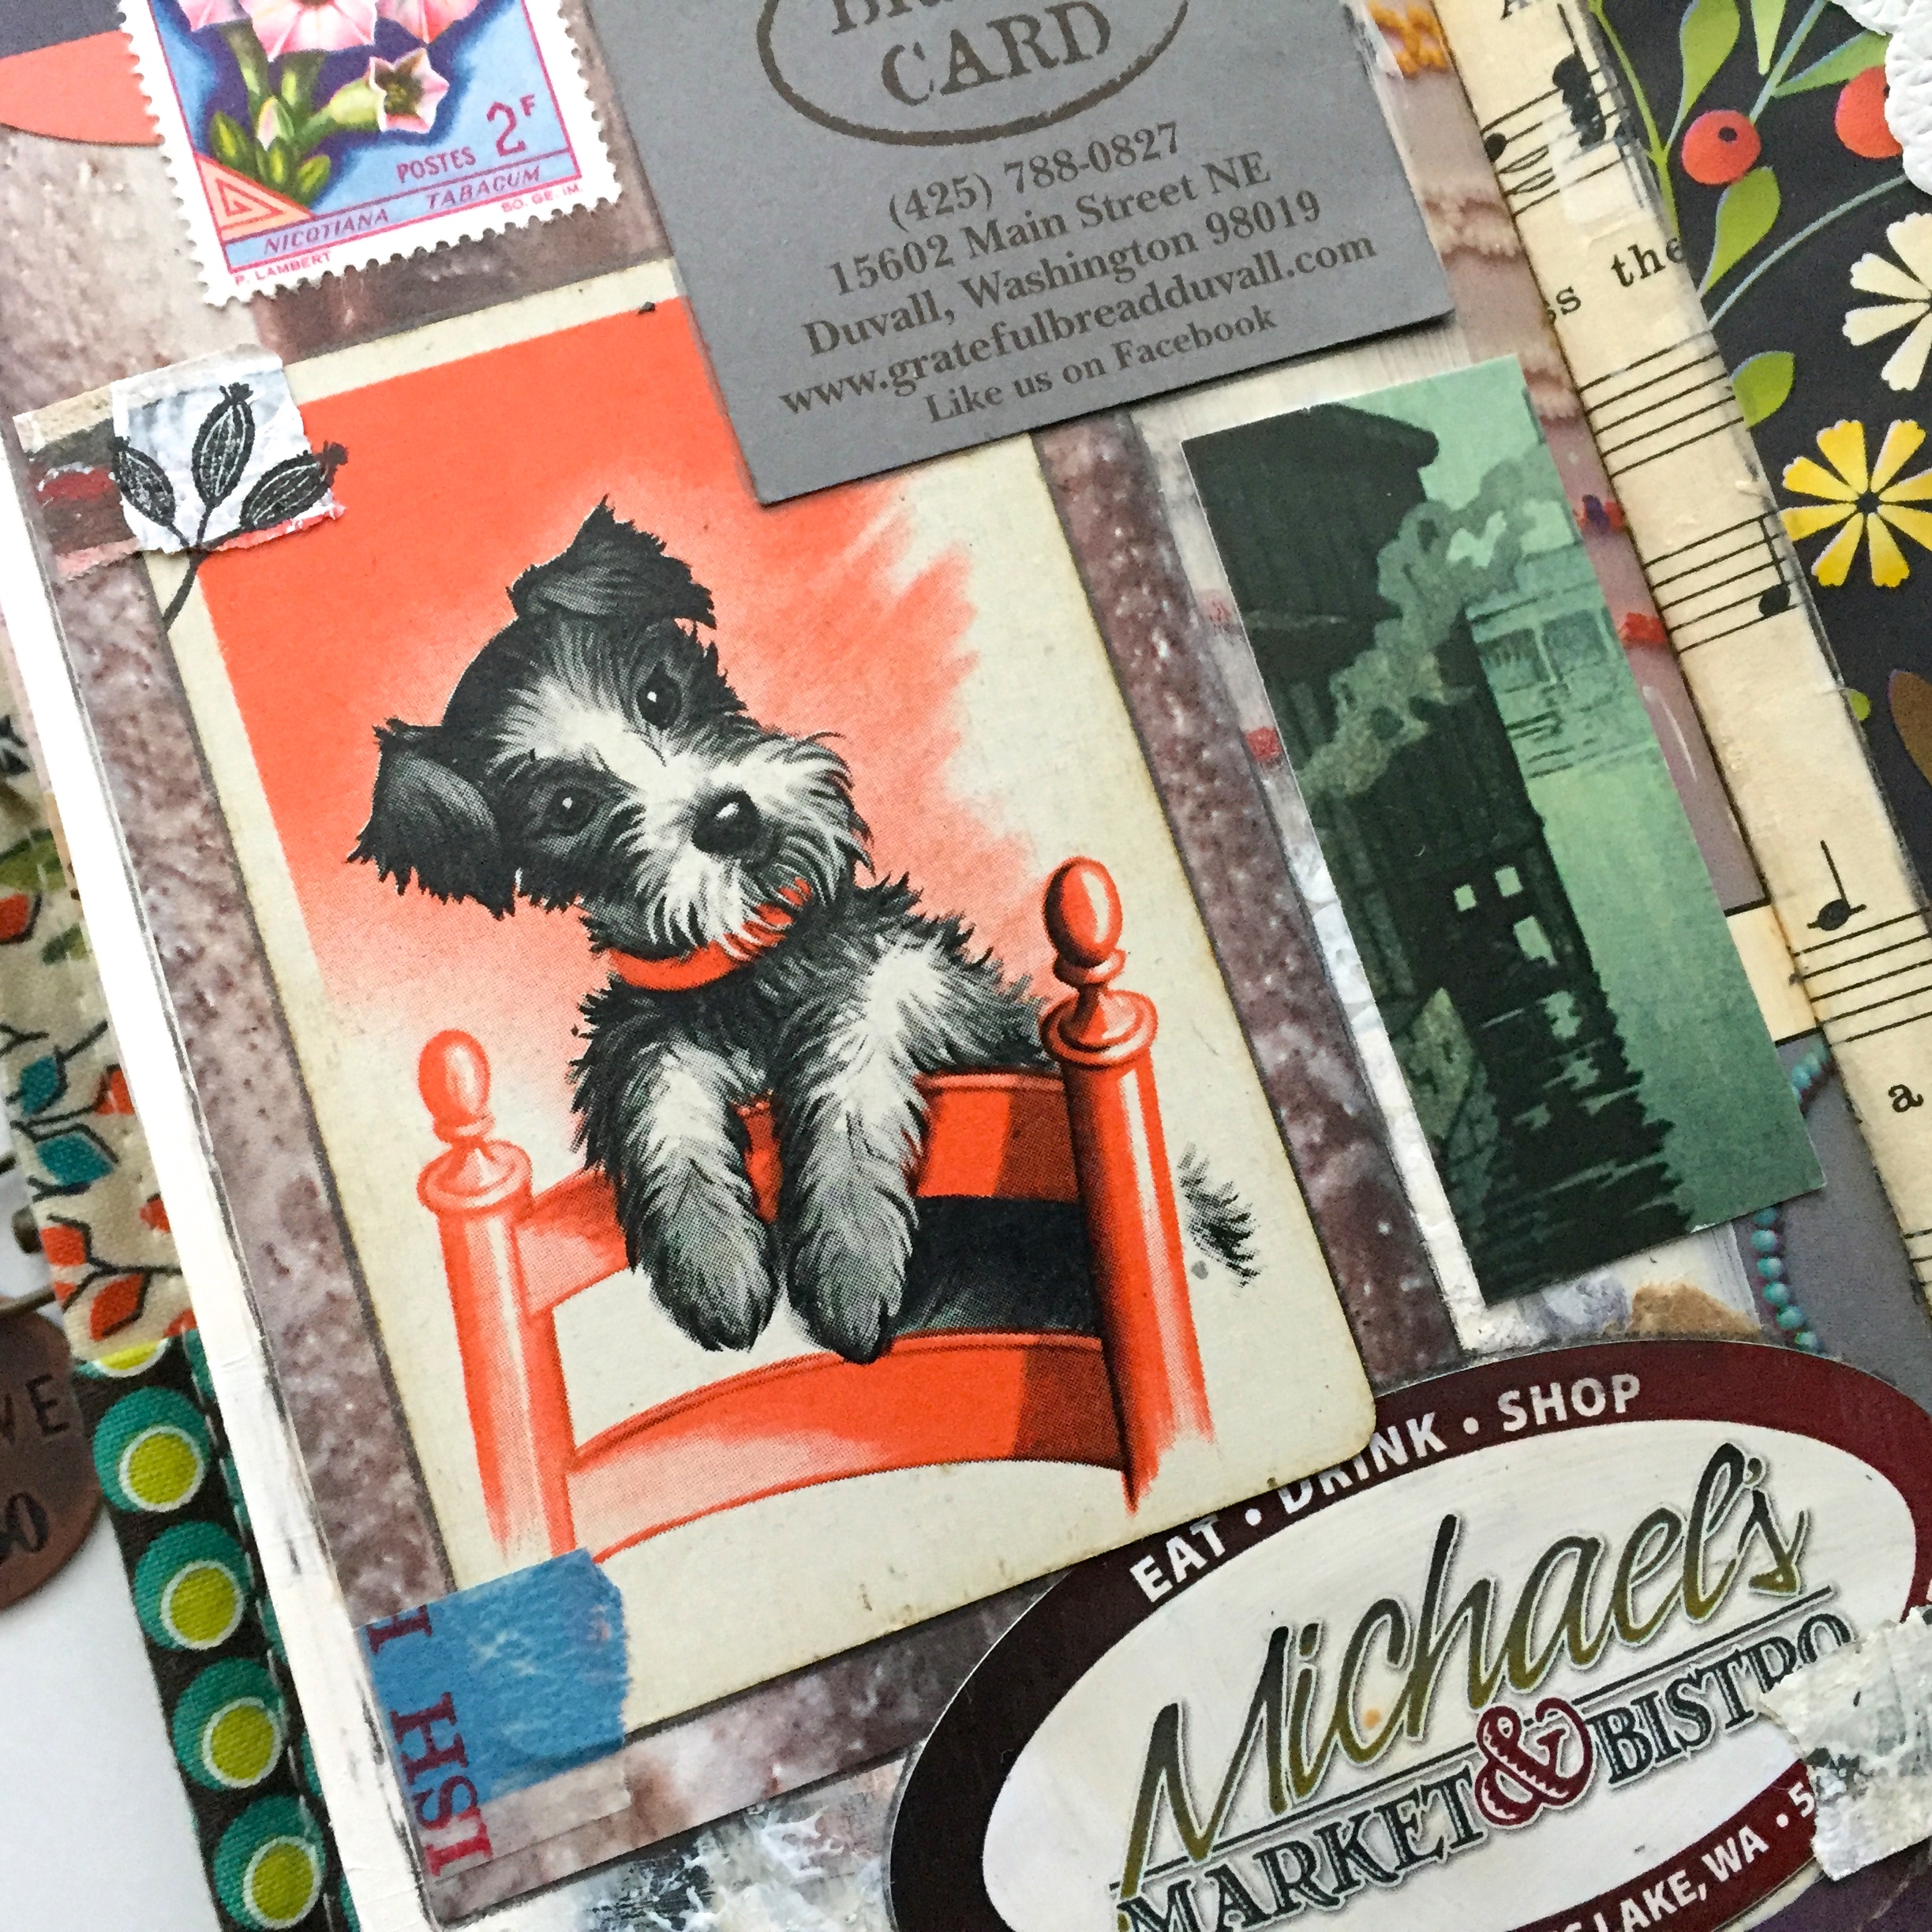
This photo is from a visit with our son, I’m not quite sure why I only took a photo of his pooch Murphy, but he’s awfully cute! Lil’ sweetie!

Well, there’s January for you. I’ve done a few more organizing touches to my keepsake journal tote to help move things along faster. I have lots on my plate, as I’m sure you do, so the more organizing we do the better, right!

I’ll be starting on February next week, and I’ll share that as soon I can.

Until then,

Thanks for popping in,

~Patty


*I don’t make money of of affiliates (yet), I just like to be helpful! 🙂

Journaling Pockets

This was one of those weeks where I had a lot on my mind and knew journaling was the only way to give my brain a rest, if you know what I mean. There are two reasons I’m not a fan of writing directly on my pages. One: most of the time my journaling is of a private nature. Two: I’m not a huge fan of my penmanship. So pockets and journaling spots it is!

Here are some of the pocket choices, a small bag, a premade kraft library pocket, a tea stained coin envelope, and a thrifted vintage pocket replacement package (say that three times fast!).

As you will soon see, I went a little off track, but I used two of them.

Something I picked up years ago because I thought the graphics were so kitschy-cool. I didn’t realize that it actually still had a pocket inside, I will be using that in a future sewing project.

I slipped a piece of card stock down into the package to strengthen it a bit, (you can see some of the card stock in the little window) then I glued the envelope’s flap down onto the card stock to make the opening a little stronger.

You can almost see a large tag poking out of the top of the pocket, I have a fun way of making my journaling tags, I’ll be sharing about those soon.

Another envelope that I’ve hung onto for years. I’m not sure what outpost I ordered from, but I loved the package it came in. I filled it with a couple of large journaling cards. I have to say, it’s really nice to finally use up some of these things I’ve been hanging on to for so long.

A small paper bag that I’ve always wanted to find a use for. That bottom third is the bottom of the bag. I ran a line of adhesive along the sides and stuck it to the front of the bag to make a small pocket. Then glued the bag to the page. It opens up quite a bit, I could really fill it with a lot of tags and journaling cards, or maybe some keepsakes.

This is an idea I picked up on Instagram, it’s a greeting card. The gal I got this idea from didn’t say how she adhered them to her pages, so I just improvised. I glued the bottom and one side edge together with an adhesive runner, then glued the card to the page.

I just realized I could have just run the adhesive around three sides of the back of the card and made a second pocket! Hopefully I’ll remember that next time (I can’t wait to show more of that tag in a later post!).

This is what started this whole pocket making thing. I filled these journaling inserts in a mad frenzy of writing, and wanted to make sure I had plenty of journaling spots ready for the next time I needed to get thoughts on paper. Now my journal is bulging! Oh well!

As you can see, I still have a couple of pockets to work with. I’ll be sure to share them when they’re finished.

I hope my directions were clear. If not, please feel free to ask any questions ion the comments or email me, my email address link is at the top of my sidebar.

As always, thanks so much for dropping in,

Have a great week,

~Patty


Garden (journal) Progress

This is the time of year that my garden seems to get the better of me. Thankfully, this year I got a jump start on my weeding. It’s still not perfect, but we’ve been able to enjoy the yard a bit more lately.

It’s still early days, but there a few blooms out there, so I decided to snap a few photos before they fade (disappear). And what better way to use photos of flowers but in my Garden Journal.

Believe it or not, I didn’t use the saturation when editing this photo, crazy! This Rhodie bush is in the way back of our garden, it’s finally big enough to see from the patio.

Here are some of the photo options I cropped and printed to fit in my mini garden journal. This is a great way to incorporate some memories into an art journal without journaling. But I will be adding the date.

 My Bachelors Button. I’m proud to say that he has given birth to many offspring which I will be relocating this weekend.

I was pretty excited to use these particular flower cut outs that I wrote about last week for this project, the colors were perfect.

These Irises really are beautiful, but I think it was the sunlight that took this shot to the next level. I didn’t need to do much editing on this photo, it’s a tad pixelated, but it’s not going to be entered into a photo contest.

There you have it, a peek into my garden. Adding photo memories to this little art journal has given me lots of ideas for future projects. They say a picture speaks a thousand words, so I’m sure this will translate to my next project beautifully, more on that in a couple of weeks.

I still have a few things to share about this journal that I will be talking about next week.

Until then,

Thank you for stopping by,

Have a great rest of your week,

~Patty

Painting Tape!

“Painting Tape”! Hmmm…sounds about as exciting as watching it dry. Well, I’m going to try to make it sound a little more interesting than that. I made some painted masking tape a couple of weeks ago, and I’ve been having so much fun with it, I decided to make some more. And I thought I might as well snap some photos along the way to share in case you might be interested.

So, here we go…

Ingredients: wide masking tape, acrylic paint in your choice of color, gesso (or white paint), bubble wrap, and a plastic card or putty knife.

Here is the layering process.

I used my grandson’s finger painting tray for this, which was a great idea, this made it super easy clean up.

I went back over the tape with a darker shade of pink with my finger tip just to add a little more color. One of the nicest surprises was that you can see through the tape in spots.

Here is a finished page using some of the tape. I like to tear it off then slice it thin like washi tape…

…or use it as a background piece. The great thing about this is that you can make it in any color scheme you want. I just tape it to the plastic containers I use to keep my ephemera in and it’s always right there where I need it.

(You can see a little more about my art journaling organization here.)

So, there you go, my latest obsession.

I finally feel like I’m getting back into the swing of things with my art journals. I need to stop questioning why I like arranging small bits on paper and just get to it!


As always,

Thanks for the visit,

Have a great weekend,

~Patty

Gratitude Journal Progress

You know, I almost decided not to write a blog post about my gratitude journal because it’s pretty much all I’ve talked about this year. But then again, it’s pretty much all I’ve worked on this year. Well artistically anyway, so yeah.

I’m happy to say that I’ve made it through the Holidays, and am now poised to get caught up on January. Between the weather and staying busy catching up on everything else around the house, there’s not really too much to document, so that should go pretty fast.

On the left is a remembrance page of a day out shopping with one of my best friends. To the right are tags I collected from my latest wardrobe revamp. This is something that happens about as often as Haley’s Comet, so it was definitely worth noting!

More shopping and dining out with my daughter on the left there, and some Christmas snuggles between my daughter and my grandson on the right.

You may be wondering if I will actually remember any of this in the years to come, which is really valid concern, so I will be covering that point soon…like after a couple of photos soon.

How cute is that!

On the left is a piece from a Christmas card, and on the right is a label from a super tasty beer my son brought over for me to try, so good.

And that’s it for December, whew!

Now to the documenting part…

I decided to use a vintage library pocket to put cards and tags in for journaling.

I adhered lined paper on the back sides. If you look closely, you can see that I journaled under each date that corresponds to my pages. This is new to me, and I love it! There’s nothing earth shattering about my journaling, I just don’t like the way it looks on my pages, so this is a perfect fix for me!

I just gave myself a “high five”…okay, don’t judge me! 🙂

I’ve been spending the last month catching up on so many things, #oneword2018, Lara Casey’s PowerSheets, Project Life, my planners, Oy!

I hope to be ready to share how I’m doing my “Word for the Year” soon, I’m still working out some of the details.

So, until next time,

Thanks for popping in,

Have a great week,

~Patty