

This was one of those weeks where I had a lot on my mind and knew journaling was the only way to give my brain a rest, if you know what I mean. There are two reasons I’m not a fan of writing directly on my pages. One: most of the time my journaling is of a private nature. Two: I’m not a huge fan of my penmanship. So pockets and journaling spots it is!
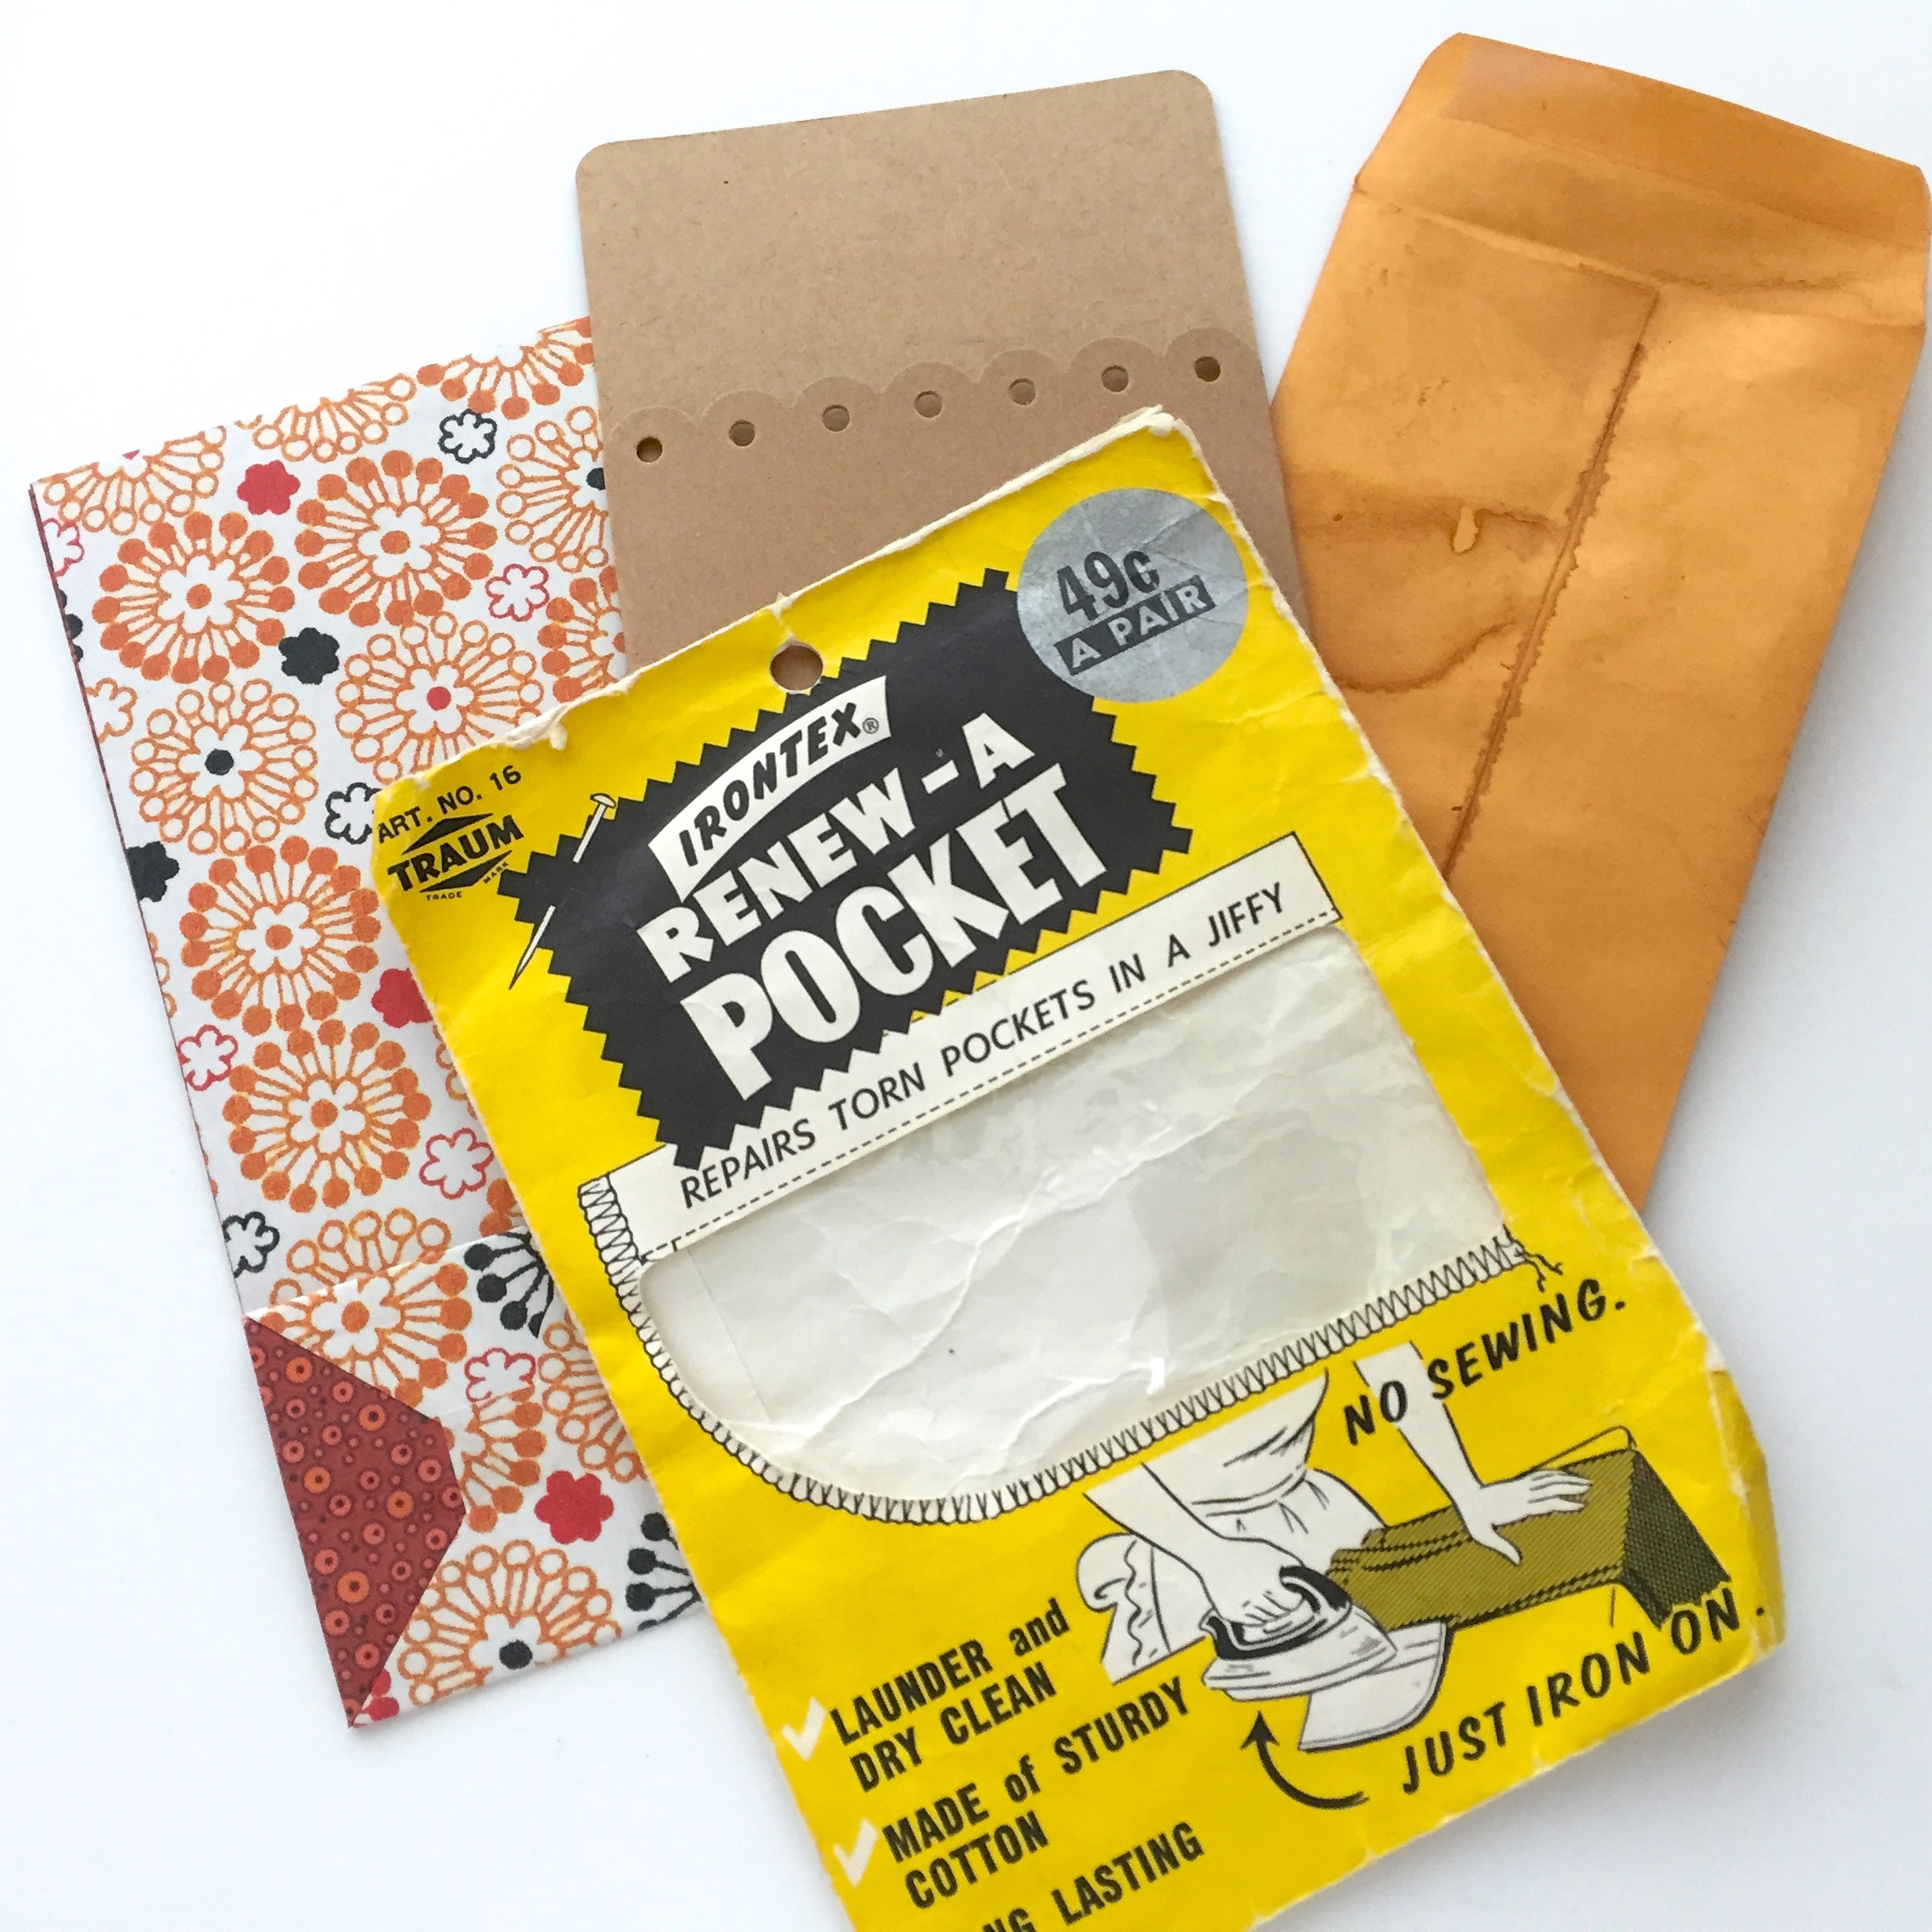
Here are some of the pocket choices, a small bag, a premade kraft library pocket, a tea stained coin envelope, and a thrifted vintage pocket replacement package (say that three times fast!).
As you will soon see, I went a little off track, but I used two of them.
Something I picked up years ago because I thought the graphics were so kitschy-cool. I didn’t realize that it actually still had a pocket inside, I will be using that in a future sewing project.
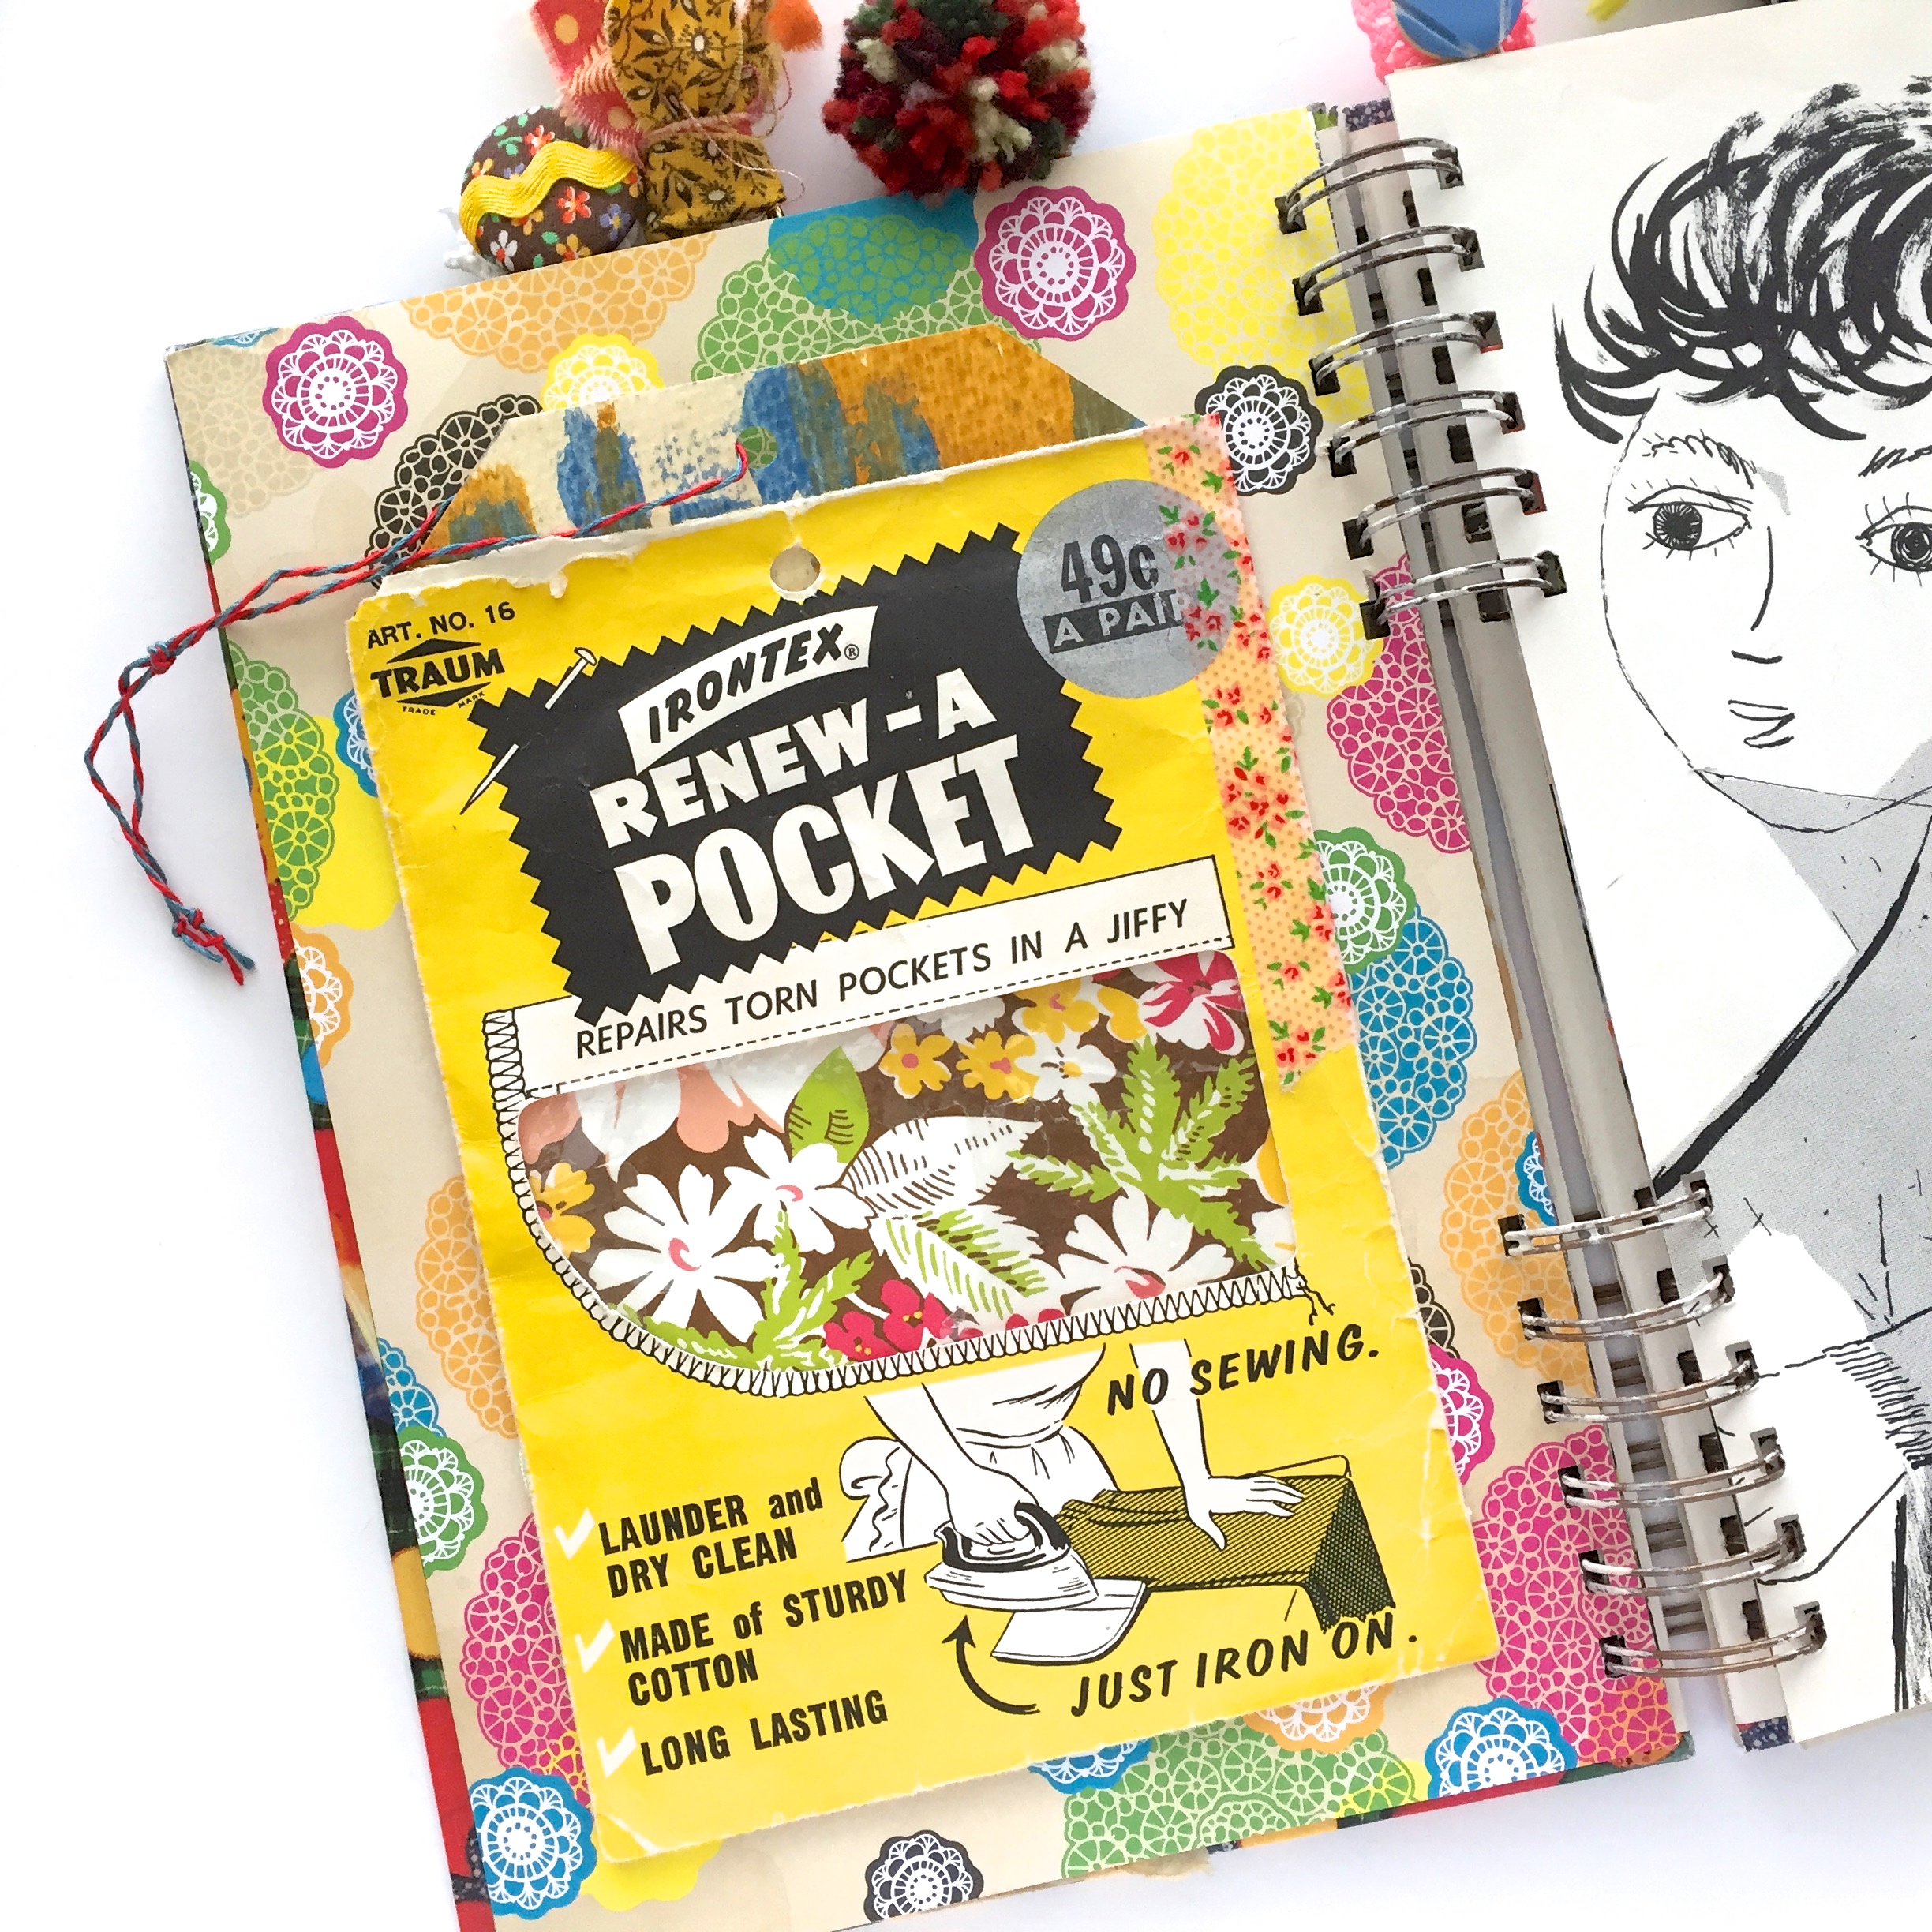
I slipped a piece of card stock down into the package to strengthen it a bit, (you can see some of the card stock in the little window) then I glued the envelope’s flap down onto the card stock to make the opening a little stronger.
You can almost see a large tag poking out of the top of the pocket, I have a fun way of making my journaling tags, I’ll be sharing about those soon.
 Another envelope that I’ve hung onto for years. I’m not sure what outpost I ordered from, but I loved the package it came in. I filled it with a couple of large journaling cards. I have to say, it’s really nice to finally use up some of these things I’ve been hanging on to for so long.

A small paper bag that I’ve always wanted to find a use for. That bottom third is the bottom of the bag. I ran a line of adhesive along the sides and stuck it to the front of the bag to make a small pocket. Then glued the bag to the page. It opens up quite a bit, I could really fill it with a lot of tags and journaling cards, or maybe some keepsakes.

This is an idea I picked up on Instagram, it’s a greeting card. The gal I got this idea from didn’t say how she adhered them to her pages, so I just improvised. I glued the bottom and one side edge together with an adhesive runner, then glued the card to the page.
I just realized I could have just run the adhesive around three sides of the back of the card and made a second pocket! Hopefully I’ll remember that next time (I can’t wait to show more of that tag in a later post!).

This is what started this whole pocket making thing. I filled these journaling inserts in a mad frenzy of writing, and wanted to make sure I had plenty of journaling spots ready for the next time I needed to get thoughts on paper. Now my journal is bulging! Oh well!
As you can see, I still have a couple of pockets to work with. I’ll be sure to share them when they’re finished.
I hope my directions were clear. If not, please feel free to ask any questions ion the comments or email me, my email address link is at the top of my sidebar.
As always, thanks so much for dropping in,
Have a great week,
~Patty

I like the idea of using the greeting card. I have so many and no idea as to what to do with them. I will try your idea and see how it turns out. Thanks for the inspiration!
LikeLike
I love this! so pretty and inspiring. It also answered a few questions I’ve been asking about how to create pockets and where to journal privately. Thank you.
LikeLike
Thank you Melissa, that’s awesome to hear! You can fit a lot of journaling tags or cards in those pockets 😊
LikeLike