RadishBlossoms Shoppe News

I’ve been a super busy bee lately! The funny thing is that as soon as I gave myself permission to slow down, I found a surplus of energy! It’s amazing how putting undue pressure on yourself can drag you down! It’s still a work in progress, progress being the operative word.

In the meantime I thought I would share some of the fruits of my labor.

IMG_8448

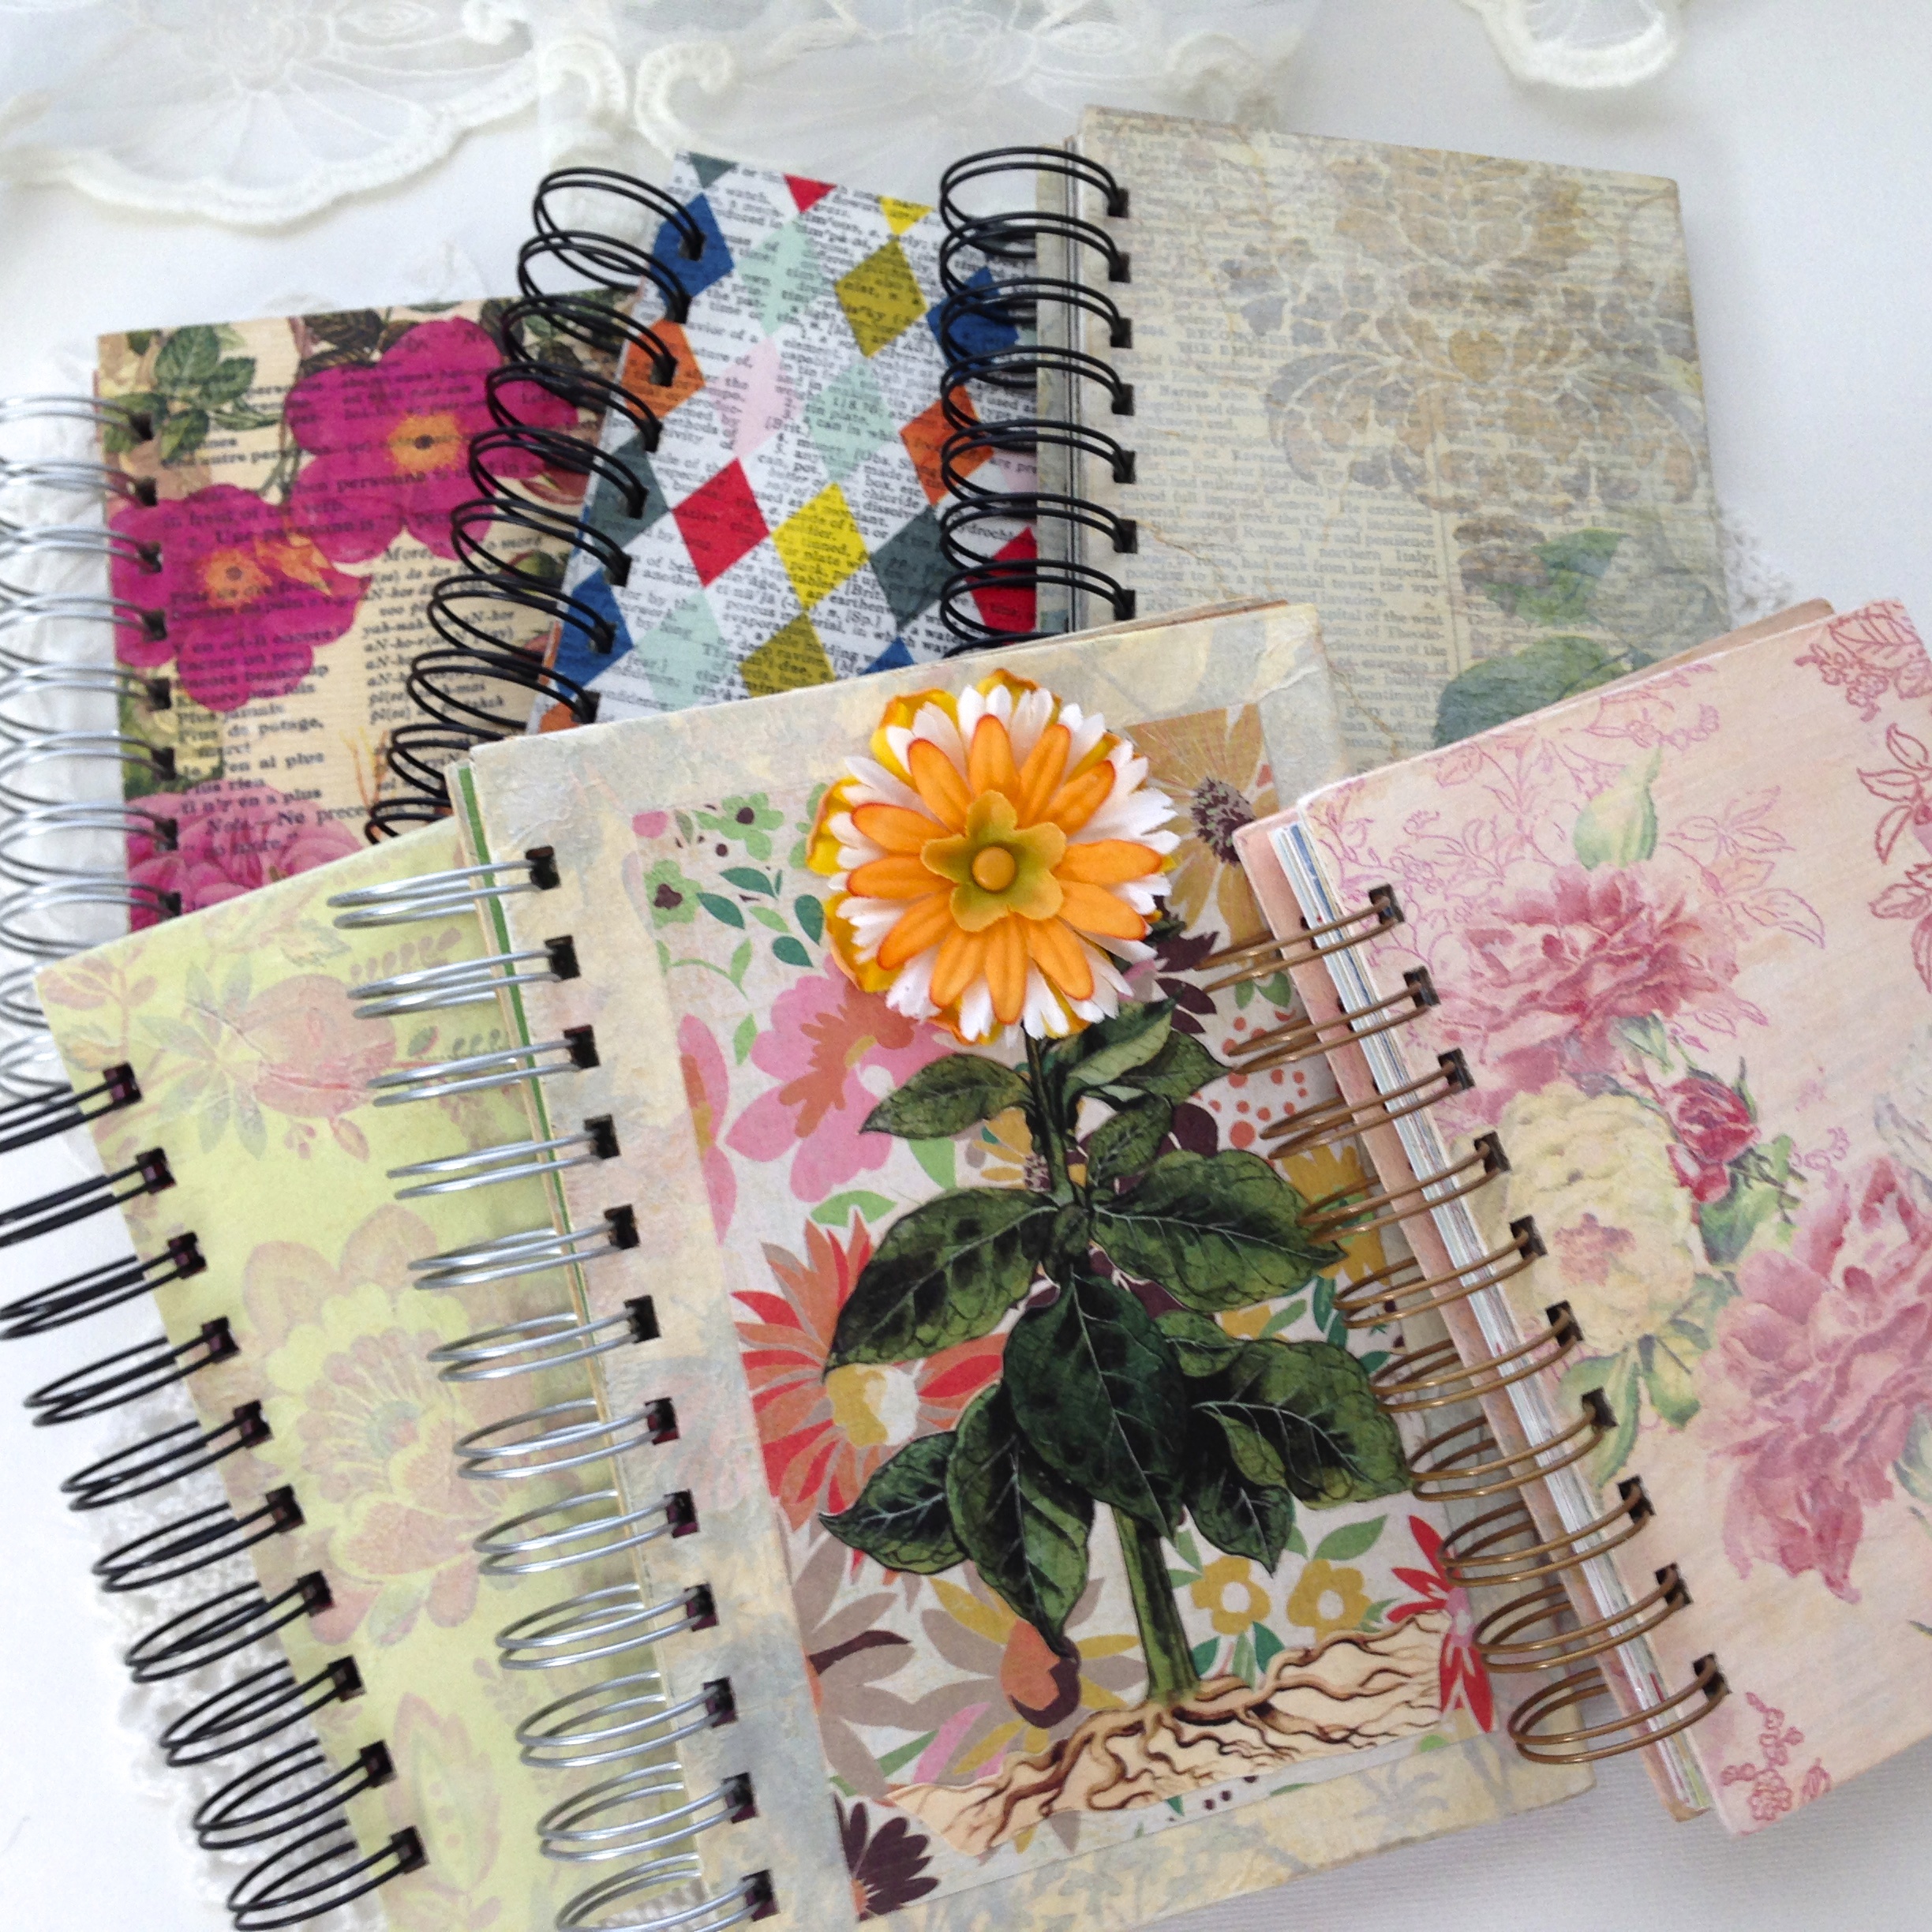
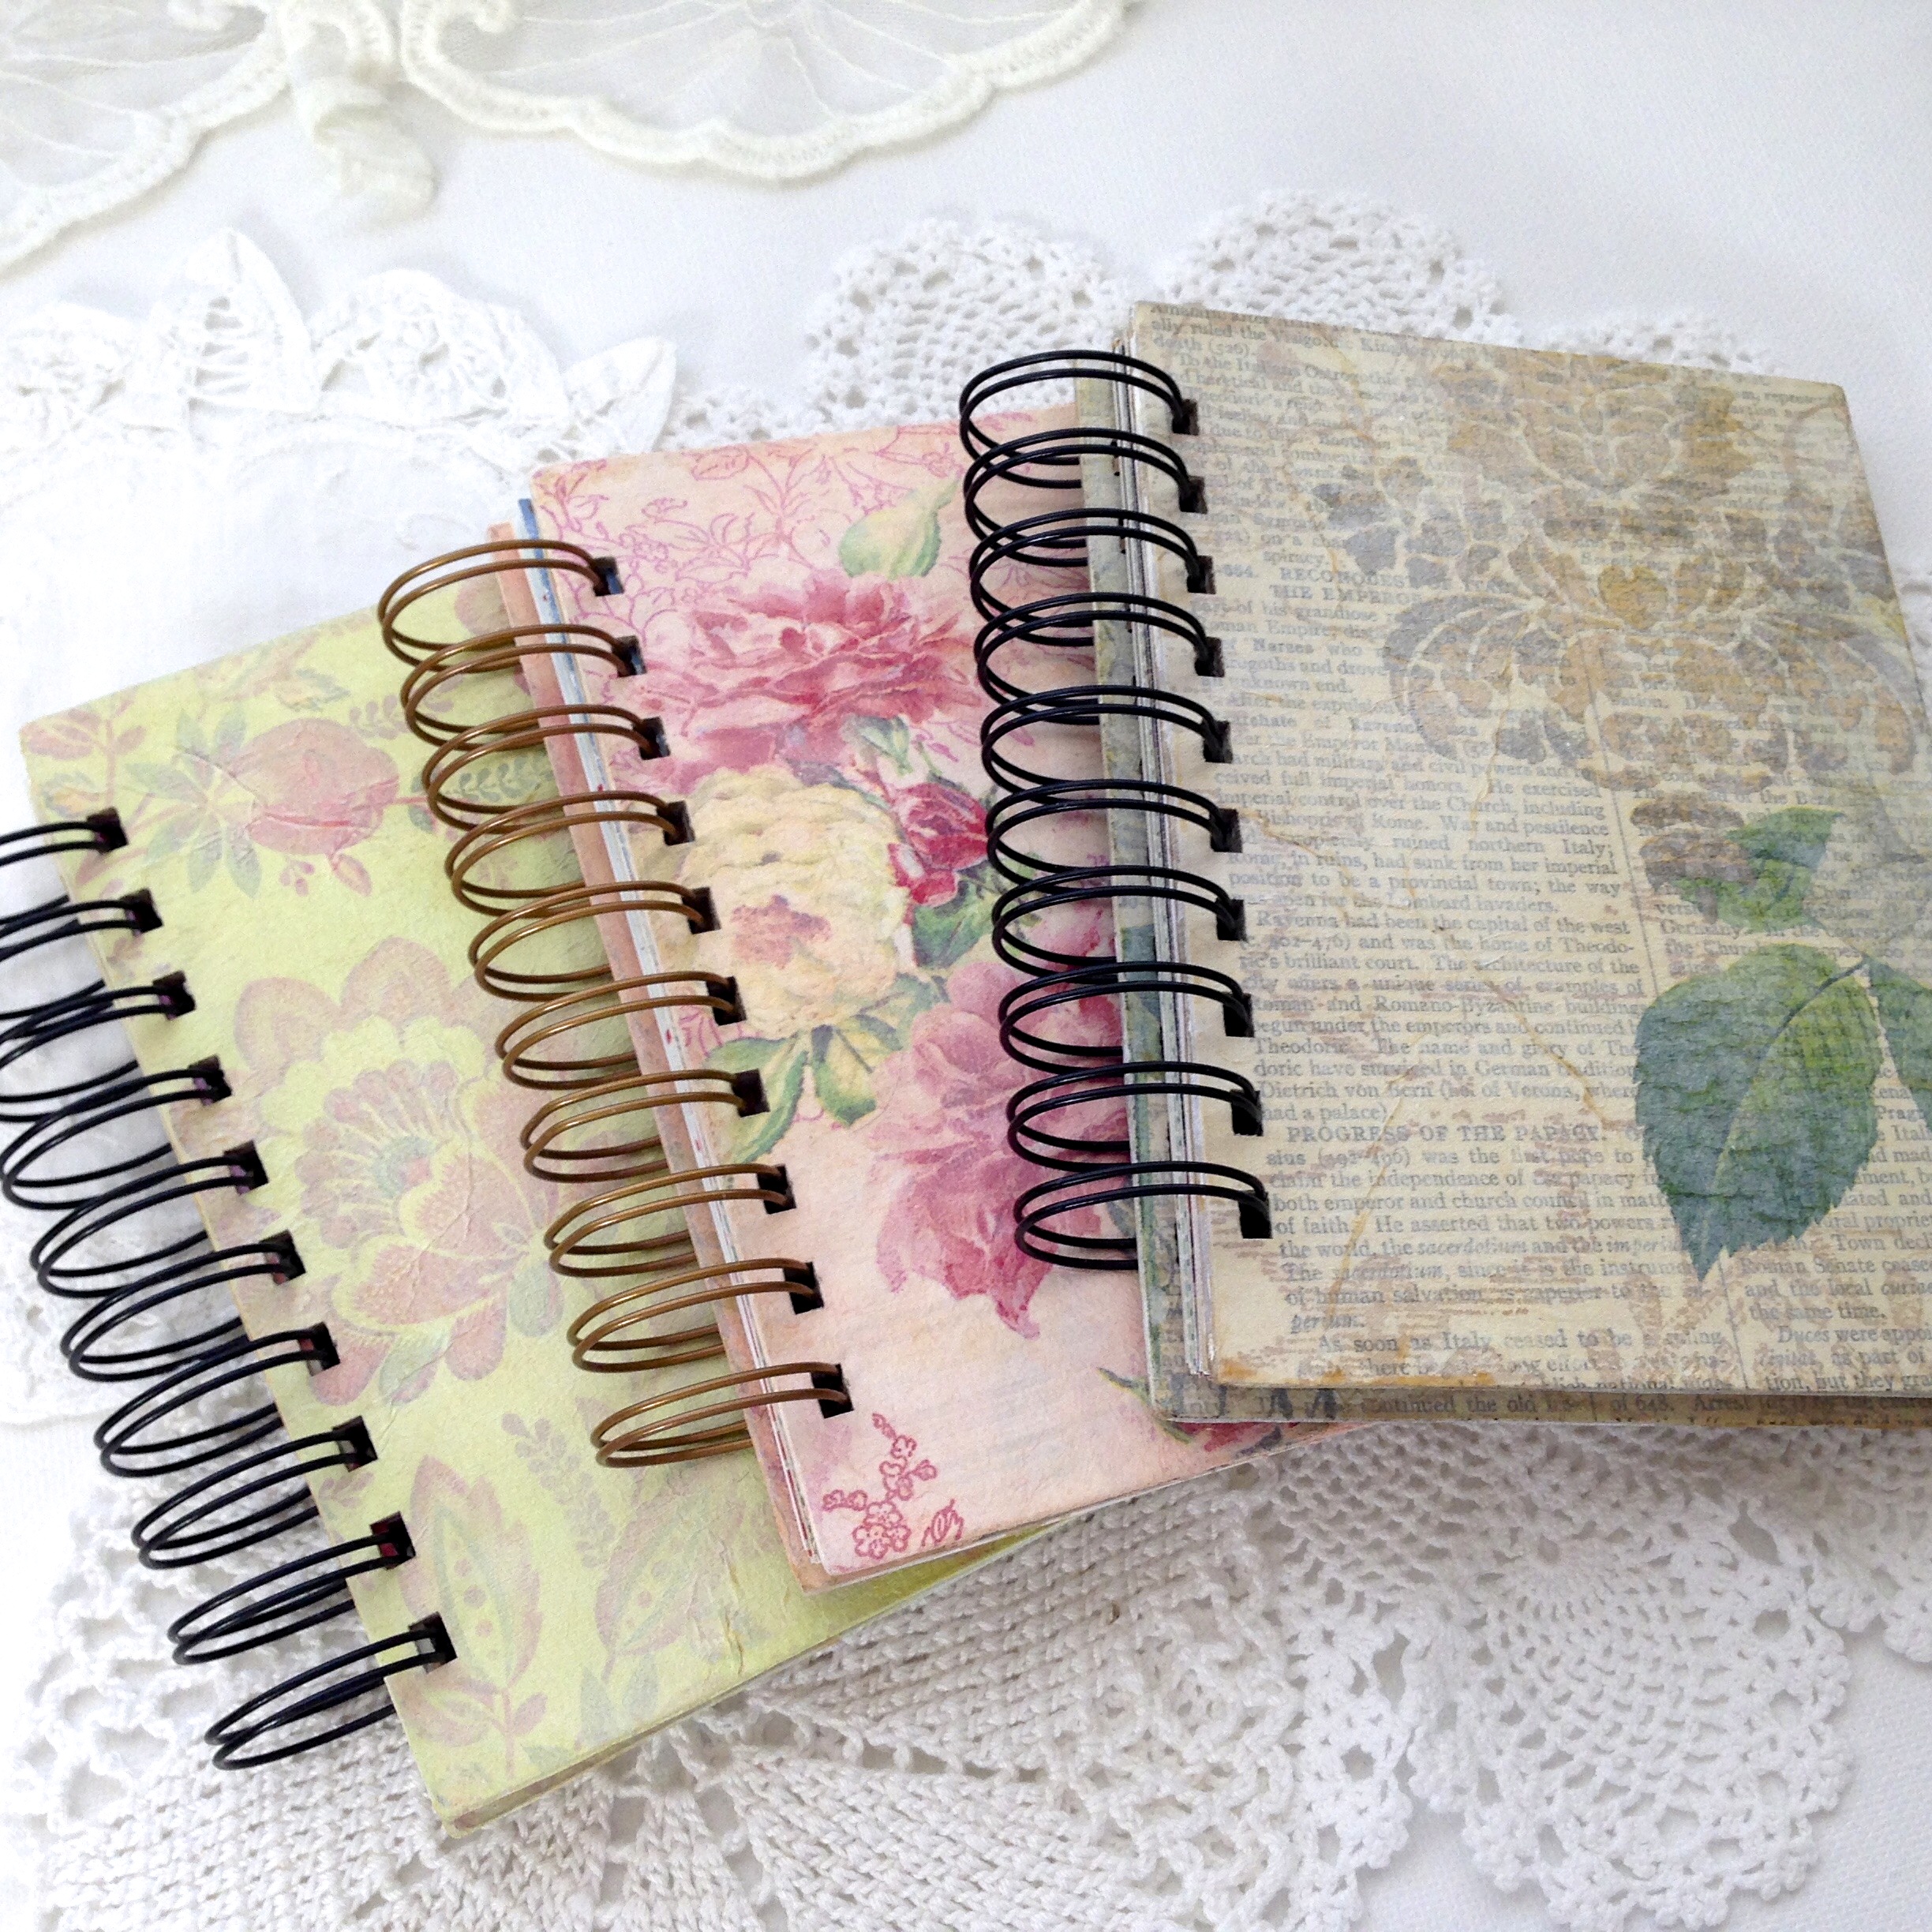
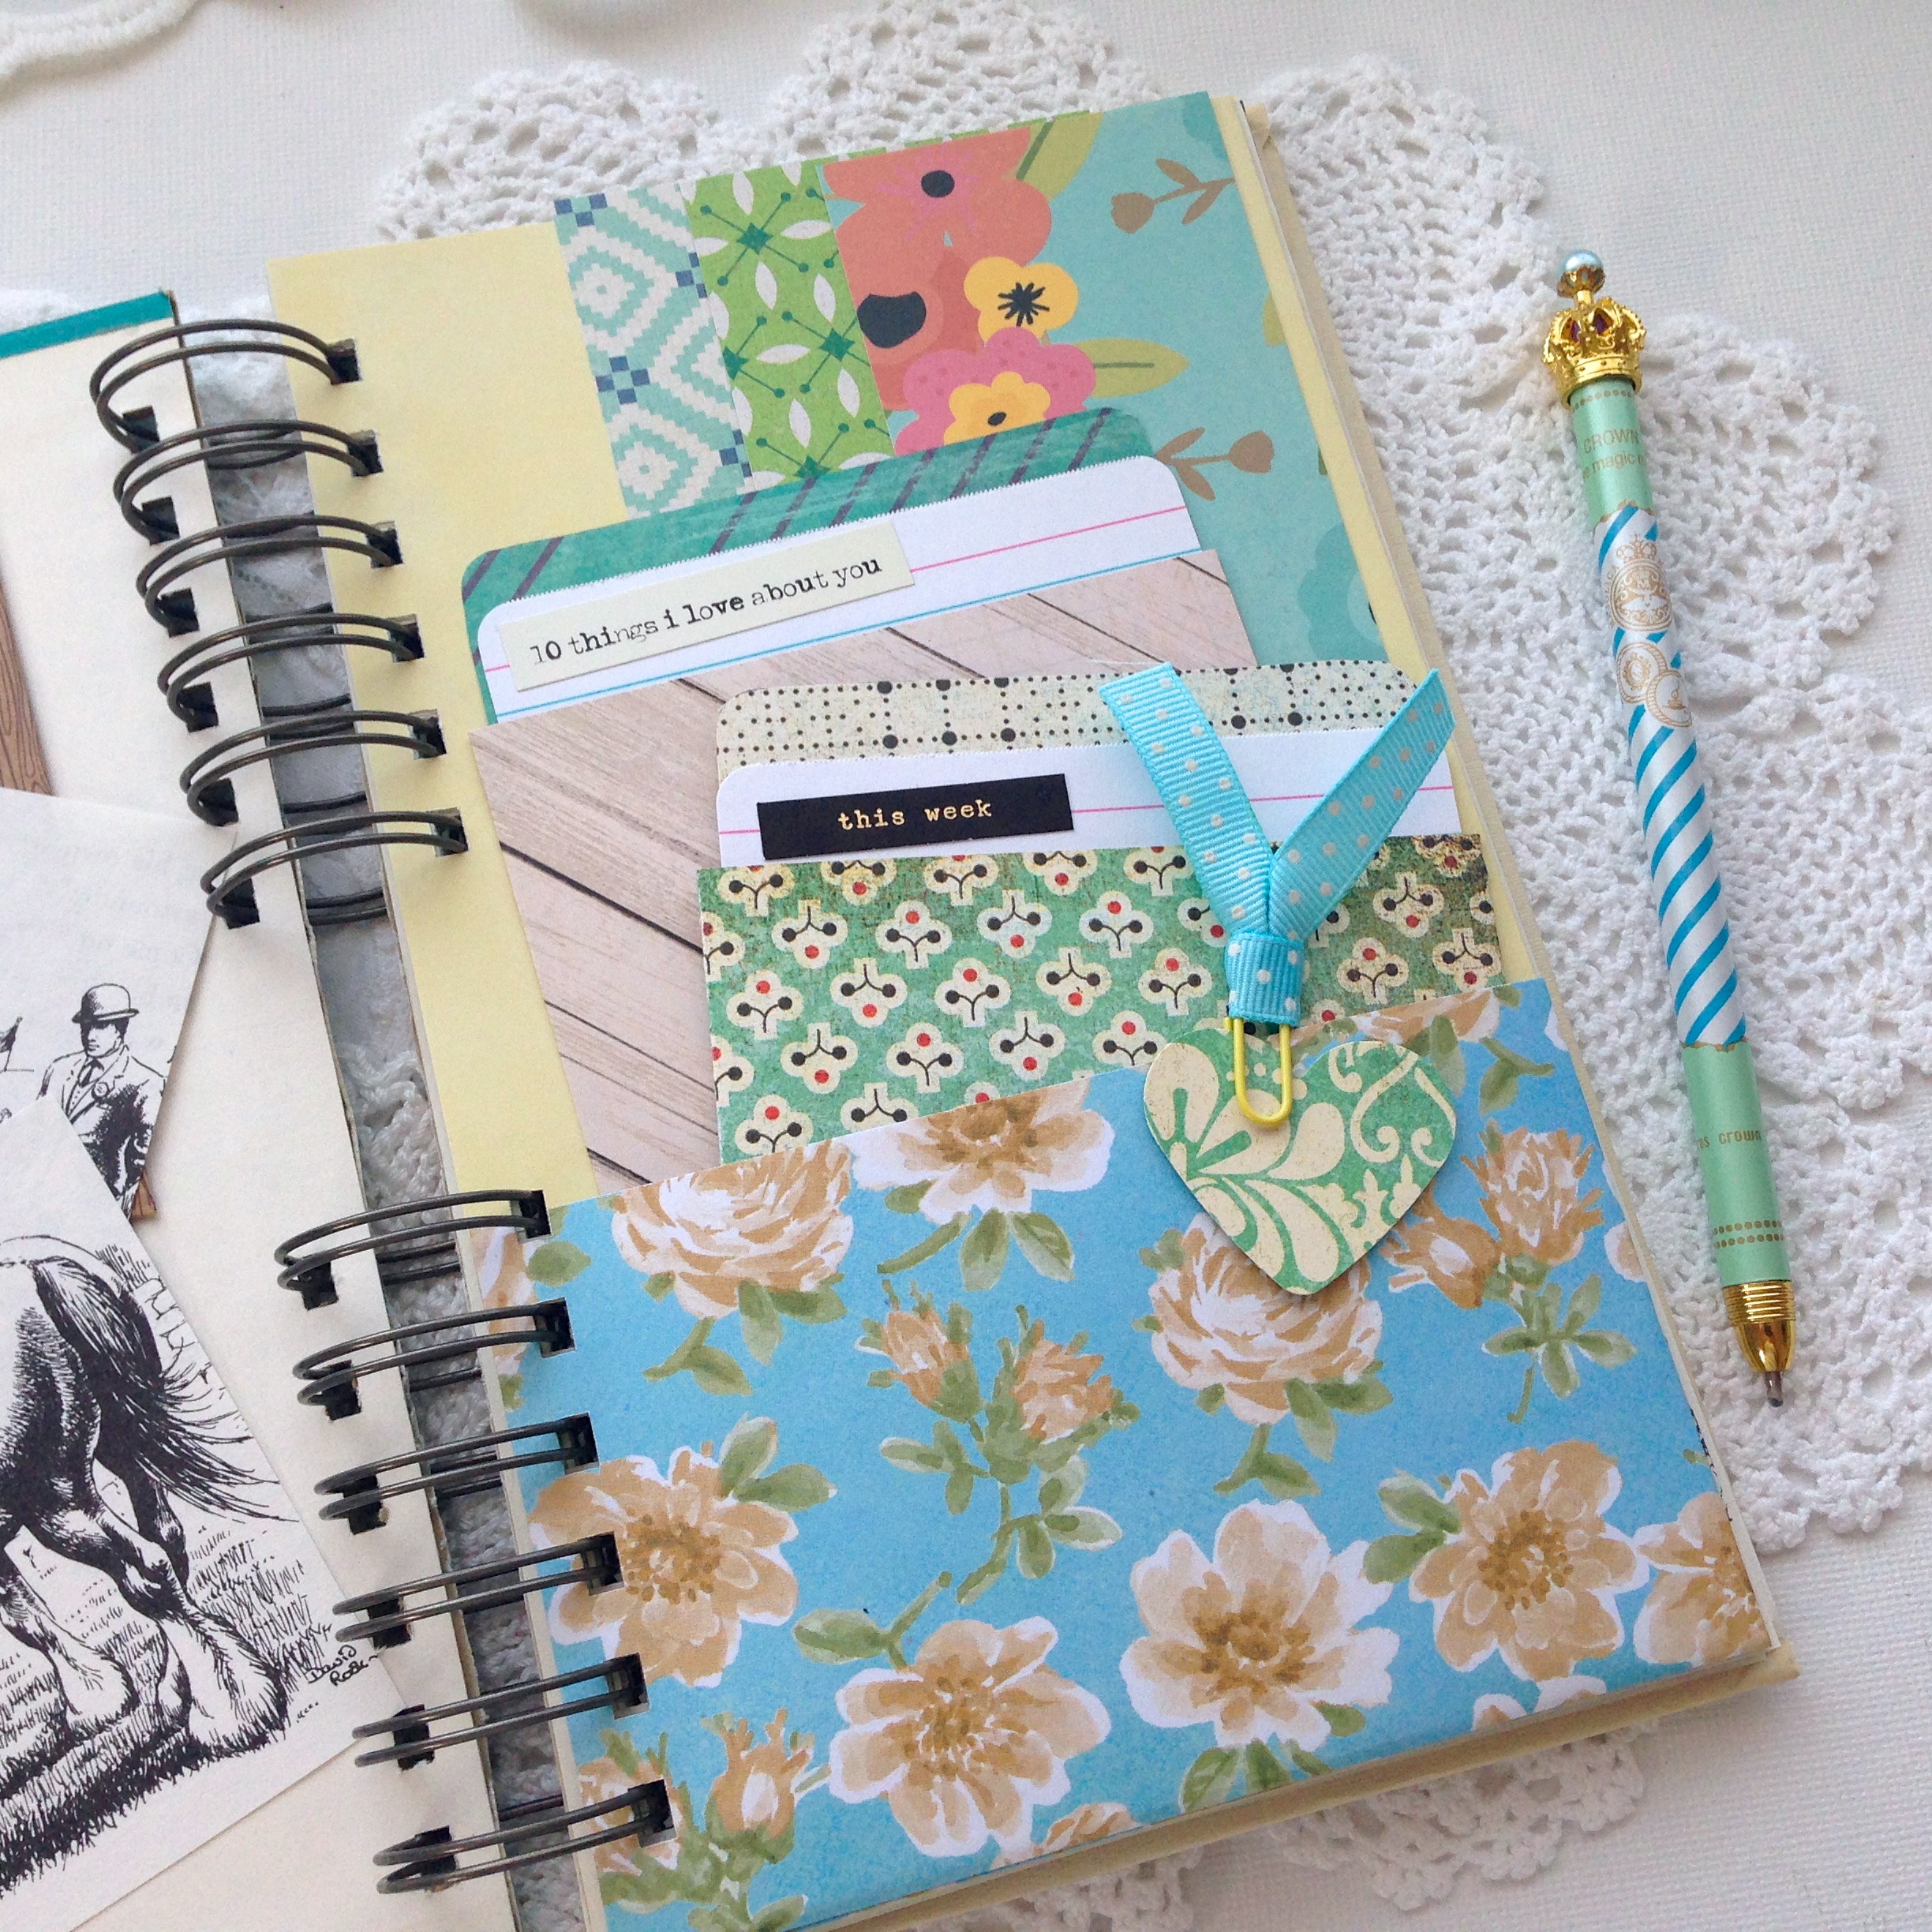
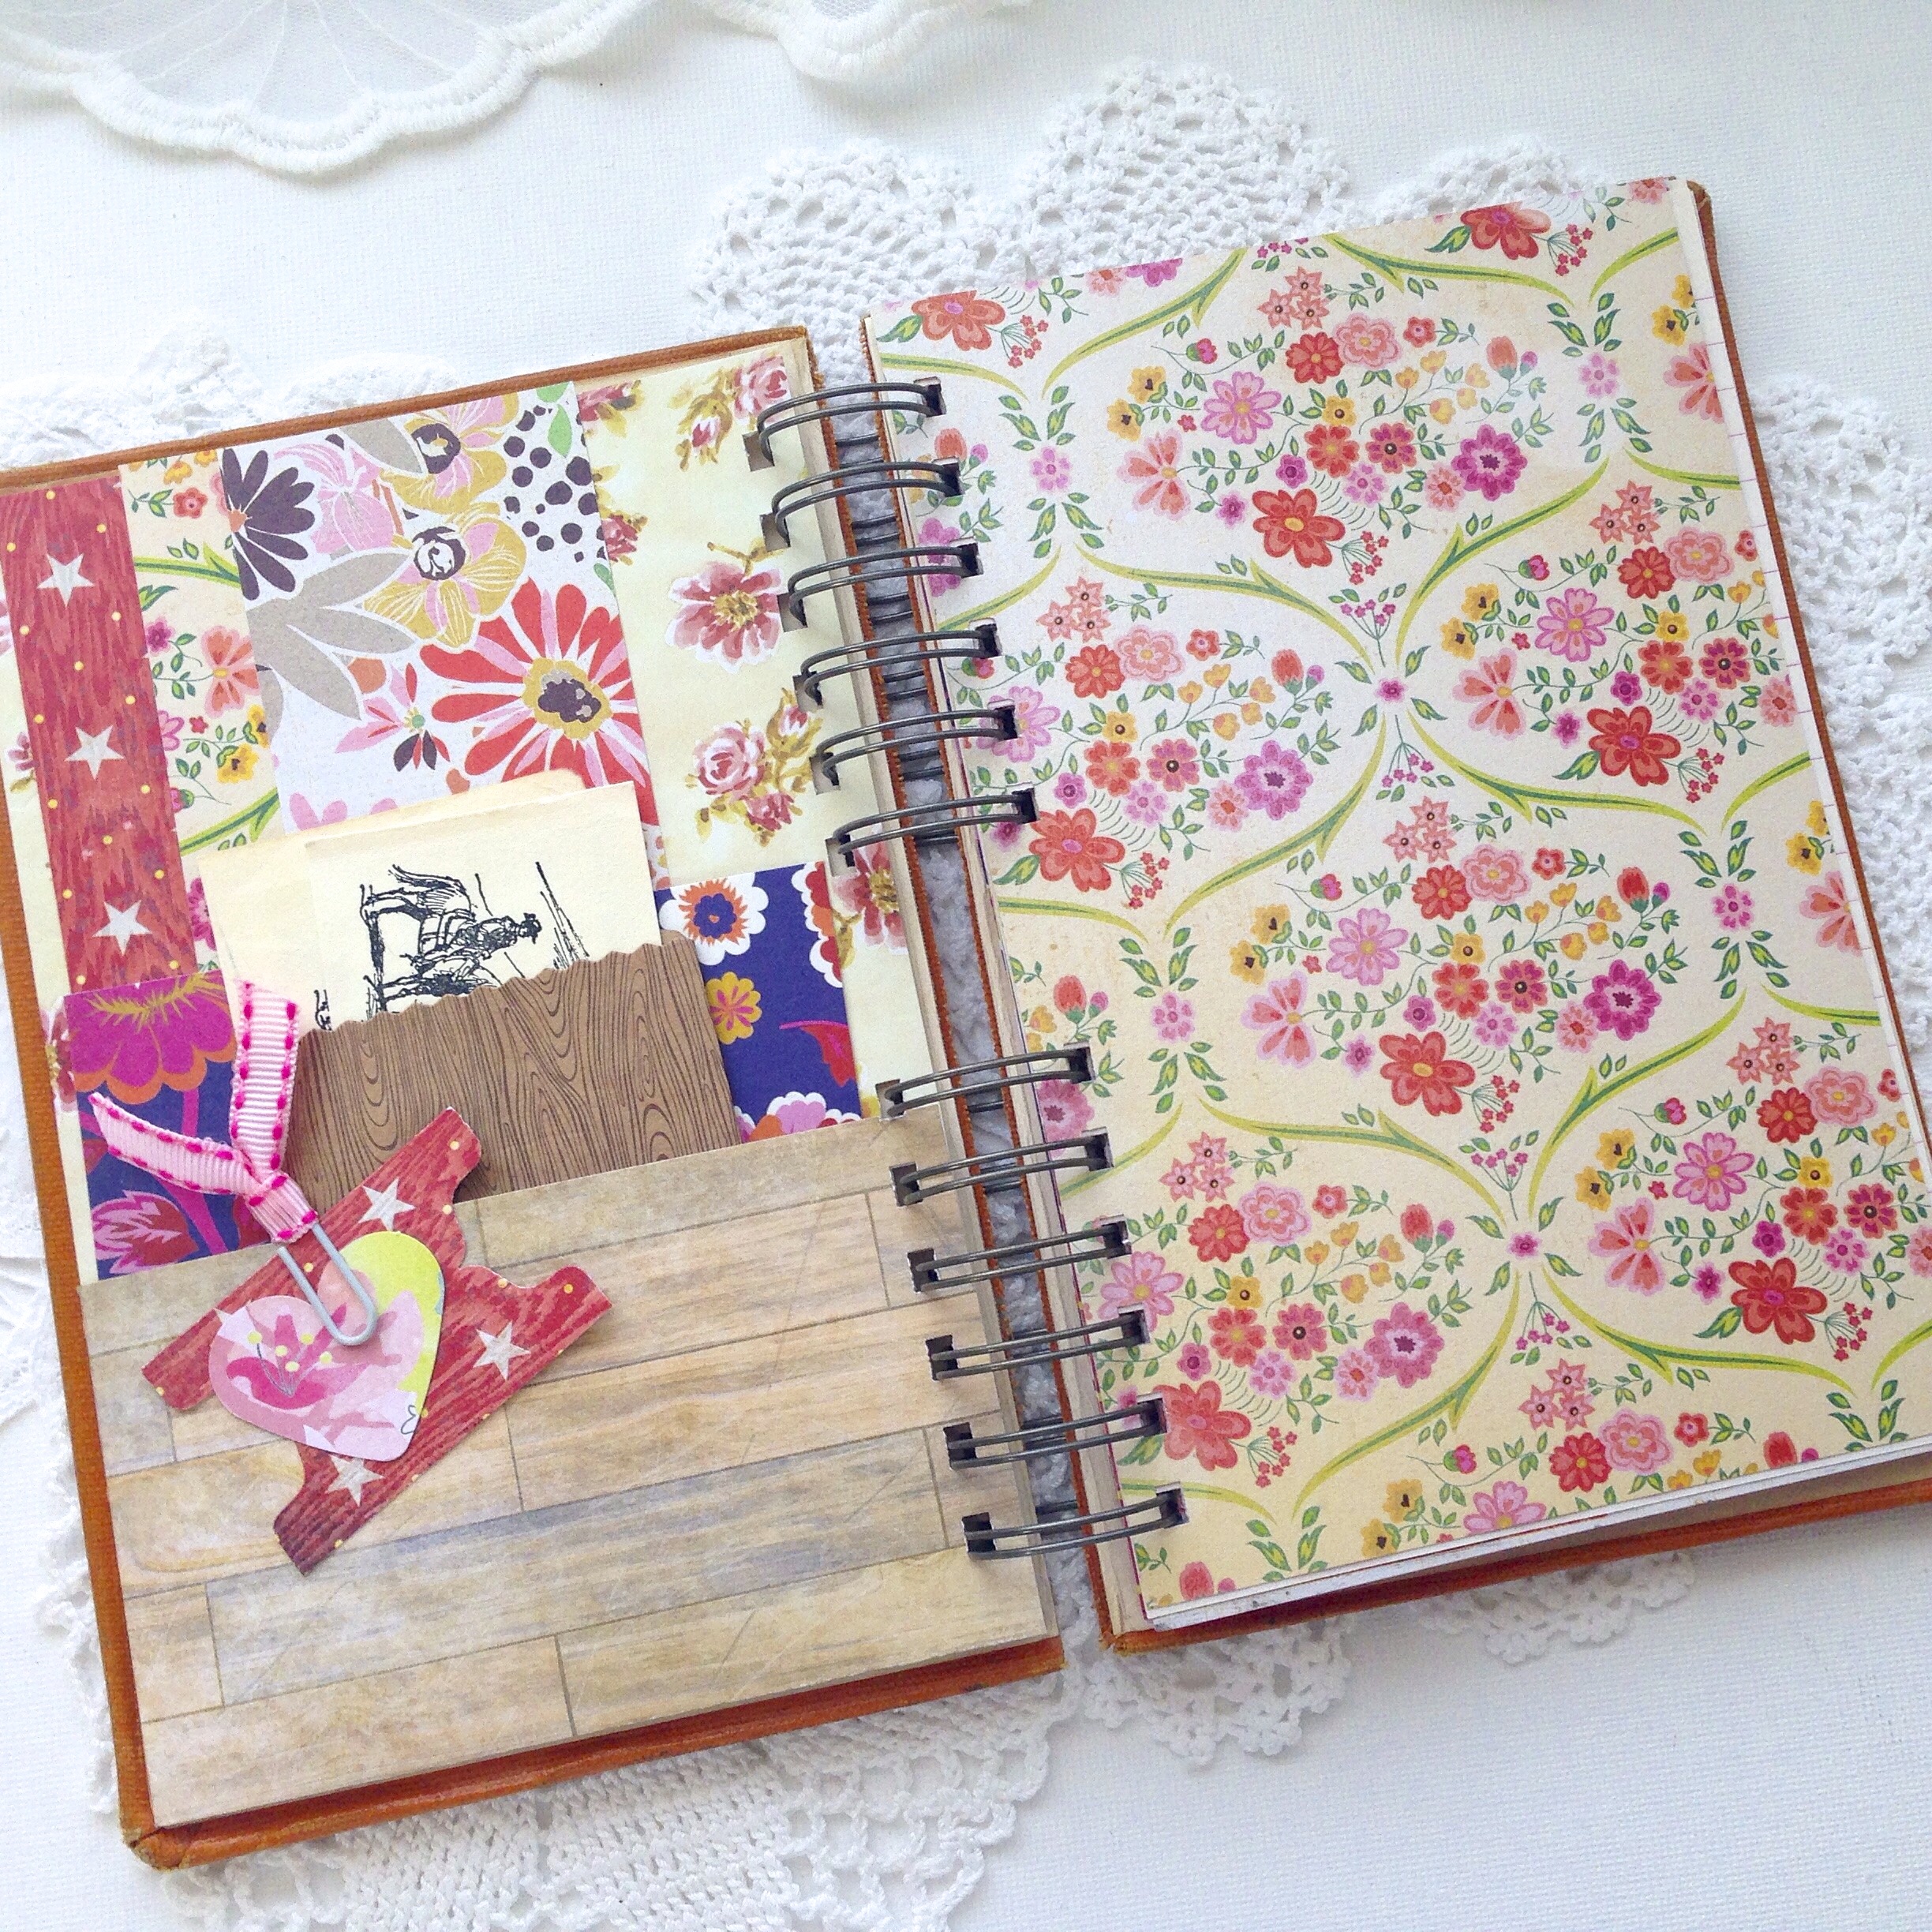
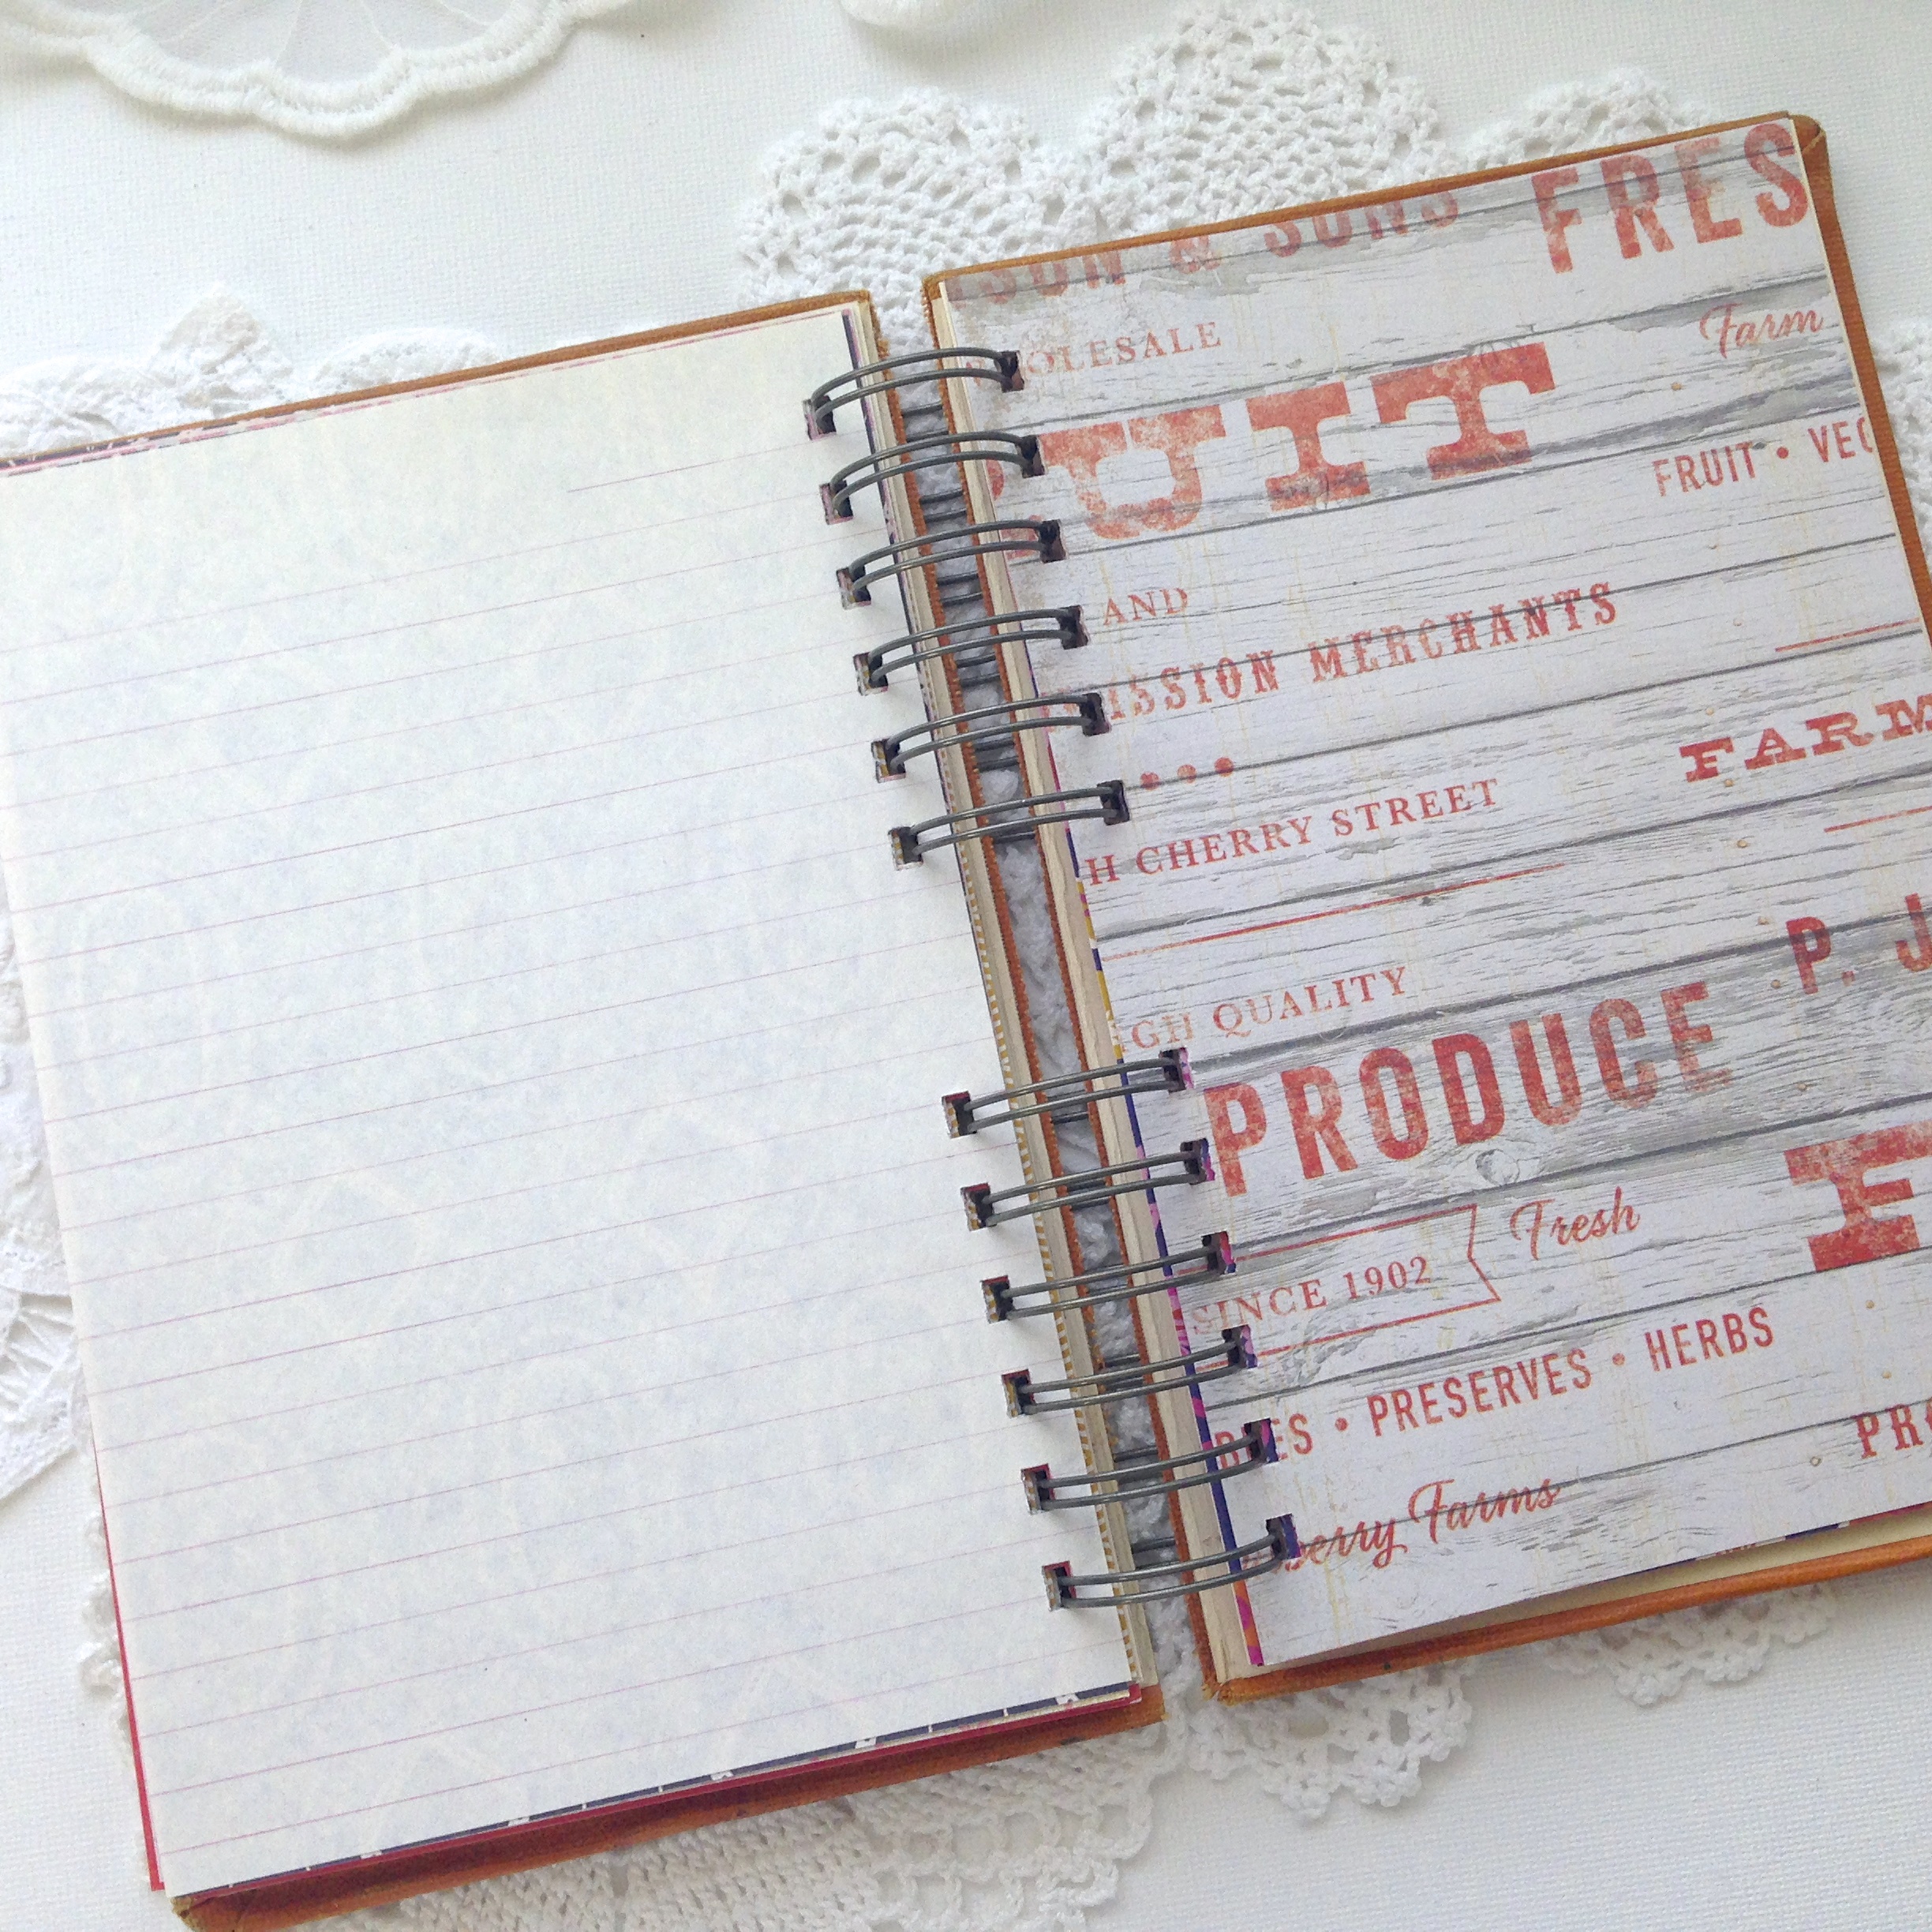
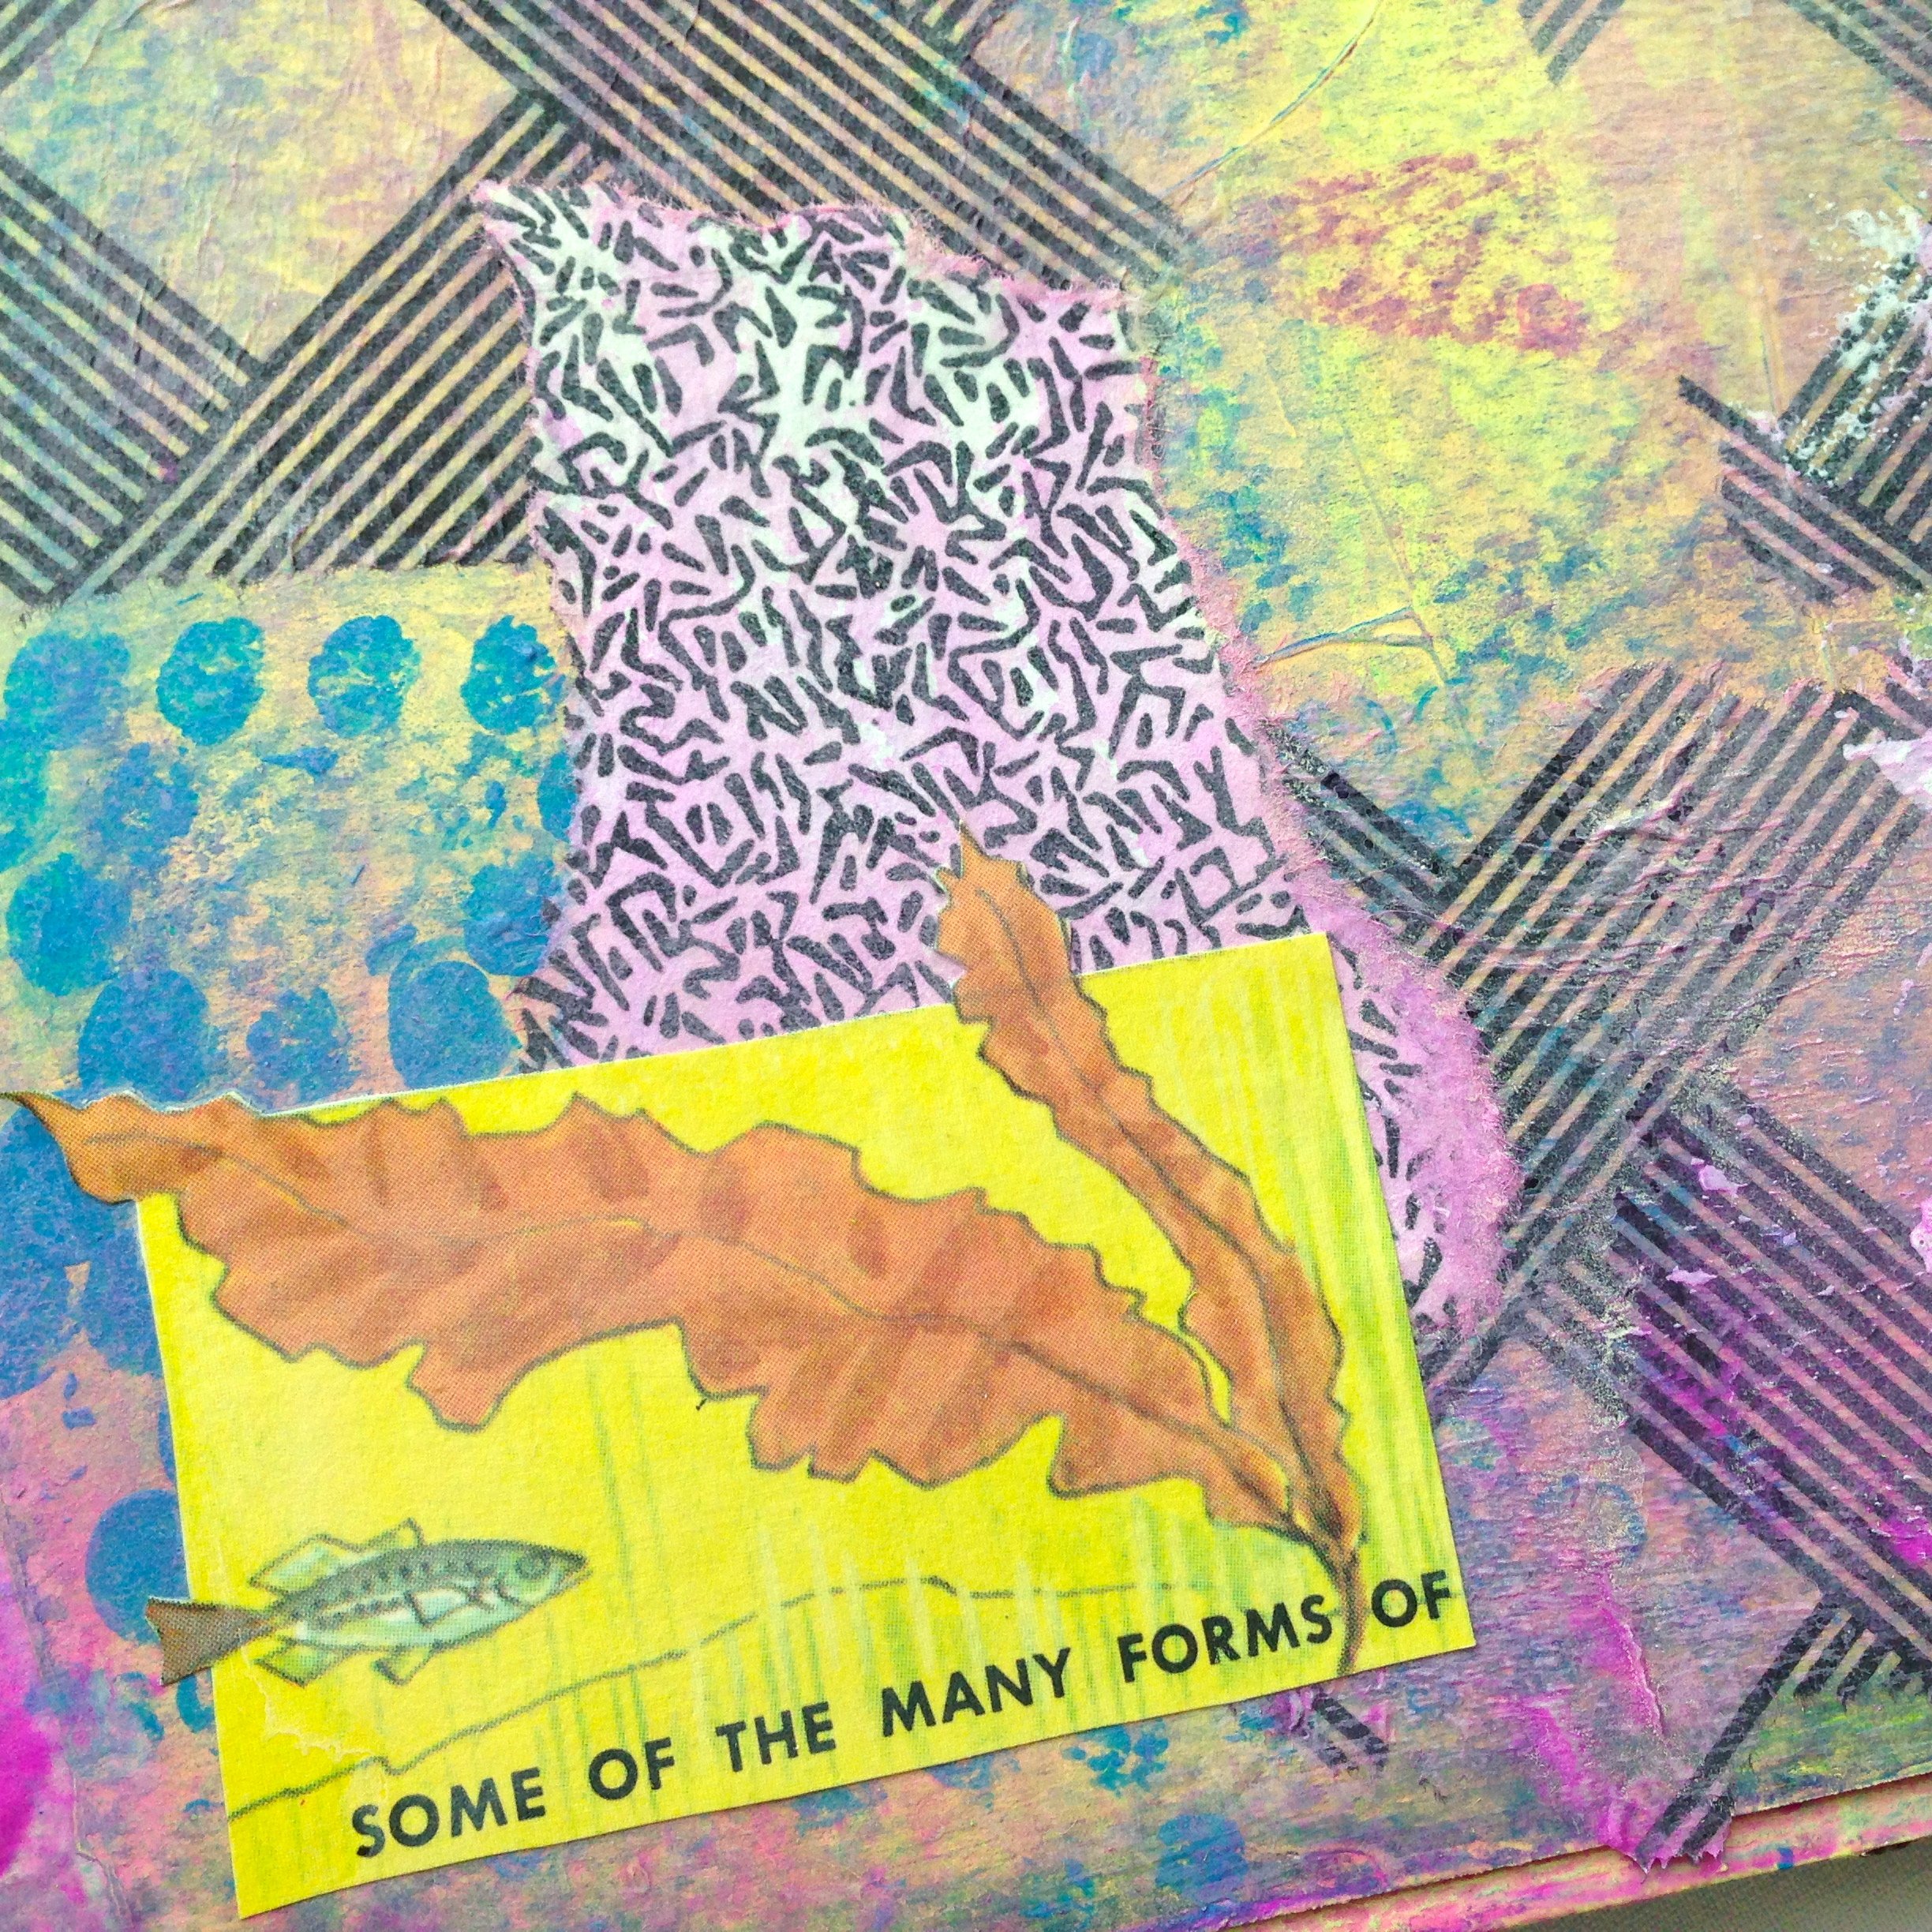
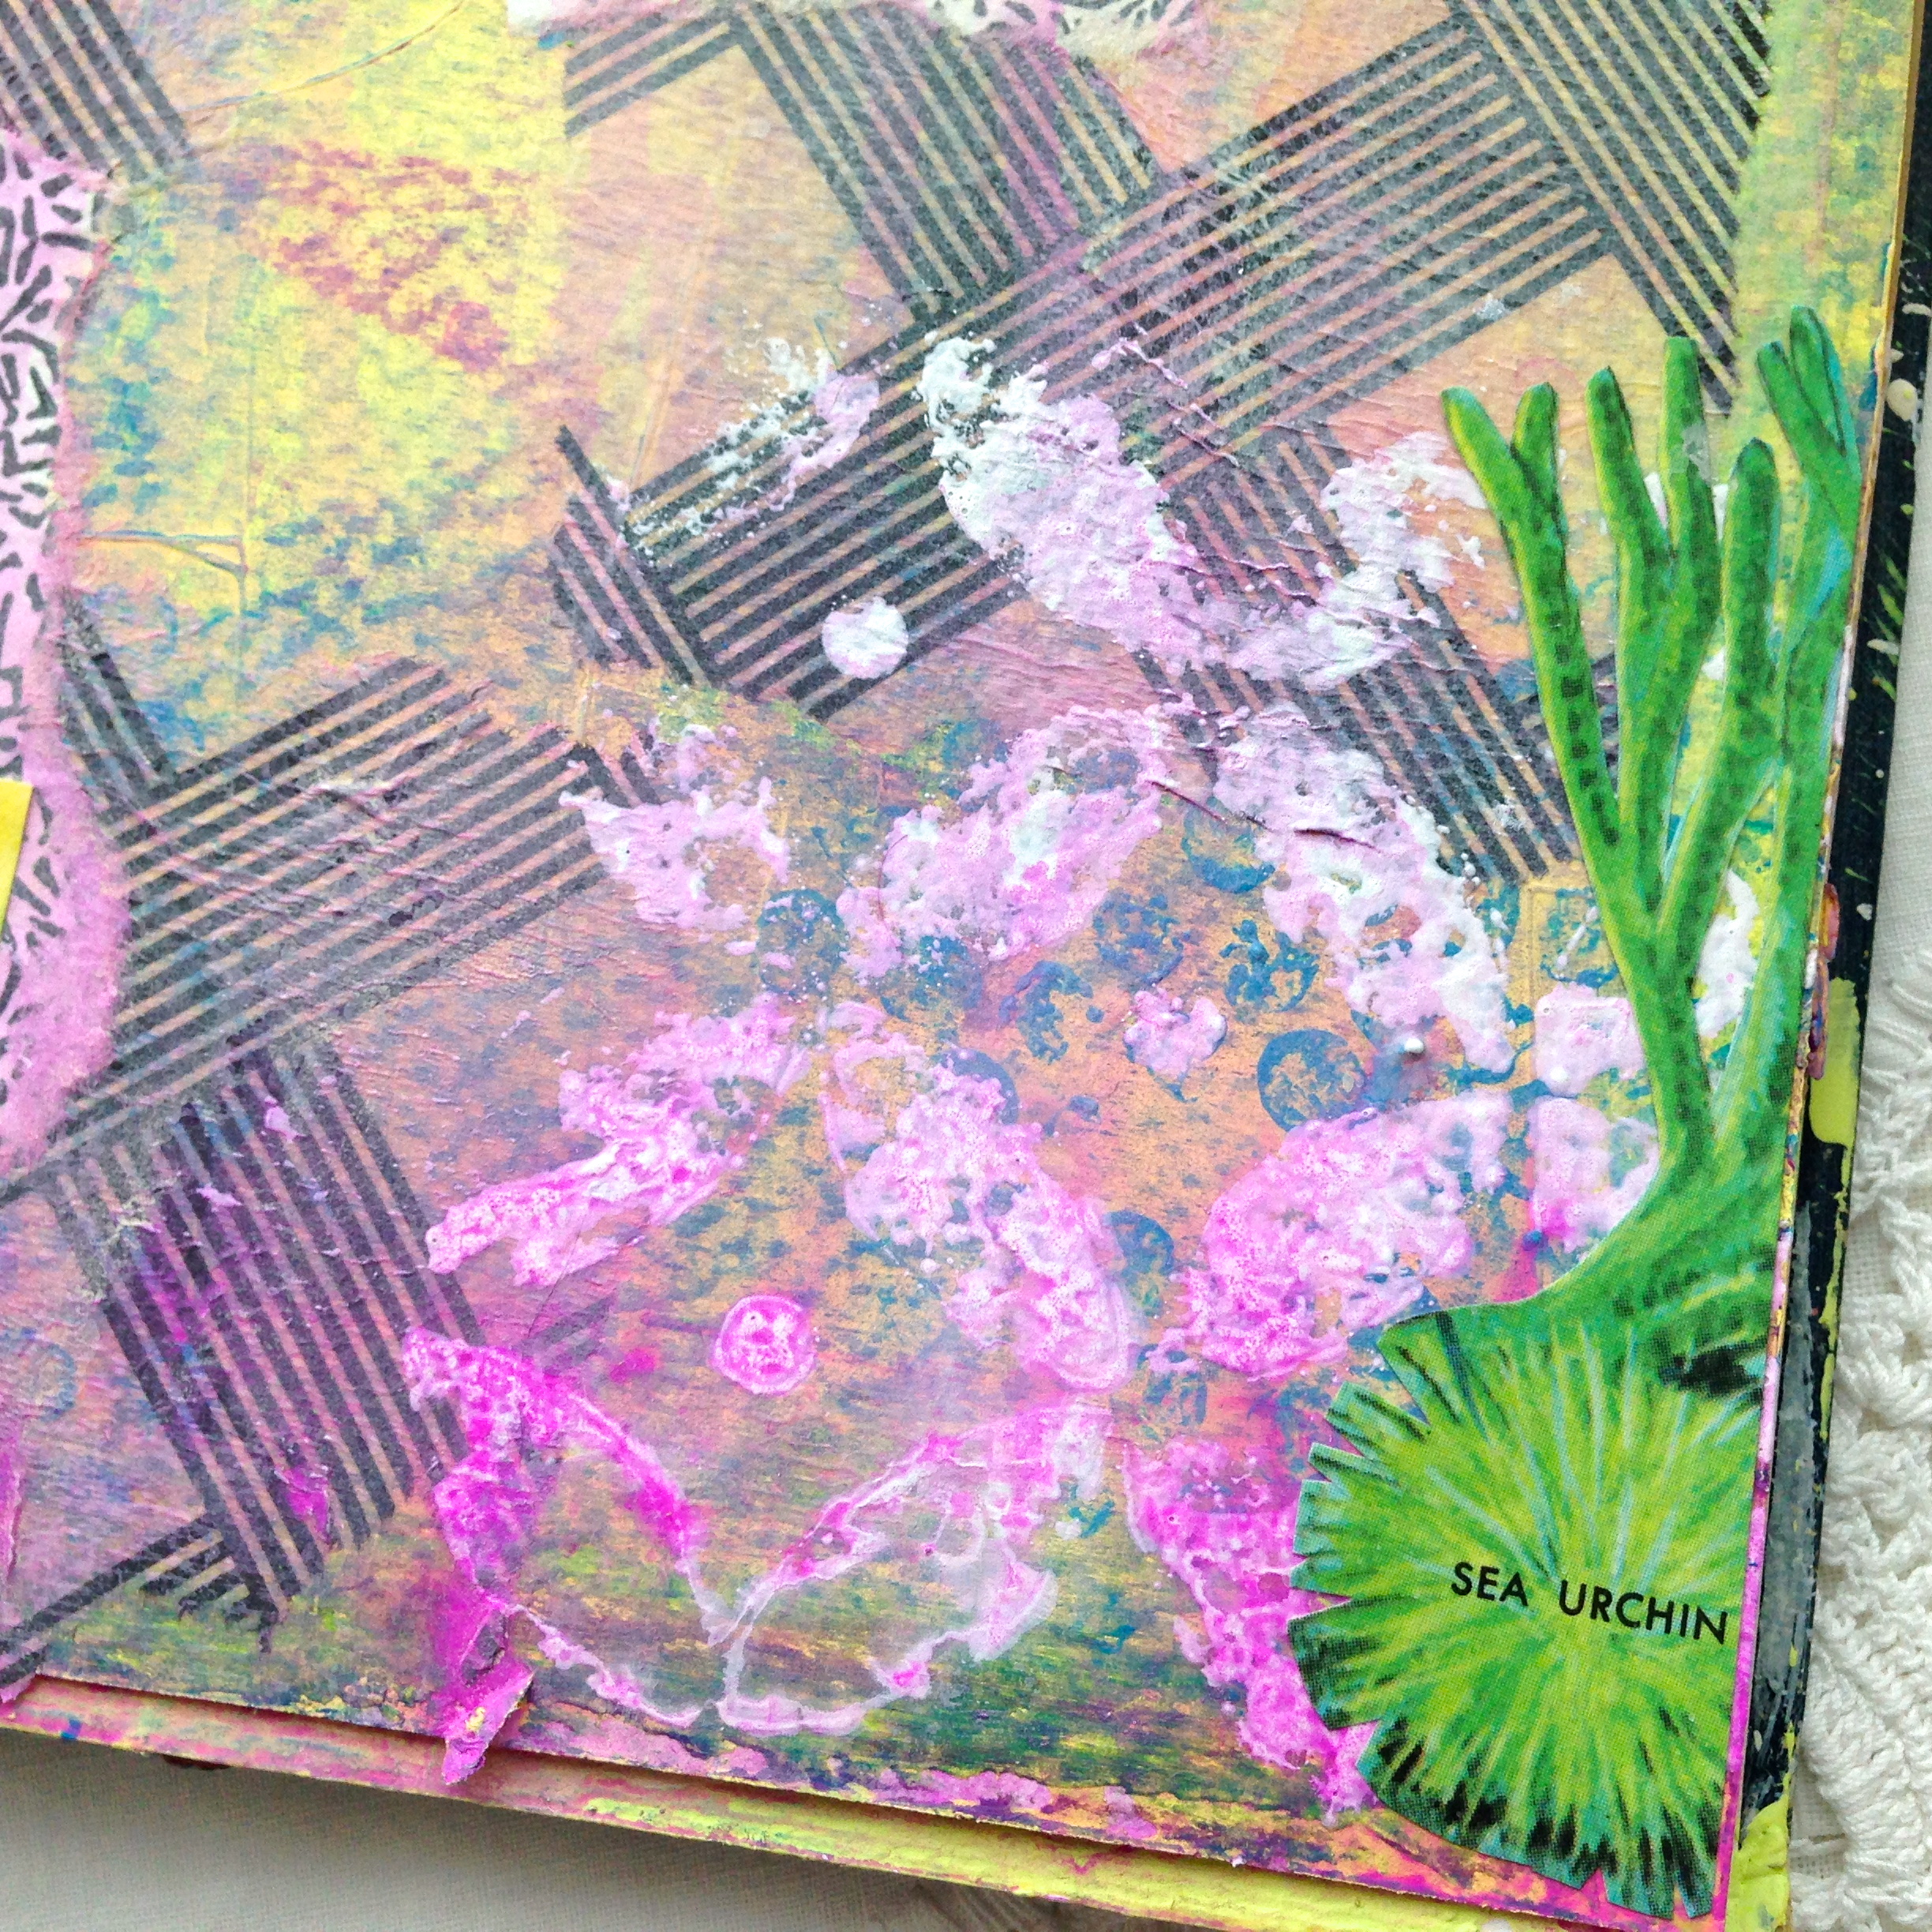
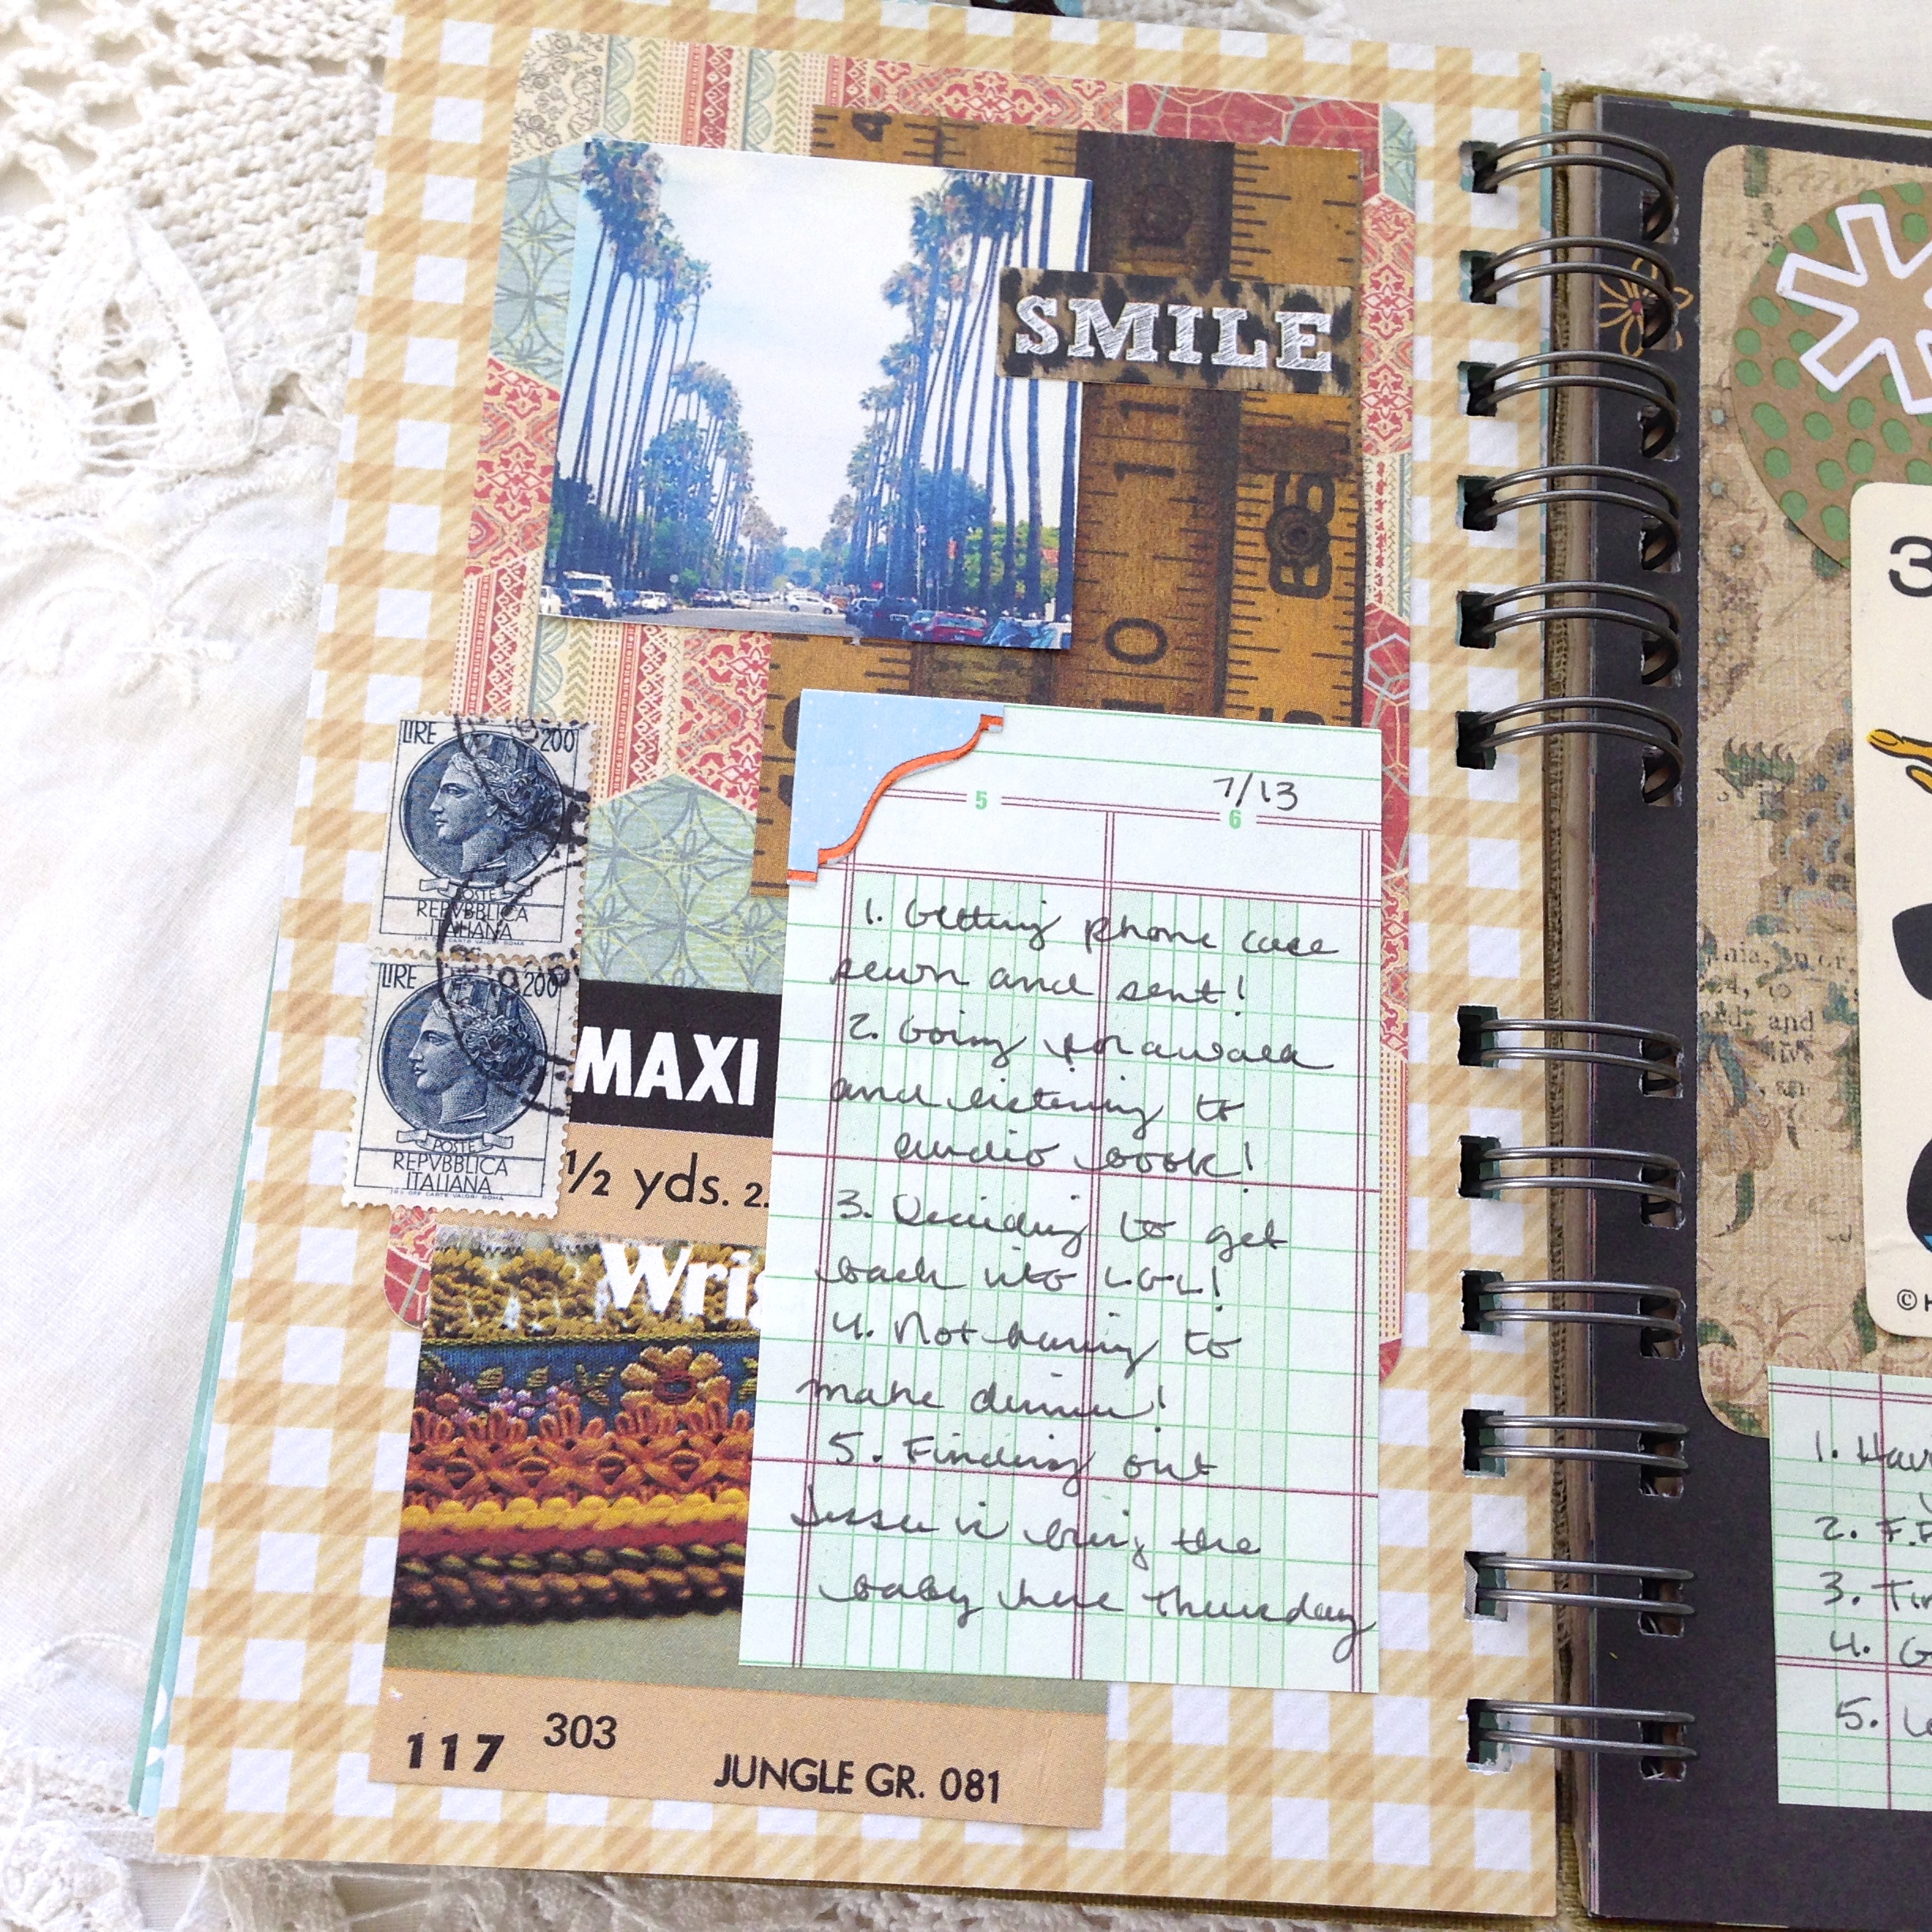
I made four new List Journals. I went a bit nutso with the amount of ephemera in these…

IMG_8424

I put them in the shoppe on Friday and two have sold! Time to get back to work!

IMG_8404

I found some new super cute double sided paper for them. I can’t tell you how much more fun it is to make them when I love the paper! It’s nice to be able to say “I’d be happy to keep them if they don’t sell!”

IMG_8495

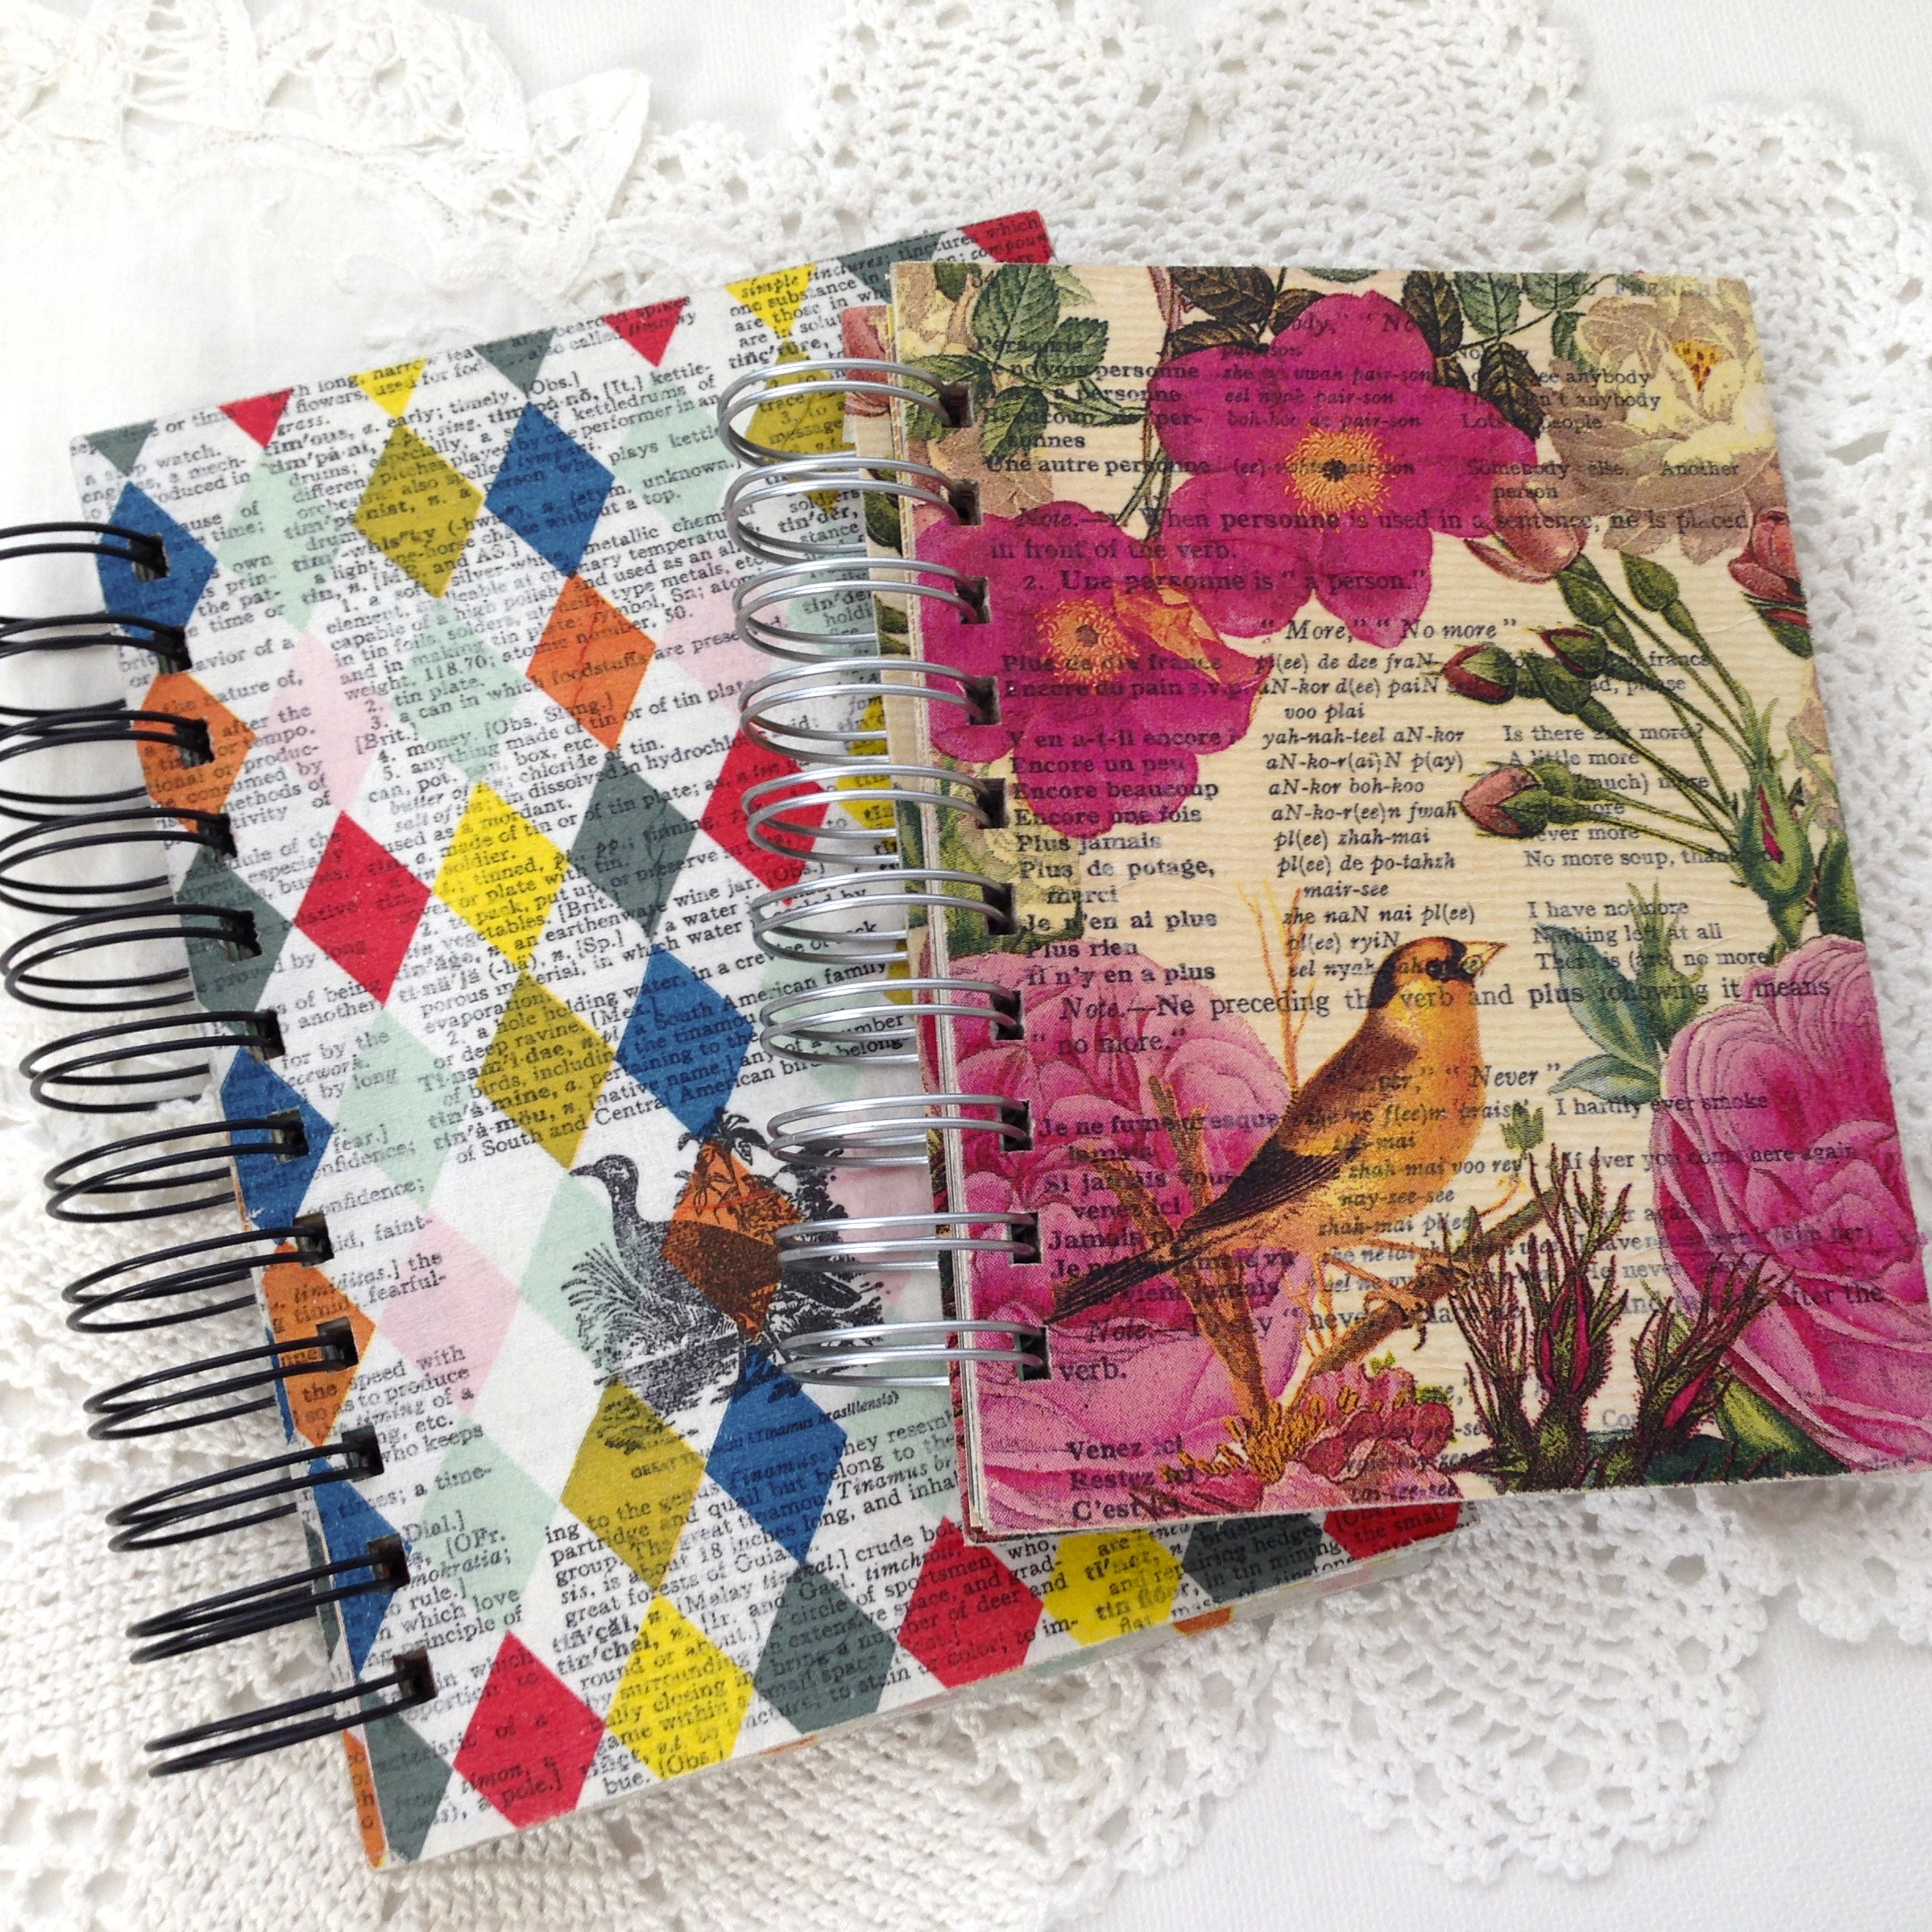
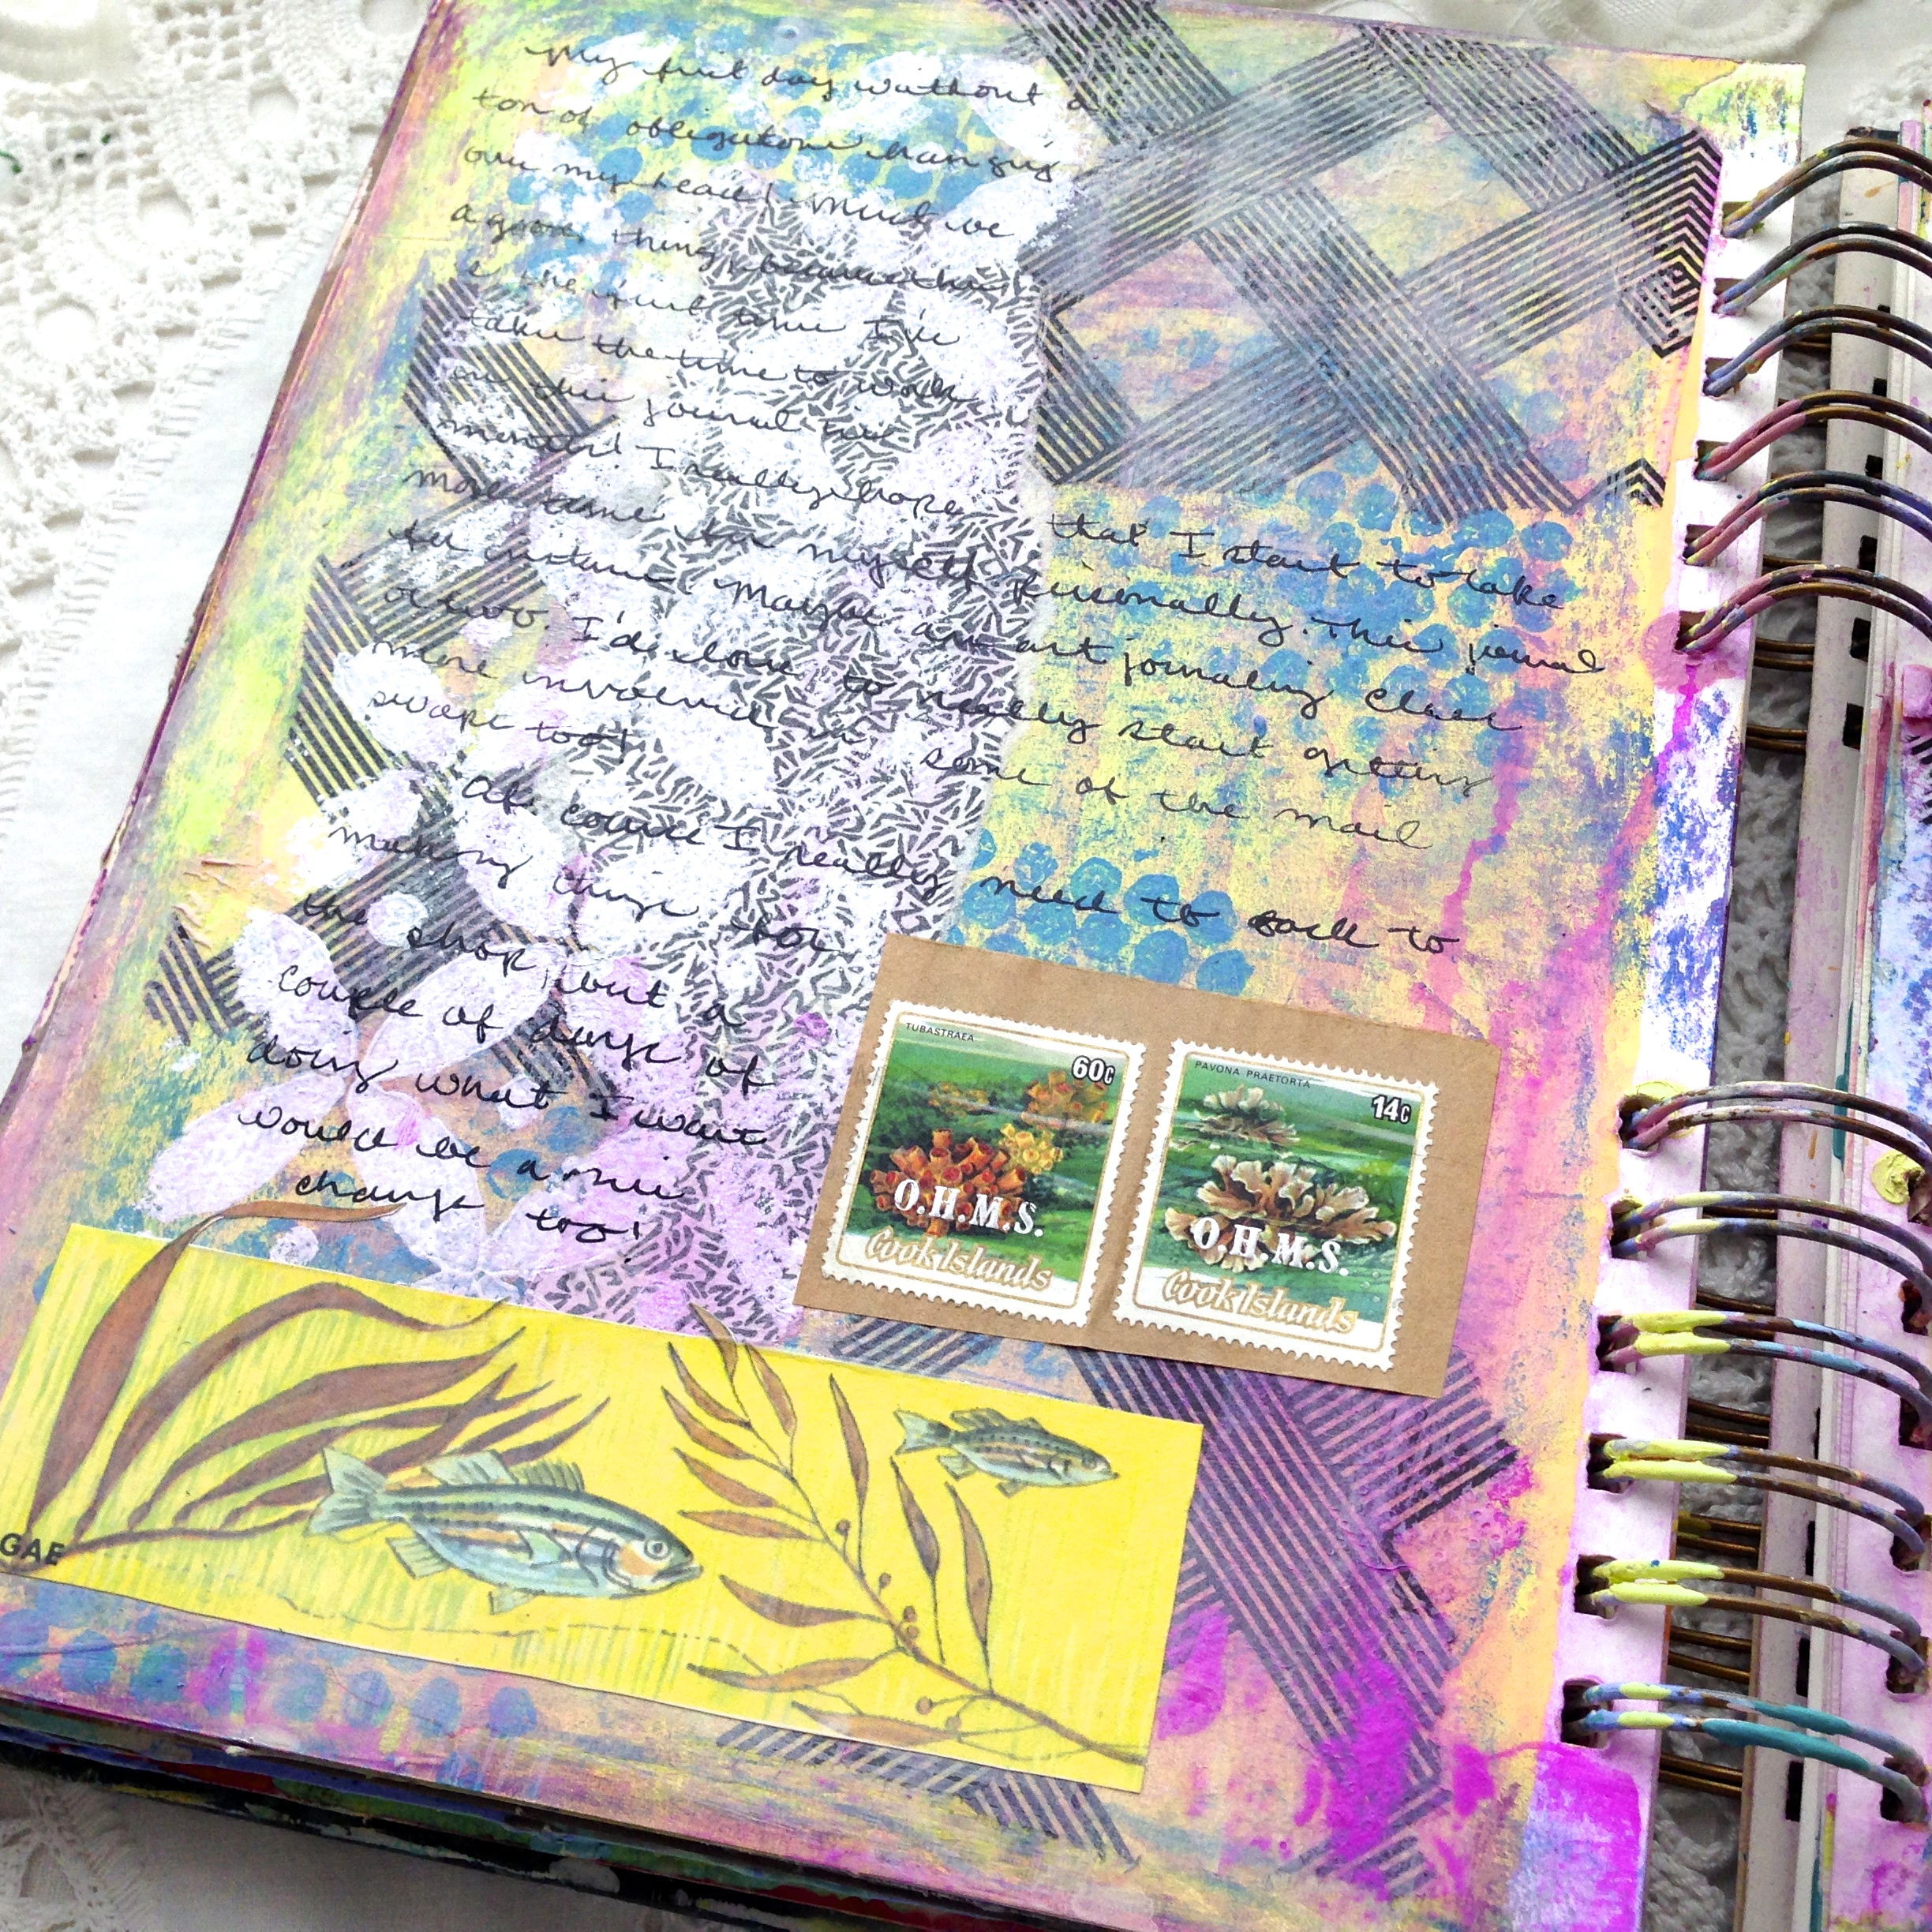
Yesterday, I went to town on Ephemera Packs. I was able to get 10 finished! So cool, the shoppe is filling up fast!

IMG_8524

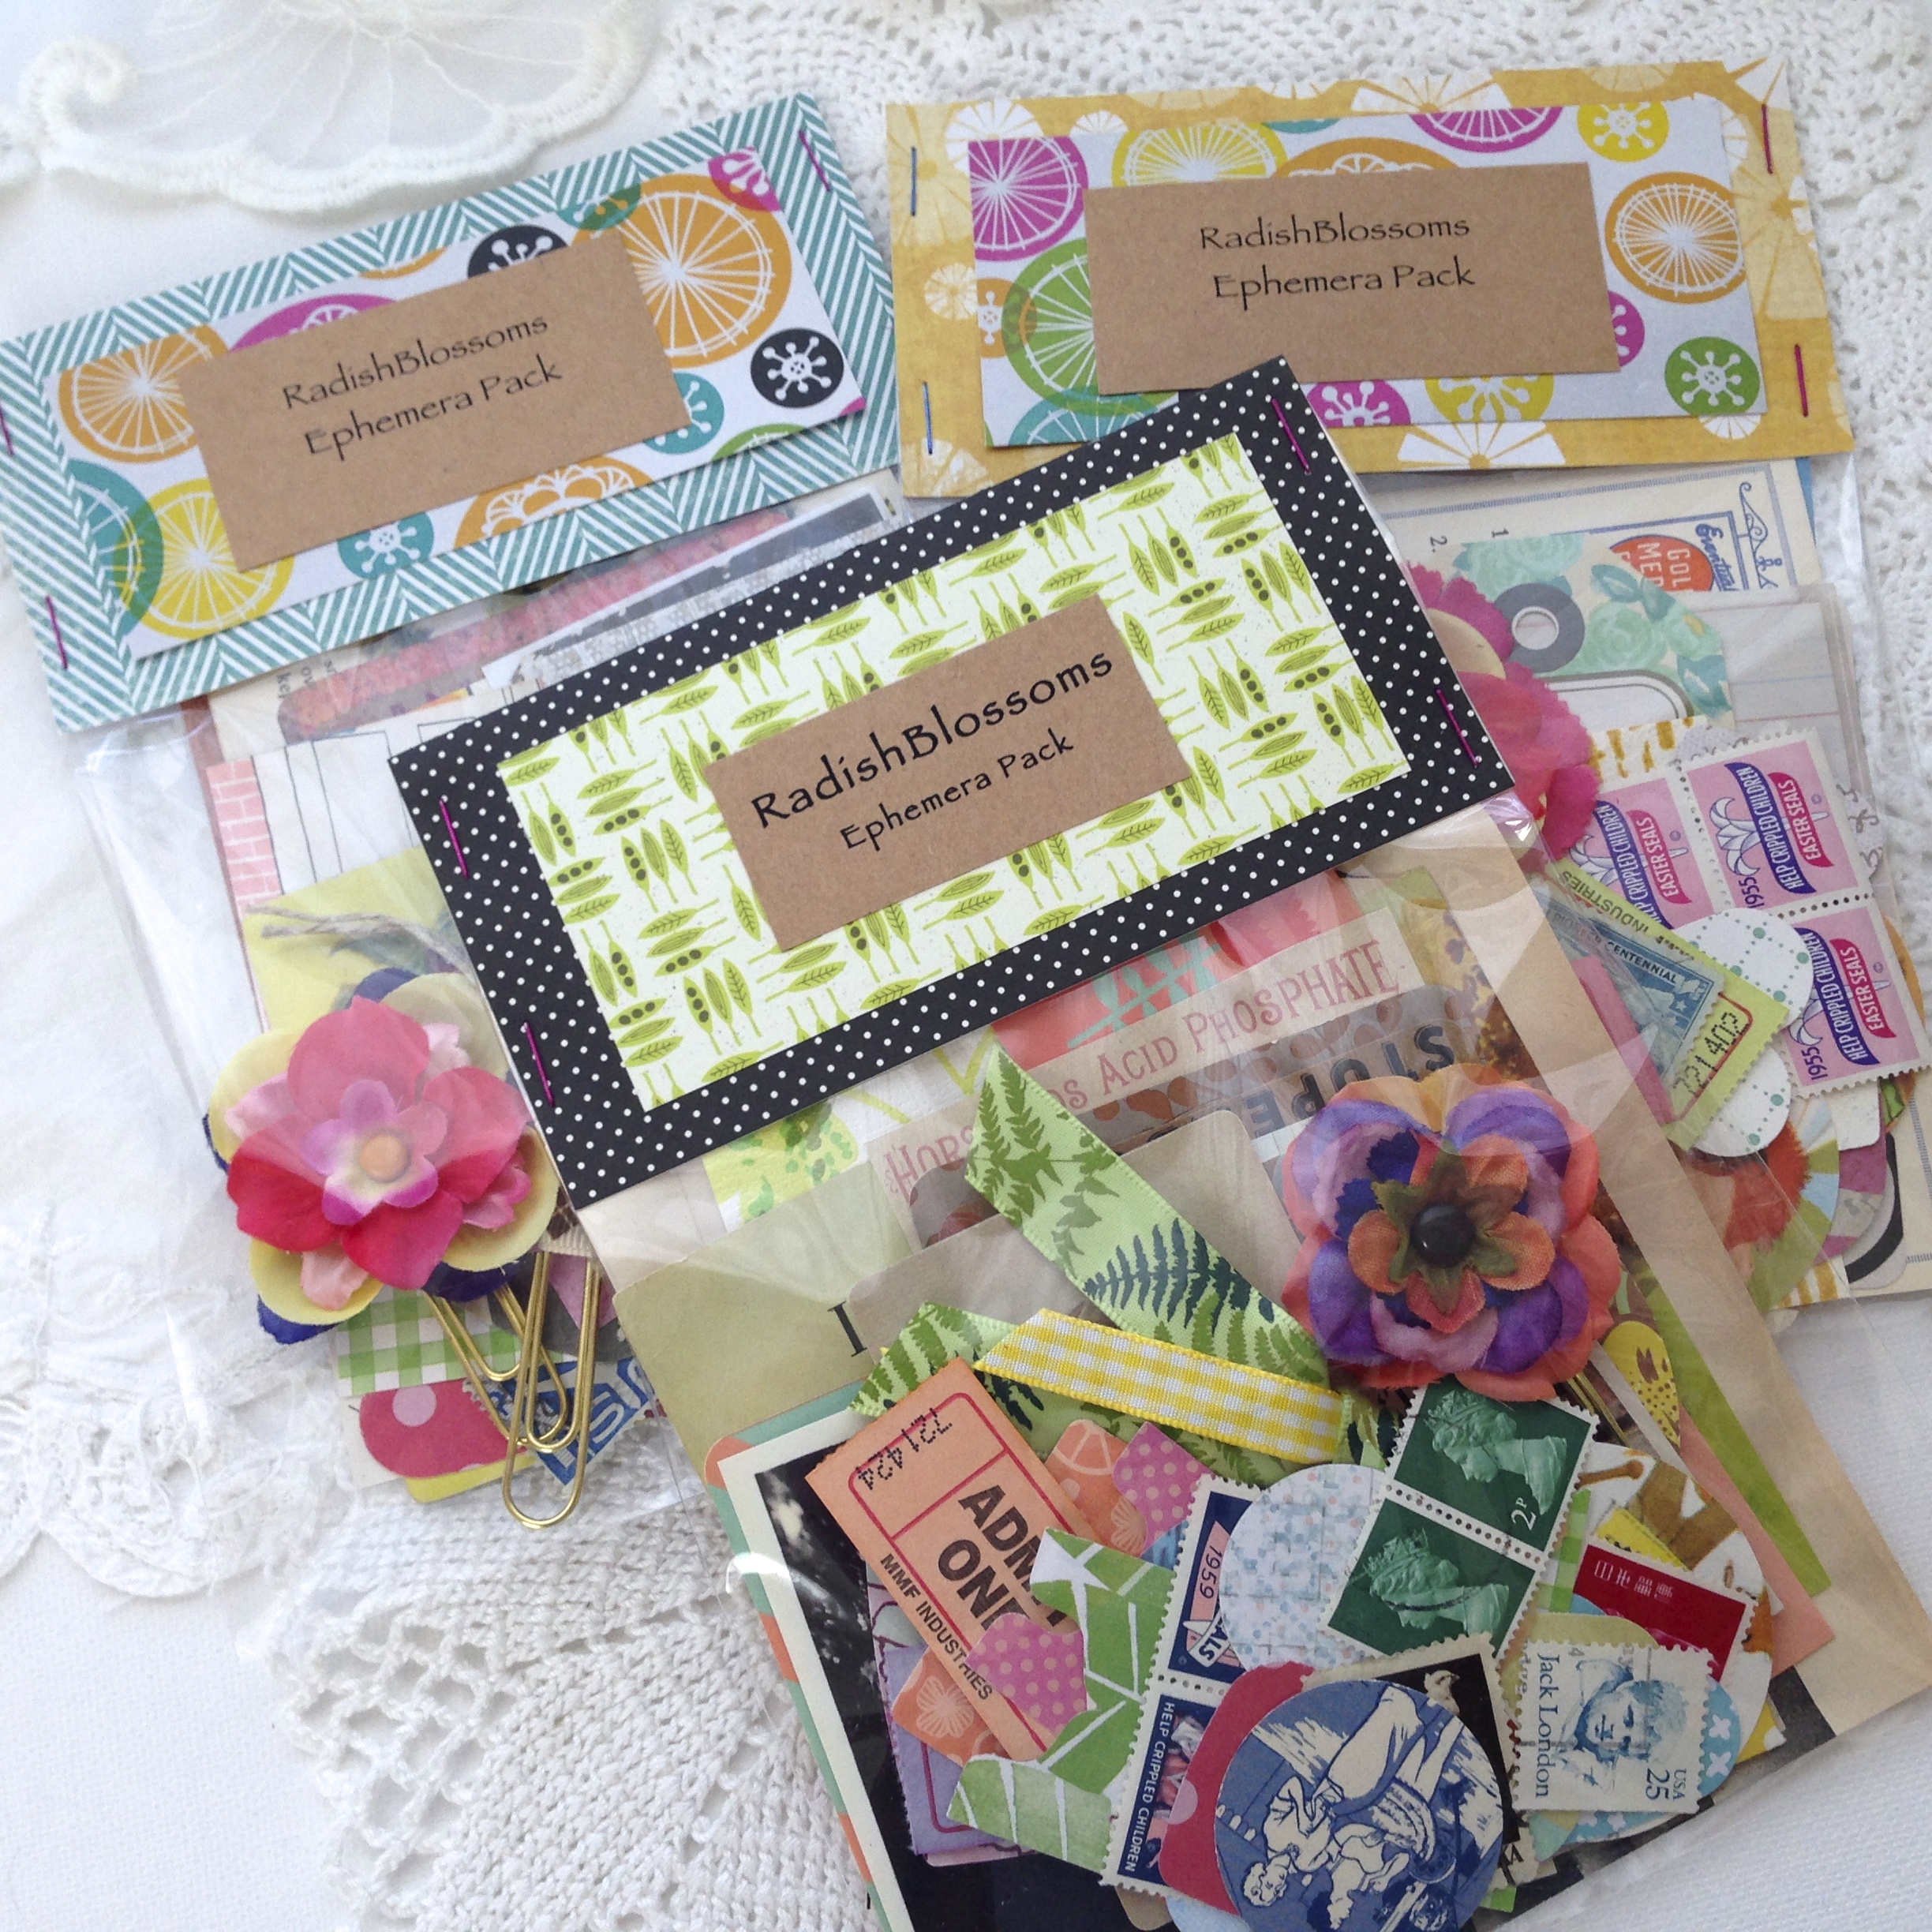
I have to say that some of this stuff is really hard to part with, but I know first hand how hard it is to find good ephemera, so I have to share.

Speaking of which, I have included a special coupon for all my blog friends for my shoppe! Just use the coupon code BLOGLOVE20 at point of sale and receive 20% your order (not including shipping) until 8/31/15!

As always, thanks for the visit,

Have a wonderful day,

~Patty

Mini Art Journals

I love it when I’m in the mood to work on old unfinished projects. This one isn’t as old as some have been, but how fun is it to have 6 new mini journals!

IMG_8451

The idea behind these was to use up smaller pieces of double sided scrapbook paper. I’m pretty picky about the paper I use in the journals I sell on my shoppe, things going sideways and such, so I usually have quite a bit leftover.

IMG_0325

I have to admit, I was less than happy with the muddy appearance I gave the covers of these journals, even though the original plan was to decorate the fronts, I’ll have to work on that.

IMG_0329

Here is an example of the first one I decorated. My favorite paper, a fussy cut image, and one of my dorky flowers, it’ll do.

IMG_8453

I left these two un-tinted and gessoed. I don’t feel as if I need to decorate the covers on these, we’ll see.

IMG_0328

I made a pocket page for each, then filled them with scrapbook paper. How in the world I am going to find the time to work in these, I have no idea. That’s why I opened my shoppe, so I can make art journals but not necessarily have to art them up! Cheeky eh!

Well, once again thank you for the visit,

Have a fab week,

~Patty

Keeping Art Journaling in the Family

A few weeks ago, I received one of the most awesome texts ever! My daughter wrote “I started my art journal last night, I don’t know how you only do one page at a time! I could have decorated the whole book last night!”  It went on from there, and needless to say, I set about planning more journals for her. But, because she was coming over to see me quite soon, I thought it would be fun to work on them together.

IMG_8387

She loves her horses, so what better place to start than with these. The one on the right came with gorgeous illustrations and the pages were in great shape. The book on the left has a nice cover, but the pages were unusable, so we just replaced them.

IMG_8389

She went with all cool colors for the blue book, and all warm with the orange. I have to say I loved her choices in paper!

IMG_8393

I’m super jealous of the way they came out! If I wasn’t in the middle of so many art journals, I would be making one of these for myself! The florals with all that woodgrain is making me drool!

She asked for more lined paper than I usually put in my journals, which is awesome! Adding your writing along with art and bits and pieces of your life is what these journals are all about!

IMG_8392

So, what a wonderful thing to have in my life, a new art journaling buddy! It doesn’t get any better than that!

Thank you for the visit,

See you soon,

~Patty

The Neglected Art Journal

Every summer I tell my self that I’m going to work in and finish my “The Sea” art journal. The problem is finding my paint mojo. I’ve talked about this before, sometimes I just don’t want to hassle with the mess and clean up!

Well, I decided to try something new to add lots of color, with out having to paint so much.

IMG_8212

Although I did end up getting out the paints, a lot of that color is from pastels. I have owned a box of pastels for about eight years now. I may have tried them out a couple of times, but that’s it. They really gave my background the depth of color I was looking for!

The biggest difference between this page and the following one is the journaling. I really love how journaling on the page, as the last step, brings the whole look of the page together.

IMG_8222

The first layer is just a wash of light green paint. Then I scraped pastels in green, pink, purple, blue, and yellow on their sides to cover more area. I stamped over that with bubble wrap dipped in aqua paint, let that dry, then added the geometric tissue and pieces of an envelope. When that was dry, I stenciled with gesso and a sea sponge, then went over that with a wash of tinted gesso*. For someone that doesn’t like to paint very much, I sure went to town!

IMG_8215

I usually like to keep it pretty simple, but I was having way too much fun with the pastels and I thought the tissue and stenciling would calm it down a bit. Well, it was calm until I decided to add some orchid paint and spray it with water.

IMG_8208

When that layer dried, I added the images from a vintage book on the sea and some postage stamps from abroad. They kind of stuck out like a soar thumb, so I went over the images and stamps with a coat of tinted gesso*.  As you can see, I still love fussy cutting my images, it makes them seem like a more organic part of the page than just cutting out a square.

IMG_8210

I’m going to need to get used to all that action on my pages if I choose to use this technique. But, I’m willing to experiment until I find my comfort zone!

Let me know what you think, or if you have any questions.

Thank you for stopping in,

Talk to you soon,

~Patty

(*I make my tinted gesso by adding water to white gesso, then adding a little ochre and burnt umber to the mix. When I wash it over my pages, then blot with a paper towel, it tends to calm things down a bit and give the page a more cohesive look.)

Gratitude Journaling

Among all the other projects I have been trying to play catch-up on, there is my beloved gratitude journal! It seems that most of what I write about is my family, time spent on my own, and getting things done!

IMG_7900

For some reason I started using journaling cards and store bought ephemera in this, and subsequent pages. I really wasn’t happy with the way they were turning out, so I tore them apart and redid them. This one is slightly improved.

IMG_7903

This one was a complete re-do. I used s piece of an art page used in my art journals for the back ground then added this cute illustration from one of my vintage magazines (love the poodle!) A sticker with the date and lined paper for my list and done! It’s nice to throw things that are just lying around the studio together. Everything eventually finds a home!

IMG_7904

A particular favorite, I used a photo taken on a recent trip to L.A. I love using my own photos in this journal, they give it such a personal touch. Working with these earthy tones is a nice break from the riot of colors I usually work with in my #ListersGottaList journals.

IMG_7907

I’ve really been trying to get back to my kitschy flea market look again. I have been having so much fun using all my “store bought” ephemera, I’d forgotten what a kick some of this can be!

For the record: I’m super thankful for all of you that subscribe to my blog and take the time to read and comment! You guys rock!

Thank you for your time,

Talk to you soon,

~Patty