

This may take a while, so you may want to grab a beverage, or a snack…or a nap…
It all started with a trip to the Puppy Parlor. I had two hours to kill and was 30 minutes from home, so time for a little shopping!
Lately, I don’t buy things unless I need them, downsizing into a house half the size of our current one will be daunting enough as it is! But when I saw this mini photo box at Hobby Lobby for 50% off $2.99…
…ya, just sayin’!
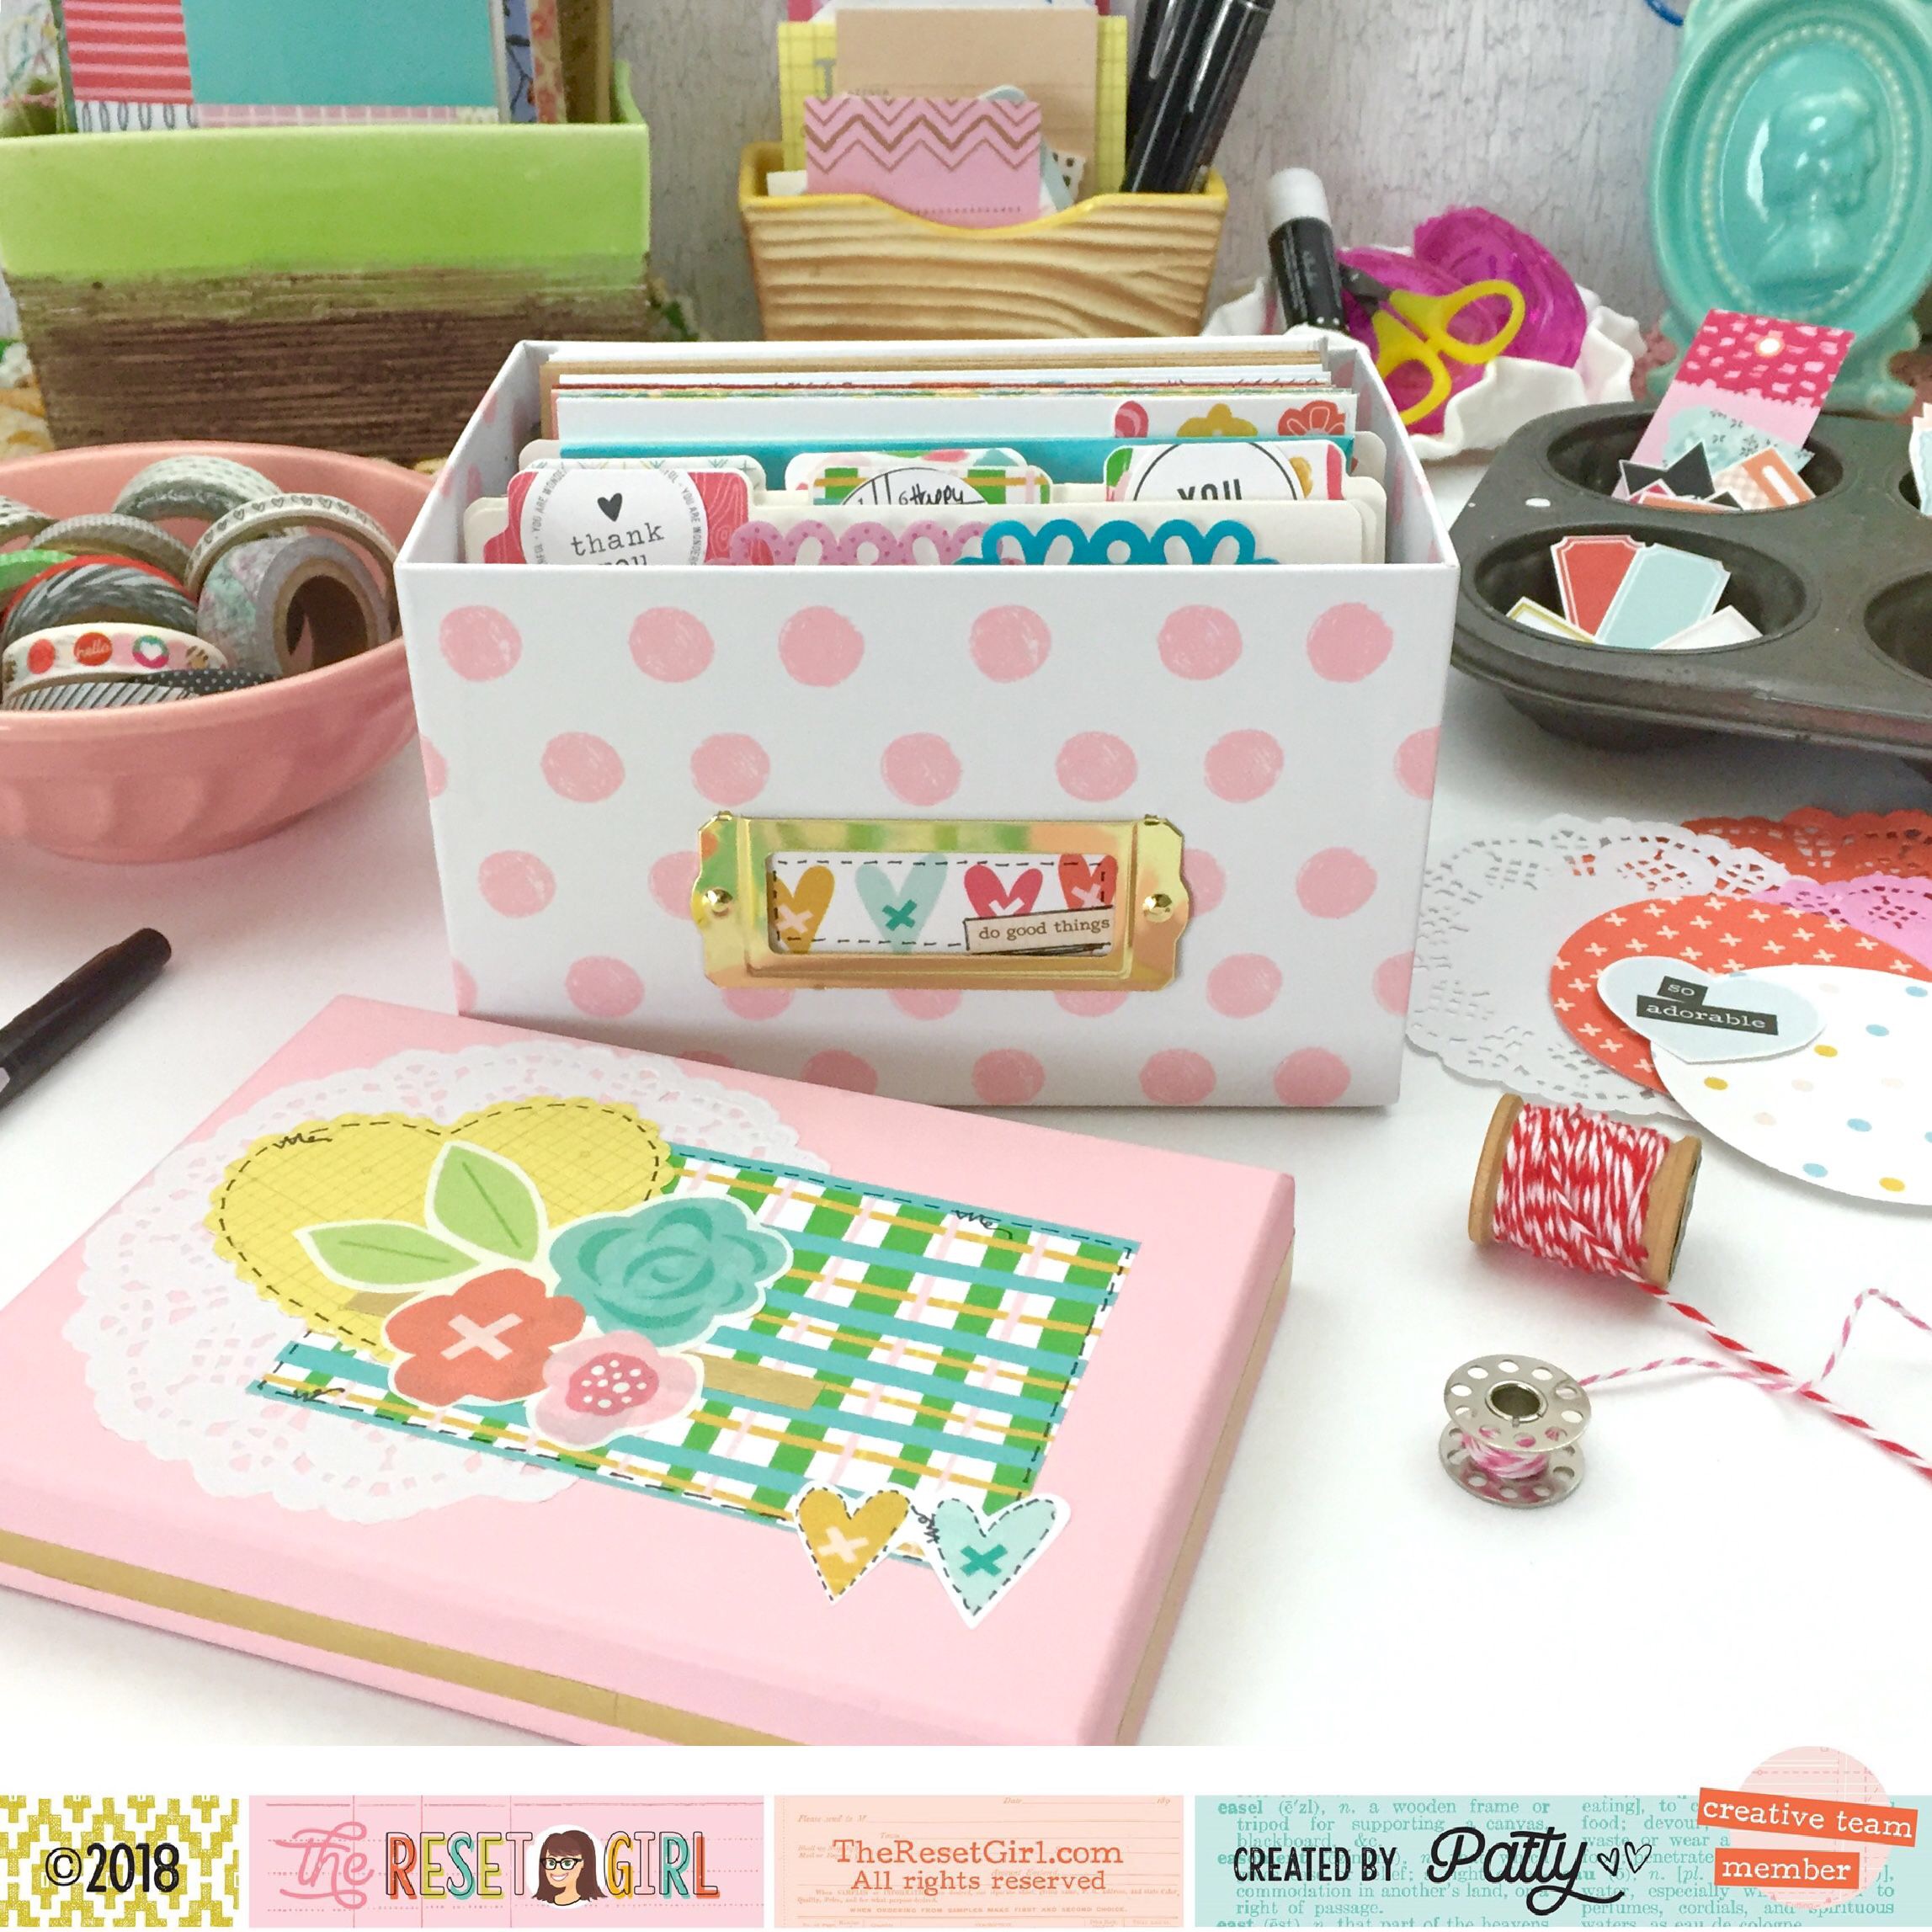
So, while I was killing time wandering around, it occurred to me that this little box would make a perfect greeting card holder. I have plastic ones, but they are less than inspiring to look at. And look how cute this is, pink polka dots, need I say more!
The little, metal label holder was on the side, so I moved it to the front, then decorated the lid and the label with Mandy Ford‘s, T.R.G. mini collection, “Happy At Home”.

I made these little dividers from a recipe box I also purchased that day. They may or may not work as true blue organizers, but who cares, they’re cute.

I used a mash-up of “Treasured“, “Adored“, “Stamp Lovin‘”, “Vintage Ledger Paper“, and of course “Happy At Home“. Use the links to get a closer look at these collections.
 I had so much fun mixing and matching the phrases to make my own sayings. These will be perfect to send to someone that needs a little pick-me-up.
Truth be told, I had to do some pretty strategic decor placement on these. My printer decided to be a brat, and my prints all came out with streaks. But, I actually enjoyed the challenge, it’s fun to mix things up a bit, and I learned some new tricks.
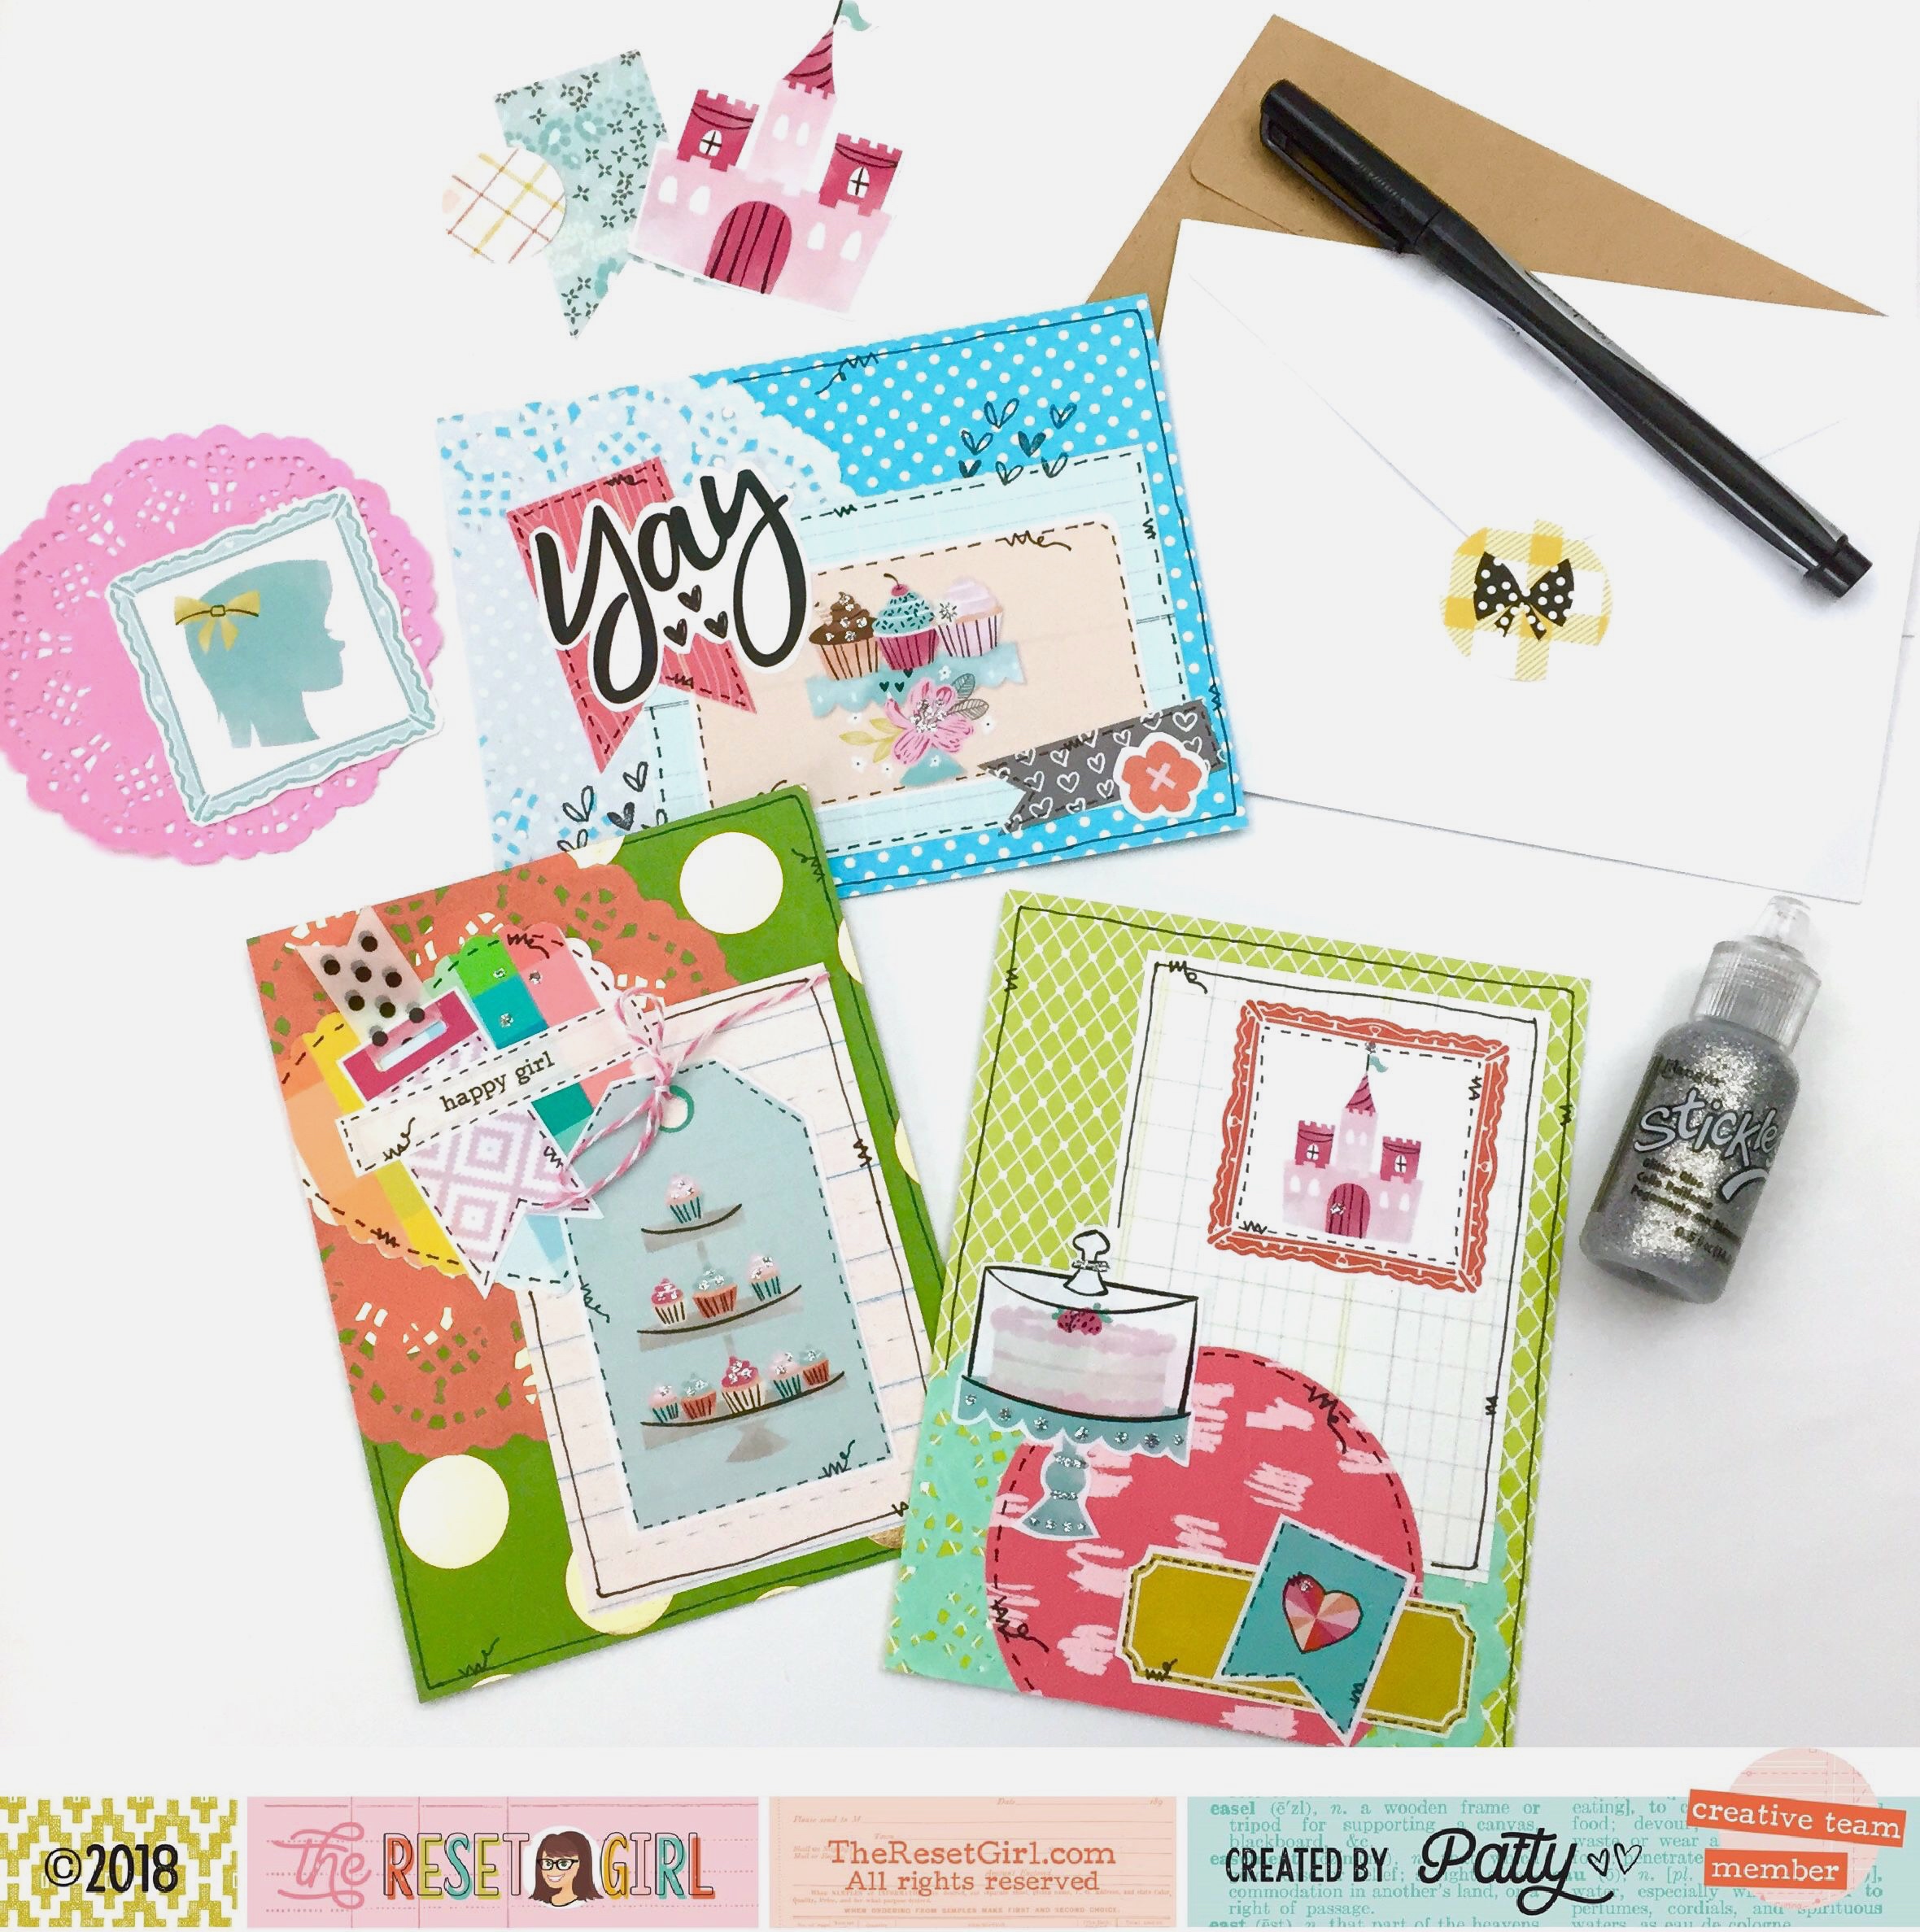 This is the Birthday Card group. I wasn’t sure how I was going to pull off making Birthday cards, but then I remembered all these little cupcakes and that cake, so cute!
Seriously, I didn’t want to stop making these! They were so much fun! It will be so nice to just grab a card when I want to say “Thank You” or just “Hello” without having to drop everything to make a card. This is one of those things I always say I’m going to do, but never get around to it.
Sometime soon, I’ll write a post about my card layering process, let me know if that sounds like fun.
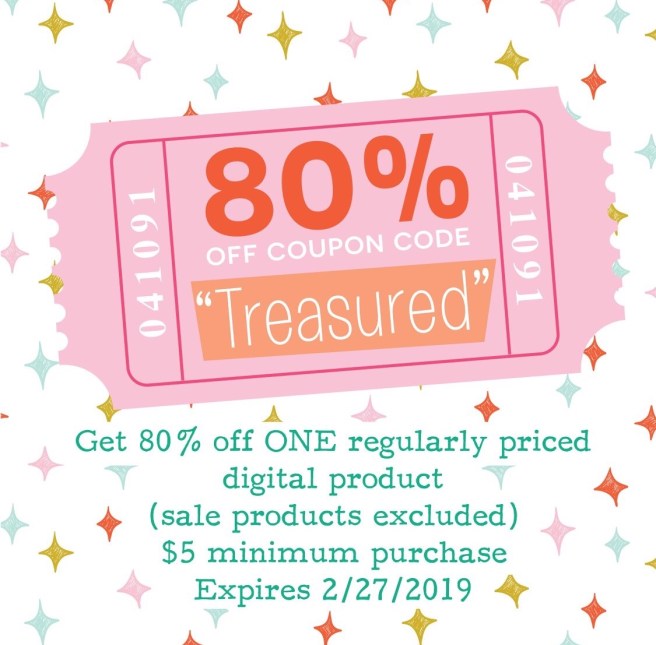
Until then, here’s an awesome coupon for TheResetGirl.com/shop
And as always,
Thank you for dropping in,
Have a great weekend,
~Patty

absolutely, gotta have
nice colors,too
LikeLike
Thank you Nancy! 😊
LikeLike
Very clever Patty! i saw these mini boxes last week when they were 50% off-no-i didn’t get any! wish i had. i love how you moved the metal label from the side to the front. also love the darling index files you created. i will have to keep a look out for another sale and grab a few of those boxes. thanks for sharing and as always, for the inspiration!
LikeLike
Thank you Jenny! I’m finding too many cards, 5 1/2” x 4 1/4”, don’t fit in the box very well, so I moved them into something else. I will have to find a new use for this box. Please let me know what you end up using yours for.
LikeLike
ohhh phooey, that’s too bad. postcards are typically 4×6 i think, you could shave a little off one end if you made them yourself. i use one for smaller scraps of papers, a section for white/plain paper, scrapbook scraps, index cards, etc it’s easier to flip thru that as opposed to all those bits of papers laying in a box or bag. i use another one for storing smaller blank journals like field note size. and even one for pictures i’ve had printed that i use in journals or send to people.if you come up with other ideas let us know.
LikeLike
Ya, it is a mini photo box. I like idea of using it for photos, maybe some of the photos of extended family in little file folders
LikeLike
So pretty, Patty!!!
LikeLike
Thank you Lydia!
LikeLike