Keeping Art Journaling in the Family

A few weeks ago, I received one of the most awesome texts ever! My daughter wrote “I started my art journal last night, I don’t know how you only do one page at a time! I could have decorated the whole book last night!”  It went on from there, and needless to say, I set about planning more journals for her. But, because she was coming over to see me quite soon, I thought it would be fun to work on them together.

IMG_8387

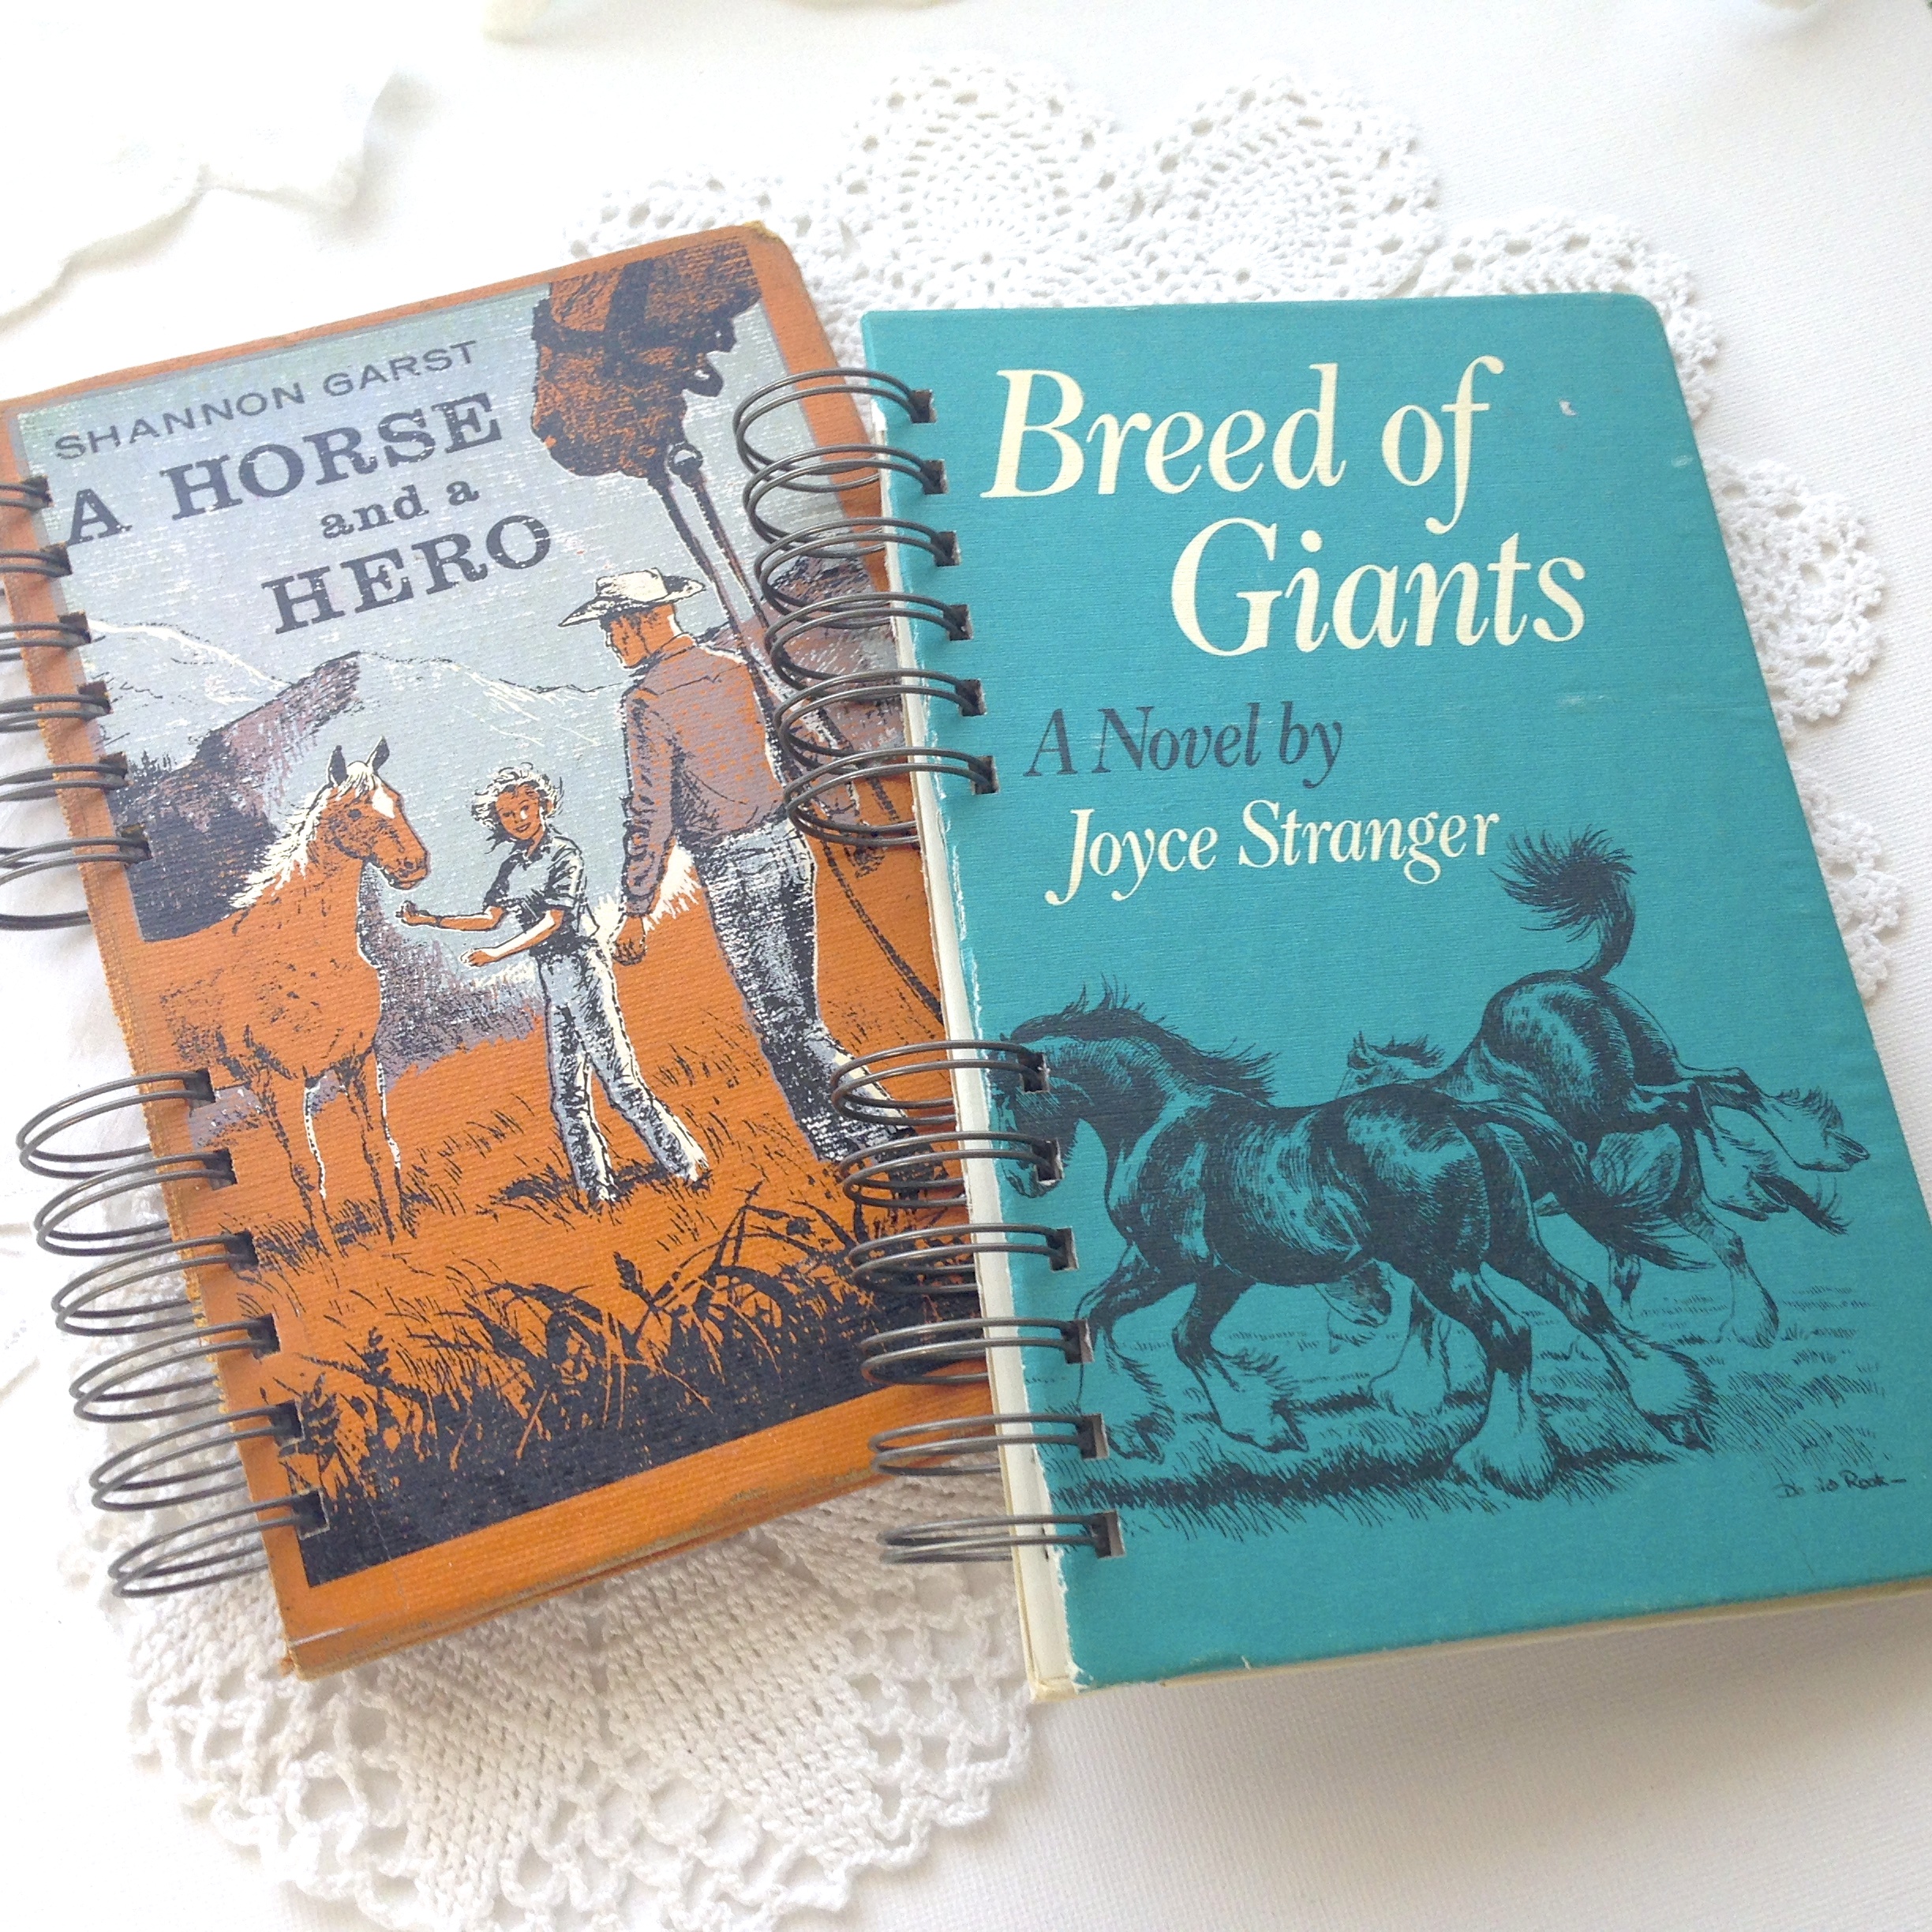
She loves her horses, so what better place to start than with these. The one on the right came with gorgeous illustrations and the pages were in great shape. The book on the left has a nice cover, but the pages were unusable, so we just replaced them.

IMG_8389

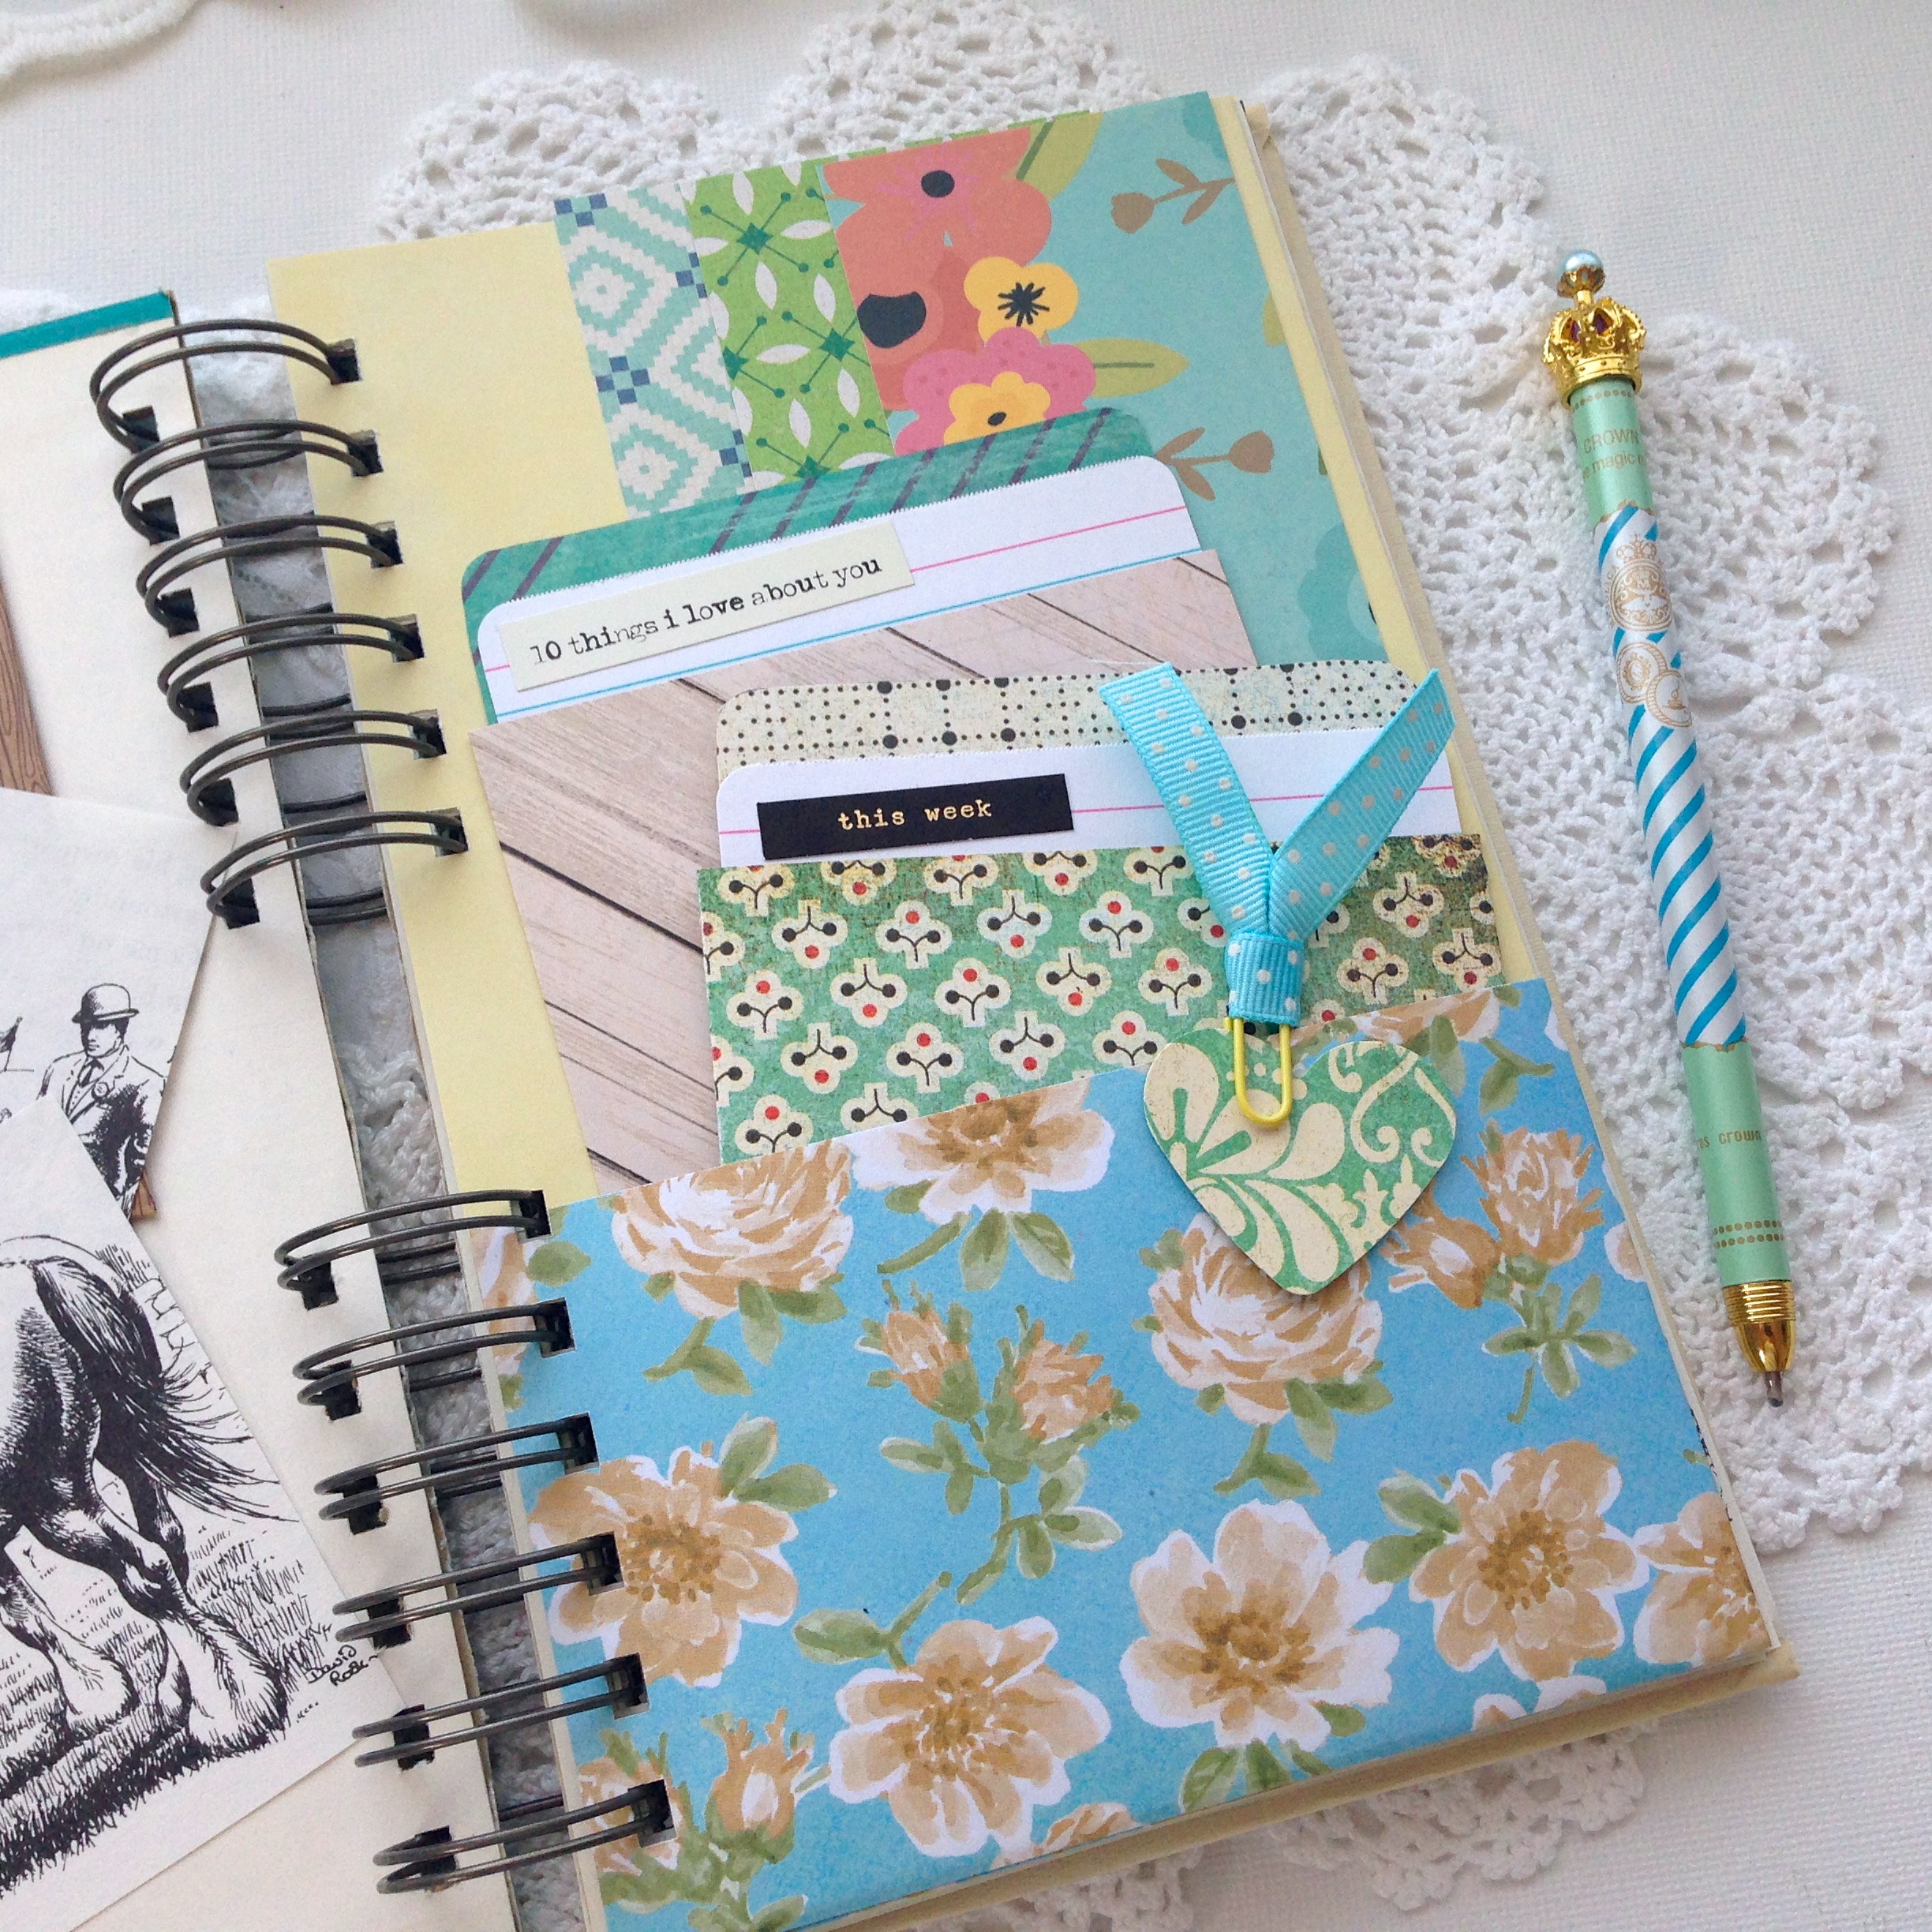
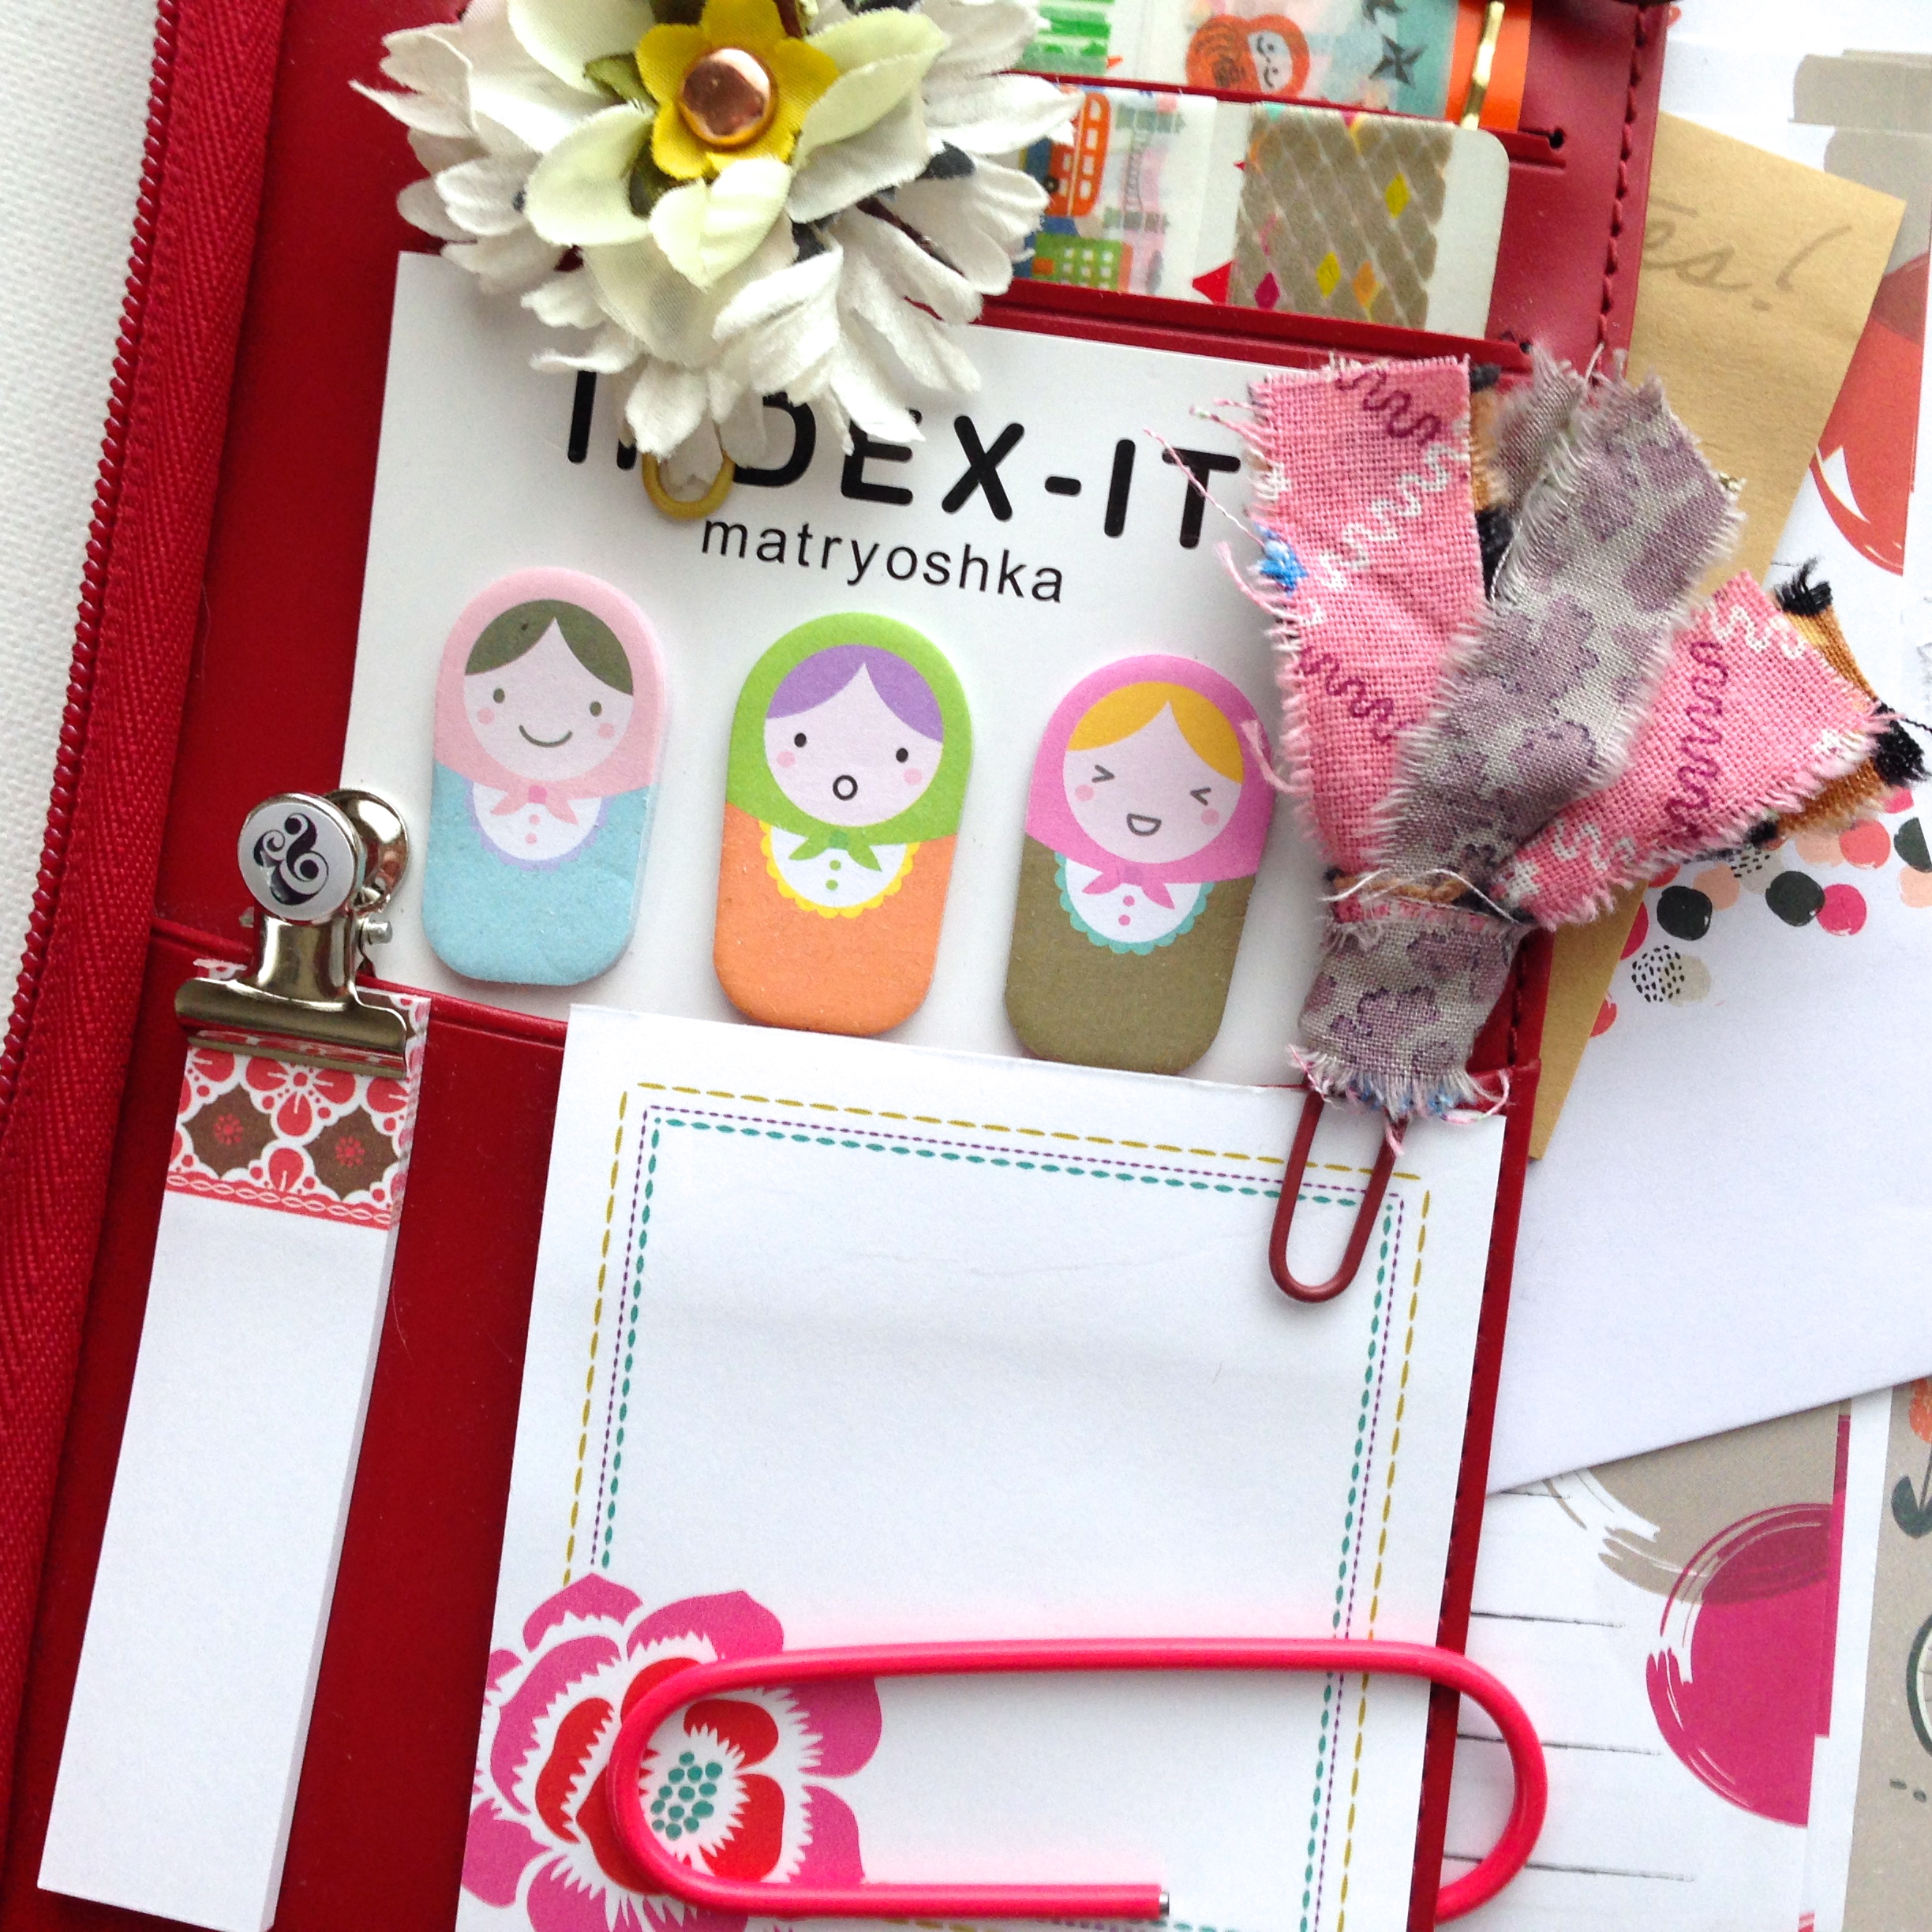
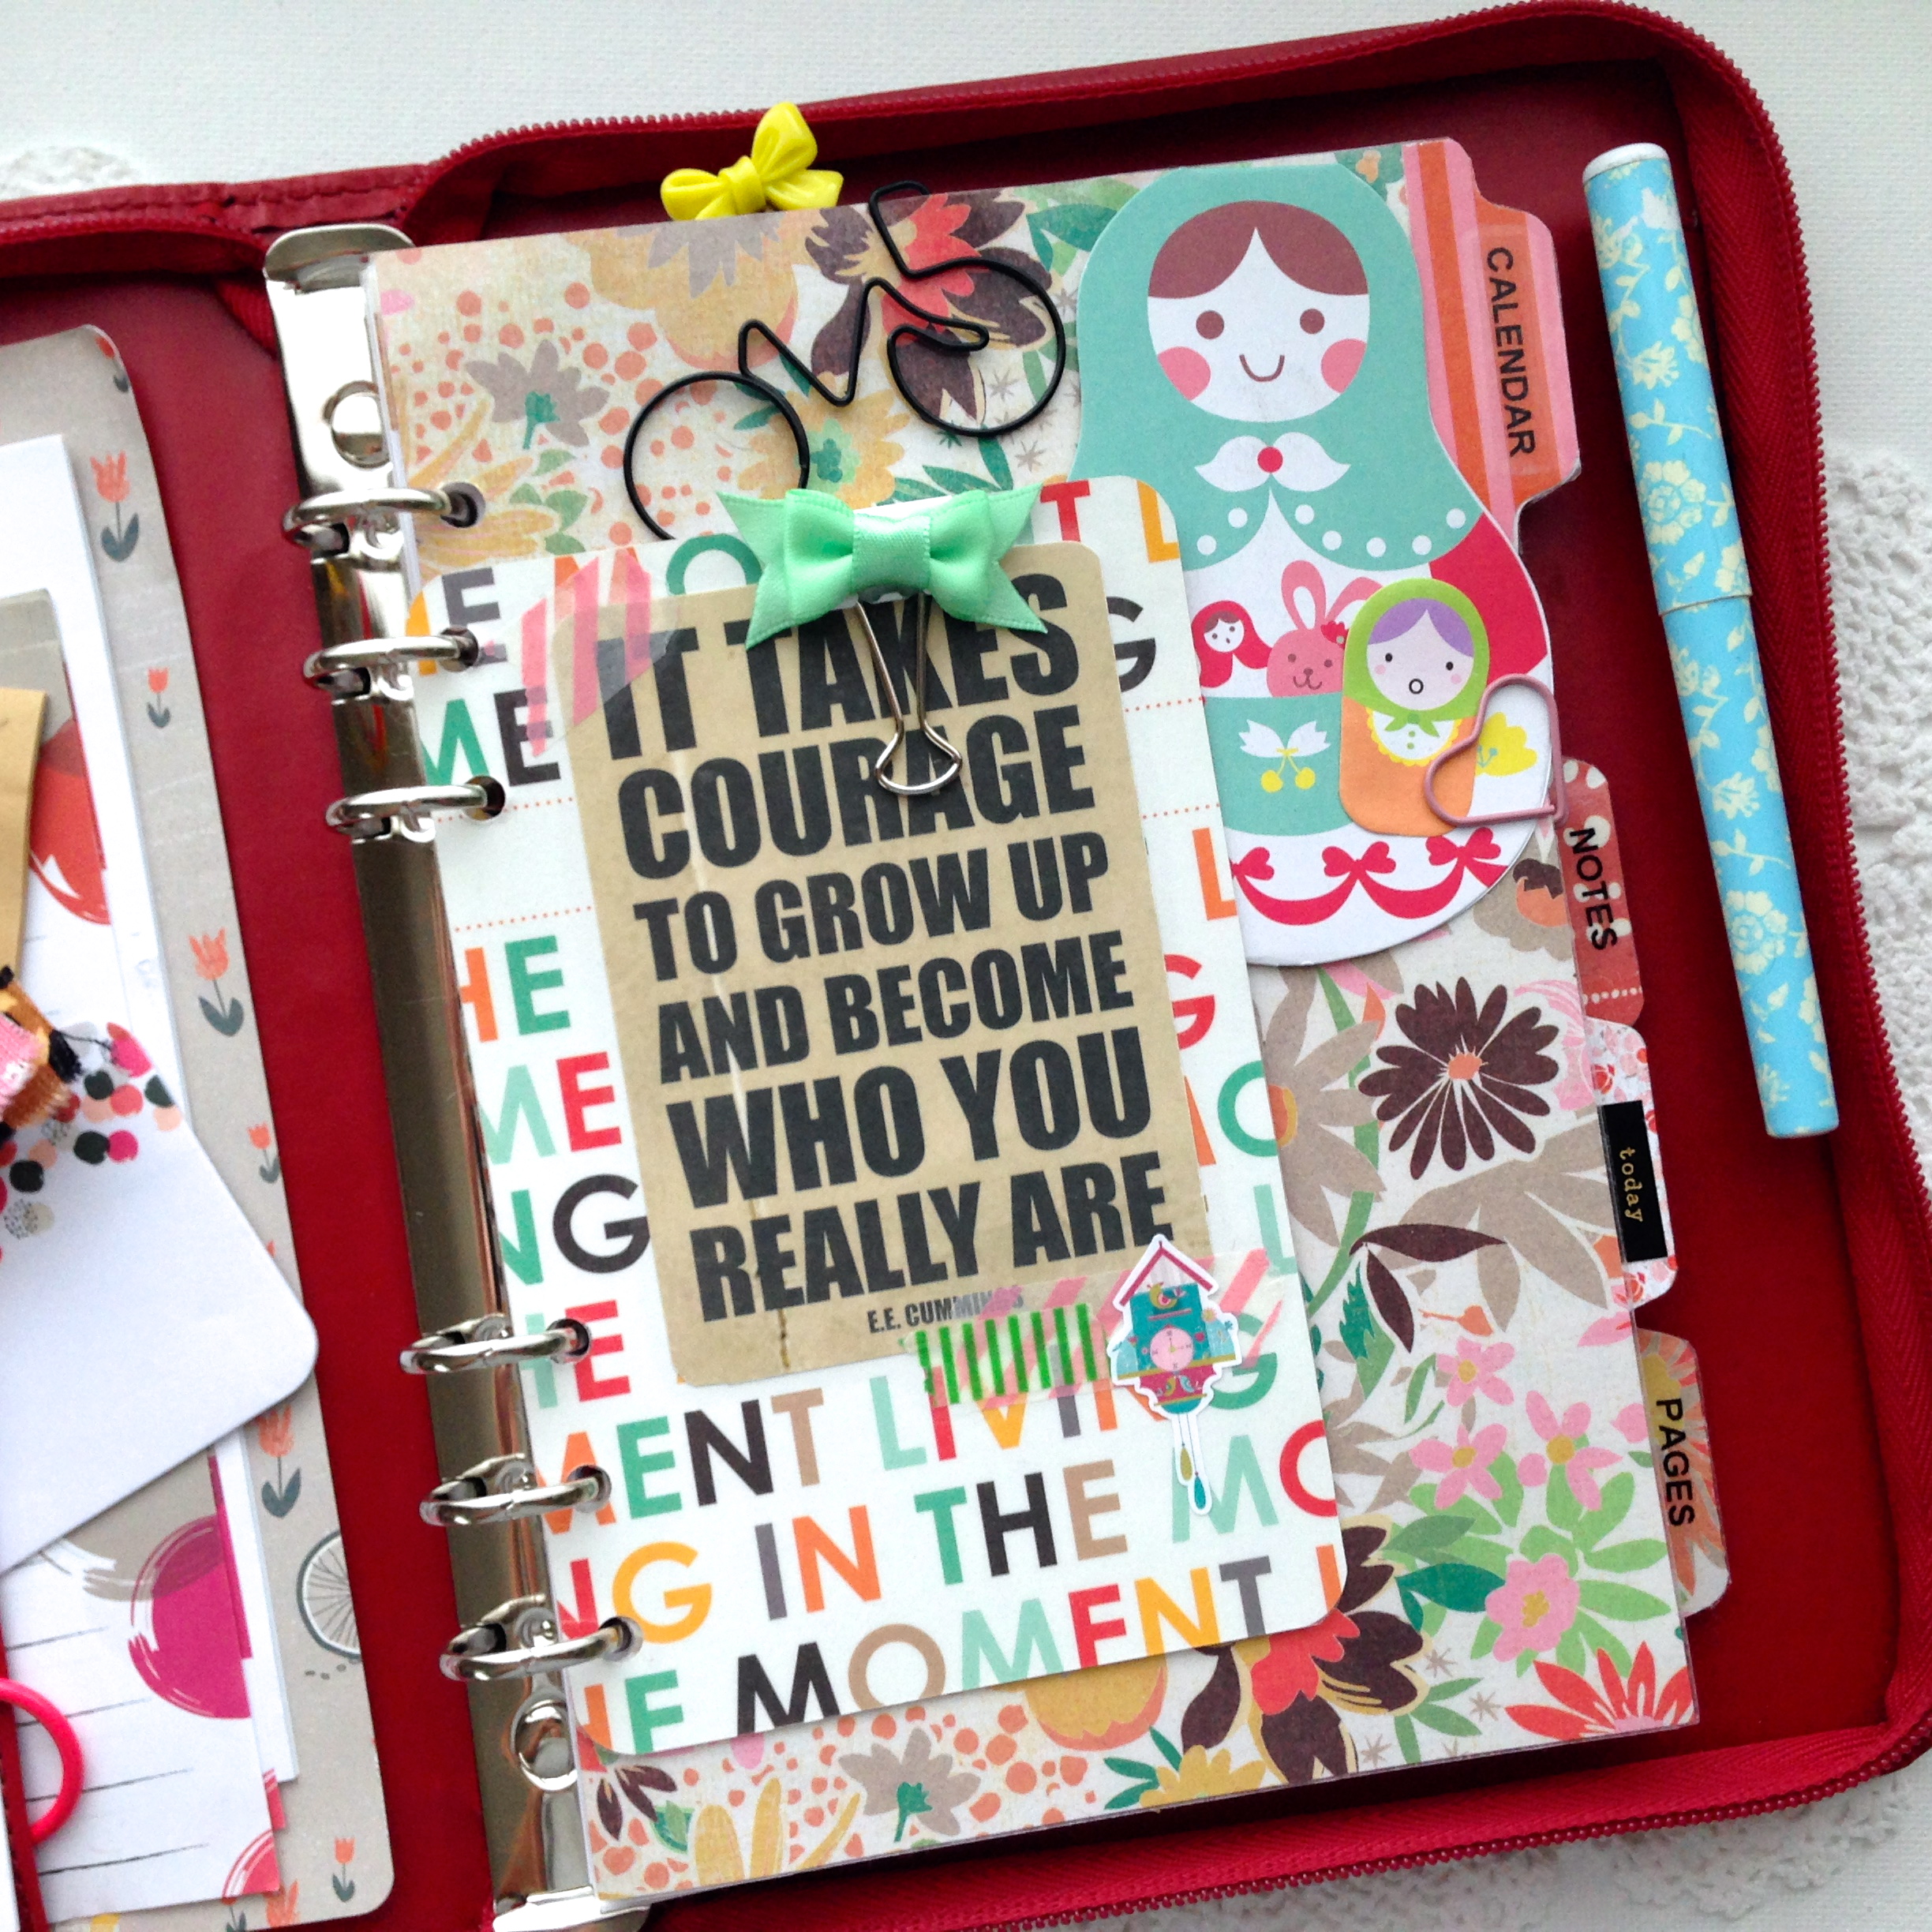
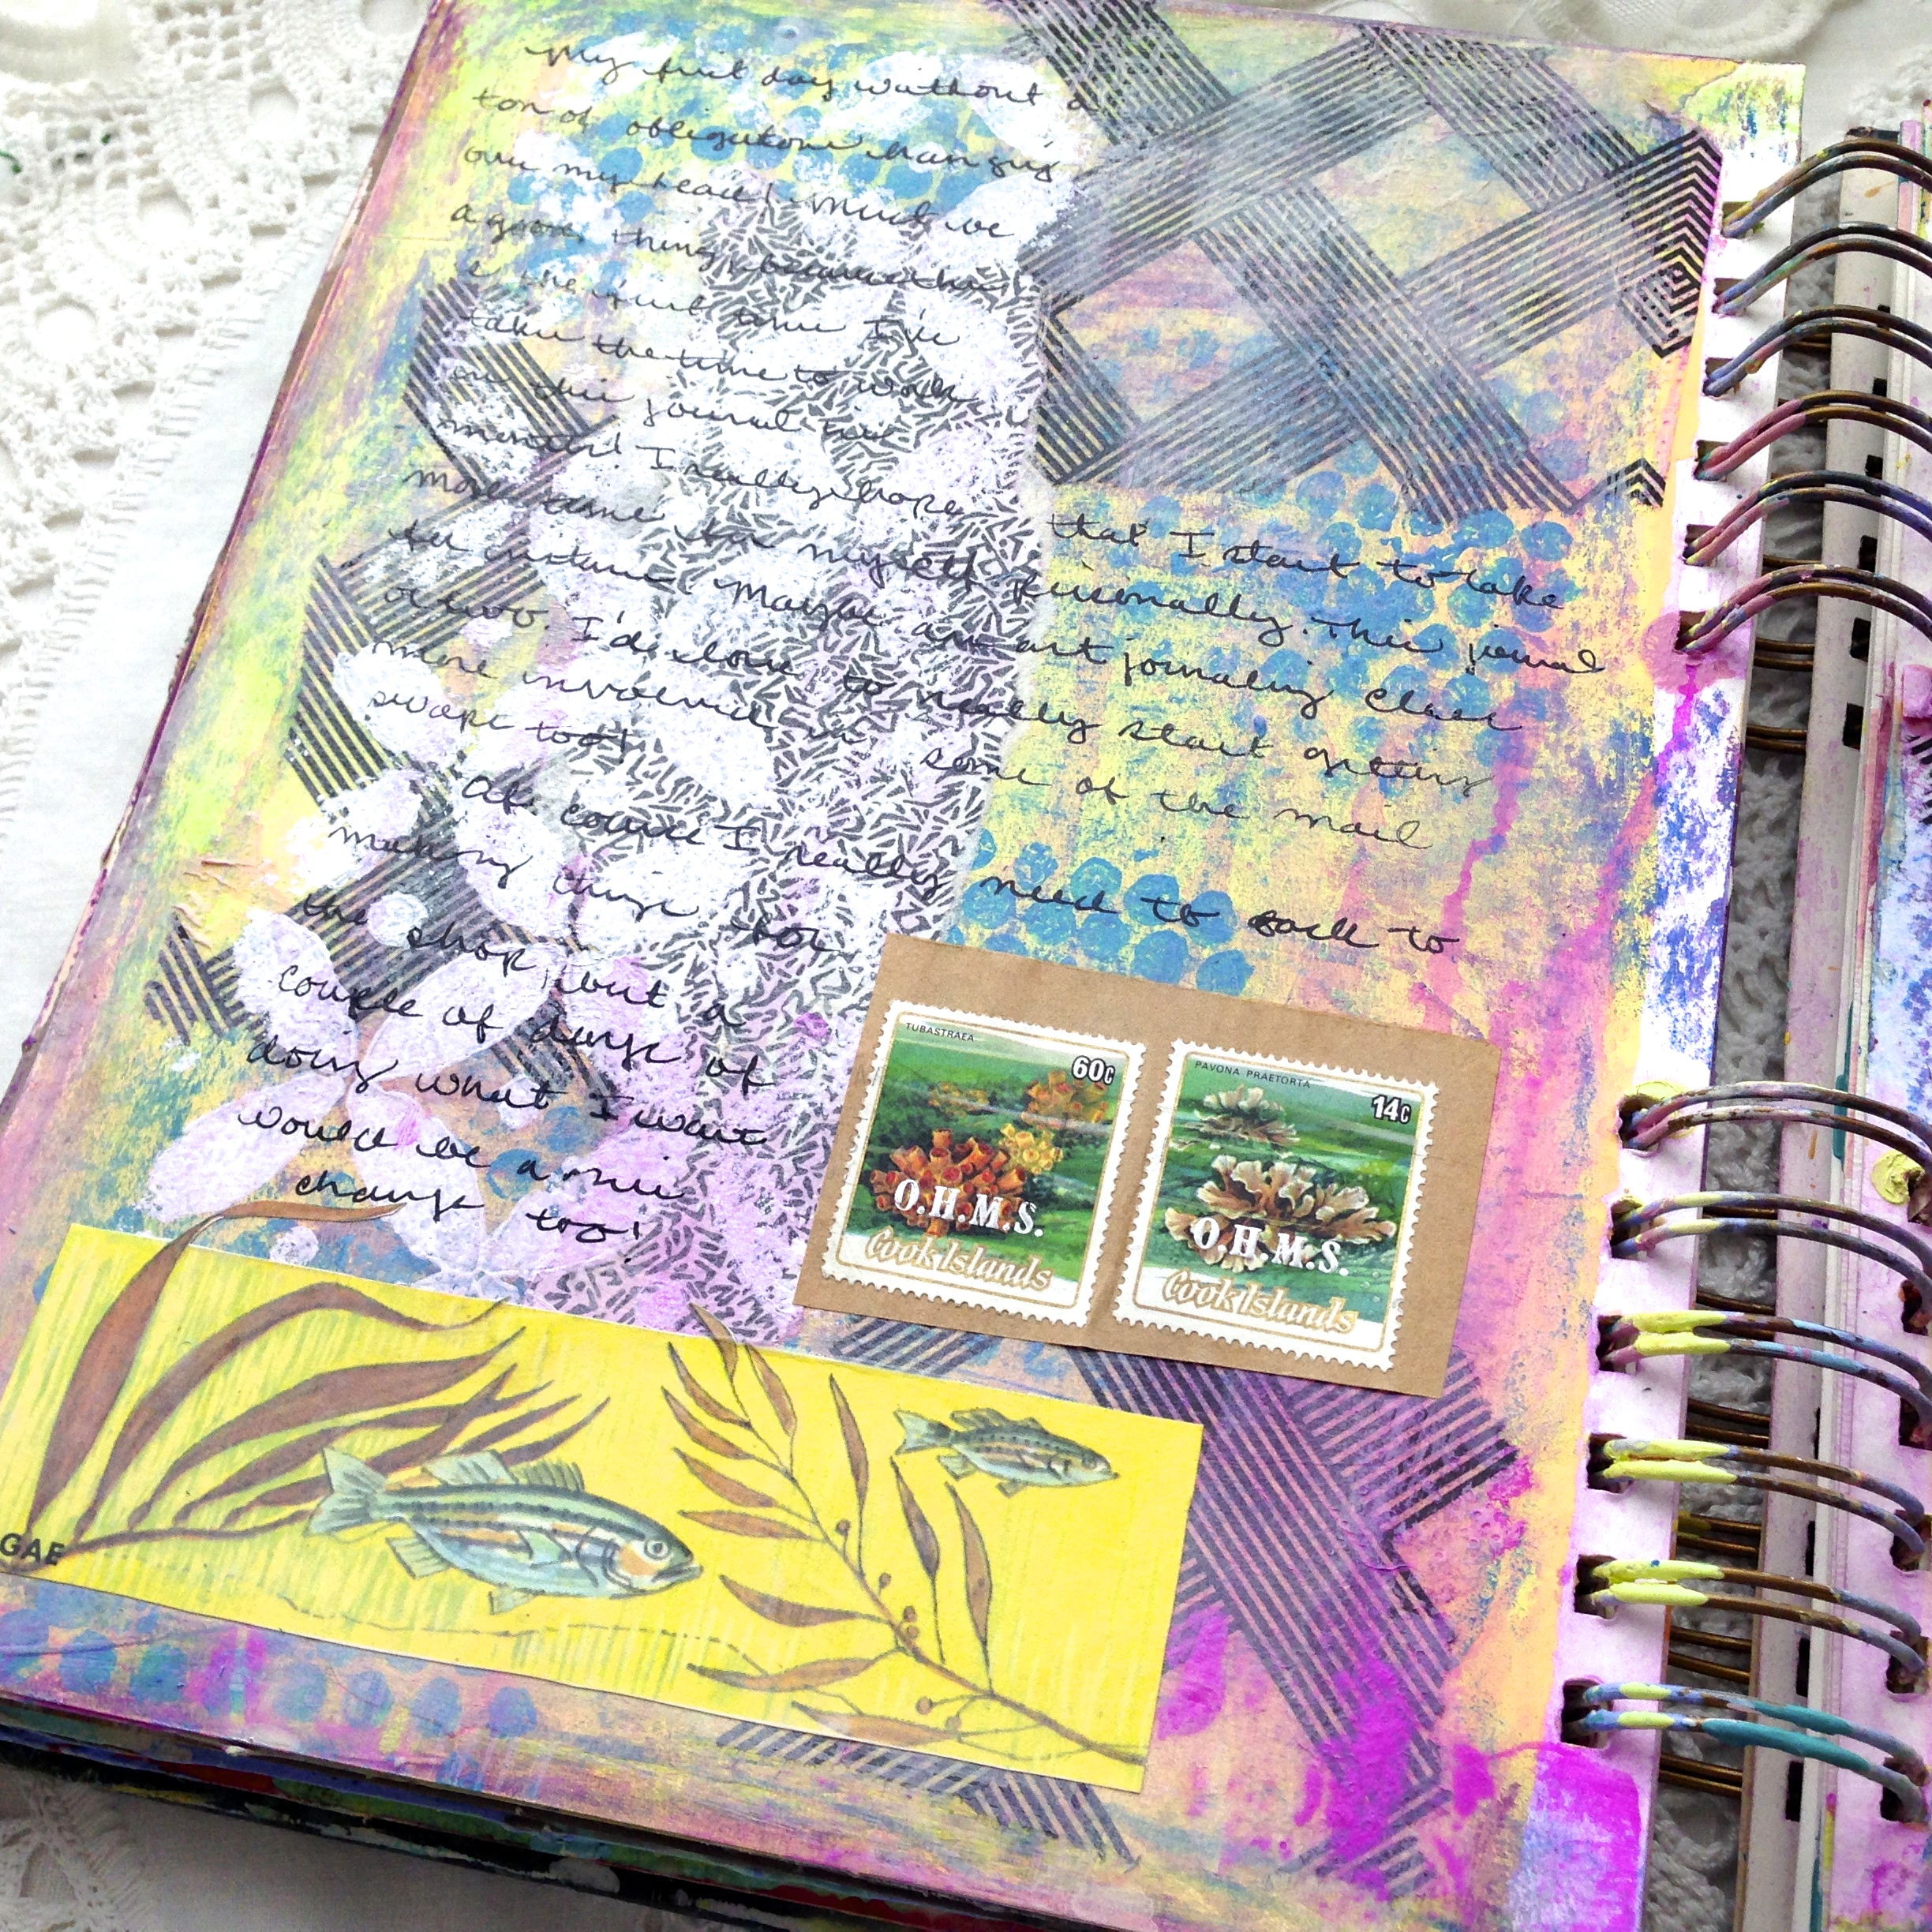
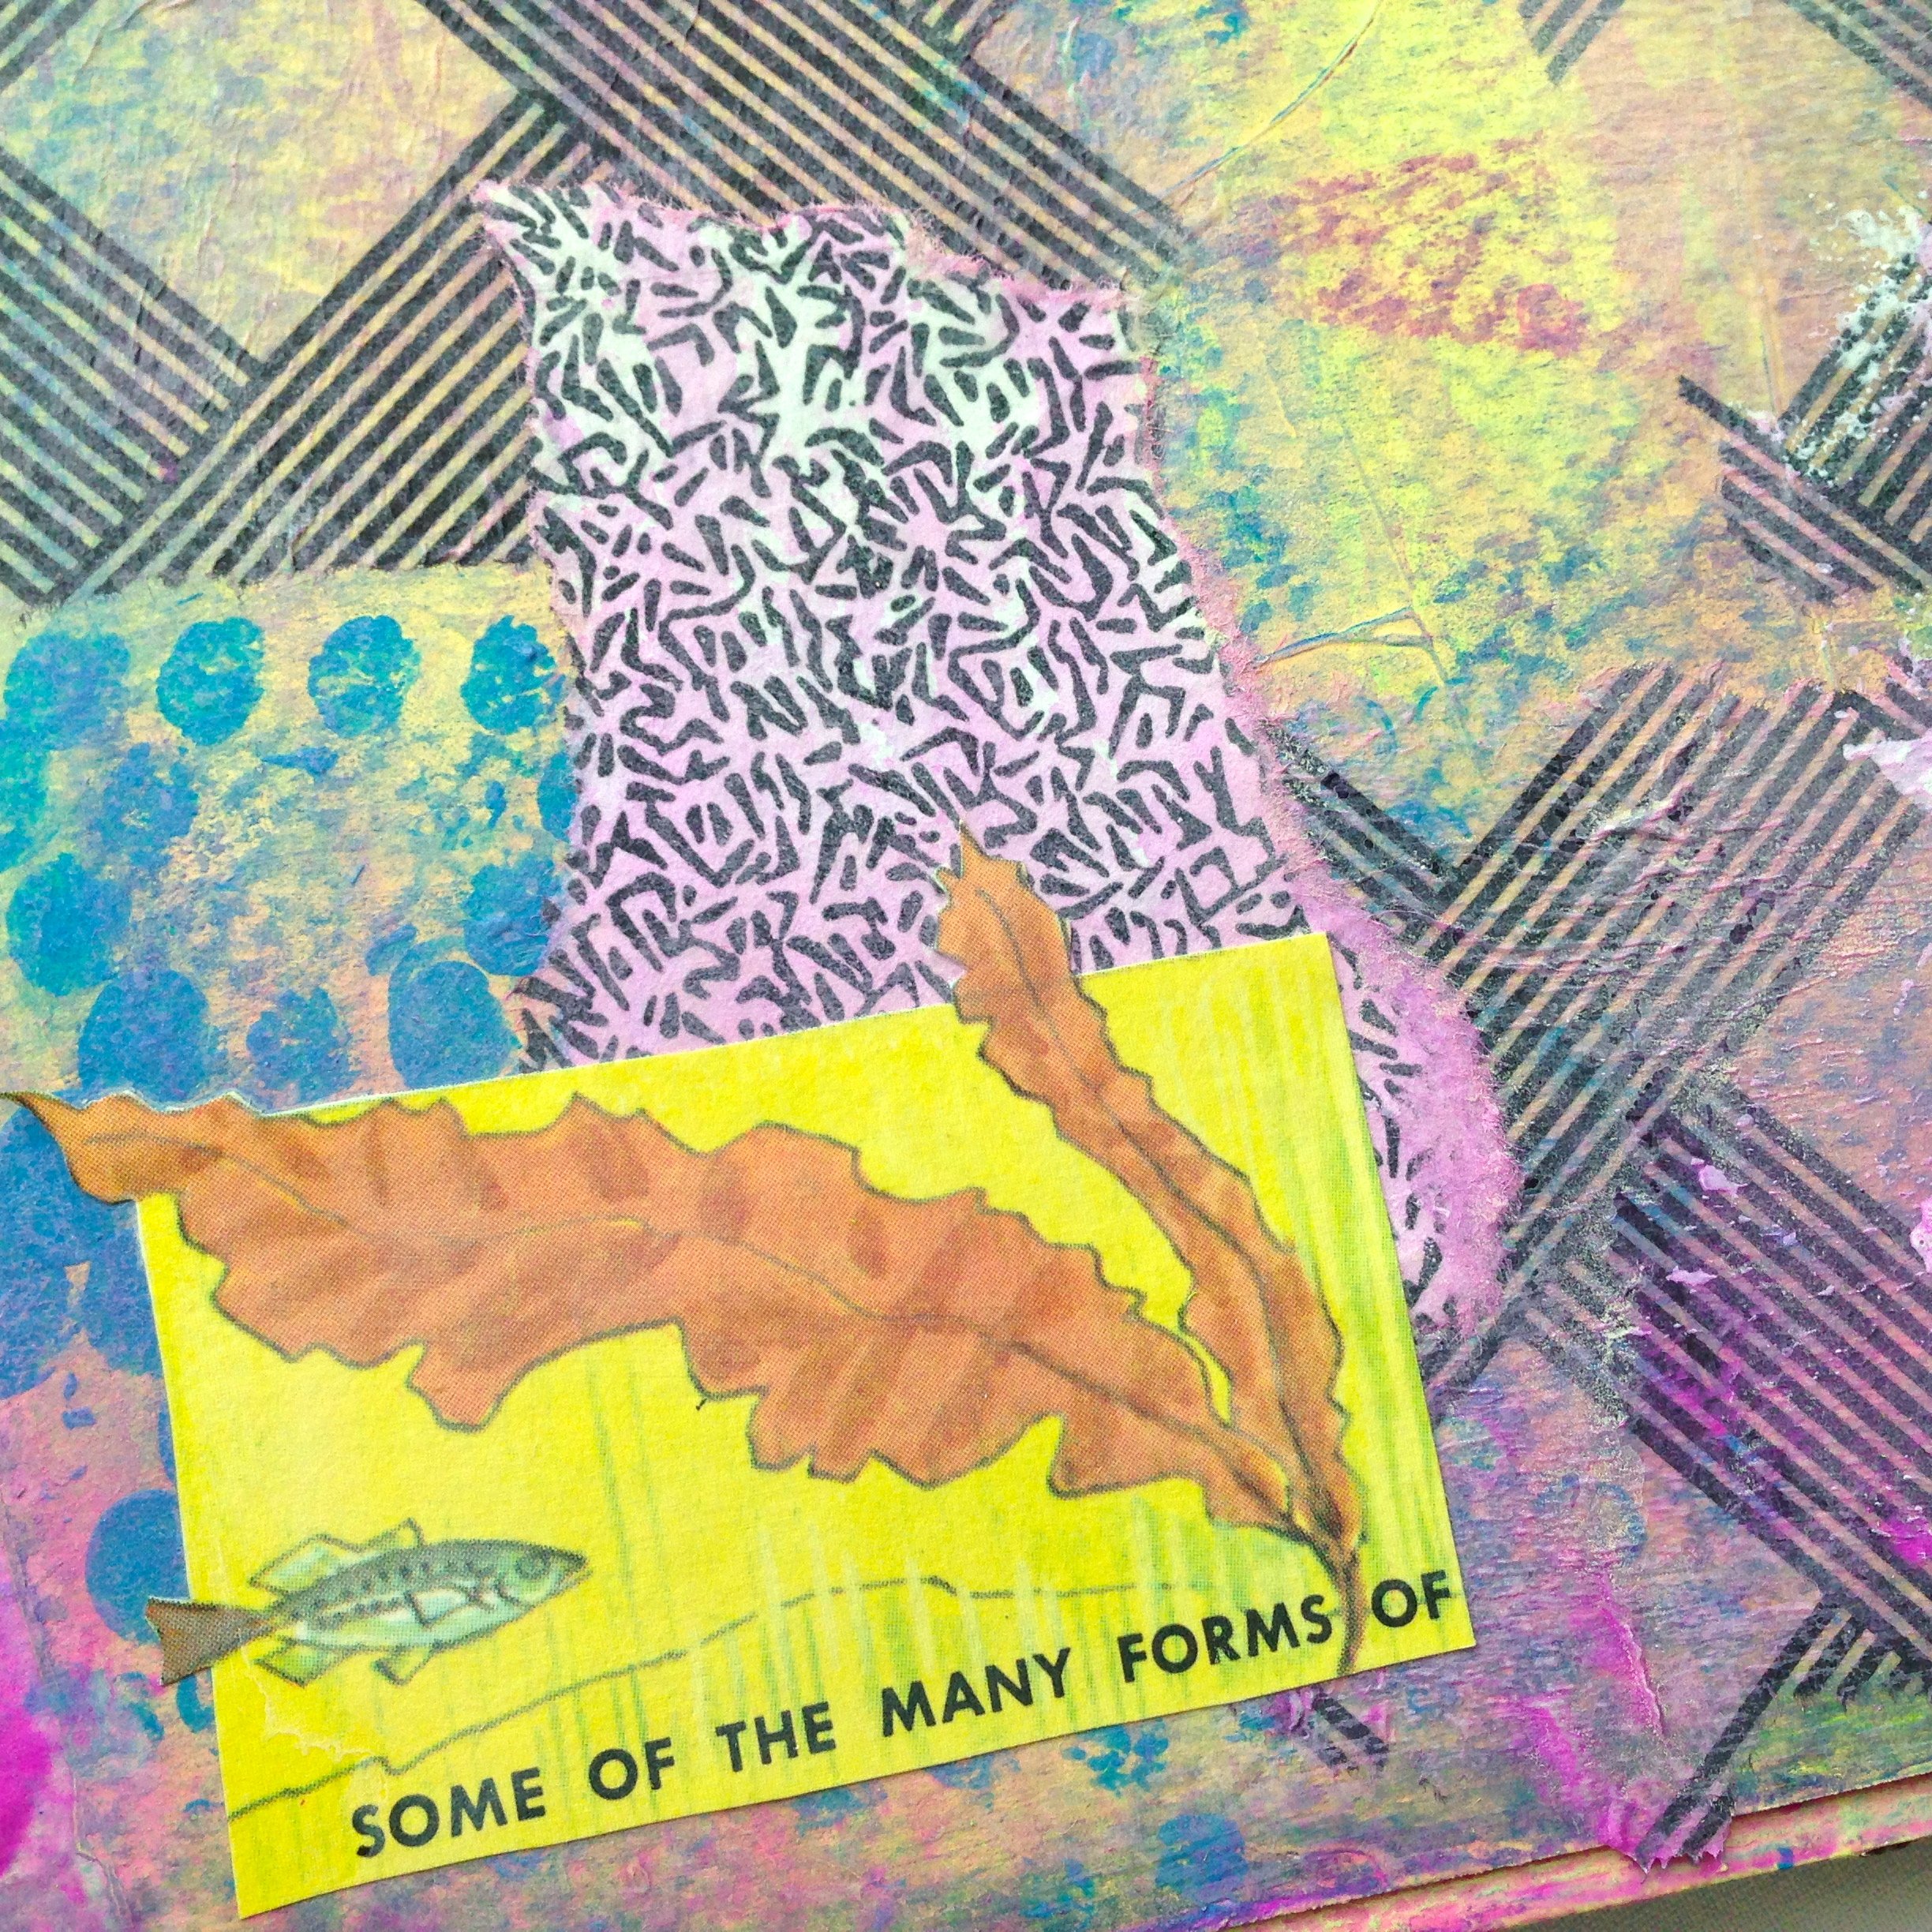
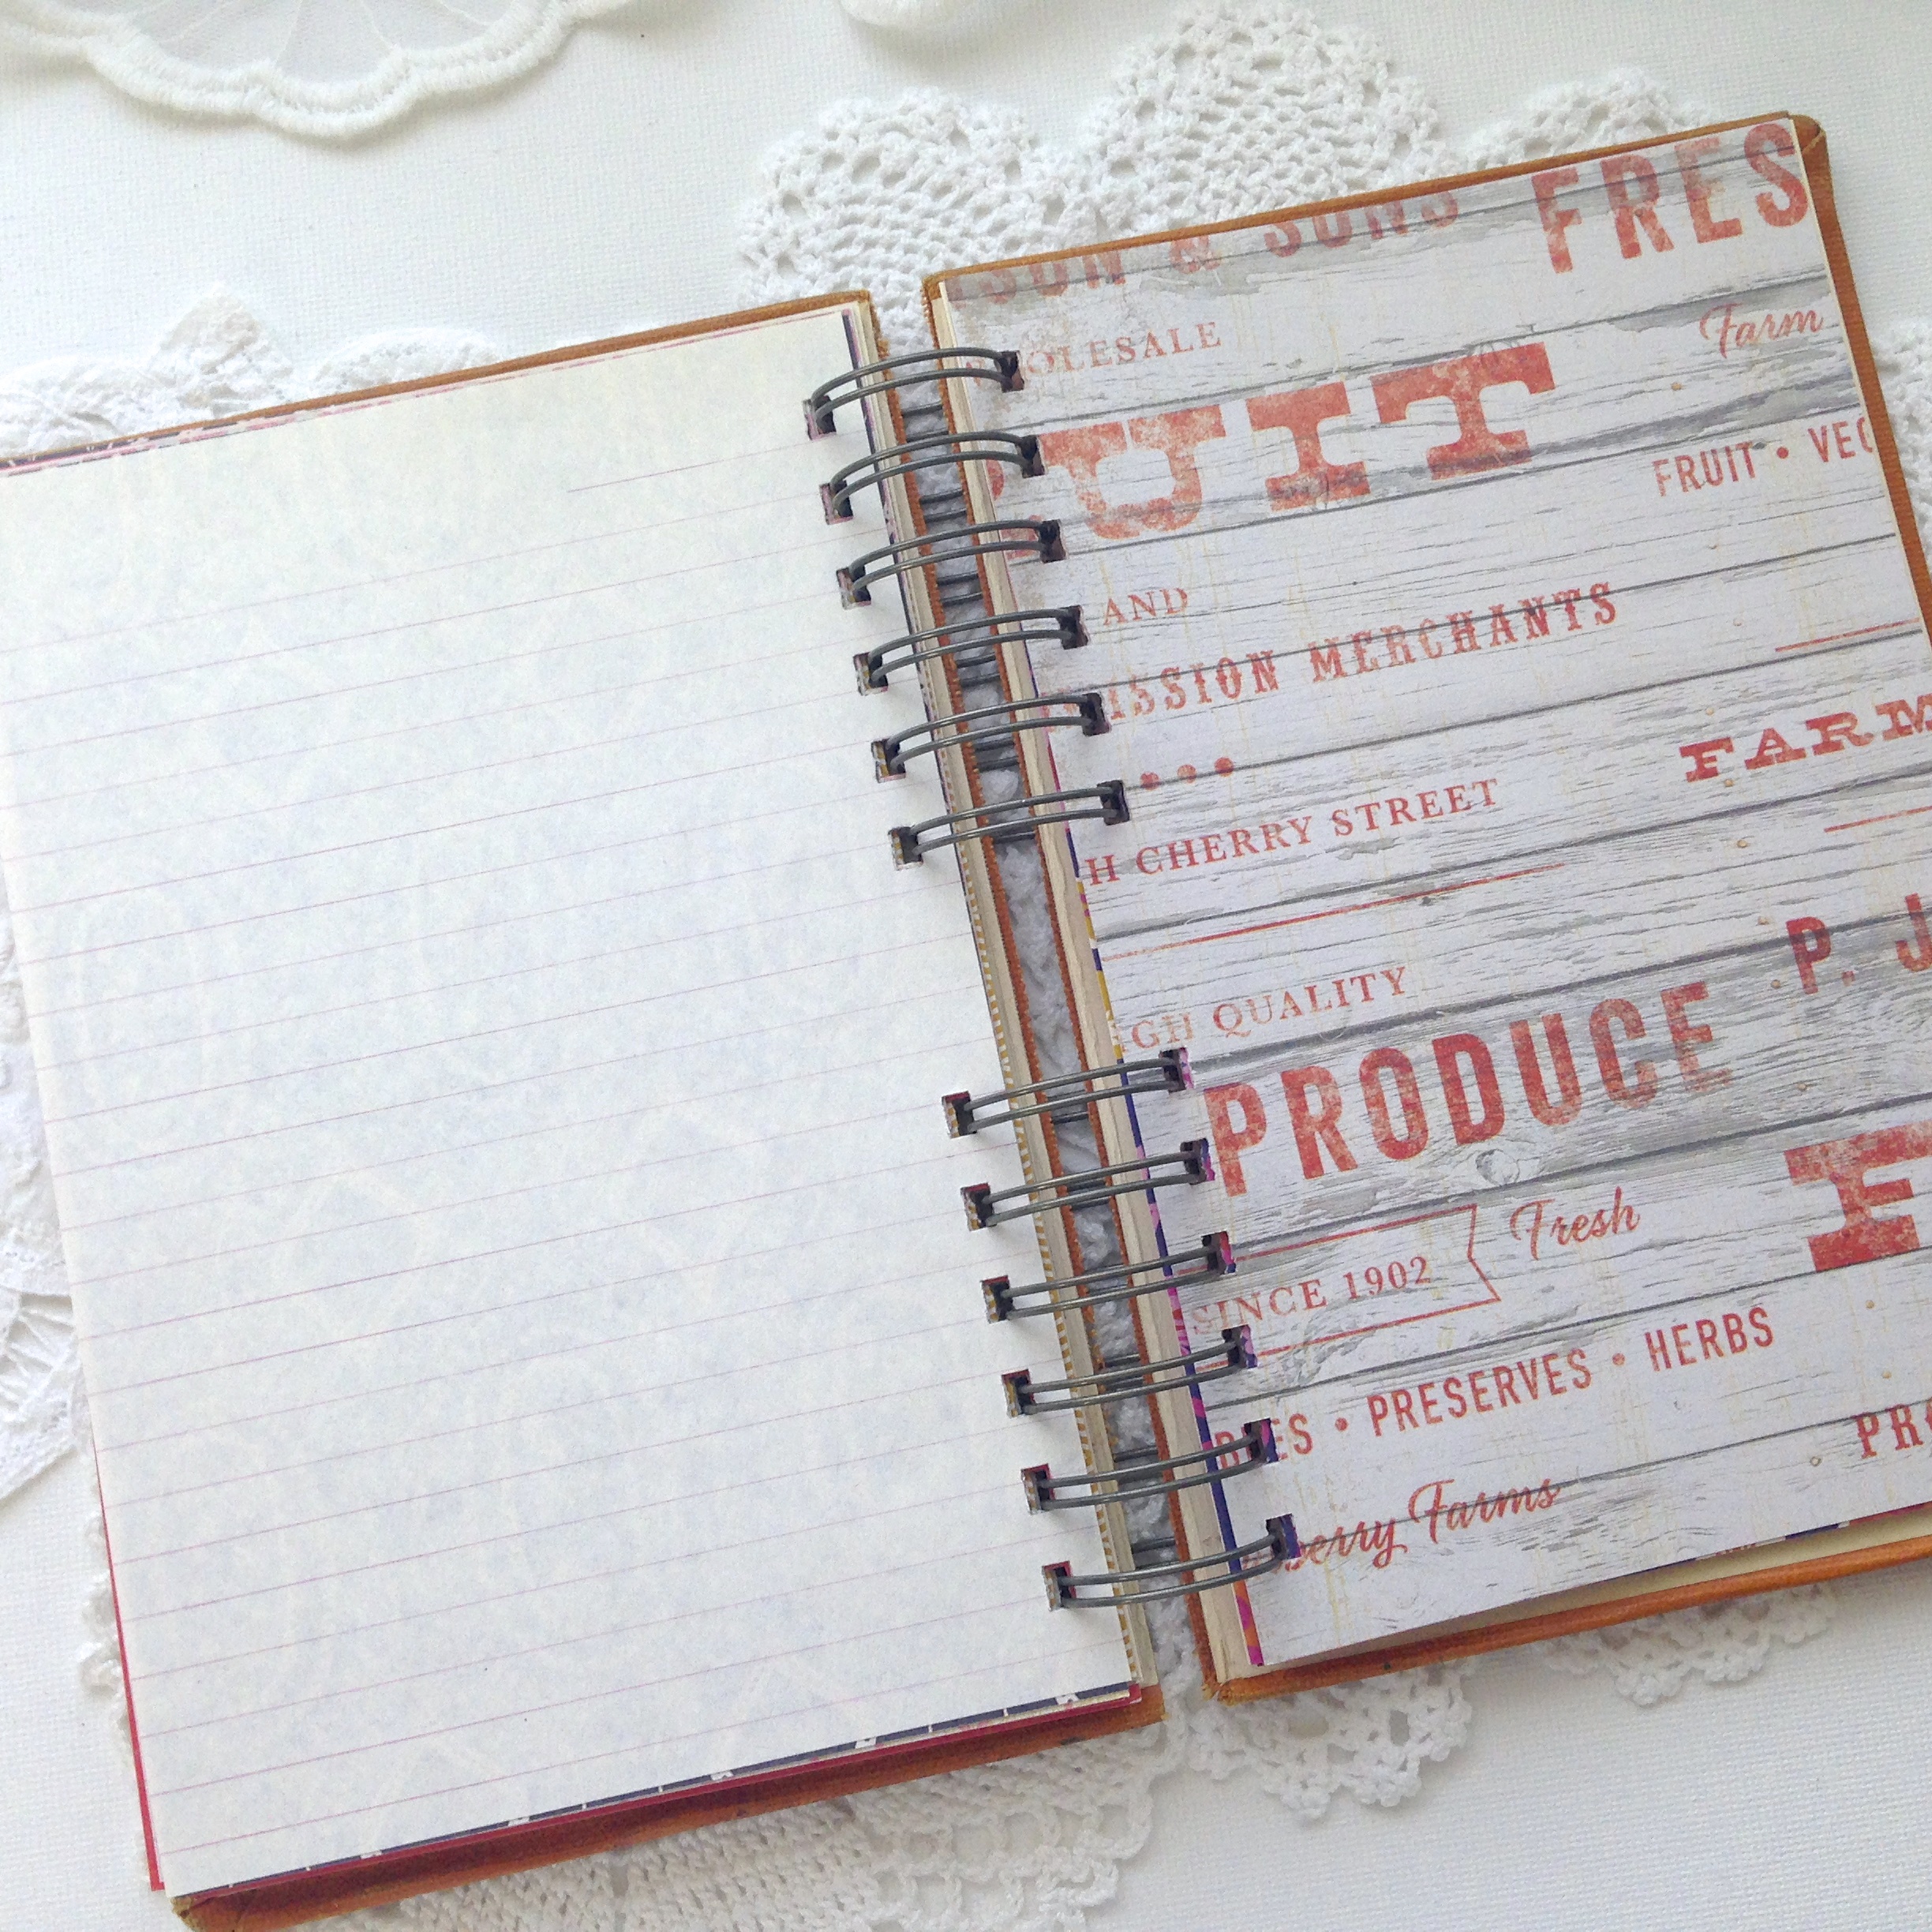
She went with all cool colors for the blue book, and all warm with the orange. I have to say I loved her choices in paper!

IMG_8393

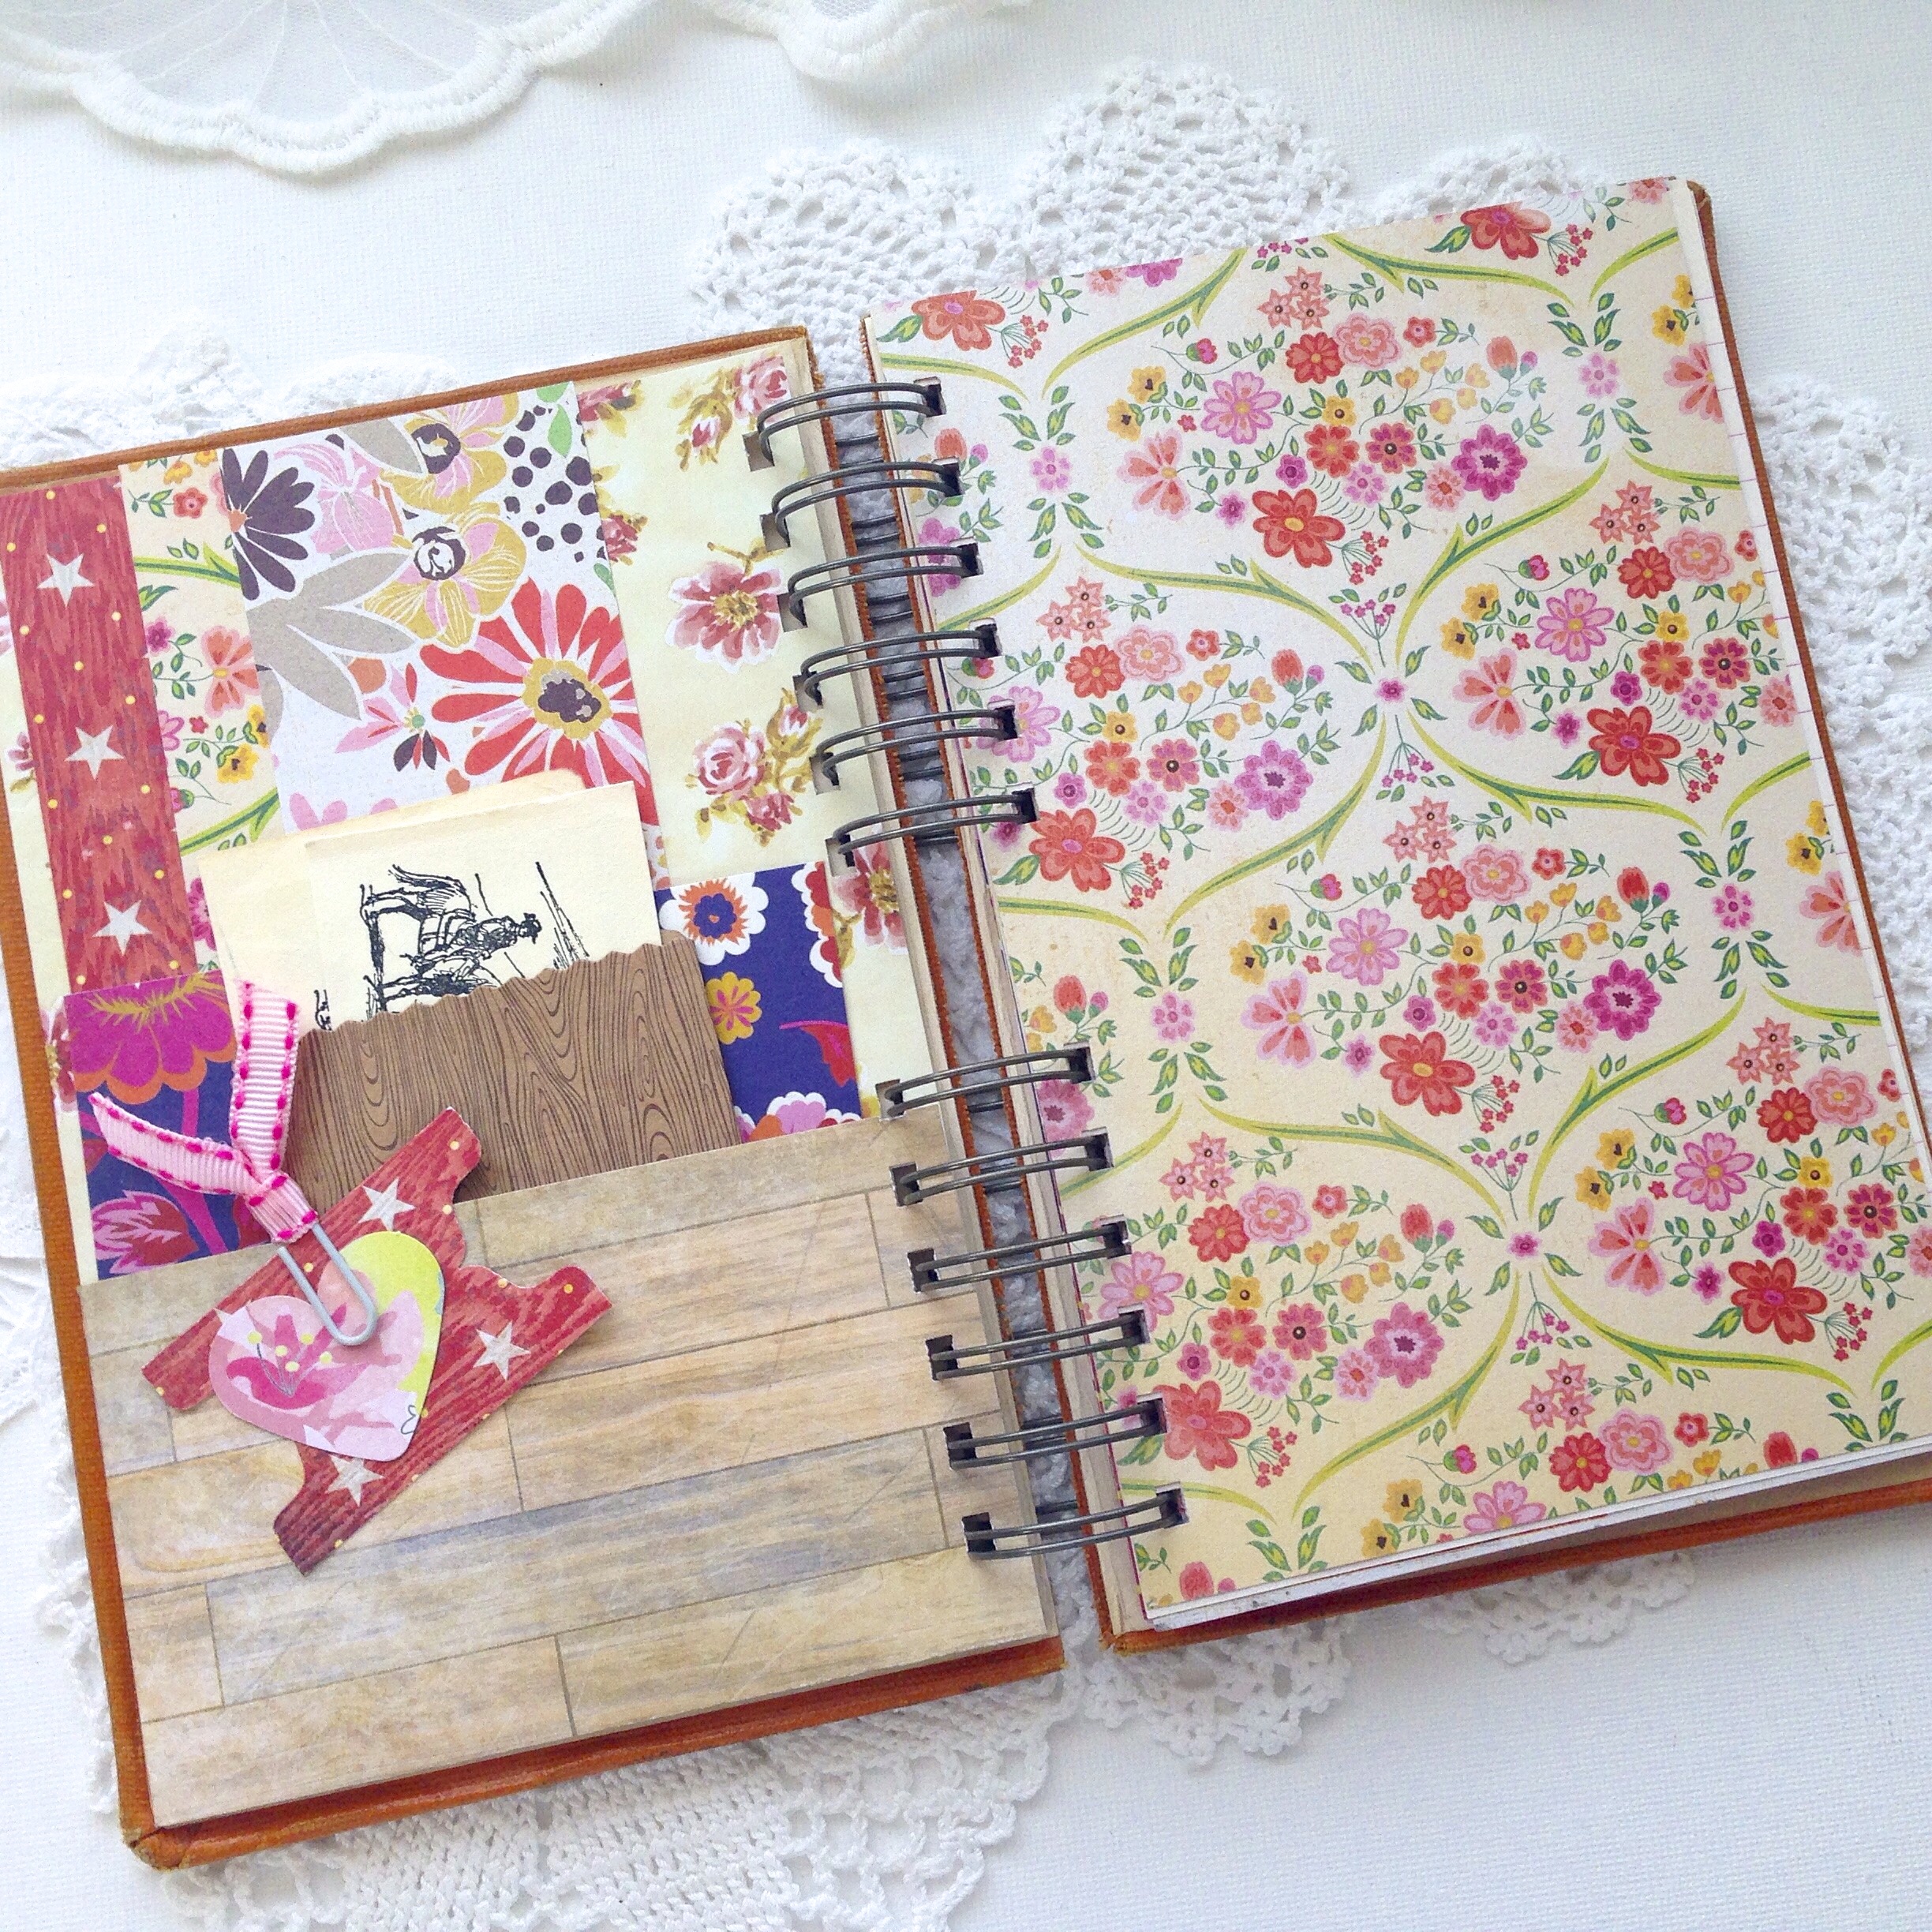
I’m super jealous of the way they came out! If I wasn’t in the middle of so many art journals, I would be making one of these for myself! The florals with all that woodgrain is making me drool!

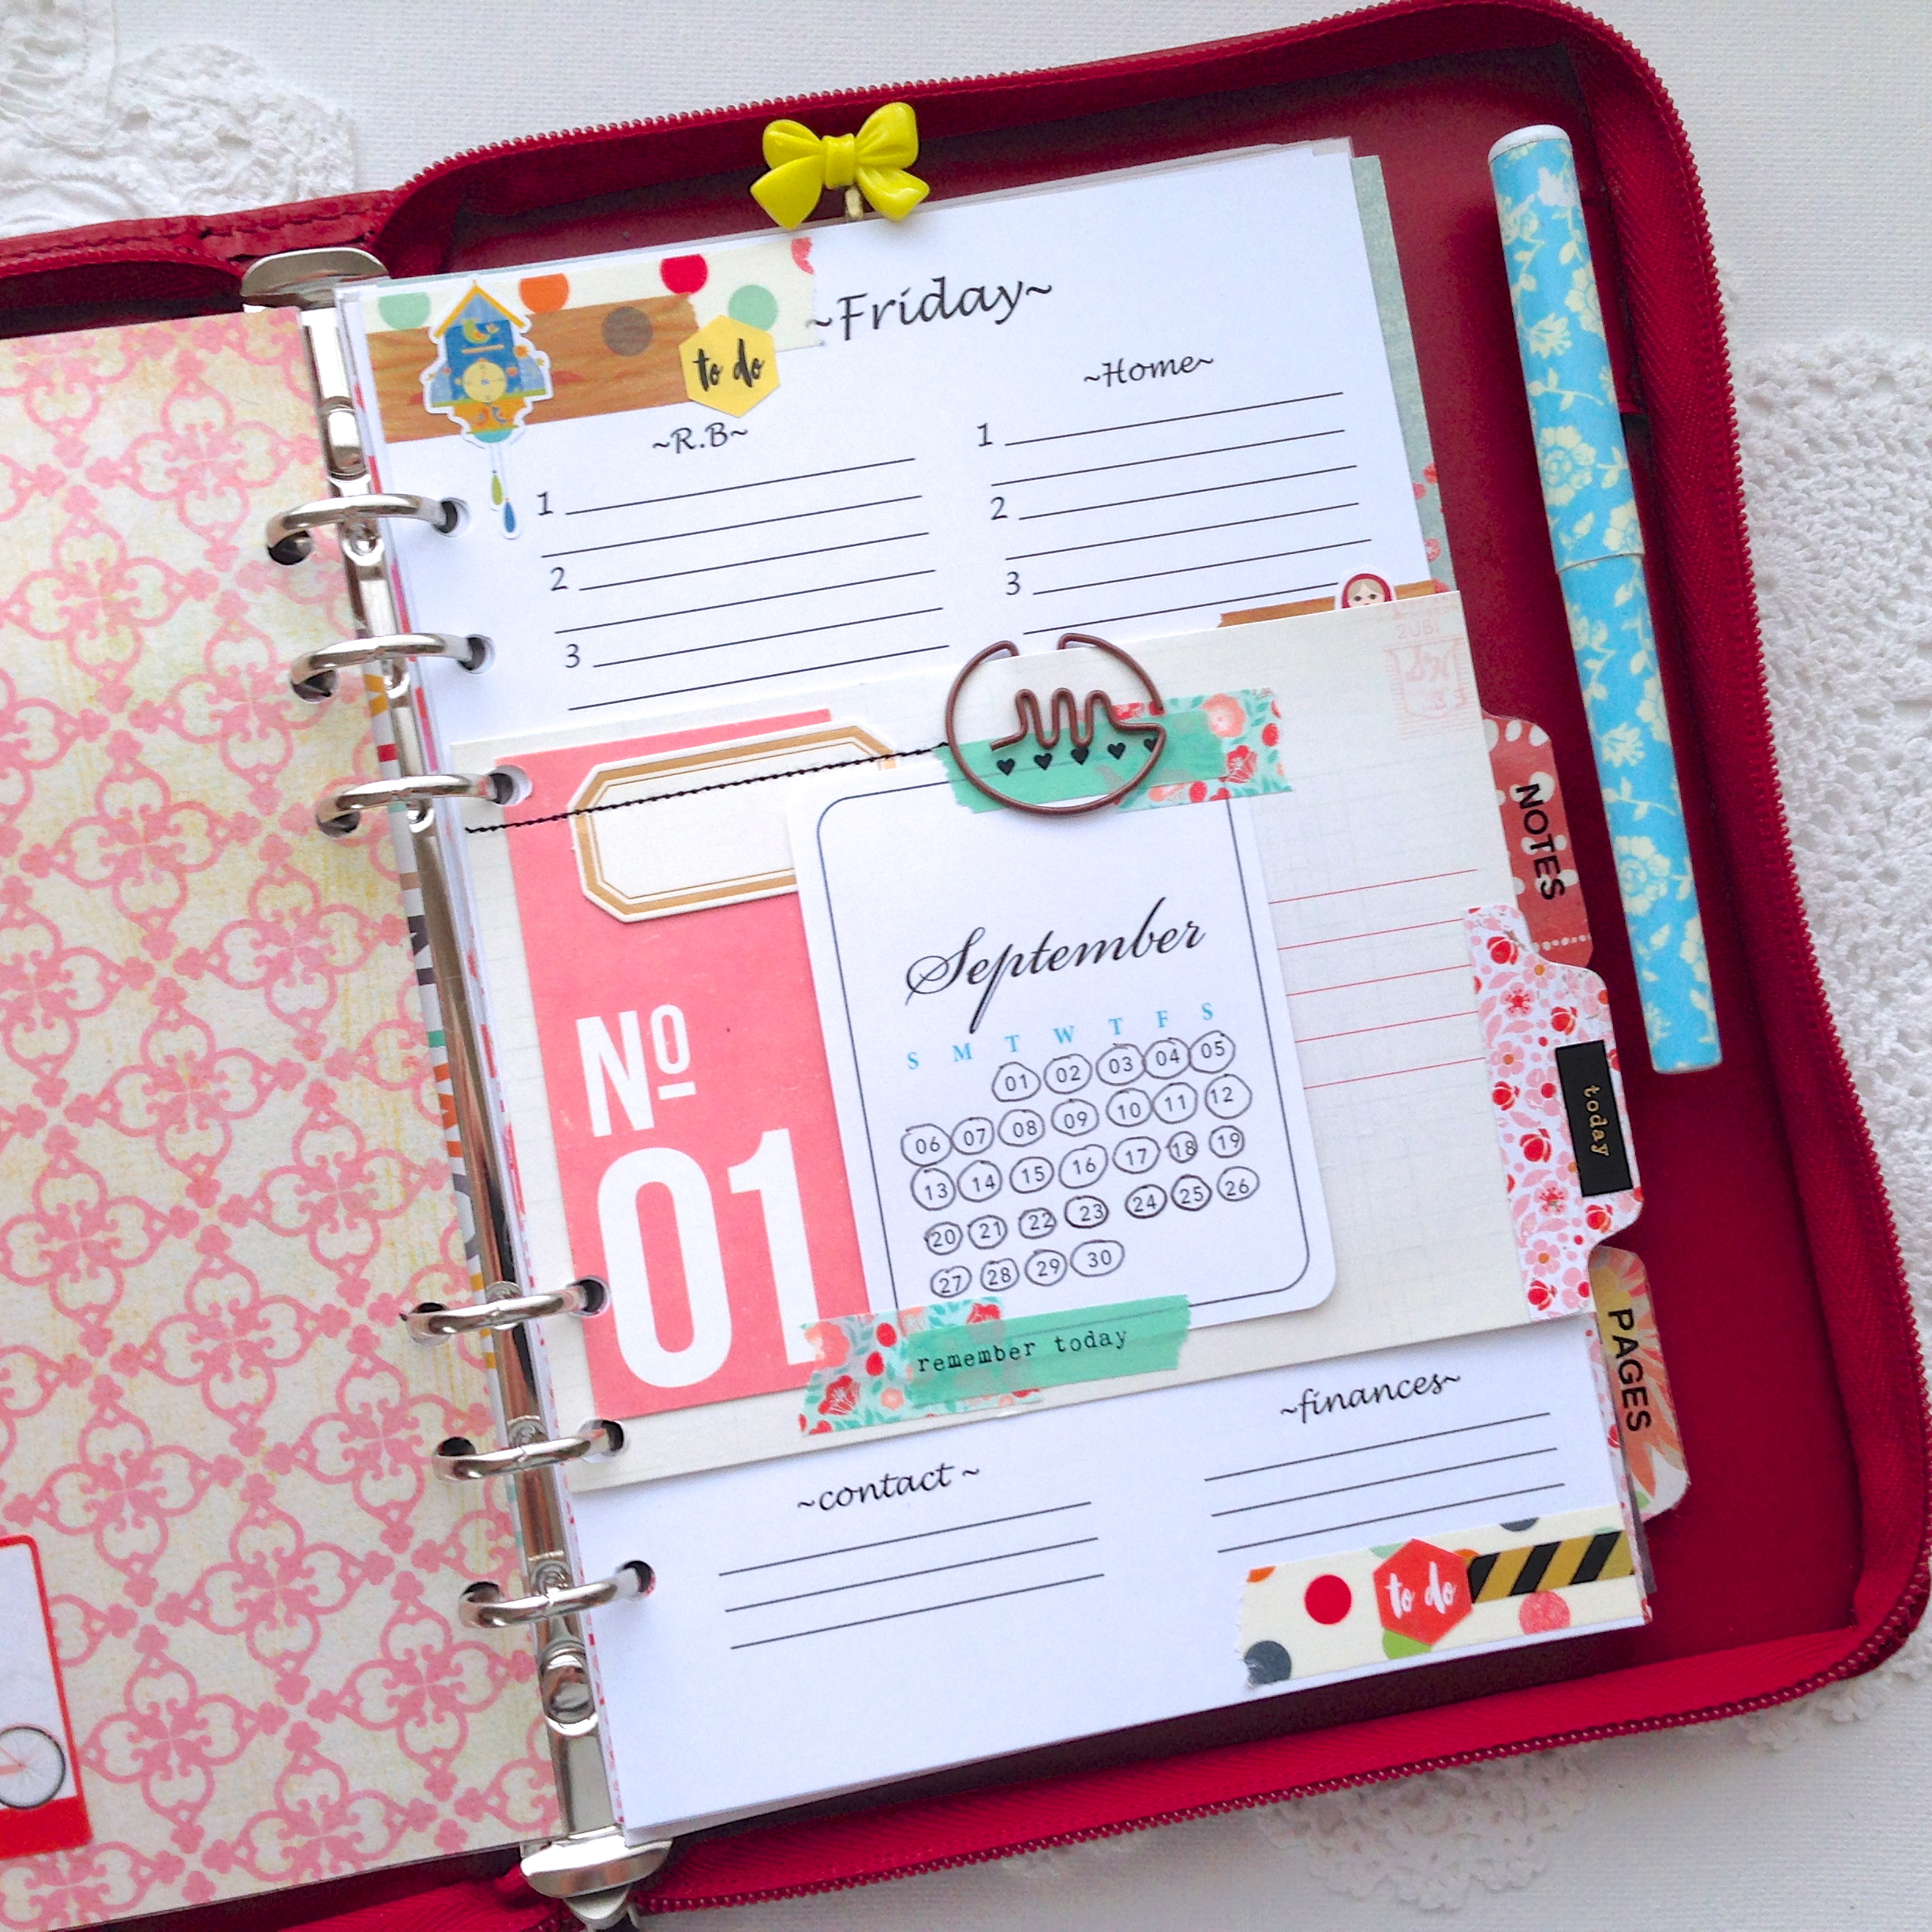
She asked for more lined paper than I usually put in my journals, which is awesome! Adding your writing along with art and bits and pieces of your life is what these journals are all about!

IMG_8392

So, what a wonderful thing to have in my life, a new art journaling buddy! It doesn’t get any better than that!

Thank you for the visit,

See you soon,

~Patty

A Thrifting Post

The first thrifting post on my new blog! The reason why it’s been such a long time , is because I put myself on a thrifting diet. And when you see what I brought home, you may wish I’d get back on the wagon! Eye candy it isn’t!

IMG_8356

A faux wood grain metal box, reminiscent of my childhood. I was obsessed with sewing paraphernalia and office supplies as a kid. I could sit for hours looking through desk drawers and sewing boxes, I still can.

IMG_8359

The largest version of these office items I had ever seen! It’s hard to tell from the photo, but those binder and paper clips are huge!

IMG_8361

I’m starting to get a small collection of random vintage office supplies. I just love the packaging, I don’t know if I’ll ever use any of it, but at least I can keep it safe, probably in my faux woodgrain metal box.

IMG_8365

But this is going on my desk! I’ve decided that I have too much color going on in my art room, and some natural elements might tone it down a bit. Although, faux wood may not count as a natural element in some circles.

IMG_8368

And then, two extremely boring planners. I could’t pass them up for $1.50 each, they’re in great shape too. The one at the bottom is a Pellettieri Fiorentini and as far as I can tell from the inter webs, they make fine Italian leather goods. The black one is “Running Mate” Day Planner.

Well, there’s that. Hopefully, the next time I write a thrifting post it will have real eye candy.

Until then, thanks for stopping by,

Have a great day,

~Patty

My Daily Planner Makeover

I haven’t talked about this planner for quite some time now. It is my “daily” planner, a place that everything goes from my weekly planners. I always have lots of ideas for the week. But, on a daily basis anything can happen to side track what I think I can do. Too little sleep, last minute plans for the weekend, sudden creative inspiration. When these things happen, I want to have the flexibility to rearrange my week, and still get stuff done!

And, since I open this up six out of seven days a week, I thought it could do with a bit of an up-grade.

IMG_9476

I had decorated this one in primary colors to begin with, but now that I’m finding my own personal style in planner decorating, it’s time to change things up!  I love using bright colors combined with muted tones!

IMG_9485

Also, I am finding that I want to use it even more now that it reflects my style. It’s probably very common for all of us to copy other creative styles until we find our own footing, I do it all the time. What a wonderful feeling to find my way home!

I used some retro playing cards to wrap my washi tape around. The flower and “rag” paperclips are a recent obsession, a fun movie watching activity.

IMG_9489

And I’d say this was a pretty appropriate quote to have on my dashboard! I love this awesome paper by Basic Grey with the pretty taupes and bright colors!

IMG_9492

I made new dividers too, post its and such stick better if you laminate the divider. A single sheet of clear contact paper usually does the trick and is a pretty inexpensive alternative to buying a laminator. You can find this paper by Studio Calico at Scrapbook.com.

IMG_9484

I had recently taught myself how to make inserts after working on a commissioned project. I usually purchase my daily planner inserts online, and found them very useful, but really needed them to be more personalized to my needs. So, I thought I would try my hand at making my own.

This is one of those sidetracks I get on to some days that throws my weekly plans right out of the window, and why I have to plan daily! I don’t really need the date on each one,  but it sure is handy to know what day it is, and this mini monthly calendar keeps me on track.

IMG_9480

Finally, there is this handy pocket page. Love this paper!

I have purchased quite a few planners over the last few months, and I do use them, although not as often as I would like to admit. Knowing they all need redecorating, I’m sure they will all start getting used more often. I will be sure to post about them as they each get their make-overs.

Once again, thank you for your time,

Have a great week,

~Patty

(p.s. if I figure out how to make a pdf of daily page, I’ll let you know)

The Neglected Art Journal

Every summer I tell my self that I’m going to work in and finish my “The Sea” art journal. The problem is finding my paint mojo. I’ve talked about this before, sometimes I just don’t want to hassle with the mess and clean up!

Well, I decided to try something new to add lots of color, with out having to paint so much.

IMG_8212

Although I did end up getting out the paints, a lot of that color is from pastels. I have owned a box of pastels for about eight years now. I may have tried them out a couple of times, but that’s it. They really gave my background the depth of color I was looking for!

The biggest difference between this page and the following one is the journaling. I really love how journaling on the page, as the last step, brings the whole look of the page together.

IMG_8222

The first layer is just a wash of light green paint. Then I scraped pastels in green, pink, purple, blue, and yellow on their sides to cover more area. I stamped over that with bubble wrap dipped in aqua paint, let that dry, then added the geometric tissue and pieces of an envelope. When that was dry, I stenciled with gesso and a sea sponge, then went over that with a wash of tinted gesso*. For someone that doesn’t like to paint very much, I sure went to town!

IMG_8215

I usually like to keep it pretty simple, but I was having way too much fun with the pastels and I thought the tissue and stenciling would calm it down a bit. Well, it was calm until I decided to add some orchid paint and spray it with water.

IMG_8208

When that layer dried, I added the images from a vintage book on the sea and some postage stamps from abroad. They kind of stuck out like a soar thumb, so I went over the images and stamps with a coat of tinted gesso*.  As you can see, I still love fussy cutting my images, it makes them seem like a more organic part of the page than just cutting out a square.

IMG_8210

I’m going to need to get used to all that action on my pages if I choose to use this technique. But, I’m willing to experiment until I find my comfort zone!

Let me know what you think, or if you have any questions.

Thank you for stopping in,

Talk to you soon,

~Patty

(*I make my tinted gesso by adding water to white gesso, then adding a little ochre and burnt umber to the mix. When I wash it over my pages, then blot with a paper towel, it tends to calm things down a bit and give the page a more cohesive look.)

Creative Work Space Re-Shuffle

I have been soooo inspired by all the posts on social media this week of creative work spaces, that I thought it past due that I did a bit of a reshuffle. I am a creature of habit, so my redecorating didn’t shift past my comfort level too much, just enough to clean and streamline.

Disclaimer: I realize that many of the photos on social media are of beautiful, modern, and streamlined gorgeousness. But, I obviously don’t roll that way.

Welcome to Kitschy-McColorful!

IMG_8084

Good grief, my desk looks like a hippie van from the 40’s! That is, if there were hippies in the 40’s! The “table cloth” is a vintage sheet. I can’t believe it took  so long to come up with this solution to the smallness of vintage table cloths!

I’m happy to say that I’m using many tools and supplies that have been tucked away for a while. I’m one of those with lots of good intentions when I buy something. I’m the same way with clothes, most things I buy have to age in a cupboard for a bit before I’ll use them…odd.

IMG_8090

The shelves above my desk are in good form! I thinned the plants by one and put the items I don’t use as often up there. I still can’t believe Dottie Angel gave up that pitcher, Love!

IMG_8097

These are my journals in progress. Usually they are strewn hither and yon because of my unorganized ways. This may work for a while. It’s kind of like “If you build it they will come.”

Actually, it’s more like, “If you make space for it, they will make it back…eventually!”

IMG_8102

View right:

Sticky notes, glue sticks, pens, washi, and memo pads.

I use an unbelievable amount of sticky notes and note pads in my world! That tray in the background serves as my “Brain Dump”. Dump being the operative word, I cleaned it up for the photo!

IMG_8105

View left:

Stapler, drawers of paper clips, pencils, pens, and planners.

It may be a stretch, but I’m thinking that having the planners on my desk will work much better than on the floor next to the desk!

I have had that Hobnail vase for many, many years. It is so nice to have it somewhere I’ll see it everyday! My favorite part of the re-shuffle!

Now, I realize this looks very much the same to those that have seen it before. But, I love the changes I made, and thought it would be fun to share.

Once again, thank you for stopping by,

Have a wonderful weekend,

~Patty