Shoppe News and My Best Helper!

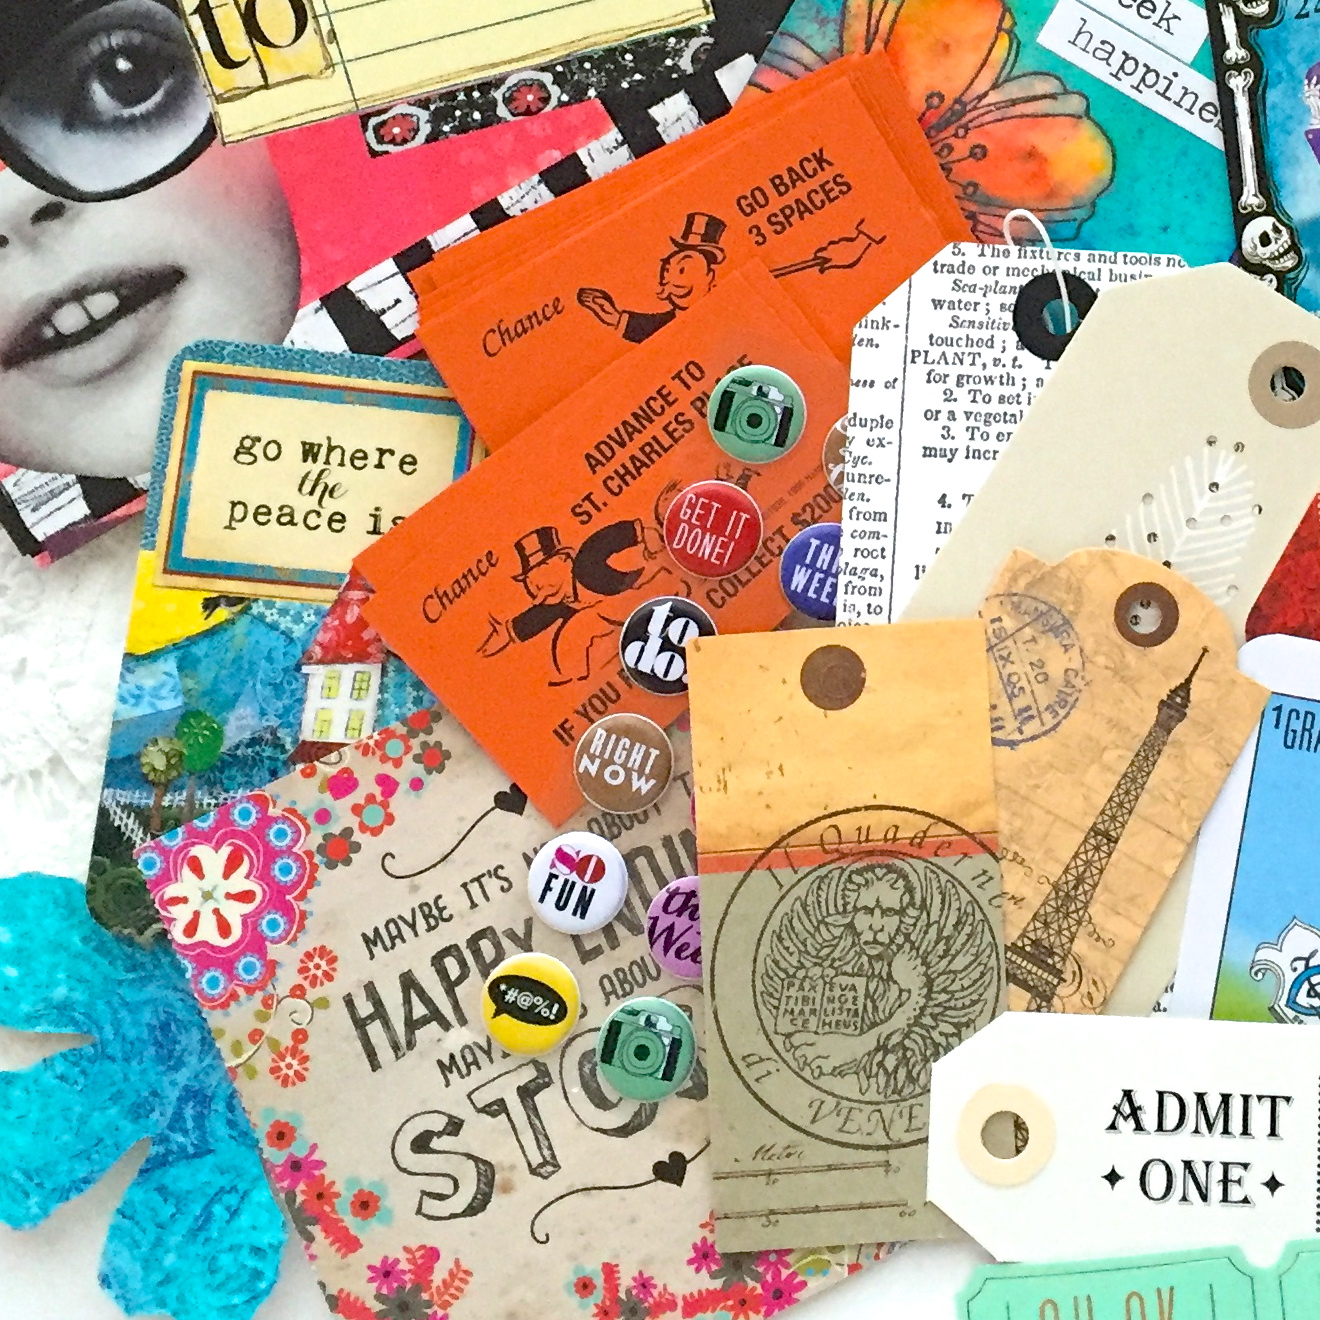
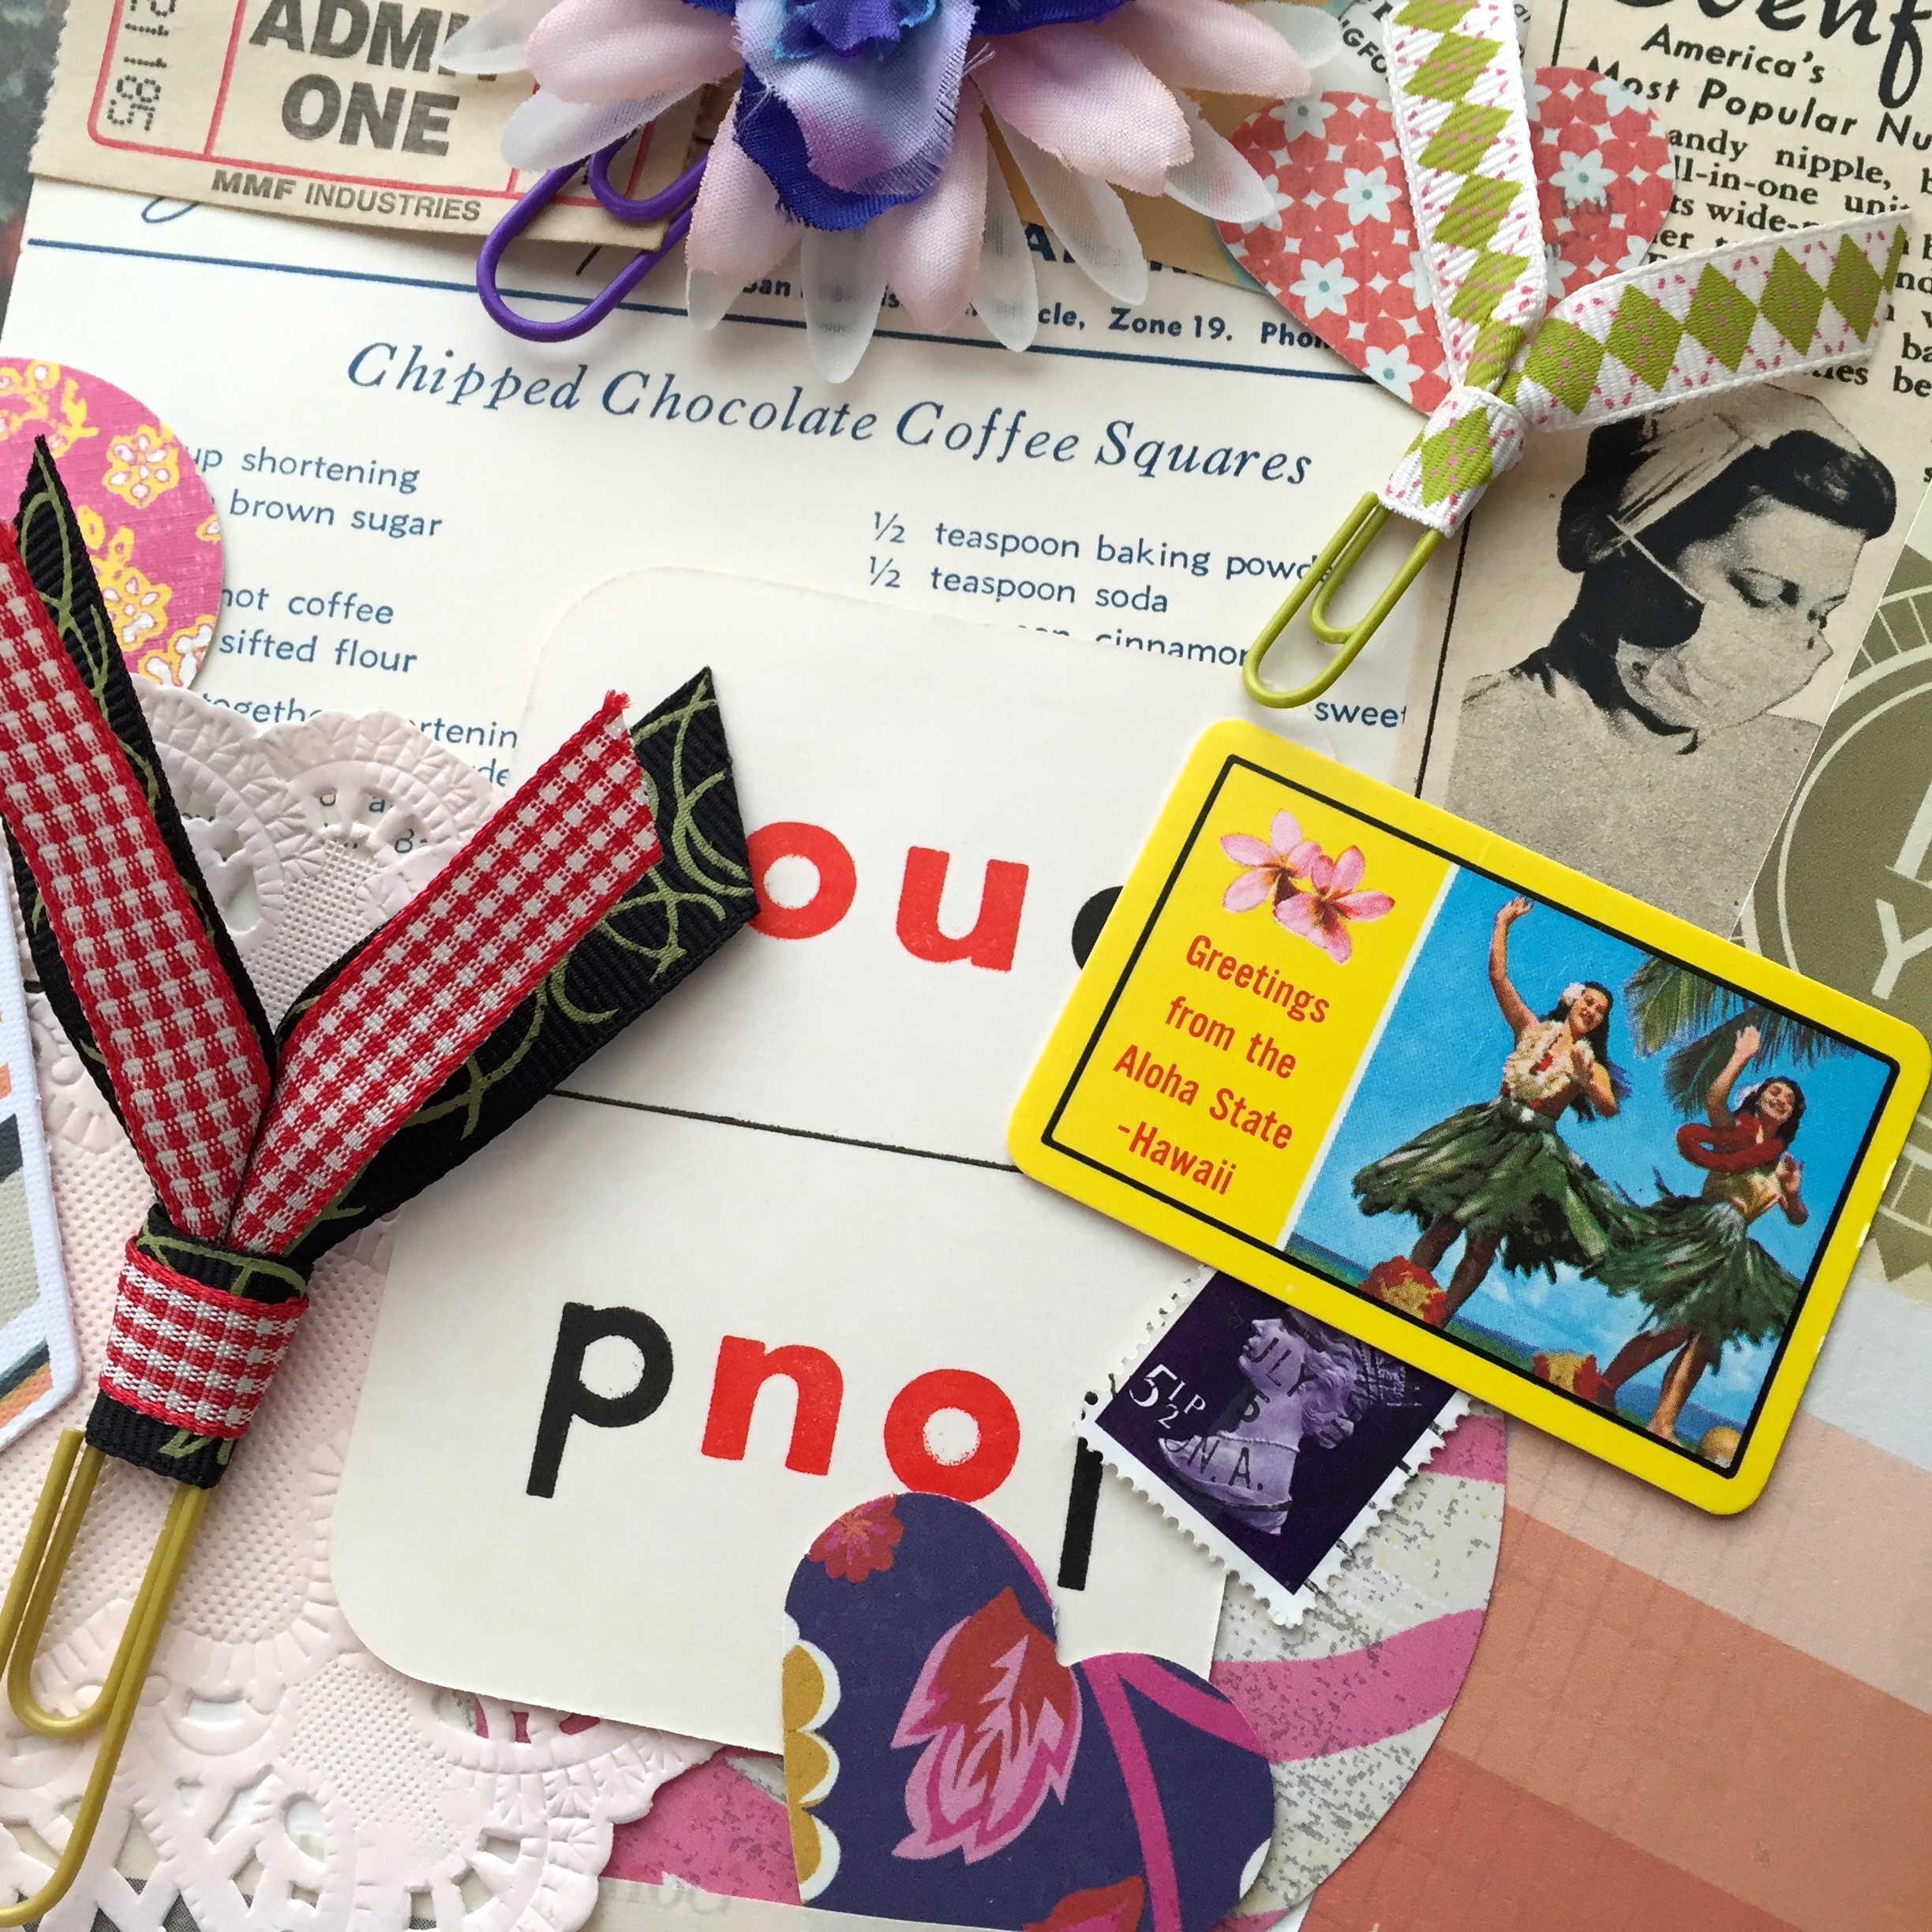
This doesn’t happen often enough, but on the day that I sold the last “Surprise Ephemera Pack” in my shoppe, somebody convo-ed and asked if I sell ephemera packs. Well, far be it from me to let an opportunity slip on by, so I got right to work, along with my trusty companion, and made some more.

IMG_0925

…my trusty companion meaning my niece of course! It was so much more fun to have someone to chat with and bounce ideas off while putting these together.

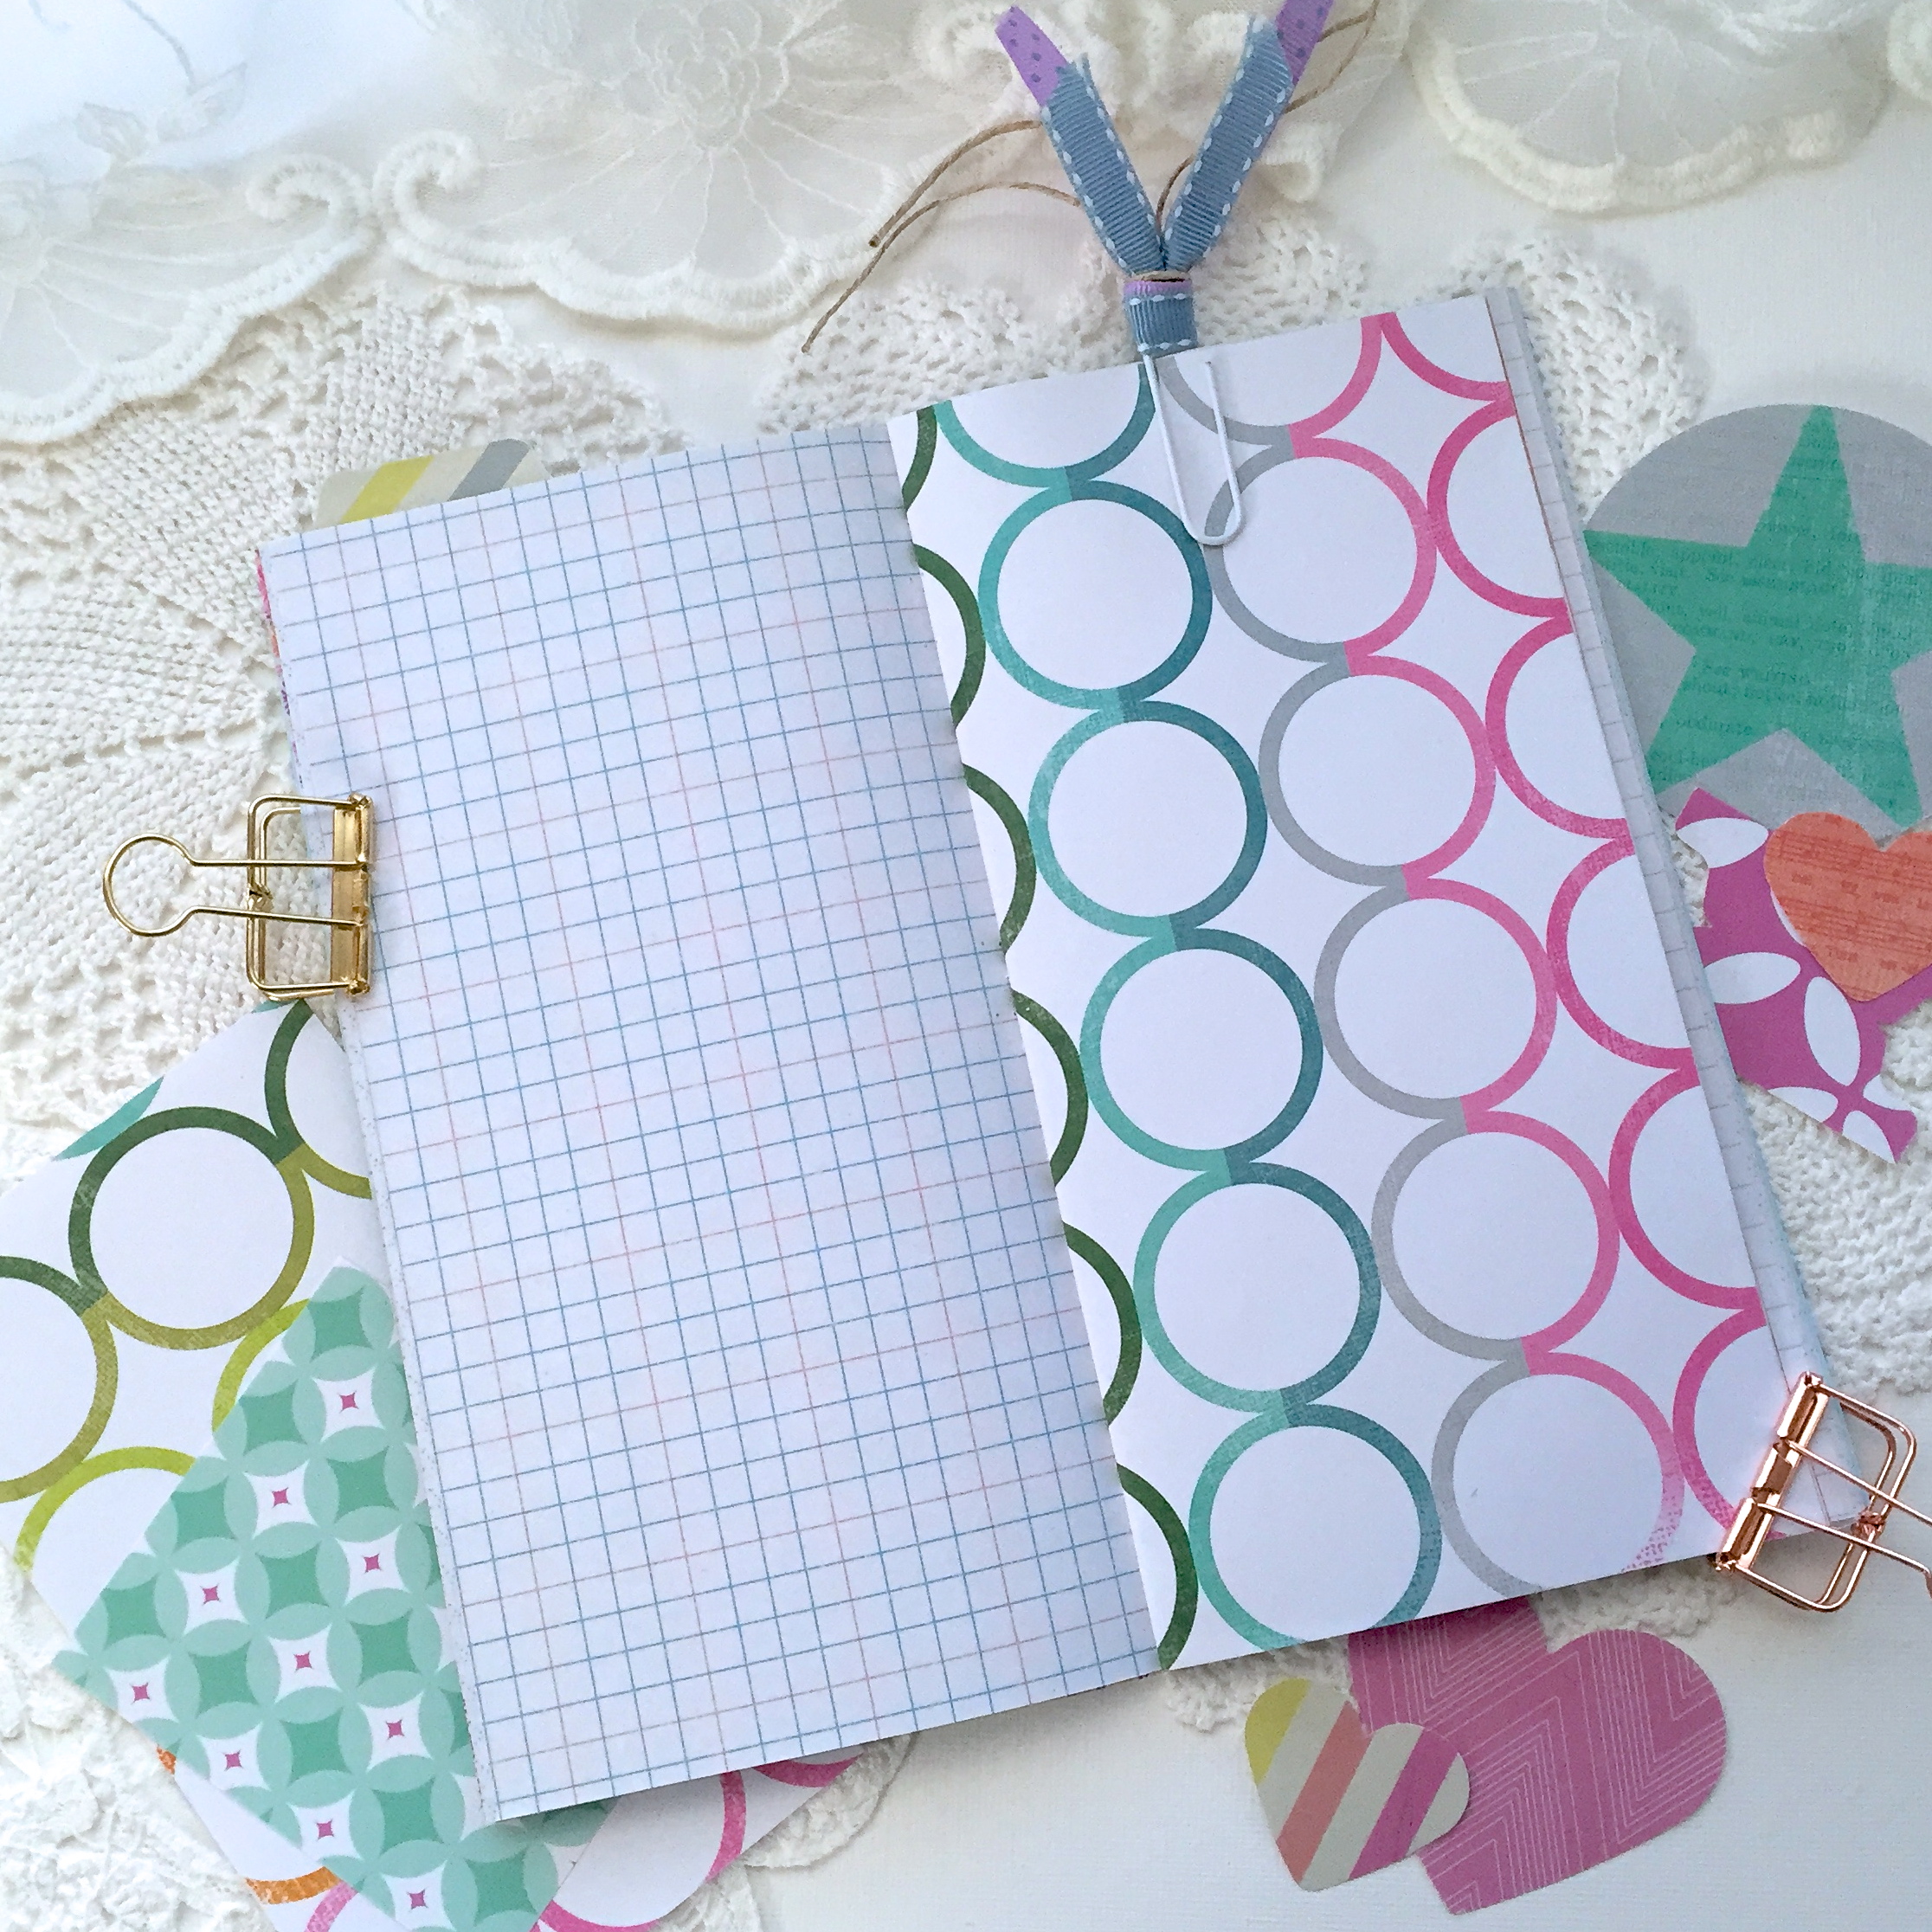
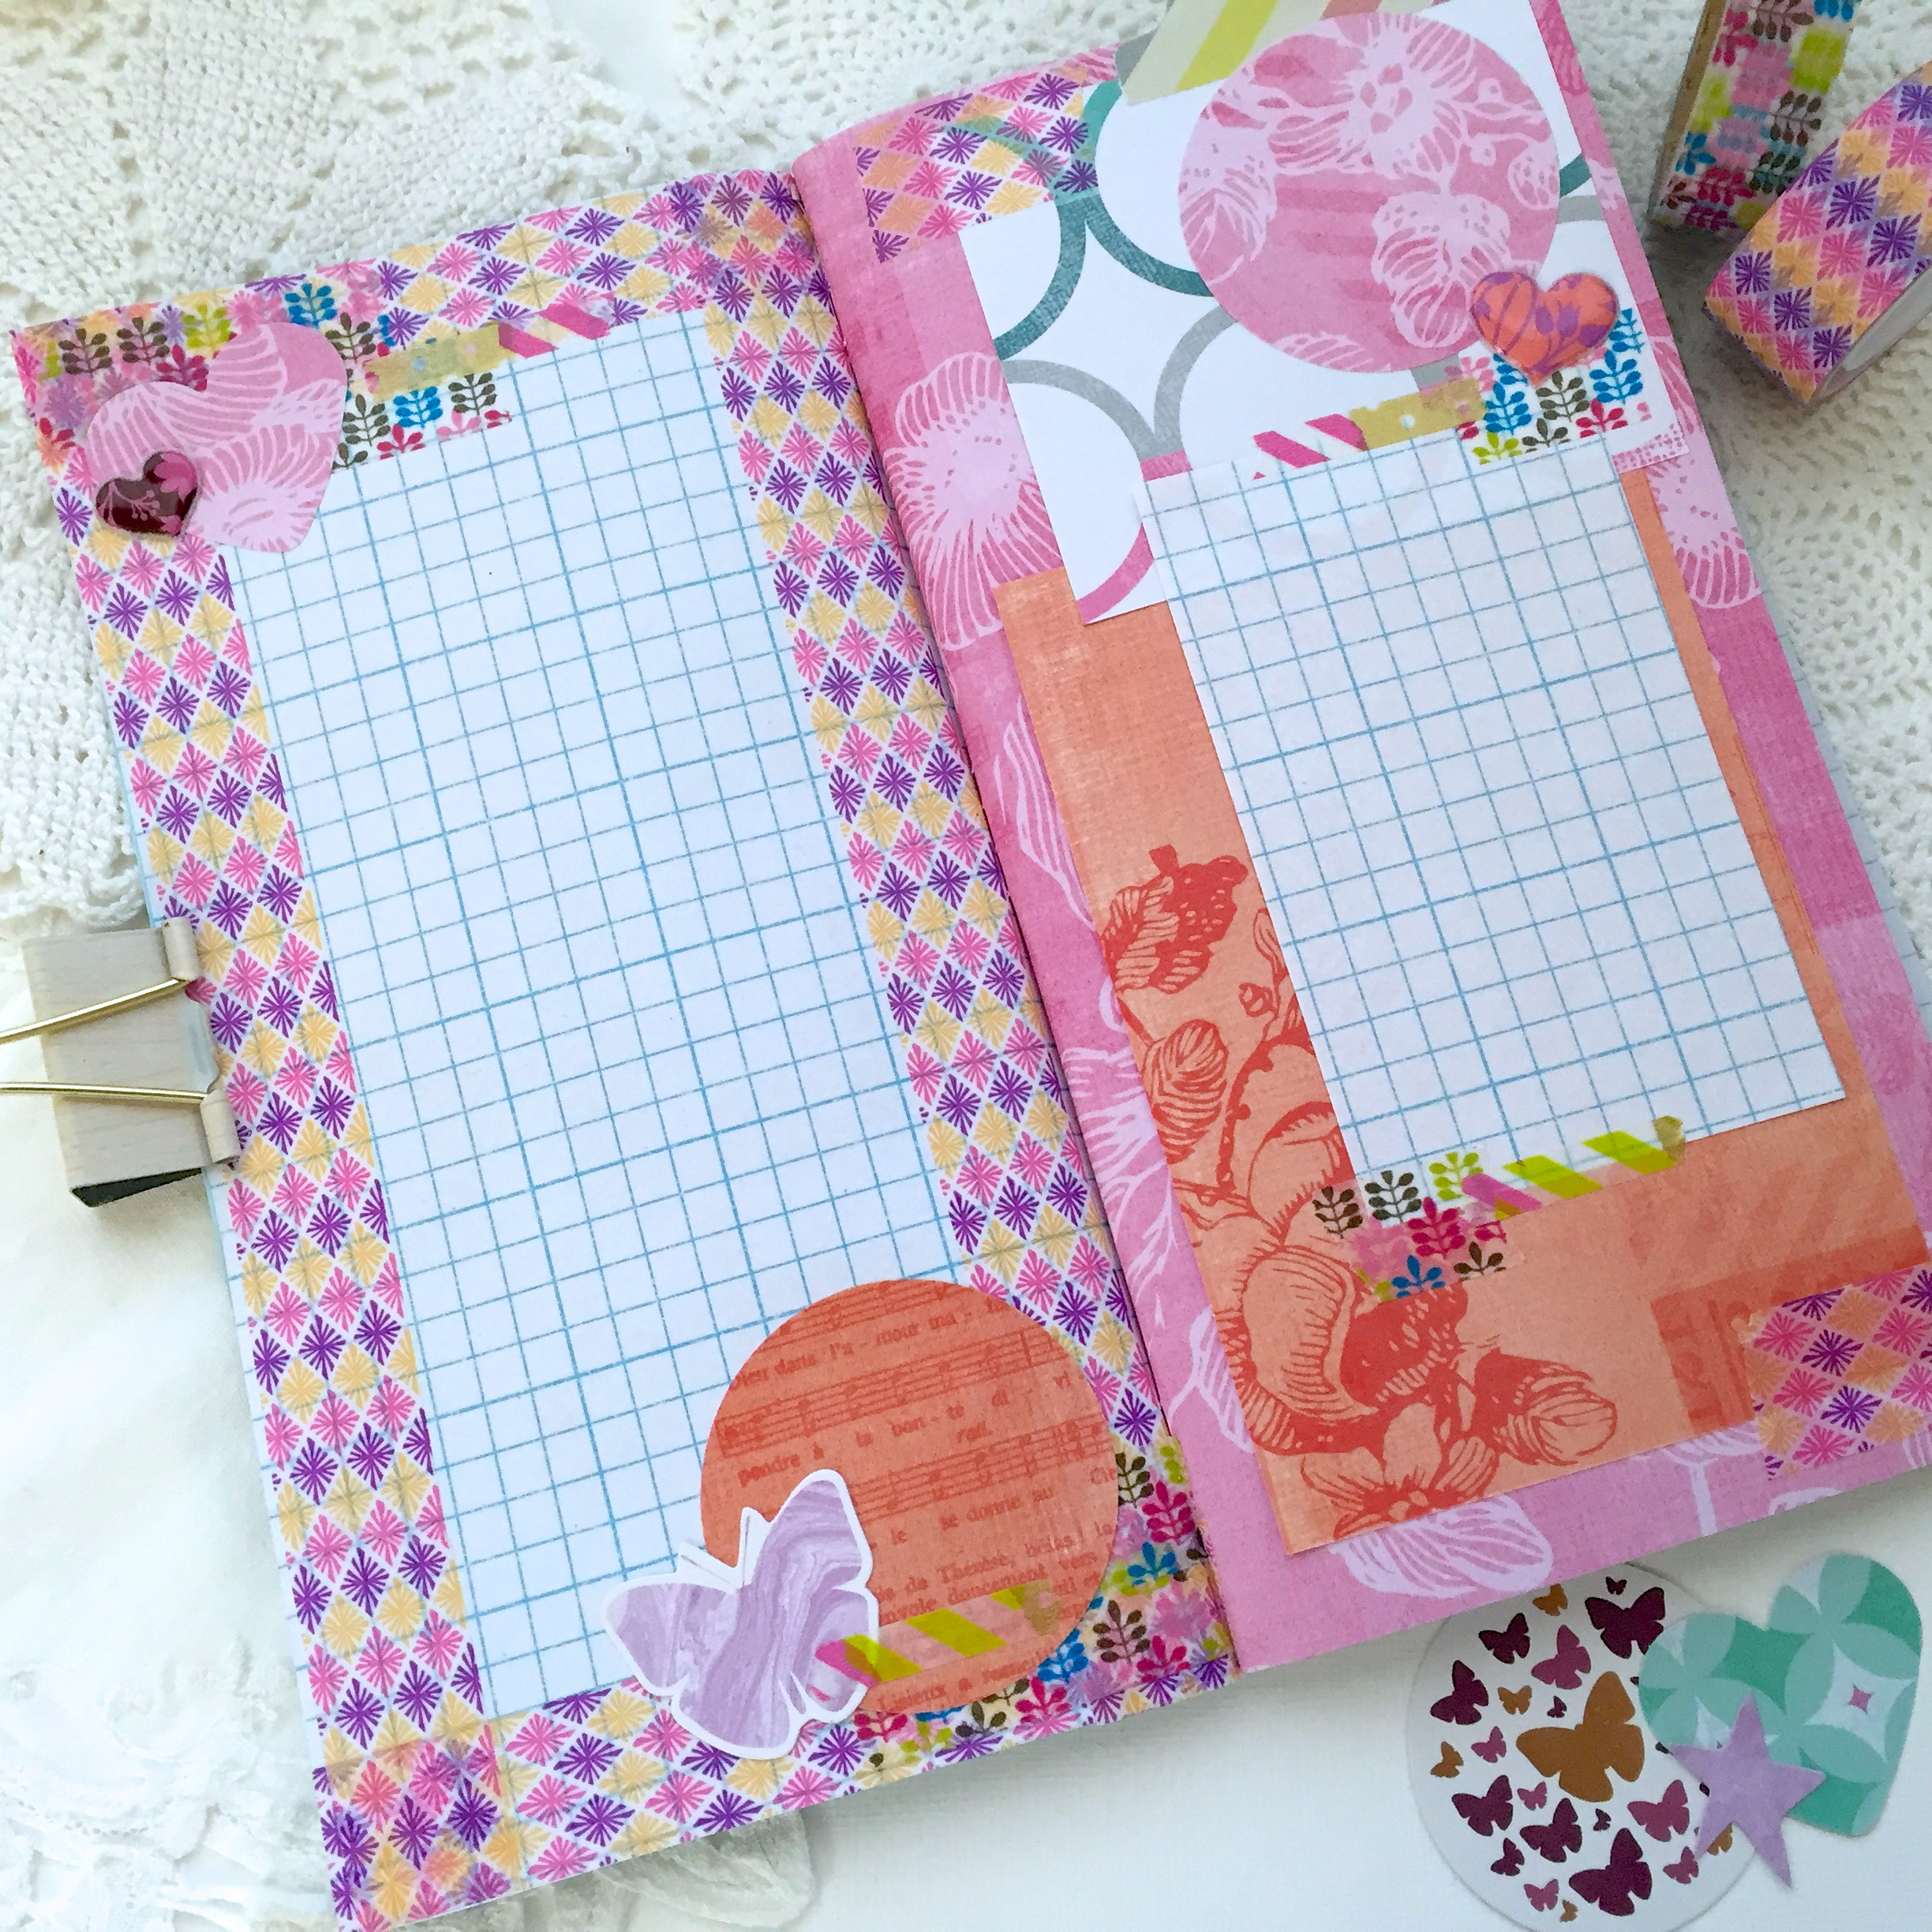
And I have to say that she put some extra effort into making these packs a little more special by trying to match up colors. I can’t say that they are all one color, just a bit closer than I usually shoot for.

IMG_2988

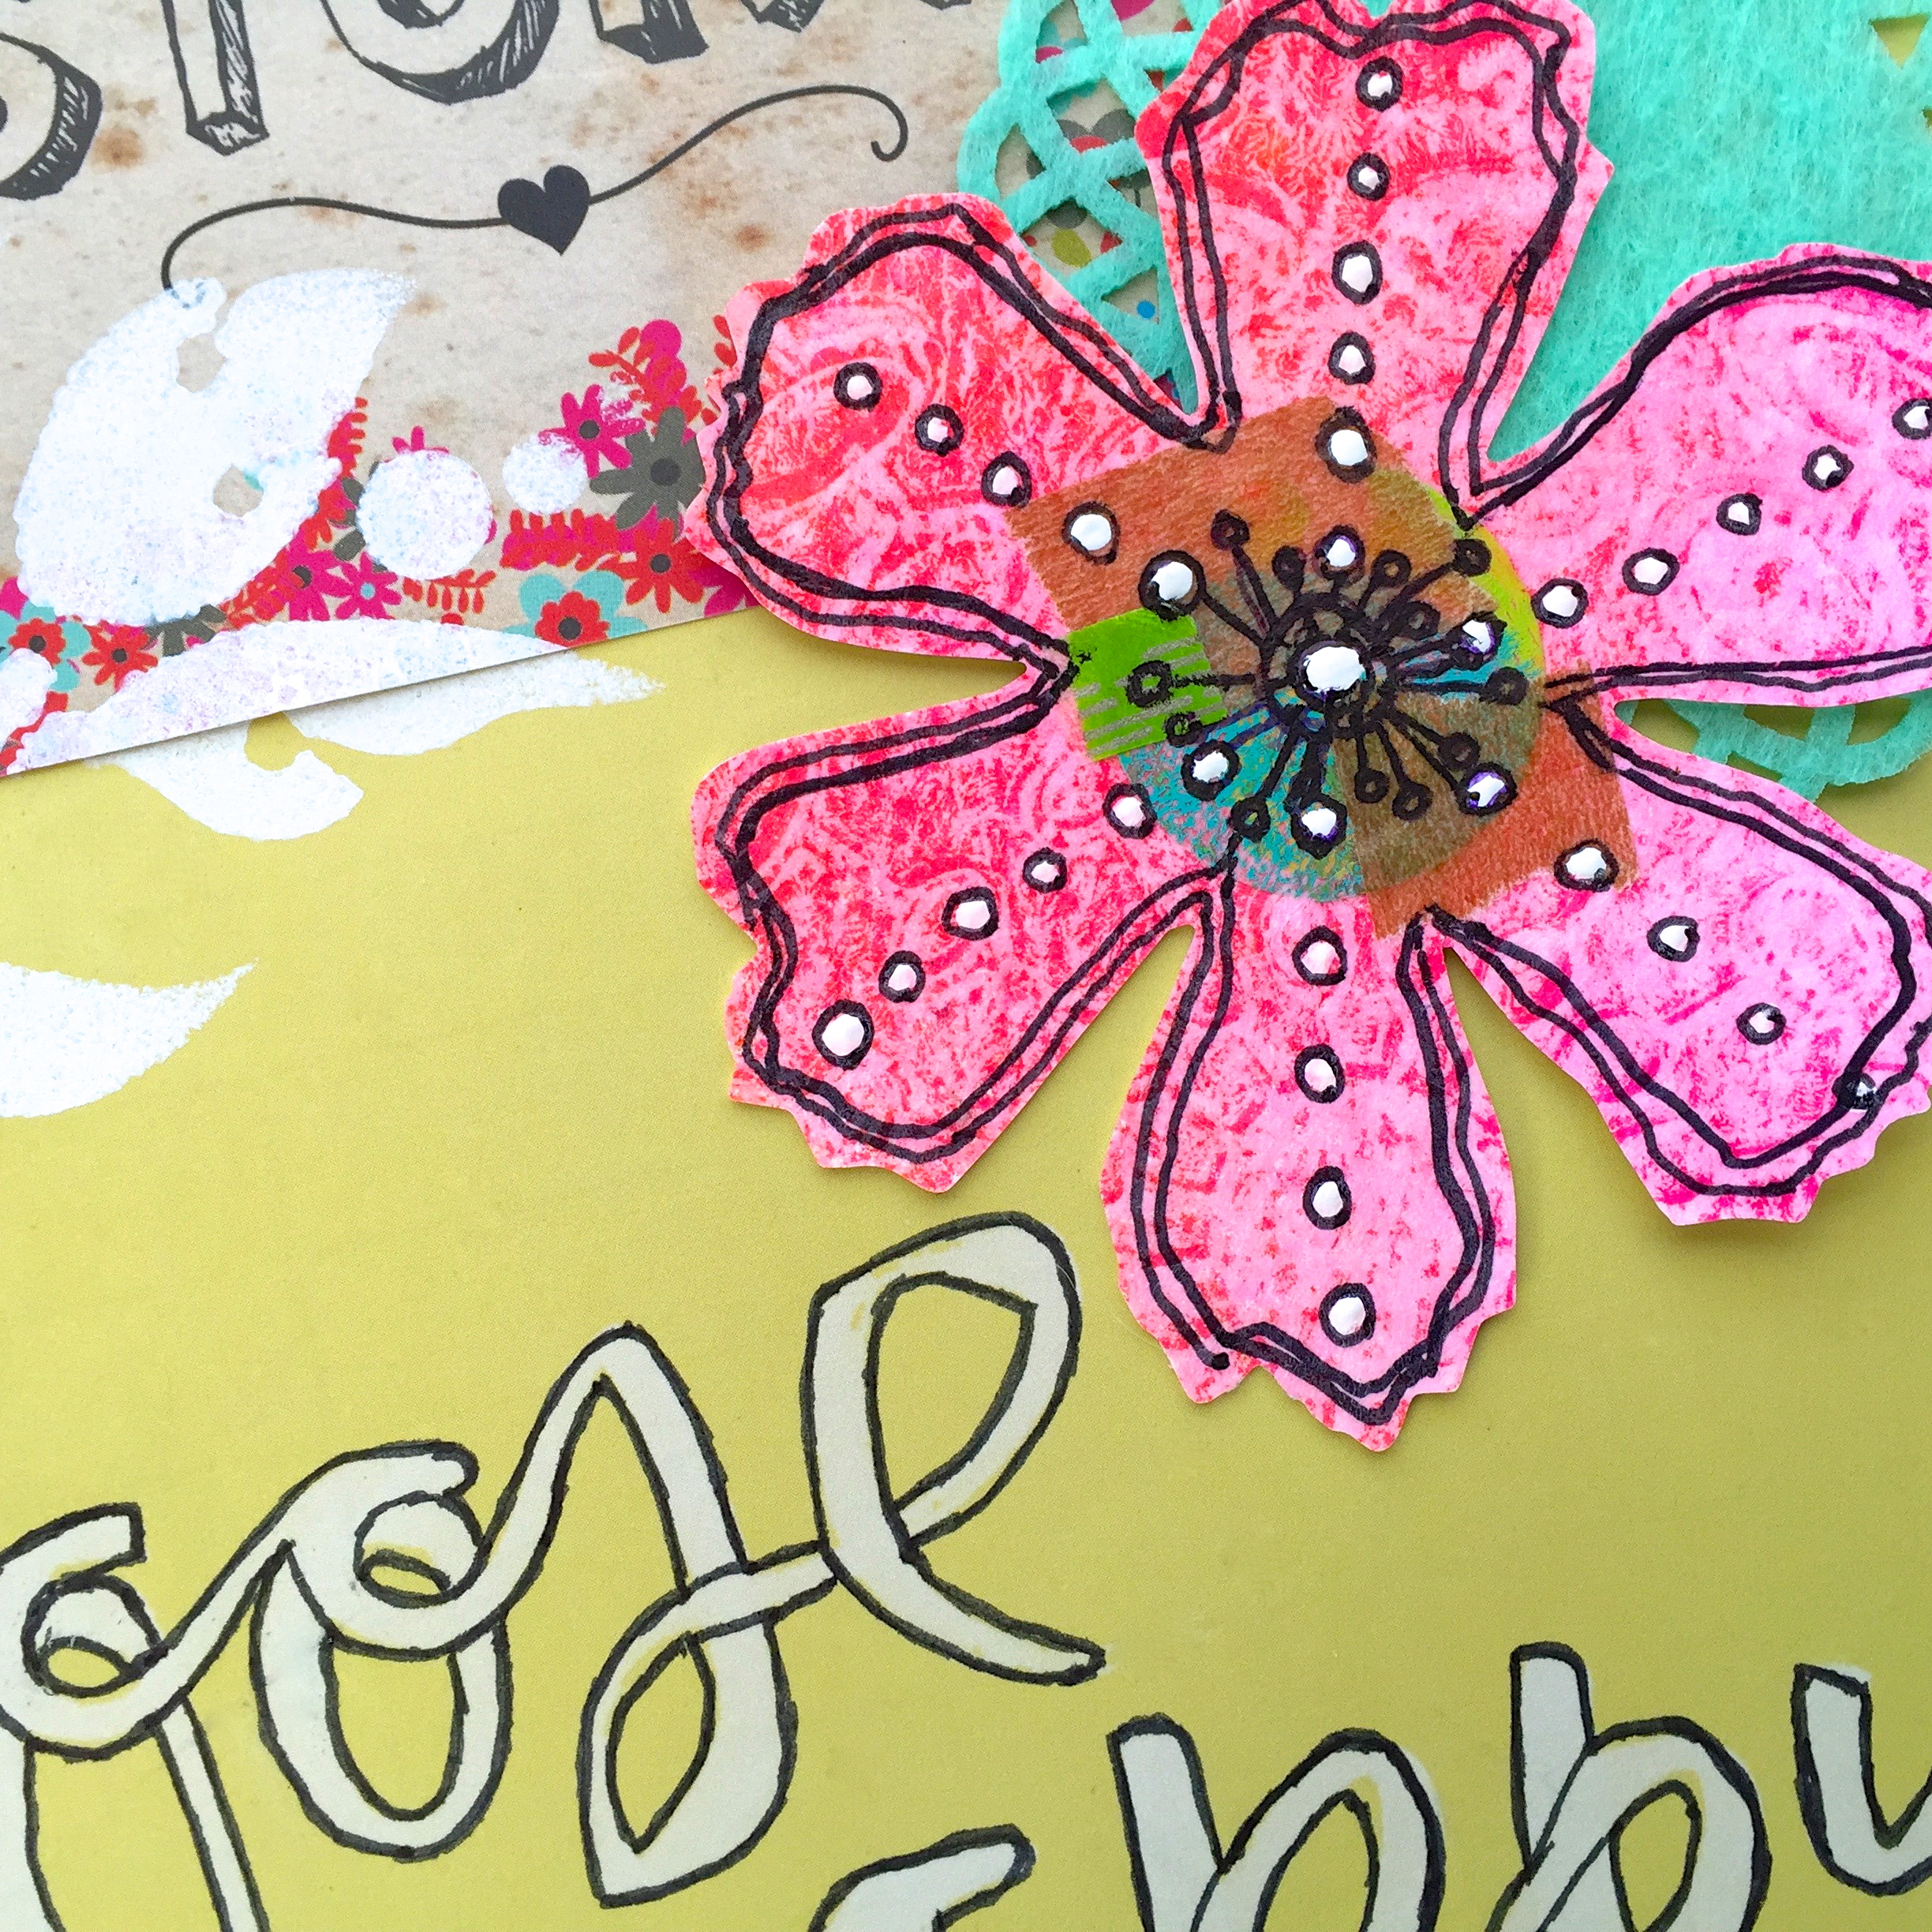
We spent the morning putting together these flower clips to dress the packages up a bit. I’m determined to get folks addicted to these flower clips whether they like it or not!

IMG_2990

While the glue was drying on the flower clips, we set about putting the packs together. I have kind of an assembly line process for these, so I gave her a container for each group, and she distributed them.

IMG_0916

She especially loved reading those joke playing cards as she put them in each basket. They are fishing jokes, so we spent some time trying to figure out what some of them meant. We should have asked my husband!

Well, we are leaving to visit my daughter on the east side today, but we didn’t want to neglect letting you know about the newness, and remind you that tomorrow is the last day for 15% off with the coupon code IMBACK15

Thanks for the visit,

See you next week,

~Patty

Happy Mail Winnings!

Last month one of my favorite artist on Instagram, artandwhimsey, hosted a giveaway. Long story short, I WON!

IMG_0705

Seriously, are you jealous yet!?

I could have done 6 pages with all this gorgeousness, and that’s still an option!

IMG_2591

IMG_2590

IMG_0699

A few close-ups in case your not drooling yet!

IMG_0810

This is the page I came up with. I have decided it’s time to step it up a bit with my pages, so I added some stenciling and doodling.

Belen made that tag on the right, I punched it with my Bind-it-all , clipped the edge, and popped into my journal! Love!IMG_0807

Doodling and I are not fast friends, but an attempt has been made, and I’m ready to take it on!

IMG_2710

An embellished tag with one of the super cute velum, handmade stickers and hand dyed ribbons Belen sent.

IMG_2716

So, there you have it!

If you would like to see some more of Belen’s beautiful work, head over to her IG account, or pop over to her blog: Art and Whimsey!

Once again, thank you so much for visiting my little blog, your visits are always appreciated!

Have a great week,

~Patty

My Dori Insert Makings

The other day, when I’m sure I was supposed to be doing something else, I came up with what I thought was a pretty clever idea. It started when I was about to use an insert I had purchased to do some art journaling in. The kraft colored paper was less than inspiring.

So, I put a think on it, “What would be inspiring?” Scrapbook paper! but, then I’d have to make a space for journaling. Graph paper! but then I’d have just a bunch of lines, not much more inspiring than the kraft paper.

So, I came up with this…

IMG_2669

How about printing graph lines onto the plain side of scrapbook paper!?

And here is how I did it…

IMG_2642

First, I chose some pretty colors of one-sided, thin scrapbook paper. The package didn’t say the weight, but I’m guessing about 24 lb., slightly heavier than average copy paper.

Next, cut them down to 8 1/2″ x 11″, so that they will fit into your printer.

IMG_0741

I purchased the pdf for this graph paper from One Little Penguin on Etsy for $4.00, can you say “Bargain”!

I set my printer to “borderless 8 1/2″ x 11” and hit “fill entire page” to completely fill the paper up.

IMG_2651

These are the tools I used, a ready made insert to get the right size, a cutting mat, a rotary cutter, a ruler, a bone folder, a long arm stapler from Amazon, and a brayer to get the crease nice and flat.

These tools are mentioned in the Youtube video I watched to learn how to make these. The link is *here* if you want to take a look, there are lots of videos on how to do this if that one doesn’t tickle your fancy.

IMG_2654

Once the inserts are made, you can use the leftovers to make matching ephemera! I ran some plain copy paper through to make matching graph paper for journaling pieces.

IMG_2666

See all the mixy-matchy! I added a few store-bought ephemera pieces and stickers too, how fun is that!

IMG_0765

It doesn’t take very much time or effort to get some page spreads ready for journaling and decorating! Stickers, stamping, more washi, and journaling, these pages fill up fast and look fantastic!

 I have already filled these two page spreads out, so it’s time to get some more done!

Thank you for stopping by,

Have a great weekend,

~Patty

Dori Making, Faith Journaling, and Expectations

In the midst of getting ready to drive over the mountains to spend Easter with my daughter, I decided I needed to take on learning how to make a “Fabric Dori”, to keep my faith journaling inserts in. You see, I had ordered some Illustrated Faith inserts a couple of weeks ago, was expecting them any day, and I wanted to be ready!

Well, it may sound strange hearing this from me, but I have been questioning the amount of time I spend on my creative pursuits. Thinking about them, planning them, buying supplies, then talking about them on social media. You can imagine how patient my husband must be! But he fishes, a lot, so let’s not go there…

IMG_2583Anyway, the inserts of course arrived when I was gone, but I had printed up some freebie downloads, and glued them in an insert I already had. That was all I really needed.

IMG_2638

When I got home, there was a gorgeous pile of Happy Mail waiting for me! So, I set to filling this Dori with Faith Journaling goodies!

IMG_2639

The insert on the right is a plain kraft paper one I’m going to use to art journal in. The one on the left is an Illustrated Faith insert from the “Beautiful” devotional kit.

Now to the expectations…

or lack there of…

IMG_2629

The first page in my I.F, “Created to Create” insert. When I read through it the first time, I didn’t know what to say. You see, I’ve been referred to as an artist in the past, I just don’t see myself as one. Maybe I have a different idea of what an artist is. All I know is, I feel a lot more comfortable with the label “Creative”, so let’s stick with that.

The most wonderful thing I realized after working on this page spread is that I don’t have to feel guilty about the amount of time I spend creating! My creativity runs throughout my life, my cooking, decorating, gardening. In a nut shell, I live a creative life! It truly is a gift from God!

So, no more guilt! (I hope!)

Thank you once again for stopping by,

Have a great day,

~Patty

Wilhold Keepsake Journal Love

In a previous post, I spoke at length about finding a Wilhold sewing box just like my mother used to have, which you can read here.

IMG_2184

Isn’t she lovely!

It didn’t take long to figure out the perfect project for her to hold.

IMG_1930

My Keepsake Stitched Journal project!

IMG_1926

A tray of stitchery goodness!

IMG_1933

With plenty of room for embellishments at the bottom!

IMG_1488

My journal is made up of projects collected through the years made by my great grandmother, myself, and my daughter, with trims and embellishments from my mother and grandmother. Five generations of stitching love in one place!

In this photo, from bottom left going clockwise, an embroidery my daughter did when she was about 10, an embroidery I started when she was a baby, handkerchiefs from my mom, and lastly, the cover made from a quilt by my great grandmother. My grandmother’s contribution will be in the form of bits of jewelry, she was a bit of a glam girl, maybe some photos of her too!

IMG_1497

My first finished page. I made the pages from linen sandwiched with thin quilt batting. Then closed it off with a blanket stitch all around. The linen is gorgeous to work with and makes a beautiful background for lots of stitching.

The above is an embroidery that I made many years ago that has had too many incarnations to remember. It’s nice to finally have a home for it.

IMG_2177

A page in progress.

I have no intentions of rushing through this project, I want it to be just so. I hope to pass it along to my daughter some day, because I know she will love it.

I’ll be sharing my progress over the next few months. I’m open to any suggestions on resources or ideas, so be sure to let me know of any you might have in the comments. They will be very much appreciated!

As always,

Thanks for dropping by,

Have a great day,

~Patty