A Happy Mail Surprise!

I received this lovely Happy Mail last month, but it has been a crazy couple of months, so I’m just getting around to sharing it! I love getting things in the mail, especially when they are so wonderfully thought out, as to fit my style!

Vintage beauty and colorful kitsch, need I say more? Of course I do!

IMG_0099

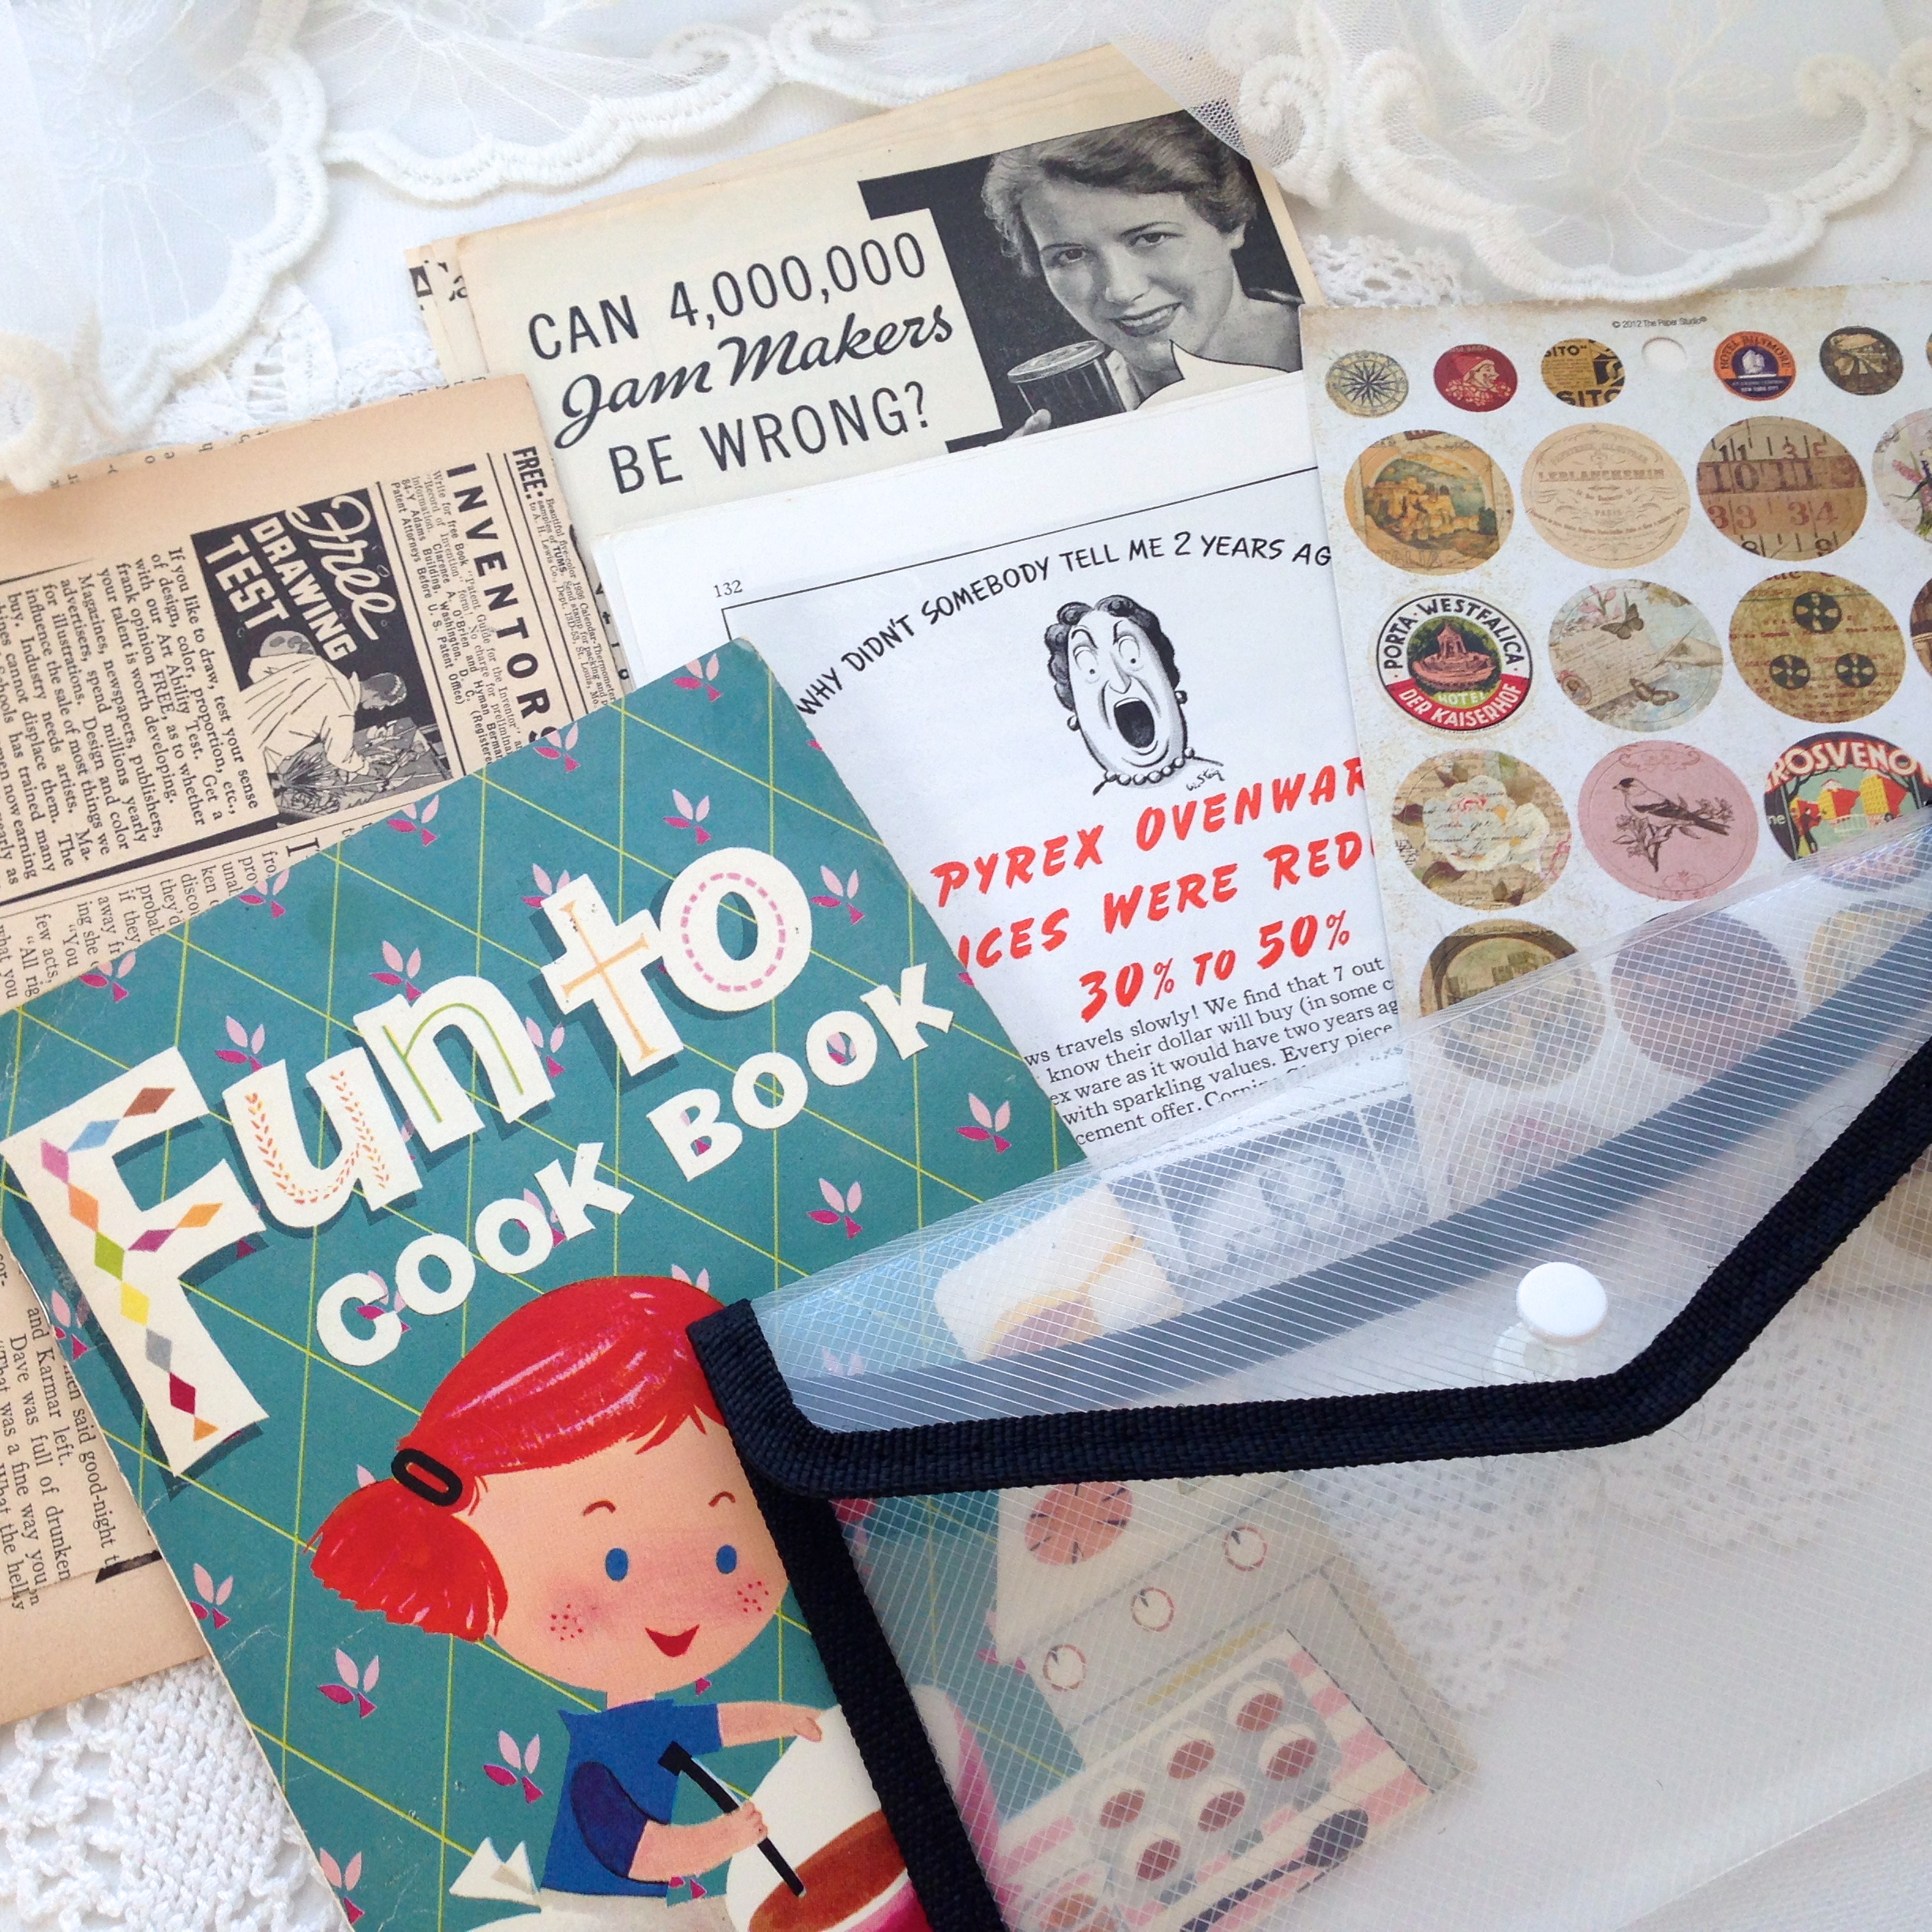
These are from the wonderful Jenny. They were all lovingly wrapped in kraft paper with their sources written on them and accompanied by several thoughtful notes and letters! Treasures indeed! Thank you Jenny, I can’t wait to use them! That whole “Why didn’t somebody tell me 2 years ago, Pyrex ovenware is 30% to 50% off!” rocks my world! I totally feel her pain!

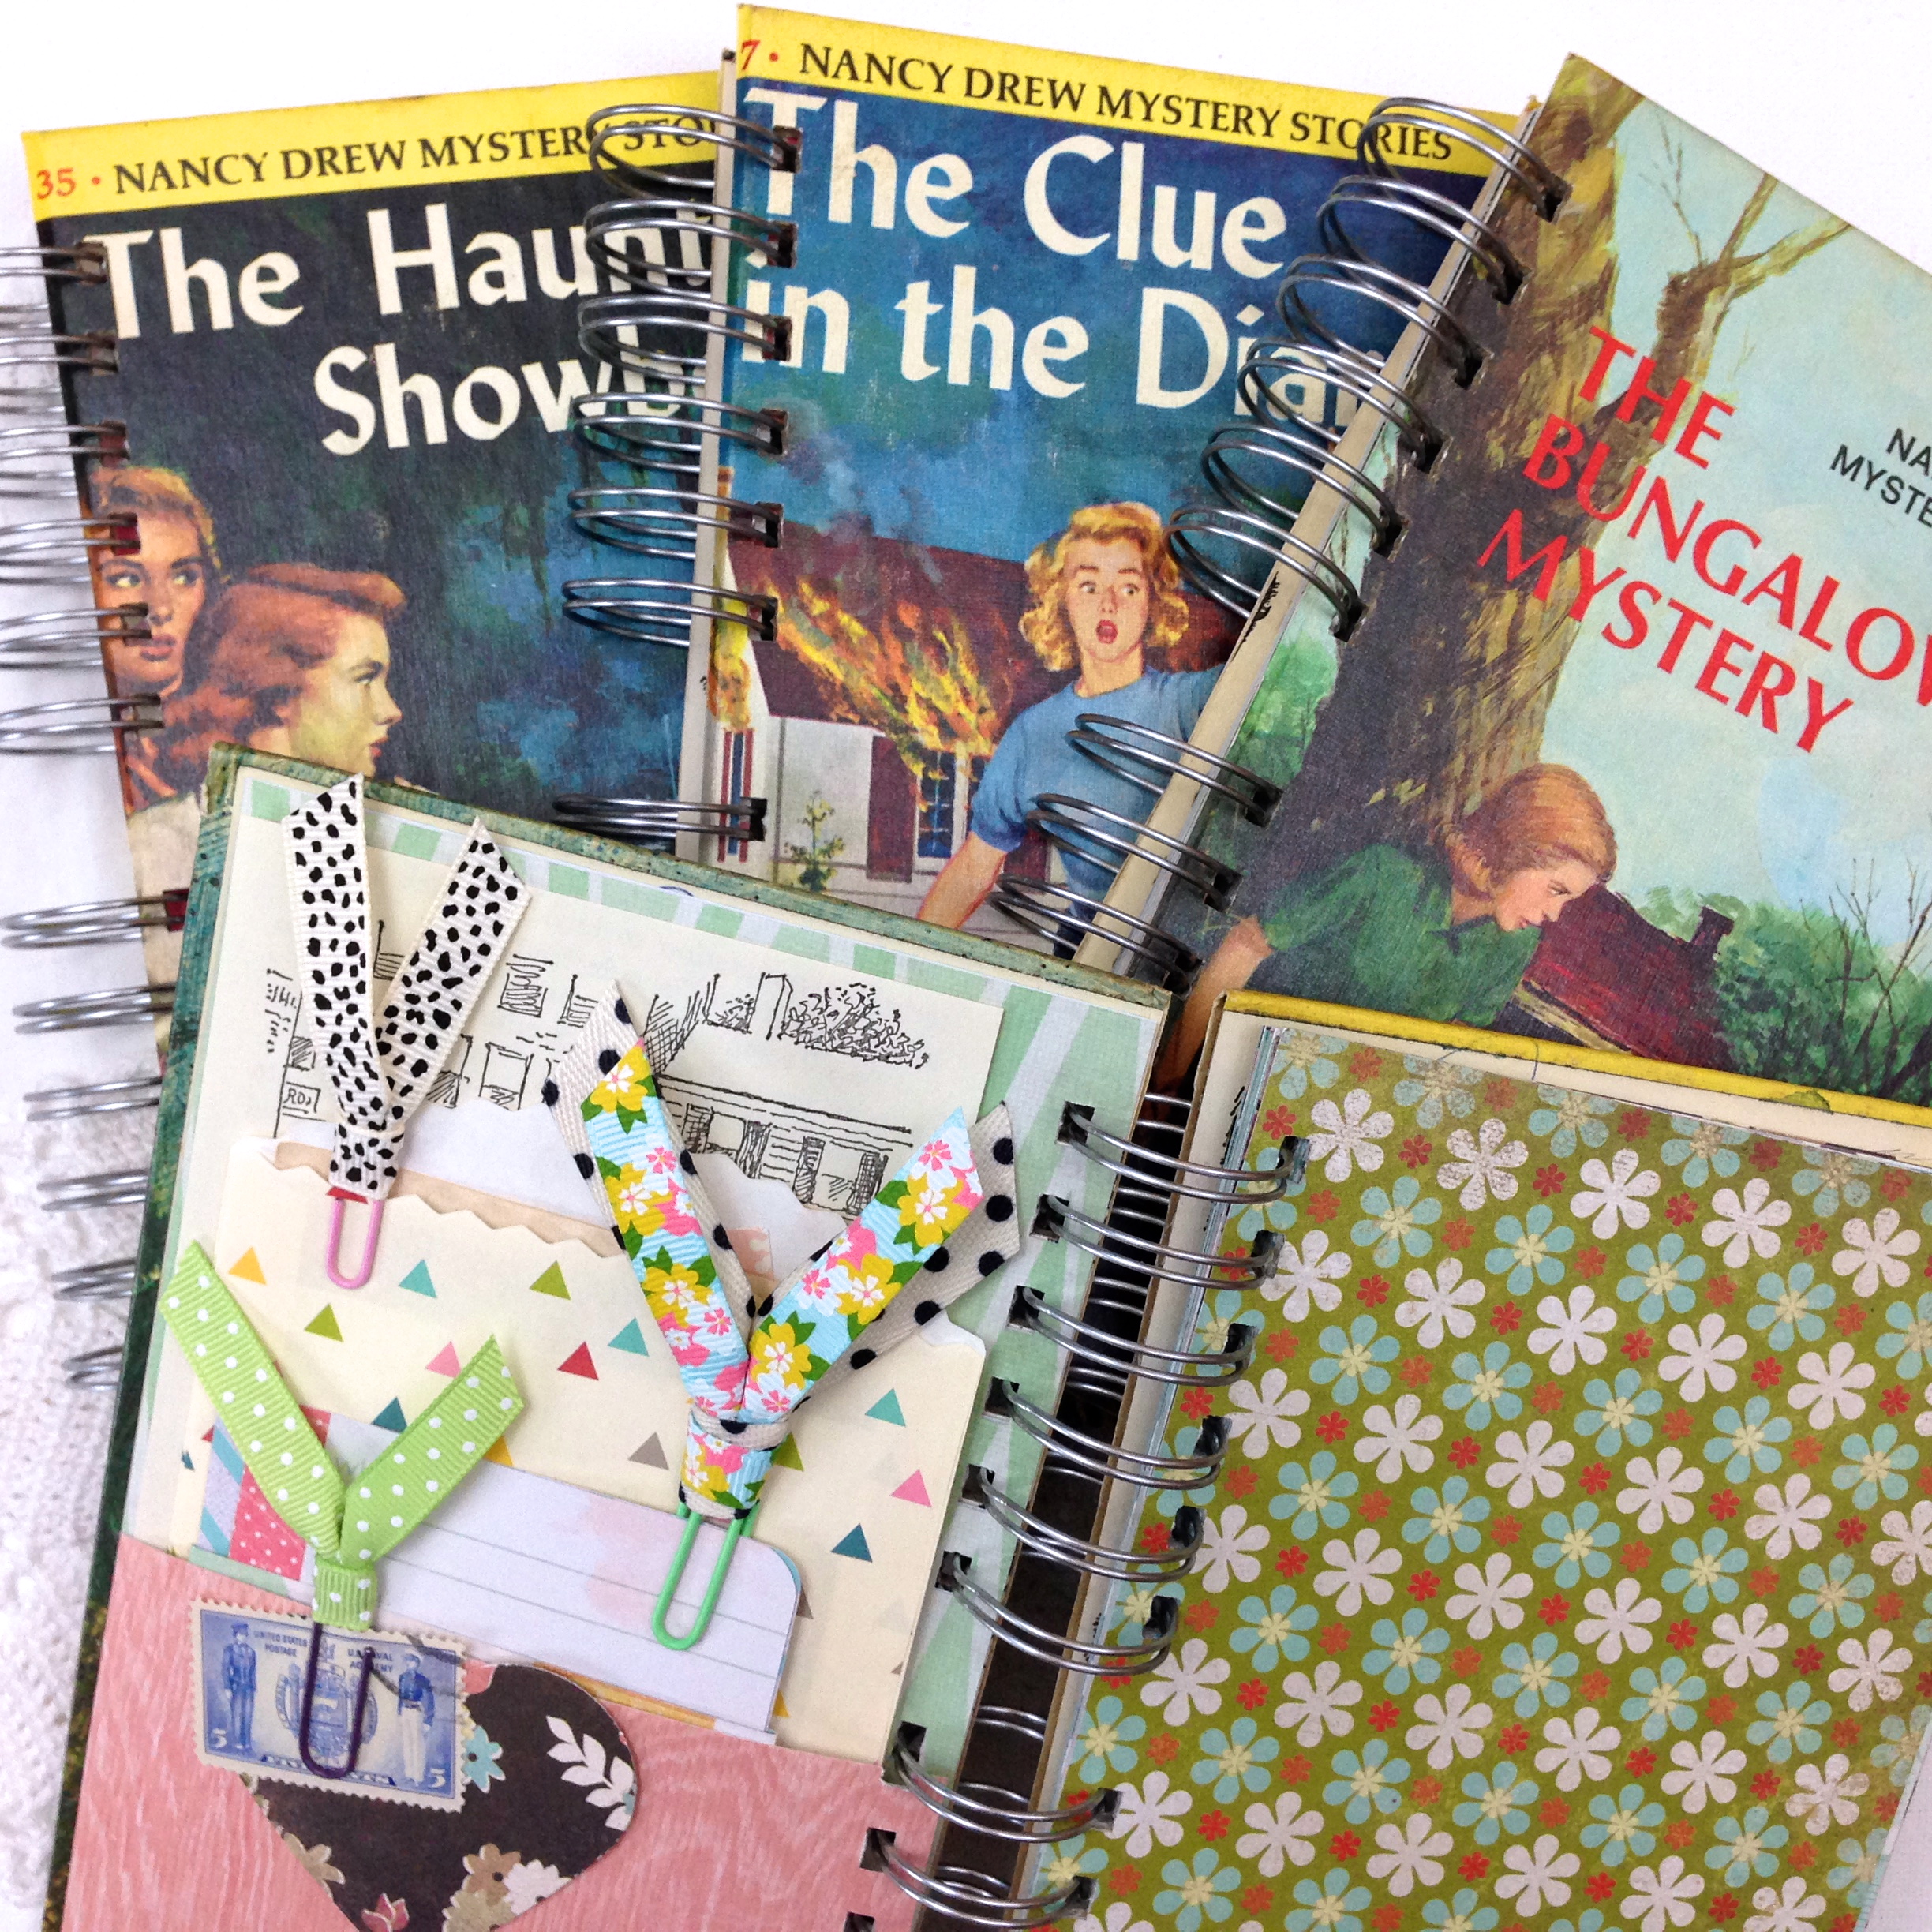
I may leave the children’s cookbook as is and use it as an art journal!

Those stickers already have a special place in a particular journal I plan to share very soon!

IMG_0101

IMG_0102

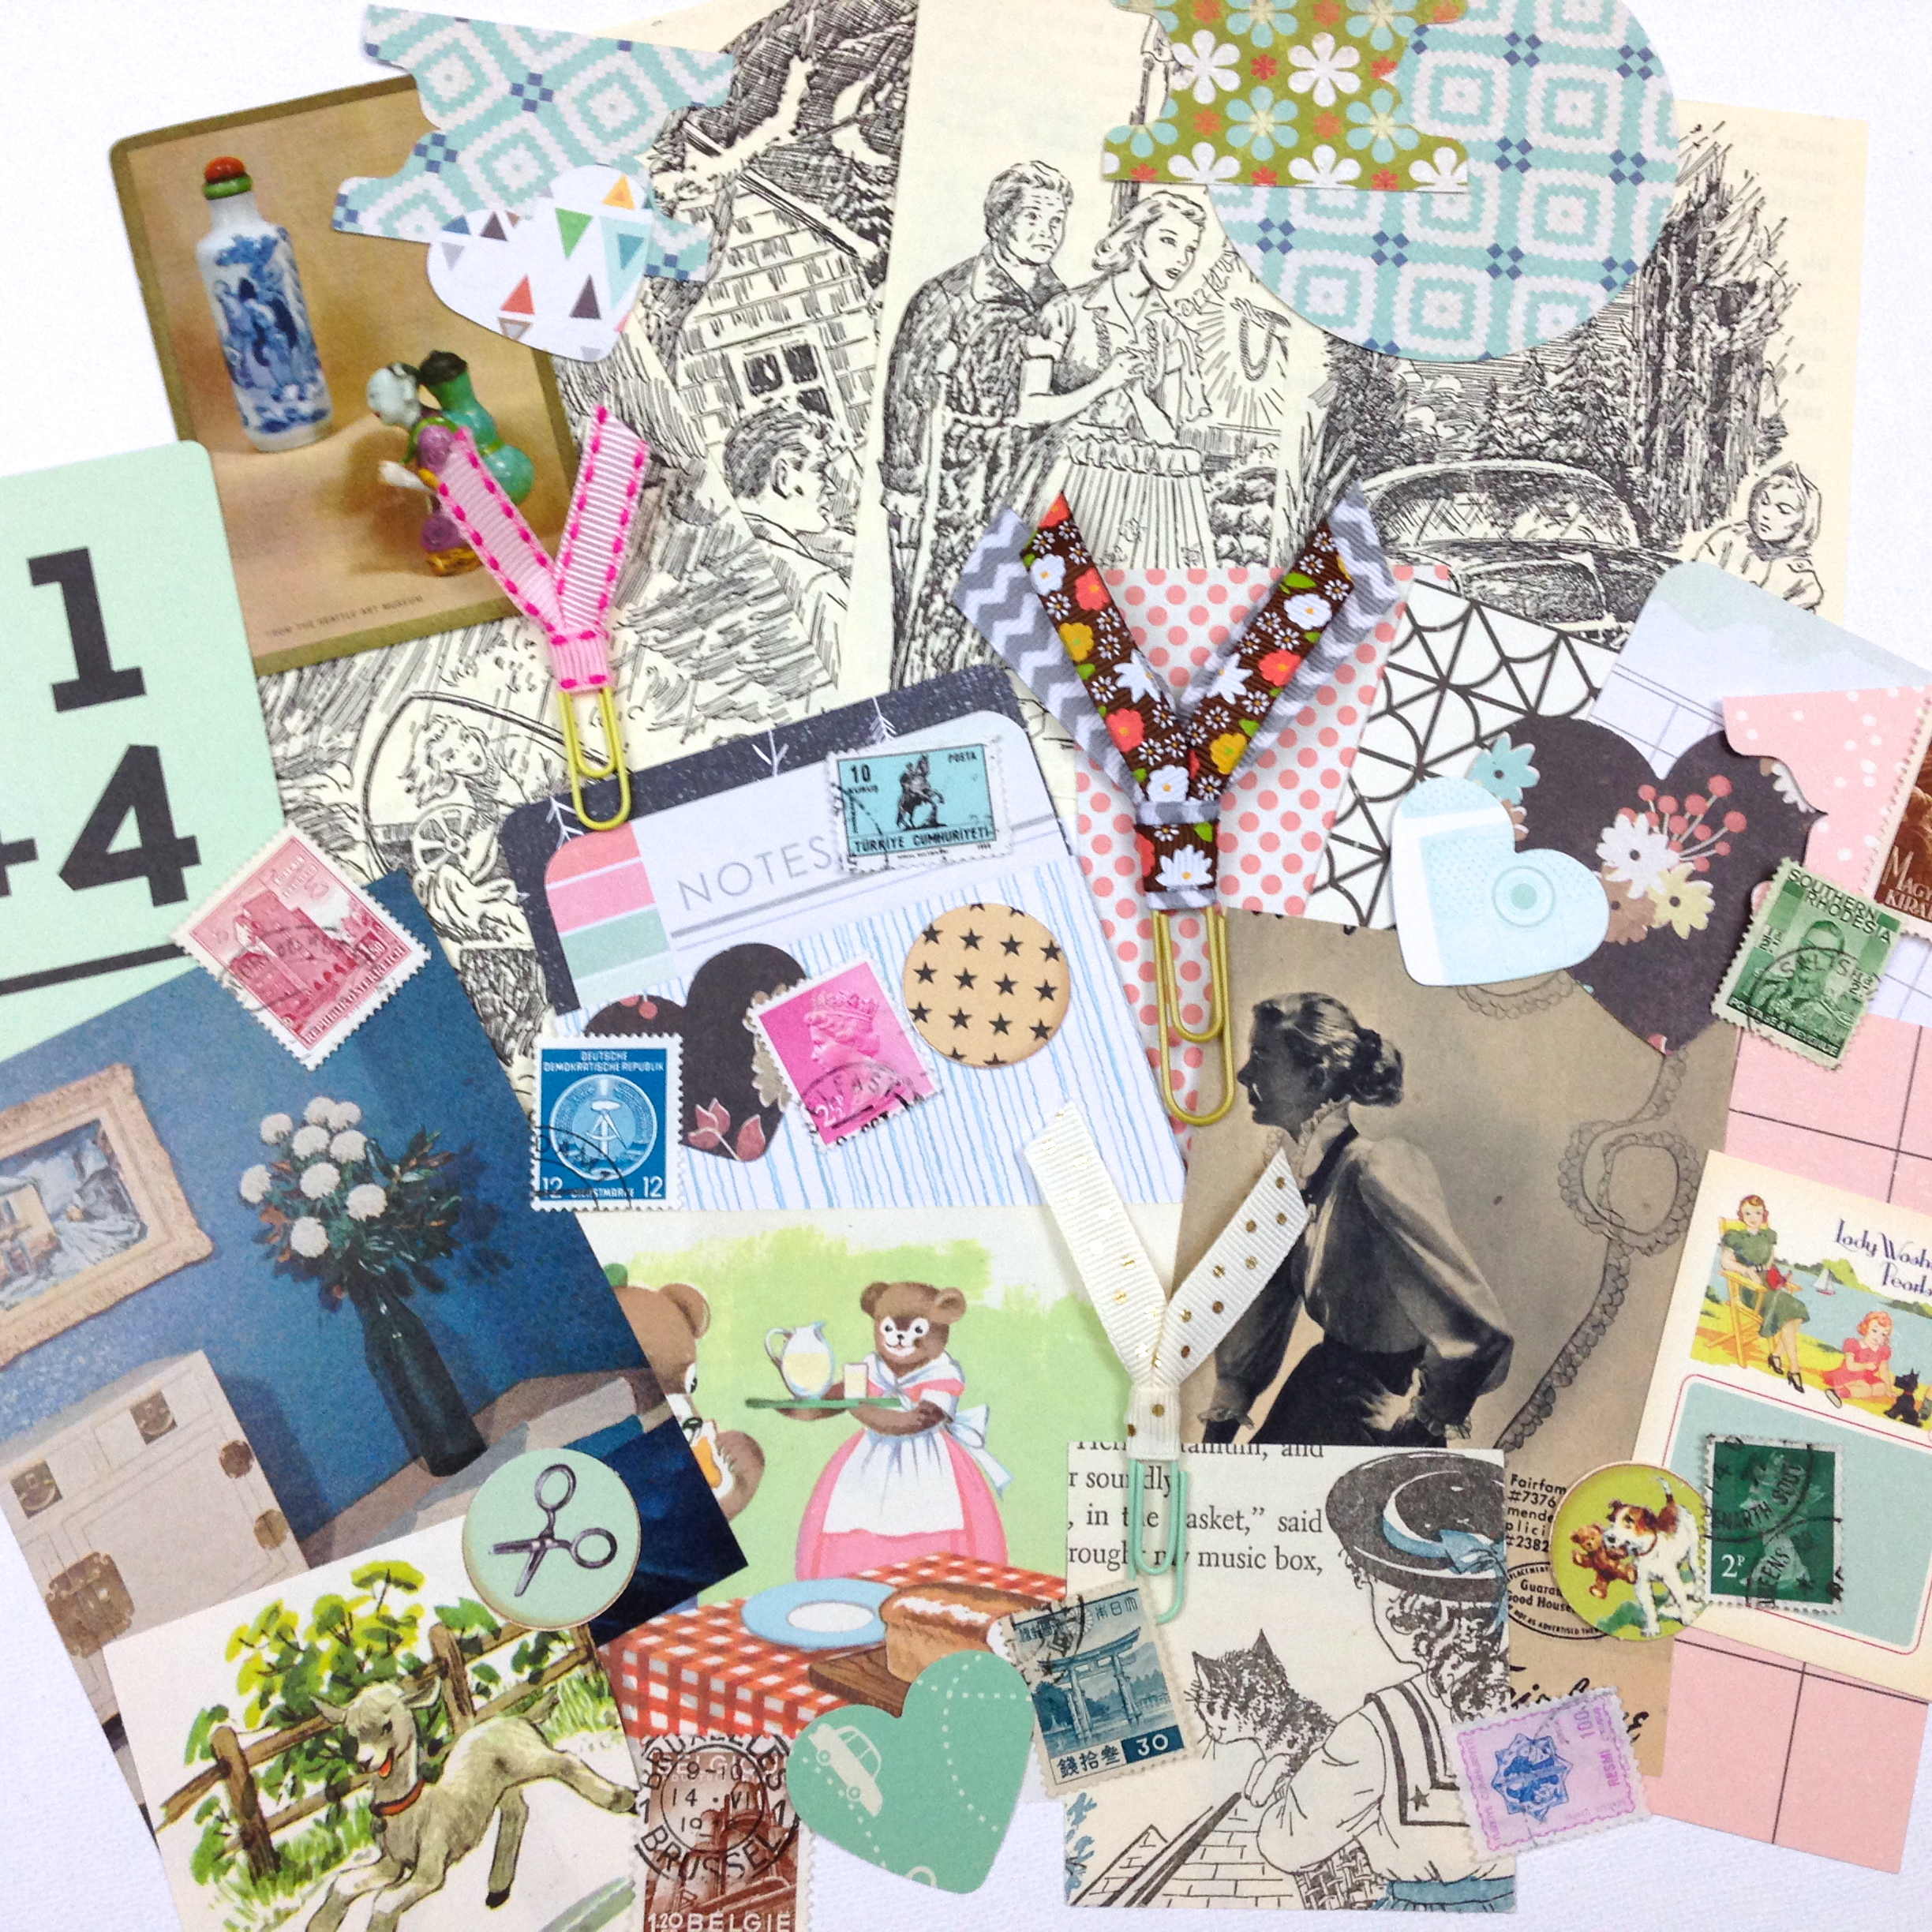
These two groups are from my sweet friend Iryna in Belarus. She always sends me a beautifully eclectic collection of ephemera from her country along with a thoughtful handwritten letter! As I look through all of this loveliness, I think of where I might use each piece.

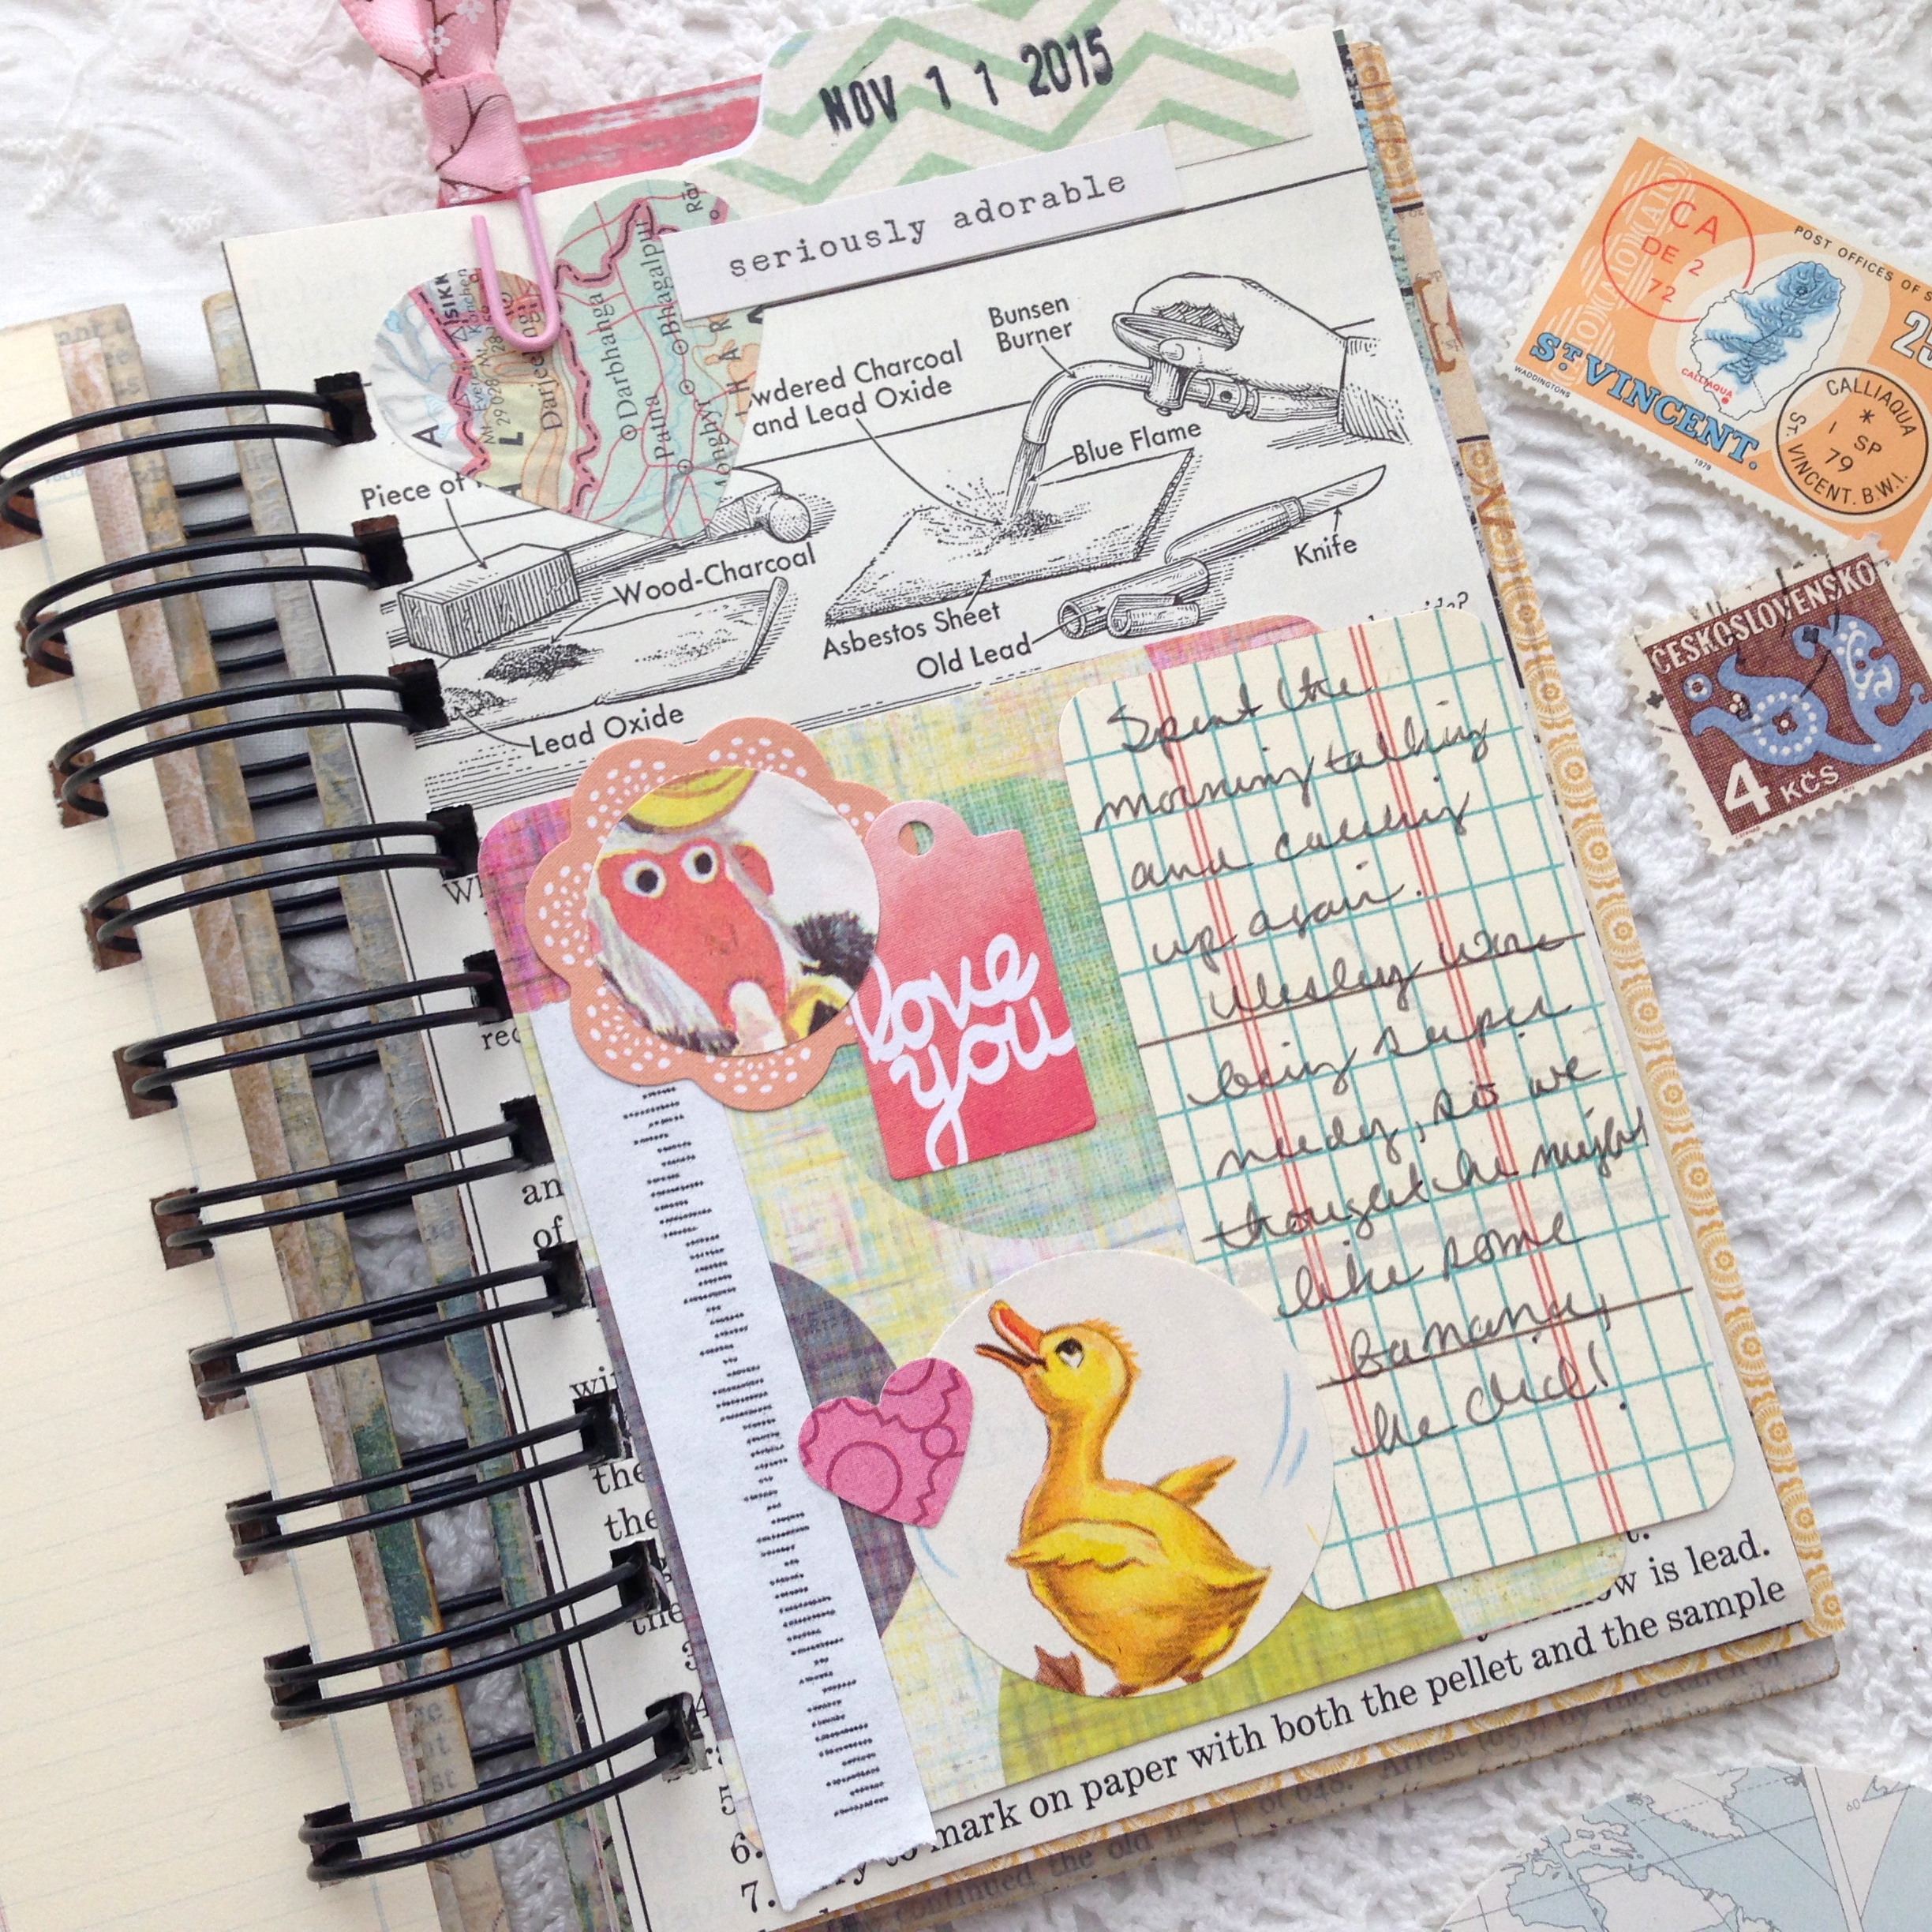
And because I have decided that I must stop hoarding my mail goodies, and start using them…

IMG_0398

…I made a sort of commemorative page in my “Big” journal! This was so much fun! I will definitely have to do this more often!

As you can see, I stayed with a red food theme, with the exception of the ladybug and the rose of course! See the radishes? Iryna usually tries to include them in her mailings, Love!

I love the little girl peeking from behind the strawberries!

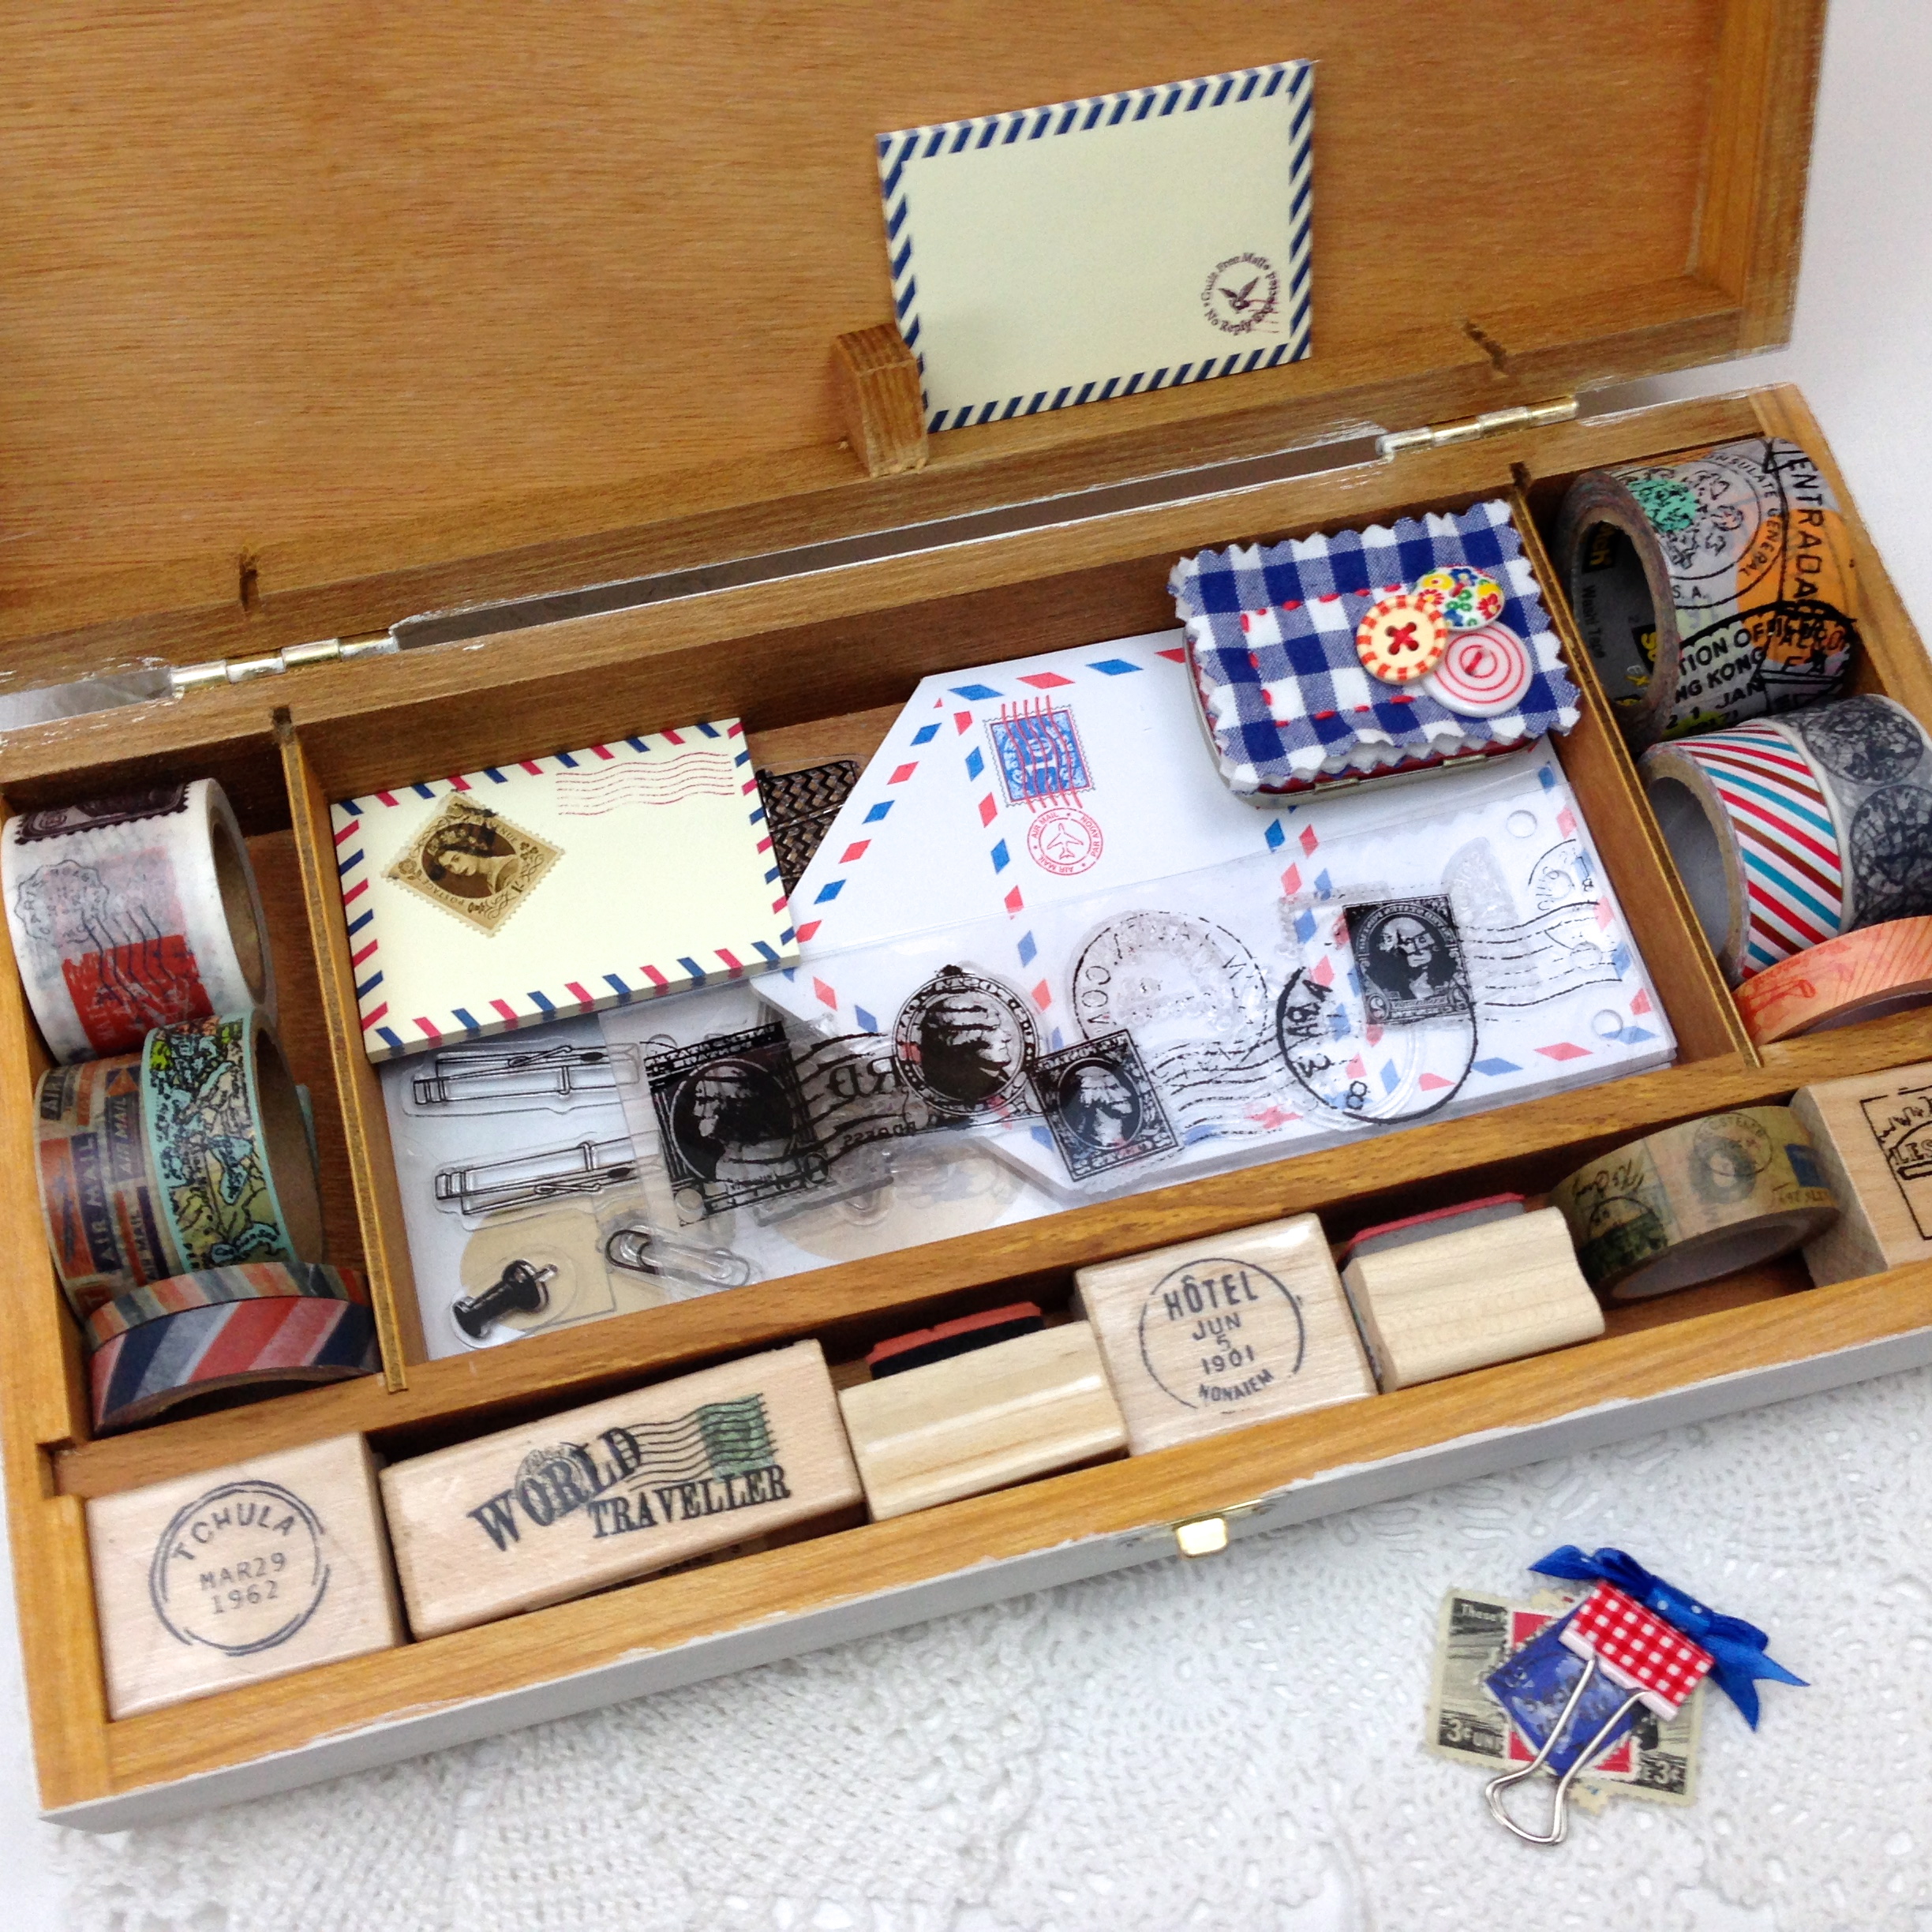
Do you have a special way that you store your letters? I’m not sure how to go about it. If you have any ideas on the subject, I sure would like to know about it!

Once again, thanks so much for stopping by,

Have a great day, it’s Friday!

~Patty

And Then There Was One…

This post was supposed to be written yesterday, announcing the new Mini Journals in my shoppe, but I just didn’t have time…

…I was too busy wrapping and sending them off!!!

I made 10, and within 12 hours, sold 9 of them!

So, what should I write about?

Well, after the giveaway and shoppe makings, I managed to keep one for myself…

IMG_0389

 I wasn’t quite happy with the messy layering I had done, so I covered most of it up with this vintage book image.

IMG_0385

I thought this might be an awesome opportunity to work in it along with the people that have purchased them from me. So, once in a while I’ll be sharing some of my page spreads.

Some of the pages may seem too pretty to cover up…

IMG_0386

…but others are perfect! I love those vintage illustrations, but the rest of the page is text. I’ve been using this mini journal to document the surprise visit from my daughter and grandson. He ate banana for the first time today and I thought that monkey eating a banana was a nice touch.

It’s time to back to my visit, I just wanted to check in and let you know that as soon as my loved ones head back home I will be starting on a new batch of mini journals for the shoppe. In the meantime, there are still a few list journals and “regular” sized journals left in my shoppe, some marked down even!

Thank you so much for supporting my shoppe!

Have a great day,

~Patty

Shoppe News!

I thought I would stop in quickly and talk about some newness in my shoppe!

IMG_0222

In the form of 4 new List Journals

In case your new to my blog, these are made from mid-century “Nancy Drew” mystery books.

IMG_0176

At 6″x 8″, they are the perfect size for art/scrap journaling or list challenges without feeling overwhelming!

IMG_0163

I use quality, double-sided scrapbook paper for the pages in gorgeous colors!

IMG_0191

With lots of decorating goodies that match the decor in style and color!

If you would like to see more details of these cute list journals, head over to my shoppe: RadishBlossoms

Thank you for stopping by,

Have a great day,

~Patty

Going Postal…but in a good way!

So, there is this journal that I have been working on for quite some time (I’ll share that at a later date) that I have had a love/hate relationship with! I just couldn’t seem to get it to work. Then one day I was watching another video from the awesomely talented Florence Antonette, and had an “Aha!” moment I knew exactly what was missing…

IMG_0155

…postage and travel themed goodies!

I owned a few things to start out with, postage stamps of course, and a couple of postage themed washi tapes, but I needed more! So, off I went to hunt for anything with a postage/travel/office supply theme. I’d say I did pretty well, wouldn’t you?  Everything in there is from either Michael’s or Hobby Lobby, with the exception of the large envelope stickies, those are from Walmart.

Where did you find that nifty box you ask? I don’t remember, it’s been that long since I bought it!

IMG_0135

But, here is what it looks like since I decided it would be perfect to store all my postal goodies in.

First, I painted the outside with Martha Stewart’s Satin acrylic paint in “Summer Linen”, then gave it a light sanding to distress it a bit. Looked for some black and white maps in my book stash, adhered them with matte medium, and went over those with some watered down paint of the afore mentioned color. Then added a circle punch of a map and a cut out of an oval map image.IMG_0148

Next, I adhered some of my favorite stamps in the red, white, and blue color story I had chosen for this project, bits of washi tape and some ink stamping to finish.

IMG_0150

A Soviet satellite from the 1950’s! Just-Pinch-Me-That’s-Cool!!!

I went with a travel theme also. I’m not much of a traveler, but I love the look! When I had the composition the way I wanted it, I went over the whole thing with some of Martha’s satin varnish to seal it. Now, I have the perfect organization for all of my postage decorating goodies!

Back to the journal mentioned above, I will be sharing it soon. Some of you may recognize it from “ye olde blog”, but it has had a facelift, and is looking quite smart with it’s new decor!

Also, I will be sharing a quick how-to on that cute little button topped tin sometime soon!

Until then…

Thanks for stopping by,

Have a great rest of your week,

~Patty

iHanna Post Card Swap Makings

I think I look forward to the iHanna PCS more every time it comes around! It’s only twice a year, I wish it was at least four! But since I’m on the side of having fun, not running it, that’s easy for me to say.

I haven’t written a process post in a long time, so I thought this would be a great opportunity to share a little of mine.

Warning: this post is pretty photo heavy, so I’ll try to keep the text to a minimum.

IMG_9950

This is what I started out with, pages from a couple of journals that didn’t quite work out that I cut to size. This happens once in a while, I’ll over do it on the journal makings, then decide to move on.

These seemed a bit too bright, and needed a little strengthening up, so step two…

IMG_9946

Hoping these will do the trick! Tissue paper and napkins.

With the napkins you will want to pull the the layers apart, there are usually three, save the printed one to adhere with matte medium. (it’s a whole process I can cover in another post if you would like).

IMG_9953

I was concerned that the colors would fade too much, but as soon as they had dried, I was happy.

IMG_9945

I have had these snarky recipe cards clanking around for a few years. They are the perfect size for post cards with lines for writing to boot!

IMG_9958

The ephemera I have chosen to work with. I will collect things throughout the year that might work for making happy mail. I wanted to go all out “postal” themed with this swap.

IMG_9962The layering process goes as such: card base, tissue paper, main image, large stamps, washi tape, smaller stamps, die cut/punch out, and more washi. Apply a coat of satin varnish if you are so inclined. Let dry, then sand the edges smooth…my favorite part! See the rounded corners, Love!

After all the layering, varnishing, and sanding, they feel quite substantial!

IMG_9964

They look a bit like a mini journal page, no surprise there!

IMG_9968

And because I have received too many cards that look like the mail truck did a burnout on them, I make envelopes out of book pages (again, another process I can share if you would like). These were made from a 1970’s crafting book.

IMG_9961

So there you have it! I had so much fun making these, I decided to make more to send to some of my friends!

If I left out anything, or if you have any questions, please don’t hesitate to ask!

Once again, thank you for stopping by,

Have a great day,

~Patty