

I have had a couple of people ask me about my decorated mini tins, so I though I would do a quick run through on how I make them. Quick, because they are super easy!
Supplies: an Altoids “Smalls” tin, embroidery thread, embroidery needle, scissors, a 2″x3″ piece of quilt batting, 2- 3″x4″ fabric scraps, multi-surface glue, assorted buttons or flare button, sand paper, and pinking shears (optional).

Make a quilt “sandwich” (batting between two pieces of fabric) and stitch around the edges, going in a 1/4 inch or so, with the embroidery thread.
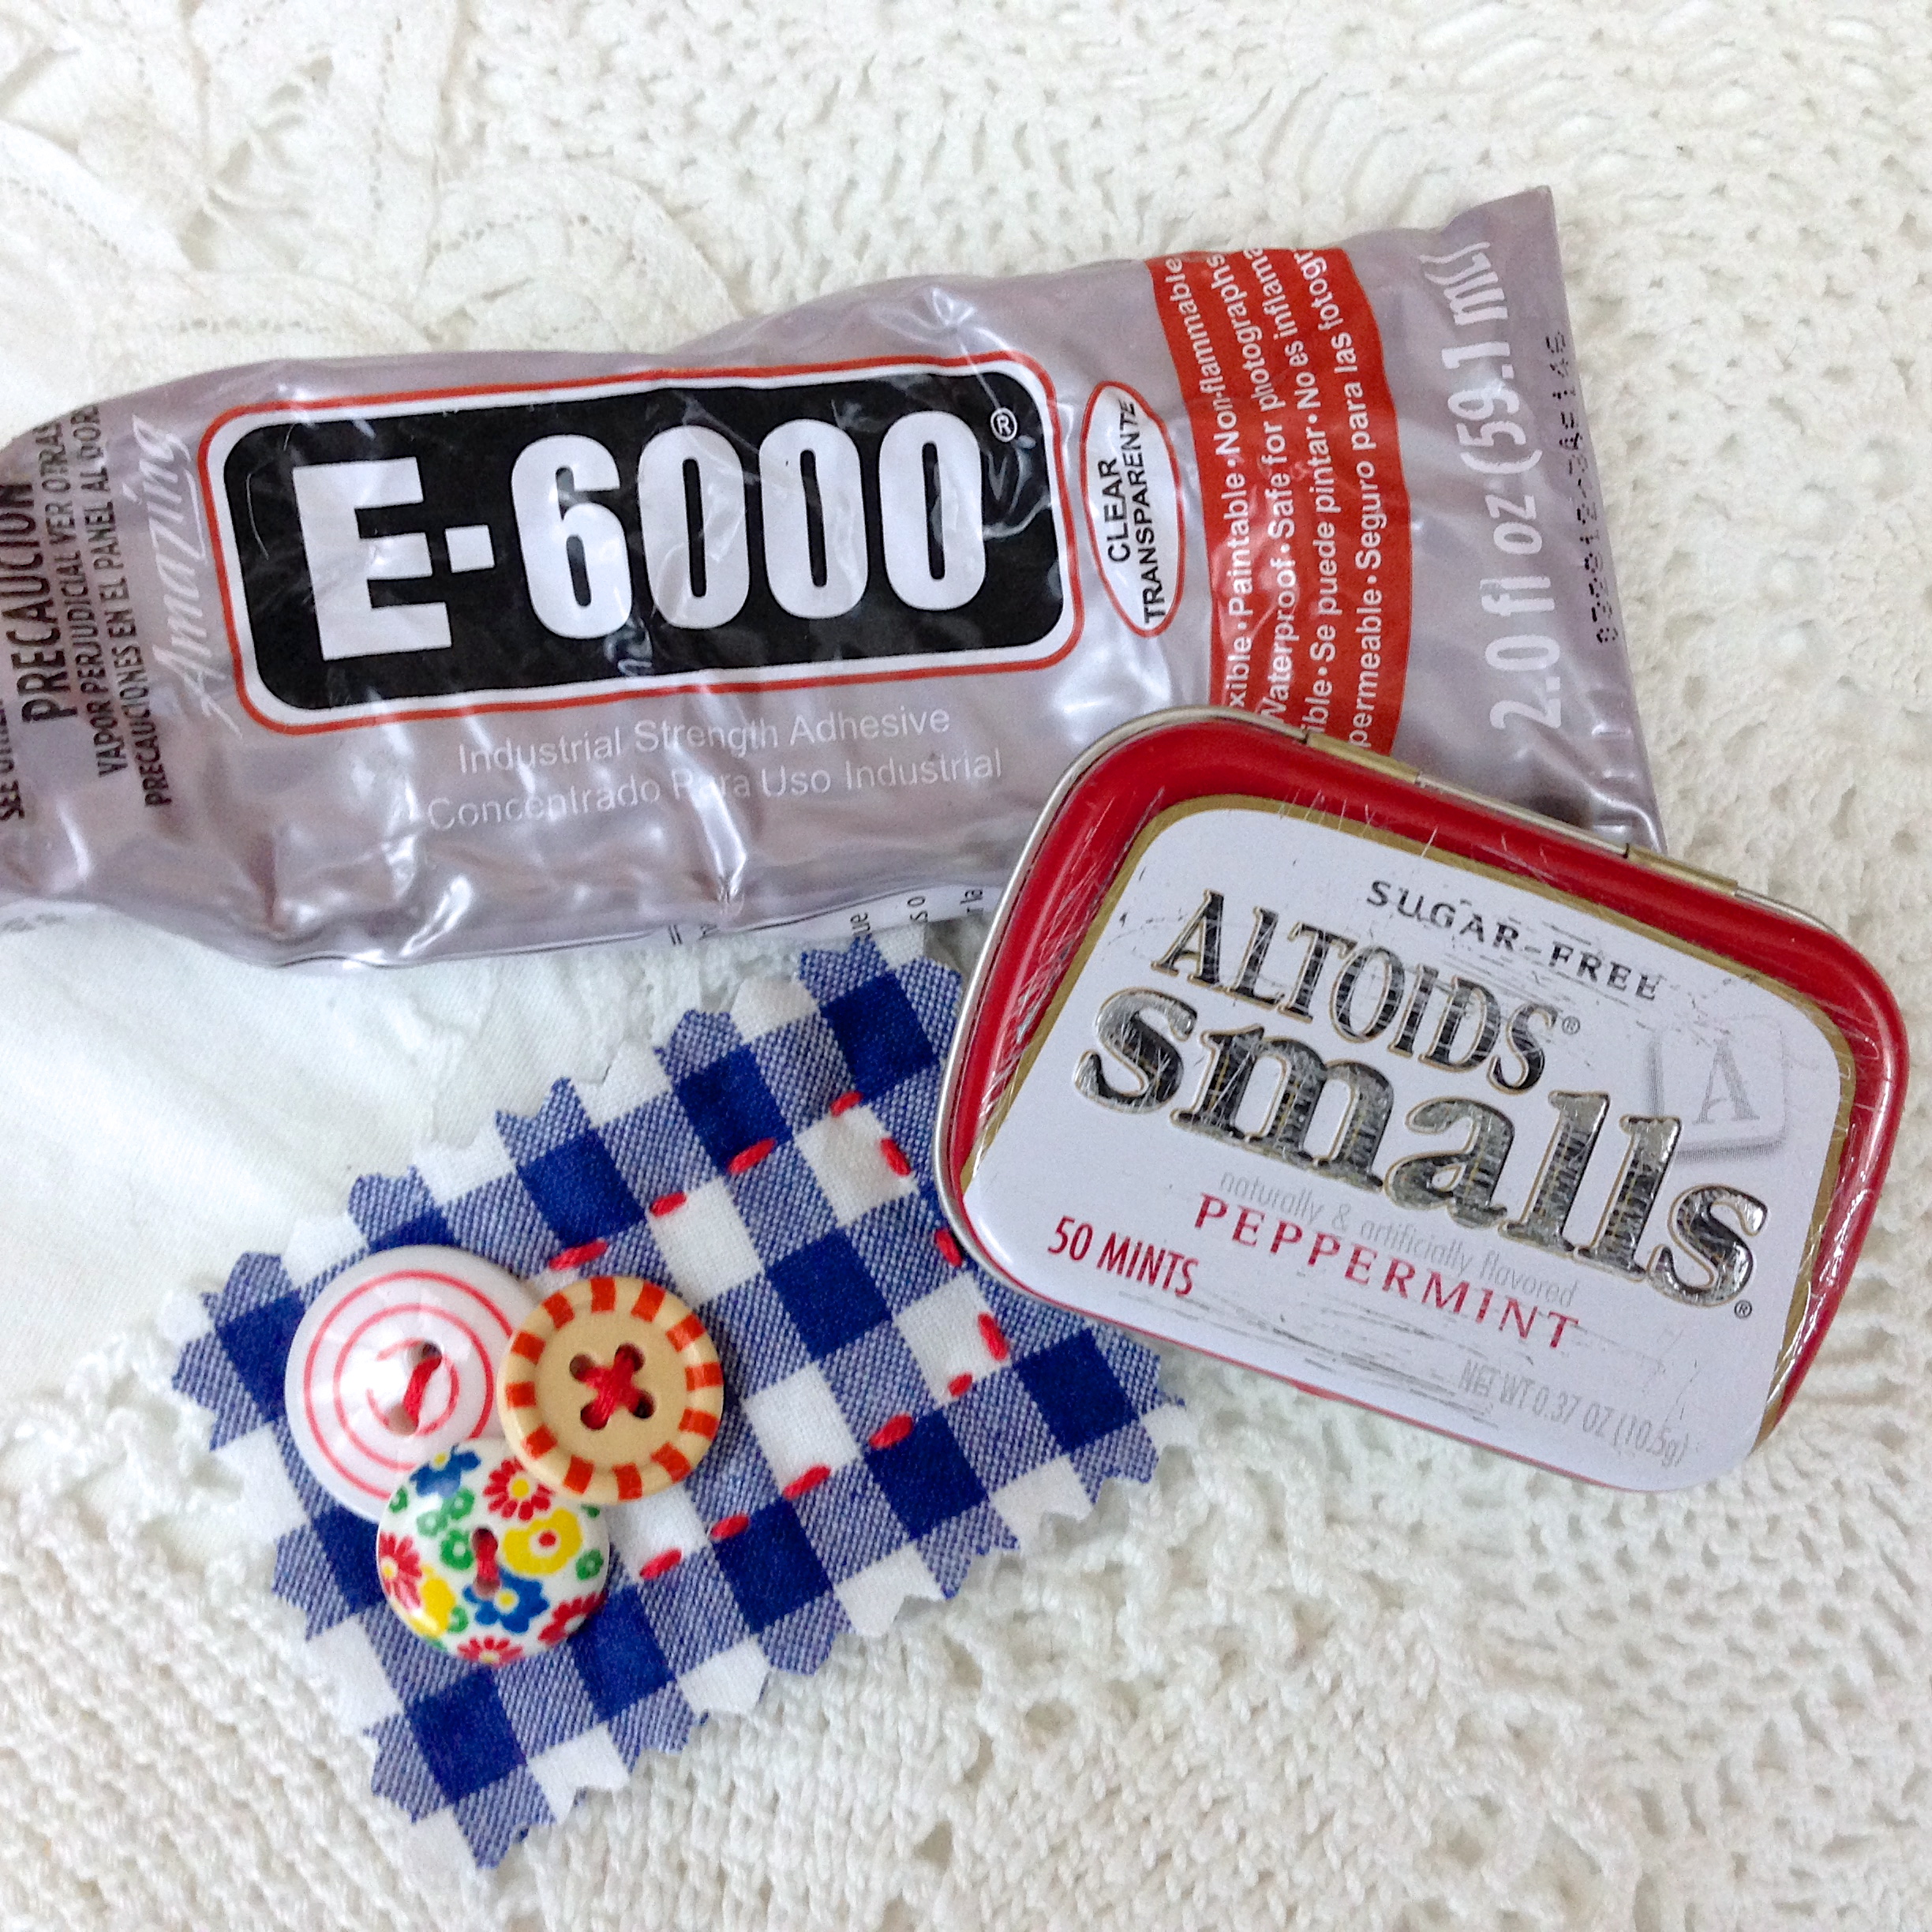
Sew the buttons on then cut around the edges to fit the size of the tin top. Give the top of the tin a bit of a sanding to give it “tooth” for the glue to hold on to. Apply the glue and adhere the quilted bit to the top of the tin.
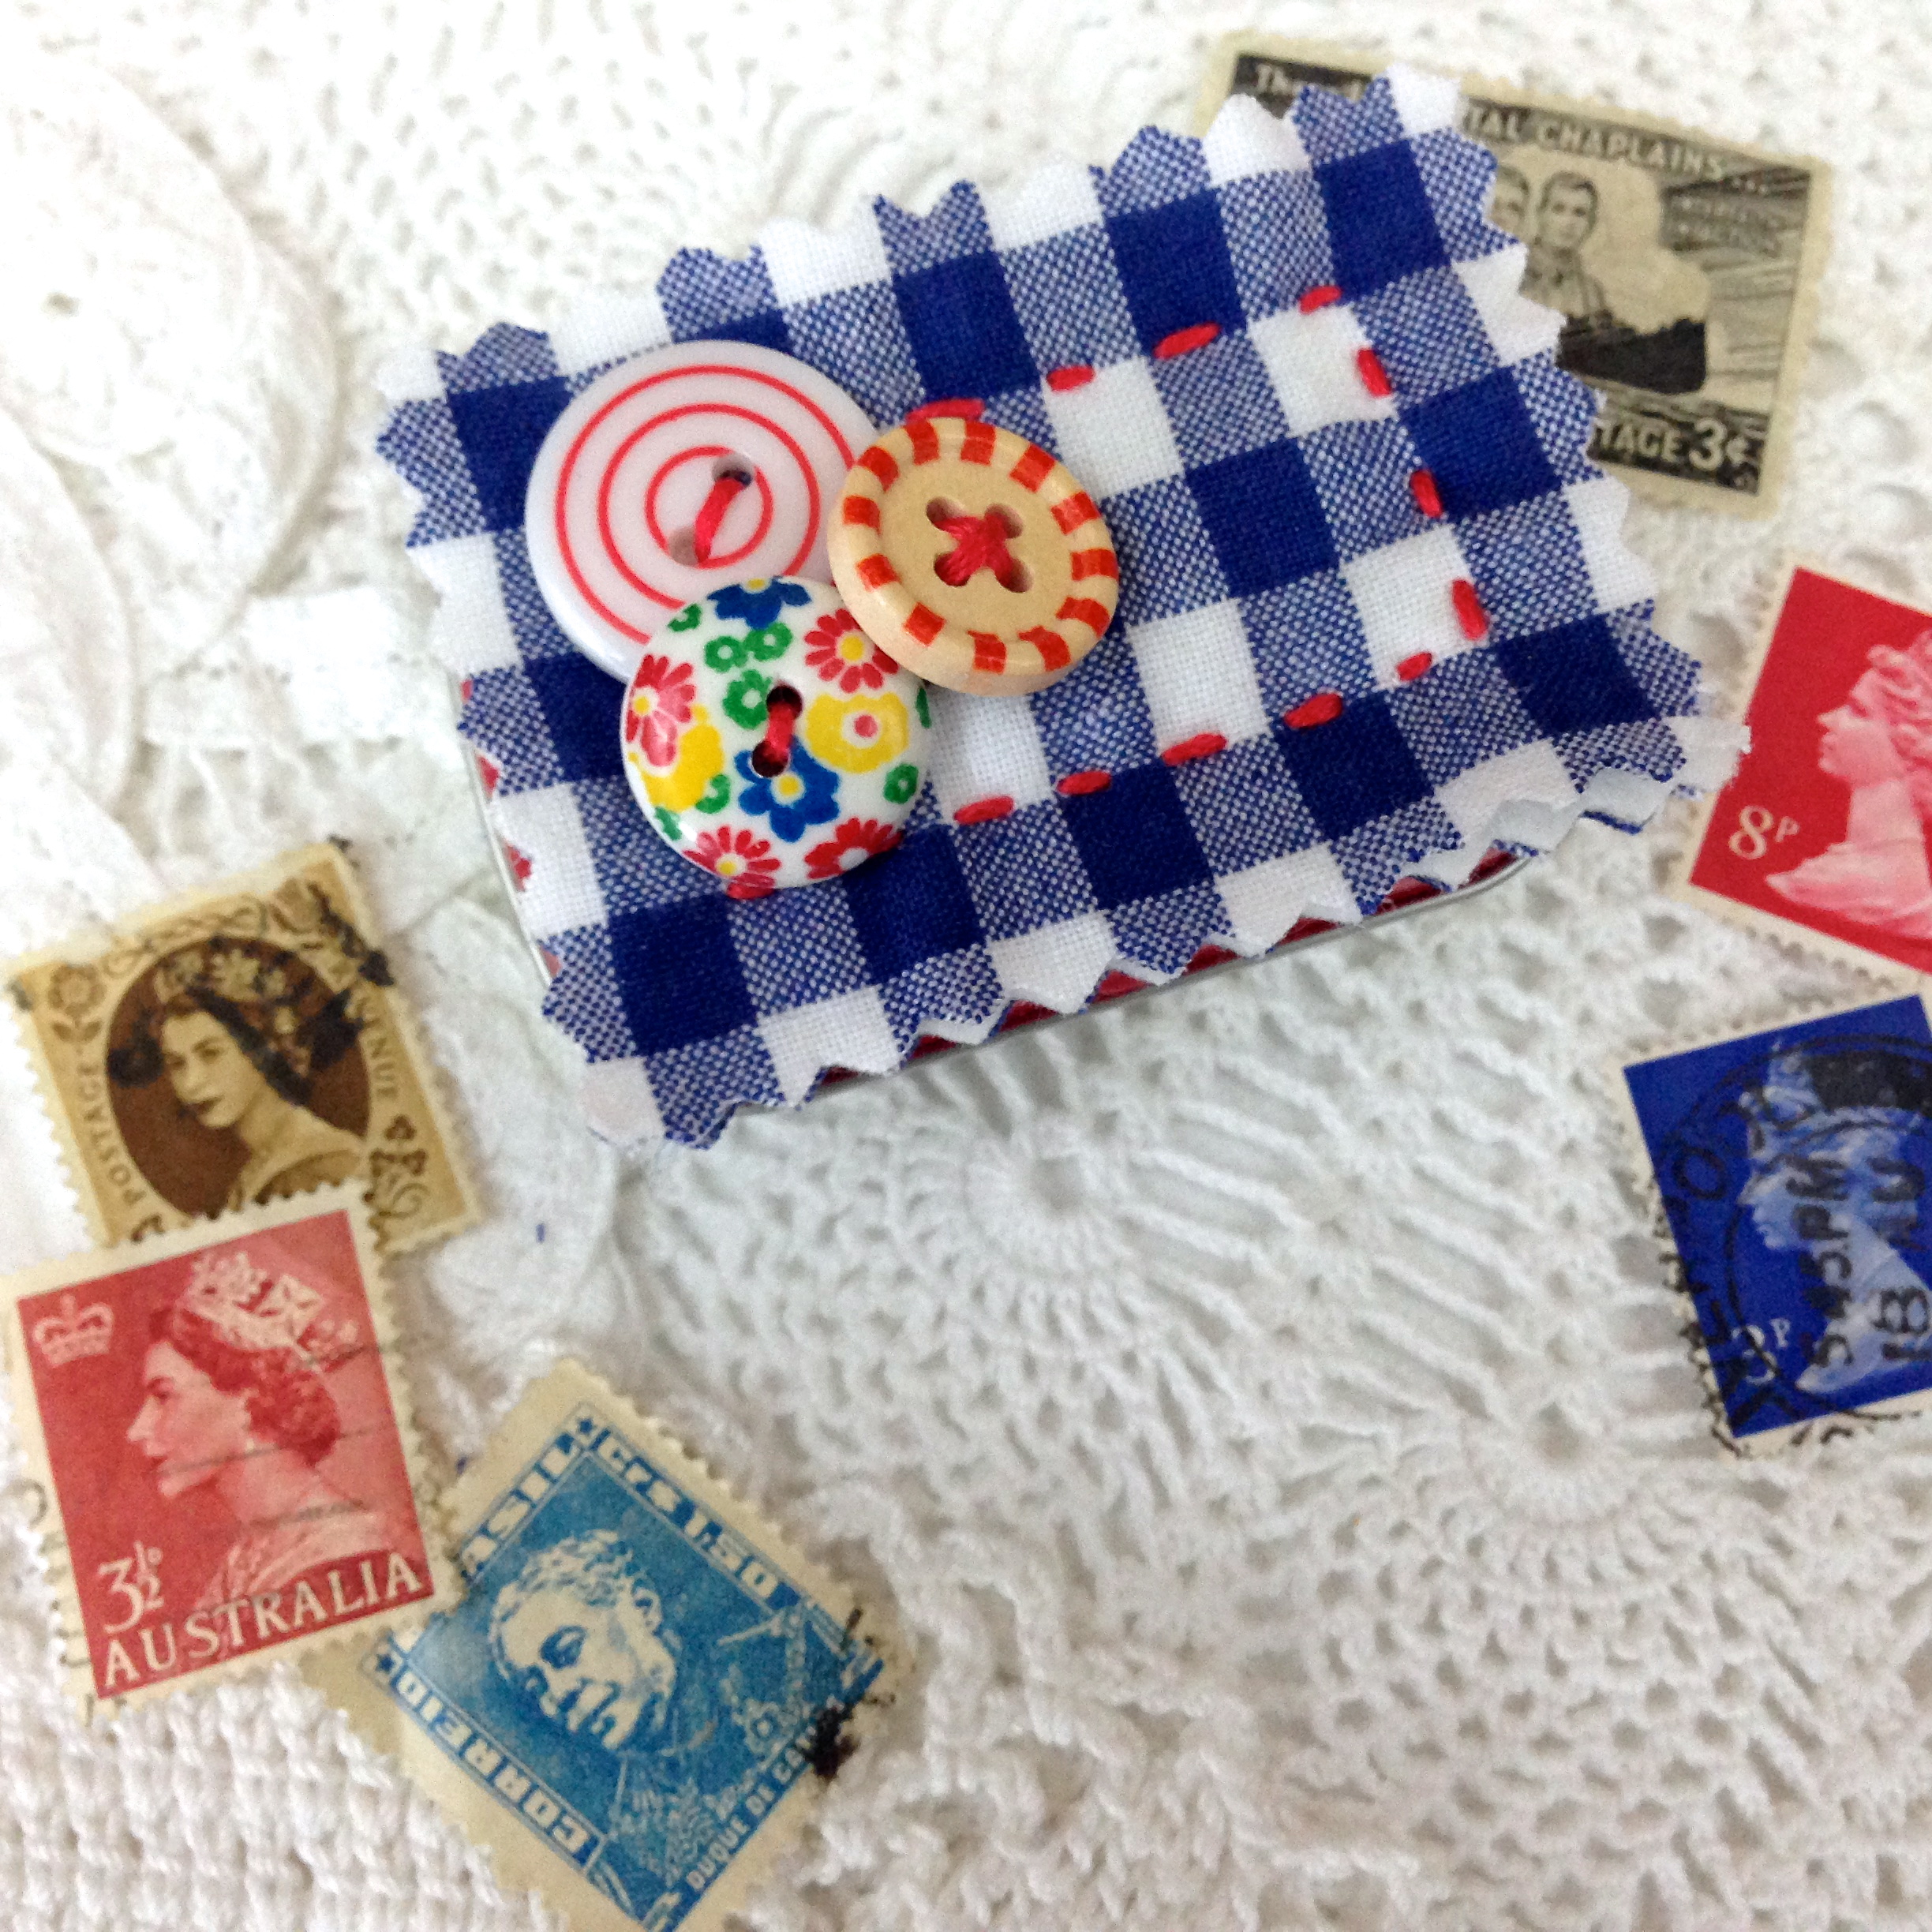
It’s that easy!
Sometimes, I will sand the entire tin and paint it, but I was going with red, white and blue, so I just kept the tin it’s original red. These small mints come in other flavors and colors of tins, I may have to explore this option. Painting them can be a pain!
I like to keep stamps in these, or I’ll use them to hold buttons and small bits for my stitched journals.
Well, I hope those were clear enough instructions, let me know if I missed something.
Once again…
Thank you for the visit,
Have a great weekend,
~Patty

Super cute indeed, I have done this with washi tape and stickers. Those little jars are my favorite (for embroidery floss, tiny beads etc etc). 🙂
LikeLike
oh yes! i can do this (and i will!) your “how to” and pictures explaining your darling little tins is great patty 🙂 a quilt sandwich-love that. but those buttons you used-eeek! adorable! and i like the idea of storing stamps and other little goodies in them. thanks so much for sharing this. now to find my stash of little mint tins 😀
LikeLike