

Last week, I promised a post about my art journaling organizational process, and here it is a week later! I know, I can hardly believe it myself (insert surprised look!)
First, I’m going to show a little of the art journaling tote I’m using for this project.

I purchased this tote from Hobby Lobby on a 50% off sale, which made it about $12. It’s got loads of pockets and such, but it’s the plastic photo cases I’m going to talk about today. As you can see I have labeled them, and this is where the “process” comes in. It really saves time on having a pile of ephemera to sort through. As I go through each layer, I know which case to grab. I’ve been using this technique over the last year or so, and it really works for me
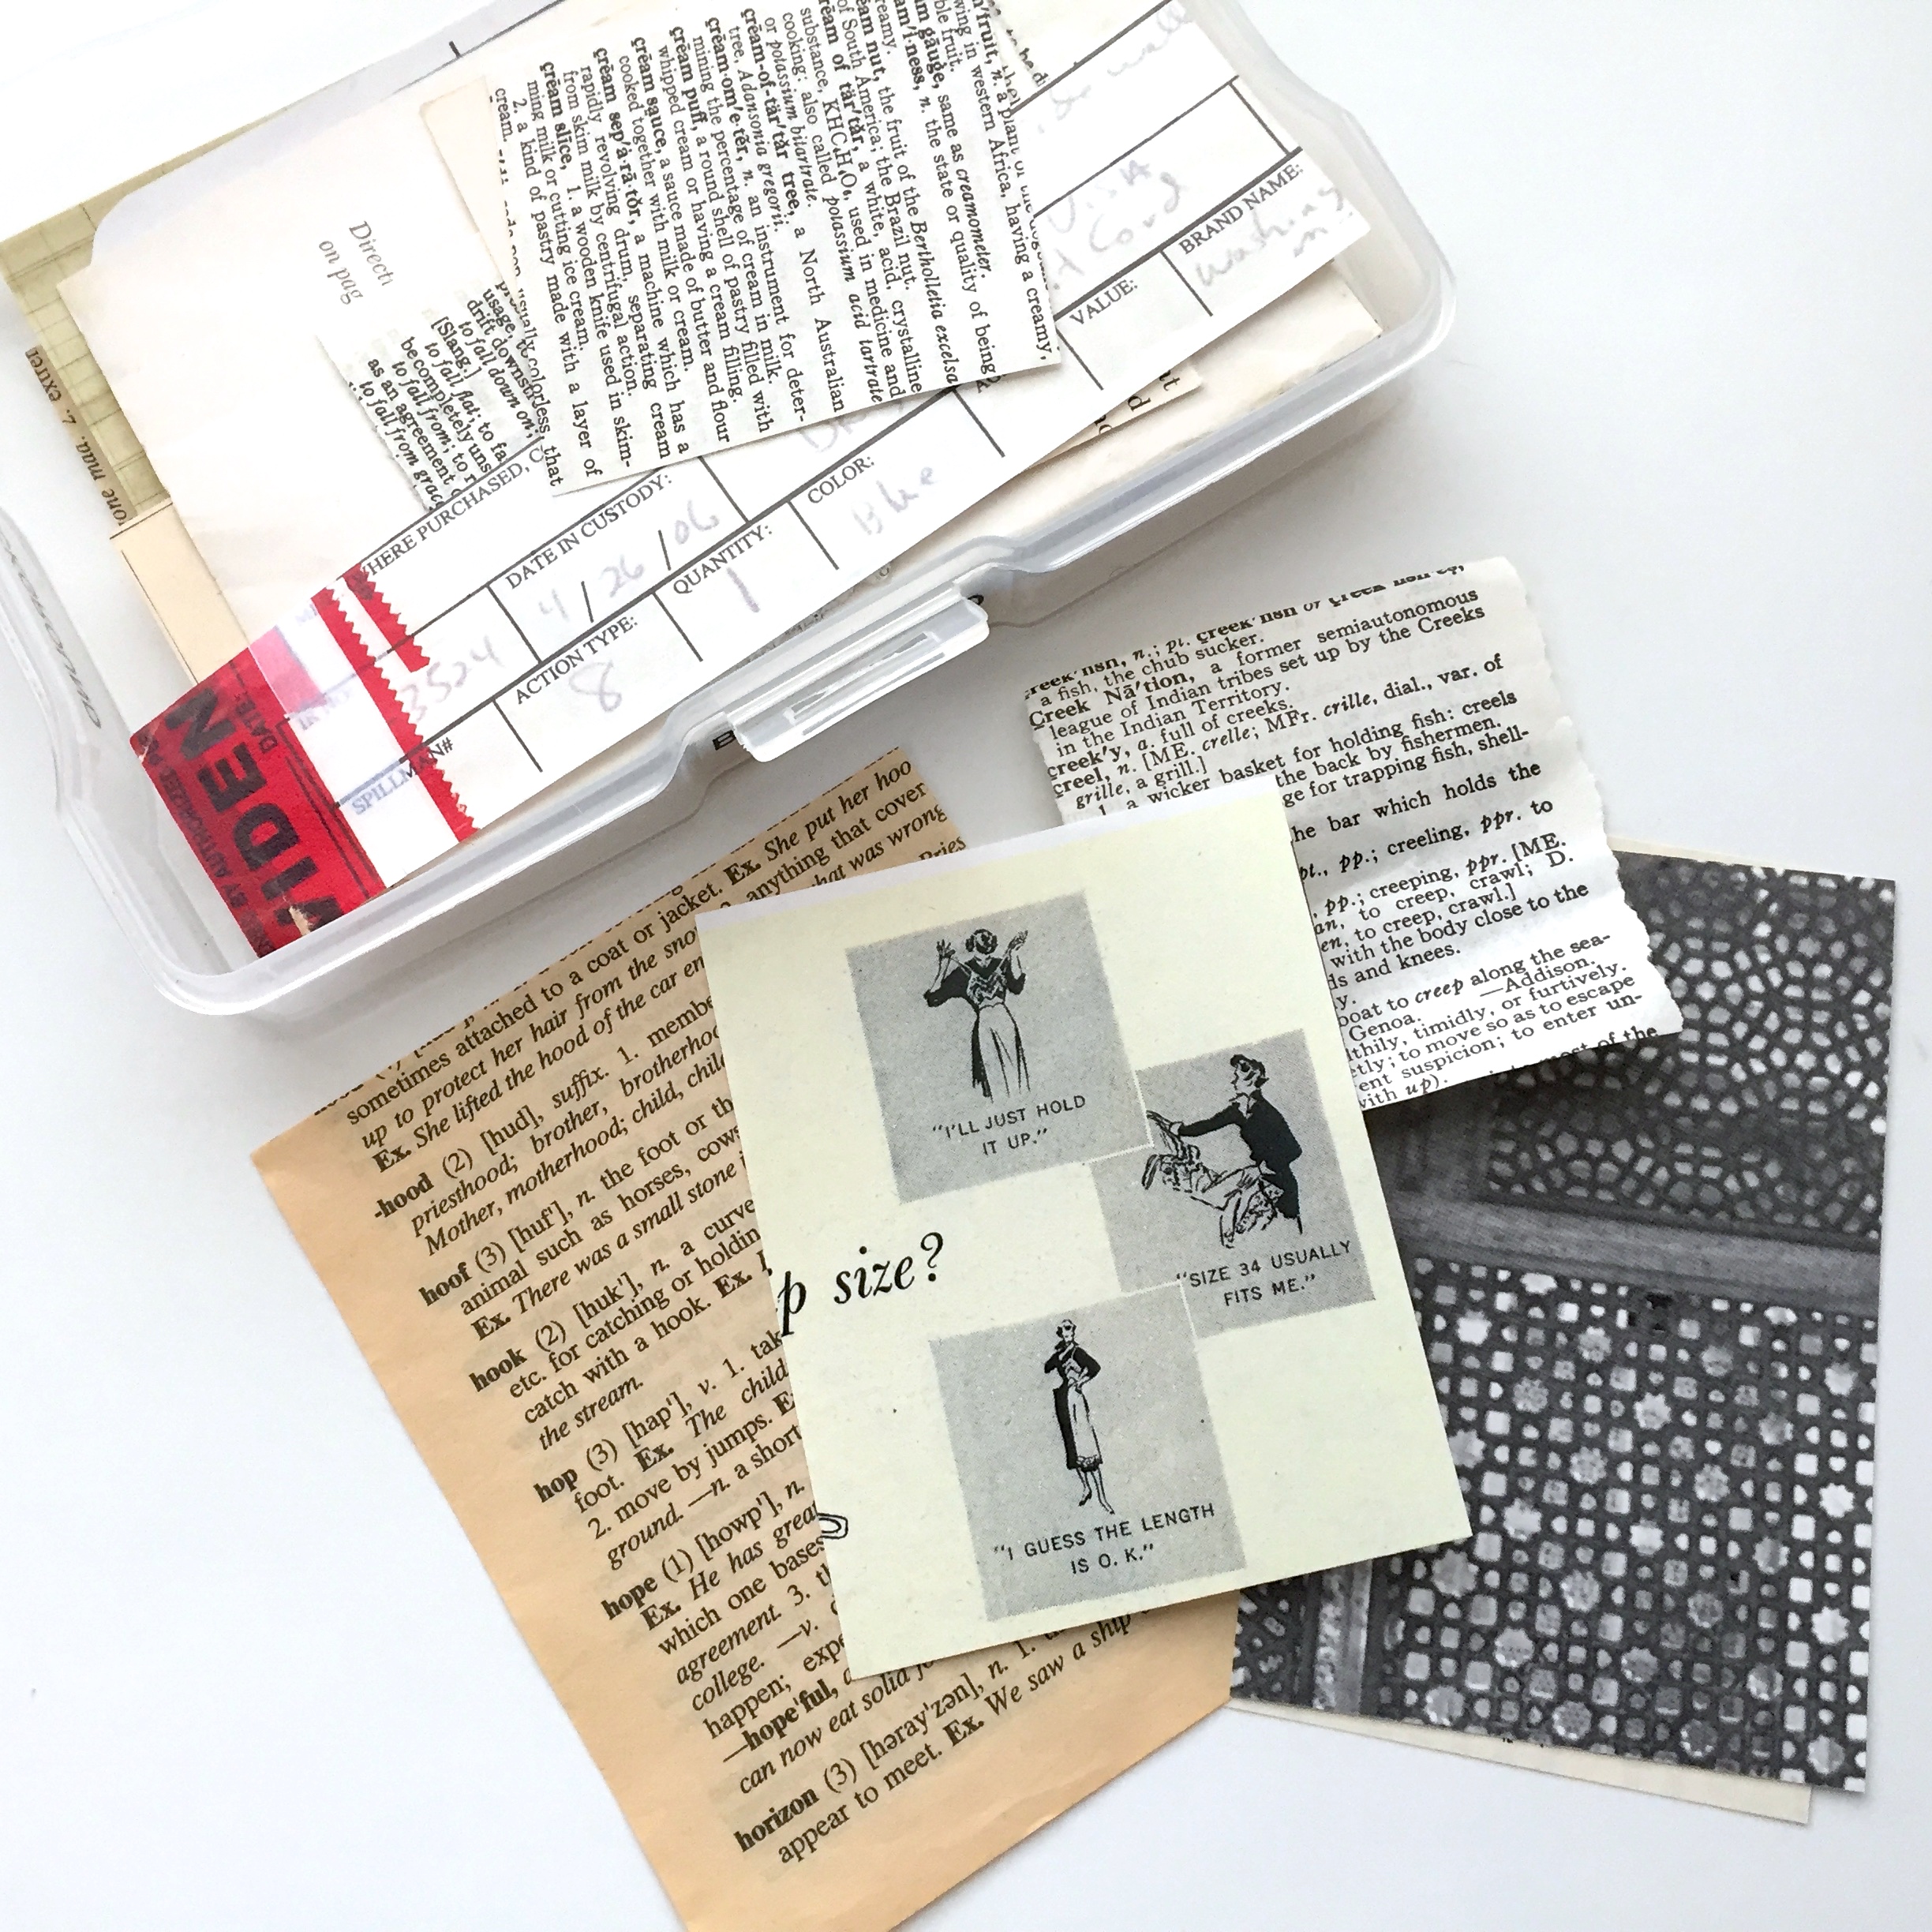
First layer “Background” pieces: I like to use these on the scrapbook or painted pages to give them a vintage look. Sometimes, I’ll scrape a little paint over them so that they will “blend” into the background.

2nd layer “Paper pieces”: scrapbook paper, origami paper, photocopies of fabric, anything with color or pattern.
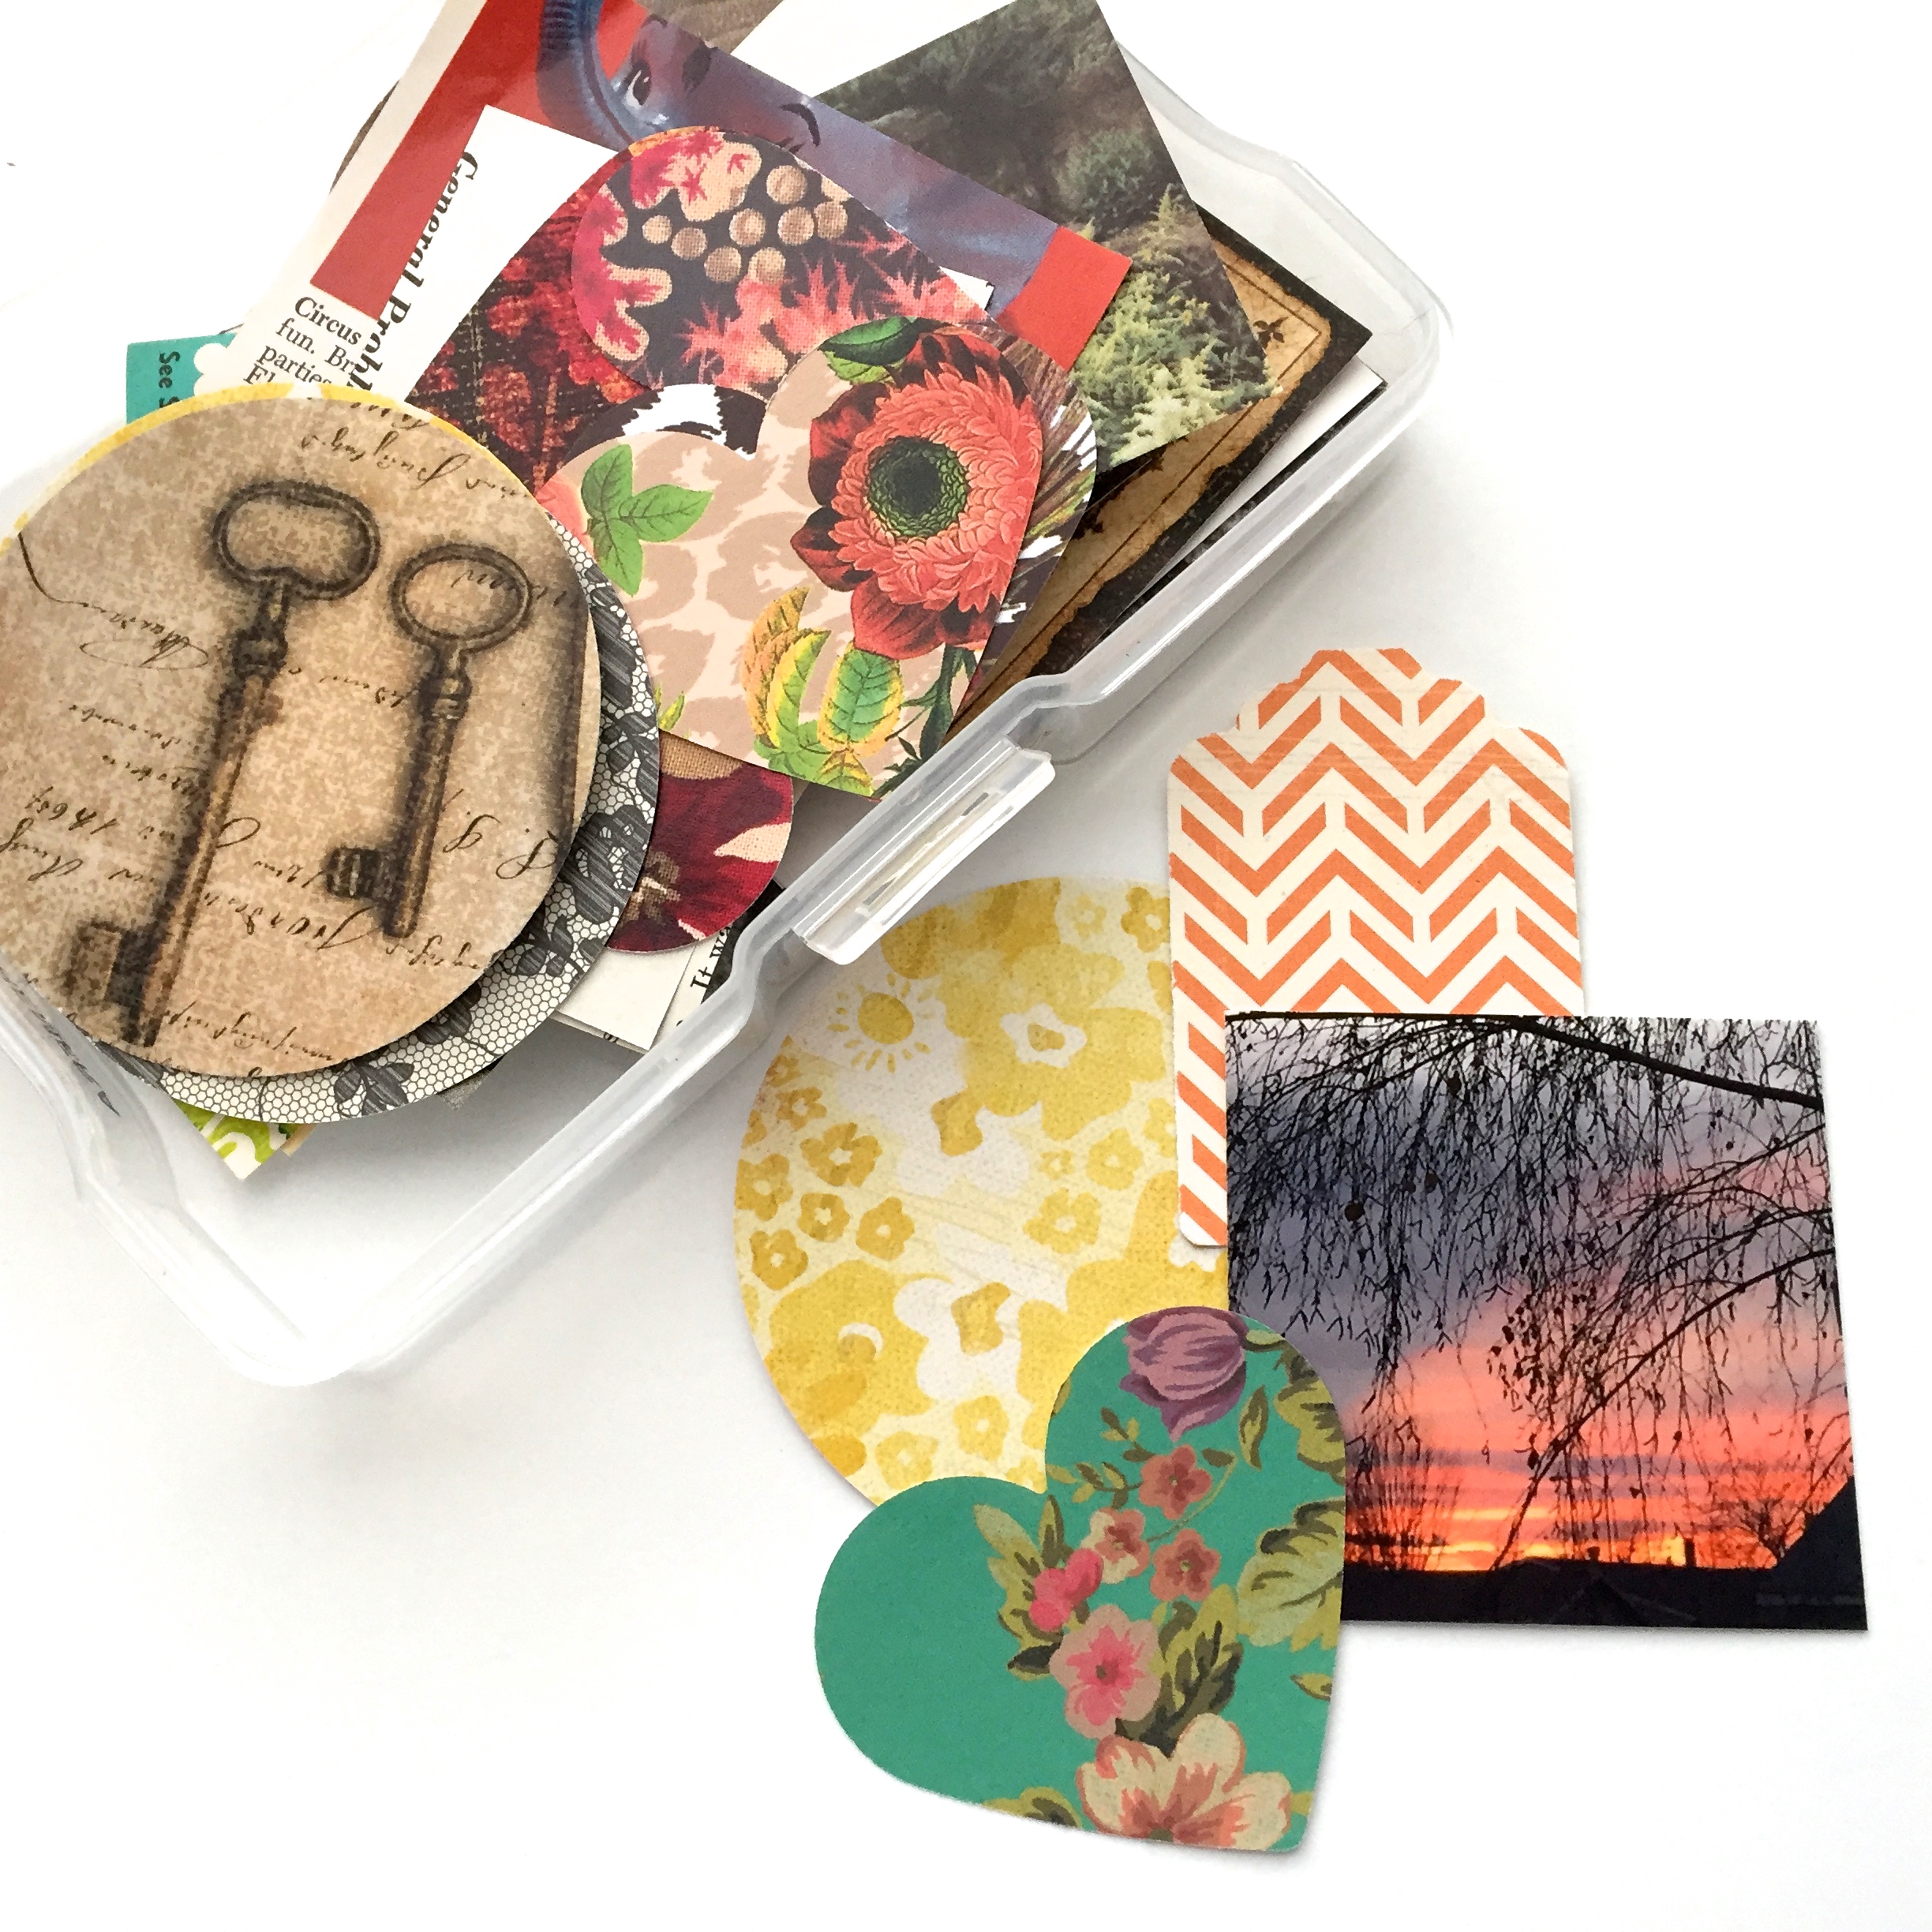
3rd layer “Medium ephemera”: these usually consist of the focal piece along with large die cuts or random images. As you can see, I’m building my layers from larger to smaller.
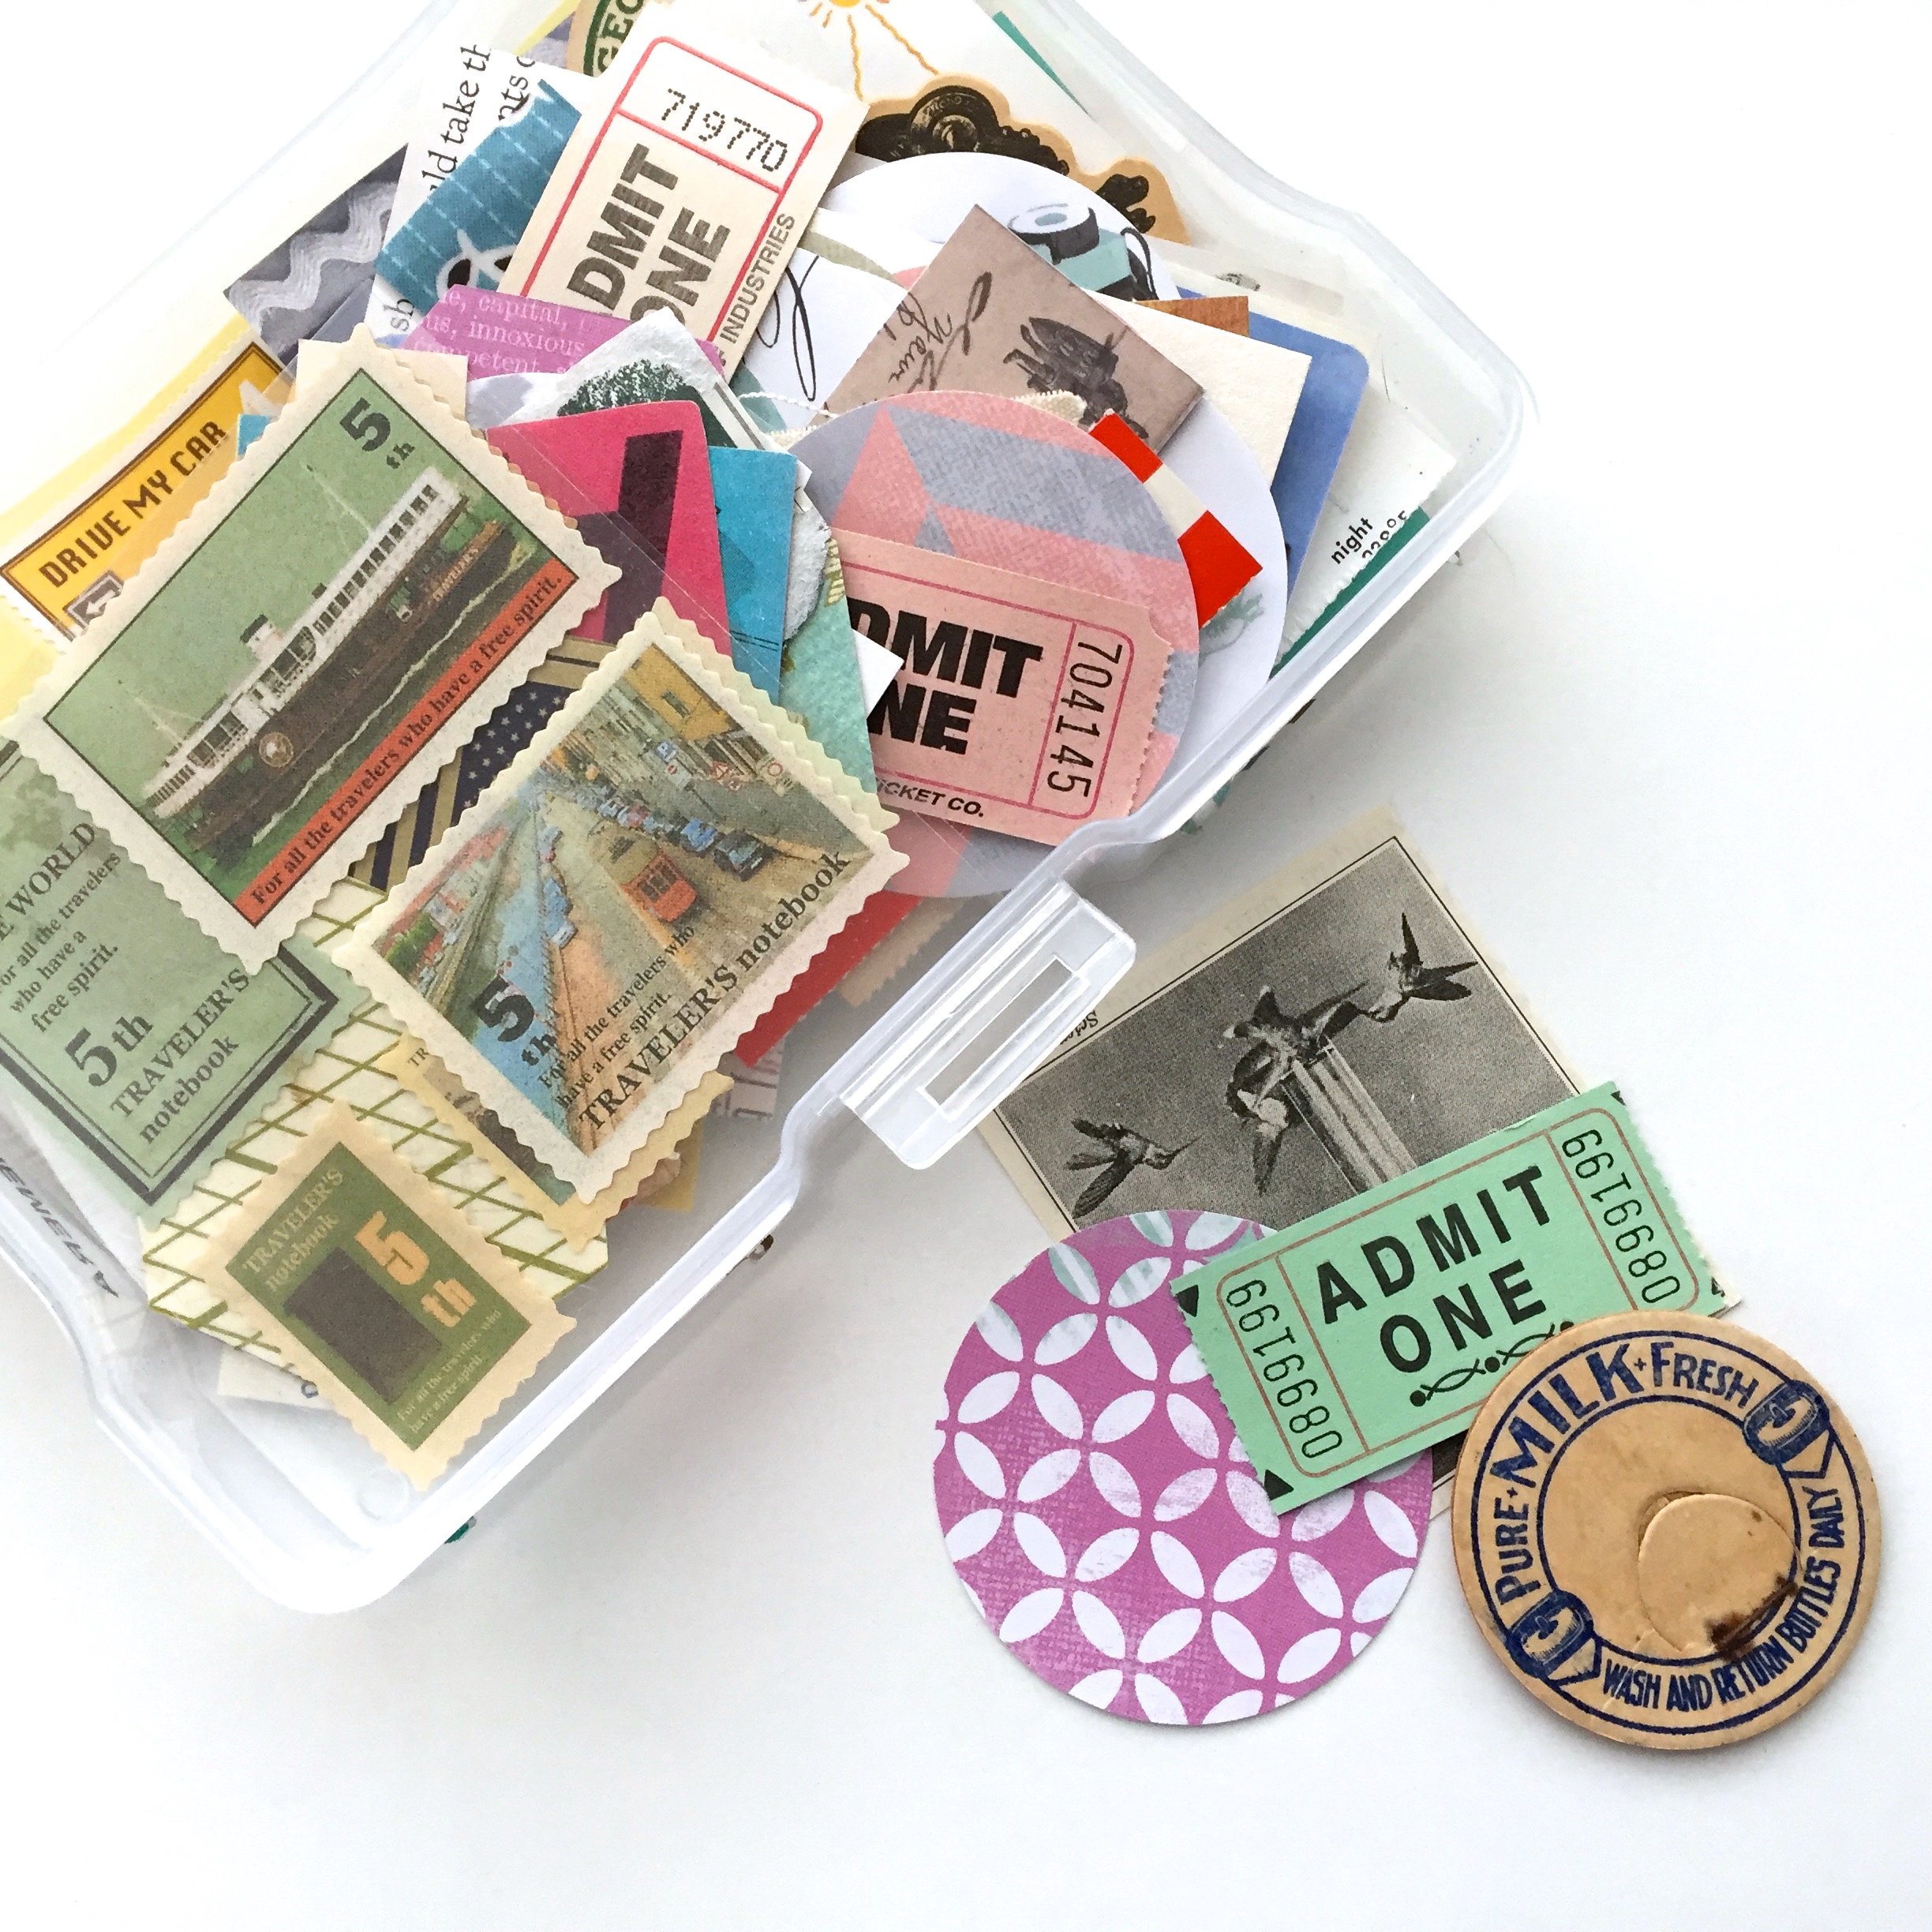
4th layer “Small ephemera”: tickets, small stickers, die cuts, images.
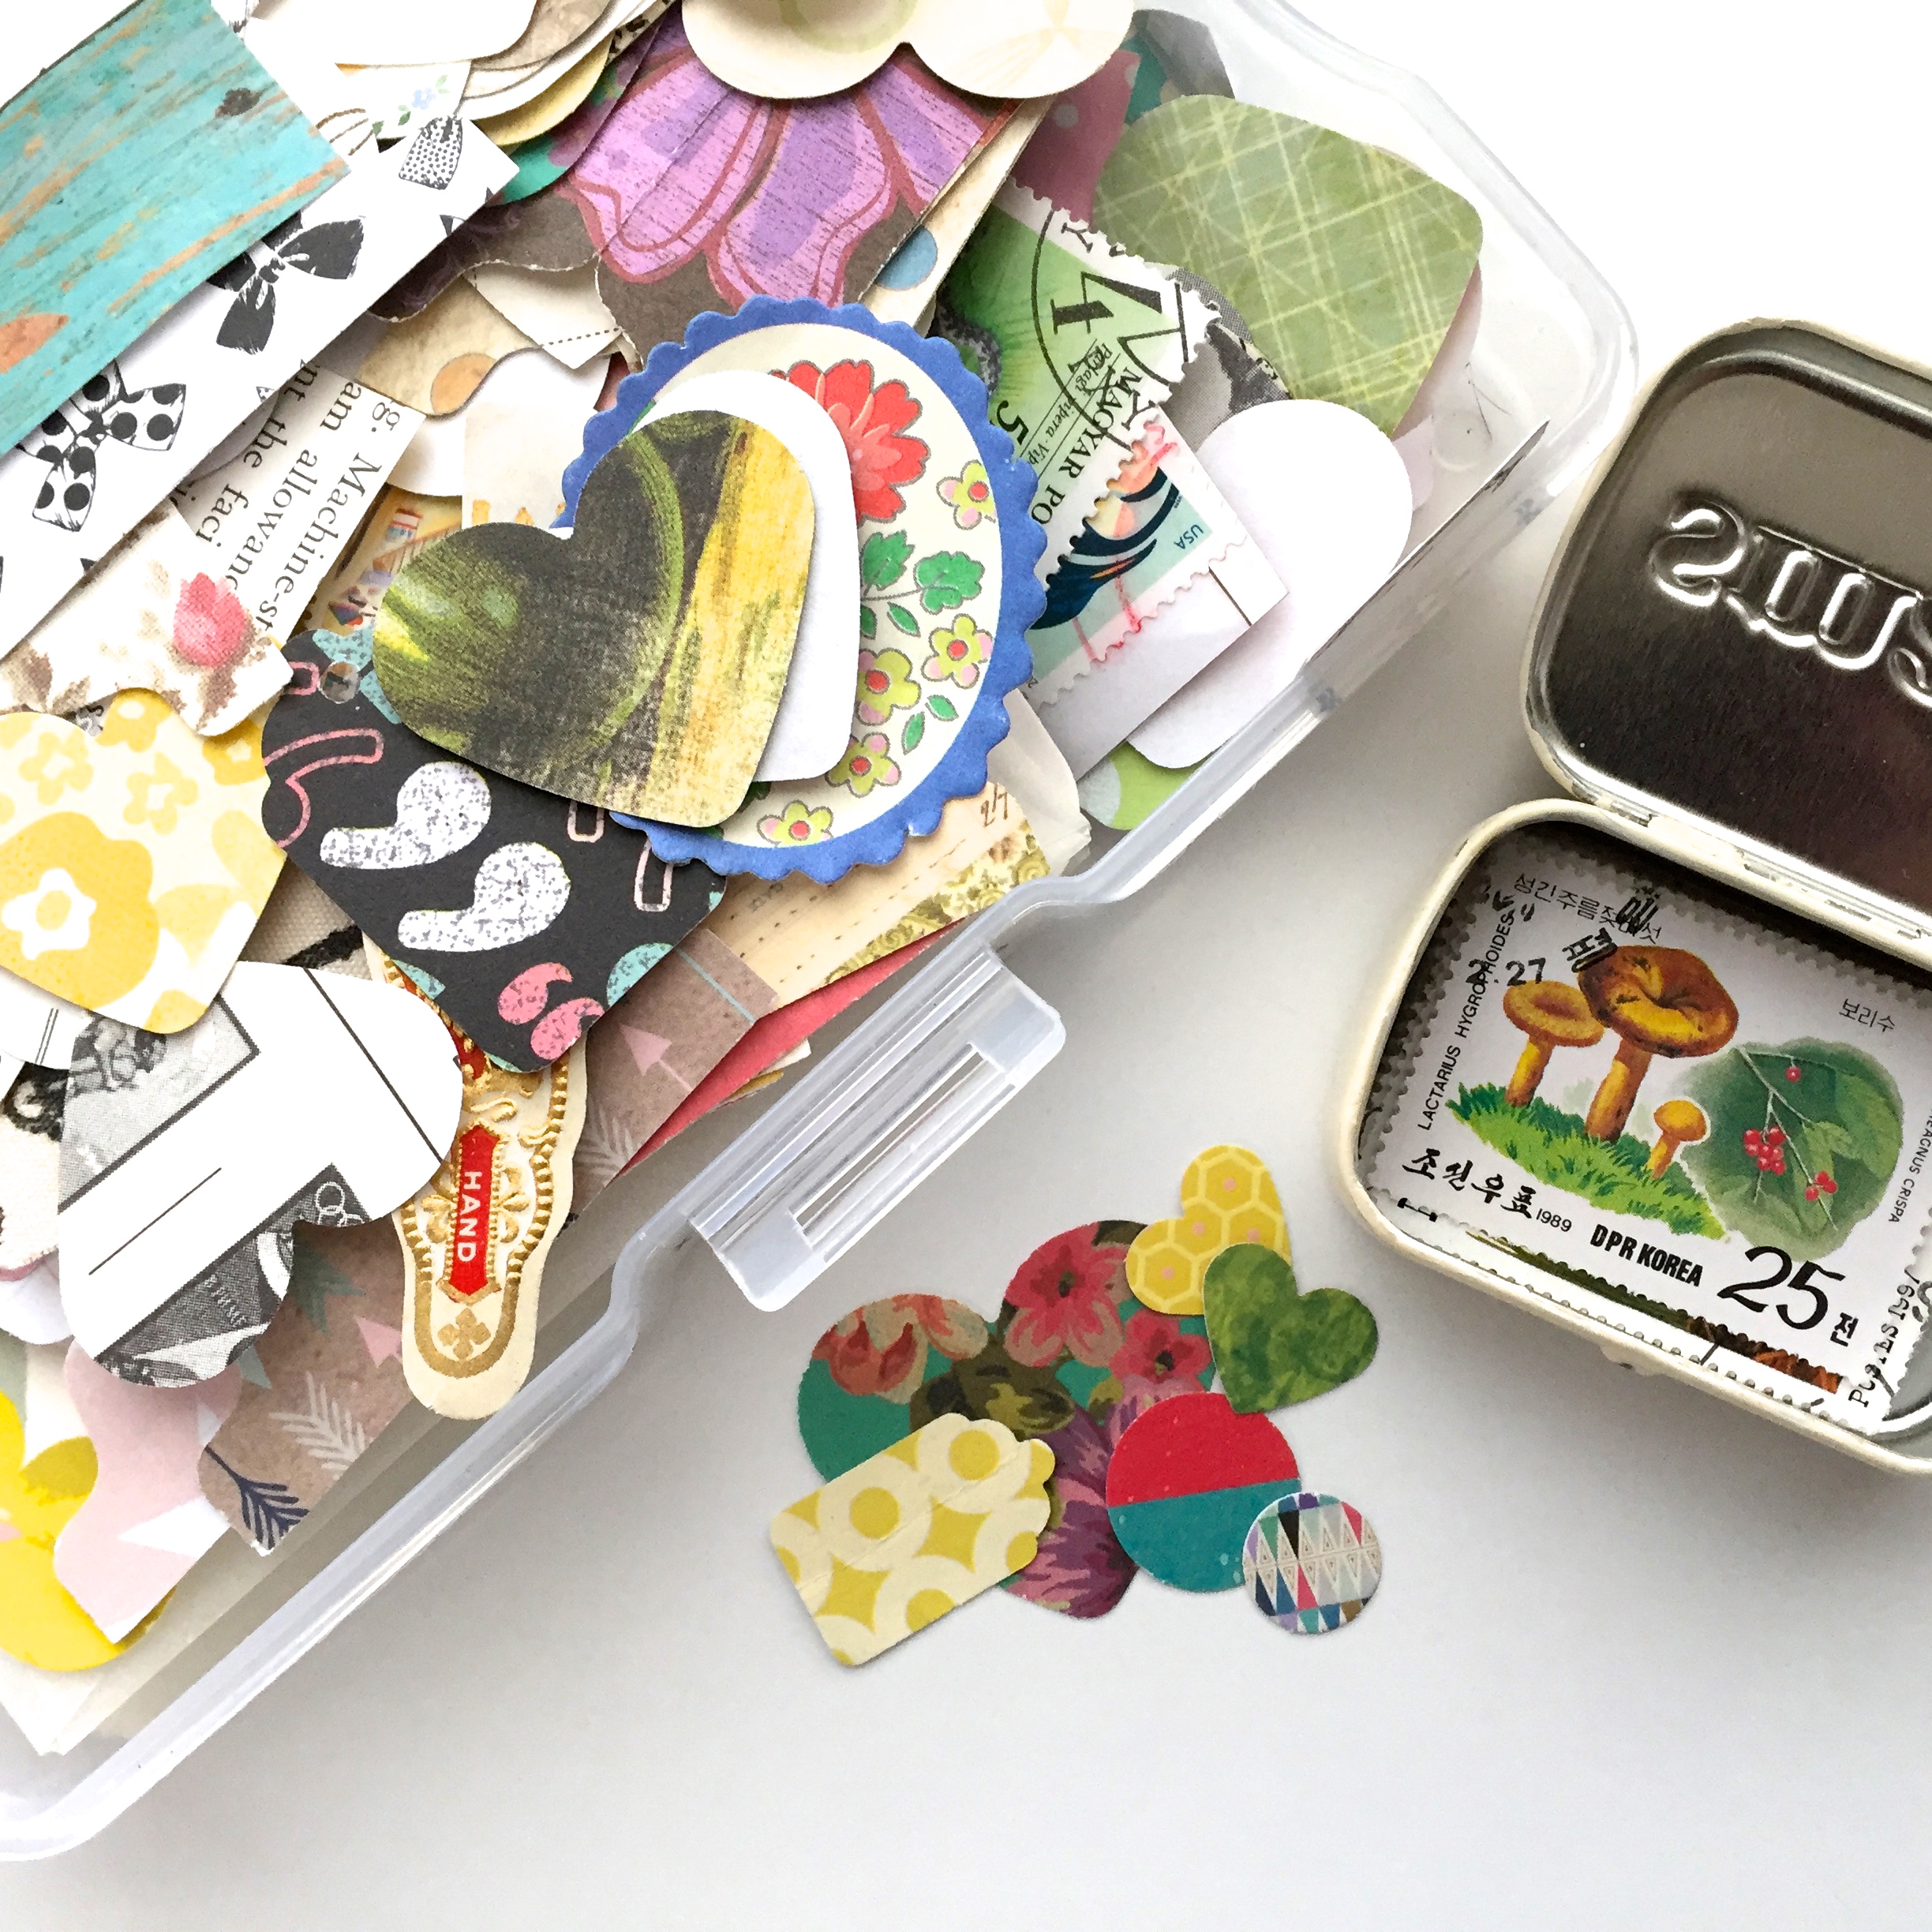
Finally, “Extra small ephemera”: the usual suspects, only smaller.
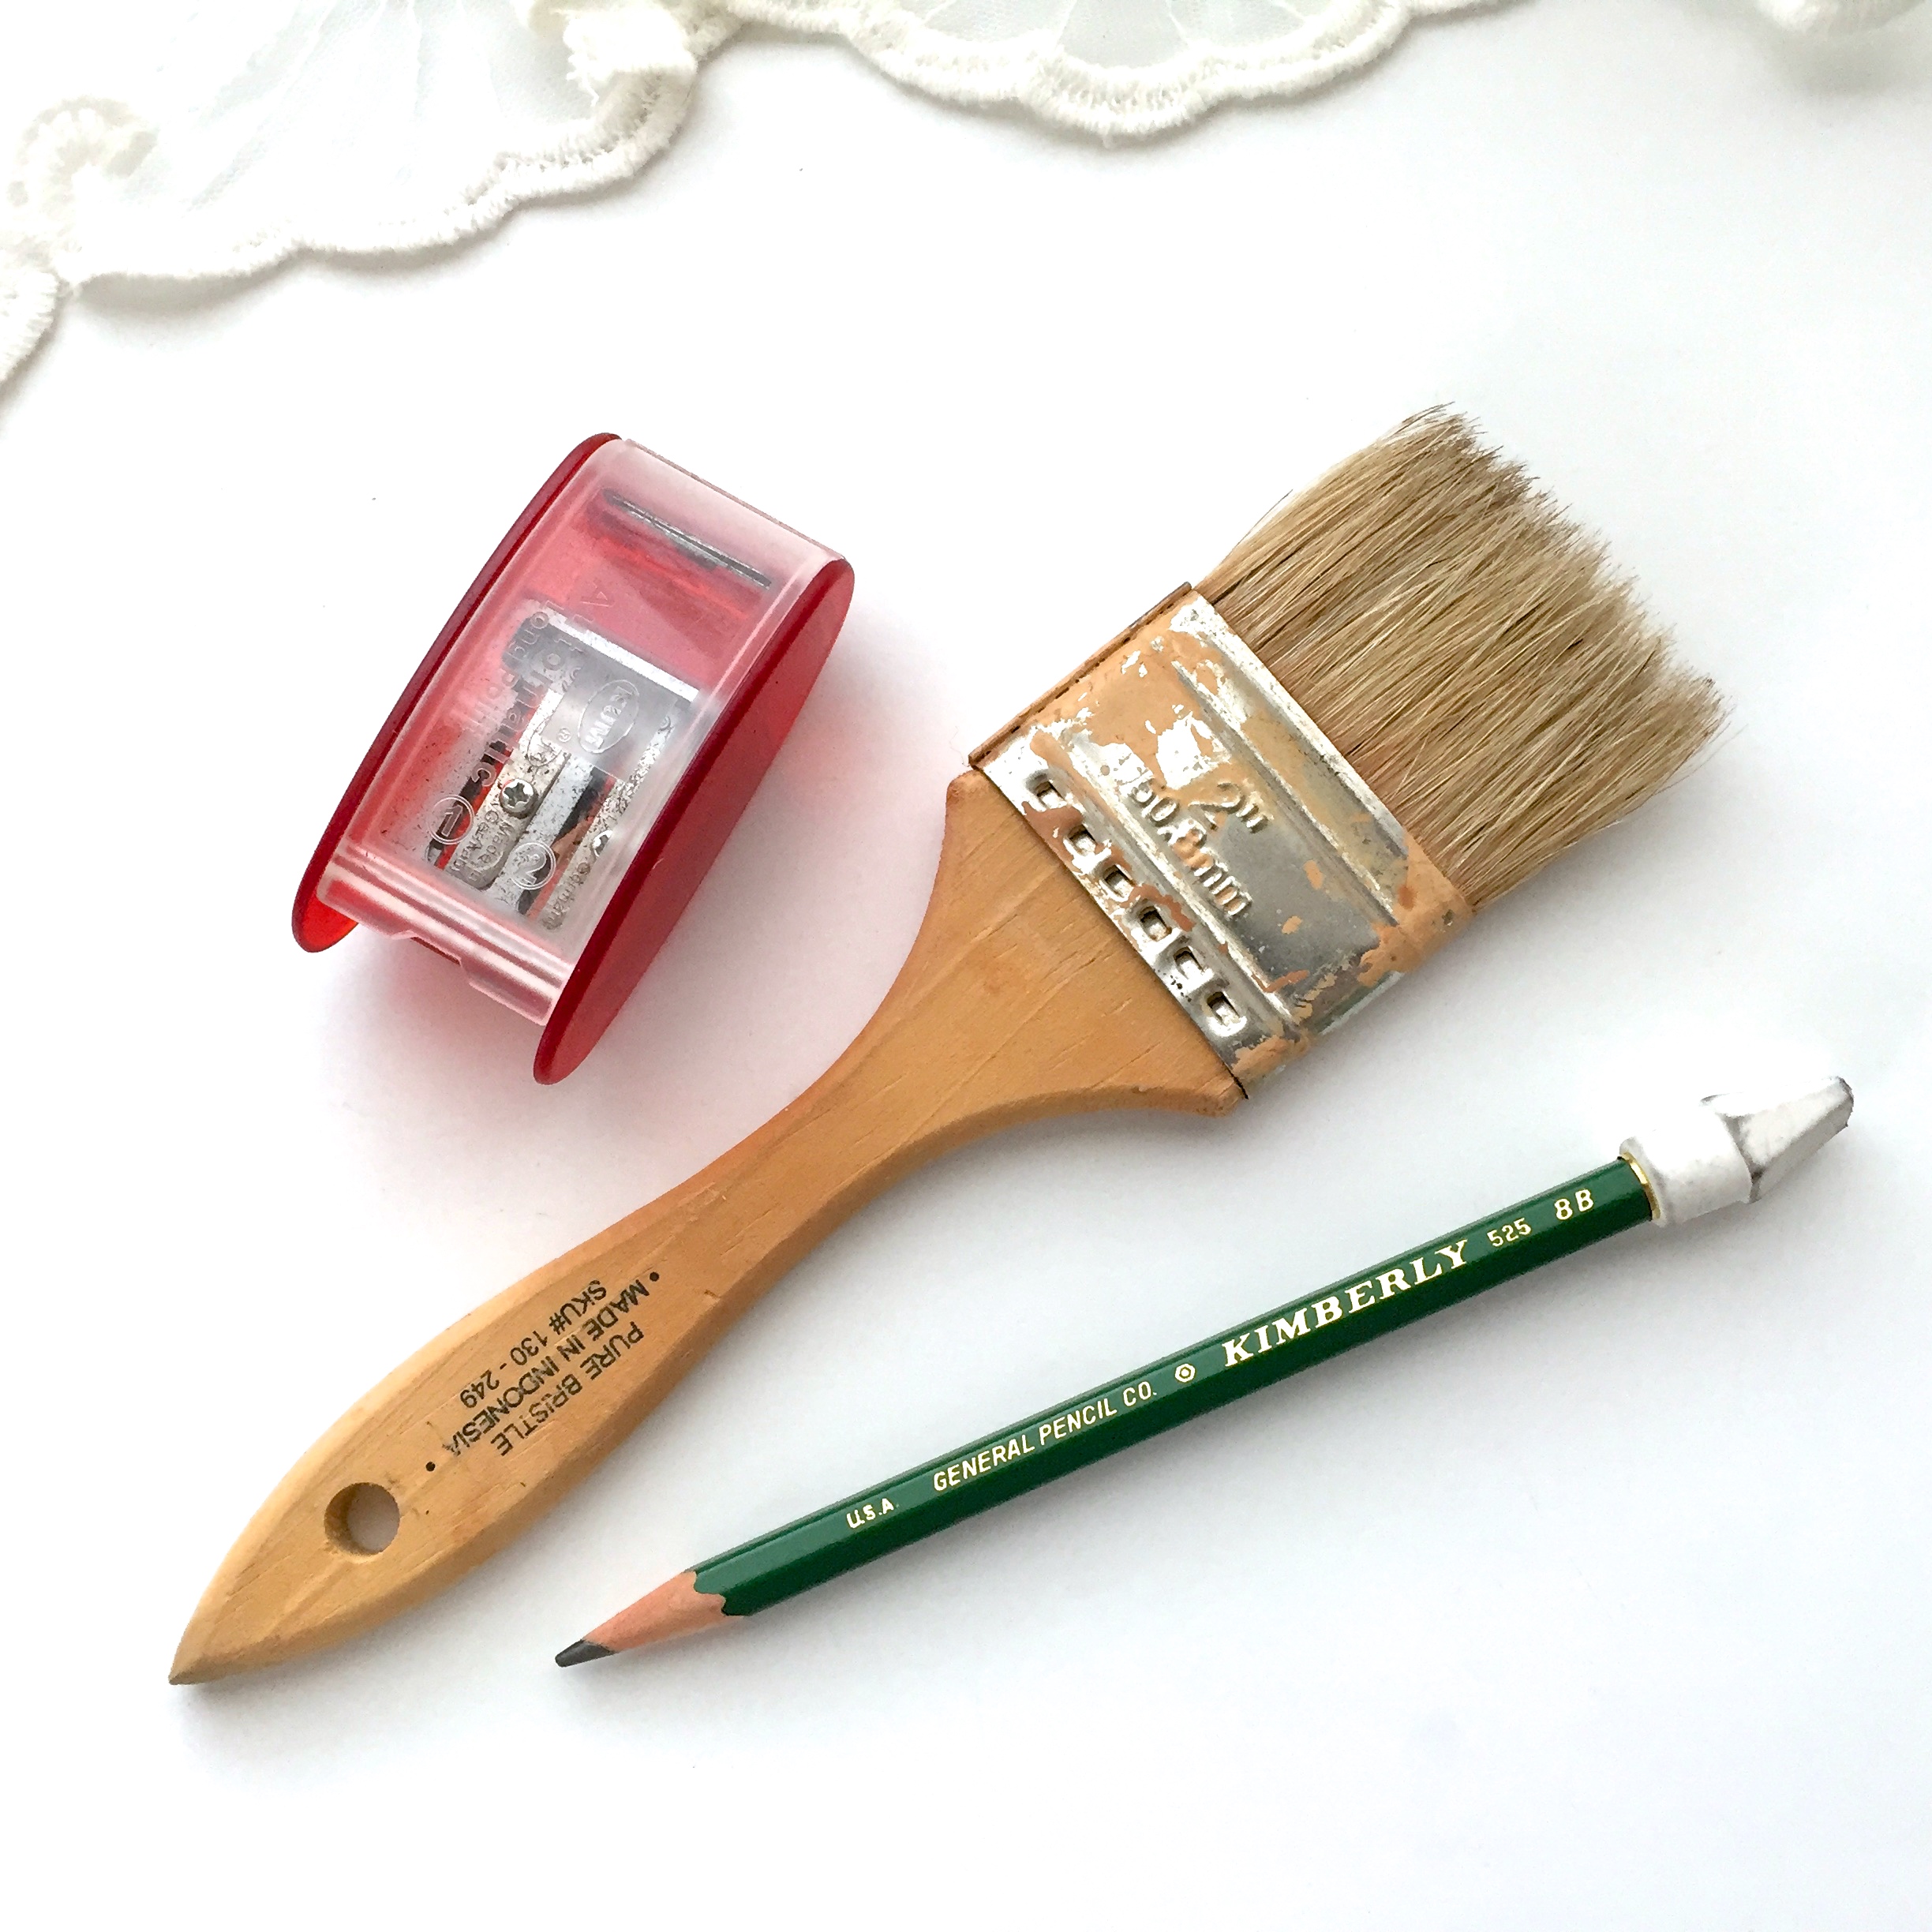
After all my layers are built, I go around most of the pieces with pencil for contrast. I use a “General” 8B pencil with a “Helix” cap eraser. I use the paint brush to brush off the eraser bits as not to smear the pencil lines. That pencil sharpener is a Kum AS2, super awesome!
(I’m not paid for sharing links, I just want to be helpful)

Last but not least, the ink stamping. The date stamp of course, but using my decorative stamps kind of went to the wayside, so I’m trying to get back into the habit.
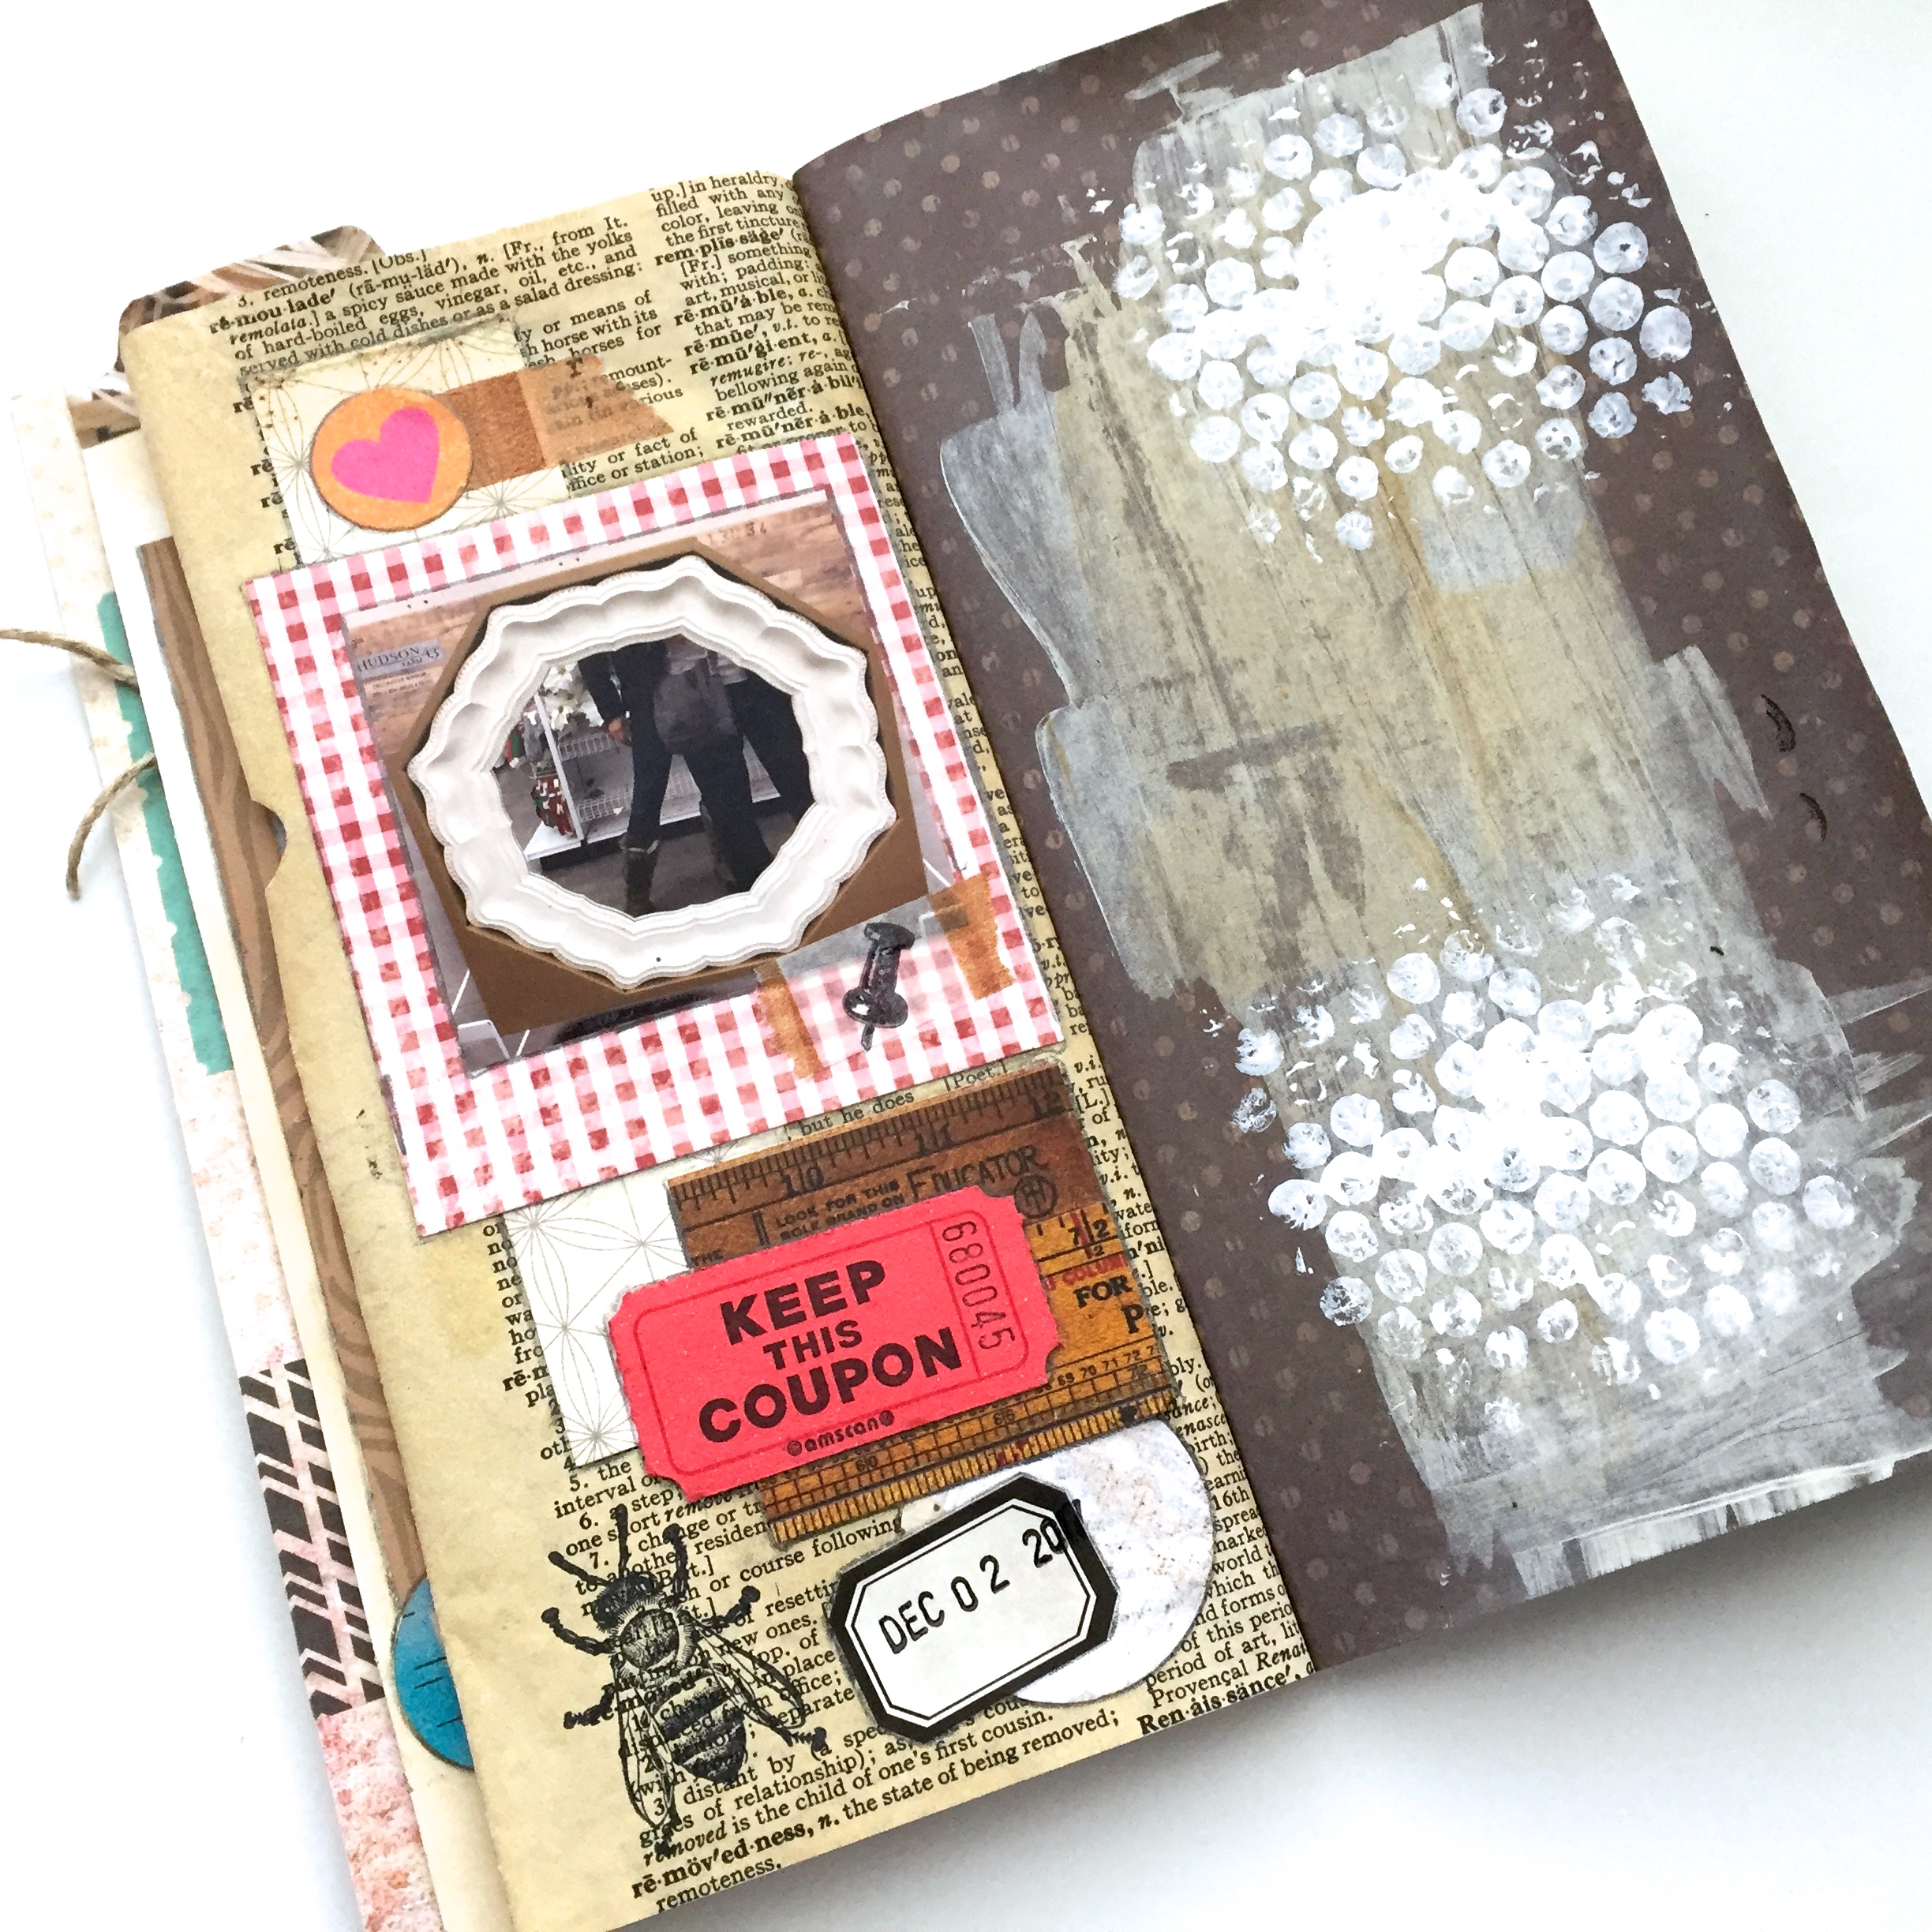
The finished product, a page of my daughter and I shopping before Christmas.
I hope you can see how I built the layers on this page. There is a video of my process here, I just wanted to share a little of the organizational aspects with you today.
I’ve made quite a few promises to myself this year, writing a weekly blog post being one, but also quality instead of quantity. Two to three art journal pages a week is quite enough, those daily challenges can be a bit daunting.
There are lots of other things I have in the works to scale down, use what I have instead of buying, and using my own ingenuity, I’ll share some of that in my next blog post.
Until then,
Thanks for dropping by,
Have a great day,
~Patty

Awesome post, Patty! I am always intrigued by each individual’s process, as well as systems of organization (I sort everything by color). Thank you also for sharing about how you use soft pencil. That’s a nice tip! I look forward to watching your process video.
LikeLiked by 1 person
Thank you Bristol! Someday I hope to get organized enough to make another video!
LikeLike
Oh wow, I like your organization Patty! Those photo cases are perfect AND you labeled them = 2 thumbs up!!! I have that pencil sharpener and love it. tfs, thanks for the inspiration 🙂
LikeLiked by 1 person
Thank you Jenny!
LikeLike