Mini Art Journals

I love it when I’m in the mood to work on old unfinished projects. This one isn’t as old as some have been, but how fun is it to have 6 new mini journals!

IMG_8451

The idea behind these was to use up smaller pieces of double sided scrapbook paper. I’m pretty picky about the paper I use in the journals I sell on my shoppe, things going sideways and such, so I usually have quite a bit leftover.

IMG_0325

I have to admit, I was less than happy with the muddy appearance I gave the covers of these journals, even though the original plan was to decorate the fronts, I’ll have to work on that.

IMG_0329

Here is an example of the first one I decorated. My favorite paper, a fussy cut image, and one of my dorky flowers, it’ll do.

IMG_8453

I left these two un-tinted and gessoed. I don’t feel as if I need to decorate the covers on these, we’ll see.

IMG_0328

I made a pocket page for each, then filled them with scrapbook paper. How in the world I am going to find the time to work in these, I have no idea. That’s why I opened my shoppe, so I can make art journals but not necessarily have to art them up! Cheeky eh!

Well, once again thank you for the visit,

Have a fab week,

~Patty

Keeping Art Journaling in the Family

A few weeks ago, I received one of the most awesome texts ever! My daughter wrote “I started my art journal last night, I don’t know how you only do one page at a time! I could have decorated the whole book last night!”  It went on from there, and needless to say, I set about planning more journals for her. But, because she was coming over to see me quite soon, I thought it would be fun to work on them together.

IMG_8387

She loves her horses, so what better place to start than with these. The one on the right came with gorgeous illustrations and the pages were in great shape. The book on the left has a nice cover, but the pages were unusable, so we just replaced them.

IMG_8389

She went with all cool colors for the blue book, and all warm with the orange. I have to say I loved her choices in paper!

IMG_8393

I’m super jealous of the way they came out! If I wasn’t in the middle of so many art journals, I would be making one of these for myself! The florals with all that woodgrain is making me drool!

She asked for more lined paper than I usually put in my journals, which is awesome! Adding your writing along with art and bits and pieces of your life is what these journals are all about!

IMG_8392

So, what a wonderful thing to have in my life, a new art journaling buddy! It doesn’t get any better than that!

Thank you for the visit,

See you soon,

~Patty

My Daily Planner Makeover

I haven’t talked about this planner for quite some time now. It is my “daily” planner, a place that everything goes from my weekly planners. I always have lots of ideas for the week. But, on a daily basis anything can happen to side track what I think I can do. Too little sleep, last minute plans for the weekend, sudden creative inspiration. When these things happen, I want to have the flexibility to rearrange my week, and still get stuff done!

And, since I open this up six out of seven days a week, I thought it could do with a bit of an up-grade.

IMG_9476

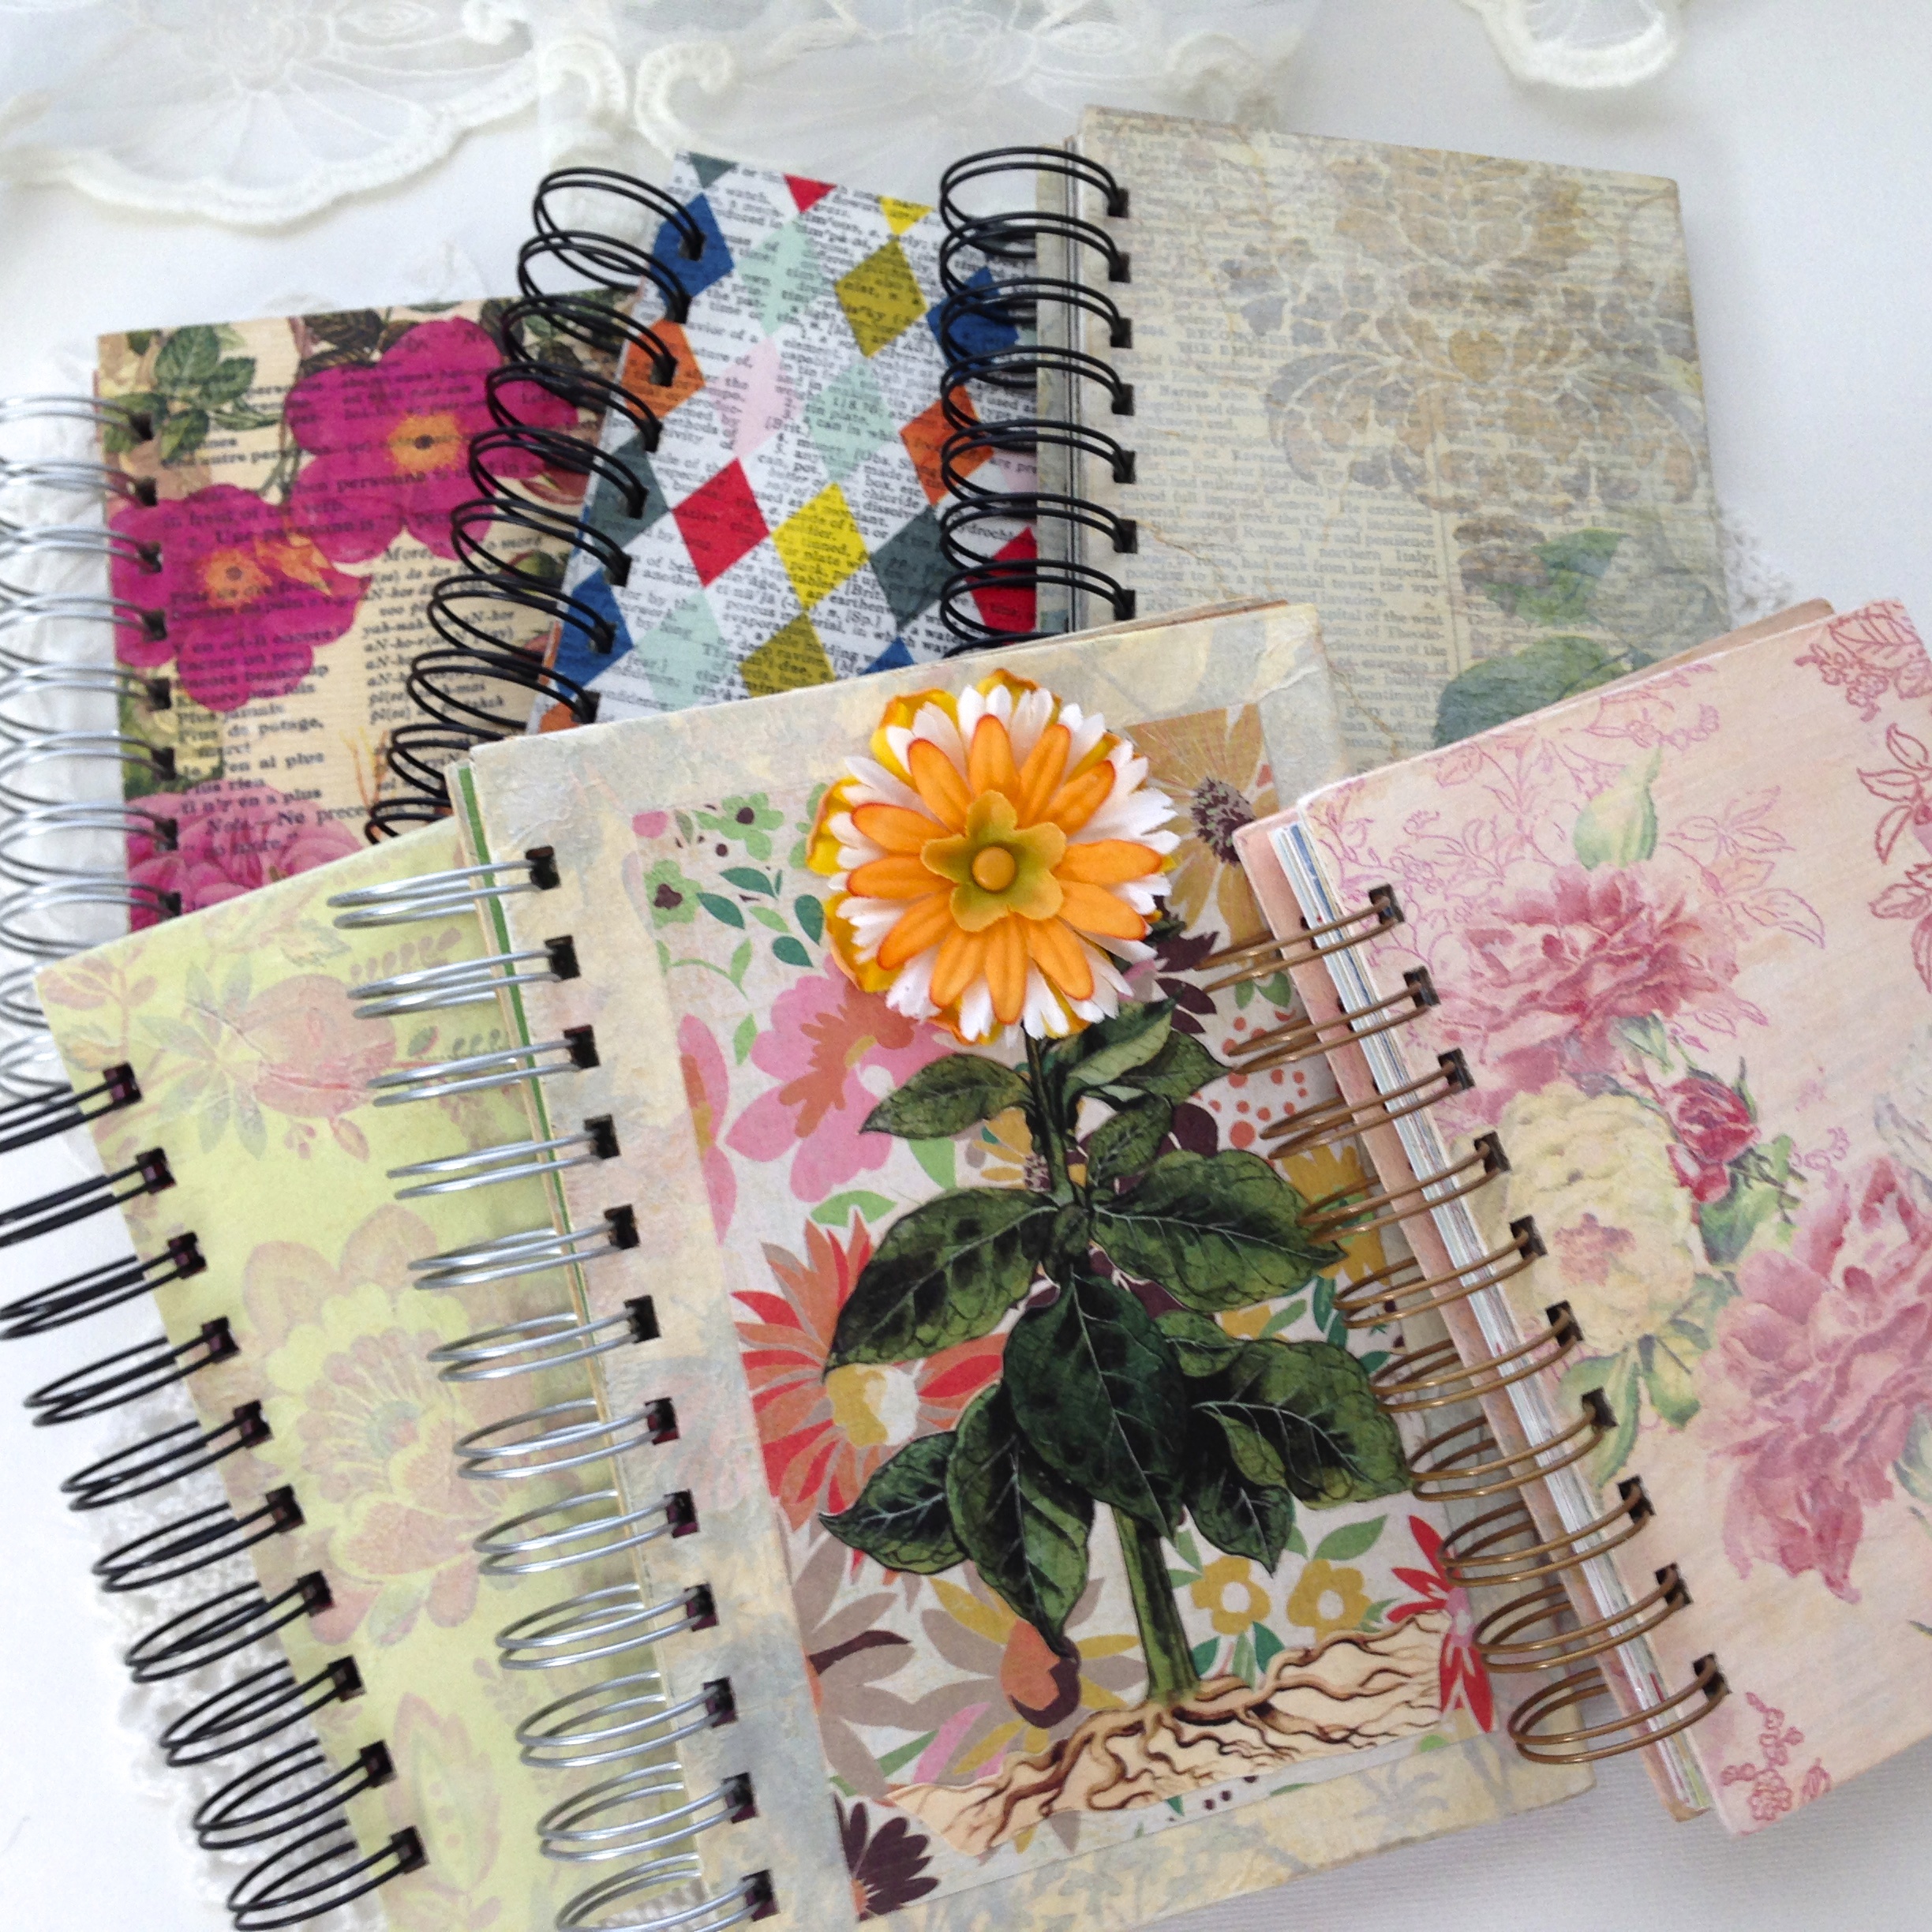
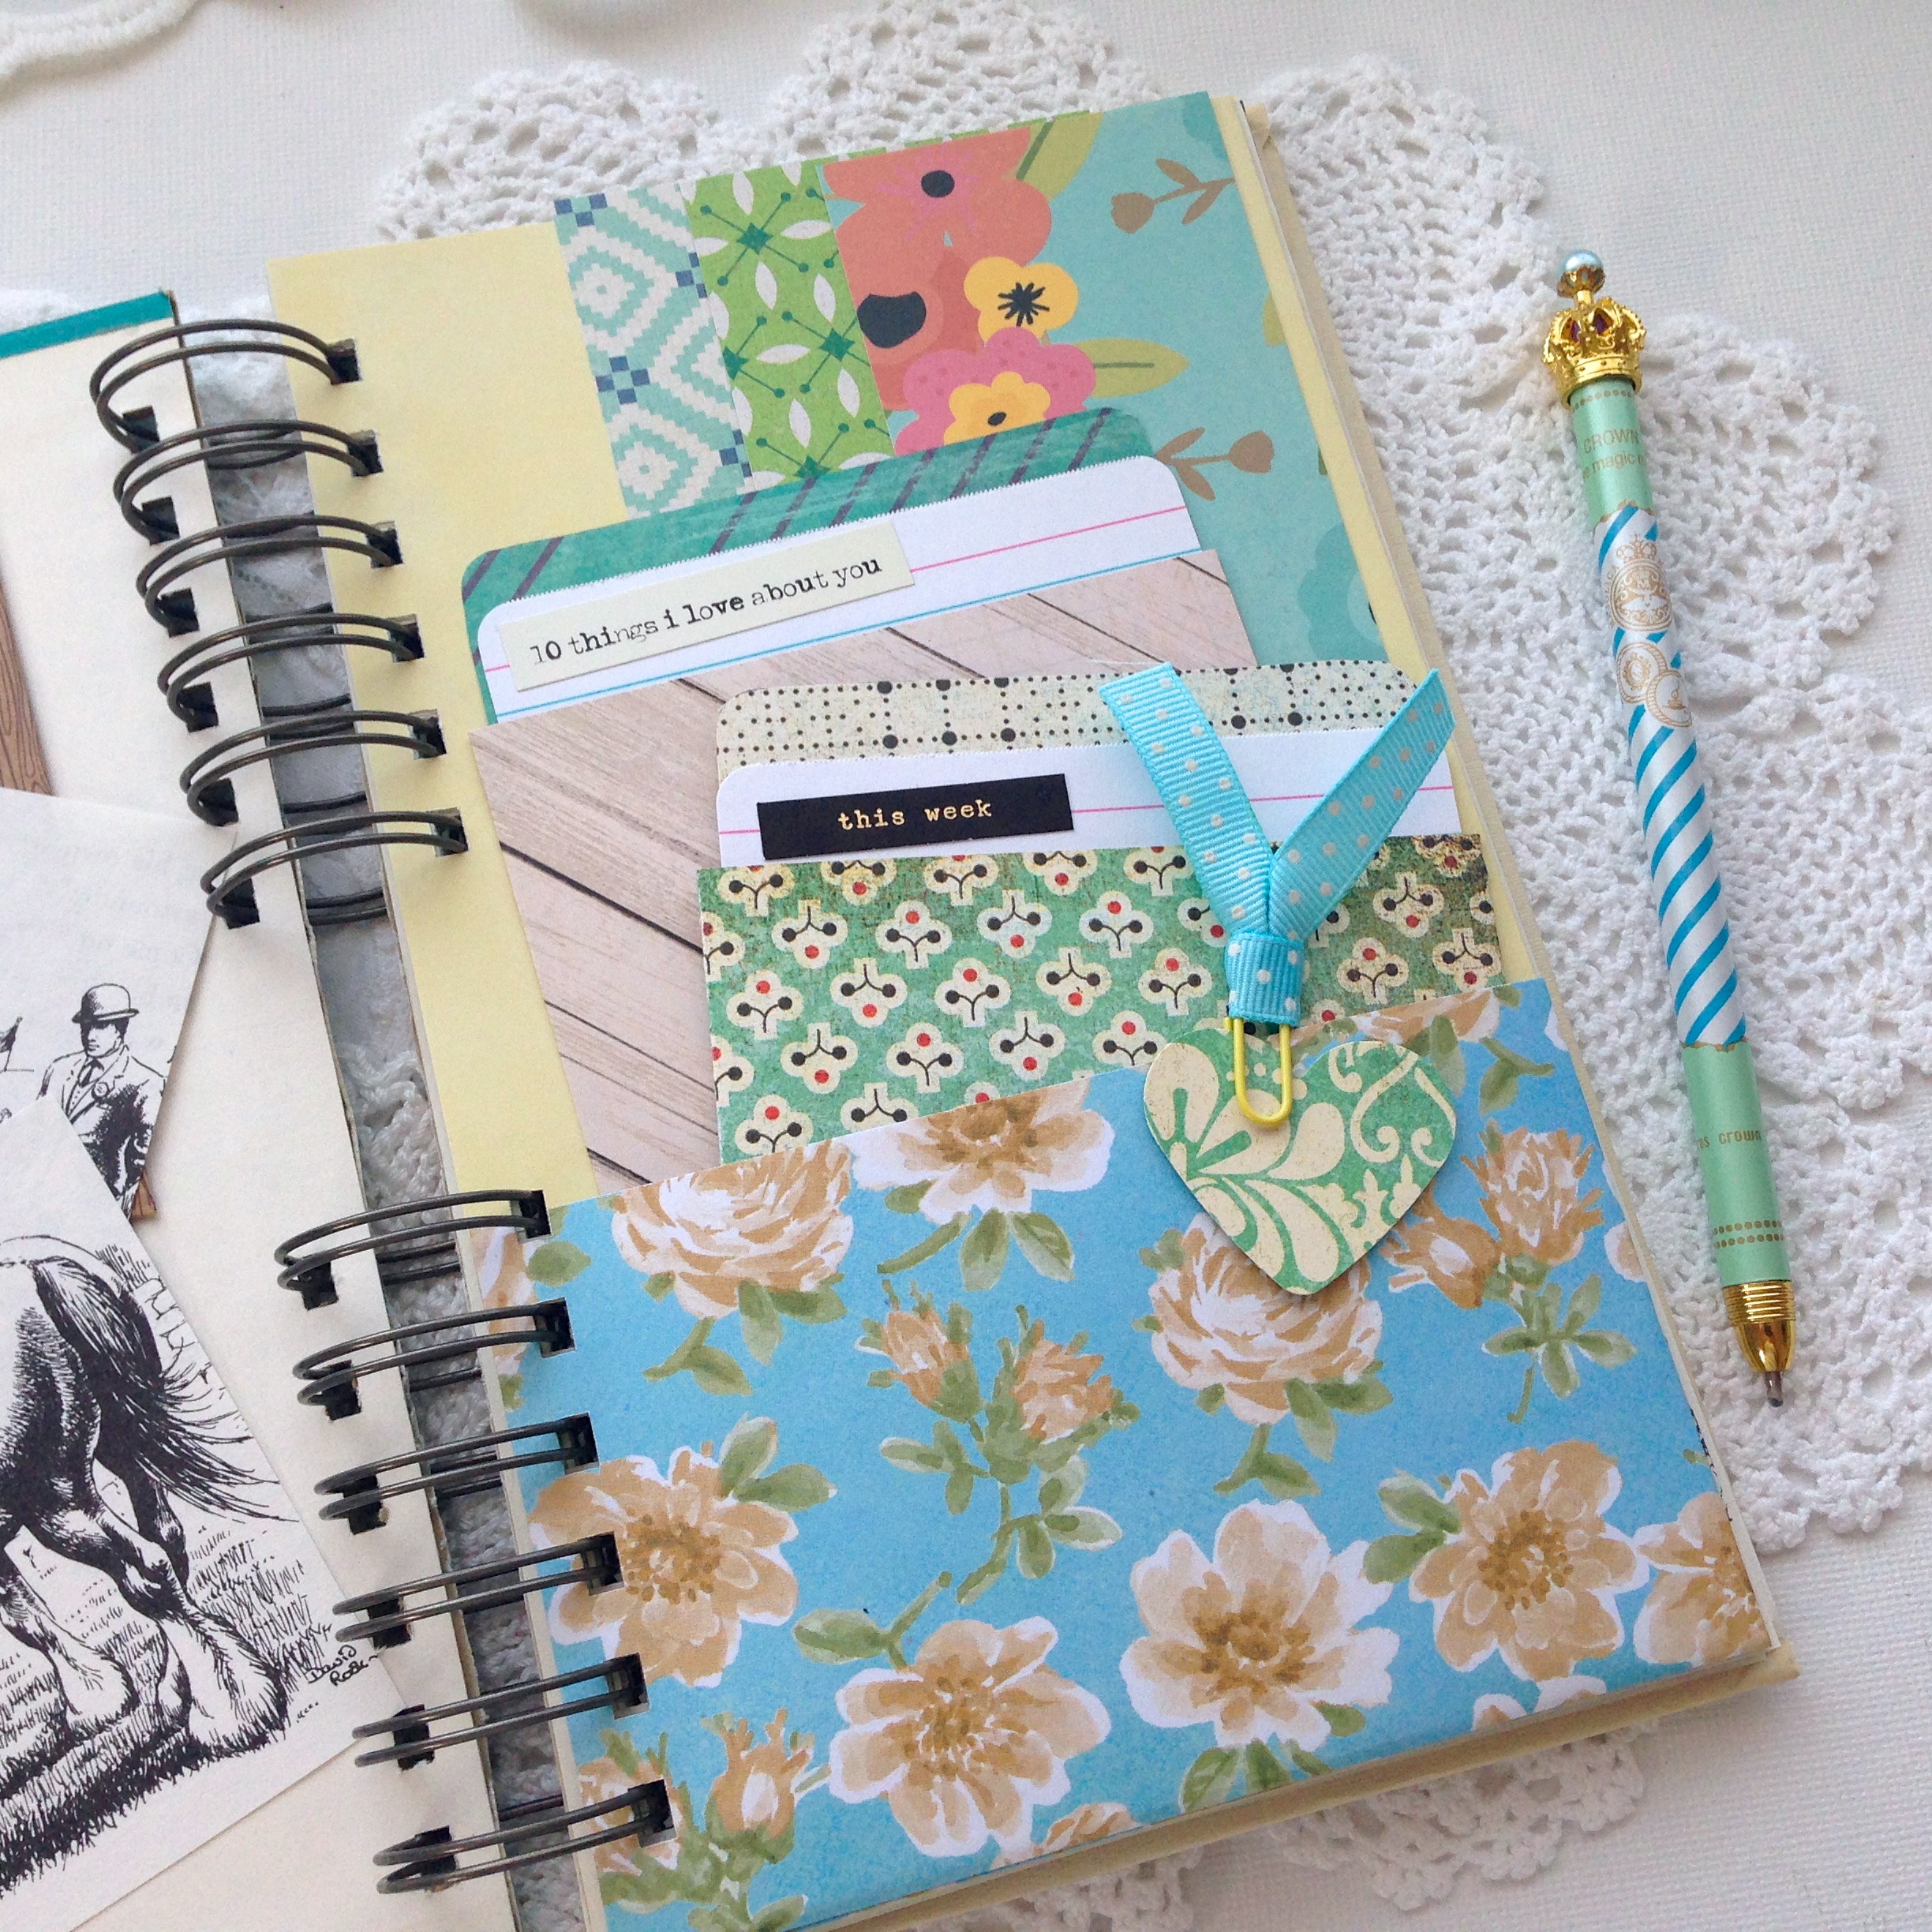
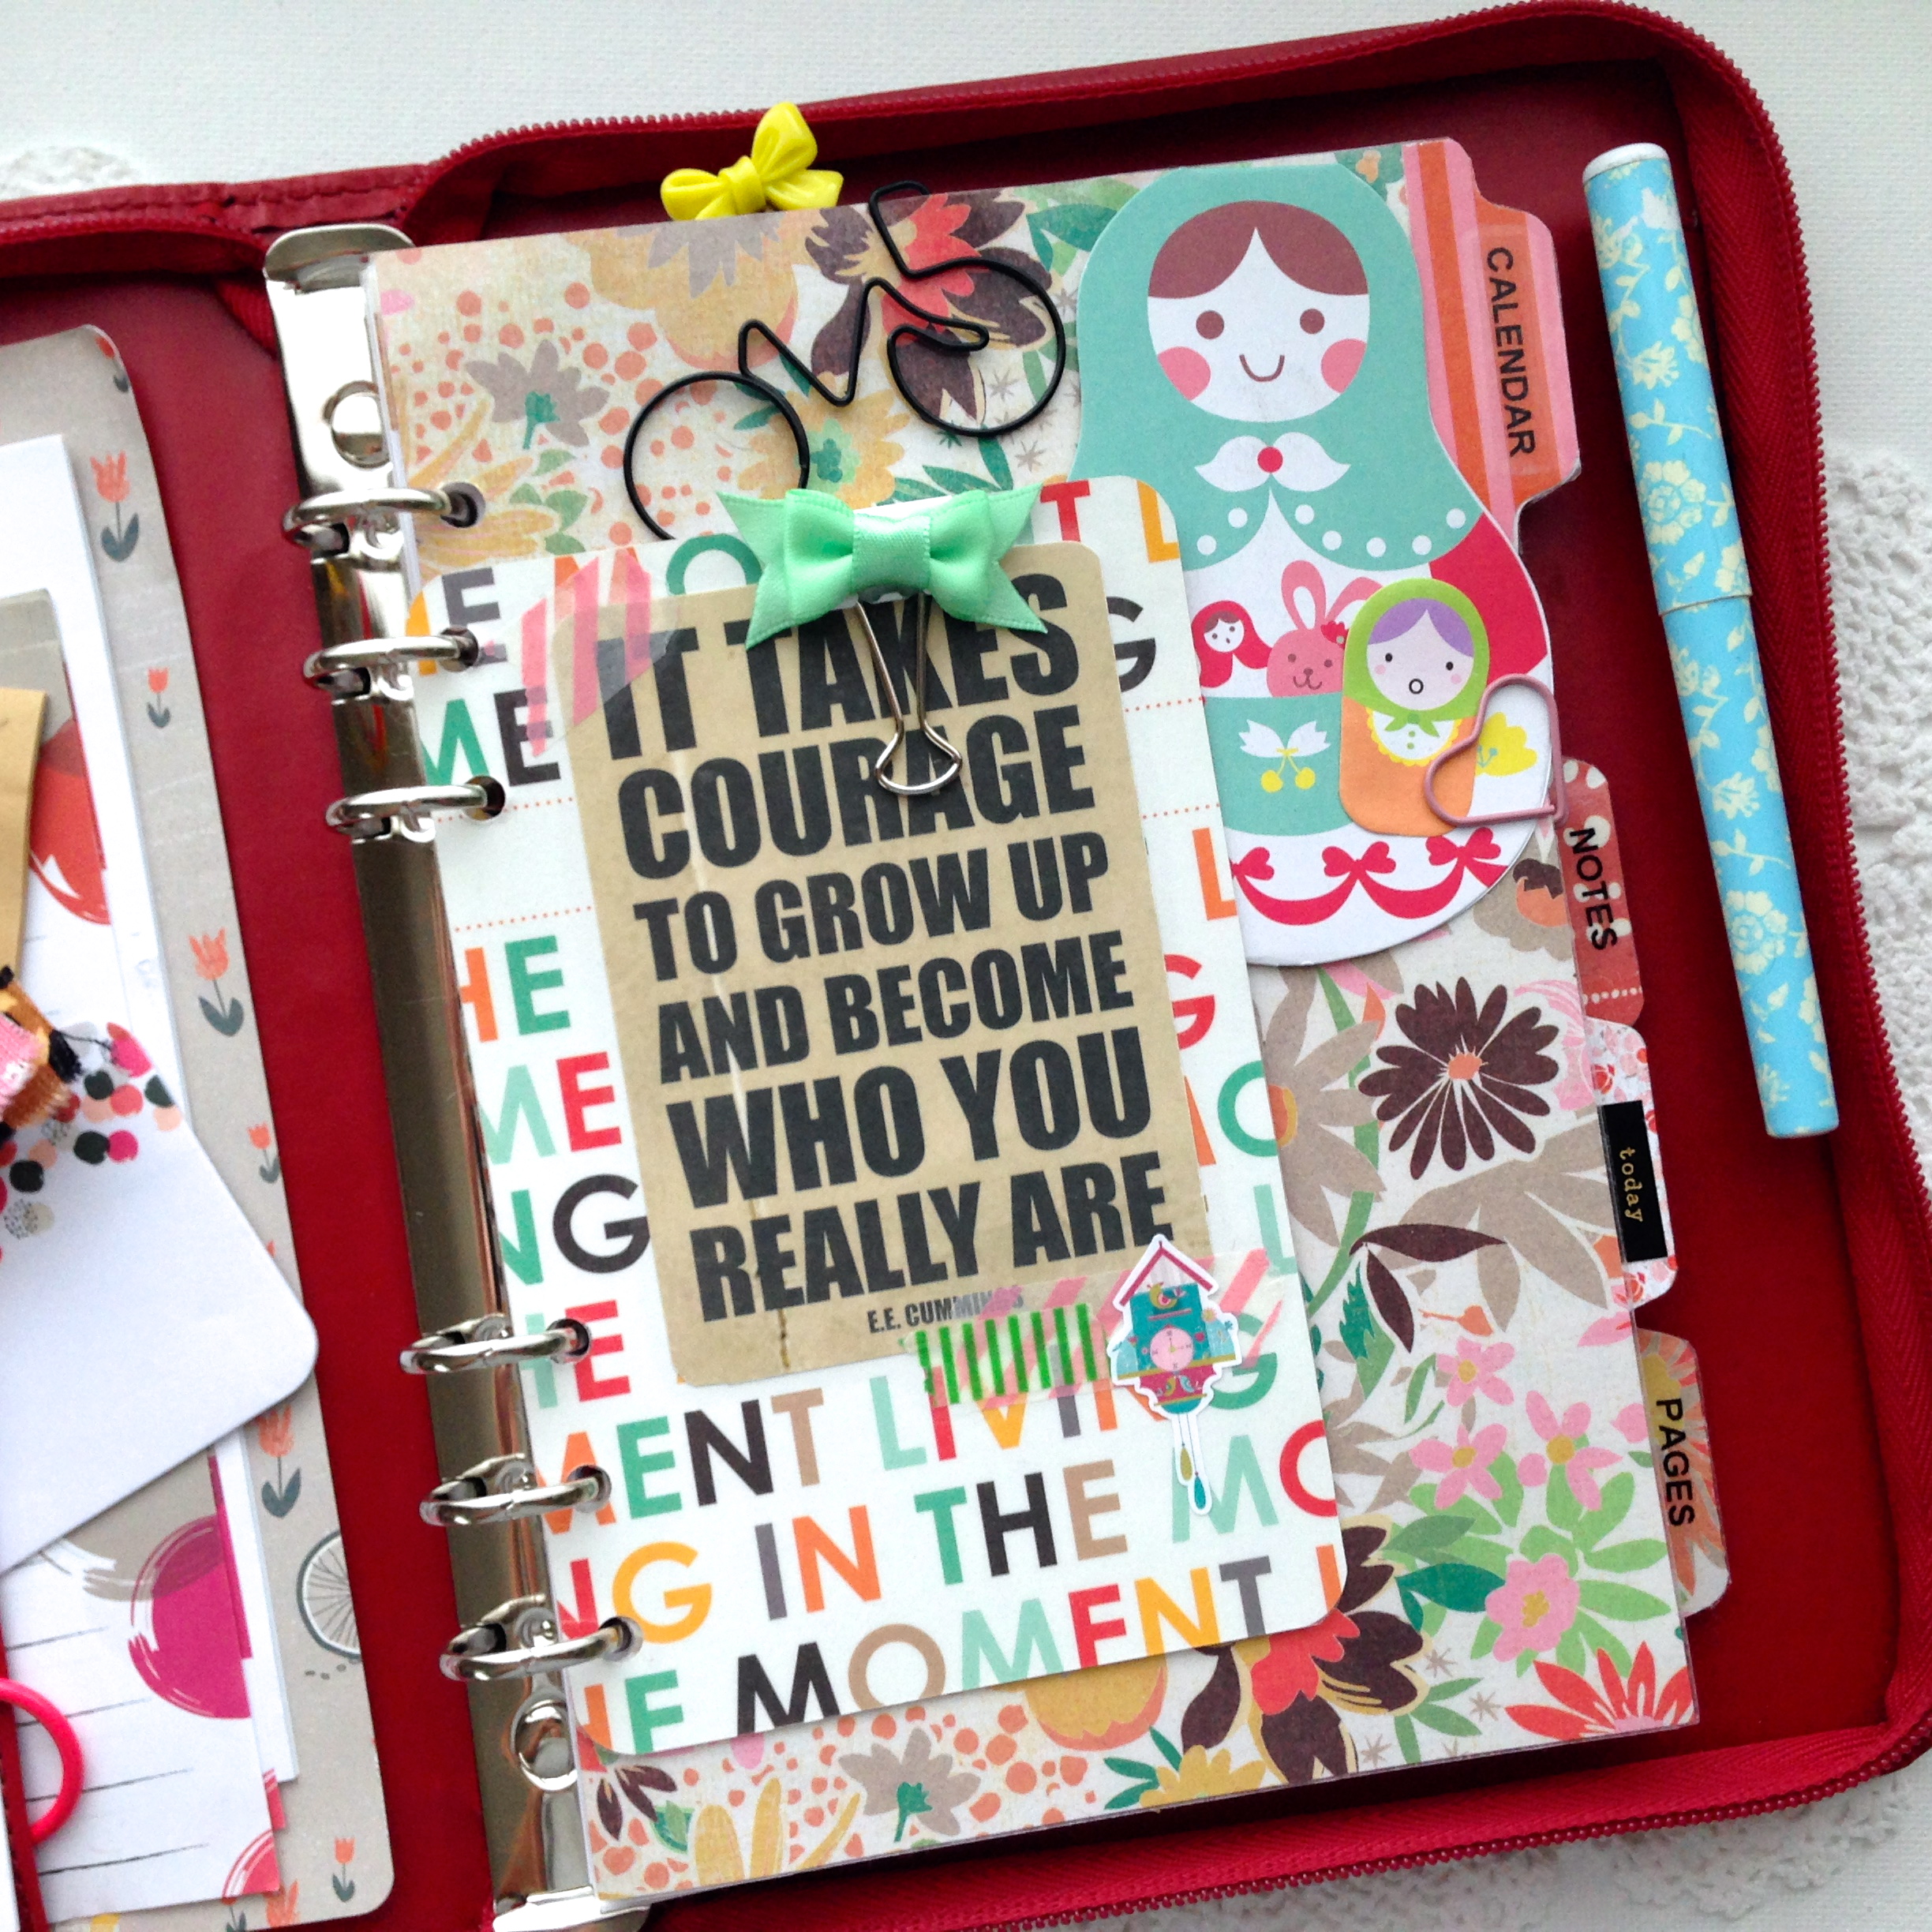
I had decorated this one in primary colors to begin with, but now that I’m finding my own personal style in planner decorating, it’s time to change things up!  I love using bright colors combined with muted tones!

IMG_9485

Also, I am finding that I want to use it even more now that it reflects my style. It’s probably very common for all of us to copy other creative styles until we find our own footing, I do it all the time. What a wonderful feeling to find my way home!

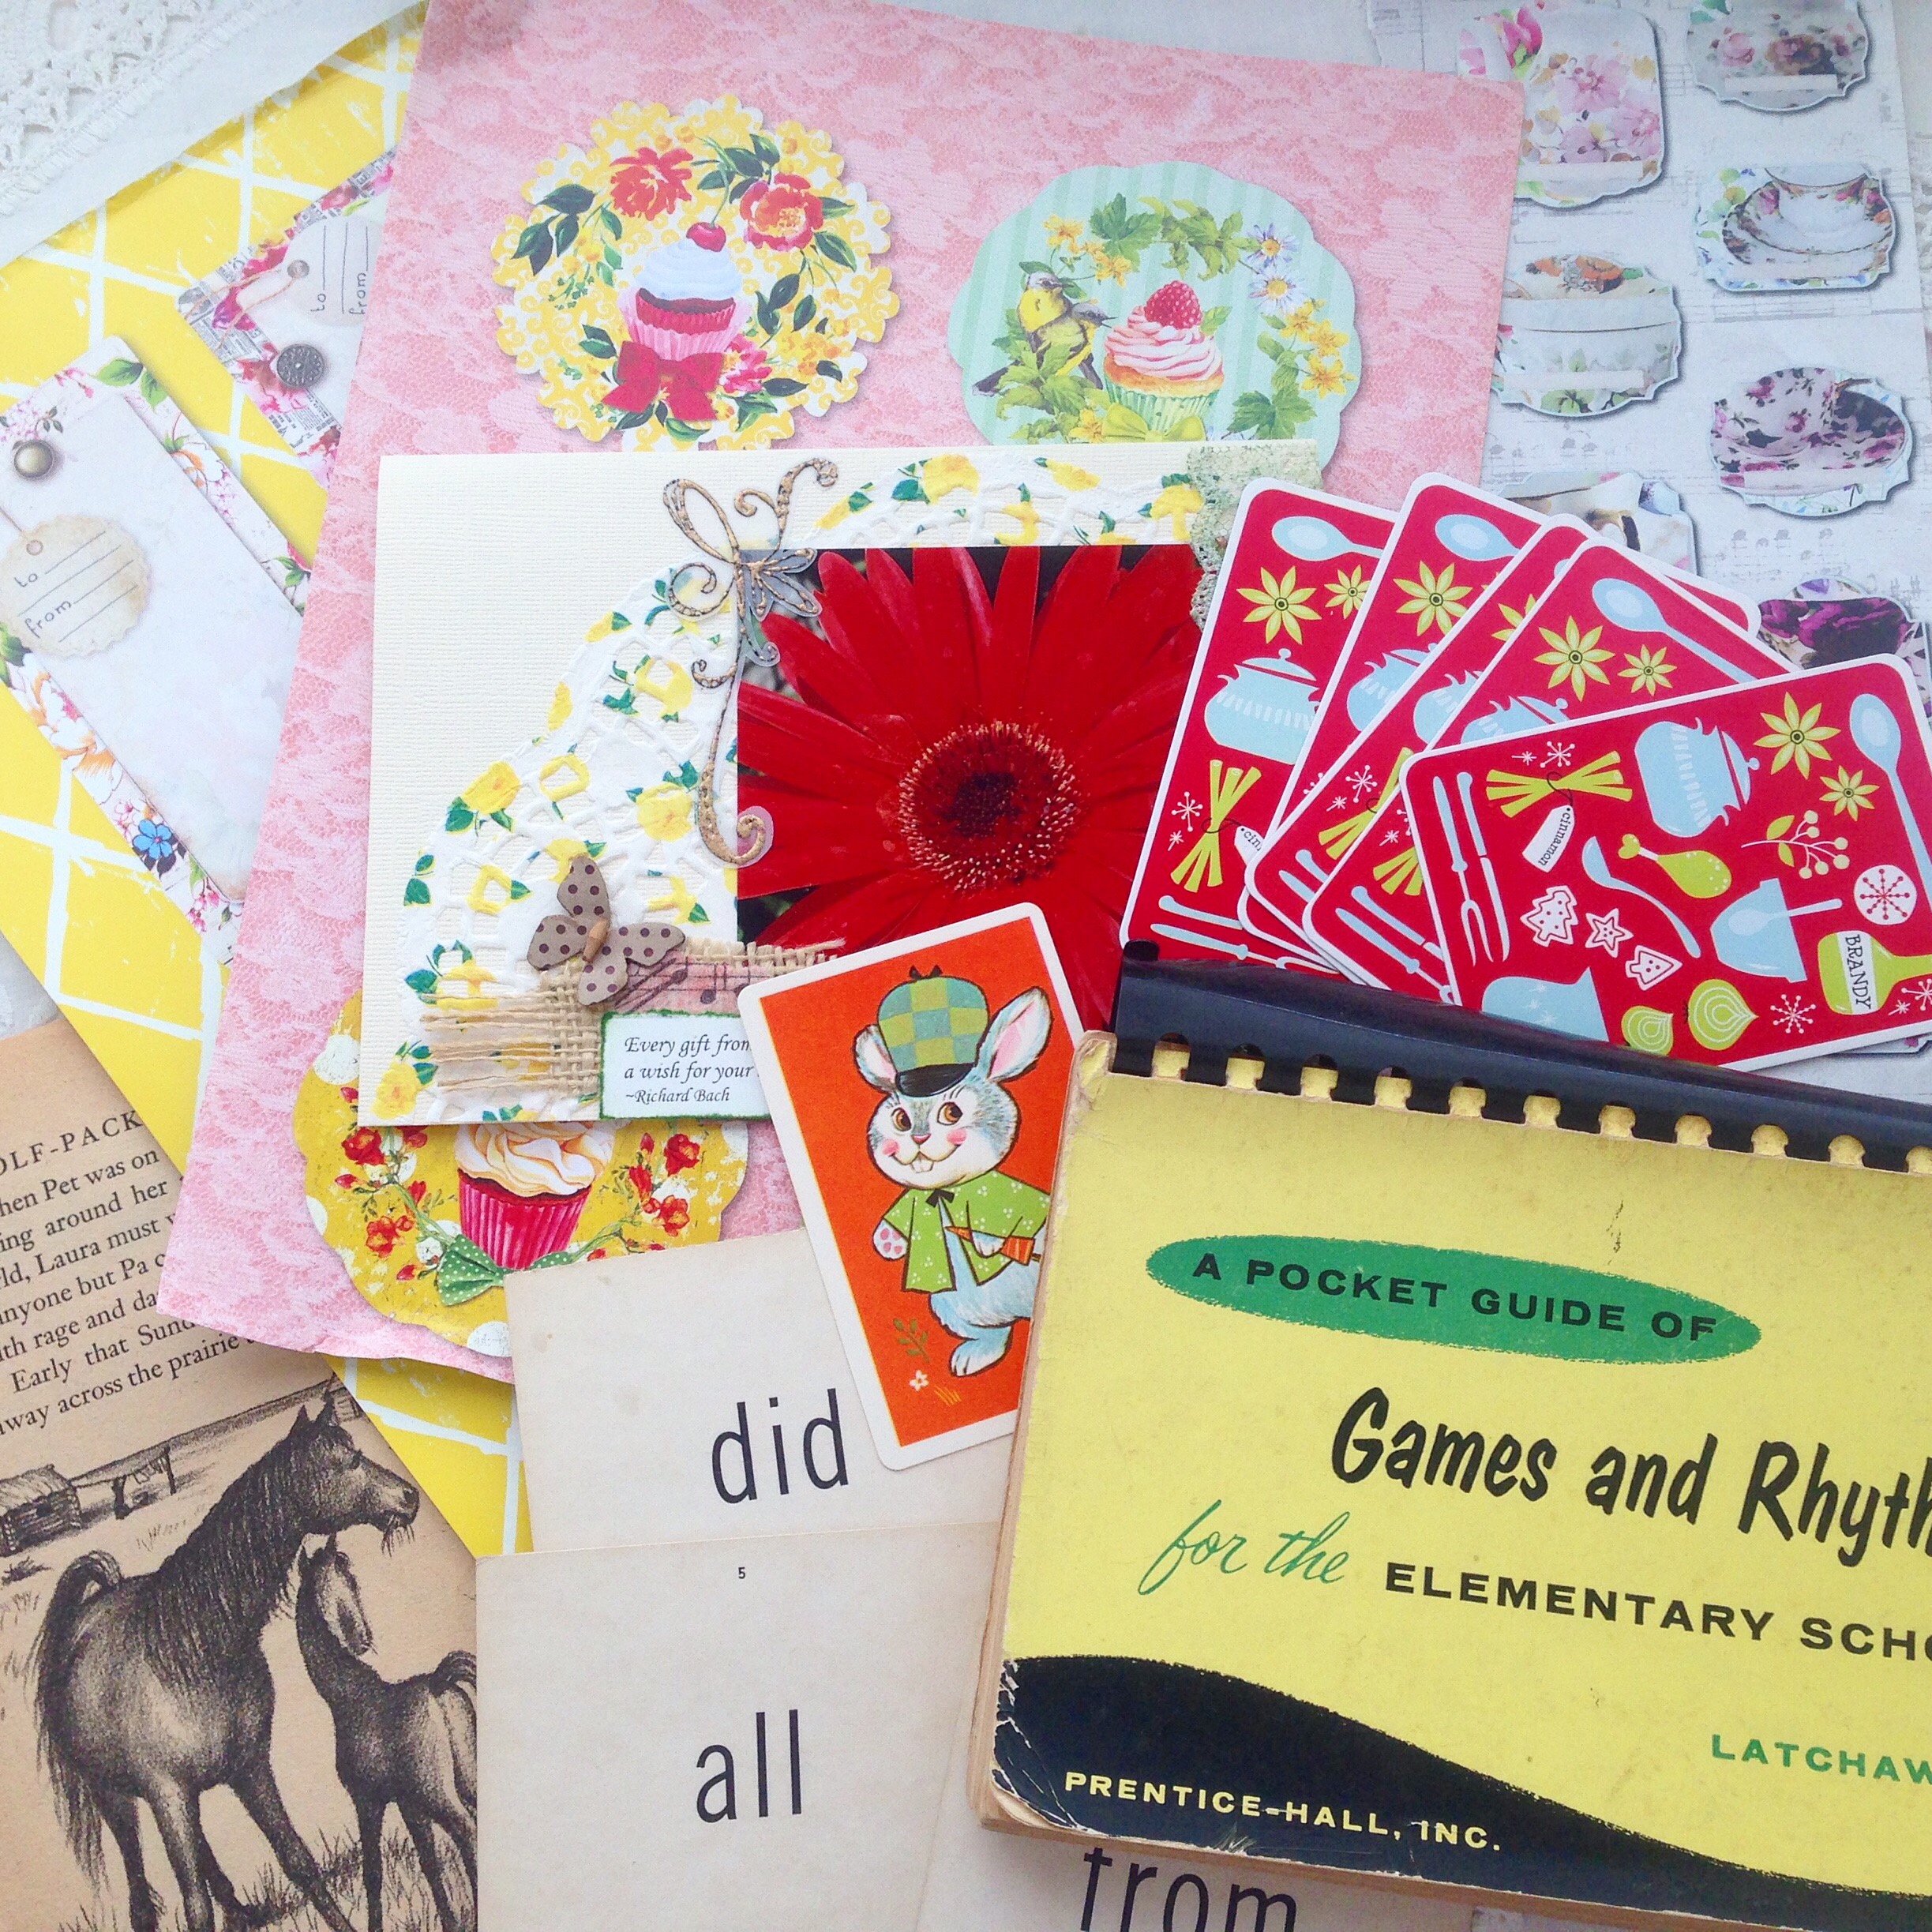
I used some retro playing cards to wrap my washi tape around. The flower and “rag” paperclips are a recent obsession, a fun movie watching activity.

IMG_9489

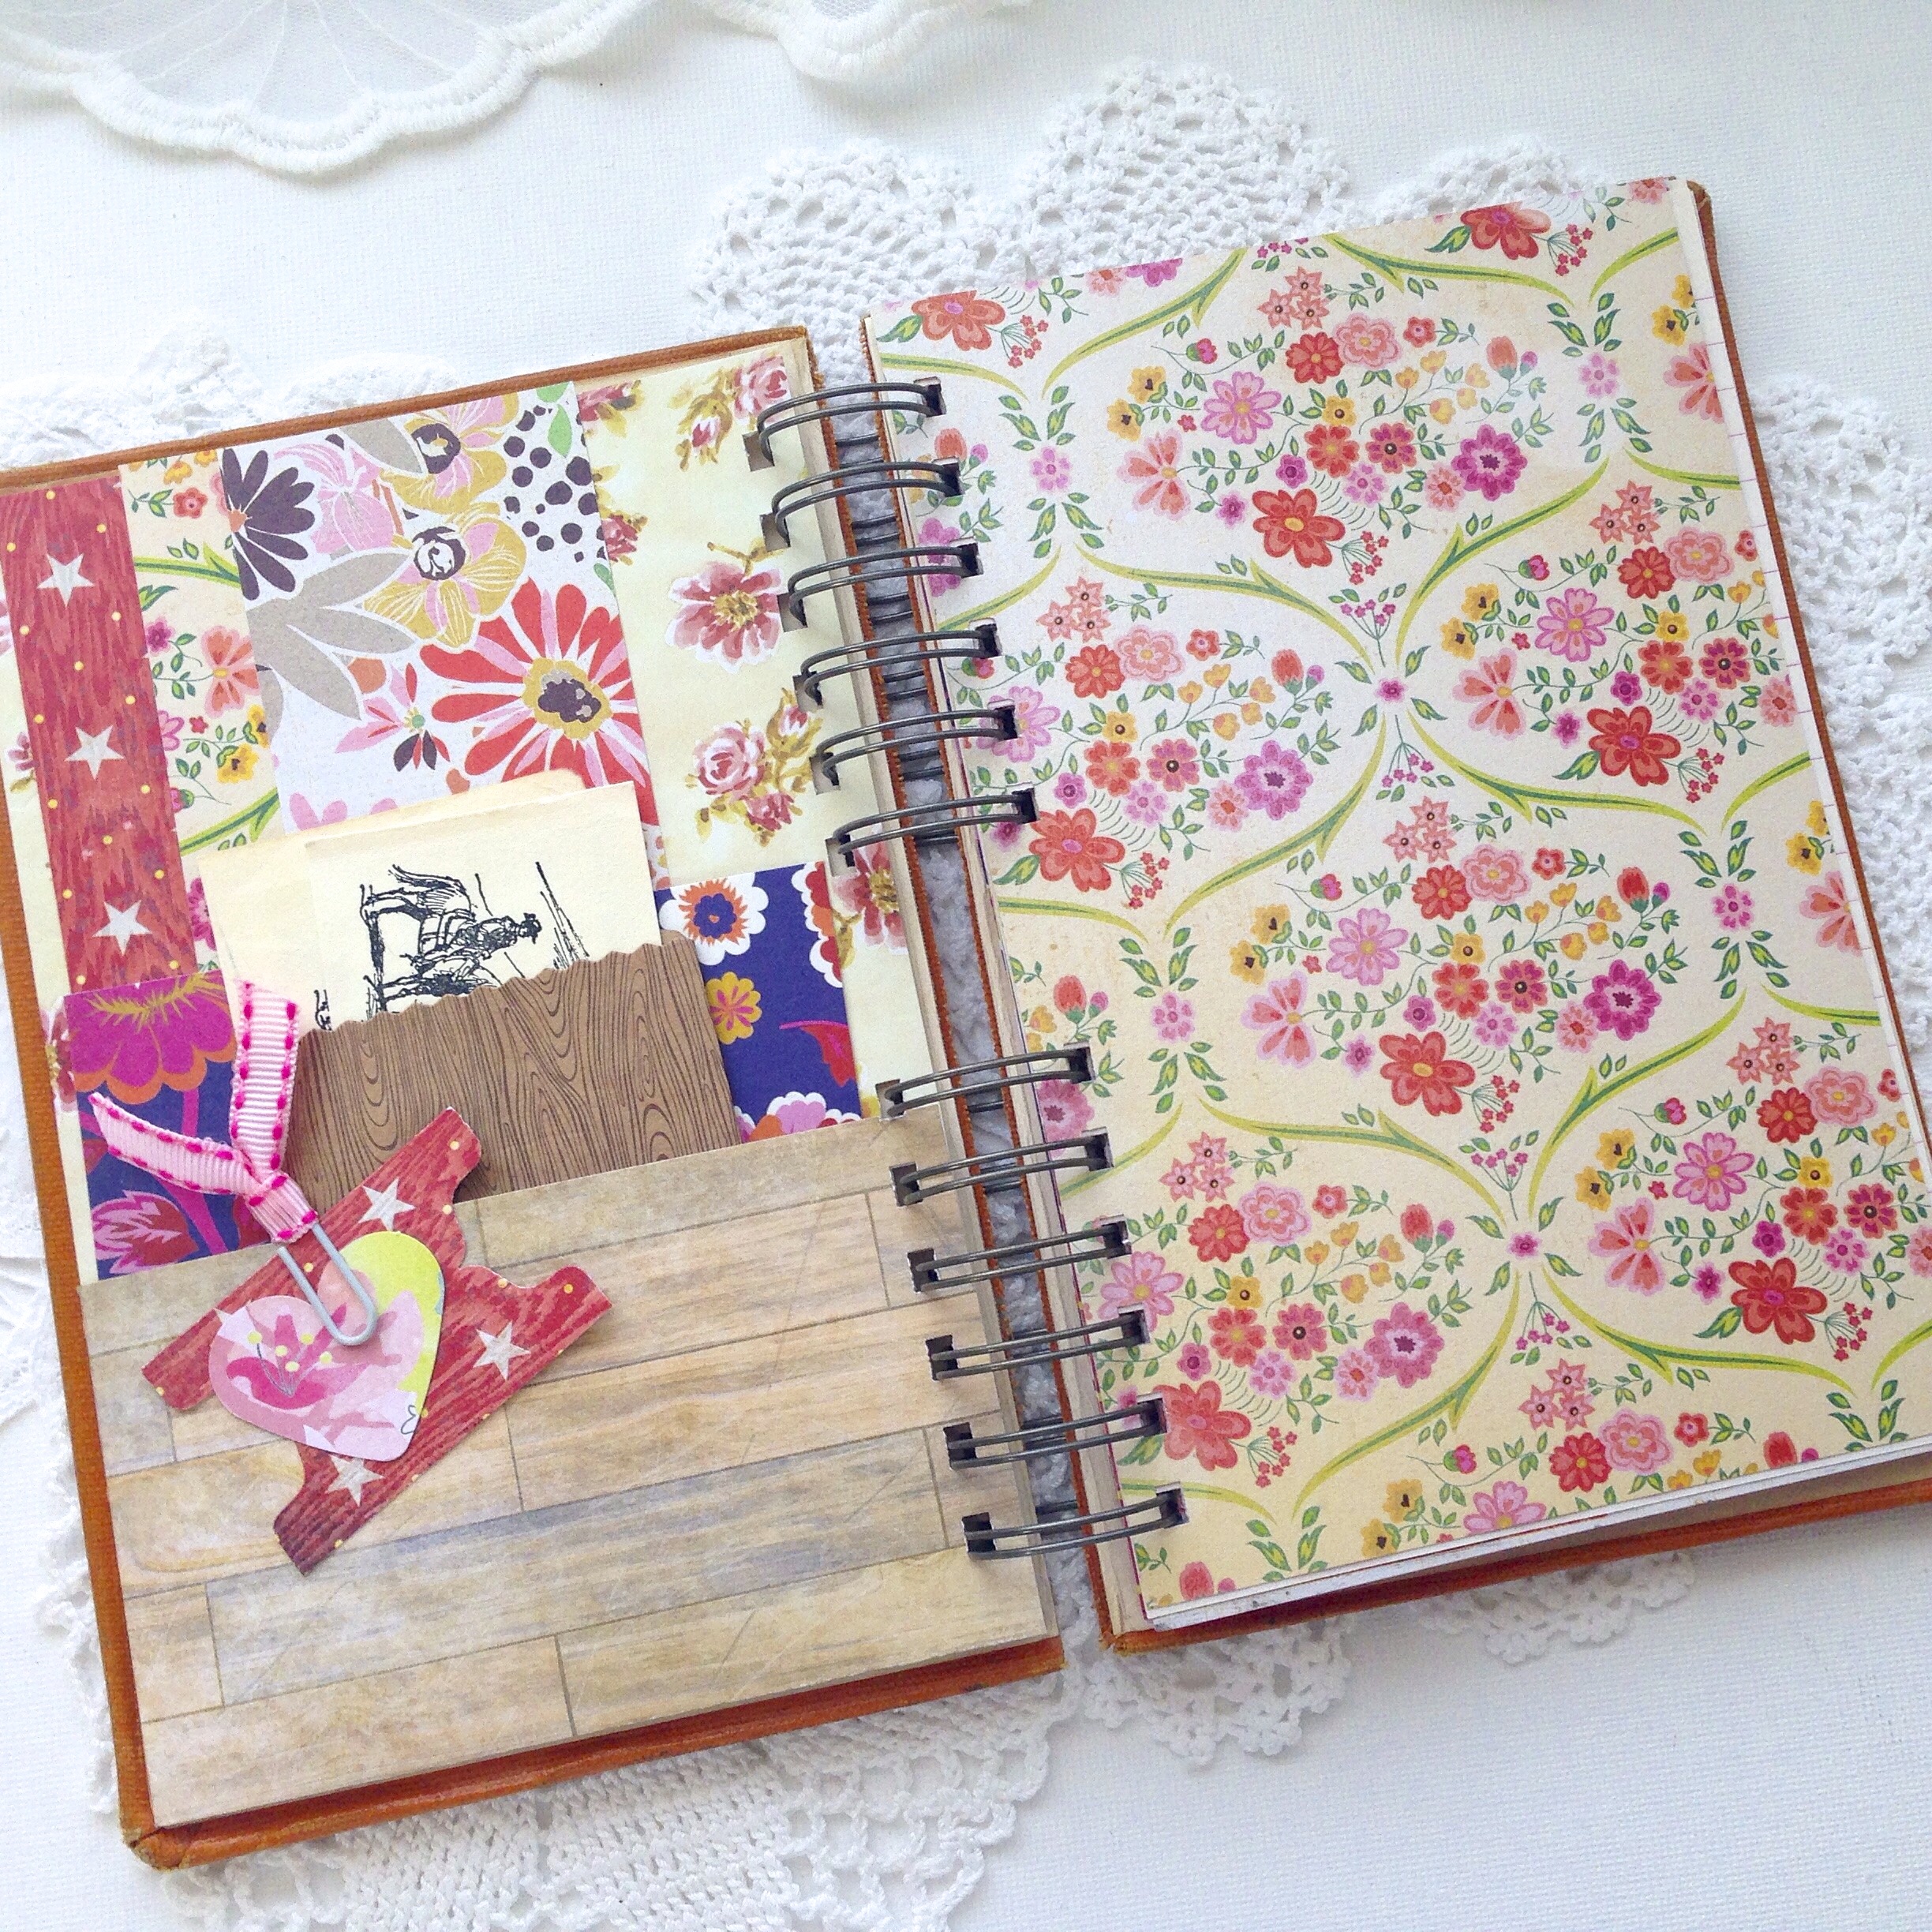
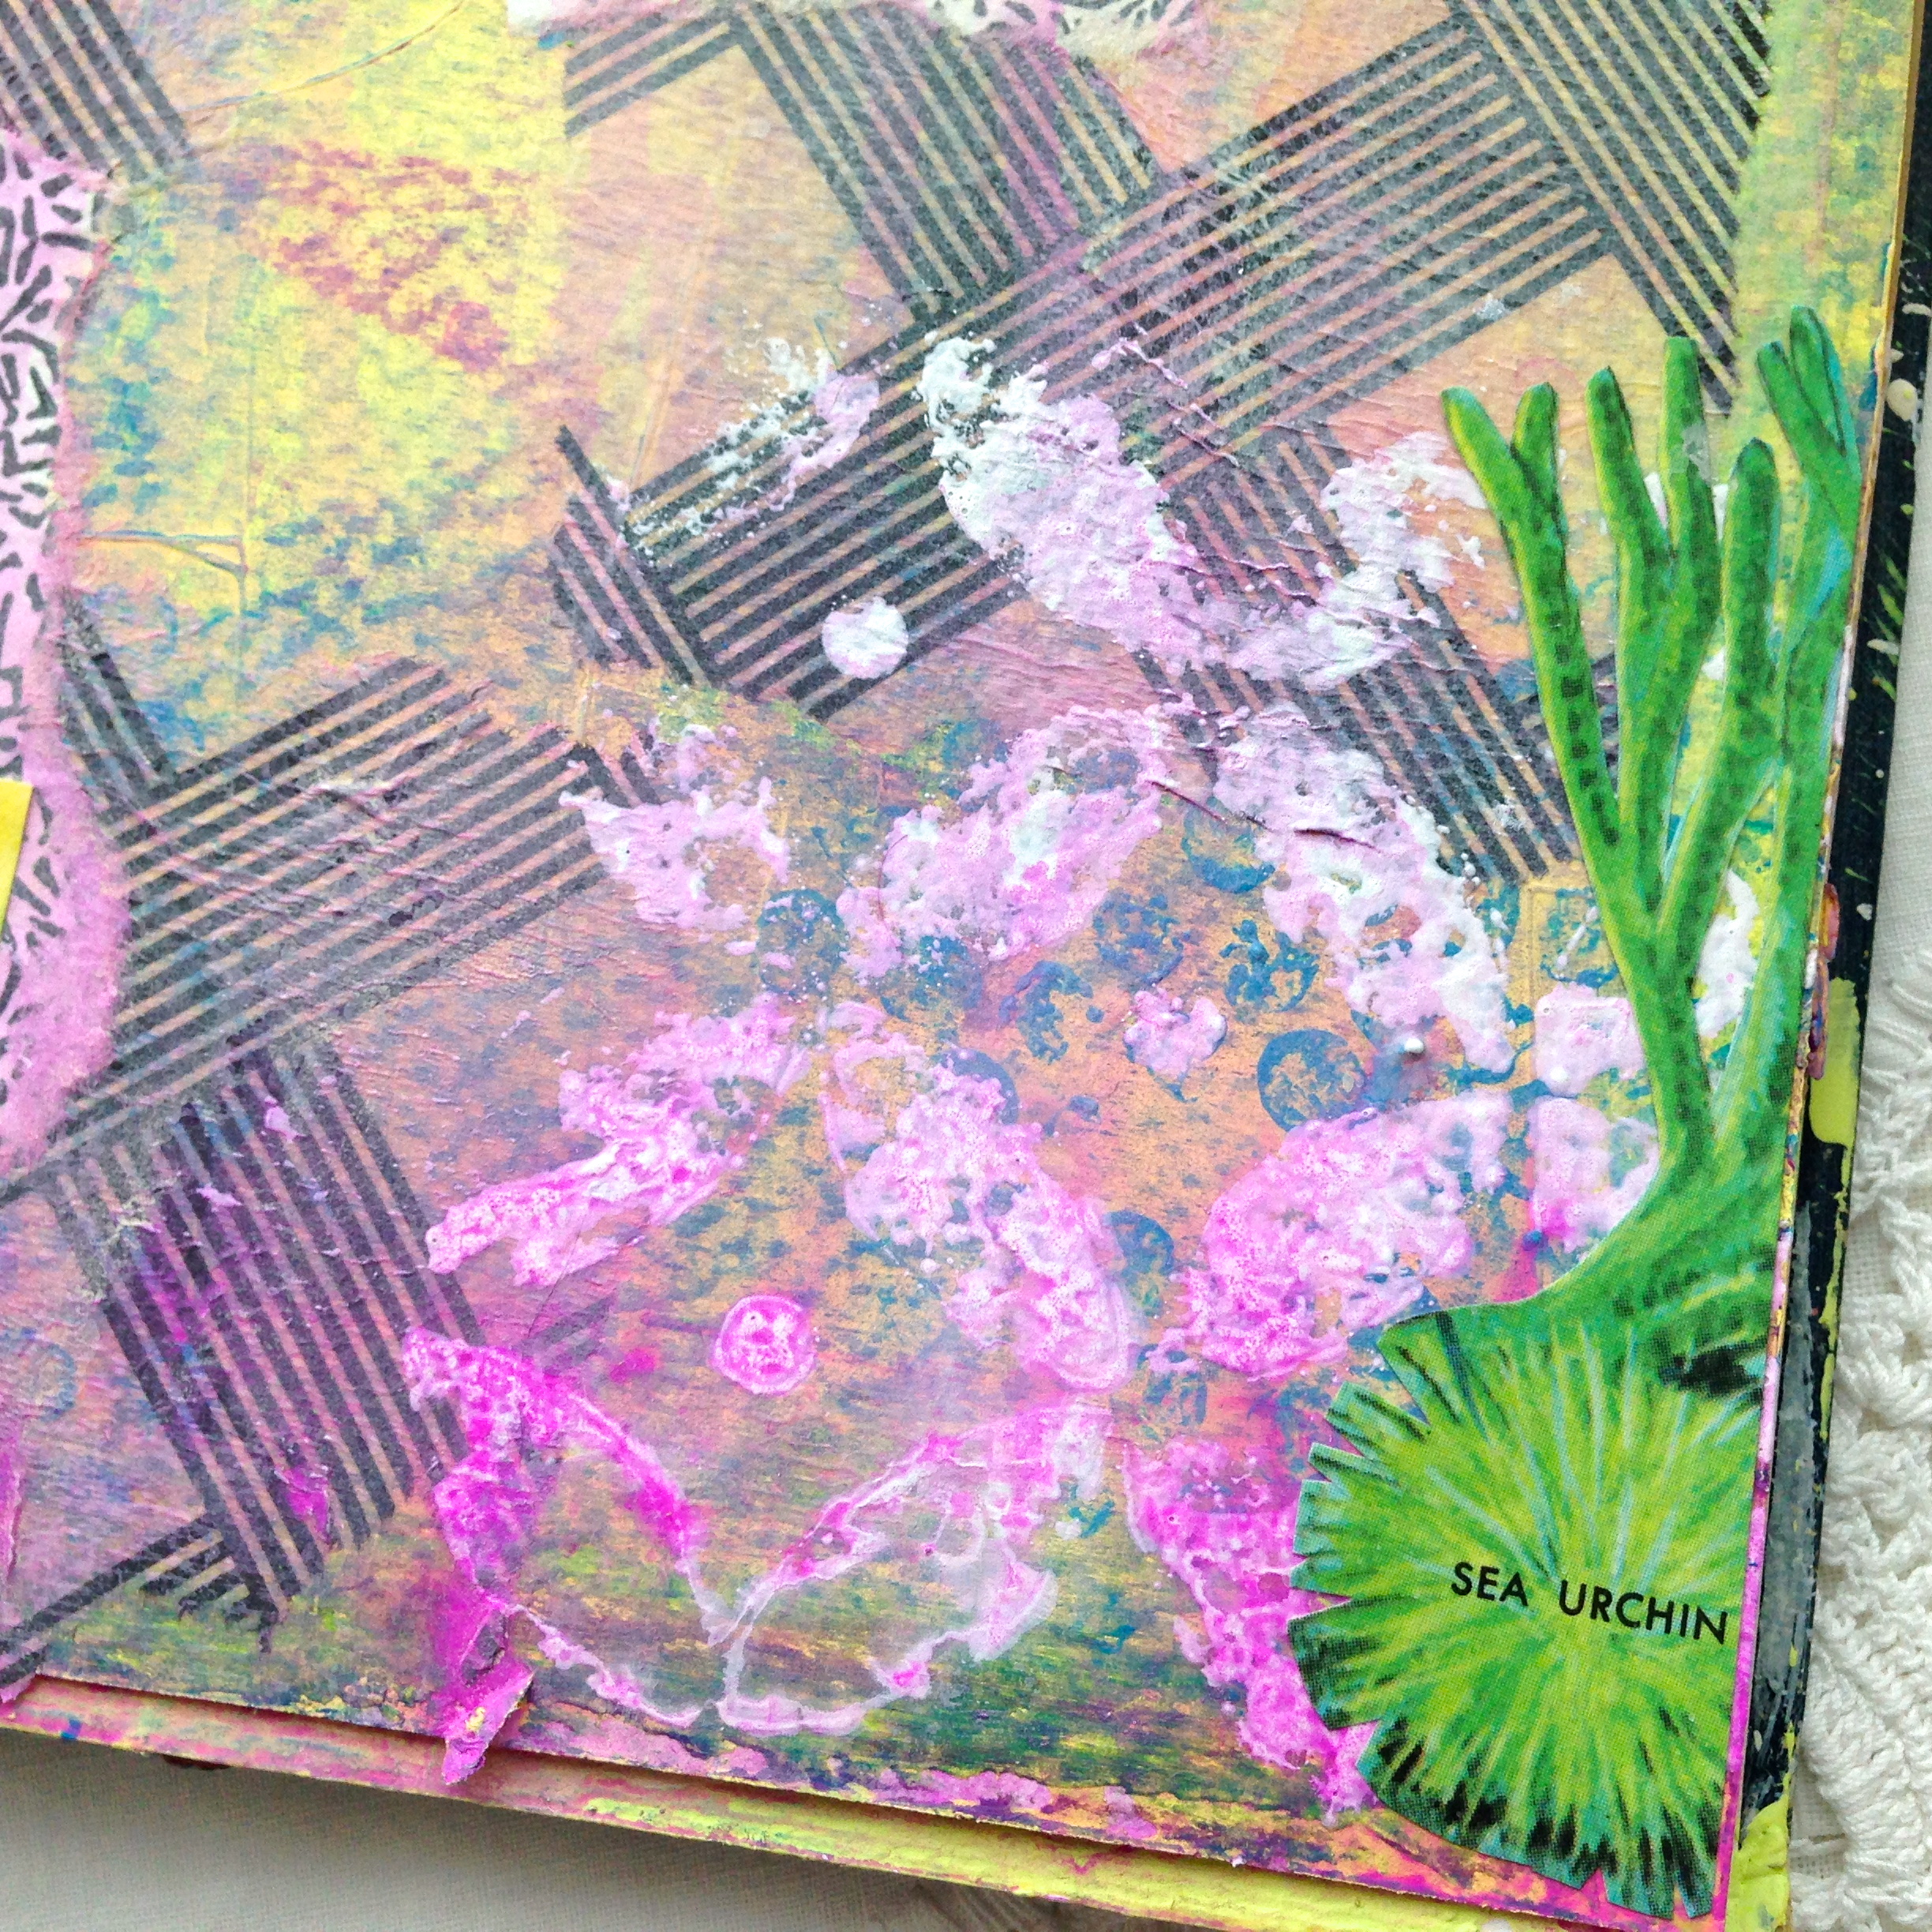
And I’d say this was a pretty appropriate quote to have on my dashboard! I love this awesome paper by Basic Grey with the pretty taupes and bright colors!

IMG_9492

I made new dividers too, post its and such stick better if you laminate the divider. A single sheet of clear contact paper usually does the trick and is a pretty inexpensive alternative to buying a laminator. You can find this paper by Studio Calico at Scrapbook.com.

IMG_9484

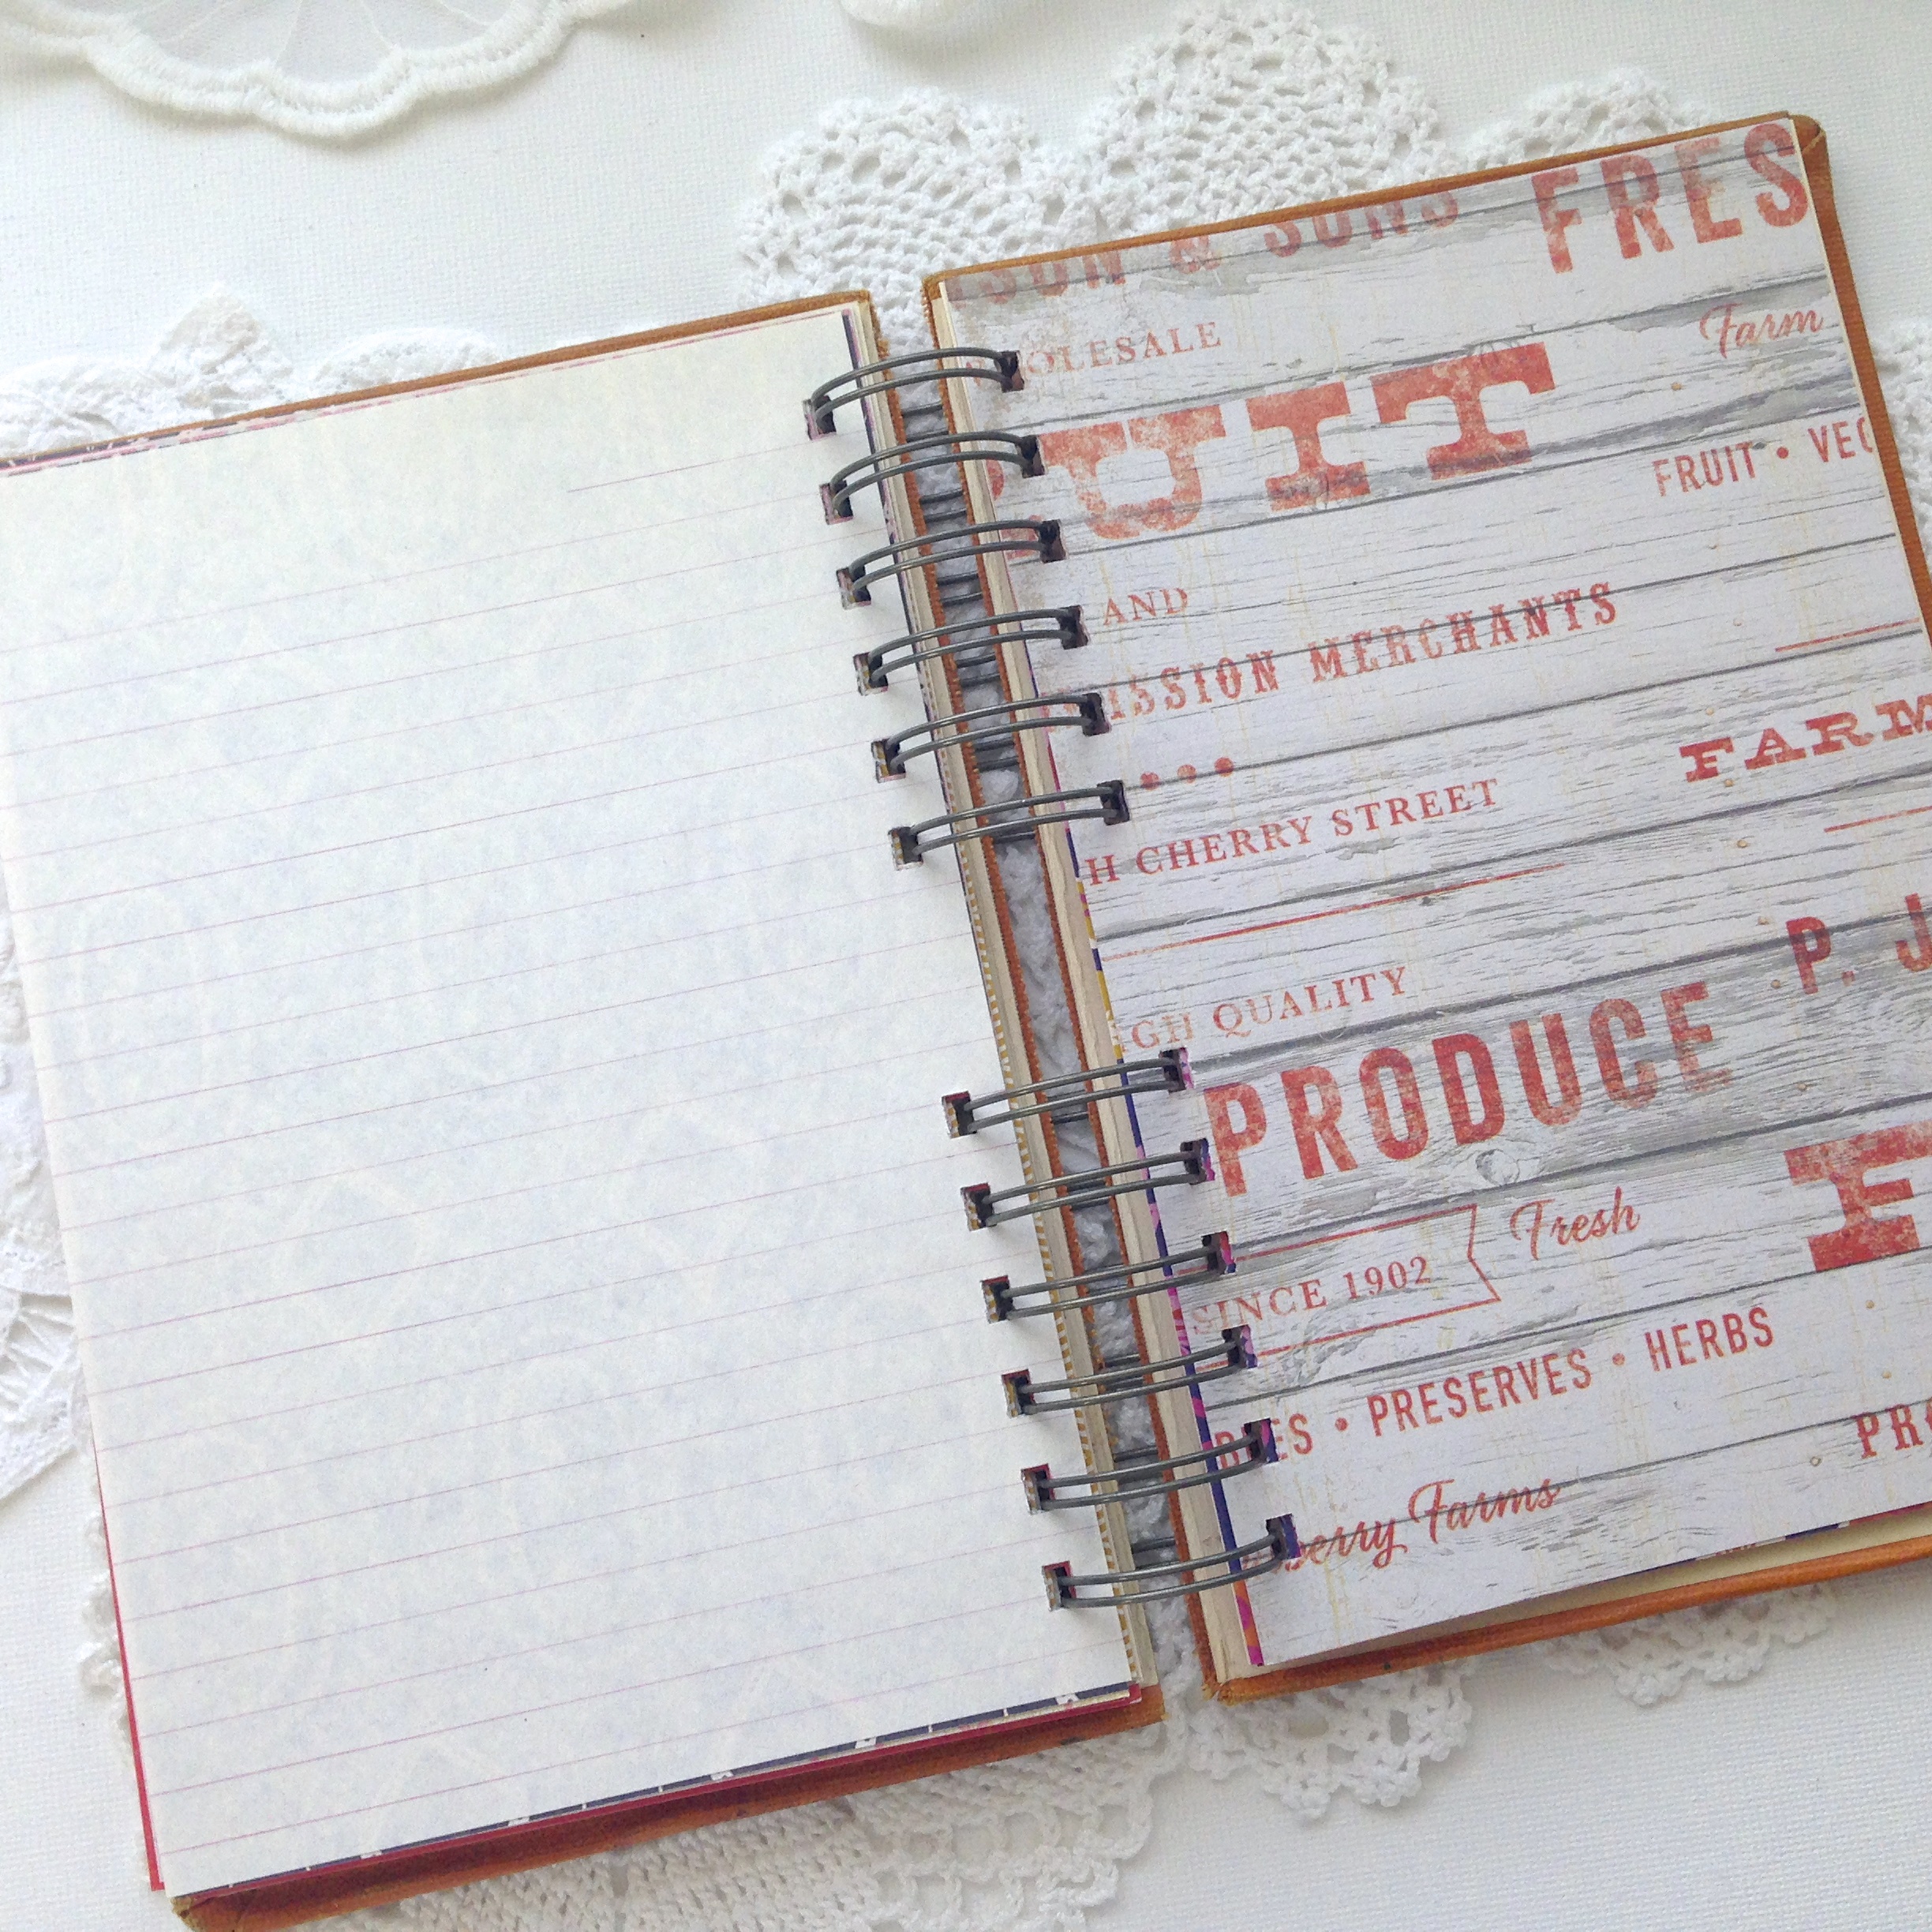
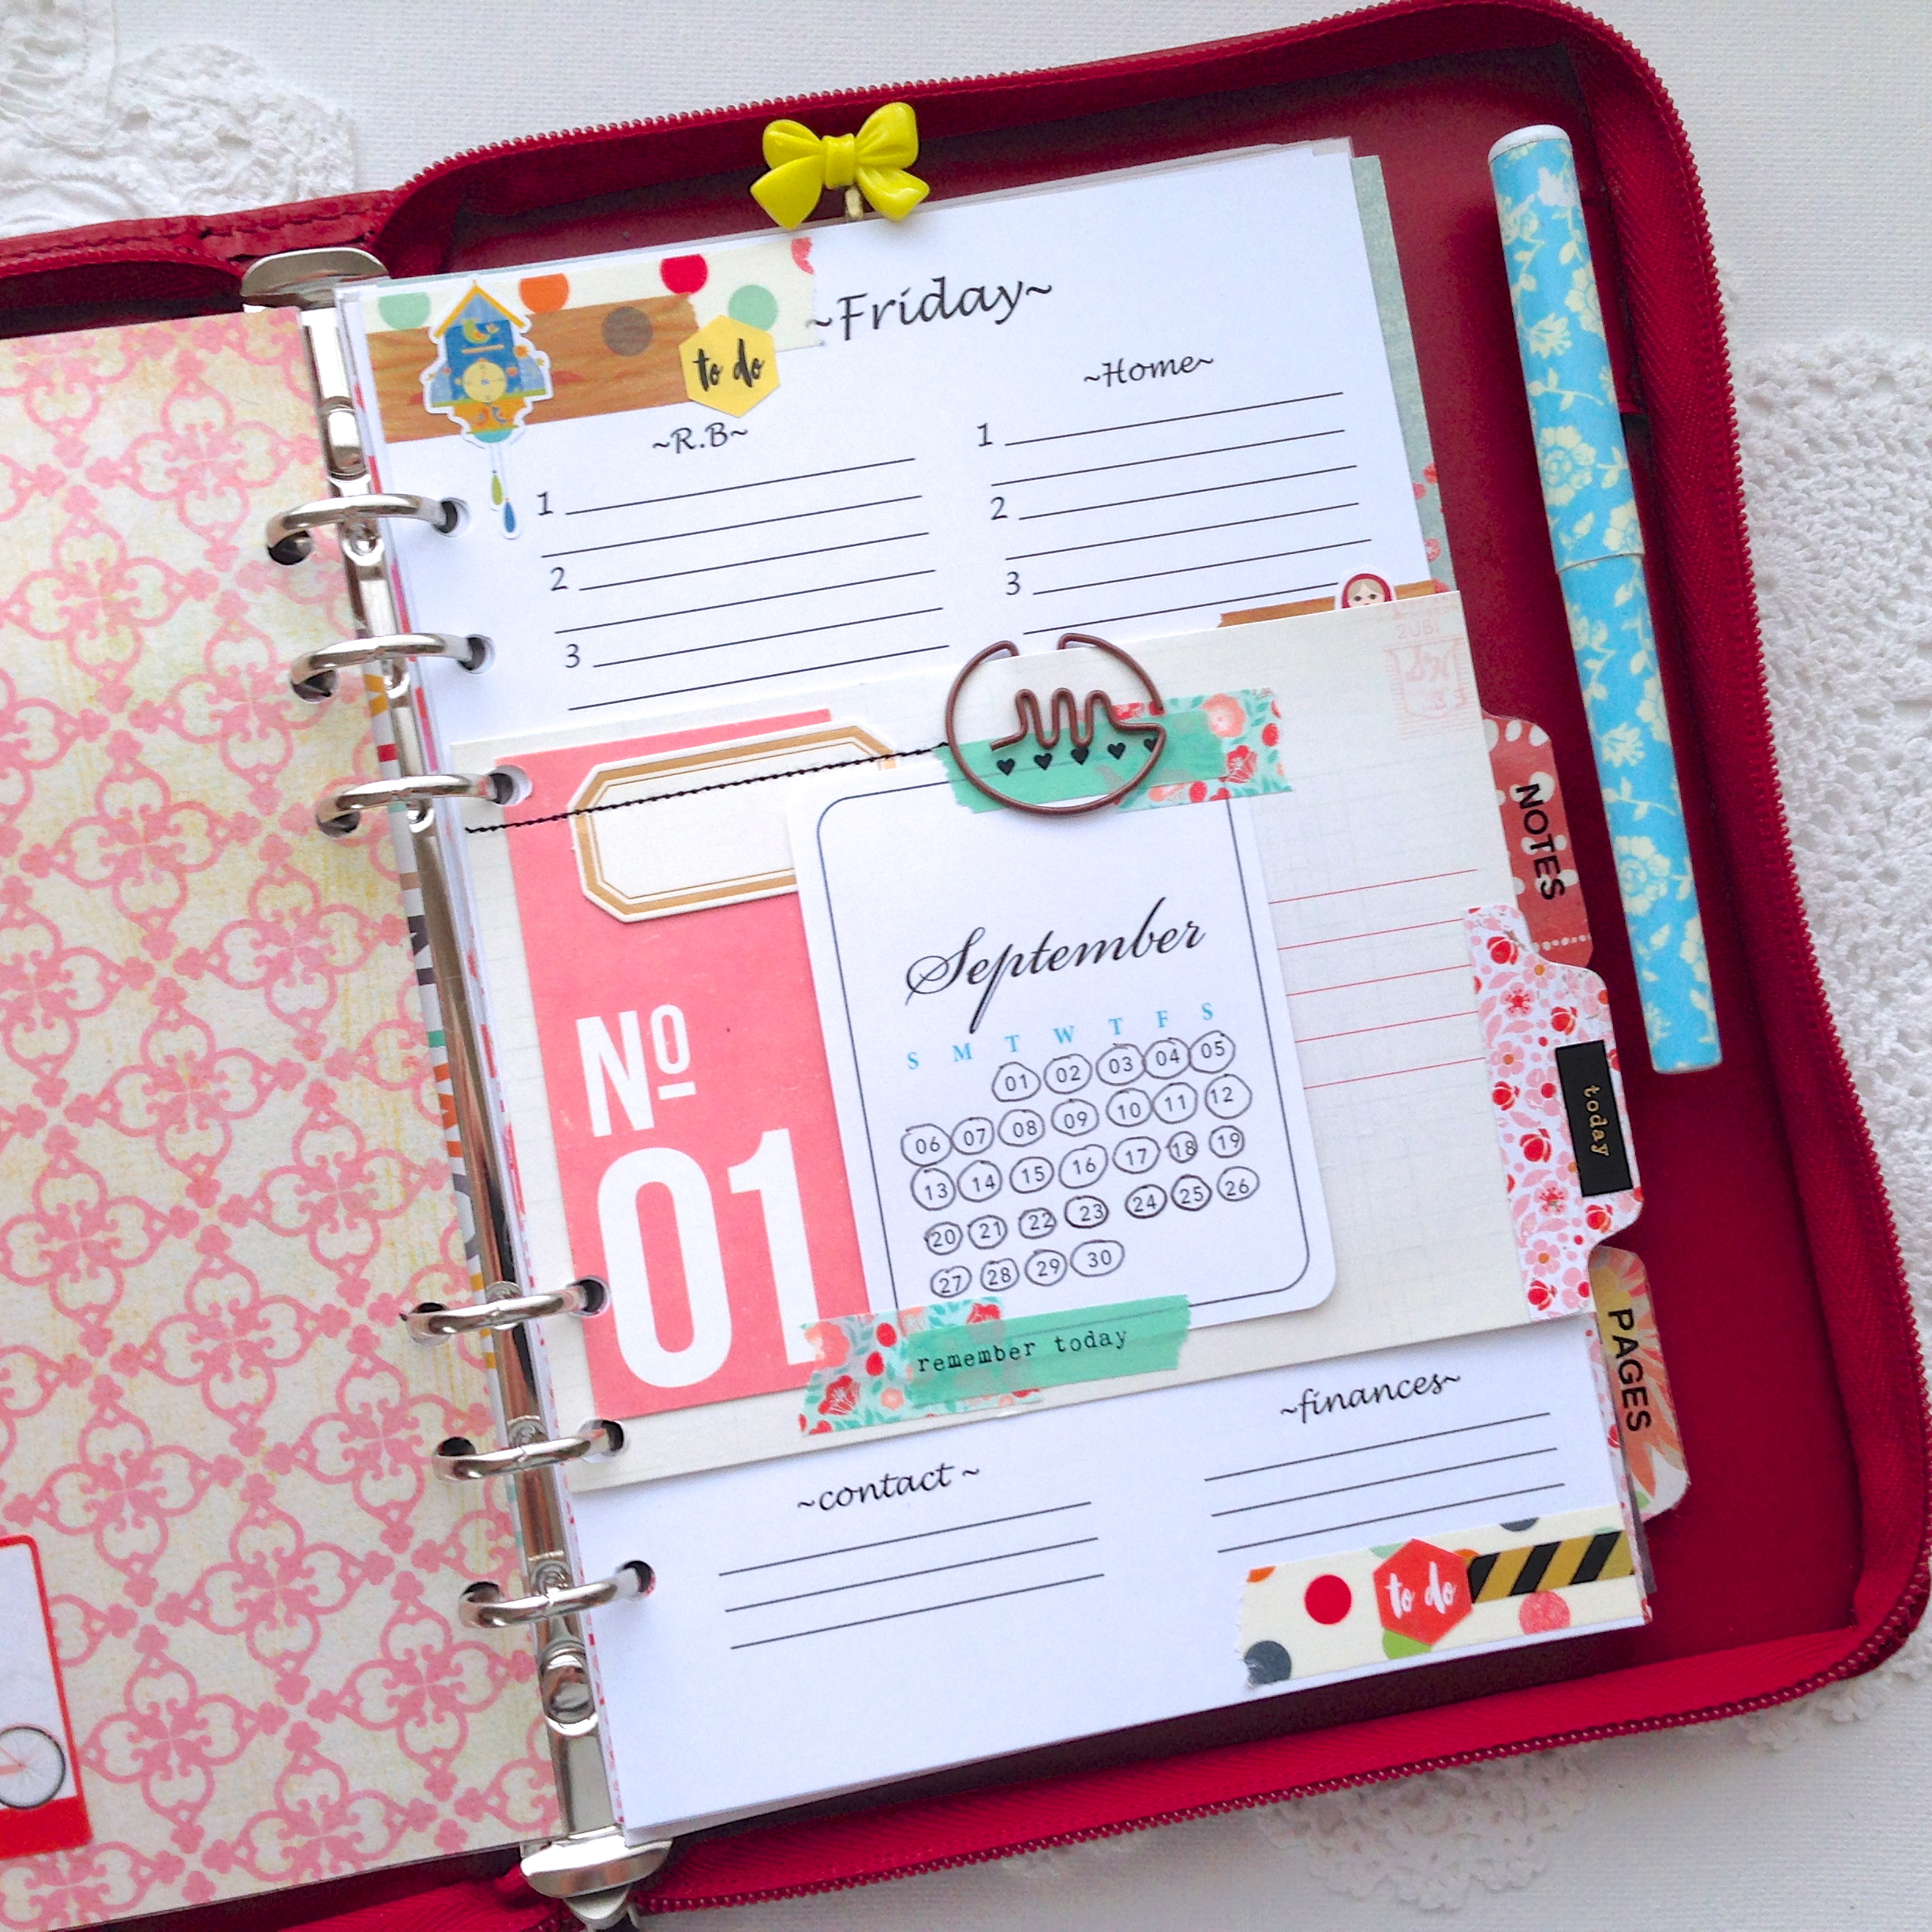
I had recently taught myself how to make inserts after working on a commissioned project. I usually purchase my daily planner inserts online, and found them very useful, but really needed them to be more personalized to my needs. So, I thought I would try my hand at making my own.

This is one of those sidetracks I get on to some days that throws my weekly plans right out of the window, and why I have to plan daily! I don’t really need the date on each one,  but it sure is handy to know what day it is, and this mini monthly calendar keeps me on track.

IMG_9480

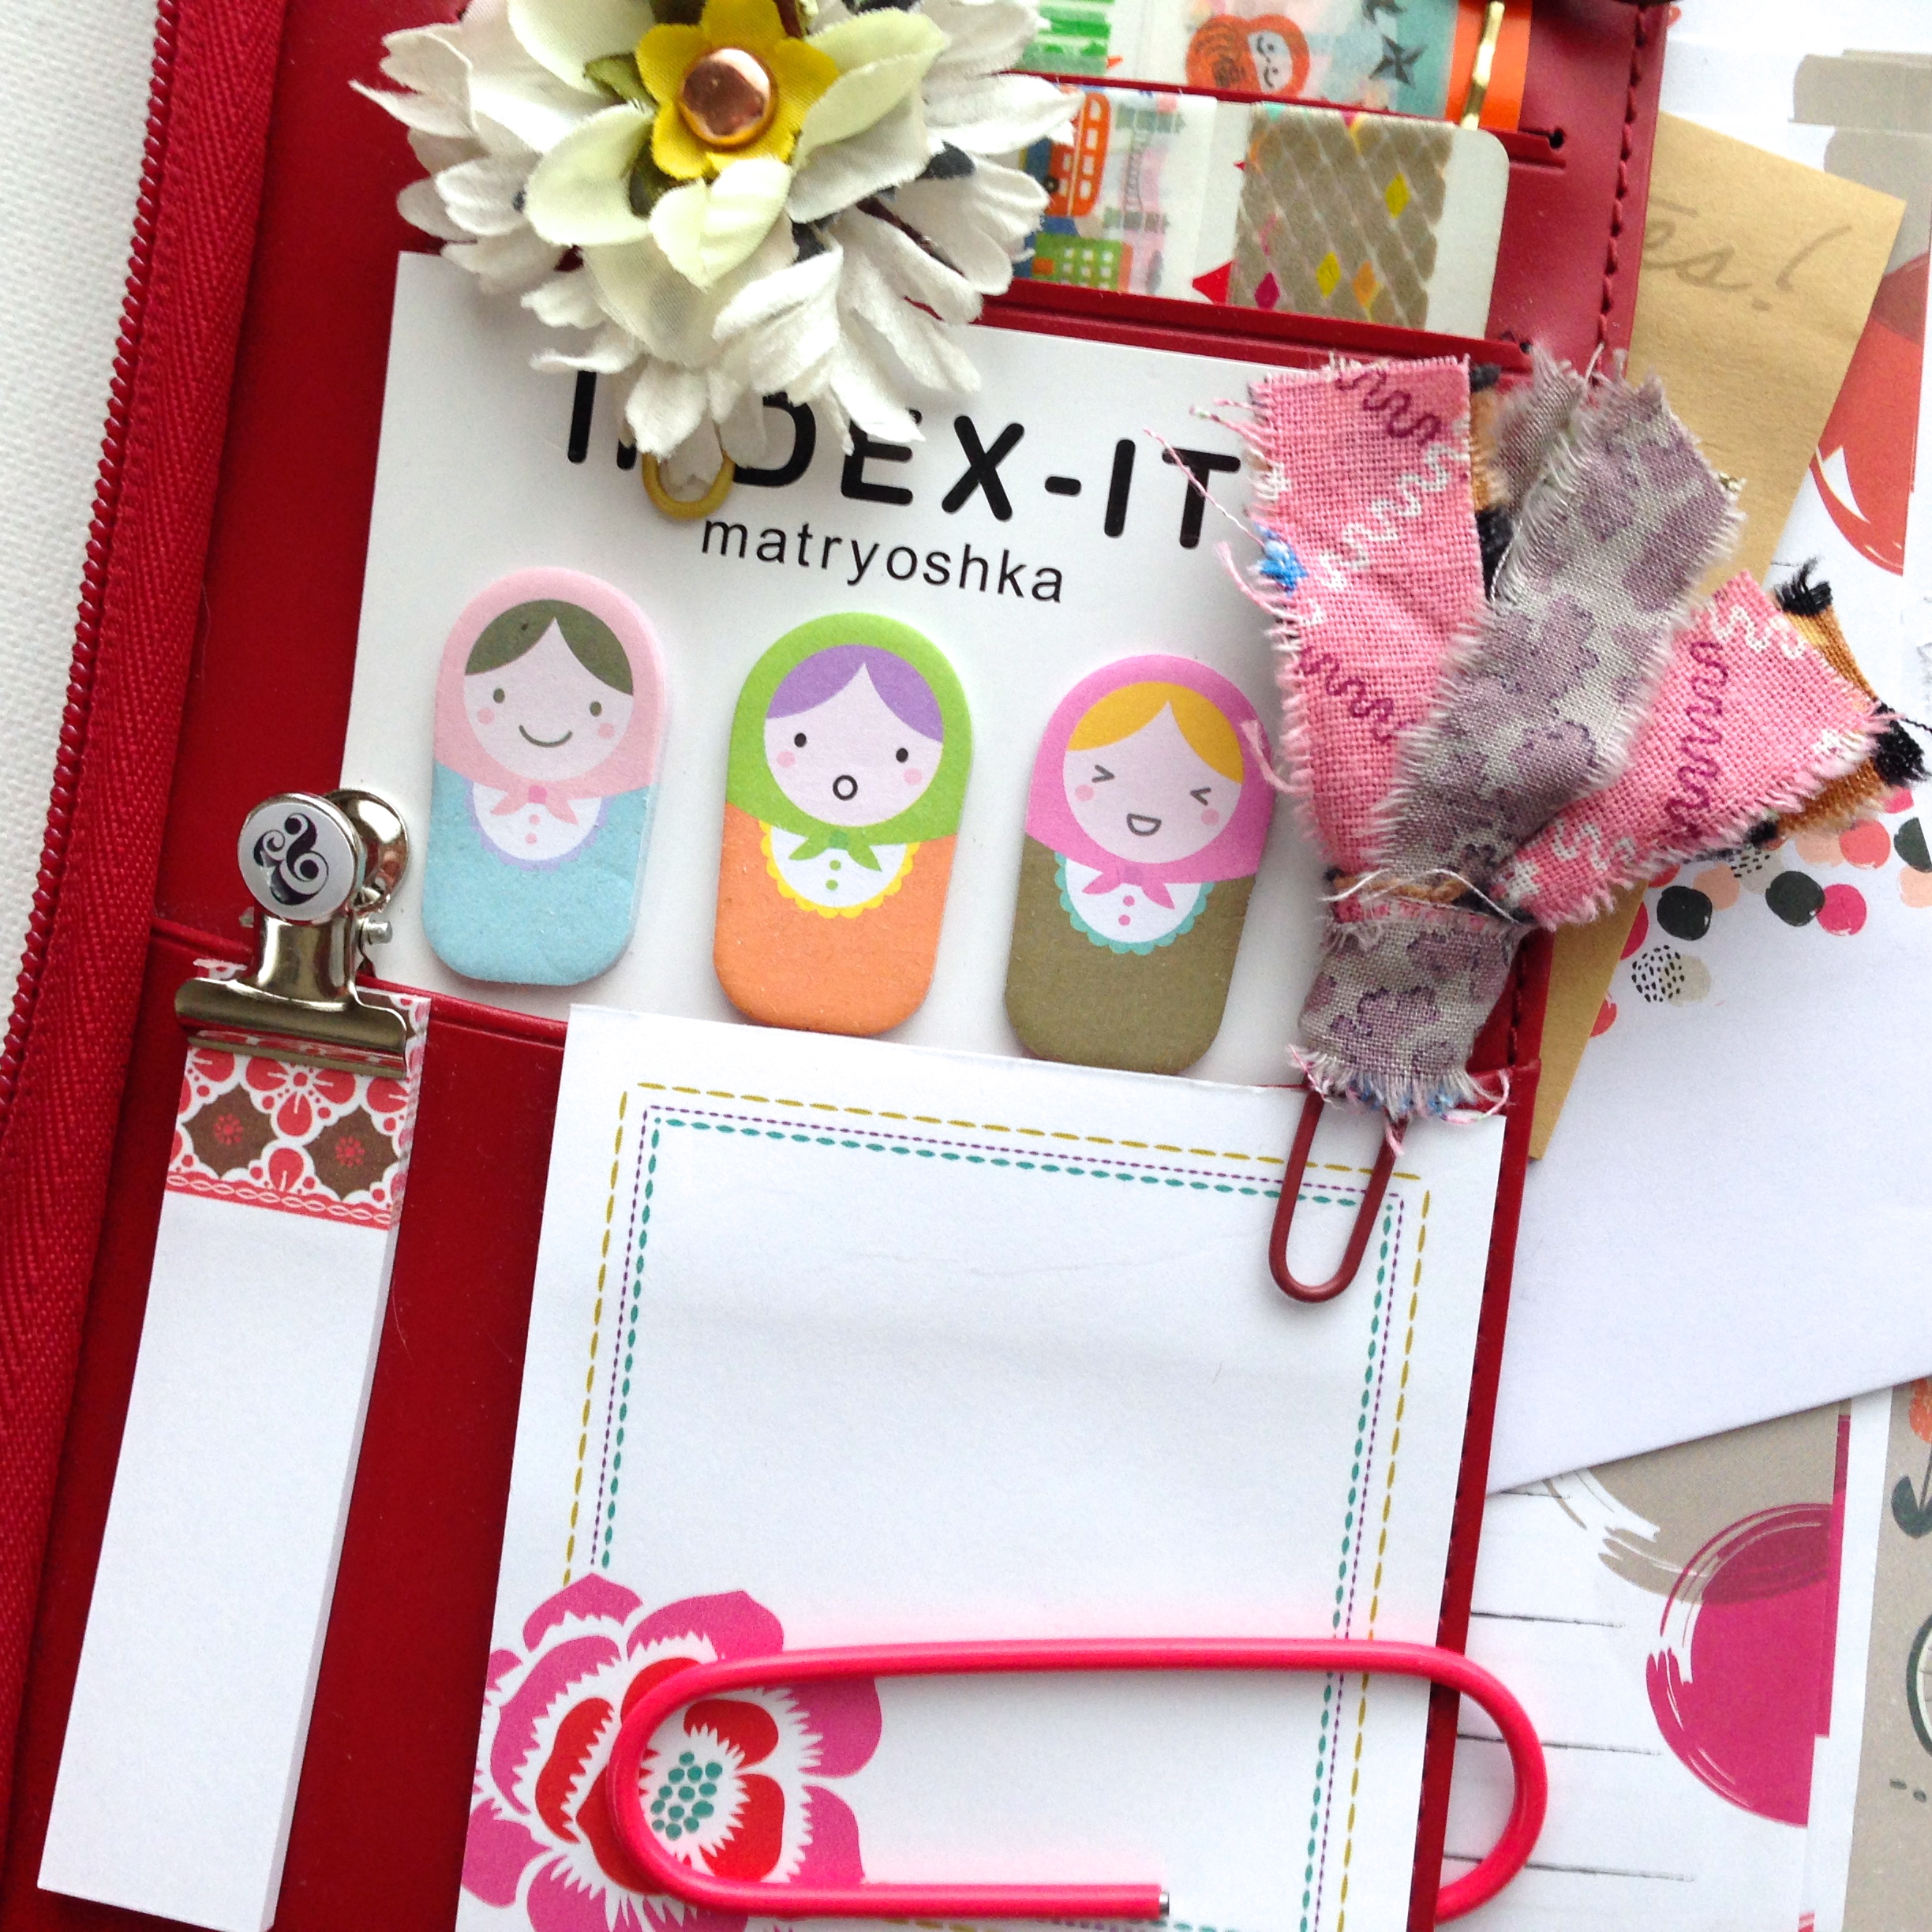
Finally, there is this handy pocket page. Love this paper!

I have purchased quite a few planners over the last few months, and I do use them, although not as often as I would like to admit. Knowing they all need redecorating, I’m sure they will all start getting used more often. I will be sure to post about them as they each get their make-overs.

Once again, thank you for your time,

Have a great week,

~Patty

(p.s. if I figure out how to make a pdf of daily page, I’ll let you know)

The Neglected Art Journal

Every summer I tell my self that I’m going to work in and finish my “The Sea” art journal. The problem is finding my paint mojo. I’ve talked about this before, sometimes I just don’t want to hassle with the mess and clean up!

Well, I decided to try something new to add lots of color, with out having to paint so much.

IMG_8212

Although I did end up getting out the paints, a lot of that color is from pastels. I have owned a box of pastels for about eight years now. I may have tried them out a couple of times, but that’s it. They really gave my background the depth of color I was looking for!

The biggest difference between this page and the following one is the journaling. I really love how journaling on the page, as the last step, brings the whole look of the page together.

IMG_8222

The first layer is just a wash of light green paint. Then I scraped pastels in green, pink, purple, blue, and yellow on their sides to cover more area. I stamped over that with bubble wrap dipped in aqua paint, let that dry, then added the geometric tissue and pieces of an envelope. When that was dry, I stenciled with gesso and a sea sponge, then went over that with a wash of tinted gesso*. For someone that doesn’t like to paint very much, I sure went to town!

IMG_8215

I usually like to keep it pretty simple, but I was having way too much fun with the pastels and I thought the tissue and stenciling would calm it down a bit. Well, it was calm until I decided to add some orchid paint and spray it with water.

IMG_8208

When that layer dried, I added the images from a vintage book on the sea and some postage stamps from abroad. They kind of stuck out like a soar thumb, so I went over the images and stamps with a coat of tinted gesso*.  As you can see, I still love fussy cutting my images, it makes them seem like a more organic part of the page than just cutting out a square.

IMG_8210

I’m going to need to get used to all that action on my pages if I choose to use this technique. But, I’m willing to experiment until I find my comfort zone!

Let me know what you think, or if you have any questions.

Thank you for stopping in,

Talk to you soon,

~Patty

(*I make my tinted gesso by adding water to white gesso, then adding a little ochre and burnt umber to the mix. When I wash it over my pages, then blot with a paper towel, it tends to calm things down a bit and give the page a more cohesive look.)

Junk Planning

I purchased this Color Crush Planner about 3 weeks ago. The crazy color did something for me…I had high hopes!

IMG_7867

But, when it was delivered, my hopes were a bit dashed. What’s with this color! It looked quite a bit different in person, way more orange than I had imagined!

So, I set it aside. Not only did I not have a decorating plan for it, but not even a use plan!

IMG_7775

Until, I received this awesome happy mail surprise from Diane at A Focused Journey, thank you Diane!

Can you guess where I’m going with this?

IMG_7868

Well, what do you know about that! Cute or what!? It’s hard to believe that such a small thing could generate so much inspiration! I’m the first one to admit that this wouldn’t be “Planner Peace” for many people, but it makes my heart sing! I describe it as looking like it was decorated with thrift store finds, and to a certain extent, it is.

I am crazy in Love with this thing!

IMG_7869

I want all my planners to be this dorky!

IMG_7874

I set about making the dividers, but where to start? How about my favorite scrapbook paper,  Studio Calico‘s “Print Shop” line. After that hurdle I went to town looking for any kitschy colorful ephemera I could find. How’d I do? Lol!

IMG_7876

If you know me, you know I didn’t need to go far.

IMG_7875

So, what am I going to use this funky little planner for? My new art journaling planner! Yay! A place to put all those ideas that come to me in the car, at night when I should be sleeping, or any other inconvenient time you can think of (isn’t that always the way!)

But any-who, now I have a place to jot down ideas and plans for all the different types of art journals I make, use, and sell!  And it’s such a fun place to go!

At this point, I’m thinking that I may have enough planners. But who knows, I have yet to make a planner for my planners…hmmm, there’s a thought!

Once again…

Thanks so much for the visit,

Have a great day,

~Patty