“The Heritage of Unrest” Art Journal Video

Yay! I finally did it…again!

img_6327

I made another video on YouTube. This is the page I did the process portion on. You will have to excuse my stilted voice on the video, I’m finding the hardest part is the voice overs. I’ve come up with a few work arounds, but I still need help. Oh well, I can’t let that stop me from trying.

Take a look when you get a chance and let me know what you think.

Hit this: Youtube to get there.

Until next time,

Have a great day,

Thanks for the visit,

~Patty

“Grace” and I Went For a Walk, and Found “Authenticity”

I have been hard at work getting this year’s goals organized. In the midst of it all, I decided to add an extra piece, the Illustrated Faith “Goals With Grace” devotional. It had me at “Grace” being that was my “One Little Word“. (pretend those are “air quotes”, because that’s not annoying!)

img_2224

The front cover, and as you can see, I have the word Grace as my word for 2017. Let me tell you, this a great word, and I definitely need it in my life.

img_6216

 But, after all the reading, praying, and journaling, (and writing a pretty lengthy post on IG and FB), I realized I needed a word with a little more substance.

img_6213

 I’m almost sure that authenticity and grace can walk through this year hand in hand quite nicely, and I can’t wait to see all the ways authenticity will guide me this year! (Time to work on my One Little Word binder! Yay!)

I still plan on sharing my goals setting scheme with you. I have been working on this devotional so diligently, I haven’t made time for much else. And I may do a flip through of this devotional on Youtube if I get motivated enough.

Here’s a link I shared on Facebook you might find interesting:

A Life In Progress

Thank you so much for the visit,

I’ll talk to you soon,

~Patty

(p.s. Just as a heads up, I’m not affiliated with any links I share except my own, I just like to be helpful)

iHanna Fall 2016 Postcard Swap

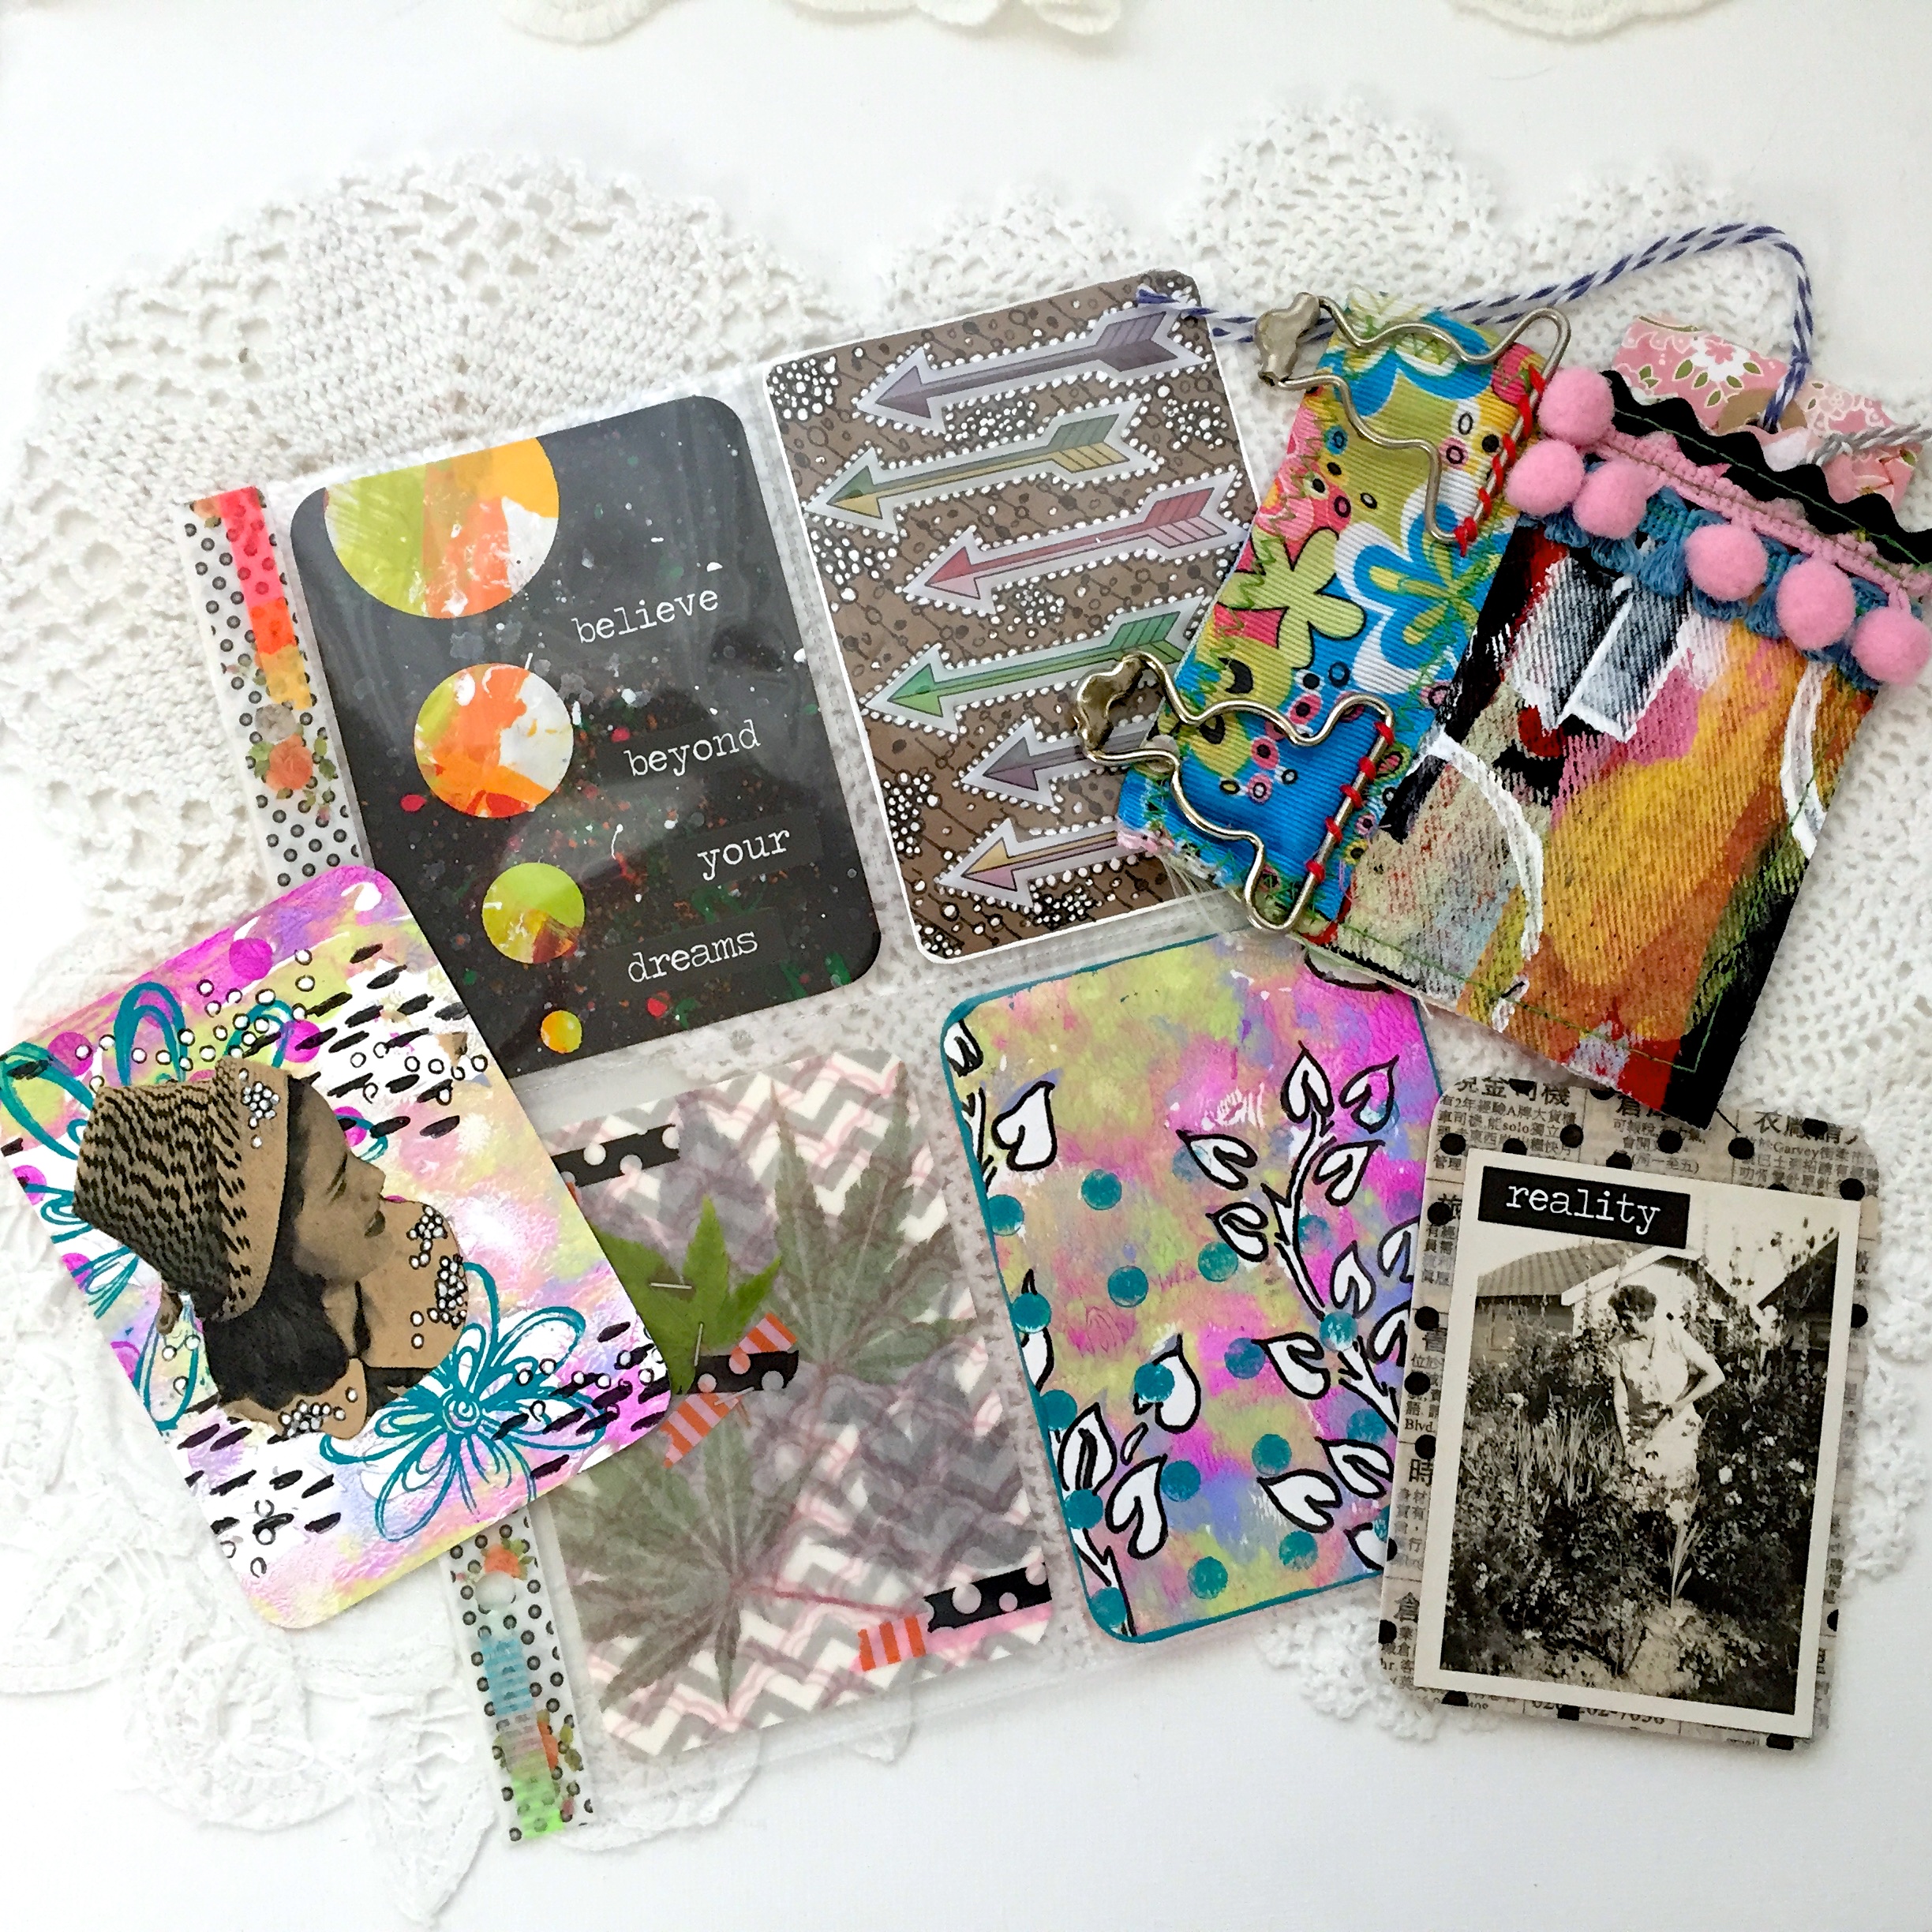
Well, it’s that time of the year again. I’m supposed to downscaling my projects right now, but the iHanna PCS only comes around twice a year, and I couldn’t pass it up!

Once again, I have decided to share my postcard making process, I’ve added a few new steps. This post is photo heavy, so I will try to keep the jibber-jabber to a minimum:

img_5692

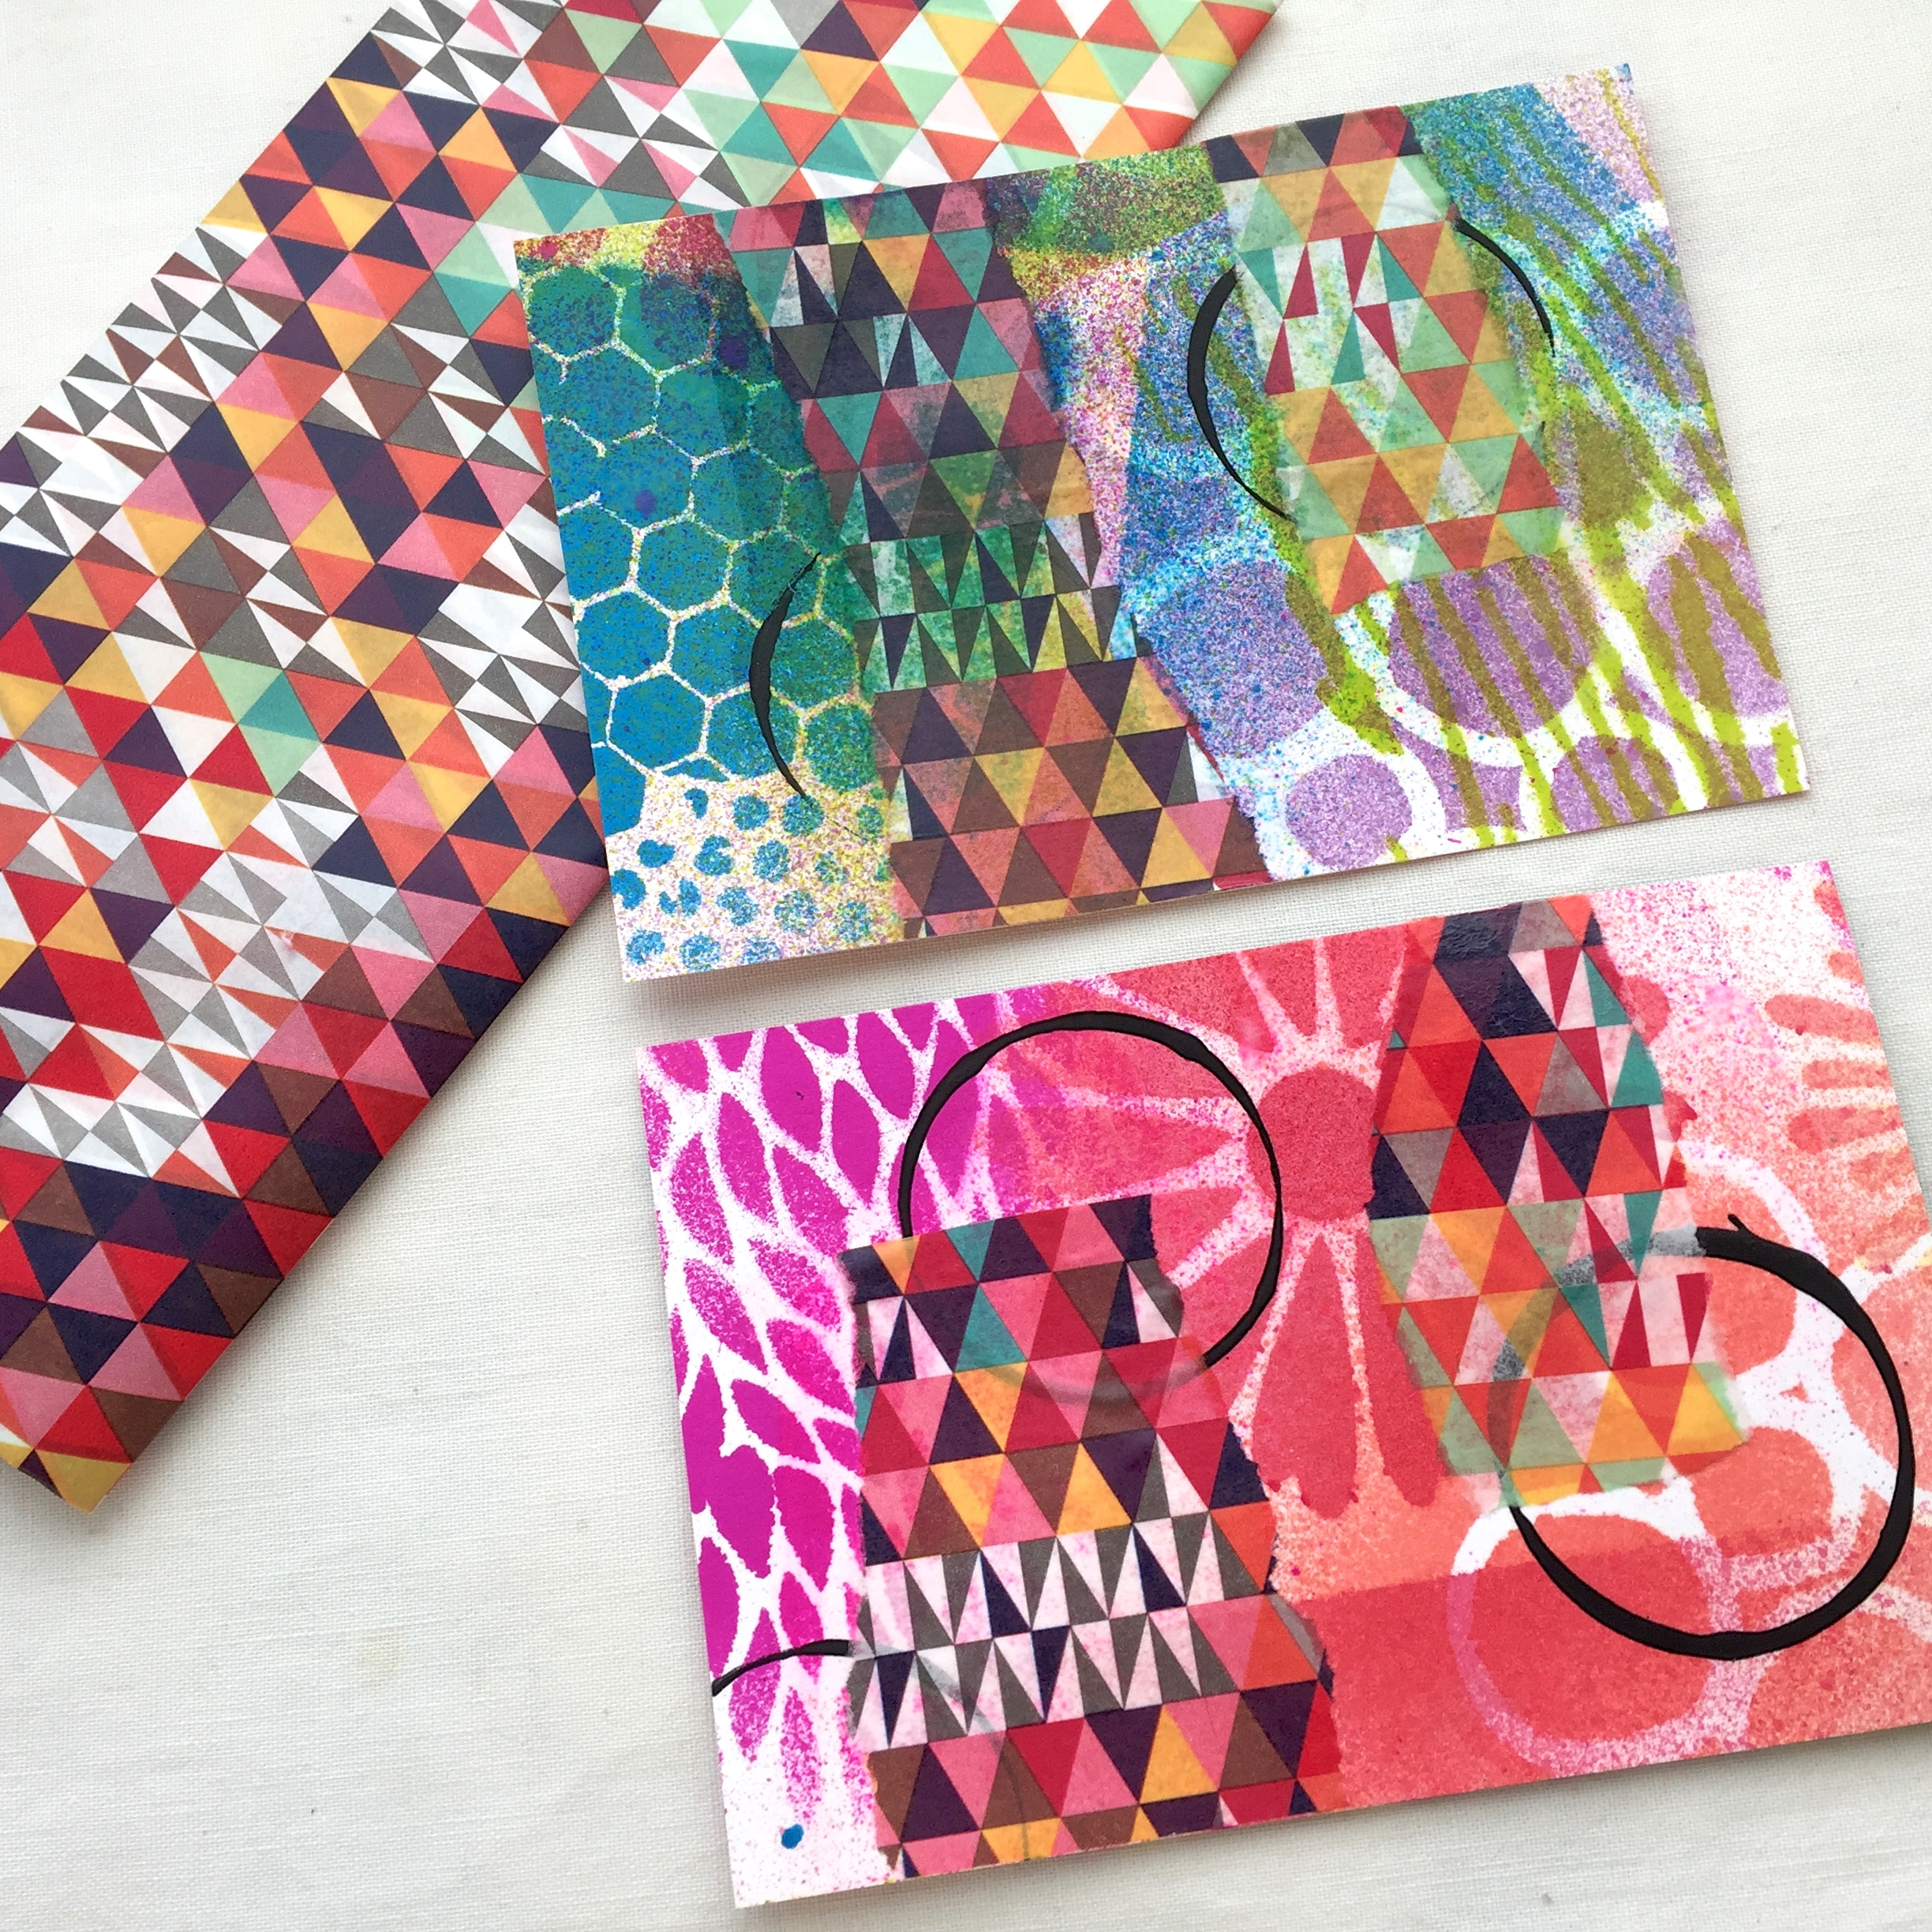
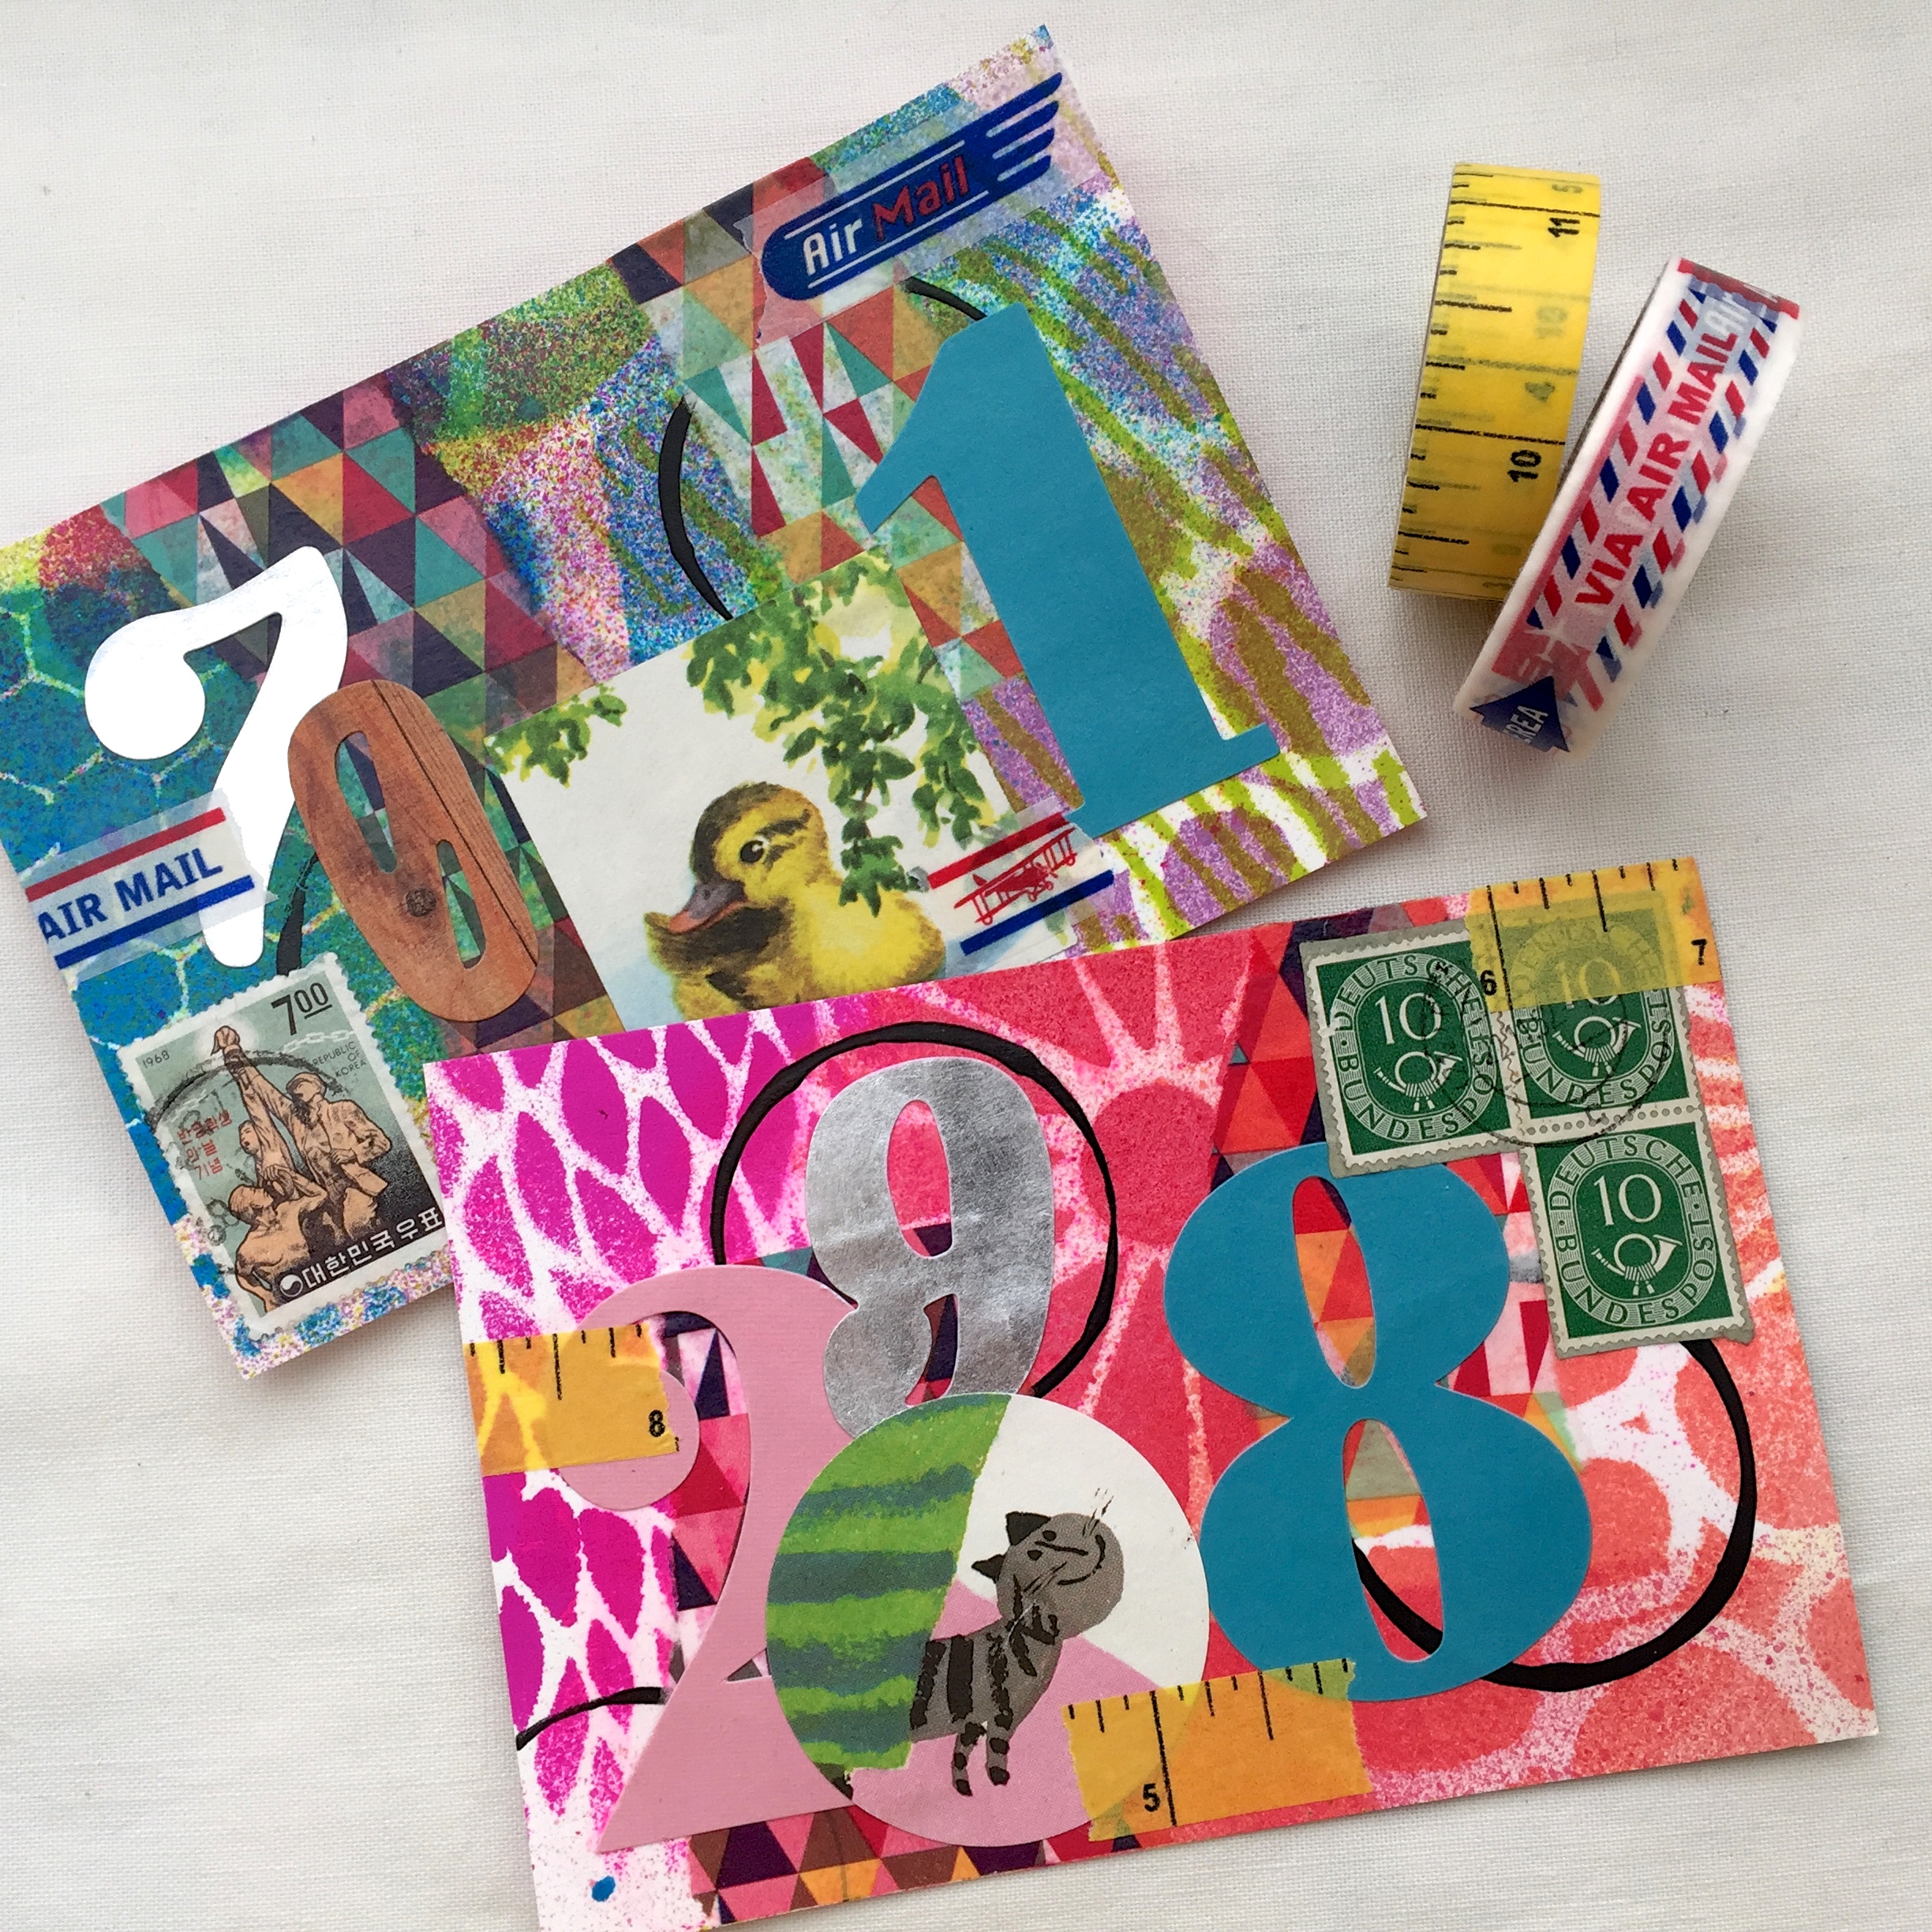
Step one: postcard backgrounds

I usually have a few left over pieces from my art journal makings, so I just cut them down to 6″ x 4″. These are a combination of spray dye, paint, stenciling, and stamping.

img_5697

Step two: adhering tissue paper

I tear long pieces of tissue paper, then adhere it with matte medium and a soft brush. This tissue is my newest favorite.

img_5705

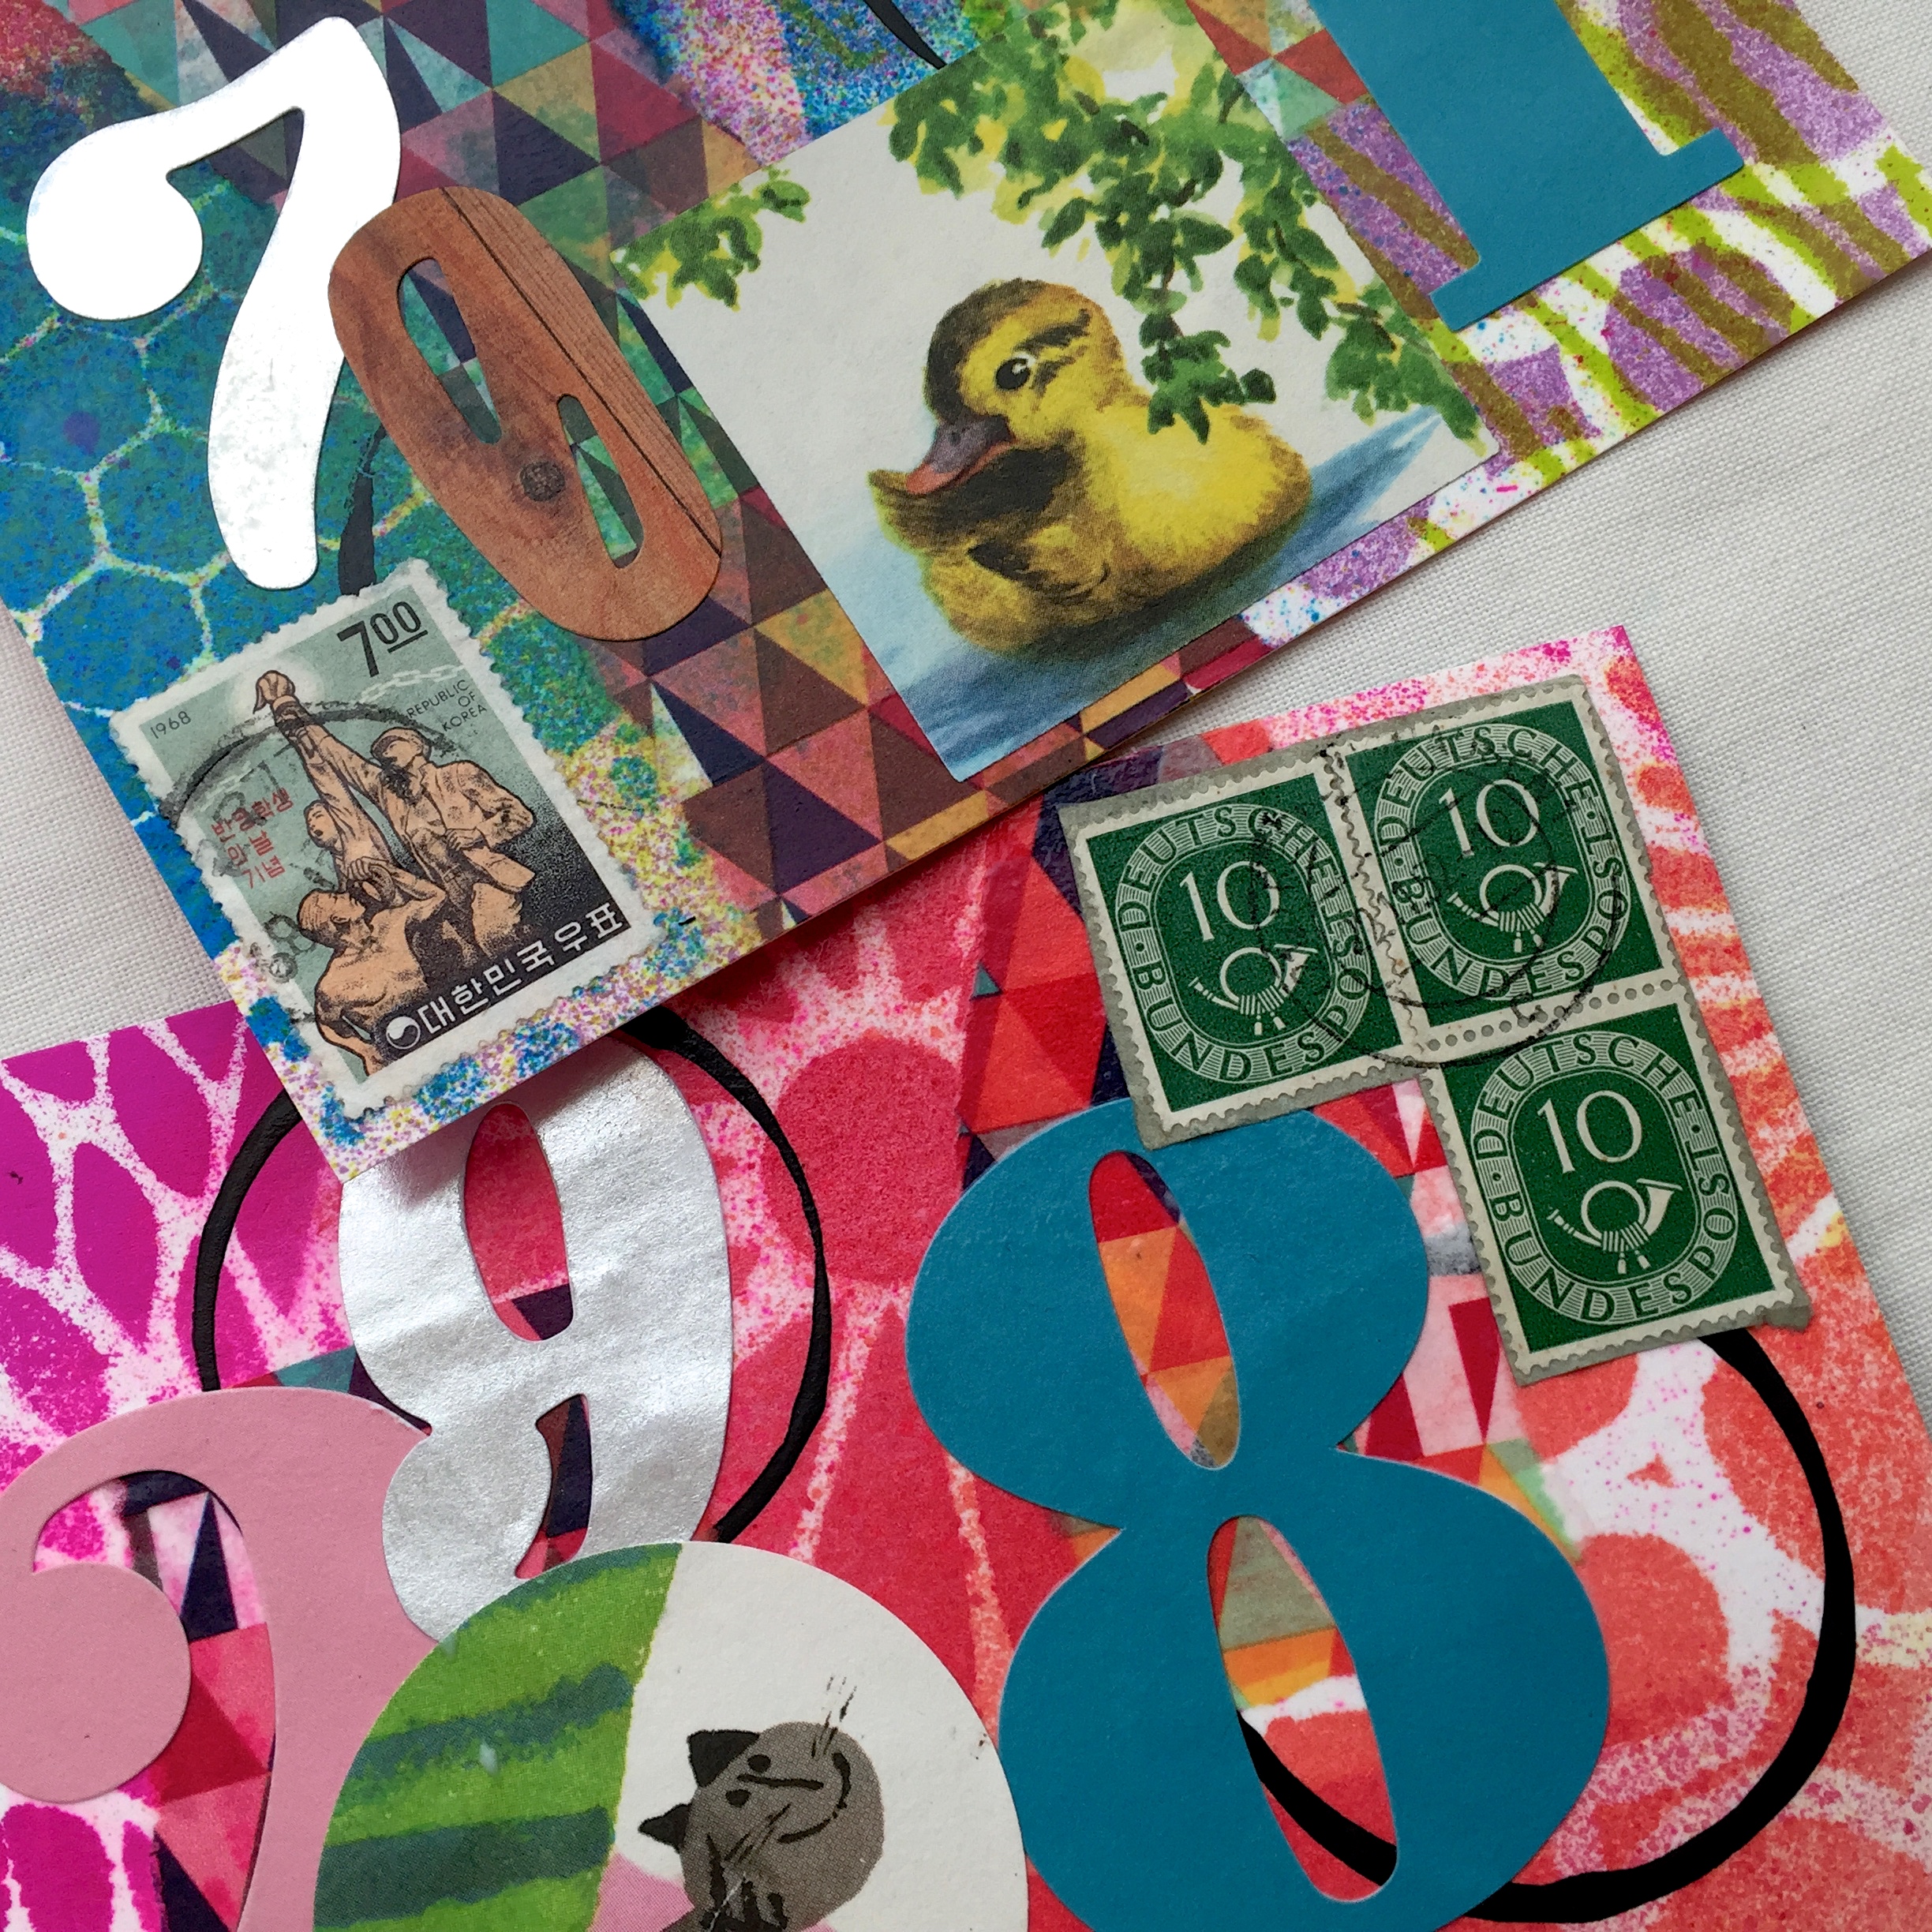
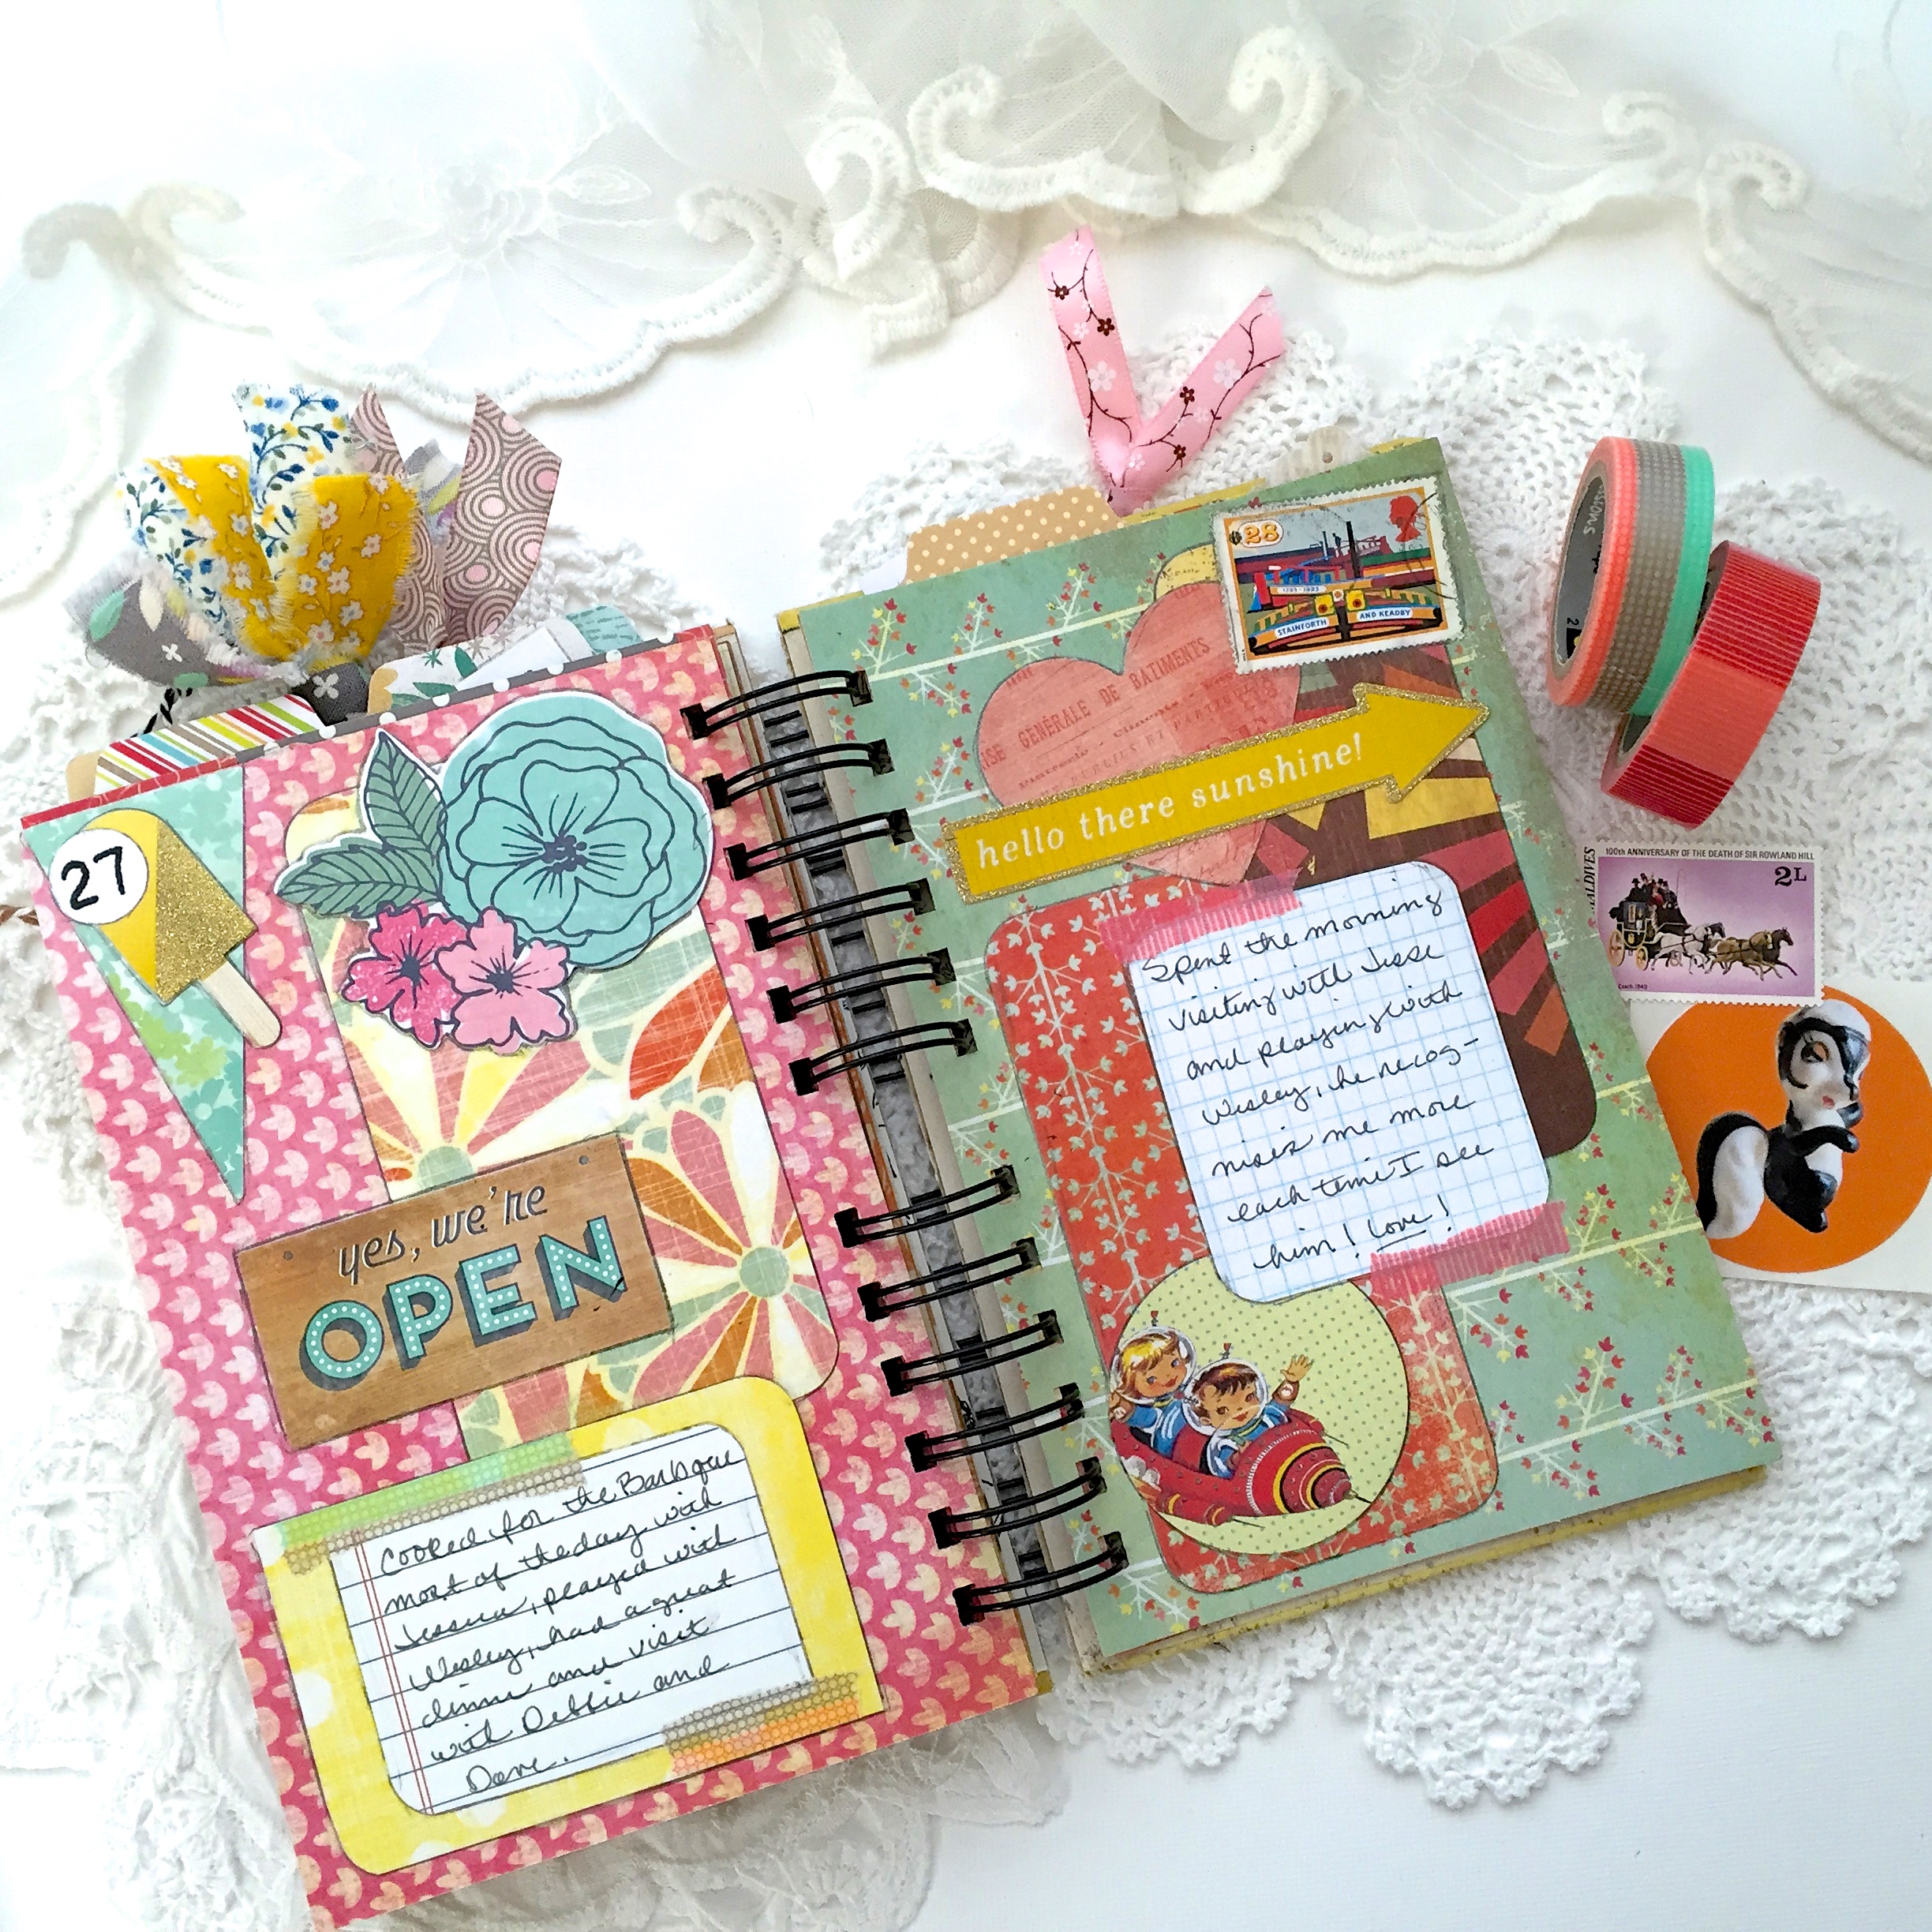
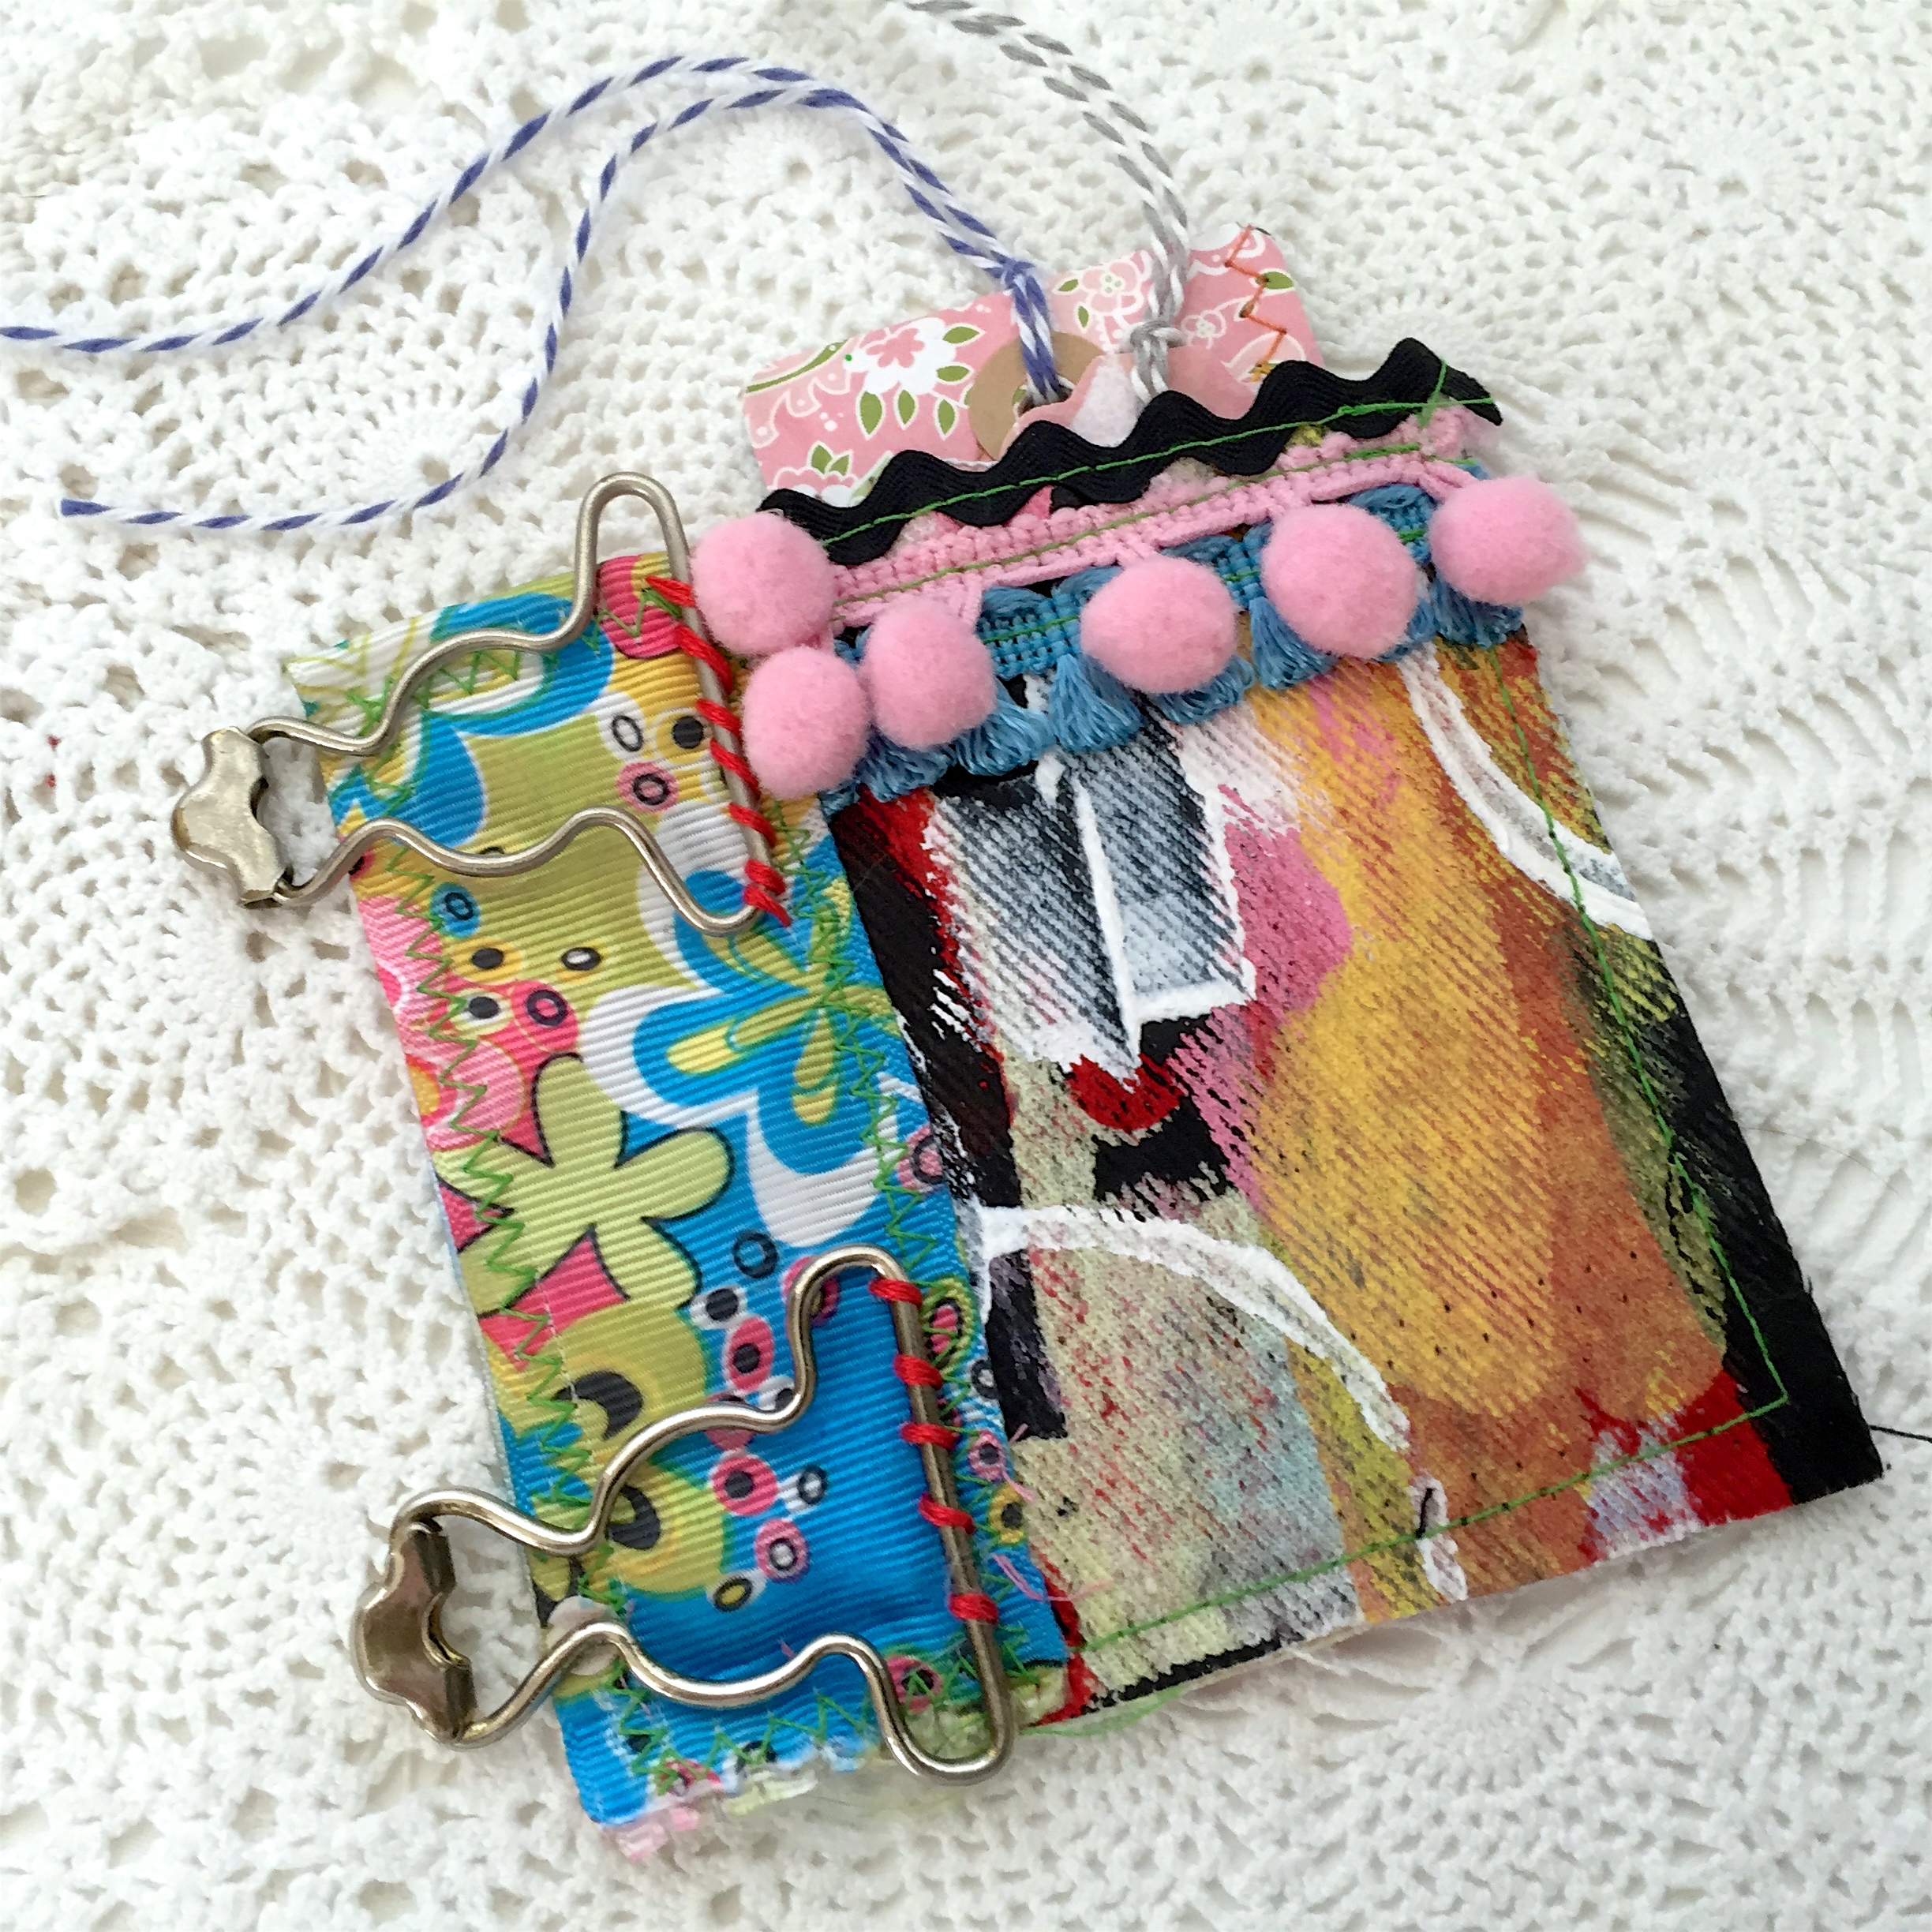
Step three: adhere random ephemera

I have a lot of store bought ephemera I’m trying to use up, and projects like these are perfect for this!

img_5708

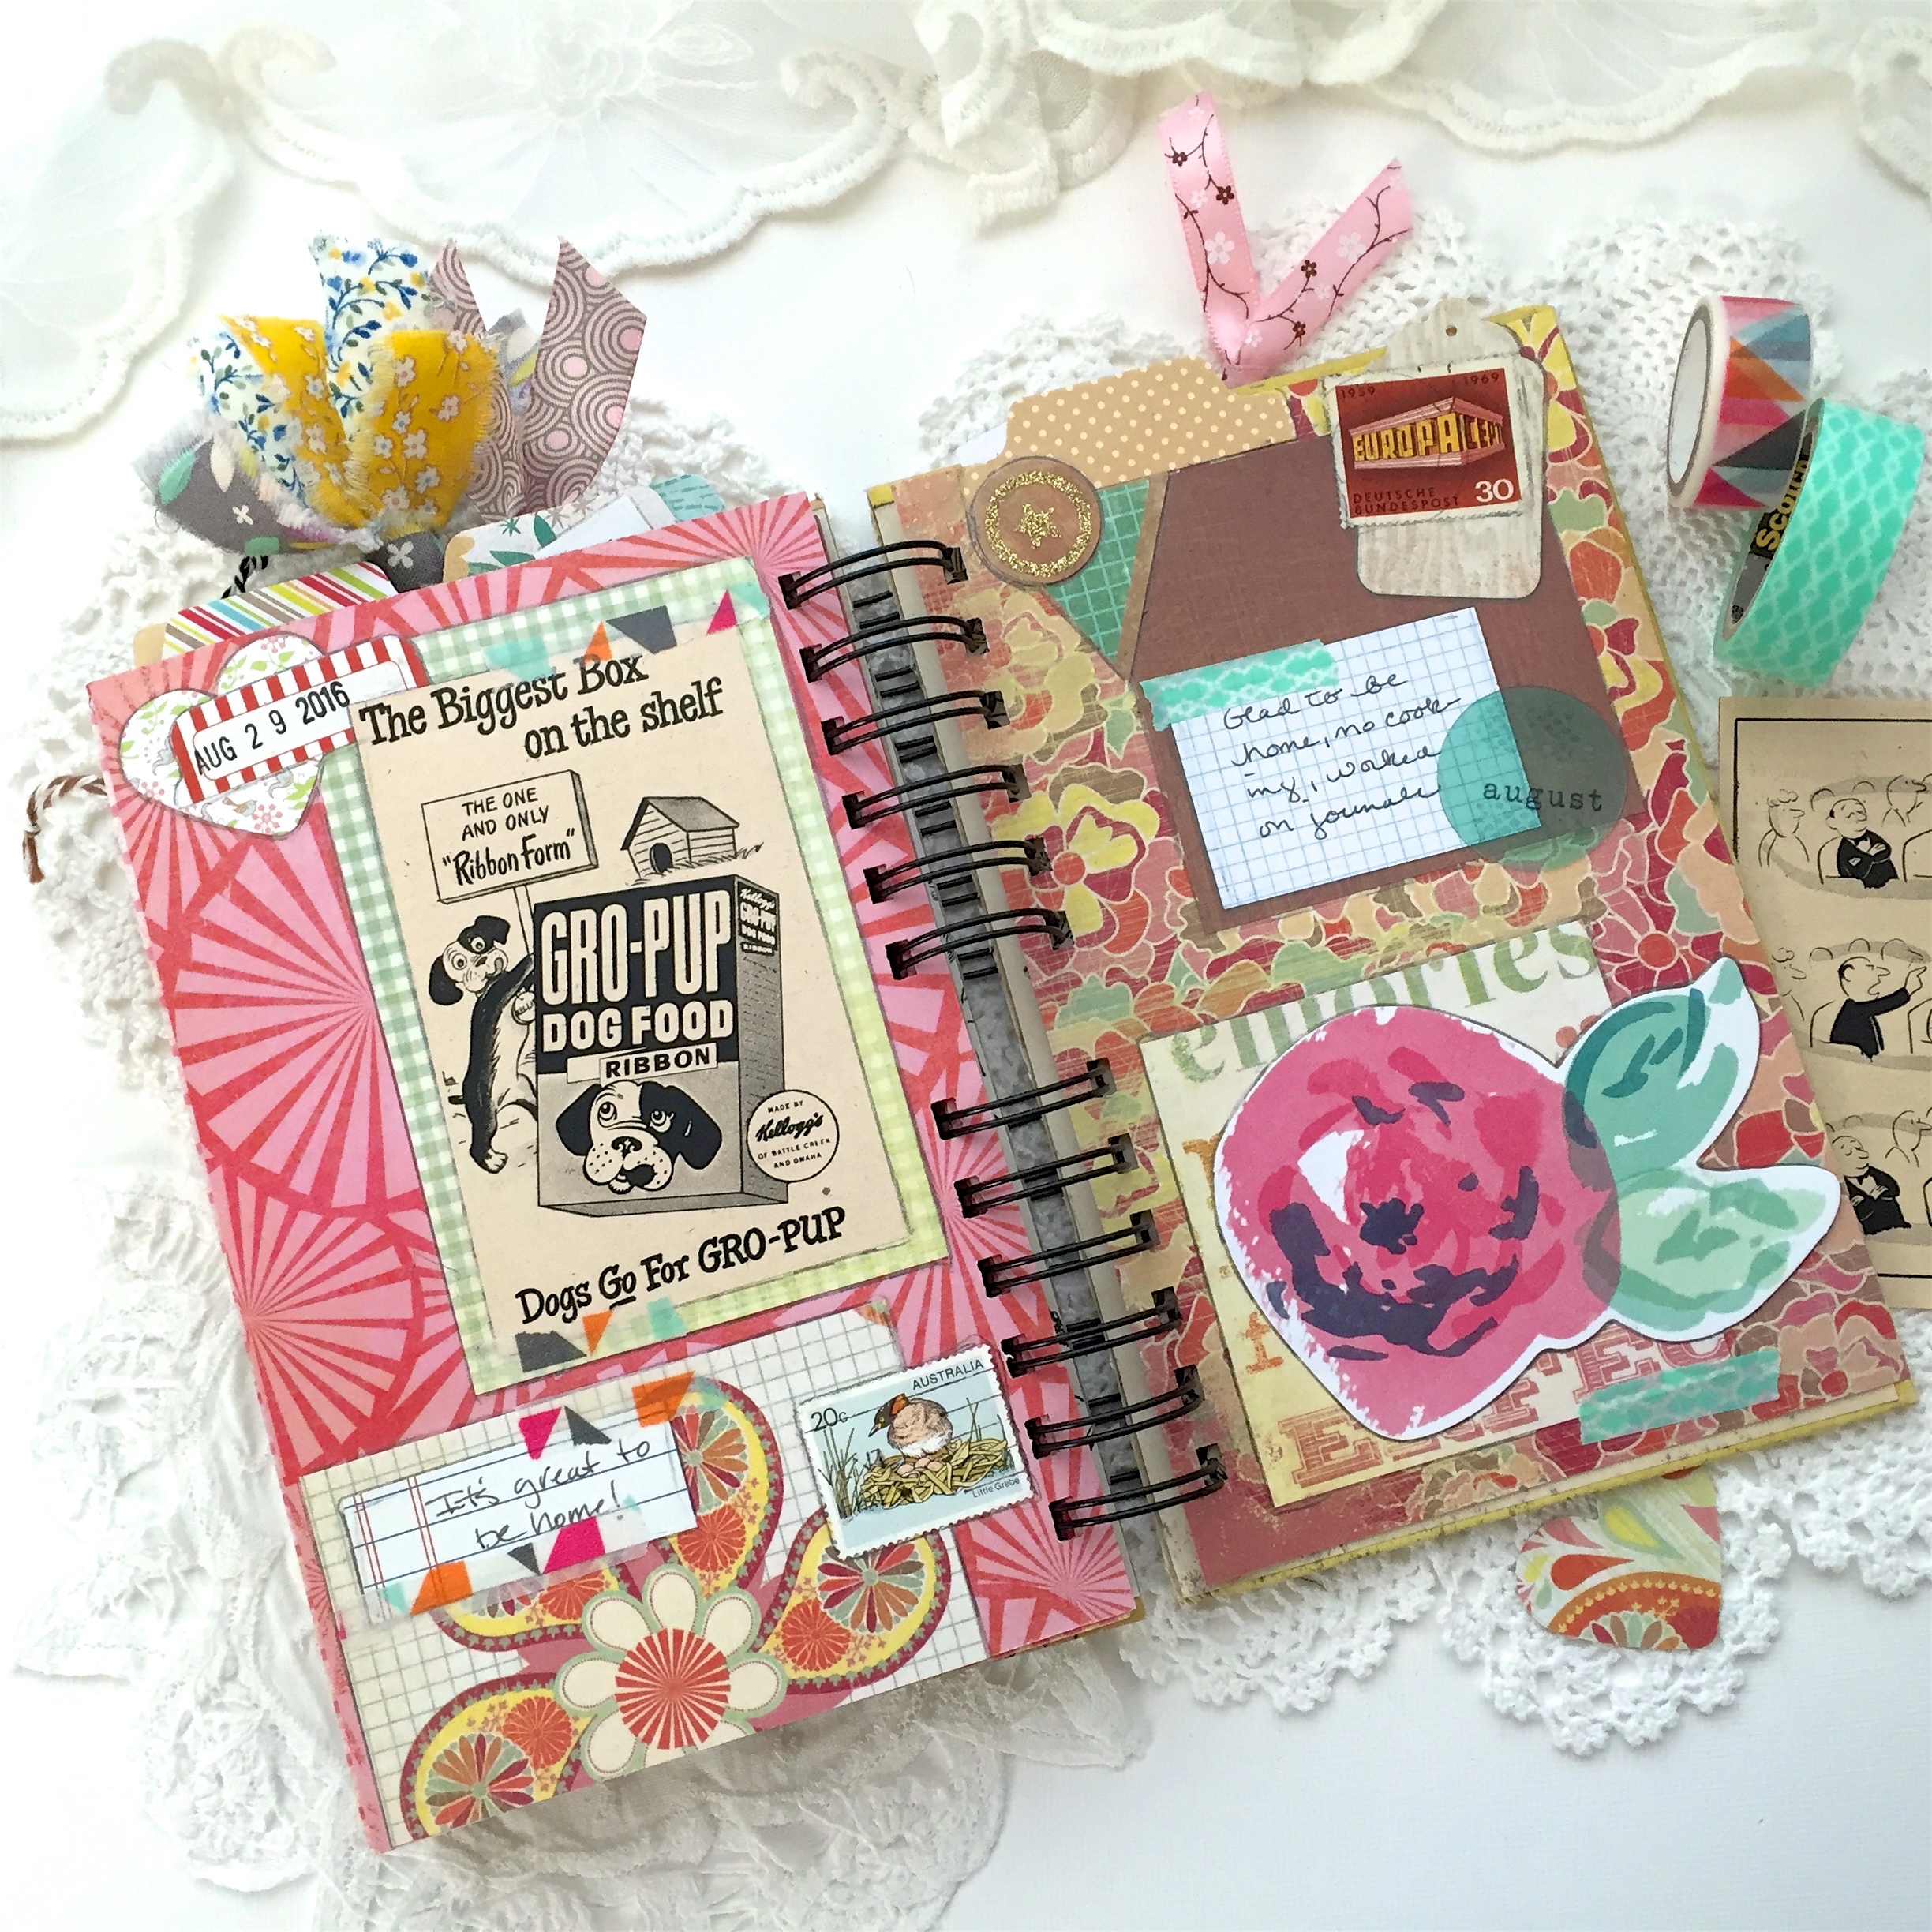
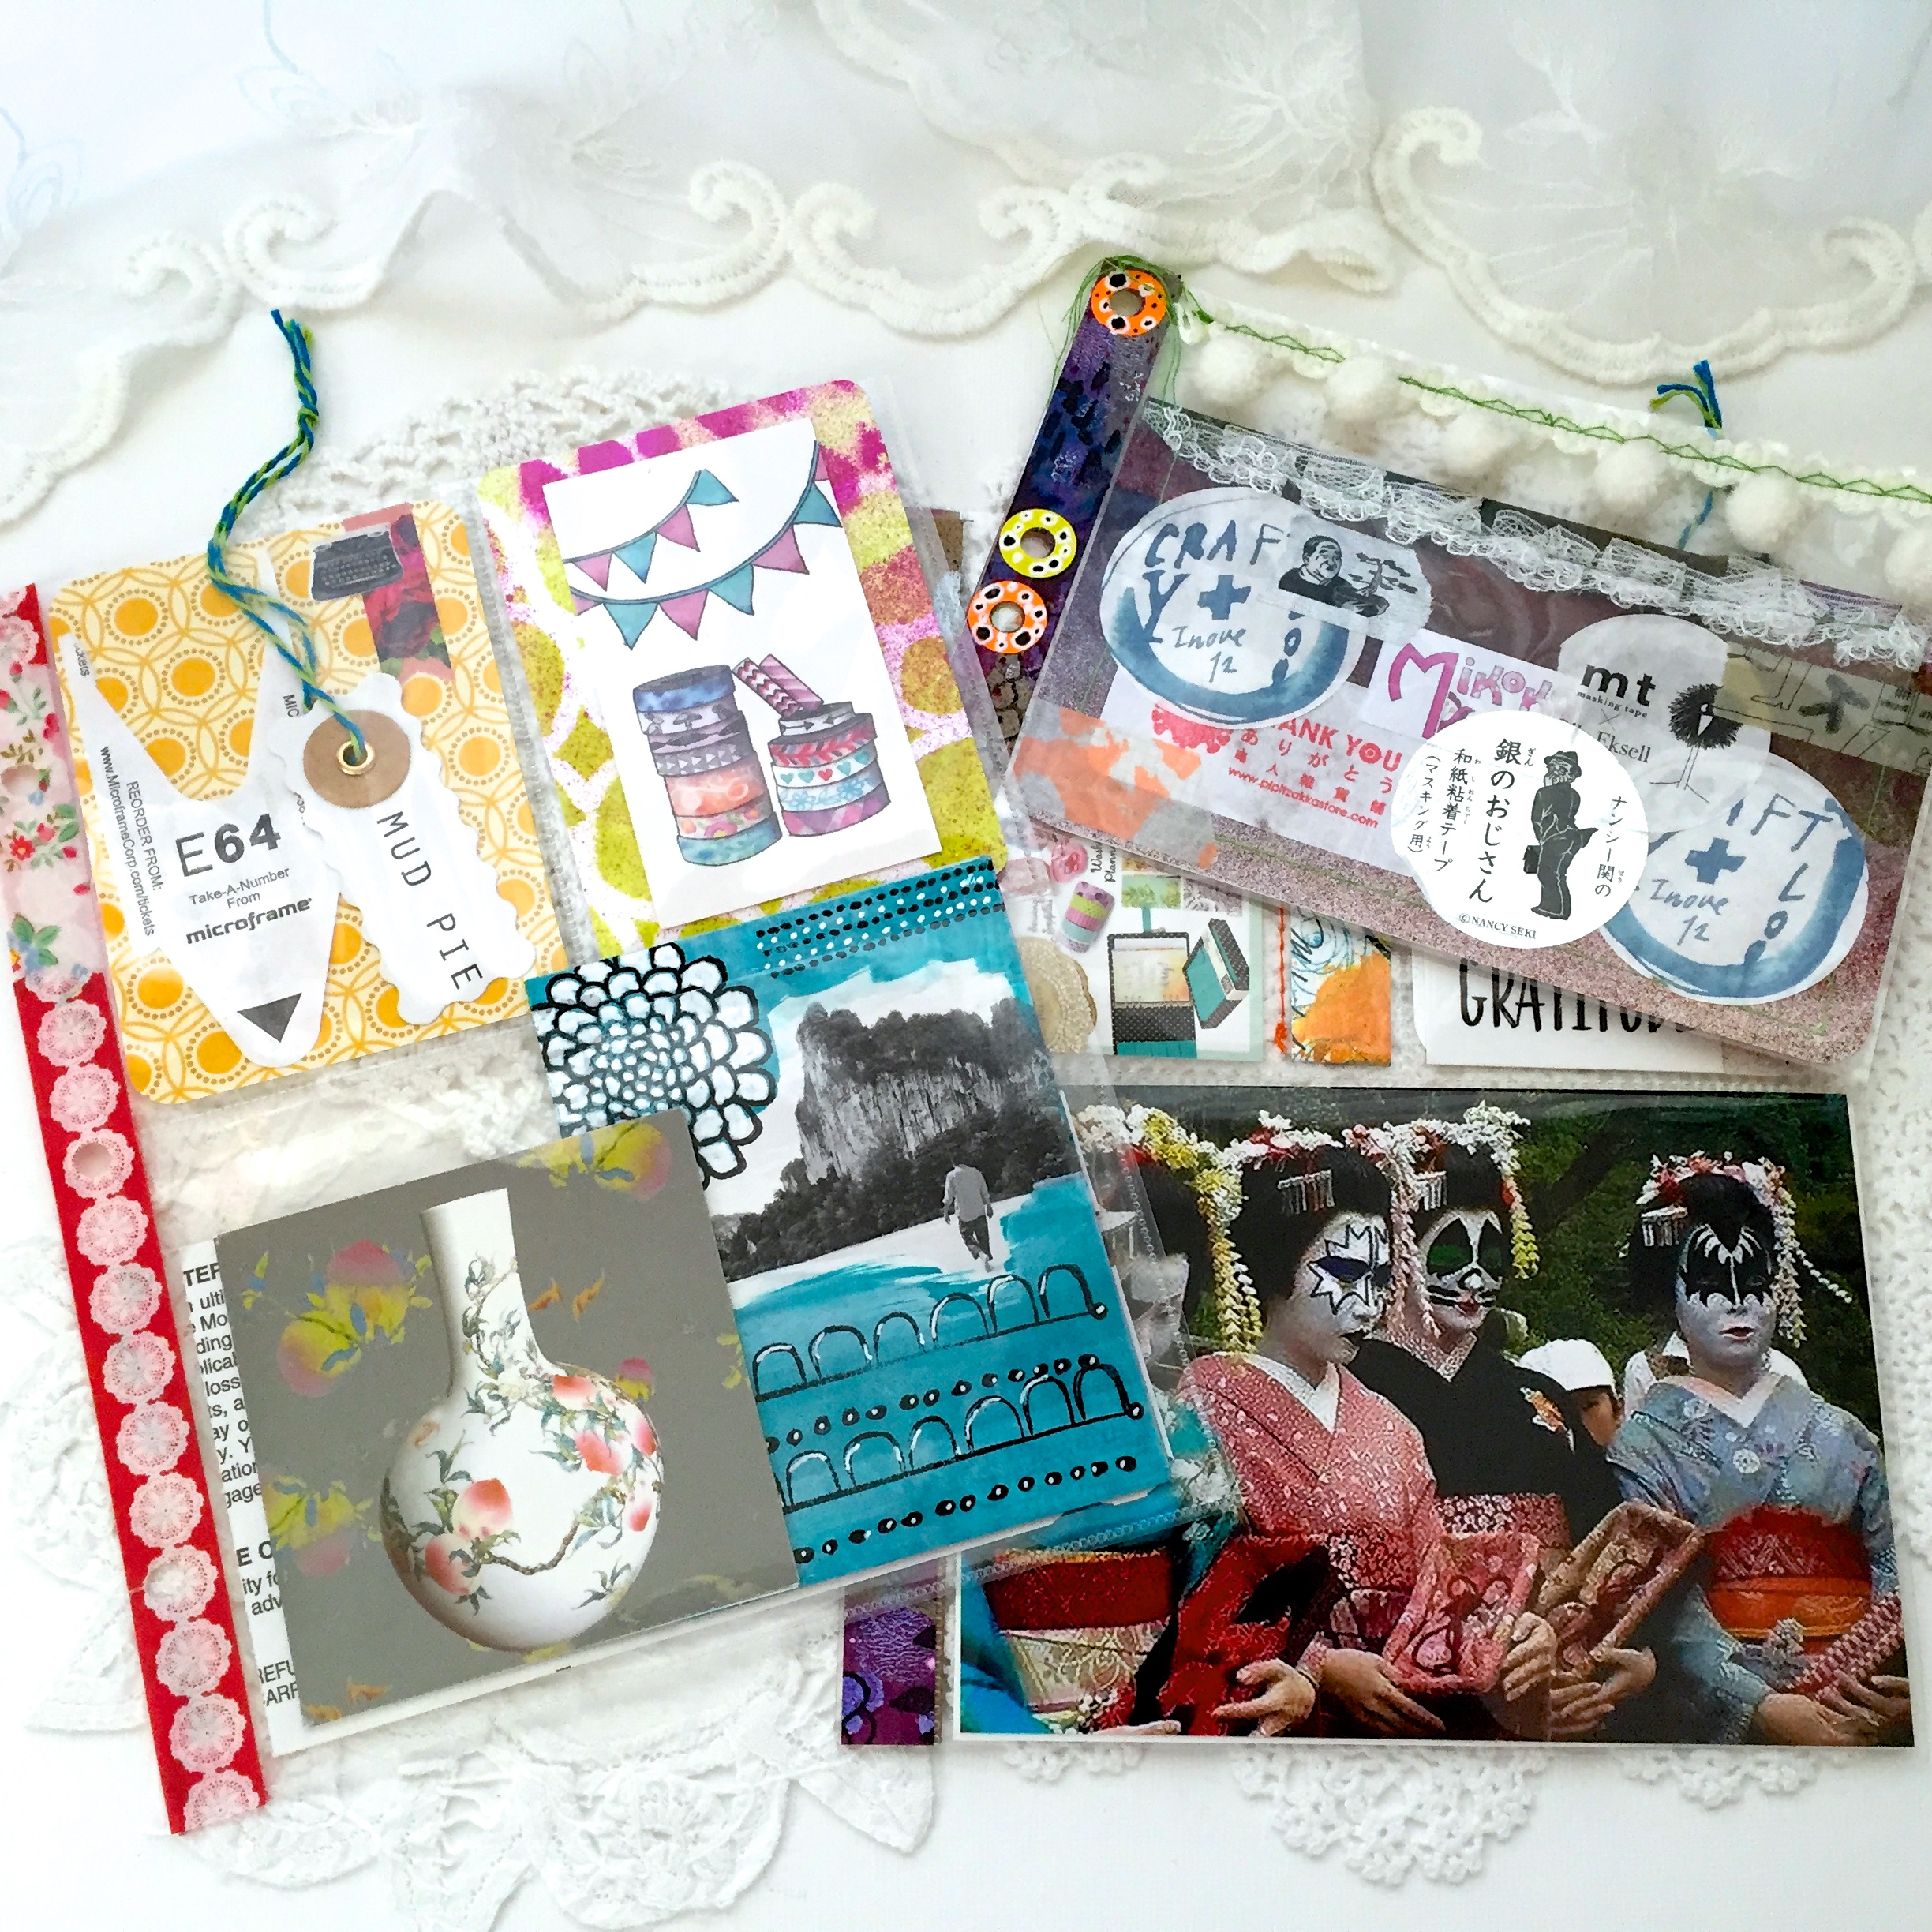
Step four: adhere vintage image

I always have book pages left over from my journal making, I go through them once in a while and punch or cut out the images, so I usually have lots of these on hand.

img_5710

Step five: postage stamps

What is mail art with out postage stamps, always one of my favorite additions.

img_5712

Step six: strategically placed washi tape

There’s a lot happening on these little cards, a bit of washi can give them some much needed structure.

img_5714

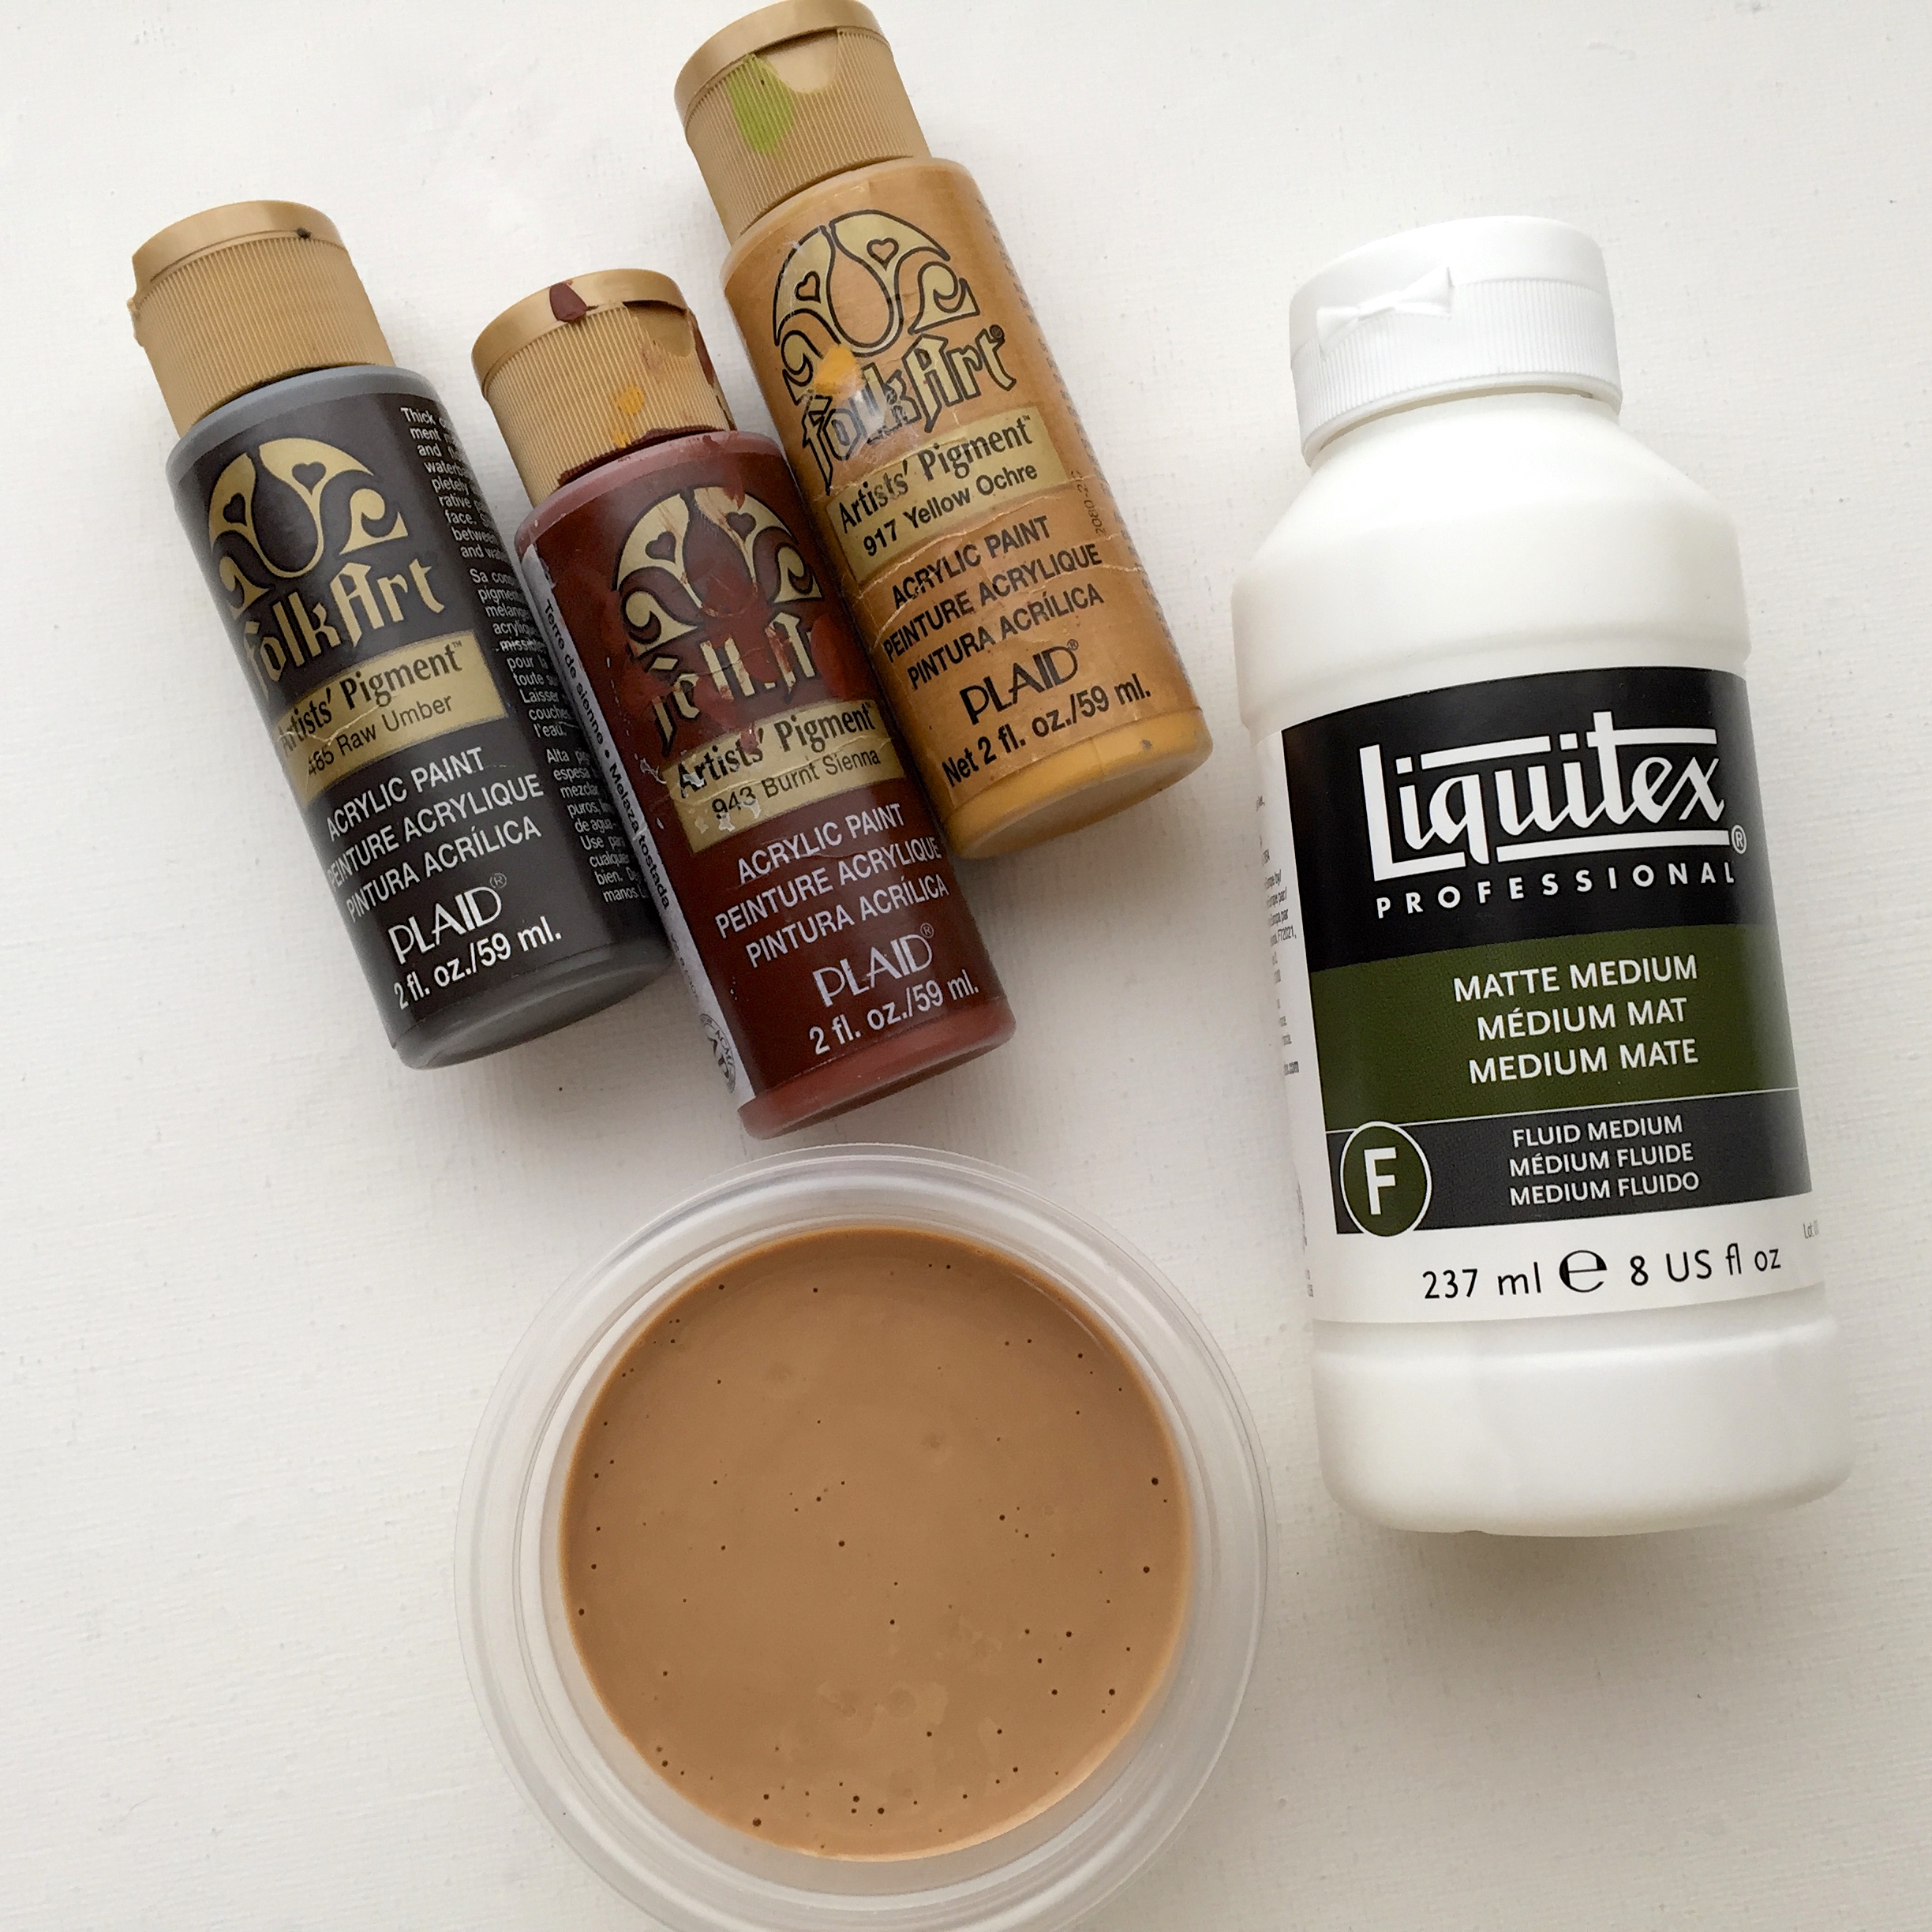
Step seven: a wash of “antiqued” matte medium

Just put a drop of each pigment color into some matte medium, mix, and apply to the entire surface of your project.

collage_fotor

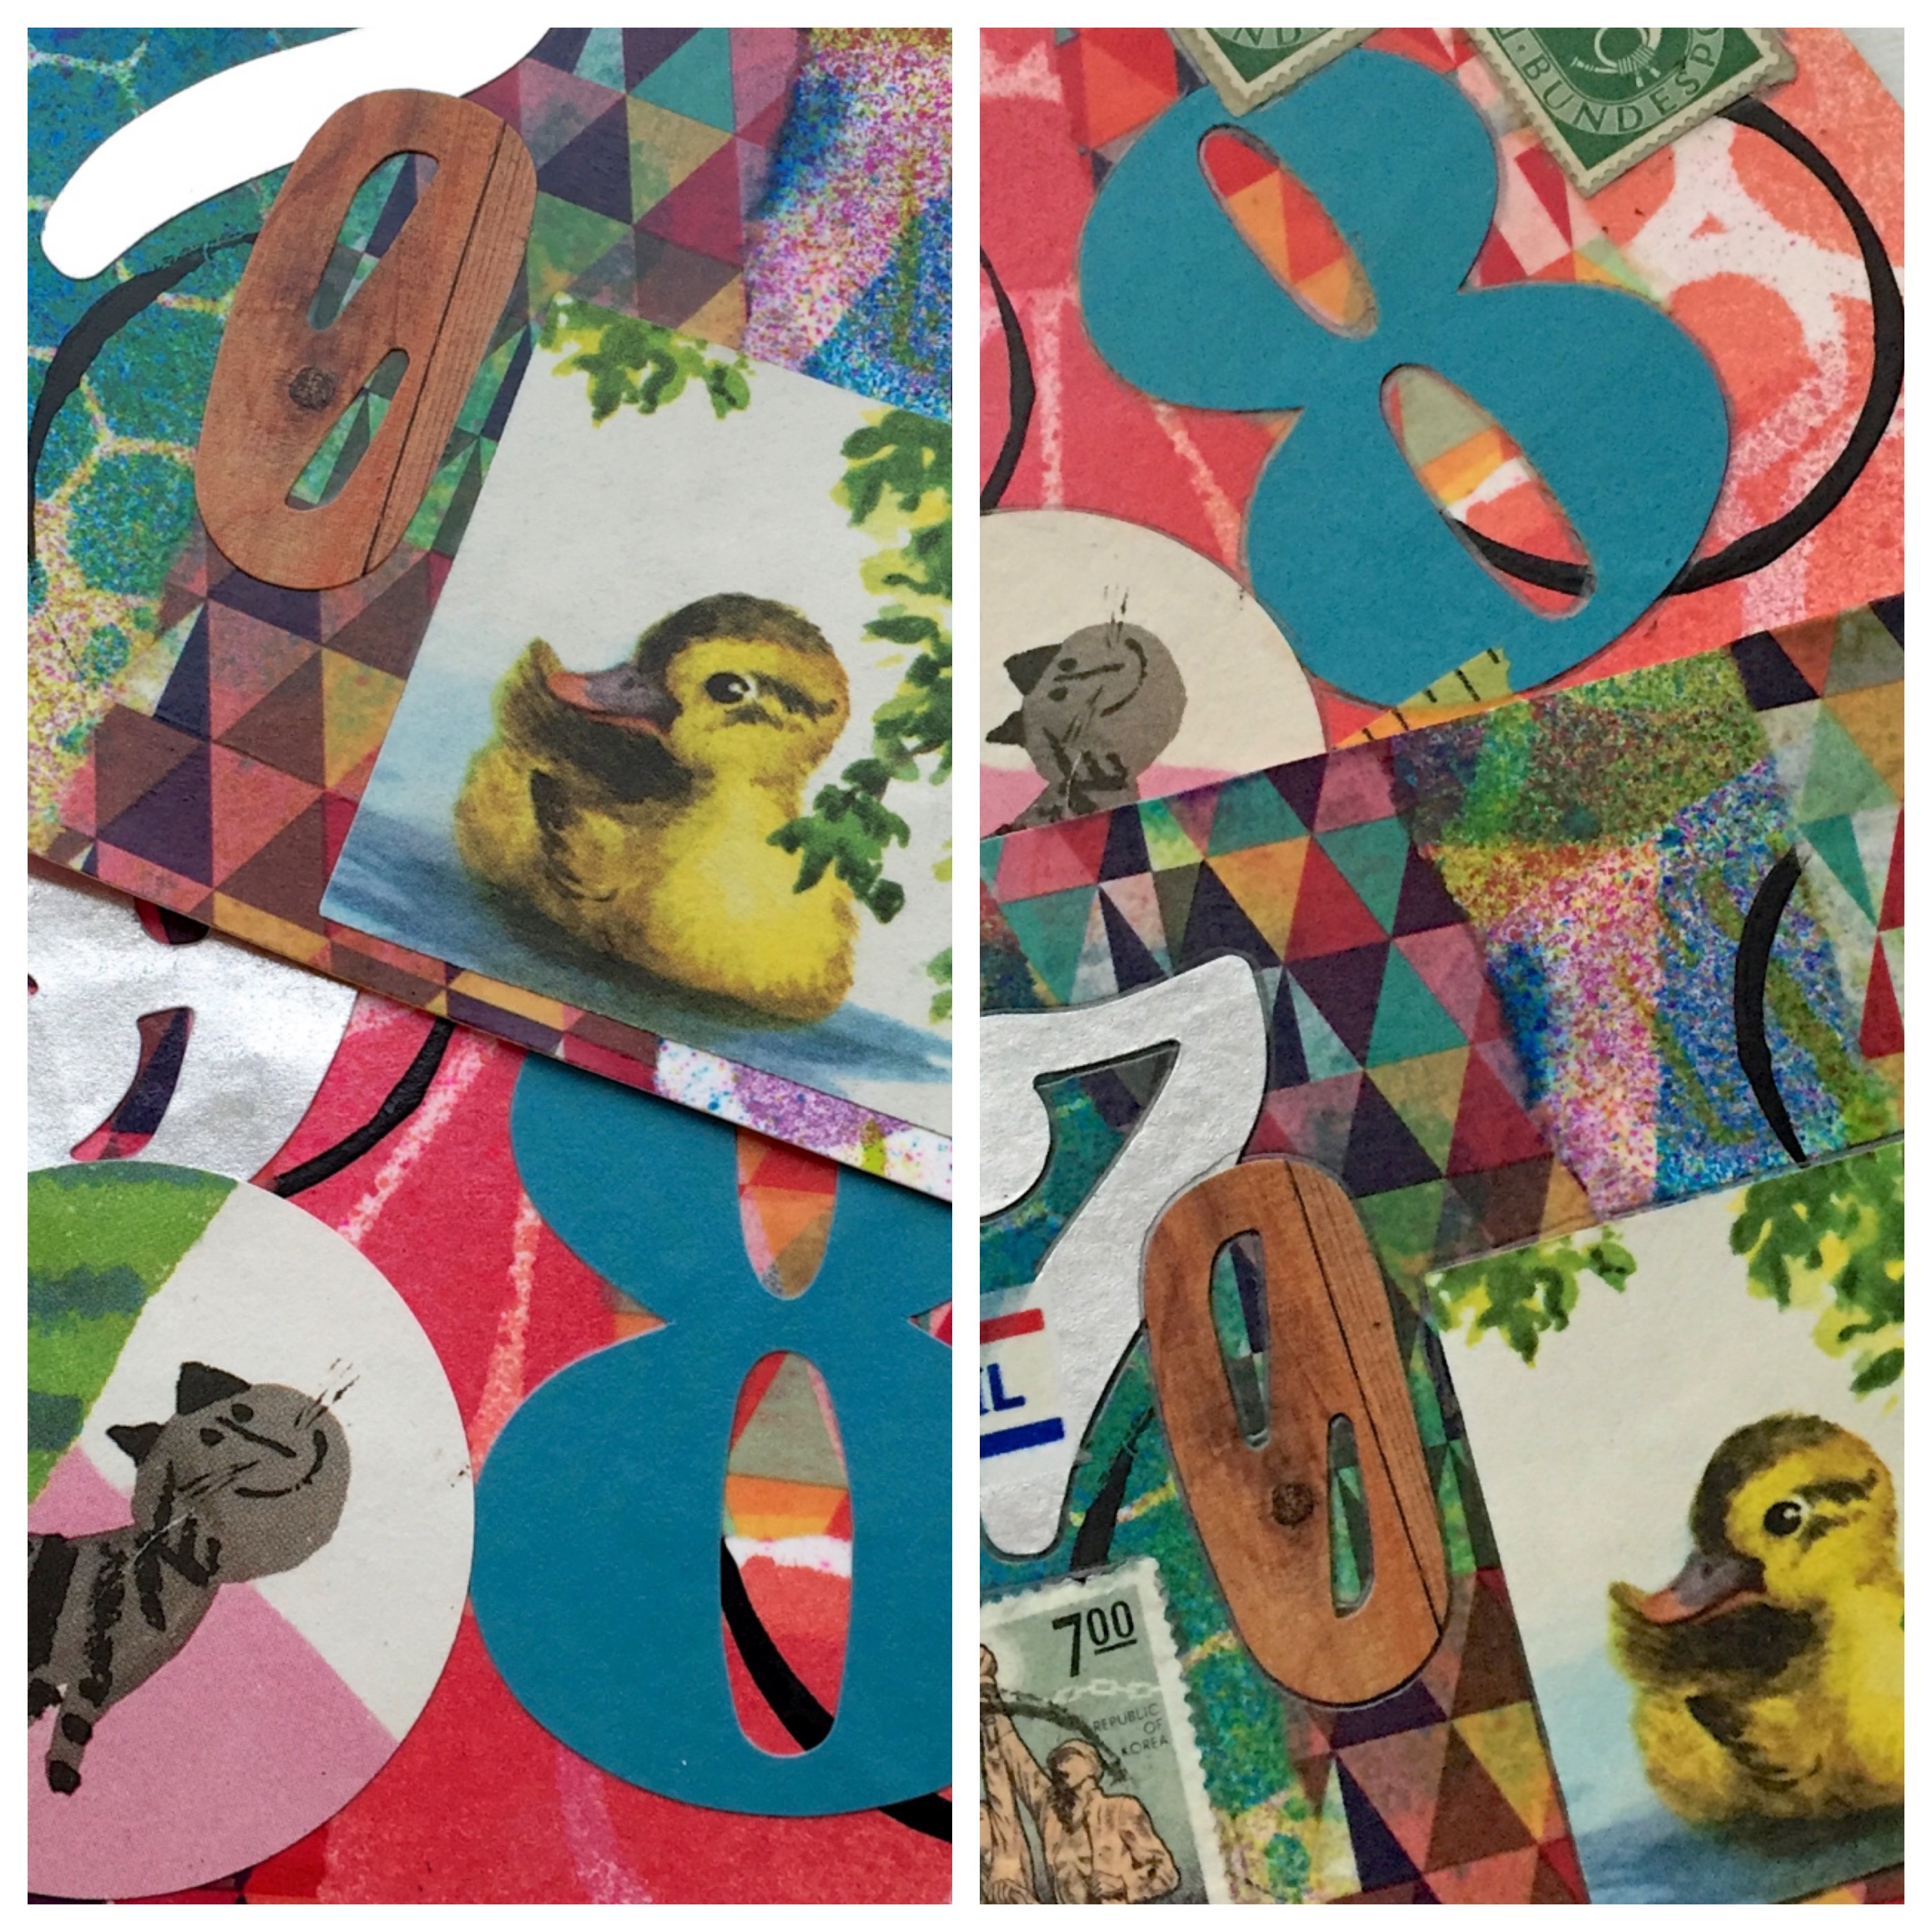
Here’s a before and after.

The difference is subtle, but worth the extra step in my book. I use this technique on my art journal pages quite often. It tones down the whites and calms the brighter colors, giving the page/project a more cohesive look.
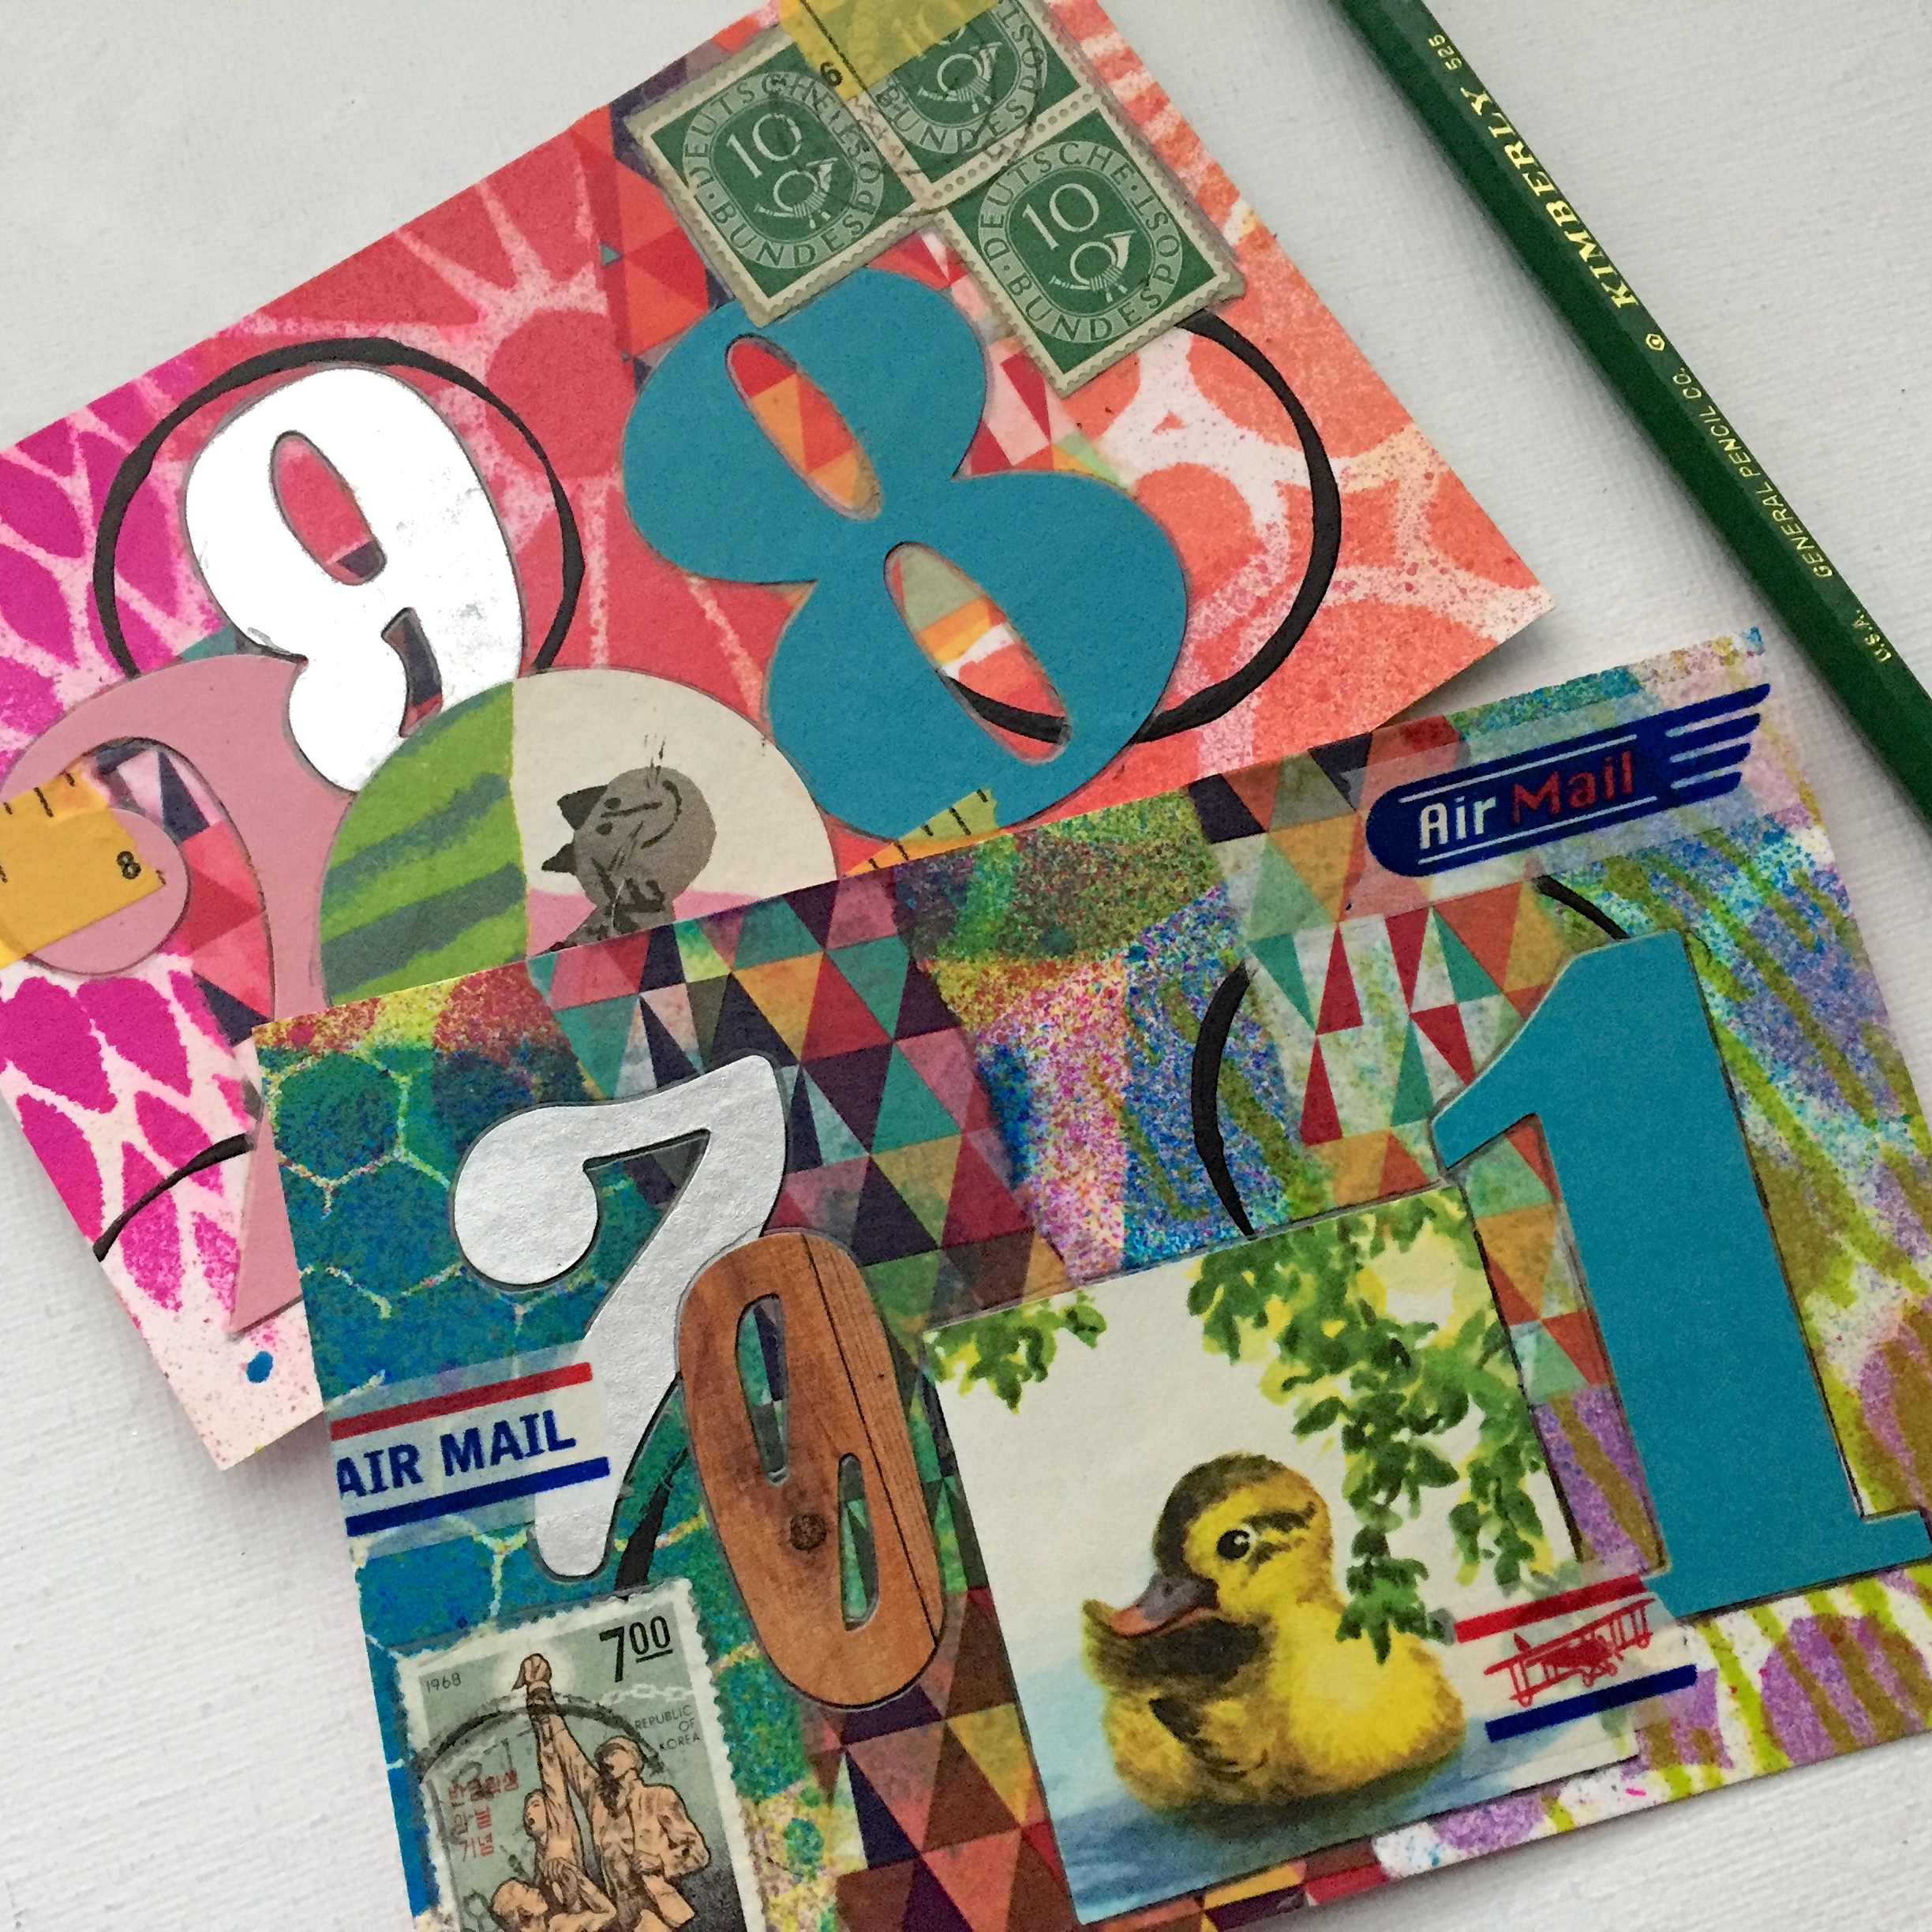
img_5729

Step eight:

Going around some of the features with pencil, this gives the piece depth and contrast.

img_5734

Step nine: address and send with Love!

img_5738

I had so much fun making these that I made 15 of them, I only needed 10 for the swap!

Once again,

Thank you for popping in,

Have a great weekend,

~Patty

Gratitude Collage Journal “flip through”

A couple of weeks ago I announced on IG and FB, that I would be uploading a “flip through” video of my August gratitude journal, onto my YouTube channel. Then, I realized that it would be much simpler to take some photos and share them here, and I’m all about what’s easier these days! So, here goes…

img_5160

Days 19 & 20

The usual suspects: playing card, postage stamps, various store bought ephemera bits, and washi tape. I try to tie my page spreads together in some way, with this one I thought the horses did the trick.

img_5161

Days 21 & 22

A vintage summer theme here. On the page to the right, I used a technique I’ve been having a lot of fun with lately. I cut images from the same background paper then re-apply them randomly to the page. The three round pieces outlined with pencil were re-applied, it seems to give the page more depth.

img_5165

Days 23 & 24

This is mostly a play with color. Some days I don’t get as much done, but I’m always grateful for evenings spent with my honey!

img_5168

Days 25 & 26

One of my favorite things to do in my list journals is to find alternative ways to date them, I just used a circle stamp for the 26th. Also, I tried mirroring the grey with polka dots in the sticker over on the left, along with the flowers for a more cohesive look.

img_5170

Days 27 & 28

Some fun memories of our visit to see my daughter and her family. I took loads of photos, but I prefer to use those in my Midori gratitude journal.

I was lucky to find a postage stamp with 28 cents postage on it for the date, and it added a nice pop of color!

img_5172

Days 29 & 30

Nearing the end of my little journal. As you can see, I kind of threw these pages together. Monday, I was fighting a cold, by Tuesday it had won.

img_5174

Day 31

And the end of this journal. A wonderful keepsake, but not necessarily something I want to do every month, just here and there throughout the year. I may try one of these quarterly, just to hit the highlights next time, that will be after the Holidays…

I can’t wait to start this years Holiday journal! Those are my all time favorites to make!

But until then, I may have to pull out some of my old Holiday journals to share on this blog since they all got lost on “ye olde blog”. Just to get some creative inspiration going! Sounds like fun!

Thanks once again for the visit,

See you soon,

~Patty

UnPlanner Update

Because this is literally the only thing I have been working on over the last week or so, it’s all I have to share! I have finally finished the first binder of three, January through April. It seems the more I work on them, the more I find to add, and the cleaner my room looks! Win!

I’ve kept each binder to 4 months each because I know I will find more stuff to fit in them. That being said, I may have to go to 4 binders. I thought I would show some favorites from each month in categories, starting with dividers…

IMG_3880

I happened to be playing with spray dyes and stencils when I started this project and thought the pages would make great dividers. As you can see, I didn’t get very far with decorating from there, just stickers and doilies.

IMG_3883

My weekly inserts. I love having an artsy place to document my daily creating. On the days I don’t do much, I’ll put a photo from the week. As you can see, I have been trying my hand at doodling, boy is it addictive!

IMG_3886

These are some of my words of the month. I made a shaker pocket for April’s word of the month. I just punched the word “Patience” out of some scrapbook paper and threw it all in with some sequins. This was really about trying something new and using up materials, so fun!

IMG_3888

A few of my PACs. I would love to be so caught up on these that I could make some extras to swap!

These have been a great way for me to step outside my comfort zone and learn some new techniques. An artistic shot in the arm that is very much needed.

IMG_3891

Getting back into my sewing room and using up some  supplies has been such a great angel to this project. This challenge was to make a pocket and fill it. I couldn’t find my grommets, so I used some overall fasteners to hold it into my binder, It works great!

IMG_3896

It’s hard to say what my favorite part of this project is, but this part is on the top of the list. This is where I keep all the fun stuff I’ve collected over the month. Cute business cards, tags, a note from a dear friend, tops from washi, and an altered room key folder. I keep a plastic sleeve in the back of each month, then pick from it at the end of the month. May’s is ridiculous, I can’t wait to get it done!

I’m hoping to write an update post for this project at the end of each month so that I can go into a little more detail. I’m almost finished with May, then it’s time to get started on June!

Once again, thank you for stopping by,

Have a great week,

~Patty